
You have spent months, maybe years, growing your hair out. Then a flat iron or curling wand undoes a chunk of that work. The ends turn dry and split, the split travels up the strand, and the trim you need takes off the inches you were proud of.
Heat is not the only way to get waves, curls, sleek buns, or polished braids. Damp hair bent around a robe belt, a sock, a braid, or a scrunchie dries in that shape and holds it all day. Twisted and pinned styles look finished without any styling tool at all.
These heatless hairstyles for long hair are split into two kinds. The first set gives you waves and curls while you sleep or run errands. The second set gives you braids, buns, and ponytails that keep your ends tucked away from friction. Every style has steps, how long it takes, and one tip that makes the biggest difference on long lengths.
This guide is for anyone growing their hair who wants it to look styled without paying for it in split ends. Start with the overnight braid waves and the robe belt curls. Both work on the first try.
Add a wide tooth comb, bobby pins that match your hair, a few claw clips, and a light leave in conditioner. That covers every style below.
1. Overnight Braid Waves

This is the easiest heatless wave there is. Braid damp hair before bed, sleep, and take the braids out in the morning. The braid bends each strand into a soft zigzag that looks like beach waves, with no heat touching your ends.
- Start with hair that is about 80 percent dry, not soaking wet.
- Work a small amount of mousse through the lengths.
- Part your hair down the middle and split each side into one or two sections.
- Braid each section tightly from the ears down to the ends.
- Tie each braid with a silk scrunchie and go to sleep.
- In the morning, undo the braids and break the waves apart with your fingers.
Quick tip: more braids give smaller, tighter waves. Two braids give big soft waves, and four to six give a fuller crimped look.
2. Robe Belt Curls
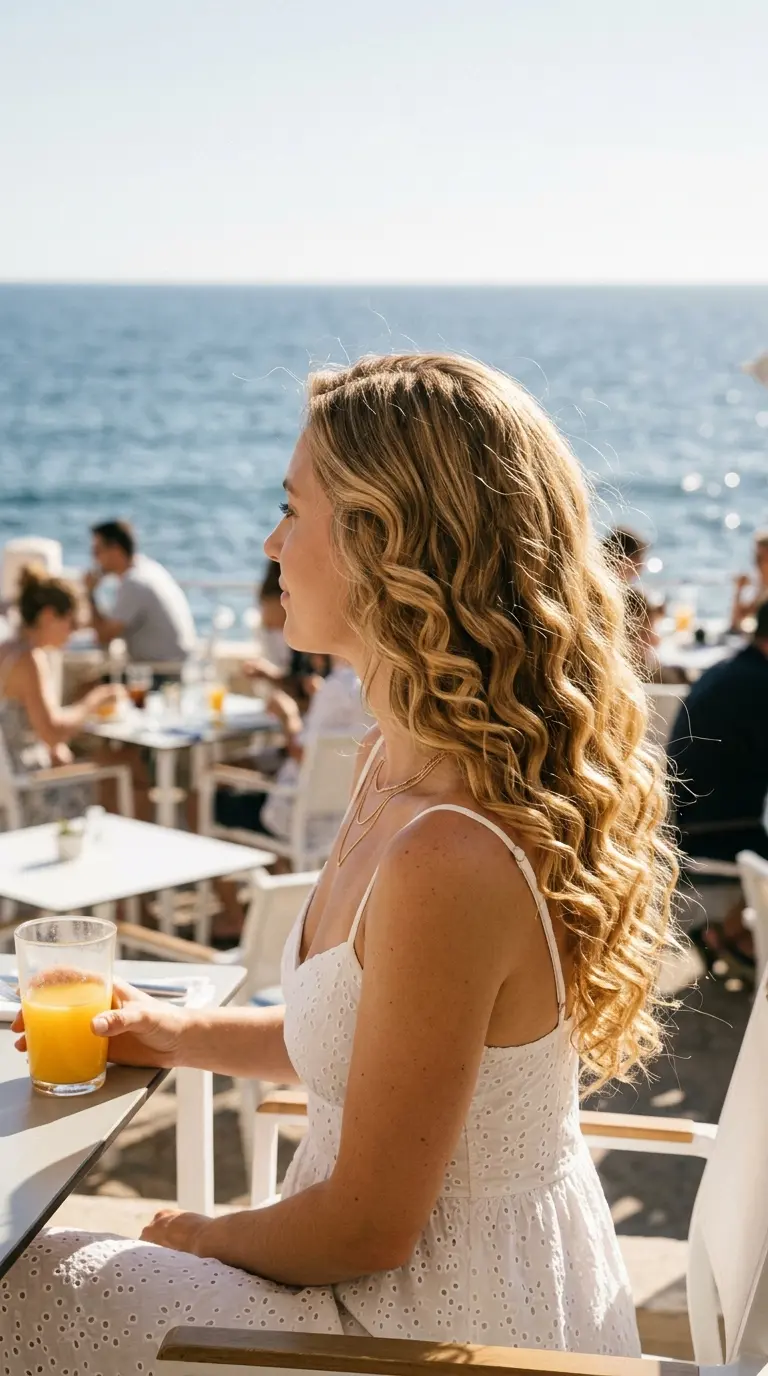
A soft robe belt wrapped with damp hair gives curls that look like a blowout with a big round brush. Long hair has enough length to wrap around the belt several times, so the curls come out full from the cheekbones down.
- Start with hair that is about 90 percent dry.
- Place the middle of a robe belt on top of your head, the ends hanging by your ears.
- Take a section from the front left and wrap it around the belt, away from your face.
- Add a new piece of hair with each wrap, like a French braid.
- Tie the ends of the hair to the belt with a scrunchie and repeat on the right.
- Sleep on it, unwrap in the morning, and separate the curls with your fingers.
Quick tip: wrap away from your face on both sides. Curls that turn back open up your face and stay bouncy longer.
3. Sock Bun Curls

Cut the toe off a clean sock, roll it into a ring, and you have a heatless curler that is also comfortable to sleep on. Your hair rolls around the ring into a bun, and the bun becomes rounded curls in the morning.
- Cut the toe off a clean sock and roll it into a donut shape.
- Tie slightly damp hair into a high ponytail.
- Pull the ponytail through the sock ring and spread the hair around it.
- Tuck the ends under the ring and roll it down toward your scalp.
- Pin the bun in place and leave it overnight or for at least six hours.
- Unroll gently, take out the ponytail, and comb through with your fingers.
Quick tip: use a long sock for very long hair. A short sock makes a small ring that cannot fit all your lengths, so the ends come out straight.
4. Twisted Double Bun Waves
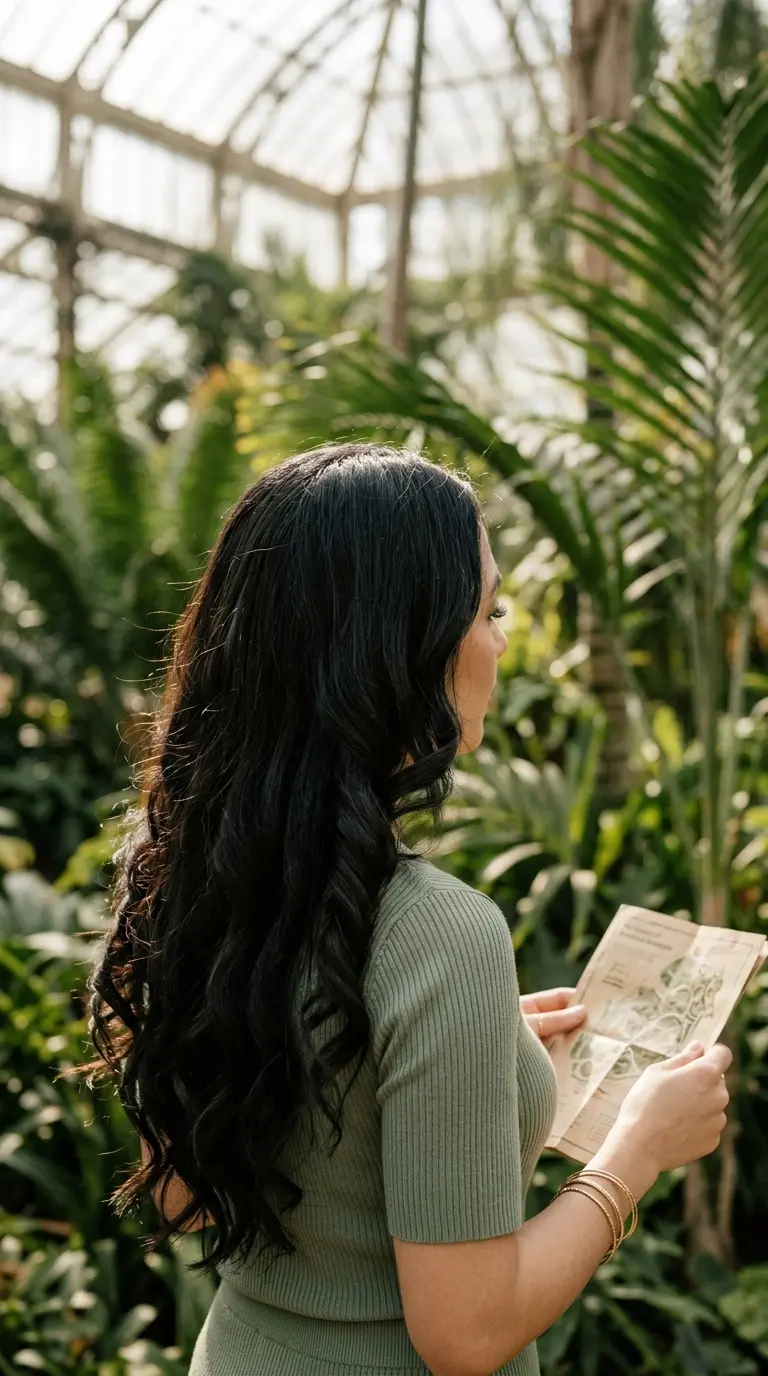
Two twisted buns on damp hair give waves that look like a twisted rope when you let them down. They are quick, they are comfortable to sleep on when placed high, and they give more movement than braids.
- Part slightly damp hair down the middle.
- Twist one side tightly away from your face until it coils on itself.
- Wrap the coil into a bun near the top of your head and hold it with a scrunchie.
- Repeat on the other side.
- Leave the buns in overnight or for six hours.
- Take them down, shake out the waves, and smooth the roots with your palm.
Quick tip: twist both sides away from your face. Waves that turn backward frame the face and do not fall into your eyes.
5. Flexi Rod Spirals
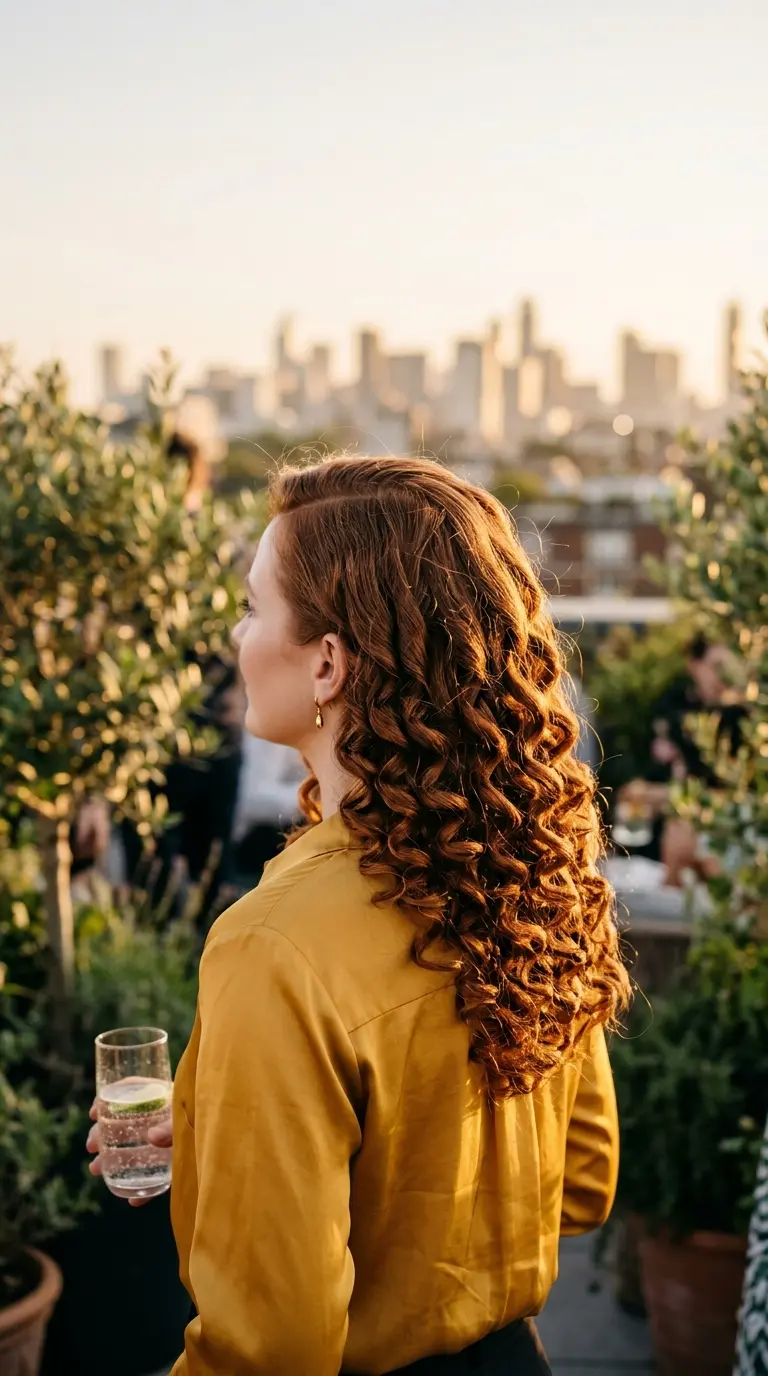
Flexi rods are bendable foam rods that give the most defined curls of any heatless method. They bend at the ends to lock in place, so there are no clips pressing into your head while you sleep.
- Start with damp hair and work mousse through every section.
- Take a section about one inch wide.
- Place the rod at the ends and roll the hair up toward the scalp.
- Bend both ends of the rod inward to hold it.
- Repeat around your whole head and leave the rods in until your hair is fully dry.
- Slide the rods out and separate each spiral with oiled fingertips.
Quick tip: wrap the ends smoothly around the rod before you start rolling. Bent or folded ends come out frizzy and show more than any other part.
Long hair curled with a hot wand four mornings a week. The ends feel rough and straw like, white dots show on the tips, and every trim takes off two inches to get past the splits.
The same hair set on flexi rods and braids overnight, with silk scrunchies and a satin pillowcase. The ends stay soft and smooth, and a light dusting every 12 weeks keeps the length she grew.
6. Classic Pin Curls
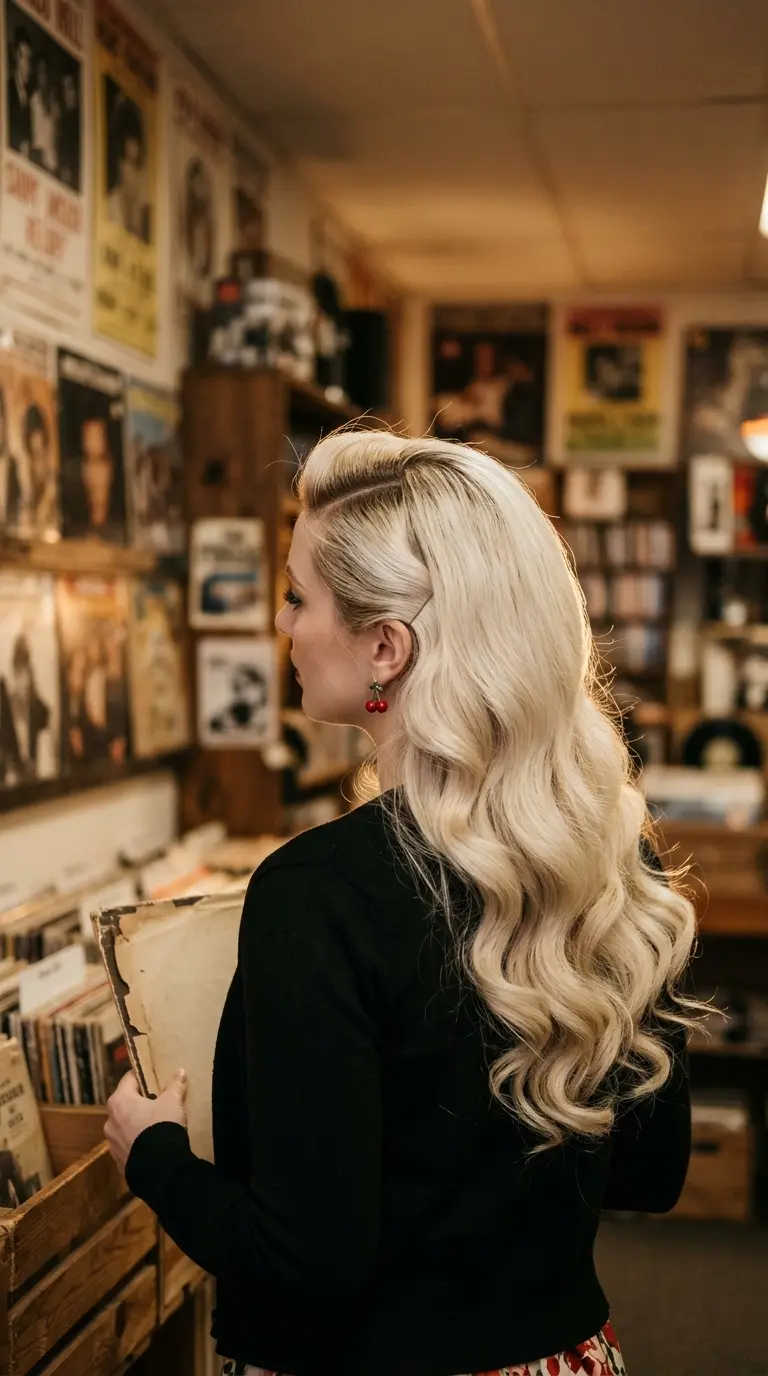
Pin curls are how women got waves long before curling irons were in every bathroom. Small coils of damp hair are pinned flat to the head, left to dry, and brushed out into glossy, rolling waves.
- Start with damp hair and mist it with setting spray or water mixed with a little mousse.
- Take a one inch section and wrap the ends around two fingers.
- Keep rolling the coil flat toward your scalp.
- Hold the flat coil against your head with two crossed bobby pins.
- Repeat around your head, rolling every curl in the same direction on each side.
- Let it dry fully, take out the pins, and brush the curls together with a soft brush.
Quick tip: brush pin curls out with a boar bristle brush, not your fingers. Brushing merges the coils into smooth waves instead of separate ringlets.
7. Scrunchie Wrap Curls

An oversized scrunchie works like a sock bun with less effort. Wrap sections of a ponytail around the scrunchie, pin the ends, and you get loose curls that start lower on the head for a softer look.
- Tie slightly damp hair into a high ponytail with a thin elastic.
- Slide a large, puffy scrunchie over the ponytail so it sits at the base.
- Take a two inch section of the ponytail and wrap it around the scrunchie.
- Tuck the ends under and hold with a pin.
- Wrap the rest of the ponytail section by section around the scrunchie.
- Leave it for six hours or overnight, then unwrap and shake out.
Quick tip: use the biggest scrunchie you have. A bigger loop makes bigger, softer curls, while a small one makes tight ringlets.
8. Headband Tuck Waves

A stretchy headband worn like a crown becomes a heatless curler. Small sections of damp hair are tucked up and around the band, and they dry into soft bends that look like a loose wand curl.
- Comb slightly damp hair straight back and put a stretchy headband around your head like a crown.
- Take a small section at the front and wrap it up and over the band.
- Add a little more hair to the next section and wrap it around too.
- Keep going around your head until all your hair is tucked.
- Wrap the long ends around the band at the back and pin them.
- Leave it for at least four hours, then pull the band off gently.
Quick tip: wrap the long ends twice around the band at the back. Long lengths left loose will dry straight and look flat next to the bent sections.
9. Claw Clip French Twist

A French twist with a claw clip takes under a minute and looks polished enough for work. All your length is tucked into the twist, which keeps your ends safe from rubbing on collars and bag straps.
- Brush your hair back and gather it at the nape like a low ponytail.
- Twist the hair upward in one direction until it lies flat against the back of your head.
- Fold the ends down over the twist so they point toward the floor.
- Open a large claw clip and slide it in sideways to catch the twist and the ends.
- Fan out the ends at the top with your fingers.
Quick tip: buy a claw clip wide enough for your hair. Very long, thick hair needs a clip of at least four inches, or the twist slips out by lunch.
Set your hair when it is about 80 to 90 percent dry. Soaking wet hair will not dry overnight, and the curl falls out by noon.
Use a light mousse or setting lotion on the lengths. It gives each strand a little memory so the bend stays put.
Leave the set in until your hair is completely dry. Taking it out early is the most common reason heatless curls drop.
Break the curls apart with your fingers, not a brush, unless you want soft vintage waves. Finish with a light mist of flexible hairspray.
10. Pull Through Braid
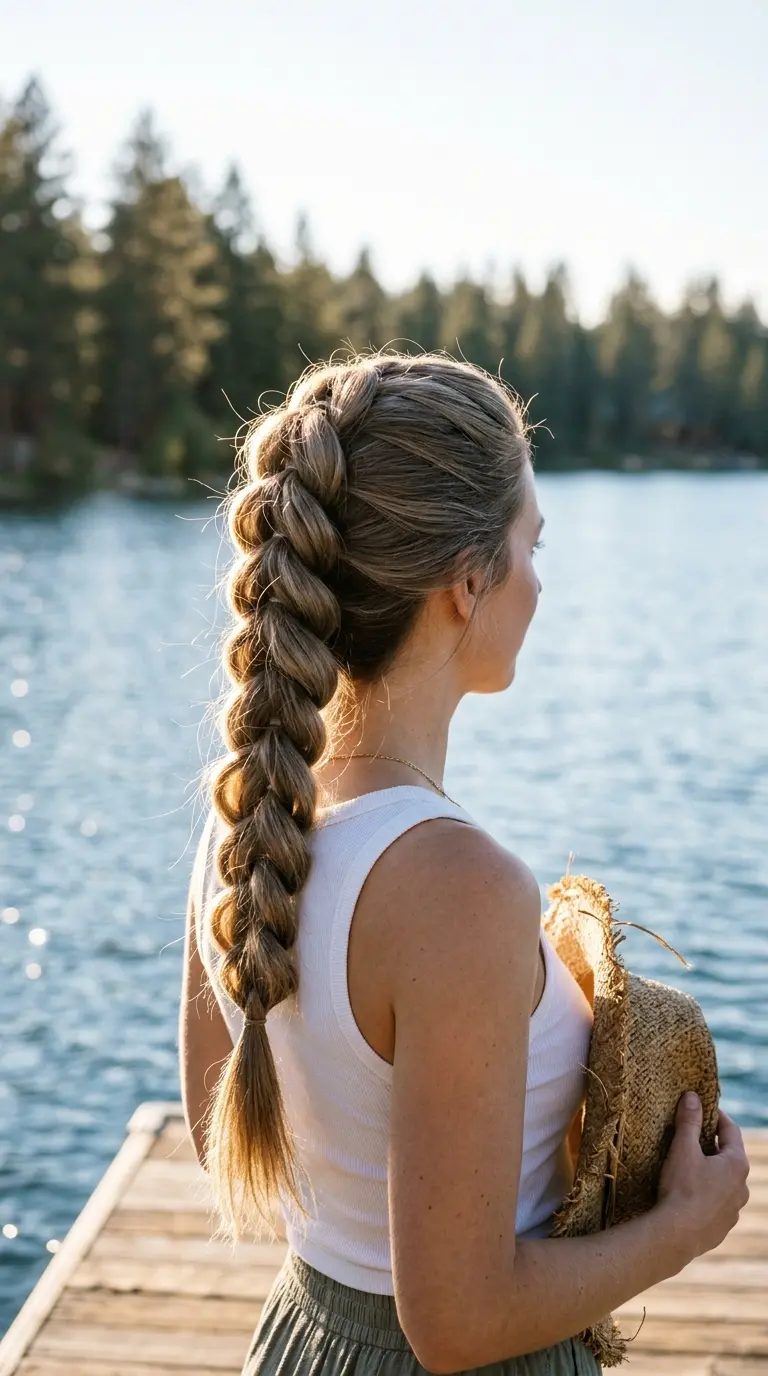
A pull through braid looks like an intricate braid, but it is a stack of small ponytails flipped through each other. It holds long hair firmly all day and does not need a single pin.
- Tie a small ponytail at your crown.
- Tie a second ponytail just below it and split the first ponytail in two around it.
- Bring the two halves of the first ponytail together below the second and tie them.
- Split the second ponytail around this new one and repeat.
- Keep going to the ends and finish with a clear elastic.
- Pull the edges of each loop outward to make the braid wider.
Quick tip: use clear elastics that match your hair. They disappear inside the loops, so the braid looks woven instead of tied.
11. Dutch Crown Braid
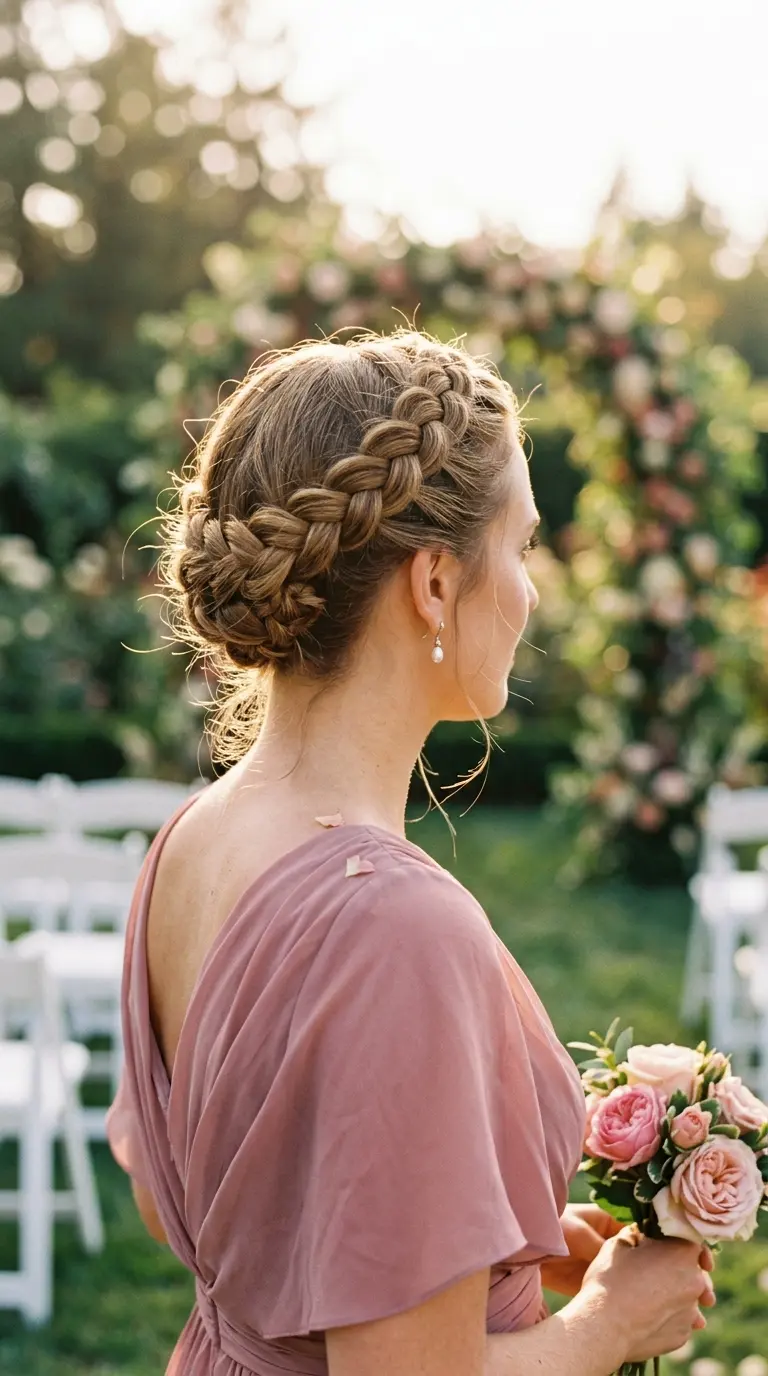
A crown braid uses all your length to circle your head. Long hair works best here, because there is enough hair to go all the way around, and every inch of your ends ends up tucked and protected.
- Start Dutch braiding just behind one ear, crossing each outer strand under the middle.
- Braid along your hairline toward the back of your head, adding hair from the outside only.
- Keep braiding around the back of your head and up the other side.
- When all your hair is in the braid, finish as a regular three strand braid.
- Wrap the leftover braid along the path of the crown and pin it underneath.
- Pull at the outer loops to make the crown fuller.
Quick tip: tilt your head toward the side you are braiding. It keeps the braid running in a level circle instead of sliding down at the back.
12. Fishtail Side Braid
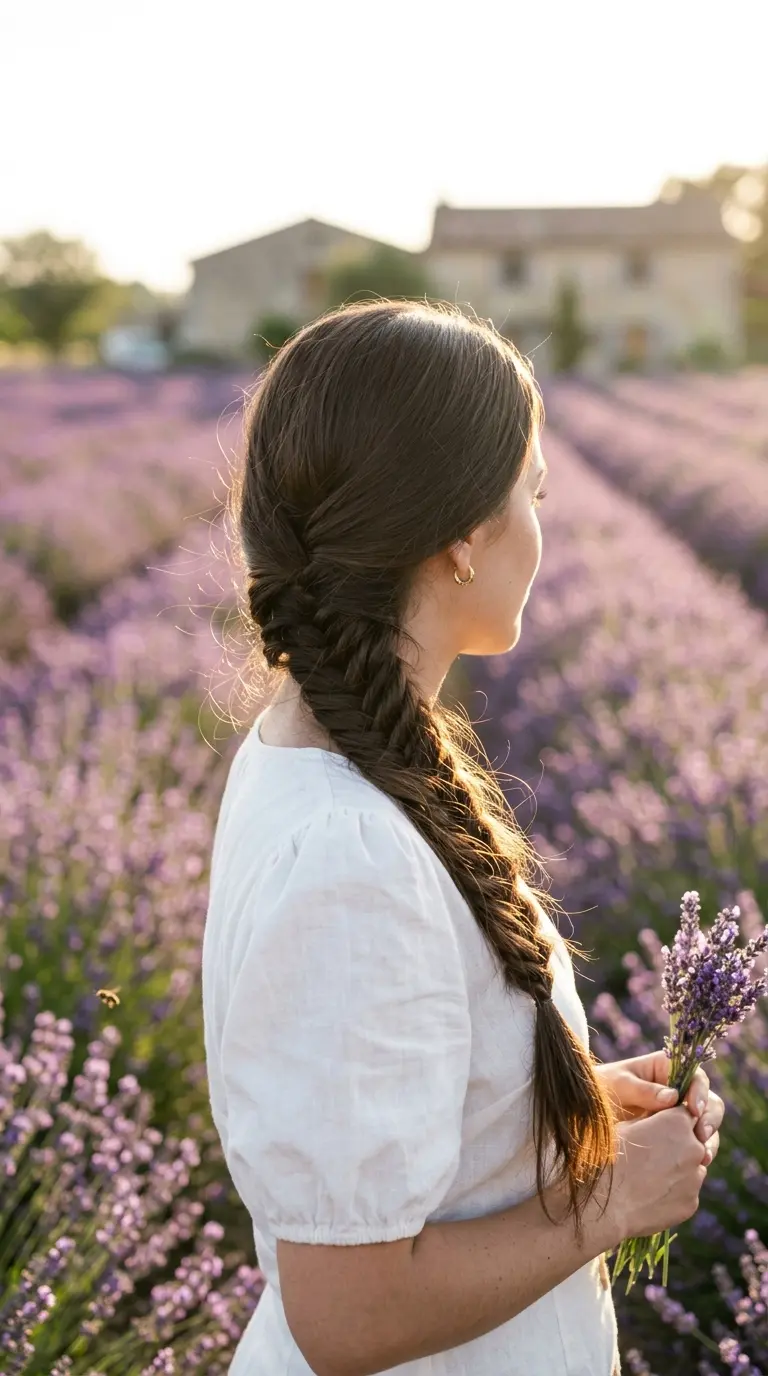
A fishtail braid uses only two sections and lots of tiny crossings, which shows off the full length of long hair. Worn over one shoulder, it looks soft and keeps your ends away from your back and seat belts.
- Brush your hair over one shoulder and split it into two equal halves.
- Take a thin piece from the outside of the left half and cross it over to the right half.
- Take a thin piece from the outside of the right half and cross it over to the left half.
- Keep alternating until you reach the ends.
- Tie with a silk scrunchie.
- Pull gently at the edges to loosen the braid.
Quick tip: take very thin pieces each time. The thinner the pieces, the more detailed the fishtail looks.
13. Low Braided Bun
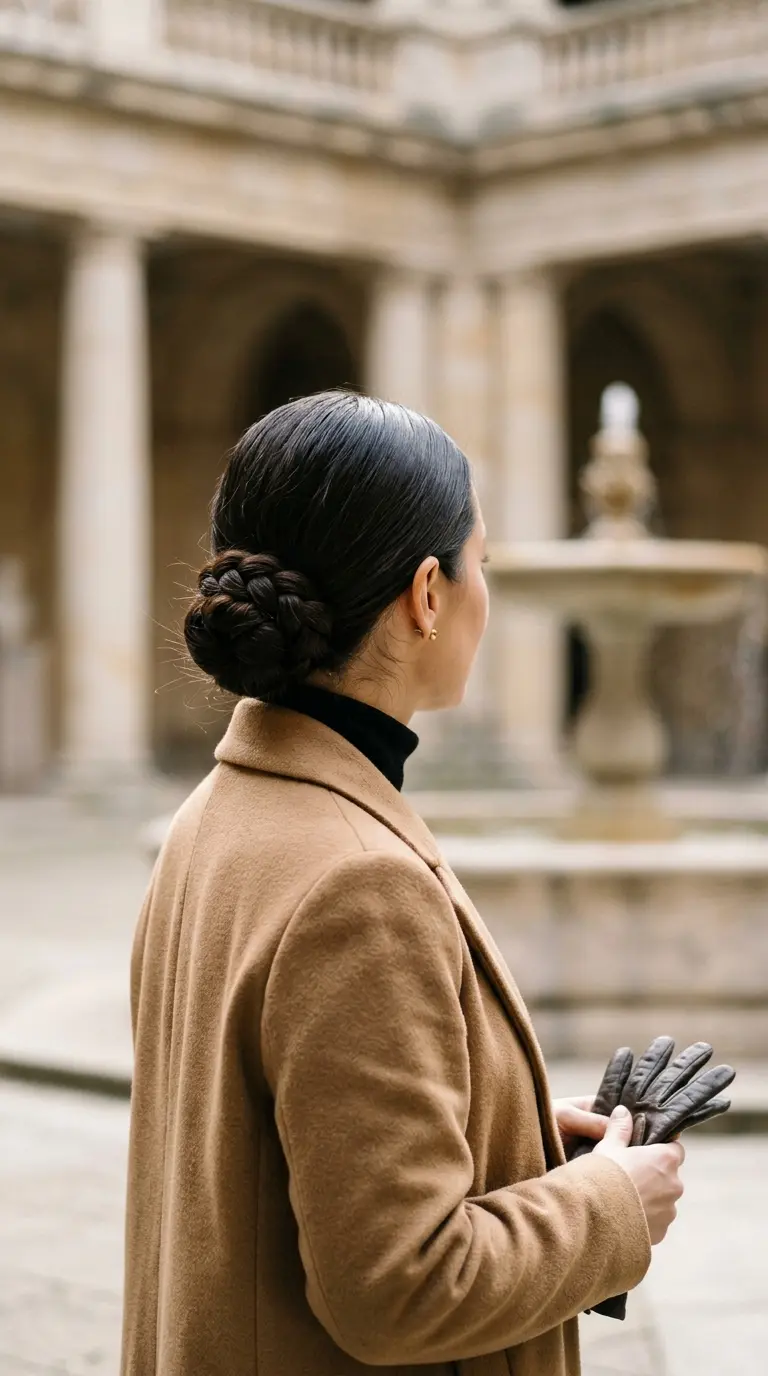
A braided bun is one of the best protective styles for long hair. The braid keeps the strands together, and coiling it hides the ends deep inside the bun where nothing can rub them.
- Brush your hair back into a low ponytail at the nape.
- Braid the ponytail all the way to the ends and tie it with a small elastic.
- Coil the braid around the base of the ponytail.
- Tuck the end of the braid under the coil.
- Pin the bun with four to six bobby pins pushed in toward the center.
Quick tip: tie the ponytail with a silk scrunchie instead of a tight elastic. It holds the bun without leaving a dent or breaking hair at the base.
| The Look You Want | Styles to Try | Why It Works |
|---|---|---|
| Beach waves | Overnight braid waves, twisted double bun waves, headband tuck waves | Braids and twists bend the hair in a loose zigzag |
| Bouncy curls | Robe belt curls, sock bun curls, scrunchie wrap curls | Wrapping around a round tool gives a smooth curve |
| Defined spirals | Flexi rod spirals, classic pin curls | Small sections set tightly hold the most shape |
| Polished for work | Claw clip French twist, low braided bun, low chignon | The ends stay tucked and away from collars |
| Active days | Pull through braid, Dutch crown braid, bubble ponytail | Sections are held at many points, so nothing tangles |
14. Knotted Half Up
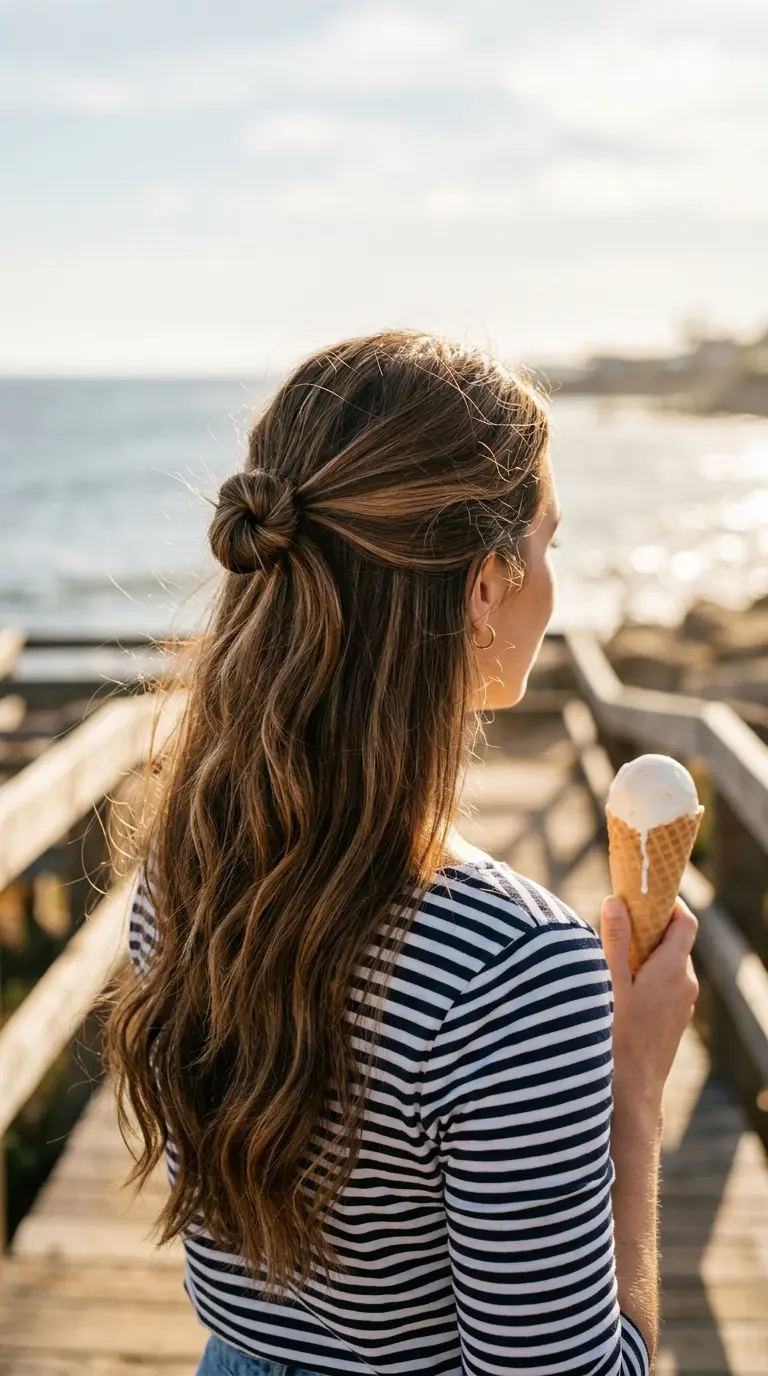
A knotted half up looks styled with nothing but your own hair. The knot keeps strands off your face, and it works well with second day waves from any of the curl sets above.
- Take a two inch section from above each temple.
- Bring both sections to the back of your head.
- Tie them in a single knot, like the first step of tying shoelaces.
- Hold the knot with a small clear elastic or two crossed bobby pins underneath.
- Let the ends of the knotted sections fall into the rest of your hair.
Quick tip: tie a second knot below the first for a longer, more decorative look. Long hair has enough length for two or even three knots.
15. Bubble Ponytail

A bubble ponytail shows off every inch of long hair. Each section is held separately, so the tail does not tangle the way a loose ponytail does in wind or on a busy day.
- Tie a high or mid ponytail with a silk scrunchie.
- Place a soft elastic or tie a ribbon three inches below the first tie.
- Pull gently at the hair between the two ties to make a rounded bubble.
- Add another tie three inches lower and pull that section out too.
- Keep going until you are two inches from the ends.
- Mist with flexible hairspray.
Quick tip: space the bubbles evenly. Mark the spots with your fingers before you tie, and long hair will end up with matching bubbles all the way down.
16. Rope Twist Ponytail
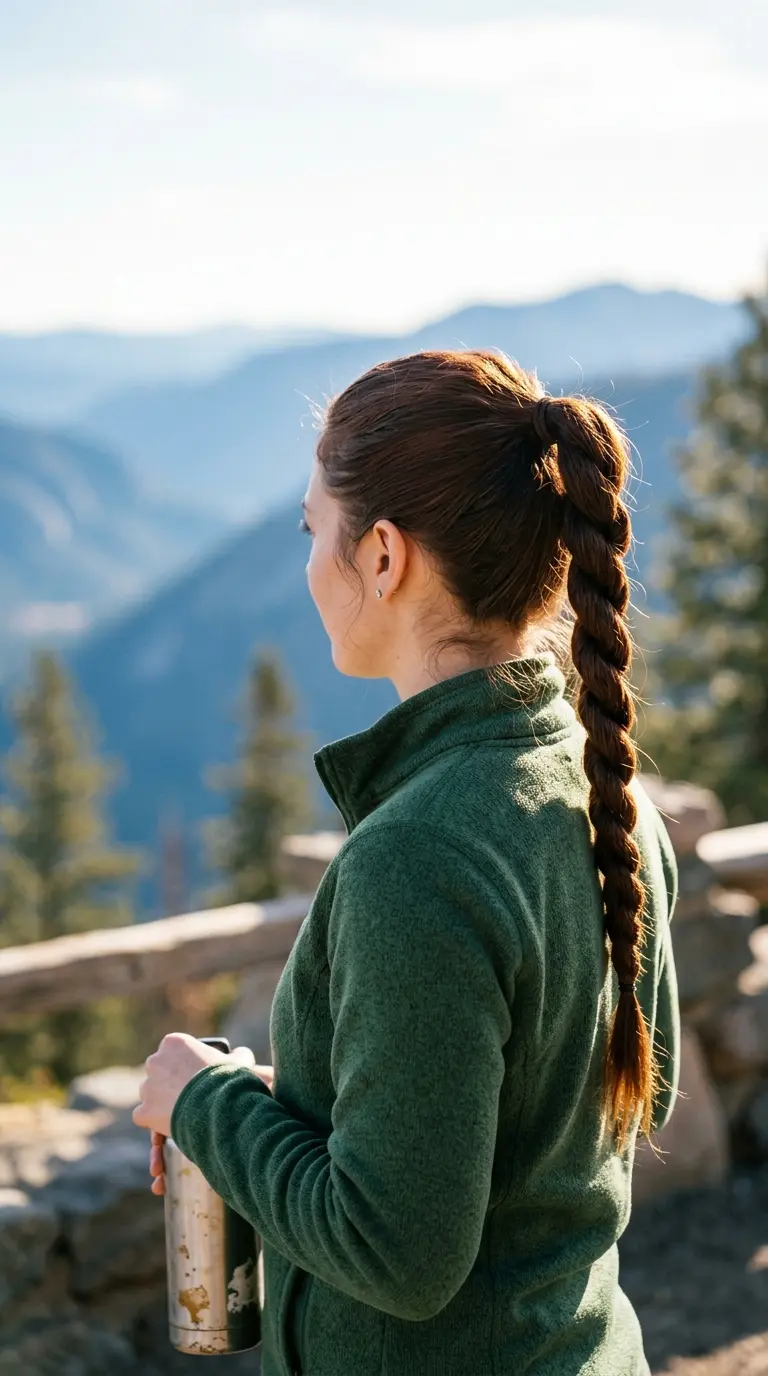
A rope twist is faster than a braid and looks just as neat. Two strands twisted against each other form a thick cord that keeps long hair from blowing around and tangling.
- Tie a high ponytail.
- Split the ponytail into two equal strands.
- Twist each strand tightly to the right.
- Wrap the two strands around each other to the left.
- Keep going to the ends and tie with a small elastic.
Quick tip: twist the strands in one direction and wrap them in the other. That opposite tension is what keeps the rope from unwinding.
17. Low Chignon With Pins
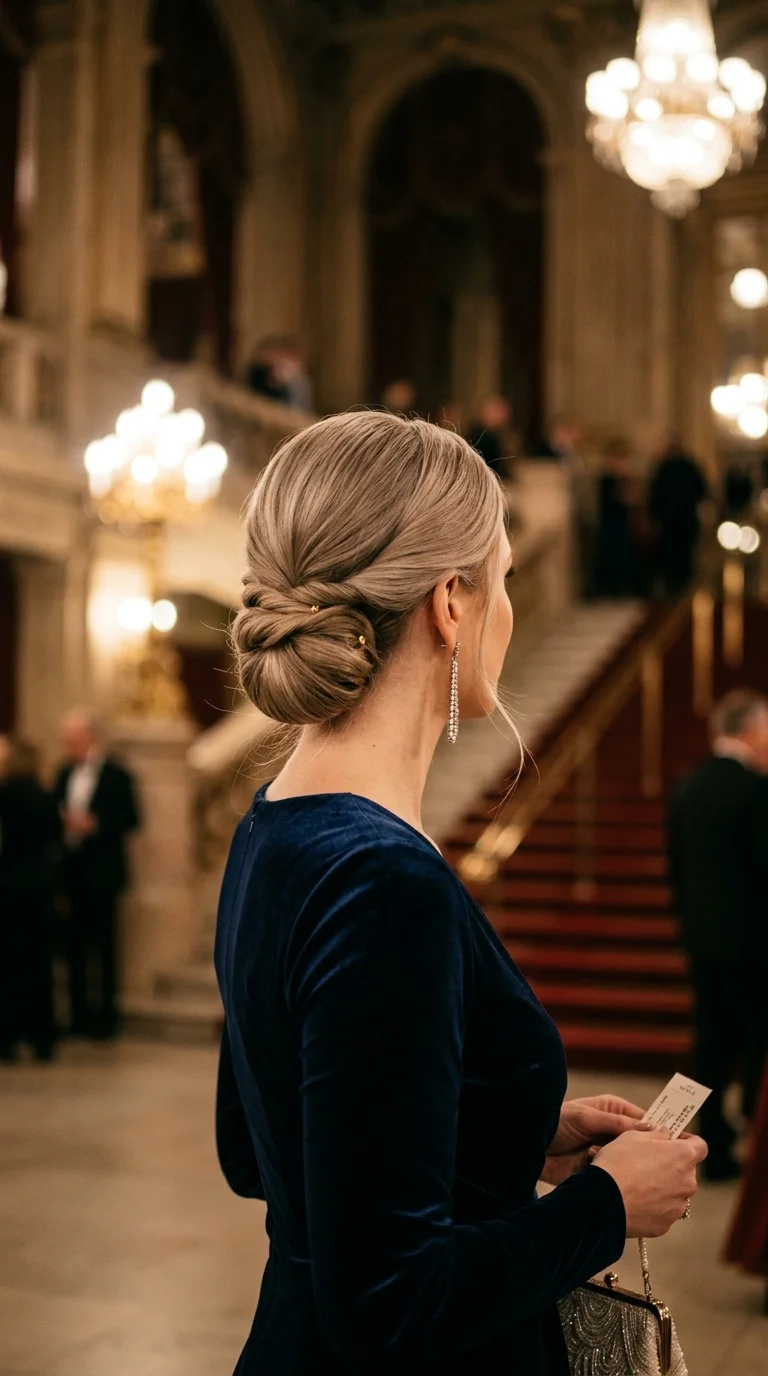
A low chignon is the dressiest heatless style on this list. It needs only hair pins and your own length, and it holds long hair securely through a full evening.
- Brush your hair back to the nape with a soft brush.
- Twist all your hair into one tight rope.
- Coil the rope into a round, flat bun at the nape.
- Push long U shaped hair pins in through the edges of the bun toward the center.
- Tuck any loose ends under and add a final pin.
Quick tip: use U shaped hair pins instead of bobby pins. They grip the coil without pinching, and long hair stays up for hours with fewer pins.
18. Scarf Wrapped Braid
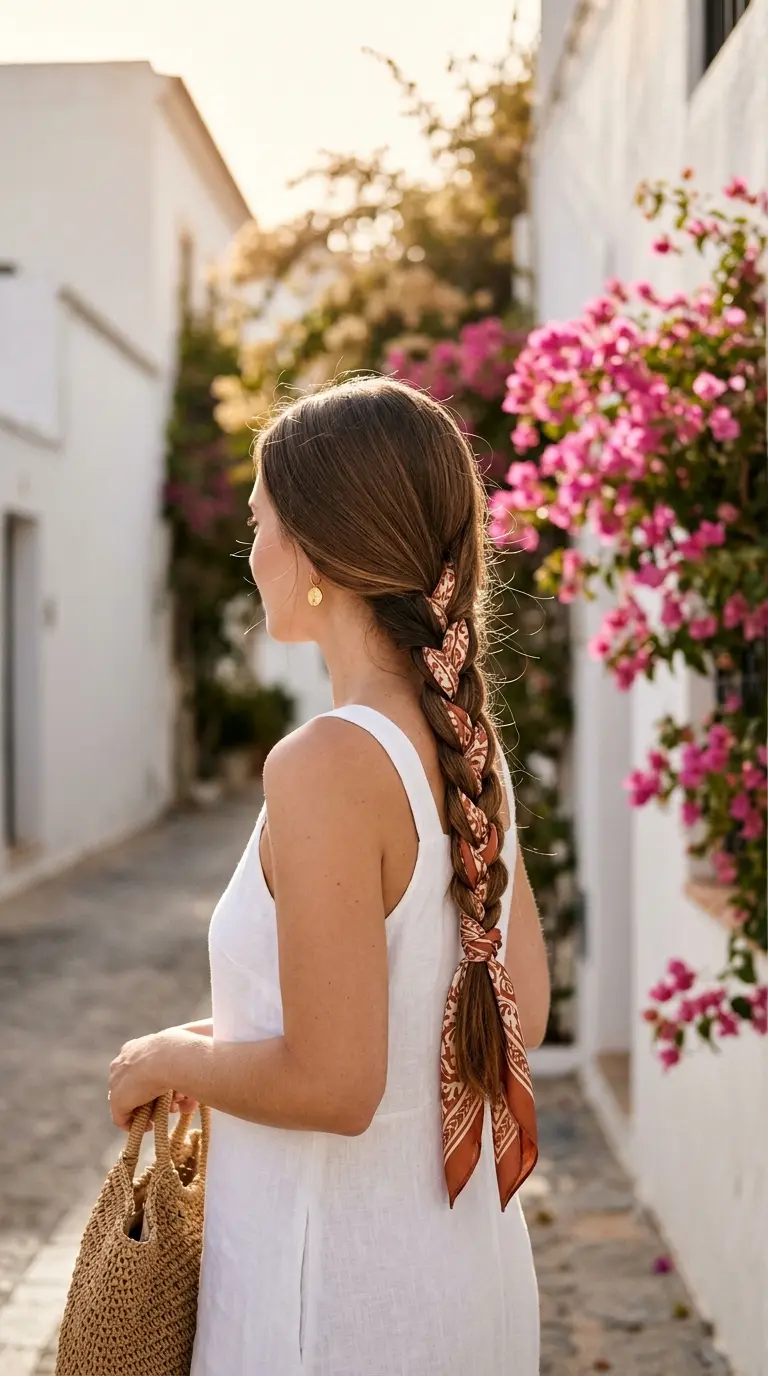
Weaving a silk scarf into a braid adds color, and the silk sits between your hair and anything it rubs against. It is pretty for a day out and practical when you want your ends covered.
- Tie a thin silk scarf around the base of a low or mid ponytail.
- Split the ponytail into three sections and let the two scarf ends join the two outer sections.
- Braid as usual, keeping the scarf flat against the hair.
- Braid all the way to the ends.
- Tie the scarf ends around the bottom of the braid in a small bow.
Quick tip: choose a long, thin scarf. It needs to reach the ends of your braid, so measure it against your hair before you start.
Your ends are the oldest part of your hair, and they decide how long it can grow. Set waves while your hair dries, tuck your ends into braids and buns, and use silk instead of tight elastics. Every style here does at least one of those three things.
Styled Hair, Length Intact
Growing long hair is mostly about keeping the length you already have. Heat is one of the fastest ways to lose it, and you do not need it to have waves, curls, or a polished updo.
Start with the overnight braid waves and the robe belt curls. Once those feel easy, try the flexi rods and the Dutch crown braid. Each of these heatless hairstyles for long hair uses damp hair, your own length, and a little patience instead of a hot tool.
Check your ends after a month of skipping heat. Softer tips and fewer splits mean your next trim can be a light dusting instead of a big chop.
Save this list to your hair ideas board so it is ready the next time you reach for the curling iron.