
Long hair can look like a salon visit or like you slept on it, and the difference is rarely the style itself. It is the finish. A ponytail with bumps at the crown and fuzz along the hairline looks rushed. The same ponytail with a smooth surface, a sharp part, and a glossy tail looks like you planned your whole day around it.
That polished, quiet finish is the heart of the clean girl look. No big curls, no heavy accessories, no visible effort. Smooth roots, shiny lengths, neat edges, and clean shapes.
These sleek hairstyles for long hair are built on that finish. Some are five minute ponytails and buns. Others take a blow dryer and a flat iron. Each one comes with steps, how long it takes, and one tip that keeps long hair smooth from the roots to the ends.
Start with the glass hair middle part and the slicked back low bun. Get those two right and every other style on this list gets easier.
Add a flat iron, heat protectant, an edge brush or clean toothbrush, and a few elastics that match your hair color. That covers every style below.
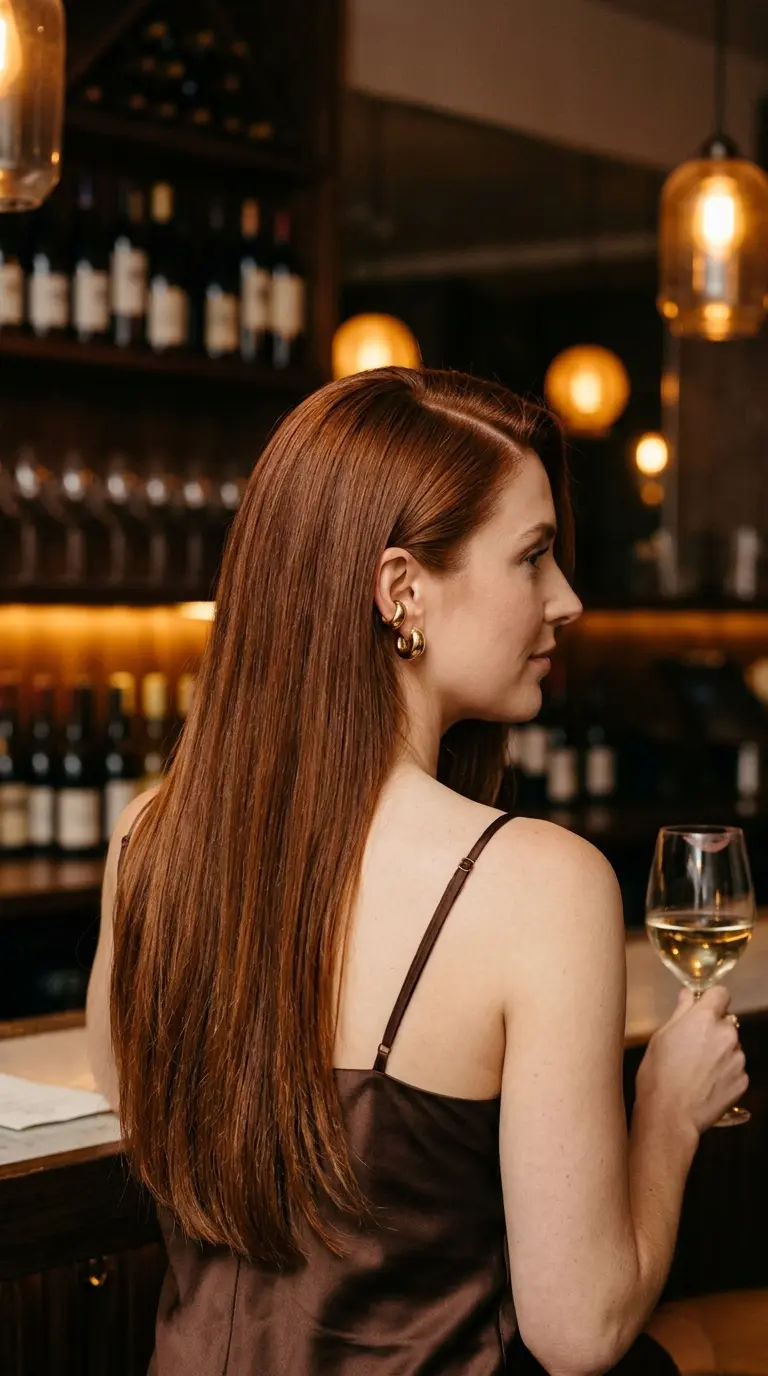
1. Glass Hair Middle Part
This is the base of every sleek look. Hair that reflects light like glass reads as healthy and cared for, and a sharp middle part keeps the whole thing symmetrical and calm.
- Work a pea sized amount of smoothing cream through damp hair from mid length down.
- Rough dry until your hair is about 80 percent dry.
- Split it into four sections and blow dry each one with a paddle brush, pointing the nozzle down the hair shaft.
- Spray heat protectant and pass a flat iron over one inch sections, one slow pass each.
- Use the end of a comb to draw a straight part from the middle of your forehead to the crown.
- Rub two drops of shine serum between your palms and press it over the ends.
Quick tip: always point the dryer nozzle from roots to ends. Air blowing up the hair shaft lifts the cuticle and causes frizz, while air blowing down lays it flat so it shines.
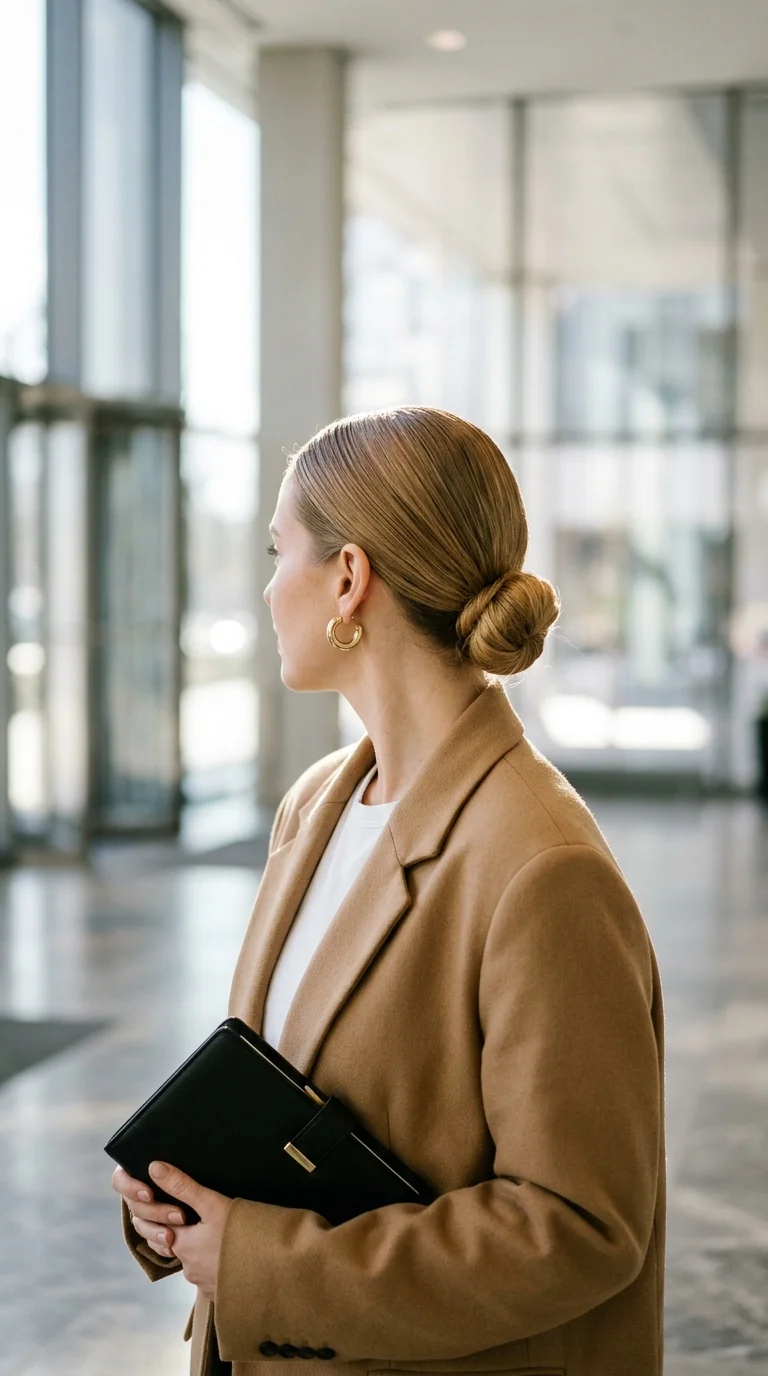
2. Slicked Back Low Bun
The low bun is the signature clean girl style for a reason. It works on second day hair, it hides a missed wash, and it looks intentional in any room.
- Mist your hair with water until the roots are damp.
- Work a coin sized amount of styling gel through the roots and the hairline.
- Brush everything straight back with a boar bristle brush toward the nape.
- Tie a tight low ponytail with an elastic that matches your hair.
- Twist the ponytail until it coils, then wrap it around the elastic.
- Pin the bun with four U pins pushed in toward the center of the bun.
Quick tip: brush the hair into place first and tie it while the gel is still wet. Gel that dries before you tie it leaves lines and bumps you cannot brush out.
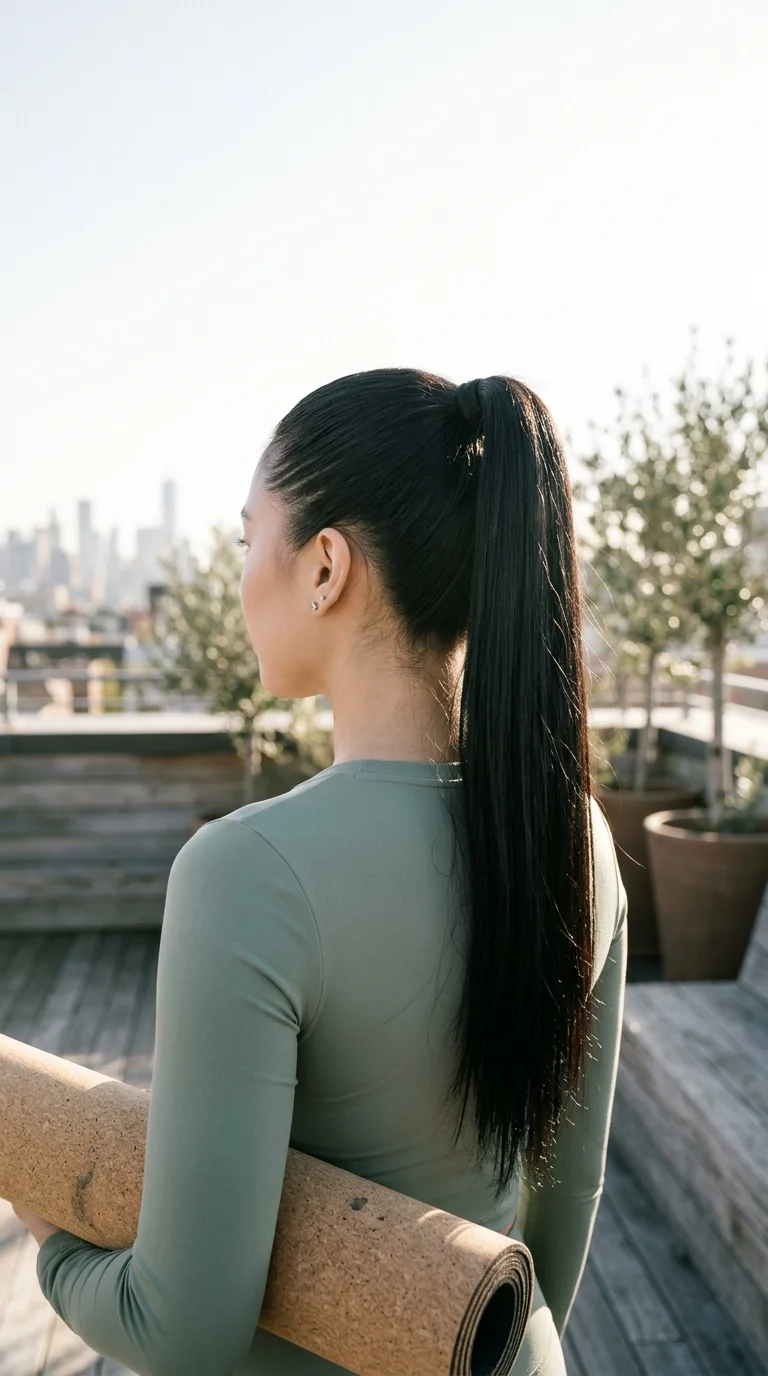
3. Sleek High Ponytail
A high ponytail lifts your whole face. The trick is a surface with no bumps, which takes a little more work at the back than at the front.
- Flip your head forward and brush all your hair toward the crown.
- Flip back up and smooth the sides upward with your palms.
- Gather the ponytail at the top of your head, roughly in line with your cheekbones.
- Tie it with a strong elastic and pull both halves of the tail apart to tighten it.
- Smooth any bumps with an edge brush and a touch of gel.
- Run a flat iron down the tail once for extra shine.
Quick tip: brush the back of your head while your head is upside down. That is the only way to get the nape smooth without a ridge where the hair turns upward.
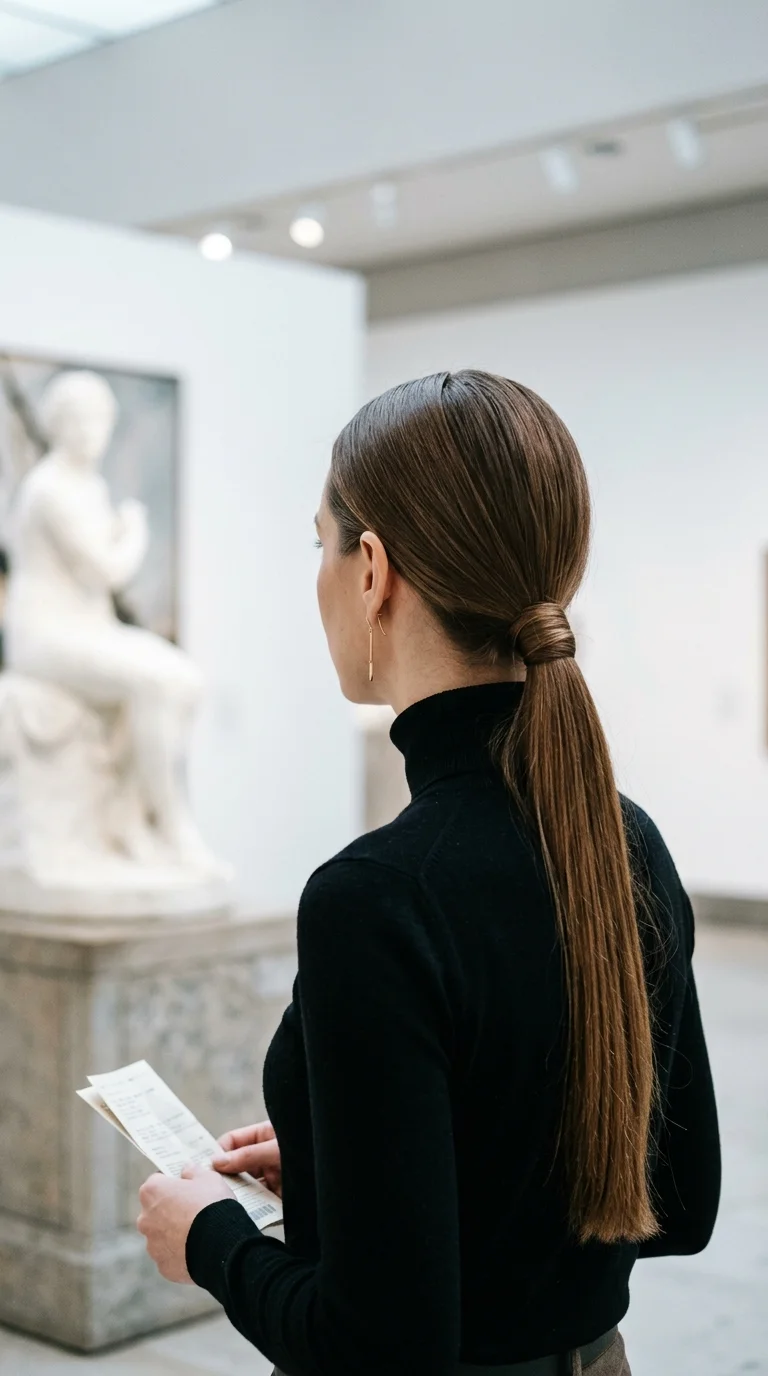
4. Wrapped Low Ponytail
Hiding the elastic is the small detail that makes a plain ponytail look expensive. Nobody sees what holds it, so the eye goes straight to the shine.
- Draw a sharp middle part and smooth the sides behind your ears with a little gel.
- Tie a low ponytail at the nape.
- Take a half inch strand from the underside of the ponytail.
- Wrap it around the elastic three or four times, keeping it flat.
- Pin the end of the strand underneath with a bobby pin pushed upward into the base.
- Smooth the tail with a flat iron and a drop of serum.
Quick tip: spray the wrap strand with a little hairspray before you wrap it. It stays flat and does not separate into loose pieces.
Long hair air dried and pulled into a low ponytail with fingers. There is a bump at the crown, frizz along the part, a bright scrunchie in plain view, and the tail splits into dull pieces.
The same hair with a combed middle part, gel brushed into the roots, an elastic hidden under a wrapped strand, and one flat iron pass down the tail. The surface is smooth and the tail swings as one glossy piece.
5. Tucked Sleek Side Part

A deep side part with one side tucked shows off earrings and looks dressier than a middle part with zero extra effort.
- Start with straightened or blown out hair.
- Use a comb to draw a part above the arch of one eyebrow.
- Smooth the light side flat with a drop of gel and tuck it firmly behind your ear.
- Slide a bobby pin behind the ear to hold the tuck if your hair is slippery.
- Brush the heavy side over and let it fall smooth down your back.
Quick tip: pin the tucked side in an X shape behind your ear. Two crossed pins hold long, heavy hair much better than one.
6. Sleek Half Up Top Knot
The half up knot keeps hair off your face while the lengths stay down and on display. Keep the knot small and tight so it looks polished.
- Use your thumbs to section the top half of your hair from the temples to the crown.
- Brush the section back and smooth it with a little cream or gel.
- Tie it at the crown with a small elastic.
- Twist the ponytail tightly and wrap it around the elastic.
- Secure the knot with two bobby pins.
- Flat iron the lower half once so it matches the smooth top.
Quick tip: keep the section no wider than your temples. A wide section pulls the knot down toward the back of your head and the shape loses its lift.
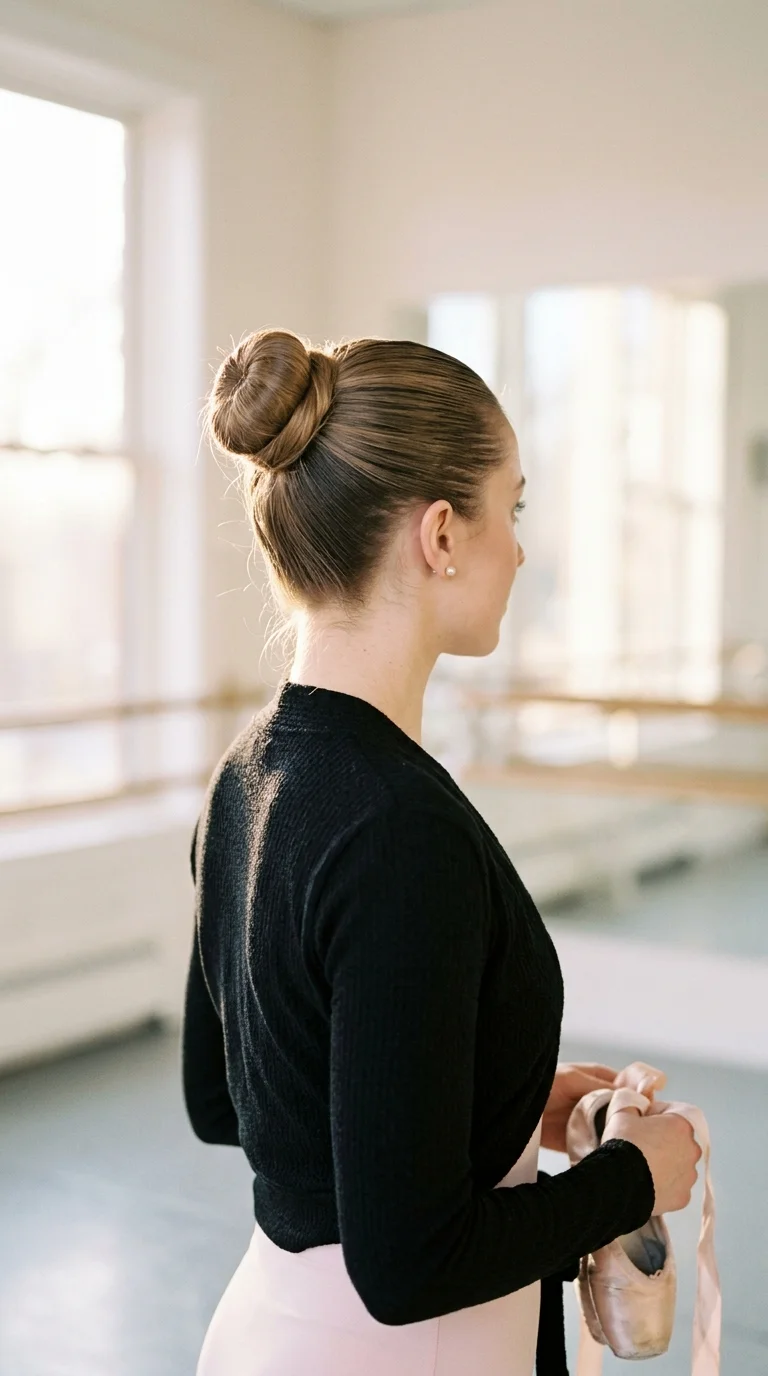
7. Sleek Ballerina Bun
This round bun sits higher than the low bun and looks neat from every angle. Long hair is an advantage here because the extra length makes a fuller coil.
- Smooth gel through your roots and brush your hair into a ponytail high on the back of your head.
- Tie it tightly with a strong elastic.
- Twist the ponytail in one direction until it starts to coil on itself.
- Wrap the twist around the elastic in a flat, even circle.
- Pin around the outside edge with U pins every inch or so.
- Cover the bun with a hairnet that matches your hair if you will be moving a lot.
Quick tip: wrap the twist in the same direction you twisted it. Wrapping against the twist makes it unravel and the bun loses its round shape.
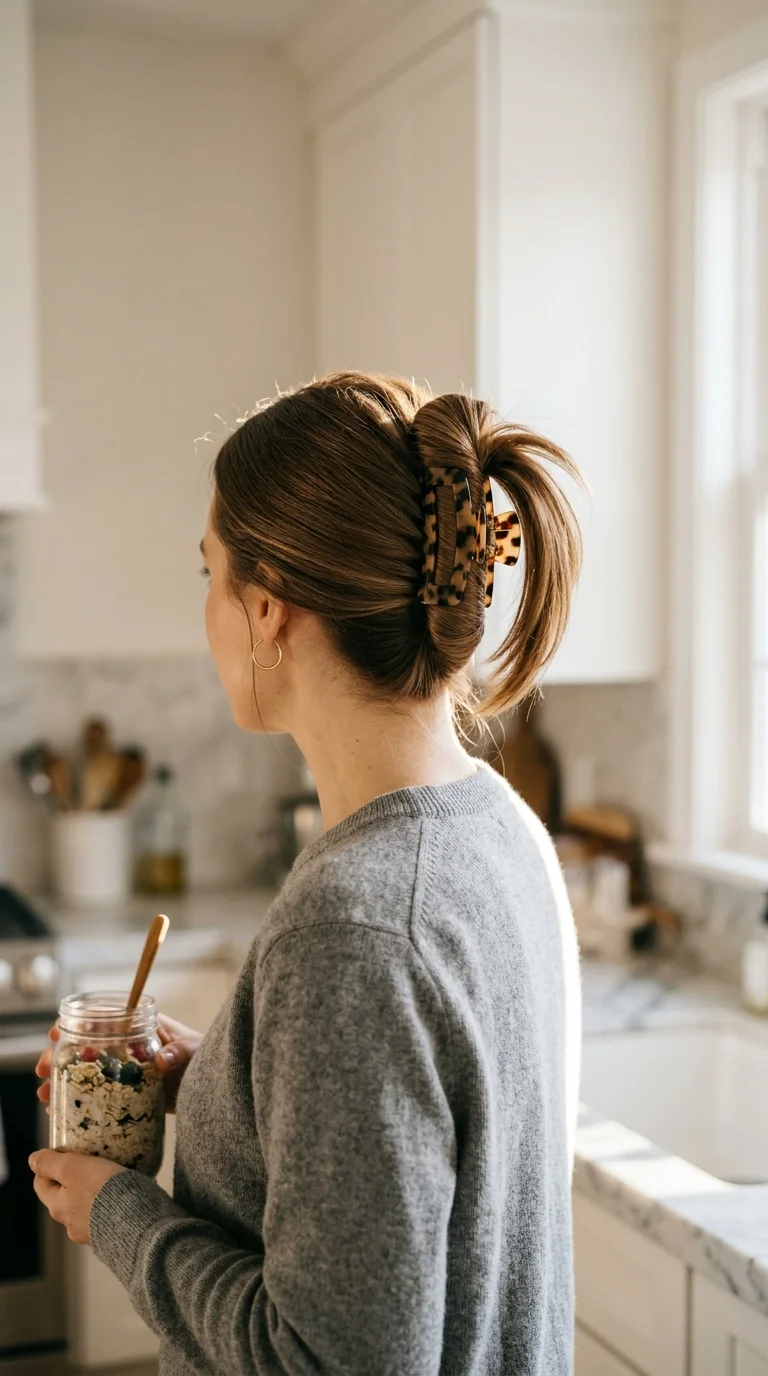
8. Slick Claw Clip Twist
The claw clip twist is a five minute style that looks put together, as long as the base is smooth. A slick front turns a casual clip into something you can wear to work.
- Brush your hair straight back and smooth the hairline with a little gel.
- Gather all your hair at the nape as if making a low ponytail.
- Twist it upward tightly against the back of your head.
- Fold the ends down over the top of the twist.
- Slide a medium claw clip over the twist with the teeth facing down.
Quick tip: choose a claw clip with long teeth that curve inward. Long hair is heavy, and short flat teeth let the twist slide down by lunchtime.
Use a smoothing shampoo and a rich conditioner on the lengths. Frizz starts in the shower, long before you pick up a brush.
Blot with a microfiber towel or an old cotton tee. Rubbing with a regular towel roughs up the surface of the hair.
Put smoothing cream on damp hair and heat protectant on before every pass of hot tools.
Sleep on a silk or satin pillowcase. Your blowout stays smooth for an extra day and the ends tangle less.
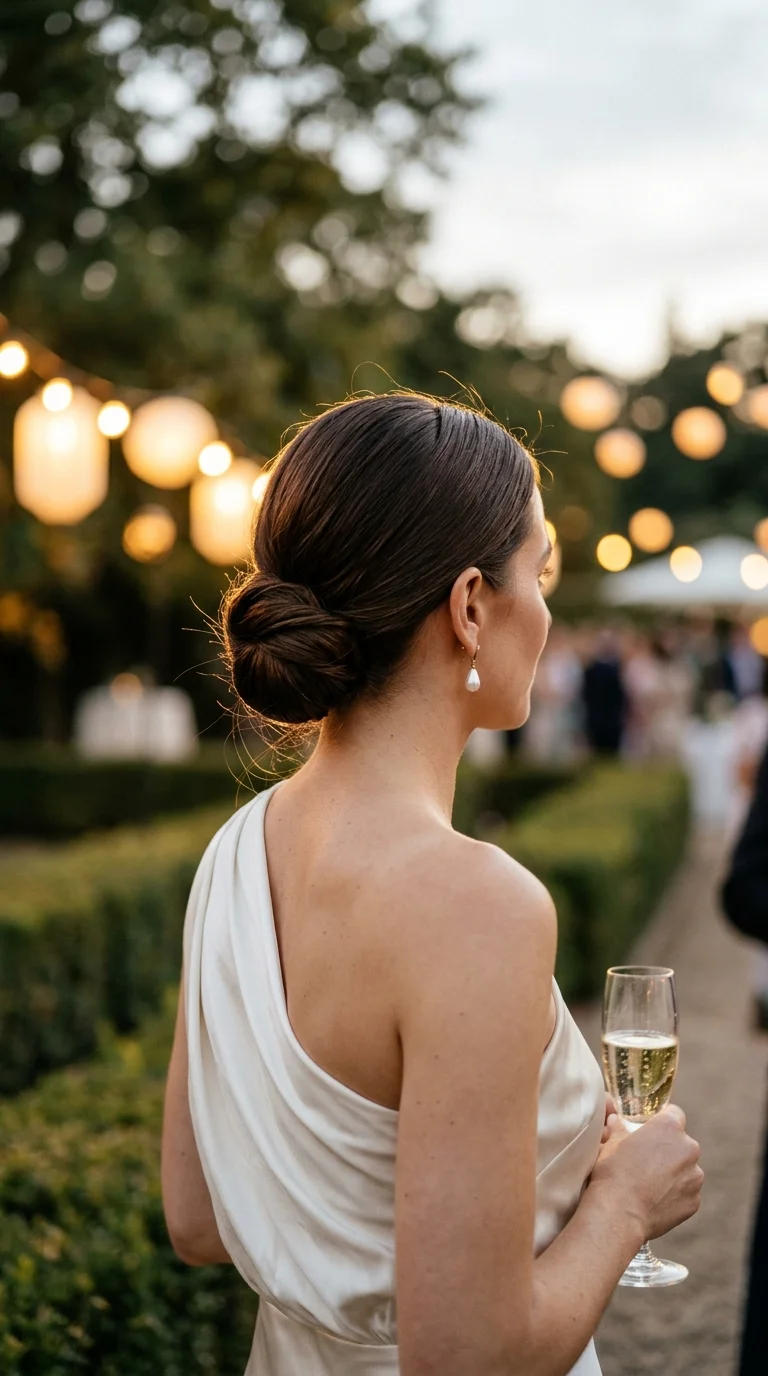
9. Sleek Low Chignon
The low chignon is the dressed up version of the slicked bun. The sides sweep low over the ears, which softens the look and makes it right for weddings and black tie events.
- Draw a sharp middle part and smooth both sides with cream.
- Brush the sides down and back so they curve over the tops of your ears.
- Tie a low ponytail at the nape, keeping the sides loose enough to stay curved.
- Twist the ponytail and fold it up and under itself into a neat roll.
- Pin the roll in place with U pins, tucking the ends inside.
- Mist with a fine hold hairspray and smooth any stray hairs with your palm.
Quick tip: before you pin, flip the ponytail through a small gap above the elastic. That topsy tail turn gives the chignon a smooth twist at the base with no extra pins.
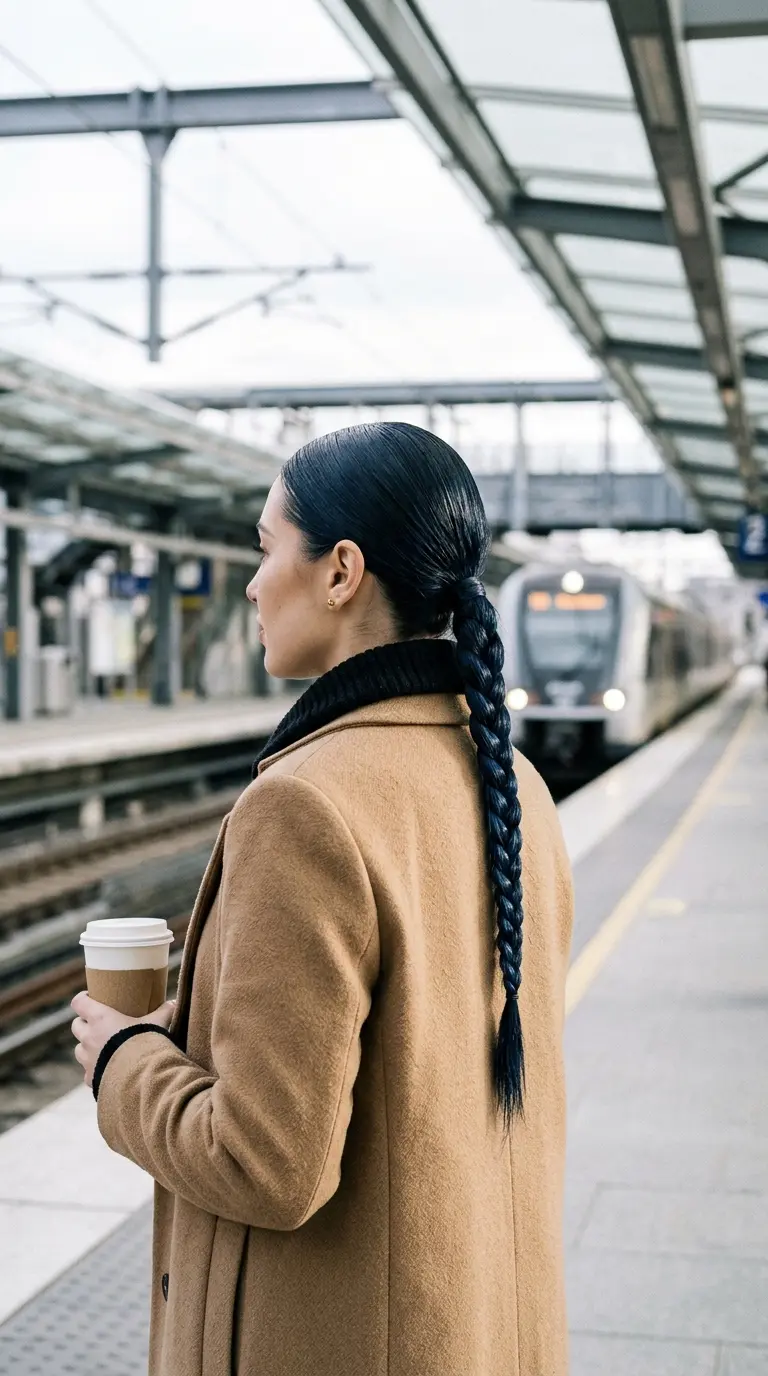
10. Sleek Single Braid
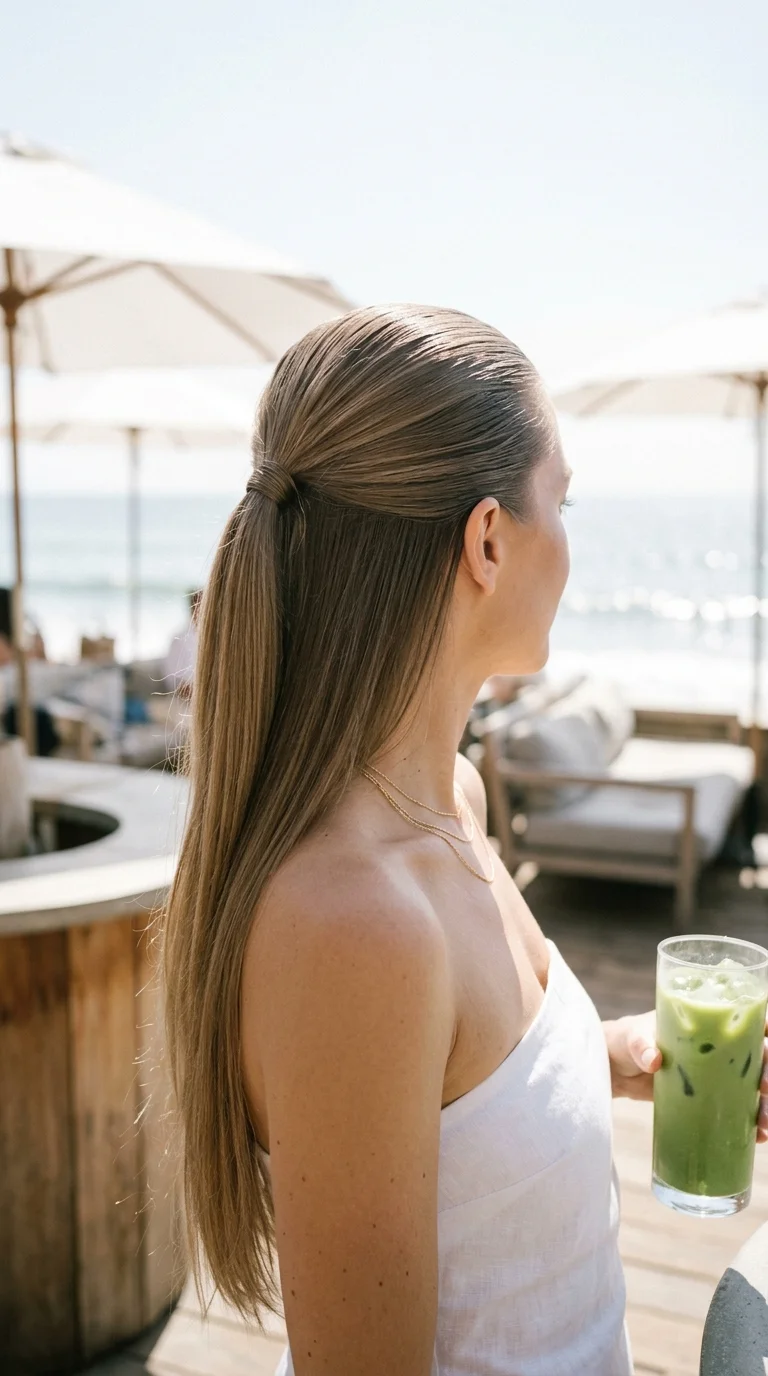
One tight braid down the back looks clean and modern when the roots are slicked flat. Long hair makes the braid long enough to be the focus of the outfit.
- Brush gel through the roots and smooth your hair back into a low ponytail.
- Tie it at the nape with a clear elastic.
- Split the ponytail into three equal strands.
- Braid tightly all the way down, pulling each strand taut as you cross it.
- Tie the end with a small elastic that matches your hair.
- Snip the clear elastic at the top or leave it hidden under the first cross.
Quick tip: rub a little smoothing cream on your fingers before you braid. It tames the short hairs that poke out along the braid and adds even shine.
11. Slicked Half Up Ponytail

This is the half up version of the slick back. It gives you the clean look at the front while the lengths stay loose and swing as you walk.
- Section the top half of your hair from above the ears to the crown.
- Brush gel through the section and smooth it straight back.
- Tie it at the back of your head with a small elastic.
- Wrap a thin strand around the elastic and pin it underneath.
- Flat iron the lower half and the small tail so they blend.
Quick tip: tie the small ponytail at the level of your eyebrows. Higher looks sporty, lower blends into the loose hair and looks like a mistake.
12. Sleek Ponytail With Face Framing Pieces

Two pieces left out at the front soften a tight ponytail. The rest stays sleek, so the look reads as relaxed and polished at the same time.
- Separate one thin piece at each side of your middle part, about the width of a pencil.
- Clip them out of the way.
- Brush the rest of your hair into a smooth mid ponytail and tie it.
- Release the front pieces and spray them with heat protectant.
- Clamp each one with a flat iron at cheekbone level and bend it away from your face.
- Smooth them with a drop of serum so they stay separate and glossy.
Quick tip: take less hair than you think. Two thin pieces look intentional, while thick chunks look like the ponytail fell out.
| Occasion | Styles to Try | Why It Works |
|---|---|---|
| Office days | Wrapped low ponytail, slick claw clip twist, slicked back low bun | Neat, quiet shapes that last through long meetings |
| Workouts and errands | Sleek high ponytail, sleek ballerina bun, sleek single braid | Tight bases that hold all day and keep hair off the neck |
| Dinner and dates | Tucked sleek side part, glass hair middle part, sleek blowout with bent ends | Hair worn down shows off length and shine |
| Weddings and events | Sleek low chignon, knotted low ponytail, sleek side swept low ponytail | Elegant shapes that look good in photos from every angle |
| Second or third day hair | Wet look slick back, slicked half up ponytail, sleek half up top knot | Gel at the roots hides oil and makes it look on purpose |
13. Knotted Low Ponytail
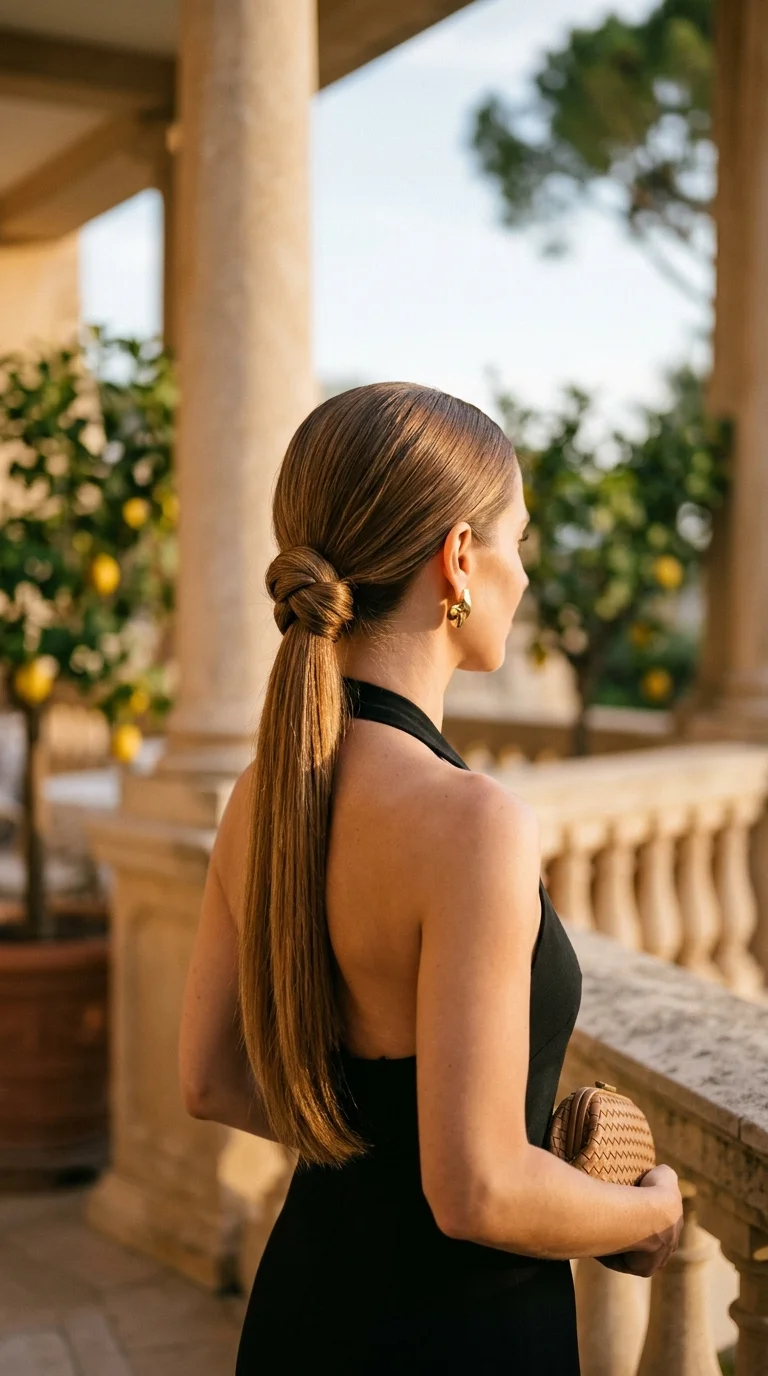
Tying your hair in a knot with itself replaces the elastic with something that looks designed. Long hair is needed here, and it rewards you with a style that photographs beautifully.
- Brush your hair smooth and gather it at the nape.
- Split it into two equal halves.
- Tie the two halves together in a loose single knot, like the first step of tying shoelaces.
- Pull the knot snug against the nape.
- Tie a clear elastic under the knot to hold it.
- Slide two bobby pins up through the knot into the base for security.
Quick tip: smooth both halves with a little cream before you knot them. Each half then wraps cleanly instead of catching and fuzzing in the middle of the knot.
14. Sleek Blowout With Bent Ends
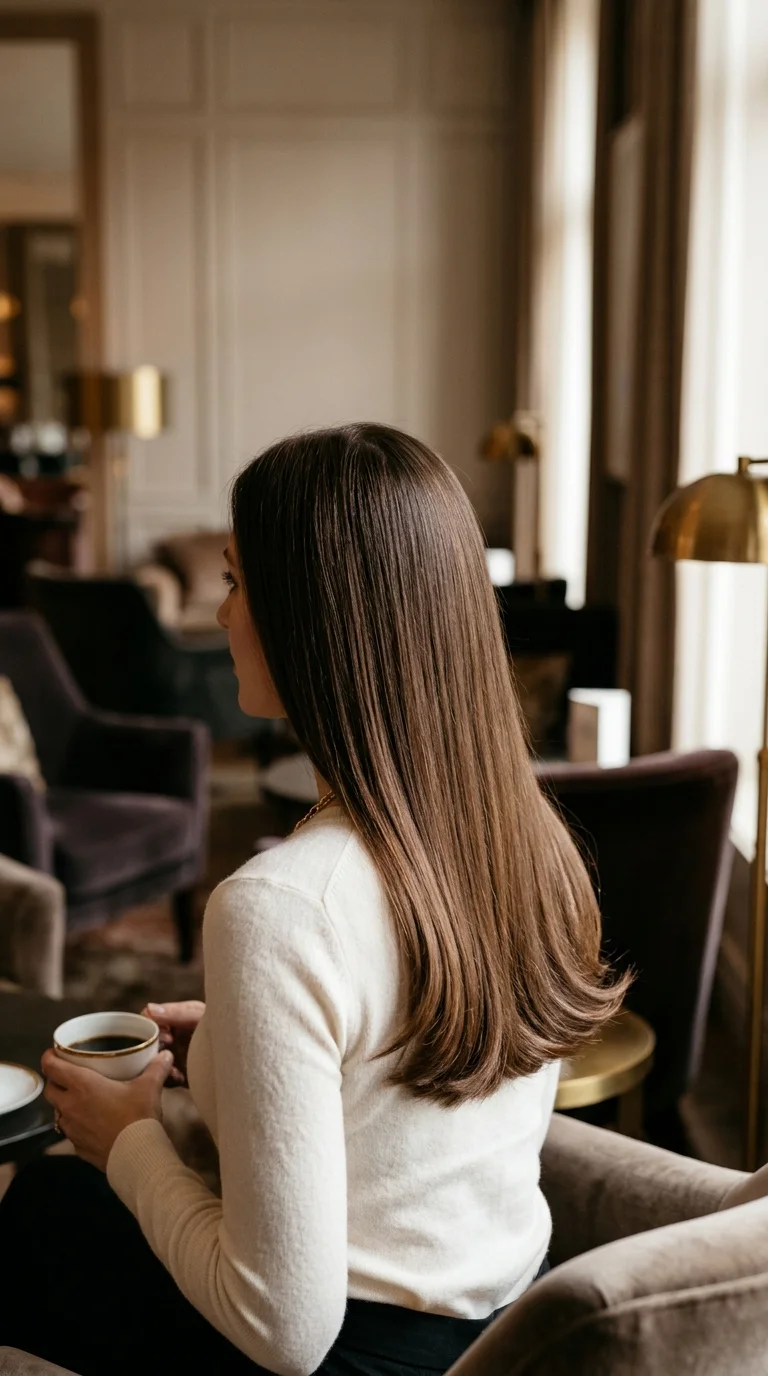
Pin straight hair can look flat and stiff on long lengths. Bending the last few inches under keeps the hair sleek but gives it a softer, richer finish.
- Blow dry your hair smooth using a large round brush.
- At the end of each section, roll the brush under and hold the heat for five seconds.
- Switch to the cool setting and hold for five more seconds.
- Pass a flat iron over the mid lengths to smooth them.
- Turn the iron slightly under at the ends as you slide it off.
- Finish with serum on your palms, smoothed over the outer layer only.
Quick tip: use the cool shot every time. Heat shapes the bend, but cool air locks it in so it is still there tomorrow morning.
15. Wet Look Slick Back
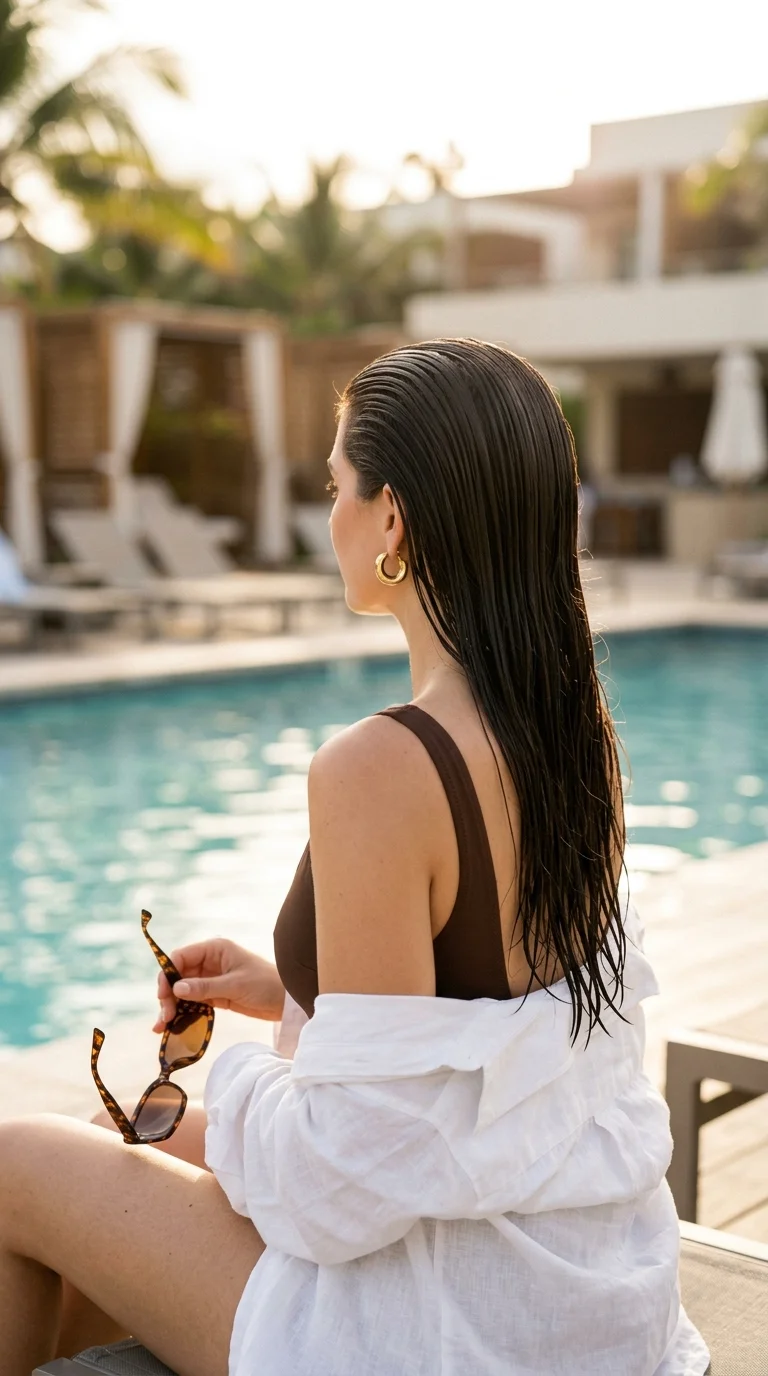
The wet look is the boldest style on this list and one of the easiest. It works on hair that has not been washed in days, because the gel makes everything shine.
- Wet your hair from the roots to the mid lengths with a spray bottle.
- Mix a coin sized amount of gel with a few drops of hair oil in your palm.
- Smooth the mix through your hair from the hairline back.
- Comb it straight back with a wide tooth comb to create even lines.
- Leave the lengths loose down your back and scrunch a little oil into the ends.
- Let it dry without touching it.
Quick tip: mix the oil into the gel before applying. Gel alone dries matte and crunchy, while the oil keeps it glossy all day.
16. Sleek Side Swept Low Ponytail
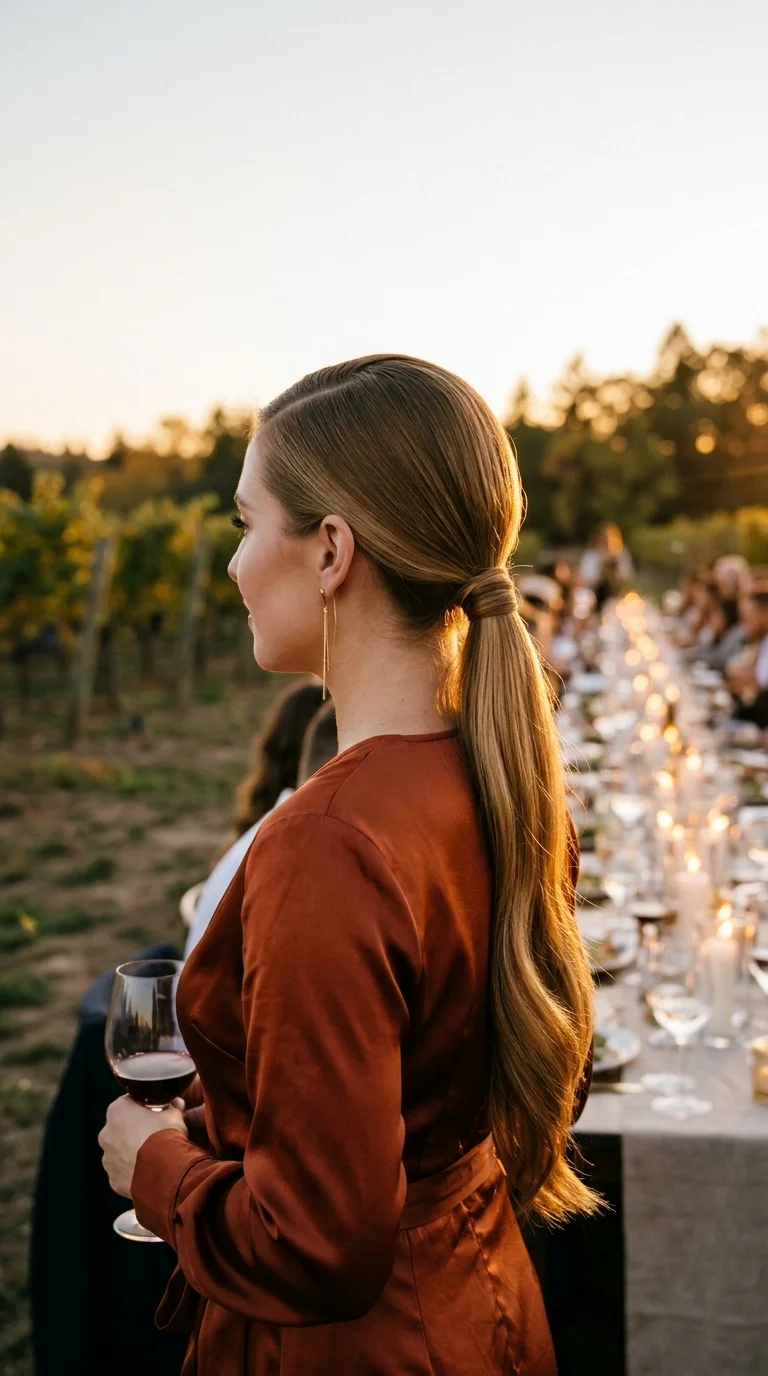
A low ponytail tied to one side and pulled over the shoulder looks romantic without losing the clean finish. It is a strong choice for a wedding guest look when you want something softer than a bun.
- Draw a deep side part on the side where you want the ponytail to fall.
- Brush all your hair smooth toward the opposite side, behind that ear.
- Tie a low ponytail below and behind the ear.
- Wrap a thin strand around the elastic and pin it underneath.
- Flat iron the tail and drape it over your shoulder.
- Mist the back of your head lightly with hairspray to keep it flat.
Quick tip: smooth the back with a brush in a mirror held behind you. The swept section across the back is where gaps show, and you cannot see it from the front.
Sleek is about the surface, not the style. Point the dryer down, brush the roots smooth, hide the elastic, and finish the ends with shine. Do those four things and any ponytail, bun, or blowout looks expensive.
Polished Hair, Every Day
Sleek long hair does not take a salon or a full hour. It takes smooth roots, a clean part, hidden hardware, and a little shine at the ends. Those details are what people notice, even if they cannot name them.
Start with the glass hair middle part and the slicked back low bun. Once they feel easy, try the knotted low ponytail and the low chignon for events. Every one of these sleek hairstyles for long hair uses the same few moves, so each one you learn makes the next one faster.
Check your hair in a hand mirror from the back after each try. Bumps and frizz show most from behind.
Save this list to your hair ideas board so it is ready the next time you want your hair to look expensive.