
By hour three of a long flight, the ponytail you made at 5 a.m. has slid halfway down your head. There is a dent where the headrest pushed it, and the front looks flat in a way no brush can fix.
Most advice on airport travel day hairstyles stops at ‘just tie it up.’ That skips what actually happens to hair on a travel day. You lean against a seat for hours, sleep with your head tilted, pull a hoodie on and off, and sit in dry cabin air.
The fix is not a fancier style. It is a style built for the seat, with low placement, flat knots, soft elastics, and braids that can handle pressure without turning into a tangle.
Below are 15 hairstyles that hold up from the curb to baggage claim. Each one comes with a reason it works and one small detail that keeps it comfortable. Save the ones you want to test before your next trip.
1. Low Twisted Bun Pinned Below the Headrest Line
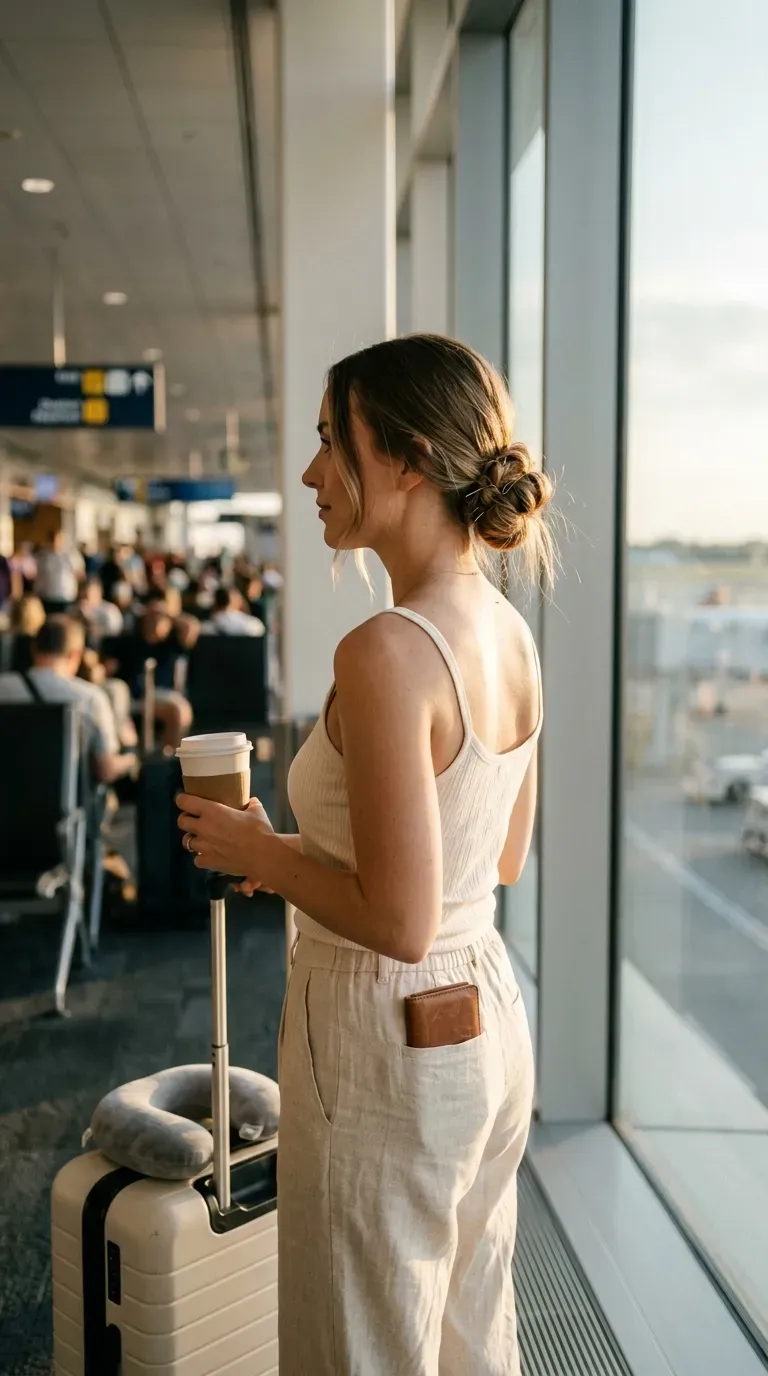
The headrest is the enemy of the high bun. It pushes the knot forward, gives you a headache, and leaves a bump you can see in every landing photo.
Drop the whole thing lower instead:
- Brush your hair into a low ponytail at the nape.
- Twist the tail tightly and wrap it around the base.
- Pin it with two U pins, one on each side.
The knot should sit below the spot where the headrest touches your head, so you can lean back without moving it.
Quick tip: Pull out two thin pieces at the front before you pin, then curl them around a finger for a soft frame when you land.
2. Loose Side Braid Tied With a Soft Scrunchie
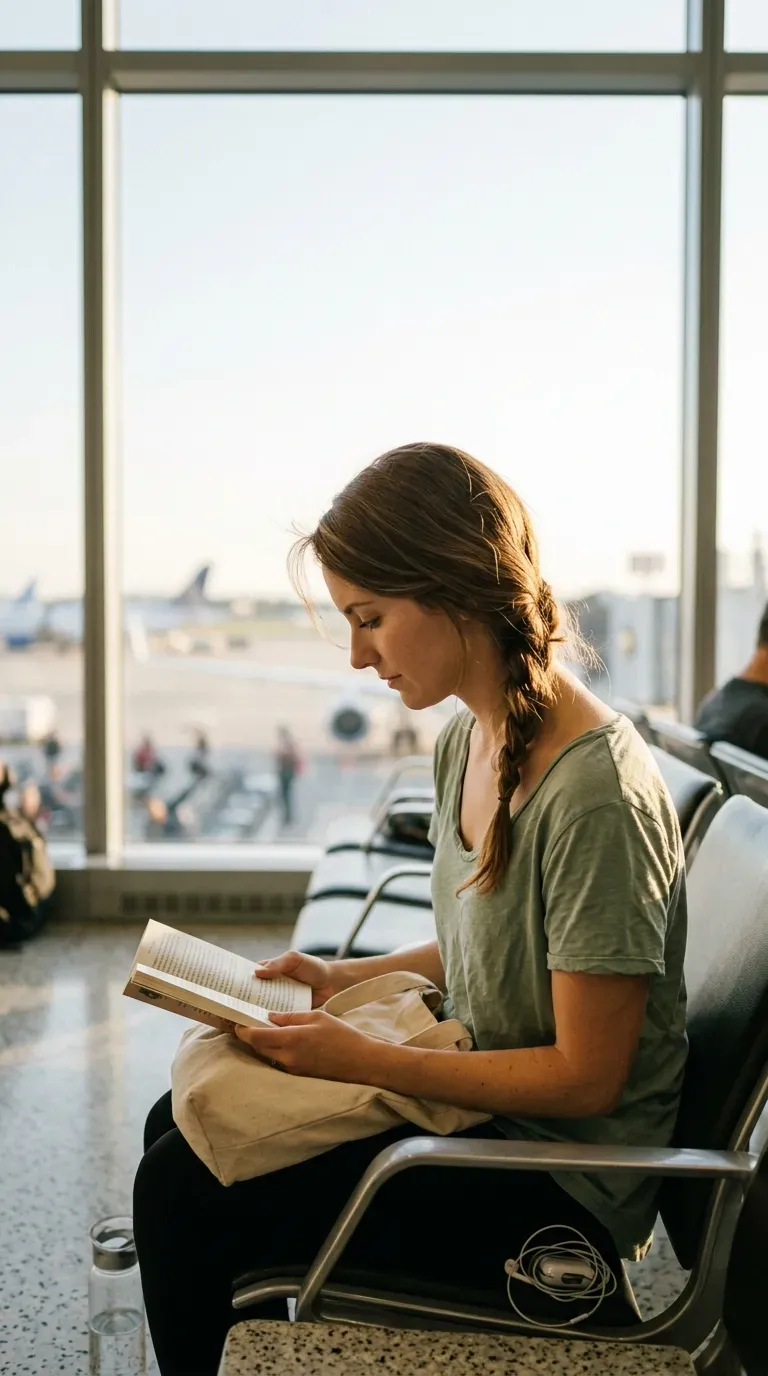
Sleeping on a shoulder is where most braids fail, because a tight braid pulls on the scalp every time you shift. Keep this one loose.
Part your hair low on one side, then start the braid just under the ear instead of at the crown. Finish with a fabric scrunchie, not a thin elastic that leaves a crease in the ends.
Once you board, flip the braid to the side you are not leaning on. That small swap keeps the front smooth and the ends from getting squashed.
Watch out: a braid that feels snug at the curb will feel tight by hour four.
3. Flat Claw Clip Twist at the Nape
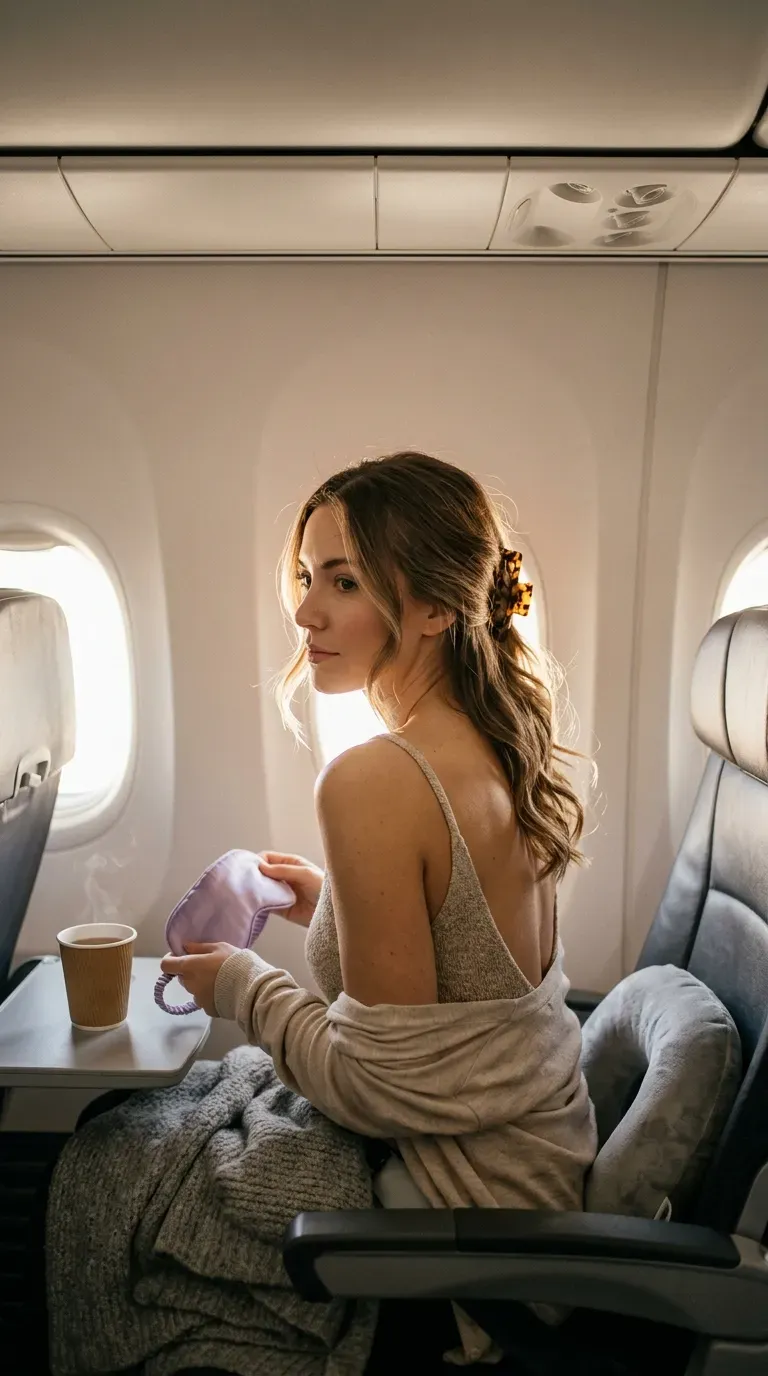
A claw clip lying flat against the back of your head is almost invisible to a seat back. A clip perched on top is not.
Pick a medium clip with a matte finish, then:
- Gather your hair low, just above the nape.
- Twist it once or twice in one direction.
- Fold the ends up and clip across the twist.
Point the teeth sideways so the clip rests flat instead of jabbing your neck.
If your hair is fine and slippery, slide two bobby pins in under the clip before you leave the house.
4. Double Dutch Braids Joined at the Nape
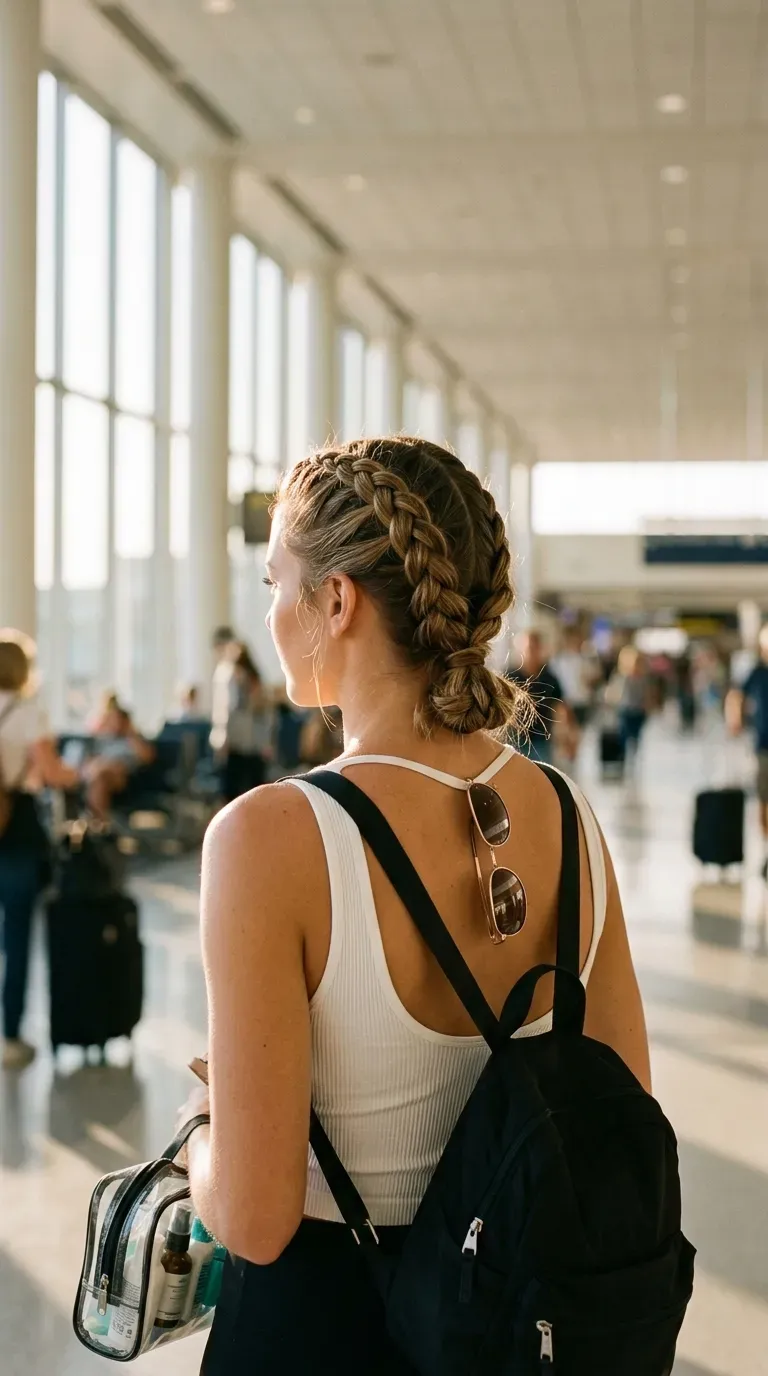
Two braids hold better than one because the weight is split across both sides. They also give you a soft ridge to rest against when the seat is hard.
Part your hair down the middle and Dutch braid each side from the hairline back toward the nape. Cross the braids at the base and fasten them together with one elastic, then tuck the ends under so nothing dangles.
A common mistake is starting the braids too tight at the temples. After you tie off, loosen the first few stitches with a fingertip so the front sits comfortably.
The result stays tidy even if you wake up sideways.
5. Half Up Knot With the Rest Left Down
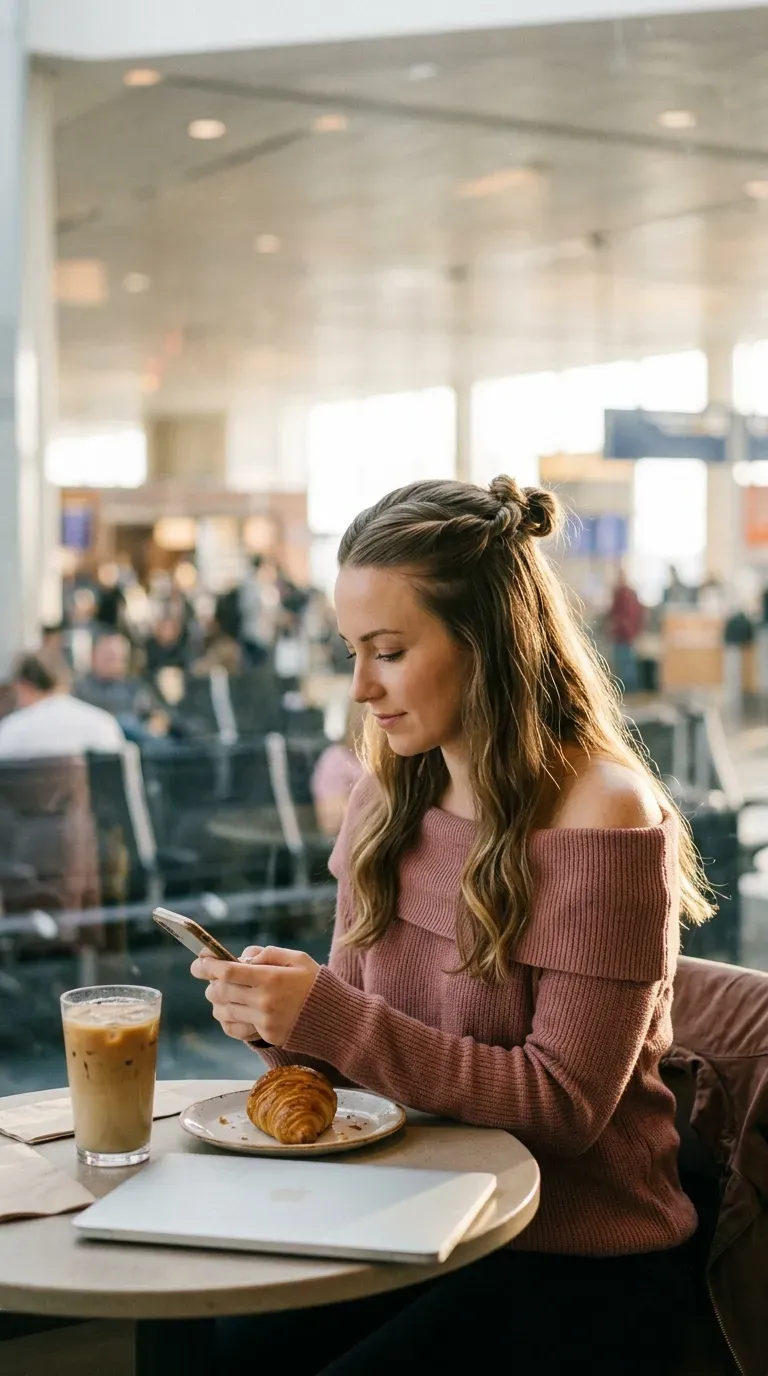
Myth: a travel hairstyle has to be tied all the way up. Half up is easier on a long day because the lower hair stays soft while the front stays off your face.
Take a section from temple to temple, twist it back, and knot it at the top of your head, above the spot where the headrest lands. Pin the knot with one bobby pin underneath.
- Leave the lower hair down and tuck it behind your shoulders.
- Keep one hair tie on your wrist for when the cabin gets warm.
Best for: layovers where you want to look put together without a full updo.
Keep the knot small and flat so it clears the seat.
Brush the lower hair smooth before you land.
A tall top knot that bumps the headrest.
Heavy oils on the lower hair, they clump in dry cabin air.
6. Slick Low Ponytail With a Silk Scarf Wrap
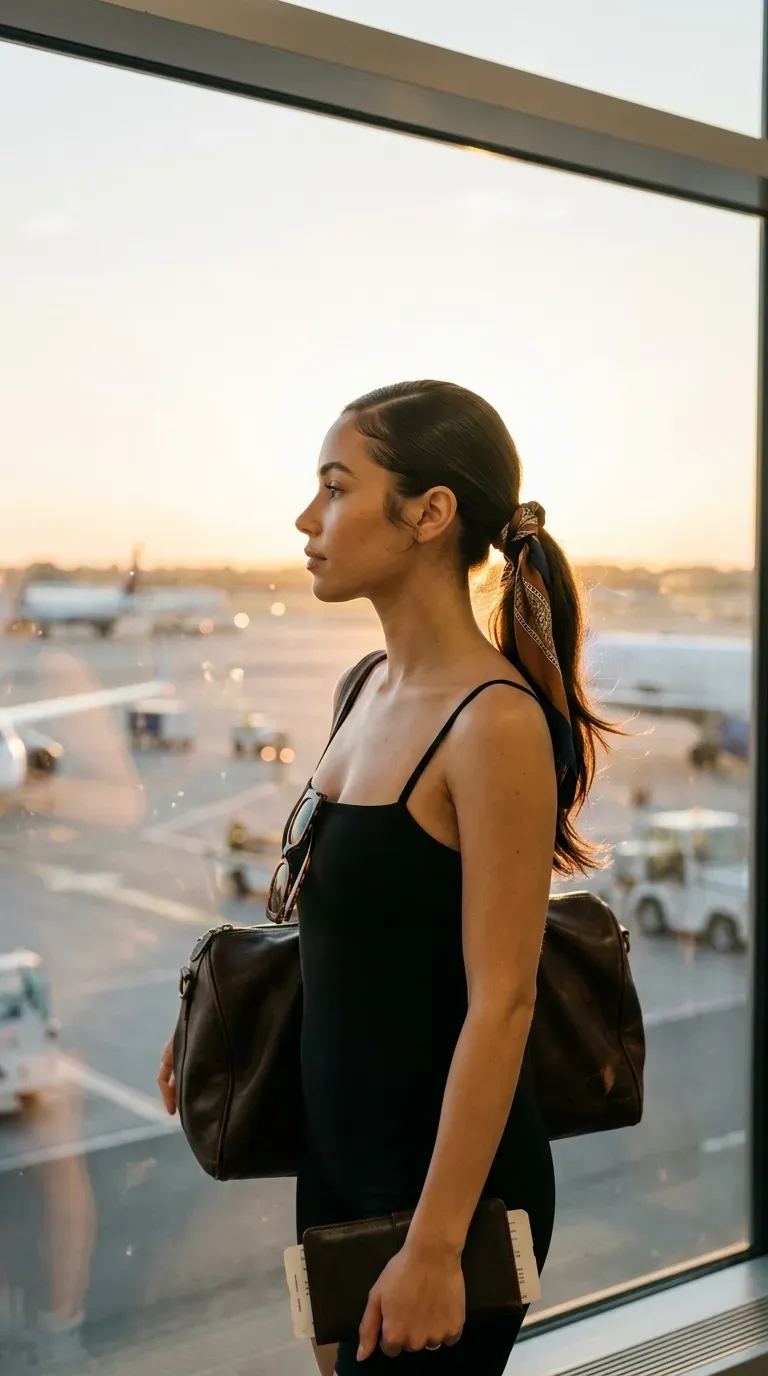
I used to write off the low ponytail as boring, until a nine hour flight proved me wrong. Nothing sticks out, nothing snags, and there is nothing to adjust.
The silk scarf is what makes it look chosen instead of lazy.
- Smooth your hair back with a little water or gel.
- Tie it low at the nape with a plain elastic.
- Knot a small silk scarf around the base and let the tails hang.
The scarf covers the elastic and adds one soft detail to a plain outfit.
Skip a thick elastic under the scarf. The bump will show through.
7. Fishtail Braid Over One Shoulder
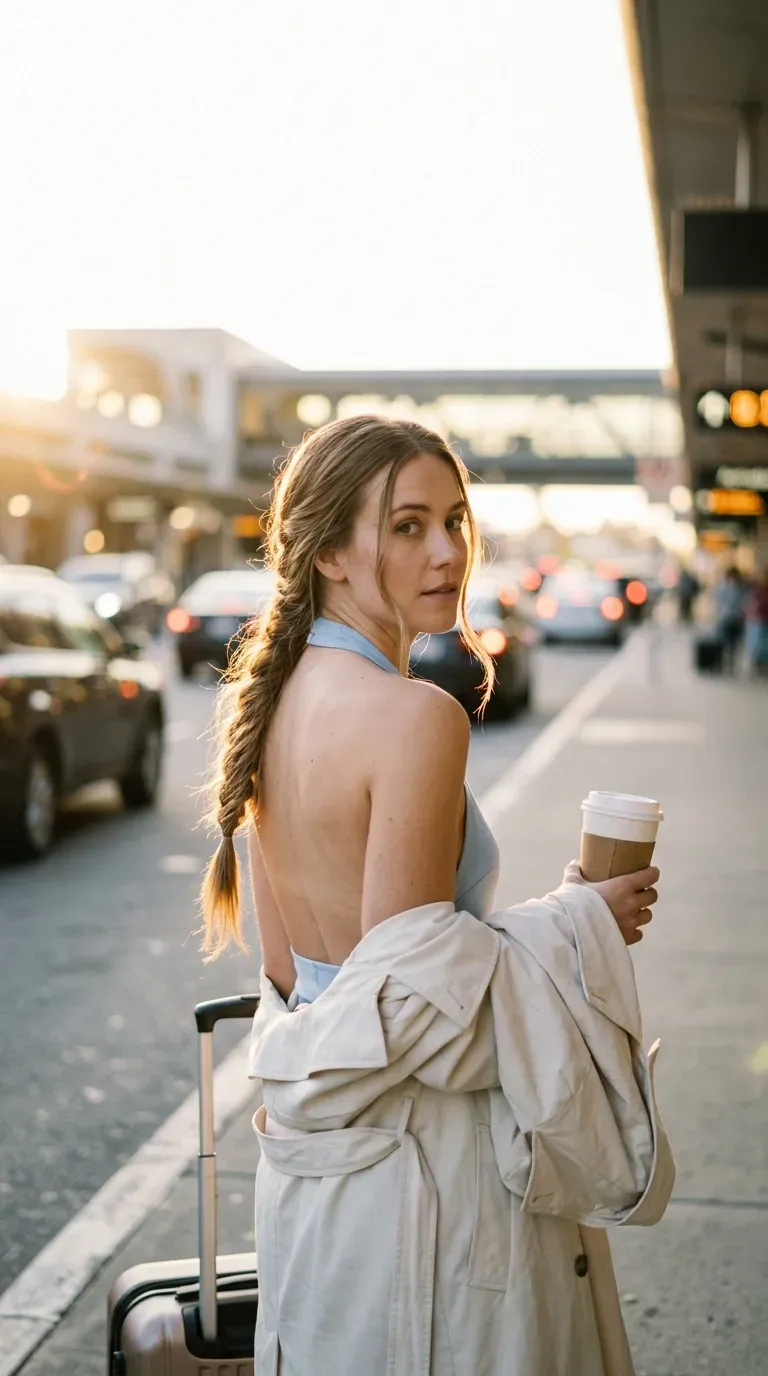
Tiny rule: braid it before you leave the house, not at the gate. A fishtail takes patience, and nobody wants to practice it on a crowded bench.
Split your hair into two halves at the nape. Take a thin strand from the outside of one half, cross it over to join the inside of the other half, then repeat on the opposite side. Tie off with a clear elastic and tug the sides gently to widen it.
The many small sections grip each other, so the braid stays put even when you shift around in the seat. Drape it over one shoulder and it looks better after a nap, not worse.
8. Bubble Ponytail With Three Soft Elastics
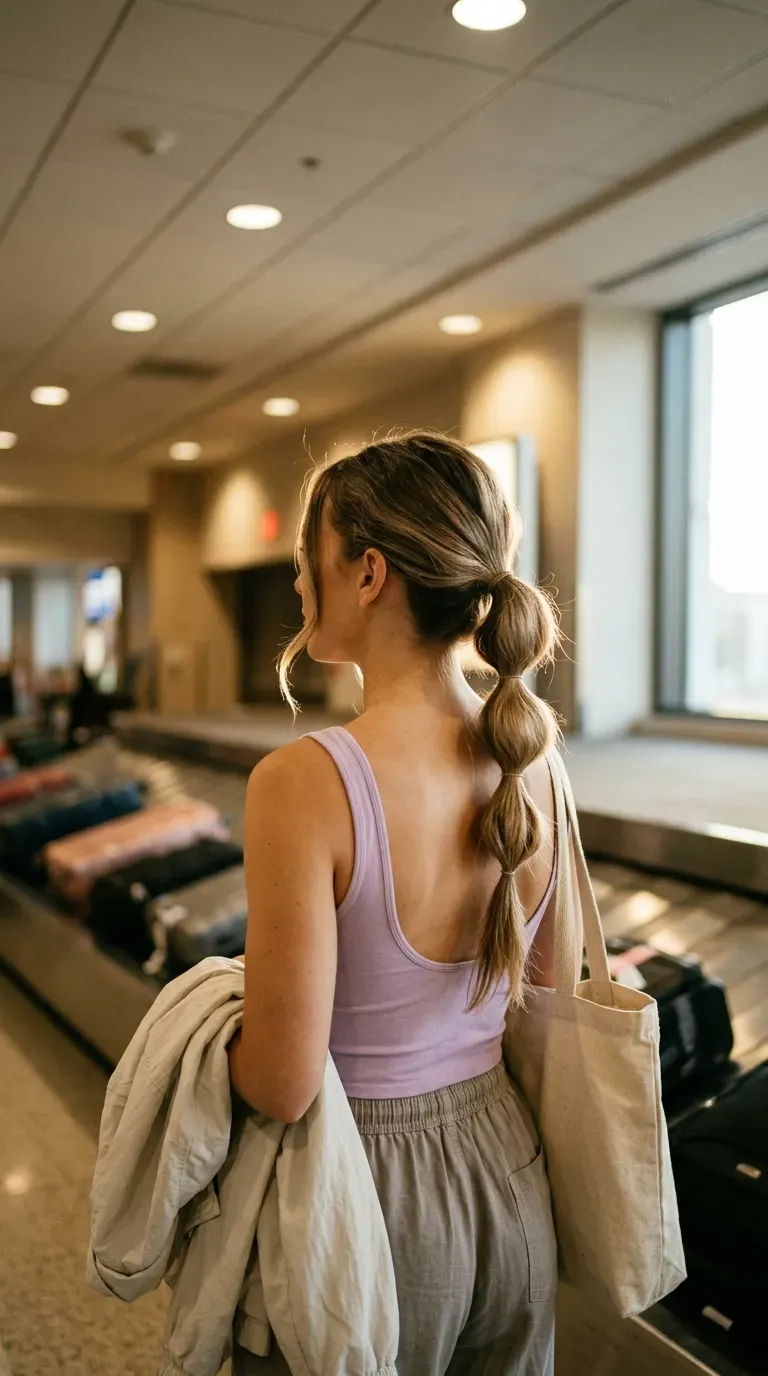
A bubble ponytail keeps a long tail from knotting at the ends. That matters on a flight, where hair rubs against a hoodie, a seat, and a neck pillow for hours.
Make a low ponytail first, then add soft elastics down the length, about a hand width apart. Gently pull each section outward to form a puff.
Use fabric covered elastics. Clear rubber ones tend to grab and tug when you take them out.
When you land, one quick fluff of each puff brings the shape back.
A loose tail rubbing against a hoodie and a neck pillow, with tangles gathering at the ends.
A sectioned tail with soft puffs held apart, so the ends stay smooth when you land.
9. Banana Clip French Twist
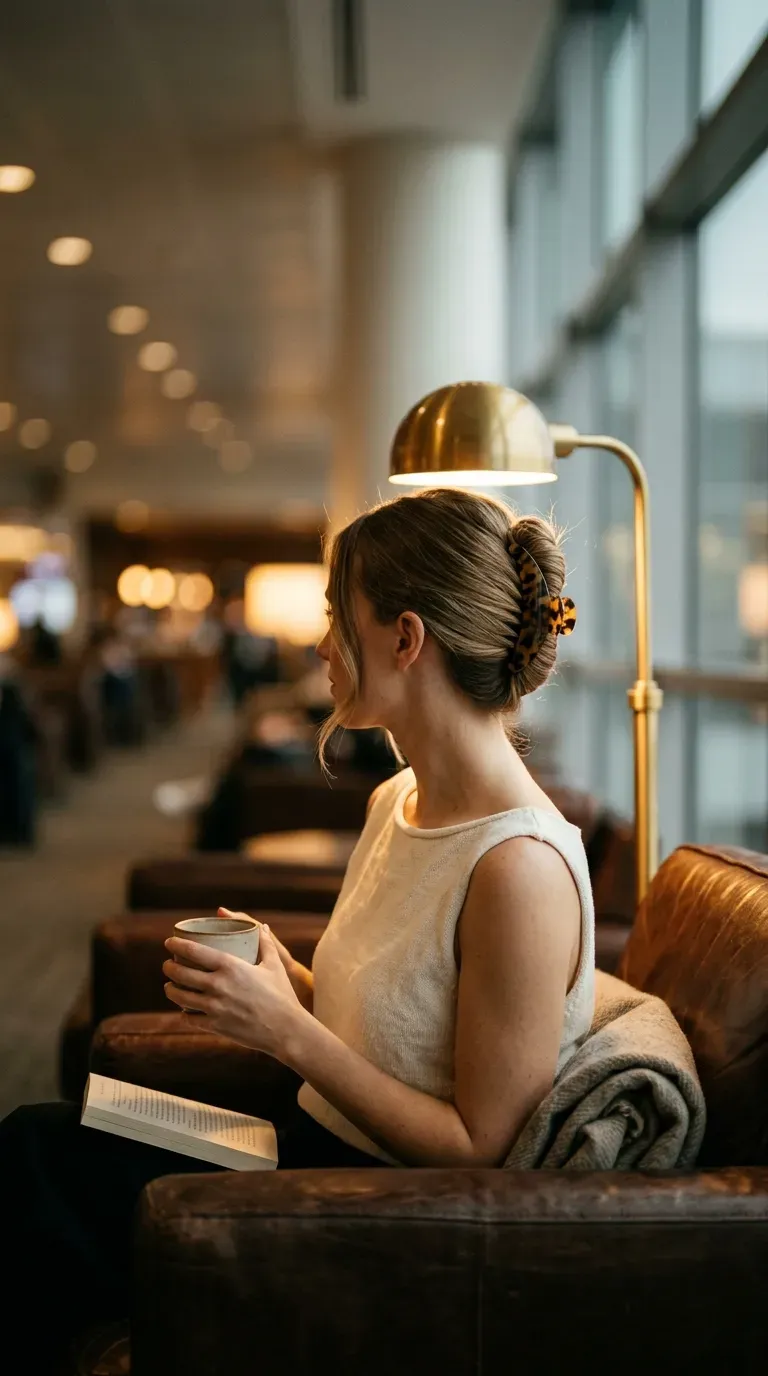
Banana clip versus claw clip: the claw is faster, the banana clip is neater. If you want a smooth, finished look for a business trip, this is the one to learn.
Run your fingers back through your hair, then roll it upward along the nape into a vertical twist. Tuck the ends inside and slide the clip down along the center of the twist.
- Works best on straight or wavy hair that has some grip.
- Spray a little dry shampoo at the roots first if your hair feels slick.
Check the back in your phone camera before you board. The twist is hard to feel but easy to see.
10. Bandana Tied Over a Messy Low Pony
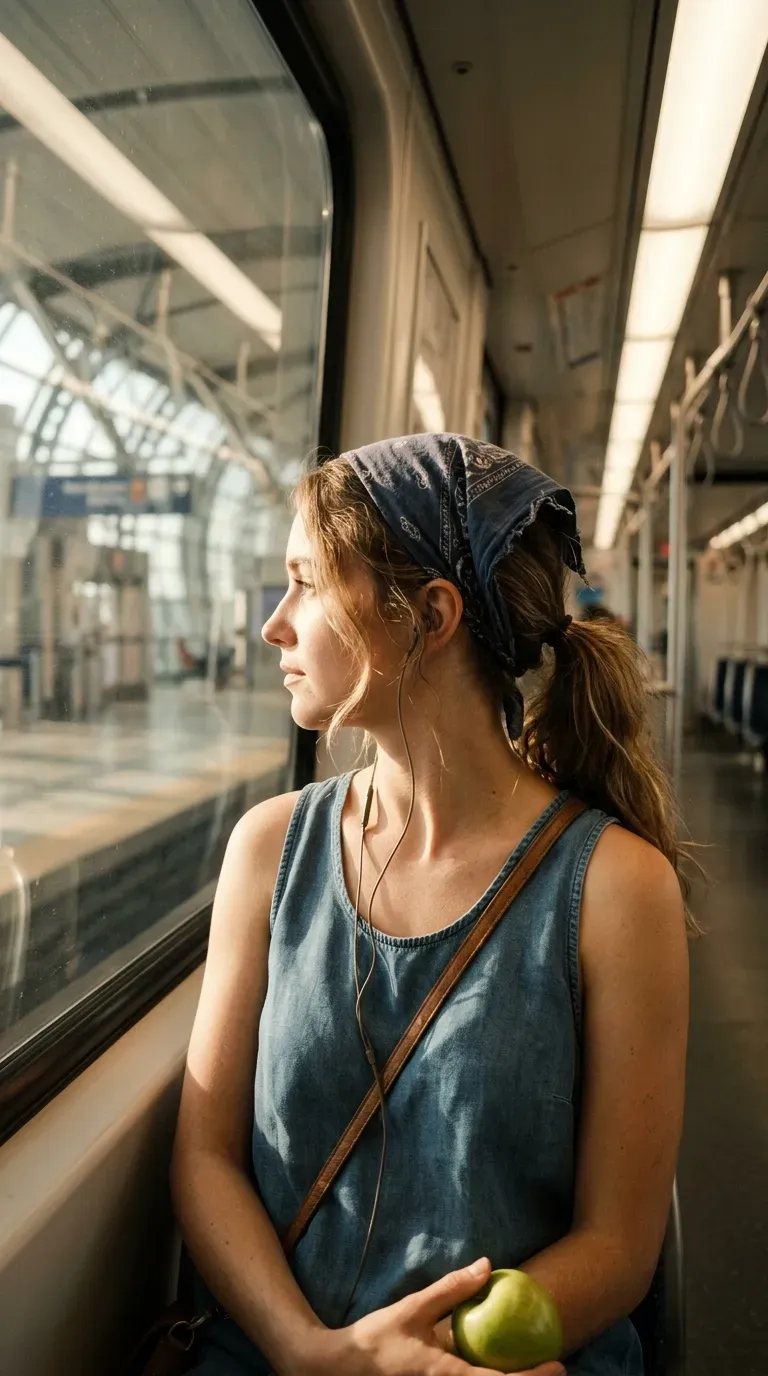
The gate screen just pushed your flight back two hours, and your hair has already given up. A bandana is the fastest rescue.
Tie a loose, low ponytail and leave it a bit messy. Fold a small cotton bandana into a thick strip, lay it across the top of your head, and knot it under the ponytail.
It covers flat roots and gives you something to adjust instead of your hair. Cotton grips better than satin, so it will not slide off while you nap.
Fold it narrow for a sleek look or wide for a vintage feel.
11. Rope Braid Ponytail With a Wrapped Elastic
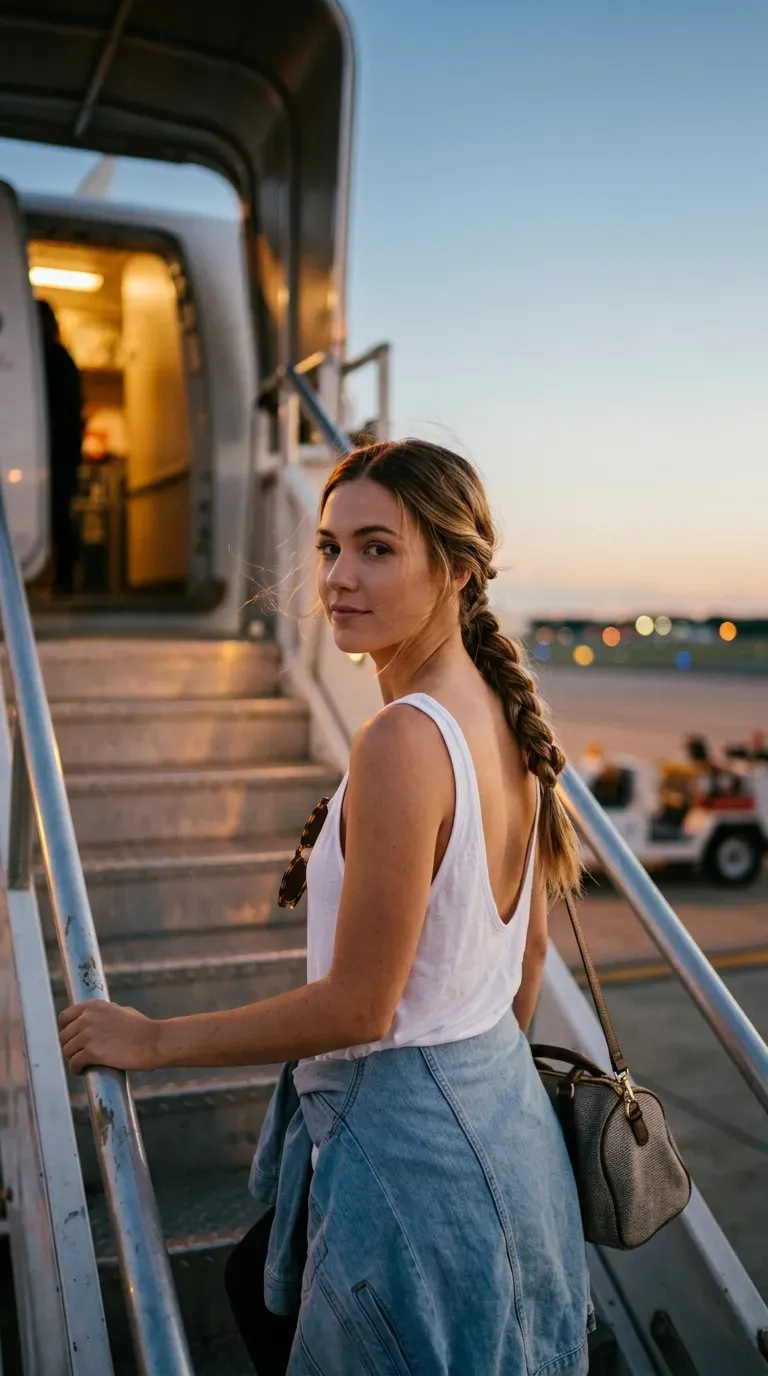
Rope braids need one hand and zero practice. That makes them useful for a rushed morning or a tired layover.
- Make a low ponytail and split it into two halves.
- Twist each half tightly in the same direction.
- Wrap the two halves around each other in the opposite direction.
- Tie off the ends with a small elastic.
To hide the main elastic, wrap a thin piece of hair around it and pin the end underneath.
The opposite direction twist is what locks the rope. Skip it and the whole thing unravels.
12. Loose Waves Held Back by a Padded Headband
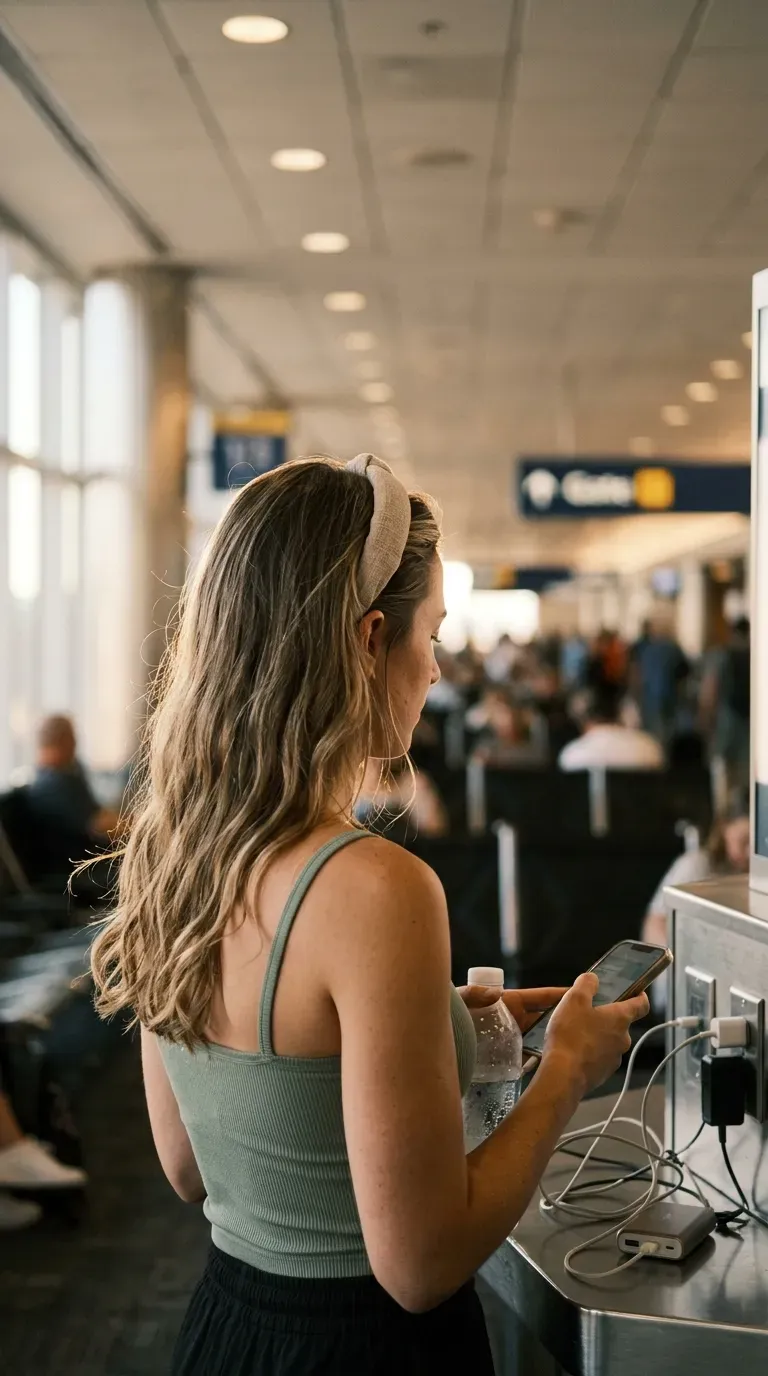
Not everyone wants hair tied up on a travel day. If you land and head straight into a meeting, loose waves held back by a padded headband can look intentional.
Slide the headband back about an inch from your hairline, then pull the roots at the crown up gently to add lift. That lift is the exact fix for flattened hair.
- Tuck the hair behind your ears on both sides.
- Keep a mini comb in your pocket for a quick reset.
Choose a headband one size looser than you think you need. A snug one starts to ache by hour three.
13. Low Chignon With Crossed Bobby Pins
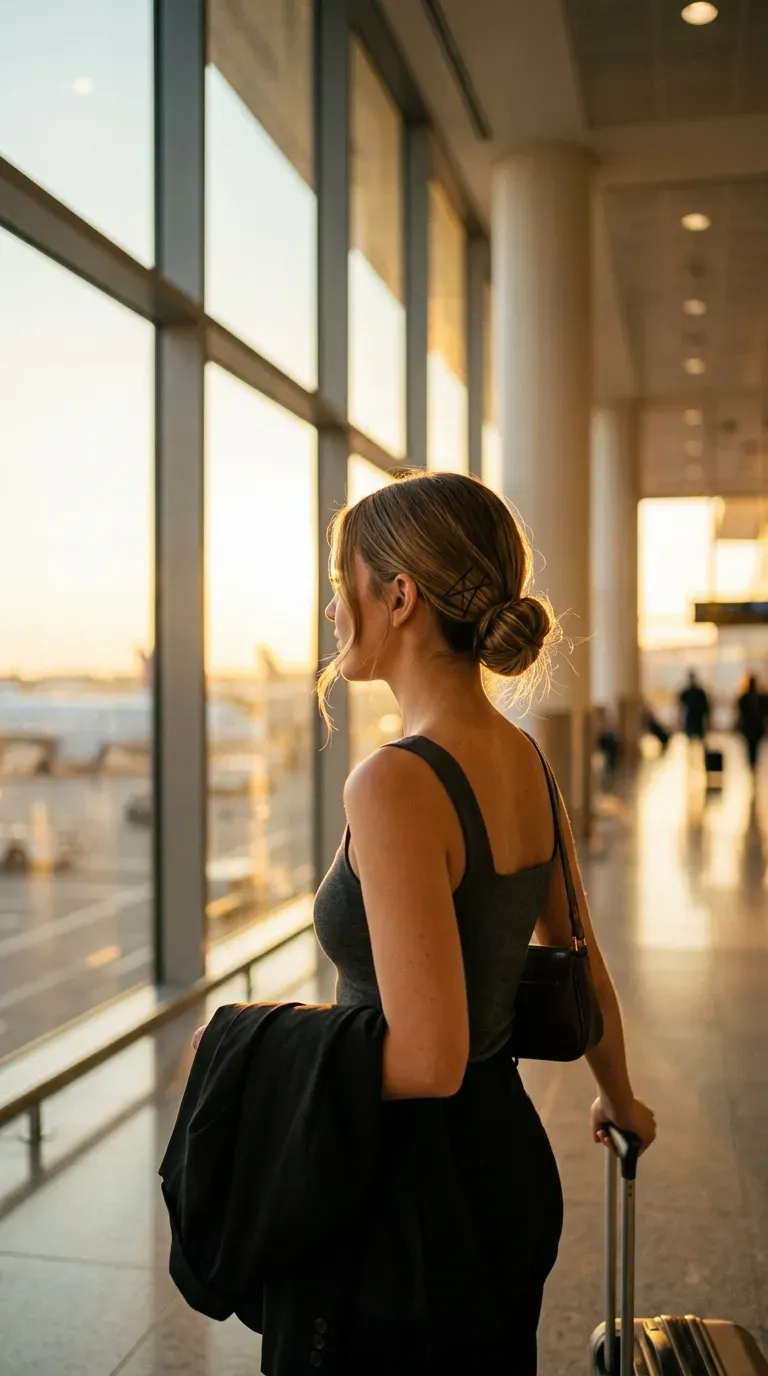
Two bobby pins crossed in an X hold better than four pushed in the same direction. The pins lock against each other instead of sliding out.
Gather your hair low, twist it into a loose rope, and roll it into a flat chignon at the nape. Slide one pin in from the left, then one from the right so they cross. Add a second X on the other side.
Smooth the front with your palm and leave two face framing pieces loose.
This one works best for medium to long hair that is a bit thick. Fine hair needs a small elastic under the chignon first.
14. Two Low Braided Pigtails for Window Seat Naps
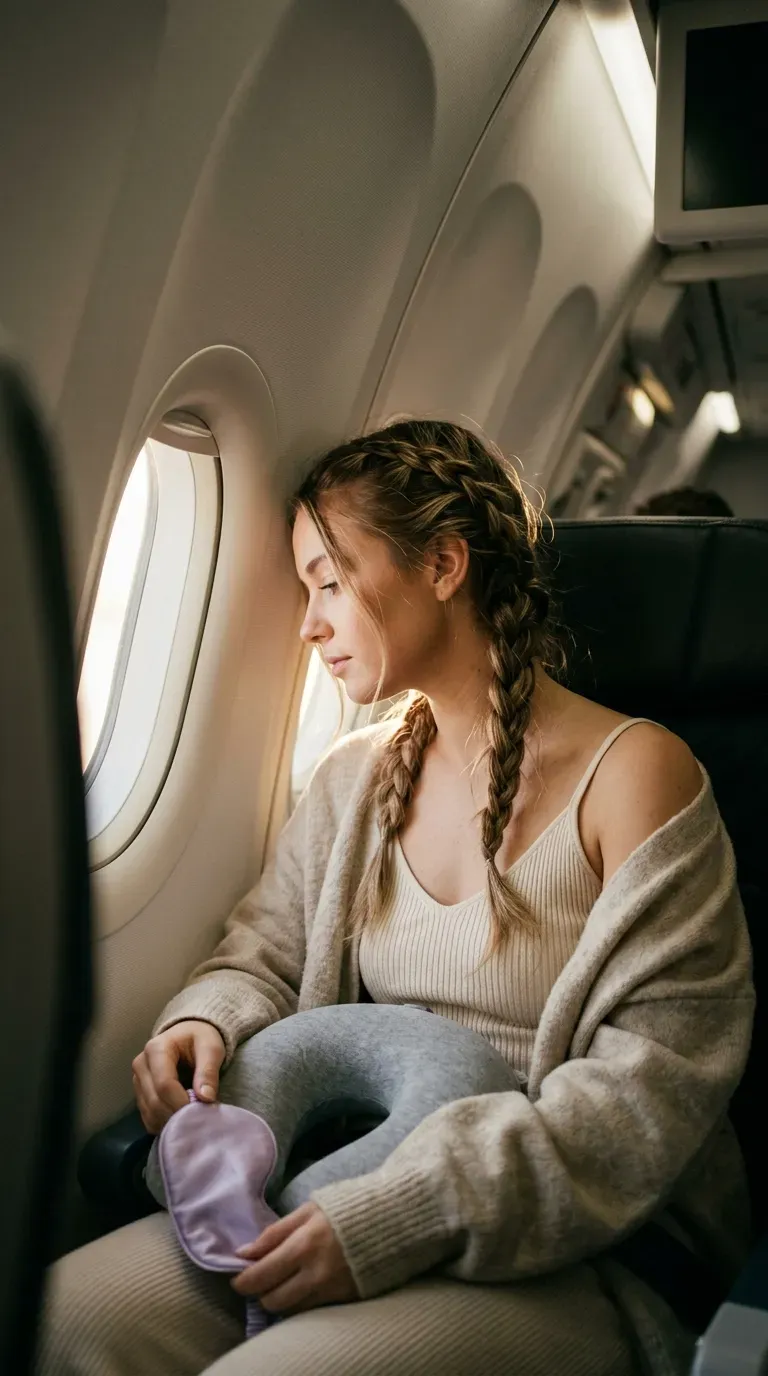
The usual mistake is putting pigtails high. A high pigtail hits the seat and the window, and you spend the flight sitting upright to protect it.
Part your hair down the middle and braid each side loosely from just behind the ears. Tie each braid with a small elastic at the end. Let the braids fall in front of or behind your shoulders.
Low pigtails give you a place to rest your head against the window. They also stay out of the way of a neck pillow.
A light mist of water on any frizz before you tie off keeps the braids smooth.
If your head touches the style when you lean back, move the style lower.
15. Two Thin Face Braids Pinned Back Over Loose Hair
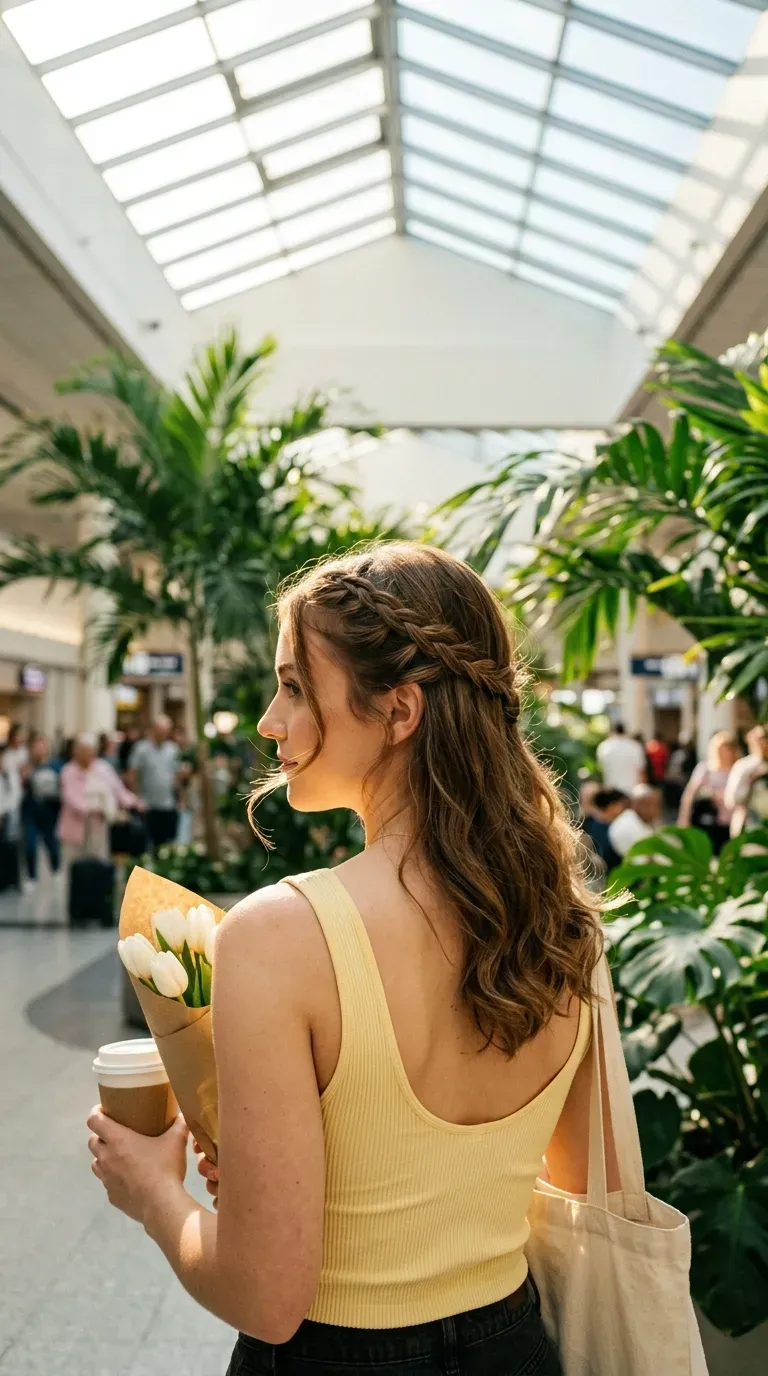
Some people hate feeling any tug on the scalp. For them, two thin face braids pinned back over loose hair solve the biggest problem, which is hair falling forward into your eyes while you read.
Take a small section at each temple and braid it loosely to the ends. Bring both braids to the back of your head and pin them together with a bobby pin under the top layer. Leave the rest of your hair down.
The loose hair stays soft against the seat, and the braids keep your face clear.
Who it suits: anyone who wants a no tension style that still looks done.
Final Thoughts
The best airport travel day hairstyles share a few habits. They sit low, they keep hard clips away from the headrest, and they rely on soft ties instead of tight ones. Pick the style that matches your hair length and the way you sleep on planes, practice it once at home, and pack two spare pins. You will land with hair that looks tended instead of rescued. Next trip, test a new style on a short flight first, then save your favorite for the long haul.
Save this list to your travel board so it is ready the next time you pack.