
Nobody warns you that the hardest part of a first date is not the conversation. It is standing in front of the mirror at 5:40 p.m., wondering whether your hair looks like you tried too hard or did not try at all.
Most advice on first date hairstyles swings between two extremes. Either you get a full curled, pinned, sprayed look that feels like a costume, or you get the shrug of ‘just wear it down,’ which helps nobody with a cowlick and a nervous stomach.
The sweet spot is hair that looks like you on a good day. A soft shape, some movement, and one small detail that shows you thought about it. Each of the 17 looks below follows that rule, and they cover short, medium, long, curly, straight, and fine hair.
Pick one that fits your plans and your patience, then test it once before the date. A trial run tells you how long it takes and whether it survives a coat or a scarf.
1. Soft Face Framing Layers With a Light Blowout
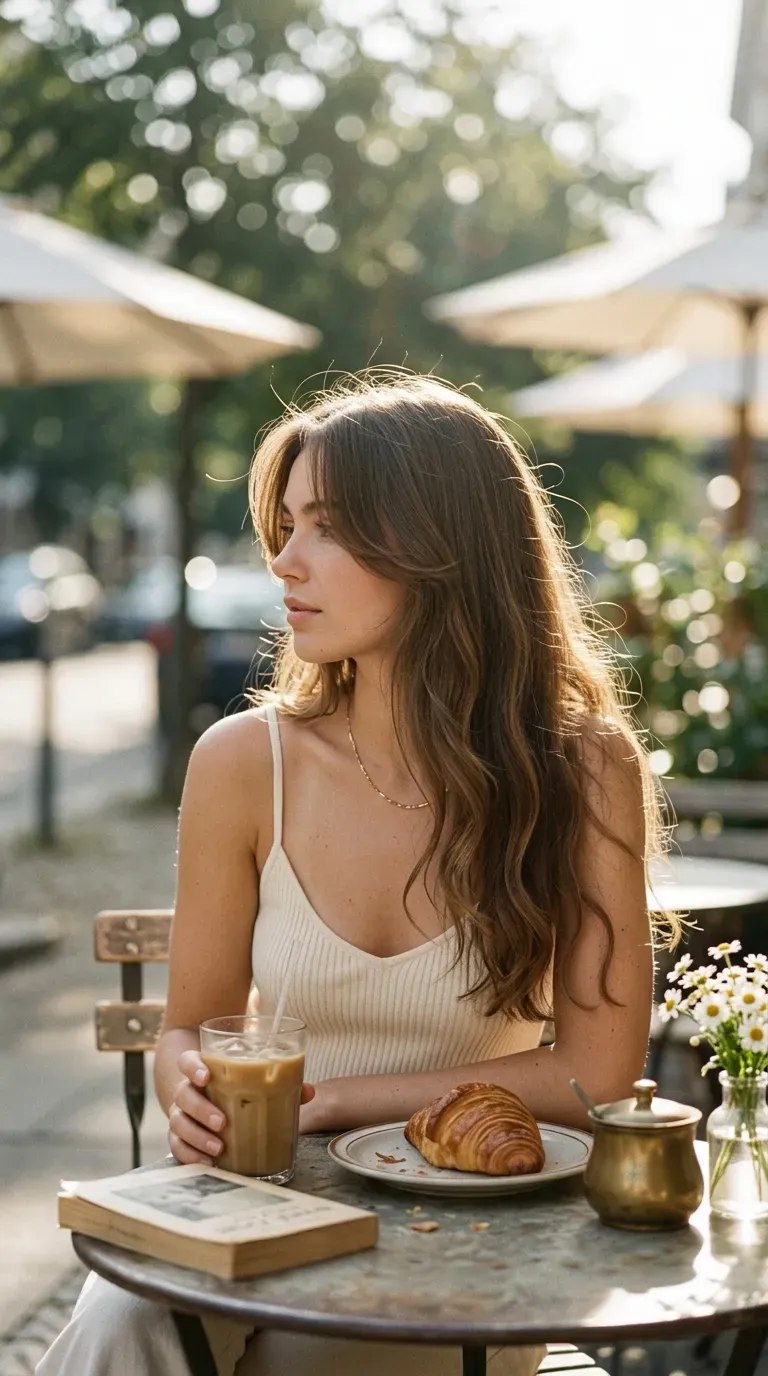
Hair that moves when you turn your head does a lot of the work on a first date.
Ask your stylist for face framing layers that start around the chin. If you already have them, you only need the blow dry.
- Dry the underneath sections first so the top does not go flat
- Roll the front pieces away from your face with a round brush
- Leave the back loose and finish with a flexible hold spray
Quick tip: Let the layers cool in the shape before you touch them. Heat sets the bend, and cool air holds it.
2. Half Up With a Flat Clip and Two Loose Pieces
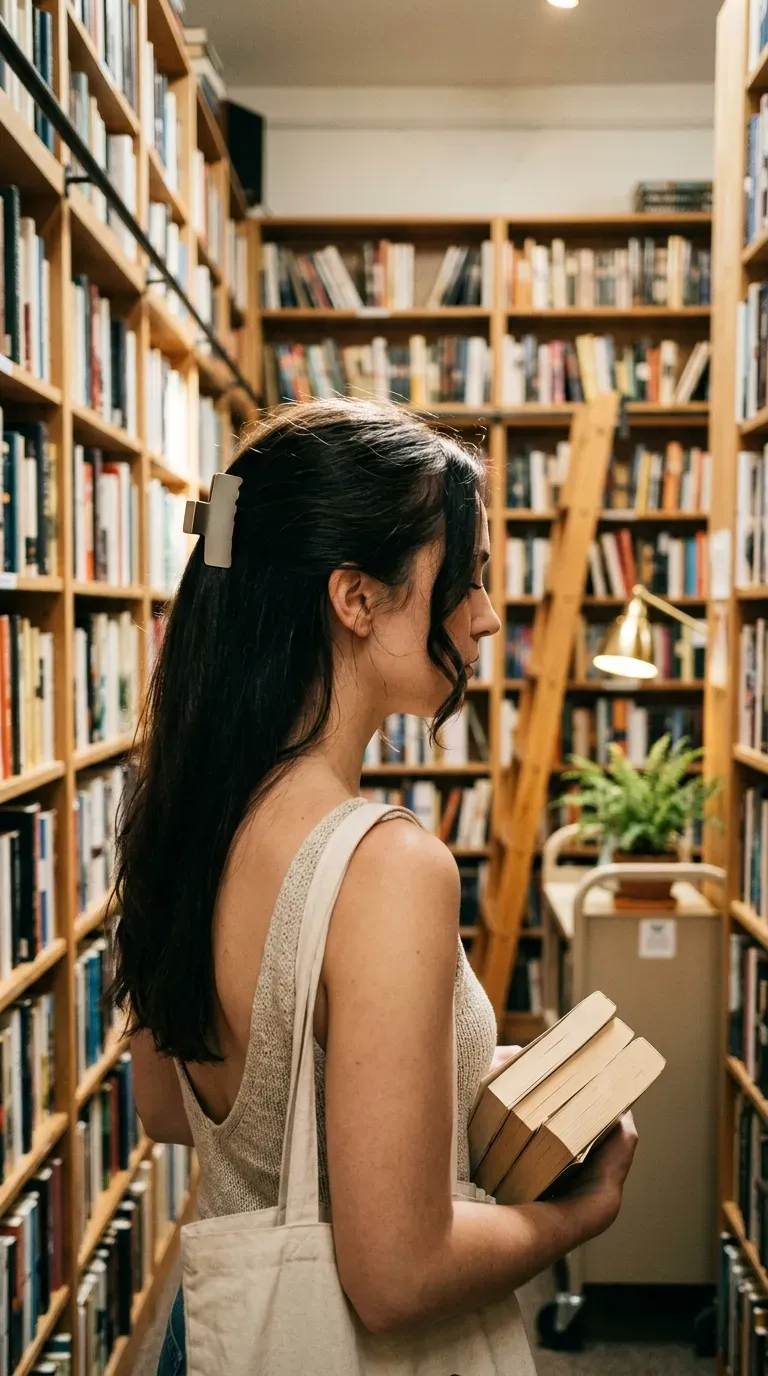
Two loose pieces are what keep a half up style from looking pinned in place.
Gather the top half from temple to temple, twist it once, and secure it at the crown with a flat clip. Pull a thin piece out on each side of your face and curl it away from your cheek.
- Choose a matte clip, since shiny ones can look busy in photos
- Keep the clip at crown height so the front stays lifted
- Spray the loose pieces lightly so the bend holds
Best for medium and long hair, and it keeps strands out of your food.
3. Low Messy Bun With Curled Tendrils
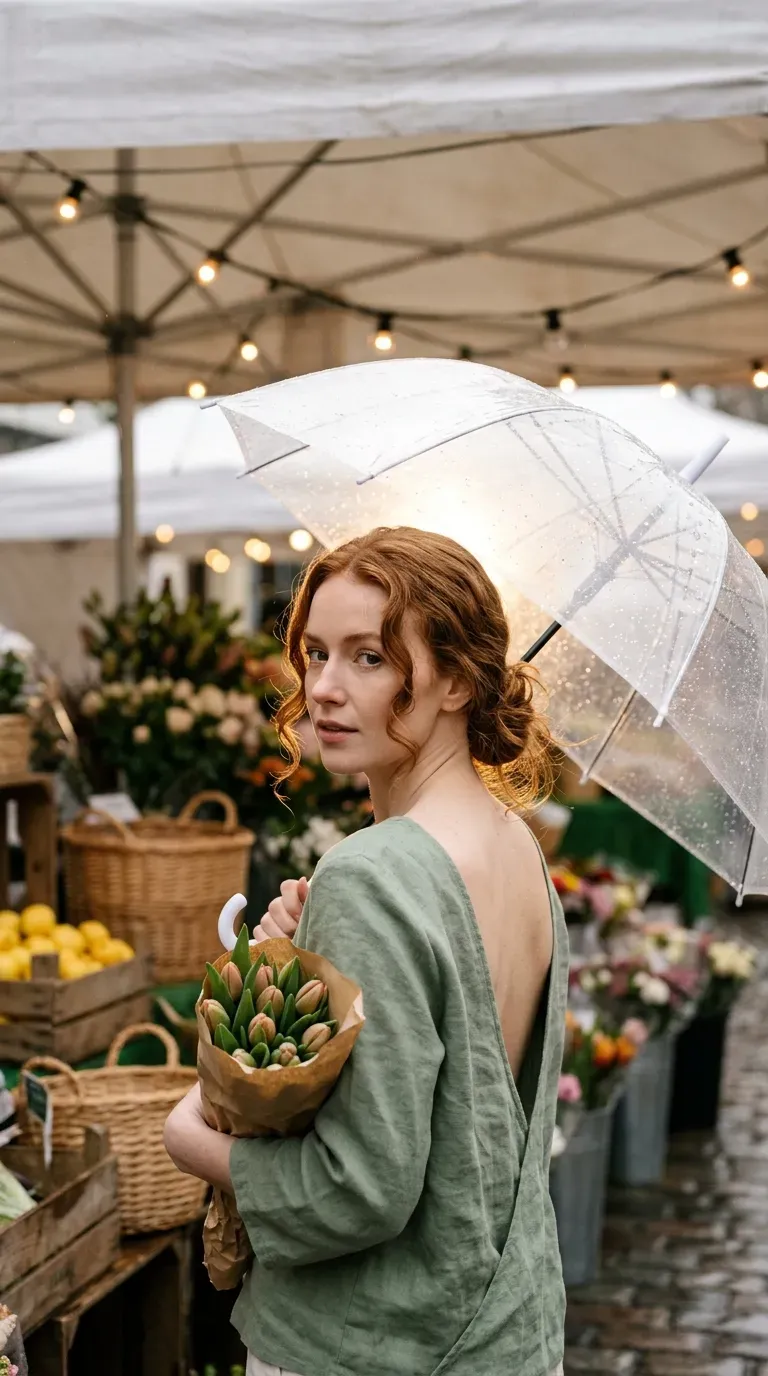
It starts to drizzle ten minutes before you leave, and smooth hair stops being an option. A low messy bun does not mind.
Twist your hair loosely at the nape, wrap it into a bun, and pin it with two bobby pins crossed in an X. Pull out two pieces at the front and one behind each ear, then curl them with a thin iron.
Mistake to avoid: A bun that sits tight against your head. A little slack is what makes it look relaxed.
4. Loose Side Braid Over One Shoulder
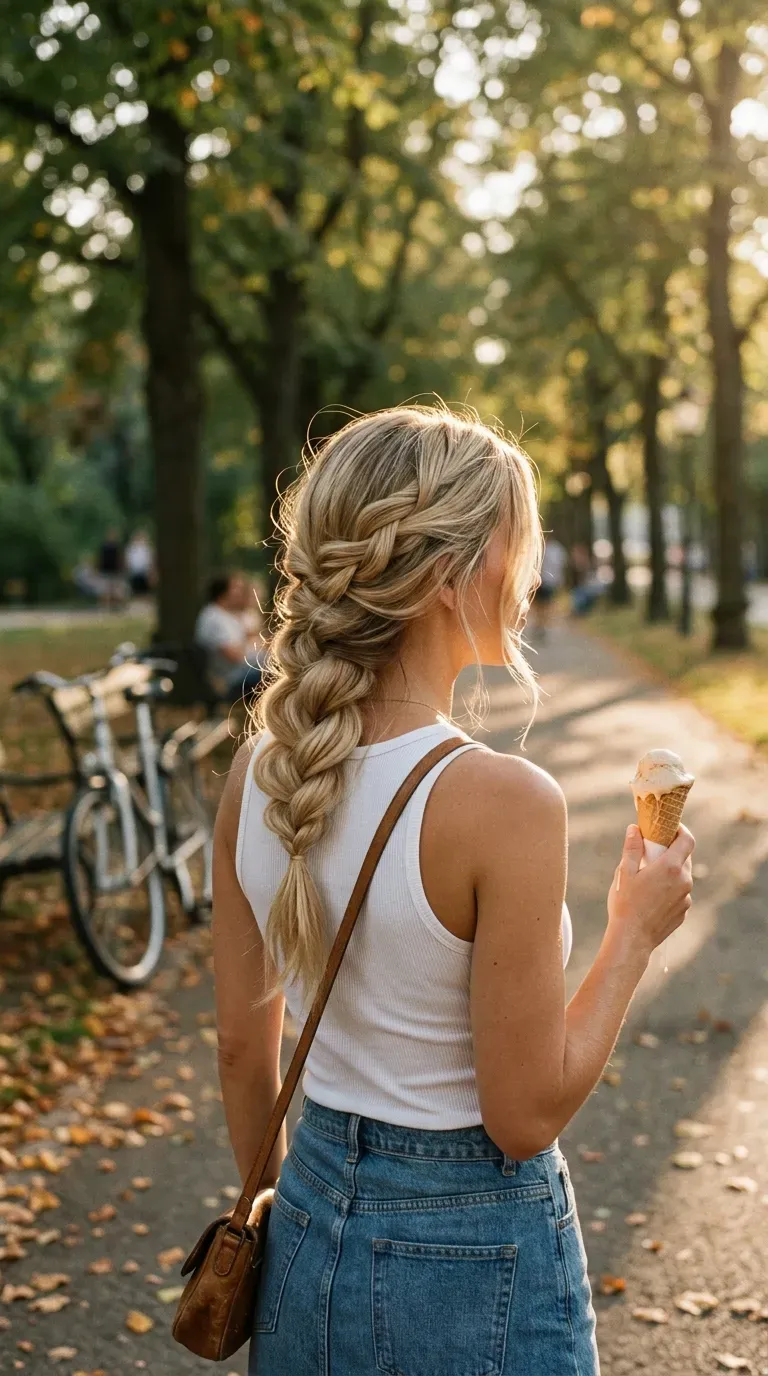
Tiny rule: braid it loose, then pull it apart.
Make a low side part, sweep your hair over one shoulder, and braid down to the ends. Tie it off with a clear elastic. Then tug each loop gently outward, working from the bottom up, until the braid looks soft and full.
- Start the braid at the nape, not behind the ear
- Leave a few strands out at the front
- Skip shine spray, since it makes the braid look flat
It works on long and medium hair and leaves your neck bare for a hug hello.
5. Beachy Waves With a Deep Side Part
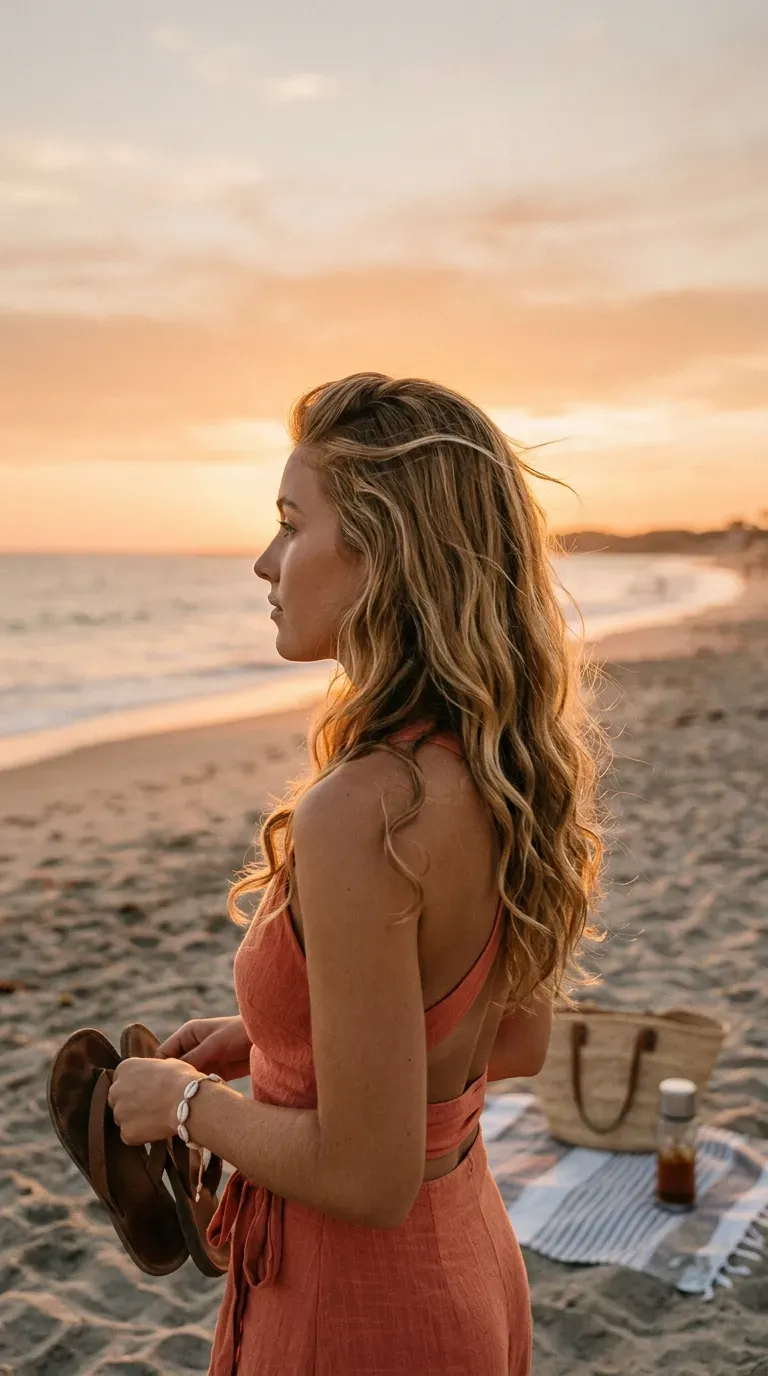
Sea salt spray and texture spray look alike in the bottle, but they do different jobs.
- Sea salt spray adds grit and wave, so use it on damp hair
- Texture spray adds lift and hold, so use it on dry hair
For beachy waves, scrunch salt spray into damp hair and let it dry, ideally with a diffuser. Curl three or four random sections with a large barrel iron, then rake through with your fingers and part deep on one side. Finish with a pinch of texture spray at the roots.
6. Low Ponytail With a Small Front Pouf
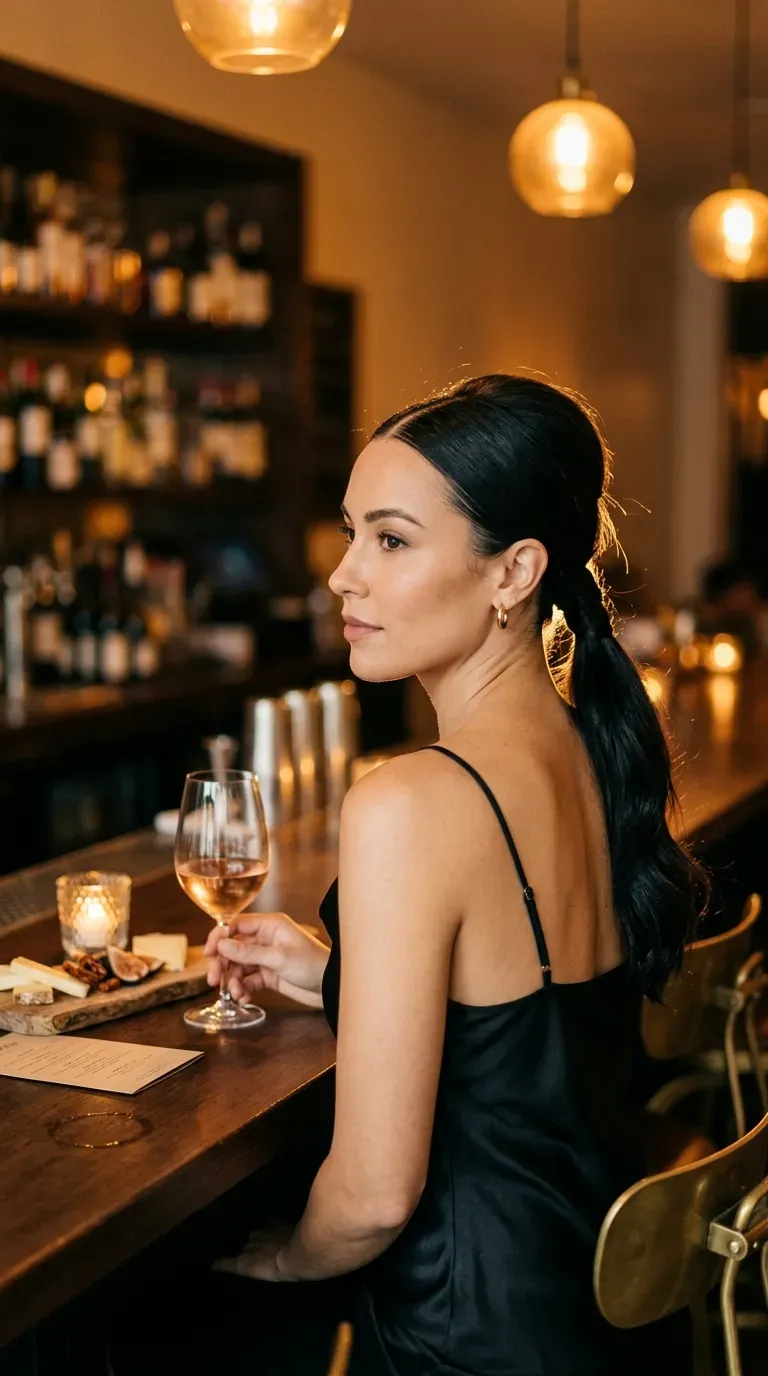
Low ponytails get overlooked, which is a shame, because one small detail at the front makes them look styled.
Backcomb the crown lightly with a fine tooth comb, smooth only the top layer over it, and pin the pouf in place. Tie the rest low at the nape, then wrap a thin strand around the elastic.
- Keep the pouf small, about the size of a plum
- Leave out two thin pieces at the temples
Quick tip: If the pouf collapses by dinner, you used too little product. A light spray on the comb before teasing helps.
7. Twisted Half Up Held by a Pearl Barrette
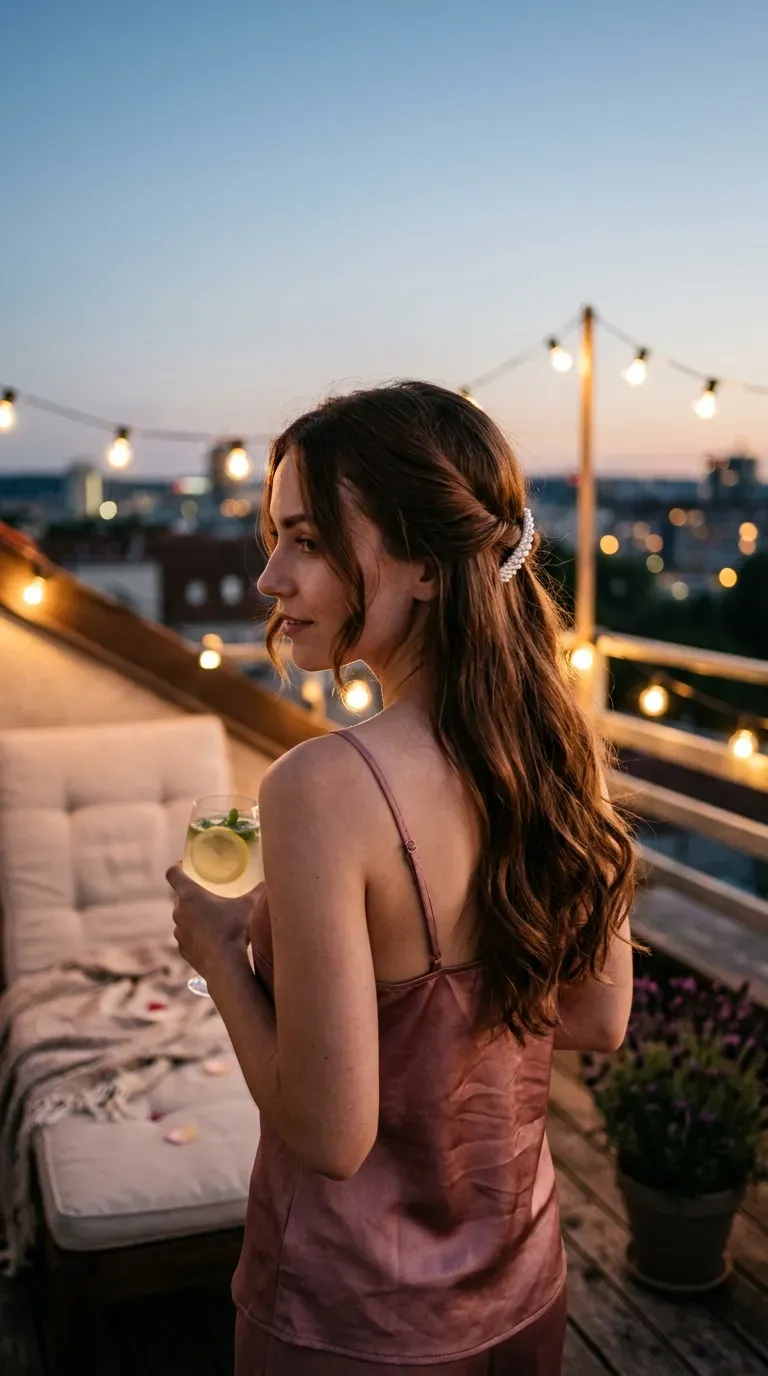
Myth: half up styles need a handful of pins. A good barrette does most of the work.
- Take a section from each temple and twist each one back.
- Cross the twists at the back of your head.
- Hold them with one pearl barrette, pushed in firmly toward the scalp.
Leave the rest of your hair down and smooth. If you tend to fidget with your hair on dates, this is the style that gives you the least to fiddle with.
8. Defined Curls With One Side Pinned Back
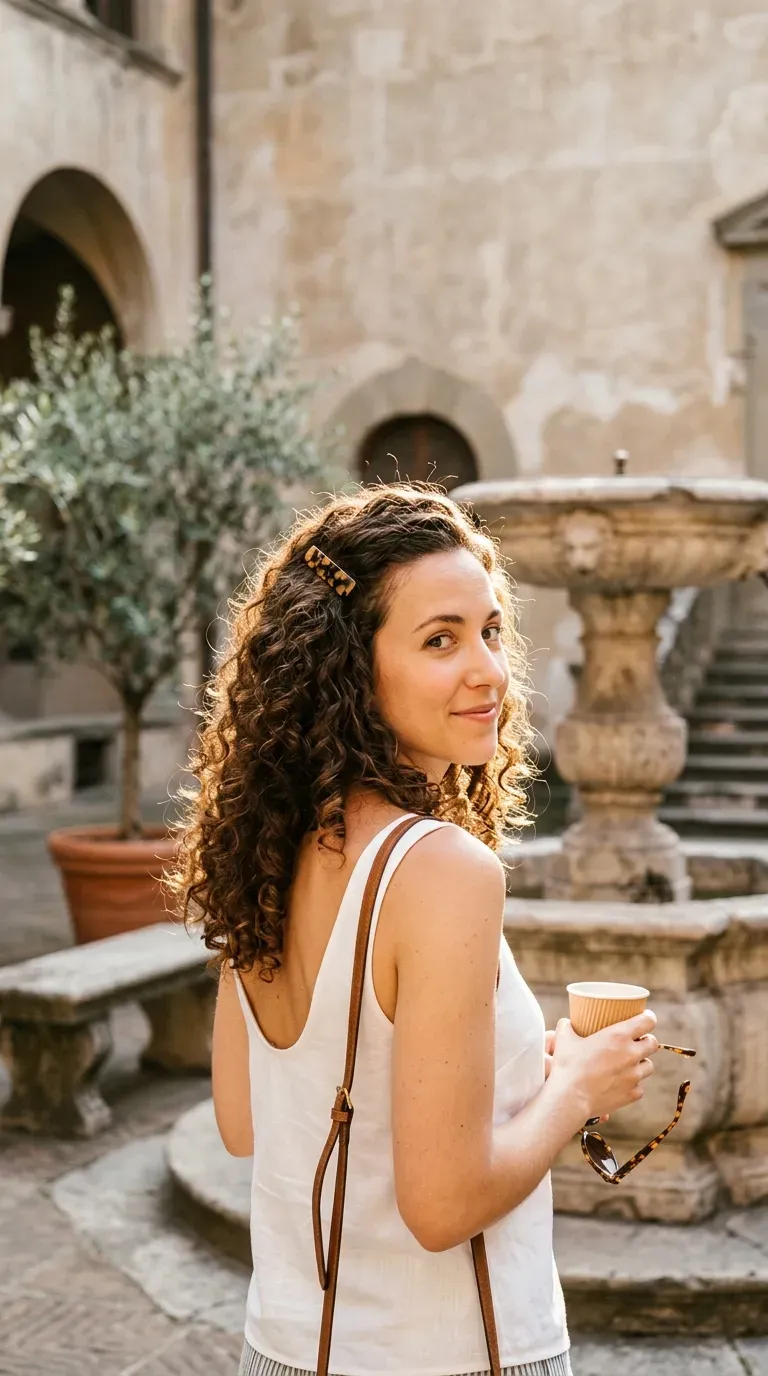
A curl pattern up close shows a shape that wants to be left alone.
Mist your curls with water, scrunch in a leave in cream, and diffuse on low heat. Do not brush. Once dry, pin one side back with a flat barrette so your face and earring show.
- Fluff the roots with your fingertips
- Skip heavy oil, since it weighs curls down by dinner
Best for curly and coily hair that looks its best on day two.
Curls brushed dry, puffy at the front, and hanging over one eye.
Curls scrunched with cream and one side pinned. The shape is clear and the face is open.
9. Claw Clip Twist With Loose Strands
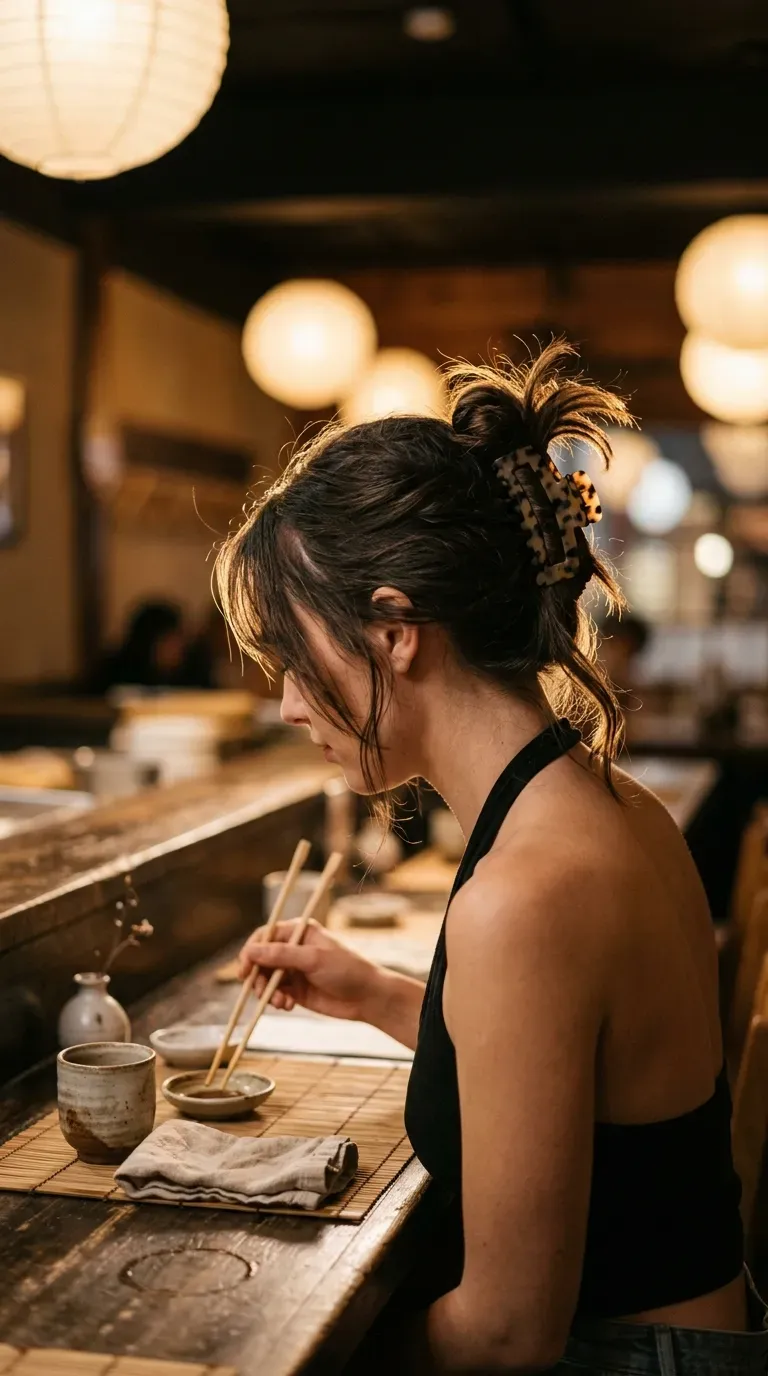
Fine, slippery hair that will not hold a curl needs a different plan, and a claw clip is it.
Twist your hair upward, fold the ends up, and clamp the clip across the twist. Let the ends fan out over the top and pull two strands loose beside your ears.
- Pick a clip that matches your hair thickness, larger for thick hair
- Matte finishes look more modern than glossy ones
It works best on second day hair, which has more grip than freshly washed strands.
10. Curled Ponytail Tied With a Satin Ribbon
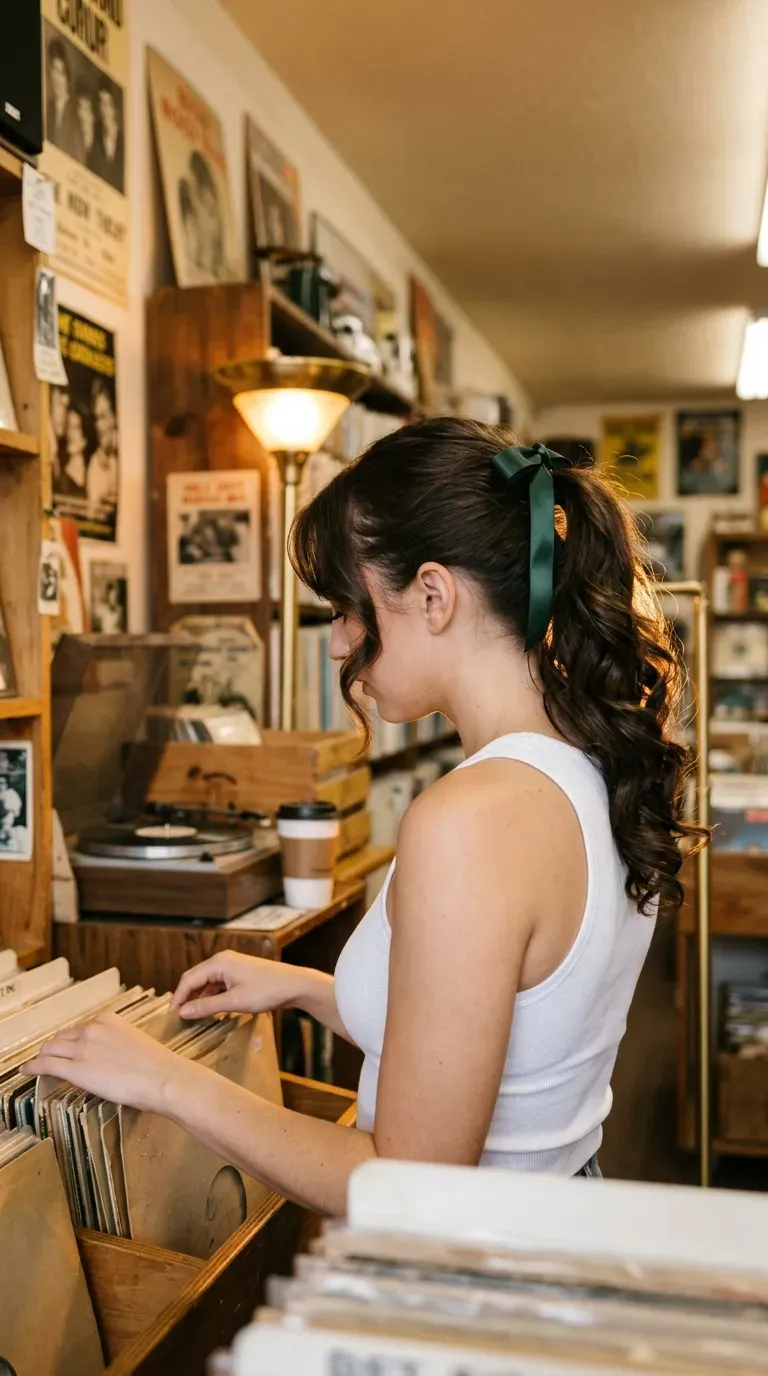
Pick a satin or velvet ribbon about one inch wide and long enough to tie a bow.
- Pull your hair into a ponytail at the crown.
- Curl the ends in the same direction with a medium barrel iron.
- Tie the ribbon over the elastic and trim the tails on a diagonal so they do not fray.
Choose a ribbon one shade deeper than your outfit. An exact match looks flat.
11. Sleek Straight Hair With One Side Tucked Behind the Ear
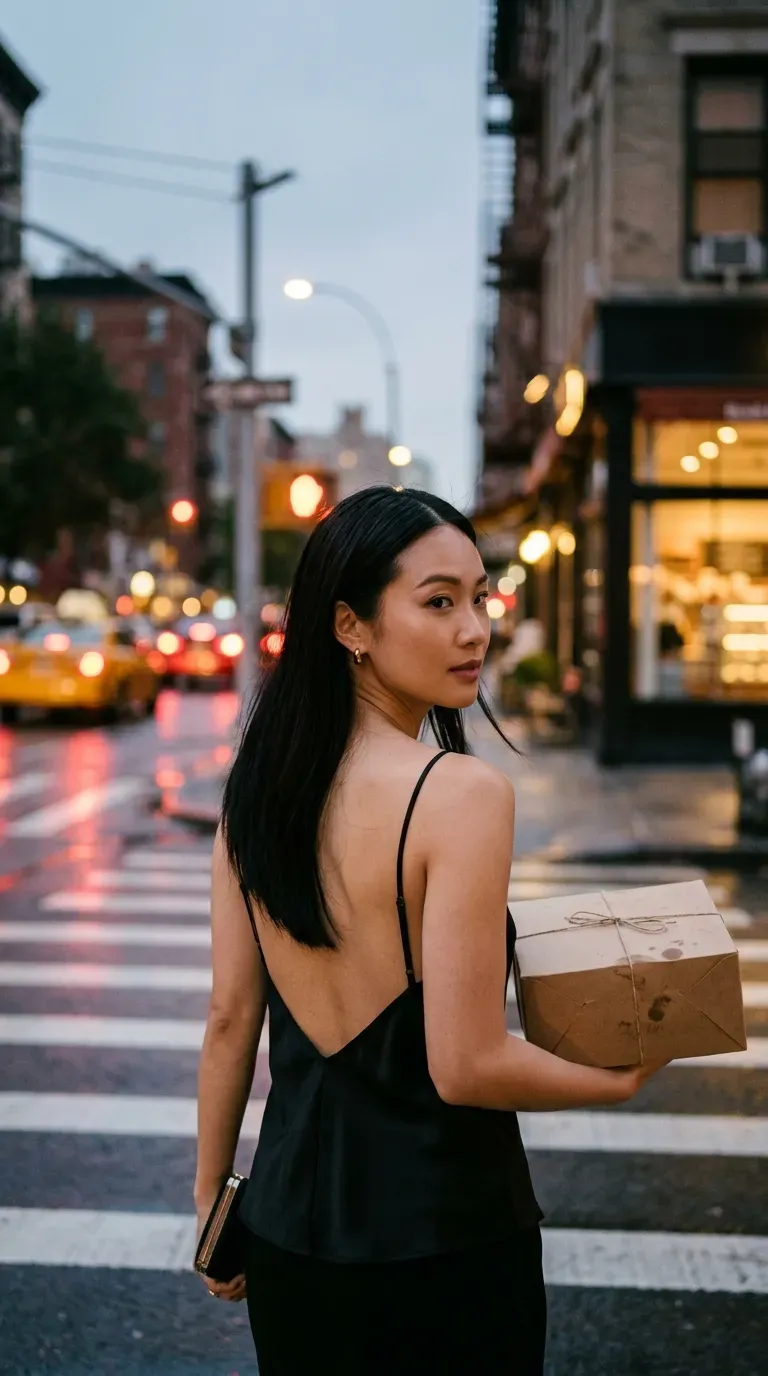
Sleek hair goes wrong in one place, and that place is the iron.
Too much heat and too many passes leave it flat and tired by the time the food arrives. Part it in the center or just off center, blow dry smooth with a paddle brush, then straighten thin sections with one slow pass.
Quick tip: Tuck one side behind your ear last, so an earring shows and the style looks deliberate.
Use a heat protectant before the iron touches your hair.
Let each section cool before you move on.
Going over the same section again and again.
Putting oil near the roots, which turns shine into grease.
12. Mini Braid Accent in Loose Hair
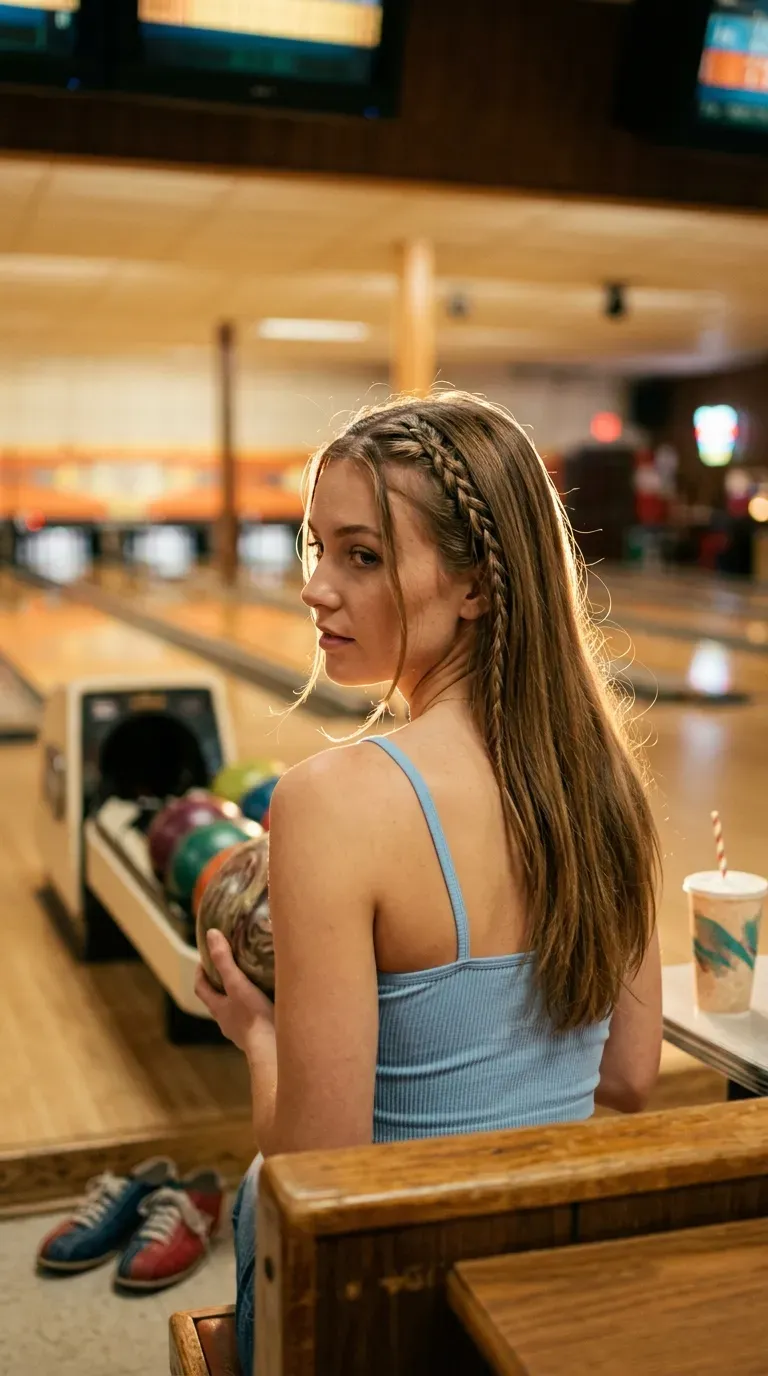
A mini braid is the smallest detail in this list, and it is often the one people notice first.
Take a pencil thin section at your temple, braid it loosely, and tie the end with a clear elastic. Tuck it behind your ear or let it rest on top of the rest of your hair.
- Do it on the side where you part your hair
- Make two if you want a more playful look
Quick tip: Keep the rest of your hair smooth. The braid should be the only thing asking for attention.
13. Textured Bob With a Tucked Side and Small Barrette
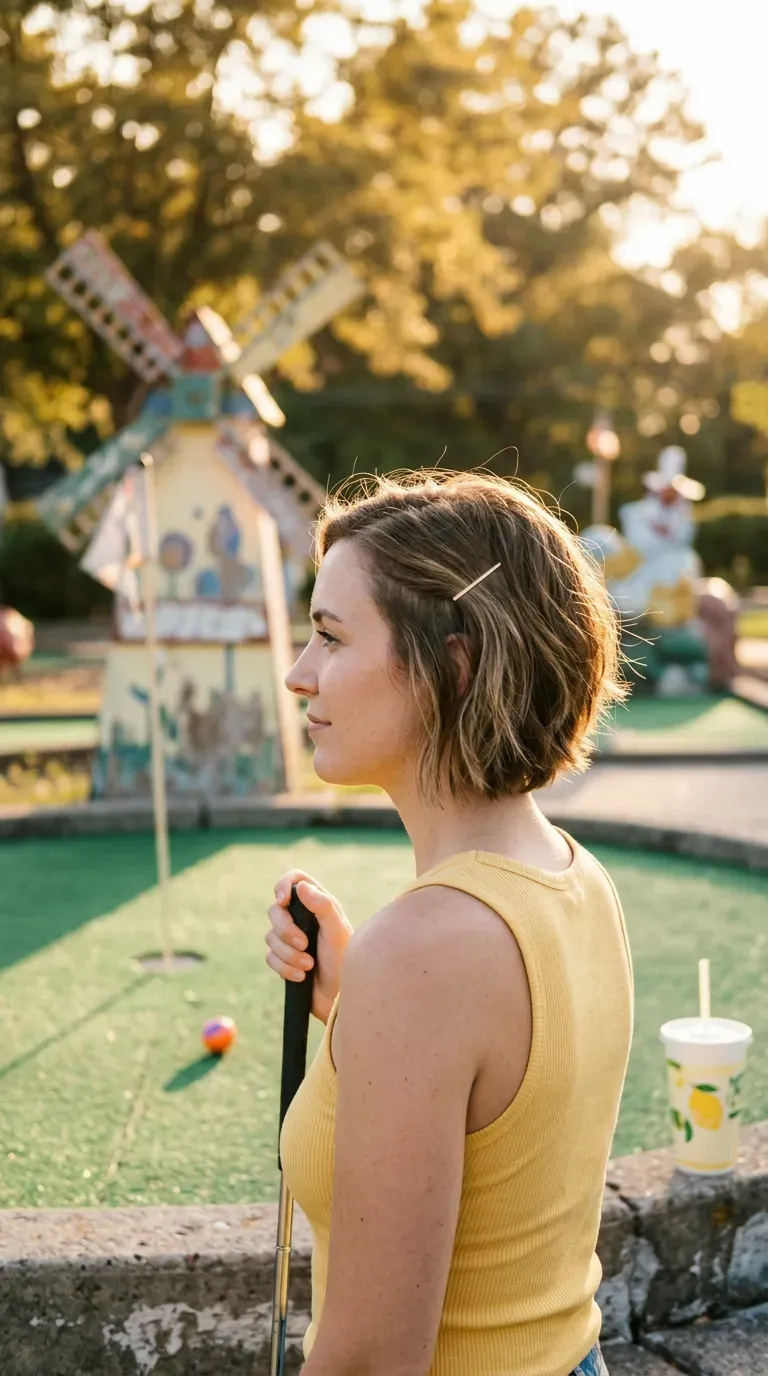
Short hair needs one clear move, and tucking one side back is it.
Spray texture spray on dry hair, tousle with your fingers, and tuck one side behind your ear. Add a small barrette just above the ear to hold it. Flip the part to the other side if your usual side feels flat.
- Rough dry the back with your fingers, not a brush
- Choose a barrette that matches your jewelry
Best for bobs and chin length hair, and it dries fast if you are running late.
14. Half Up Bubble Braid
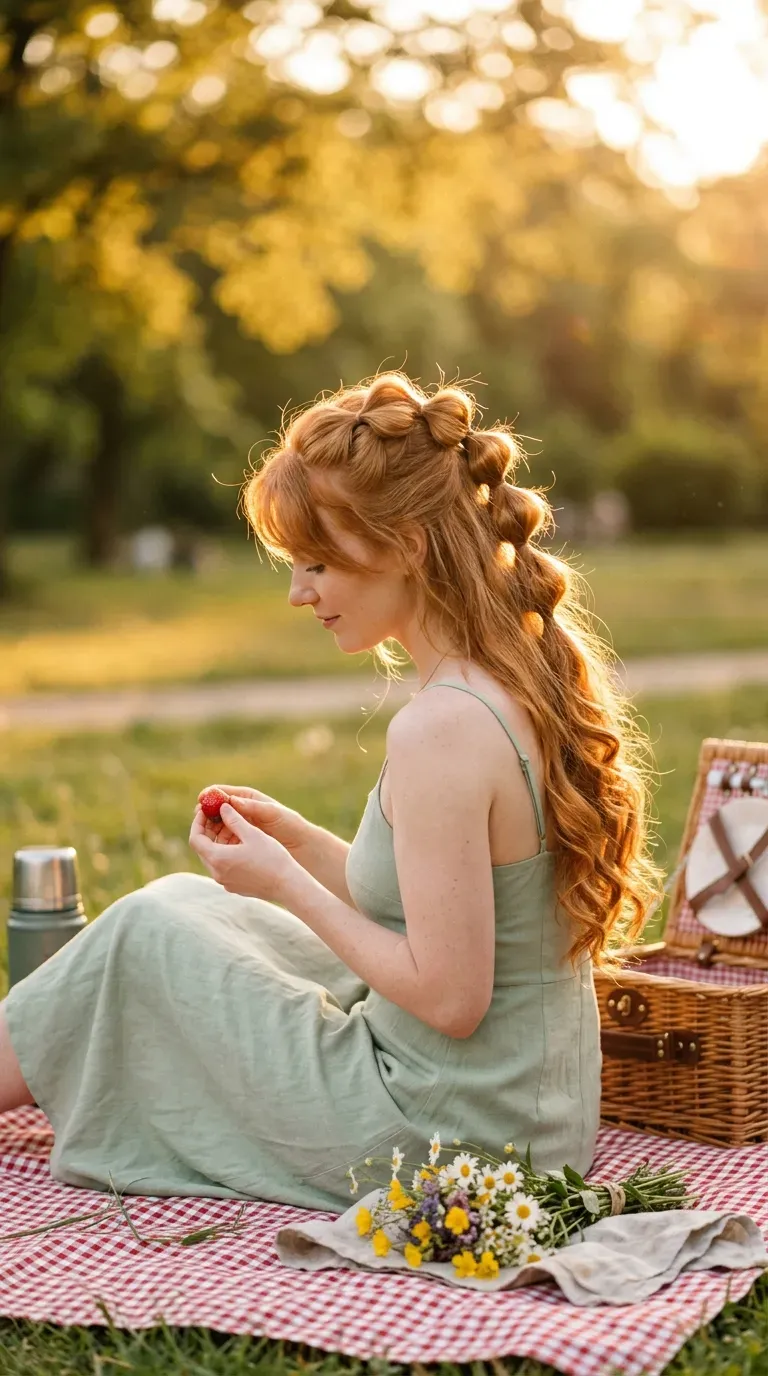
A bubble braid looks complicated, but it is only a ponytail with elastics.
- Pull the top half of your hair into a small ponytail.
- Add a clear elastic every inch or so down the length.
- Tug each section outward until it puffs.
Leave the rest of your hair down and add a little curl at the ends. It looks complicated in photos and takes about as long as a regular ponytail.
Pull each section from the bottom up. Tugging the top section first flattens everything below it.
15. Heatless Waves Set the Night Before
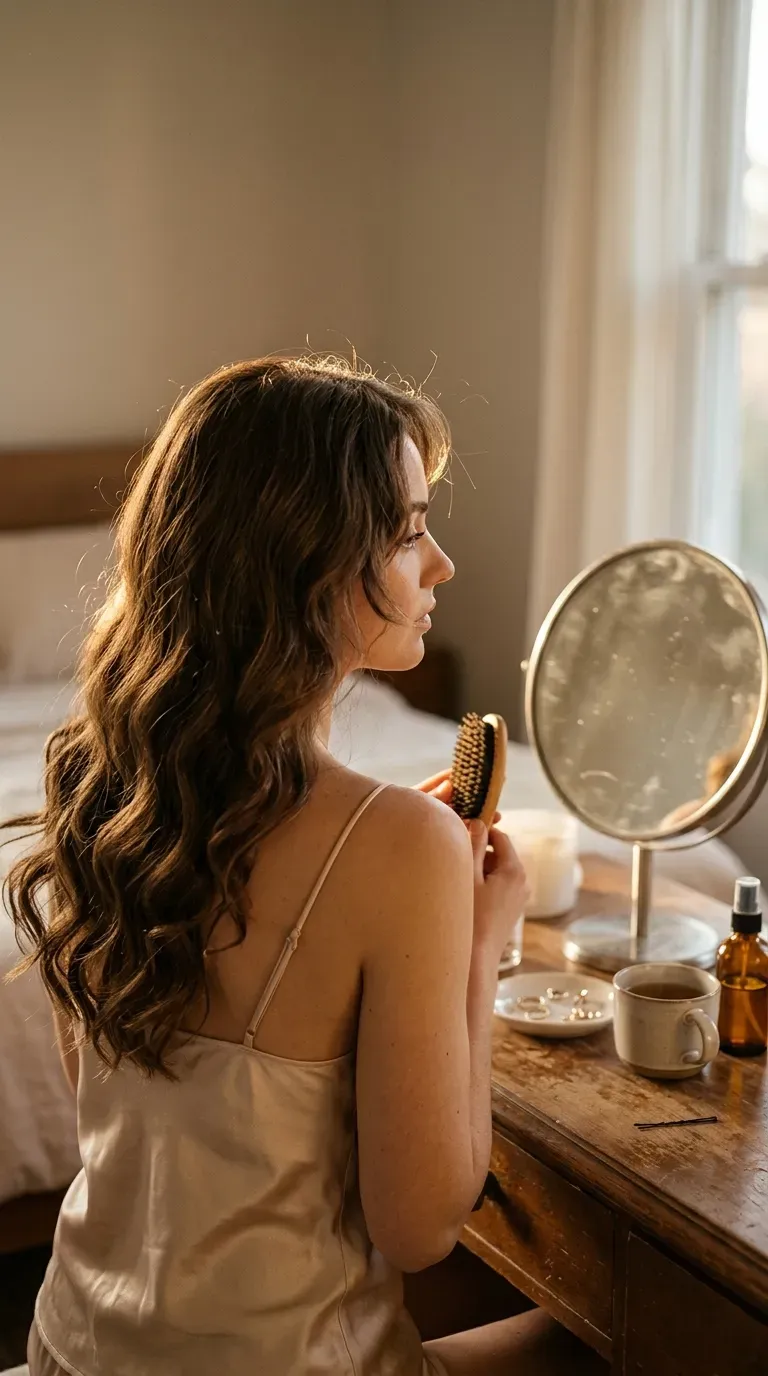
Your date is at 7 and your workday ends at 5:30. Heat styling is not happening, but waves set the night before are.
- Dampen your hair lightly, not soaking.
- Wrap sections around a soft curling rod.
- Tie a satin scarf over it and sleep.
In the morning, unwrap and loosen the waves with your fingers. Skip the brush, since it turns waves into frizz.
16. Low Chignon With a Loose Face Frame
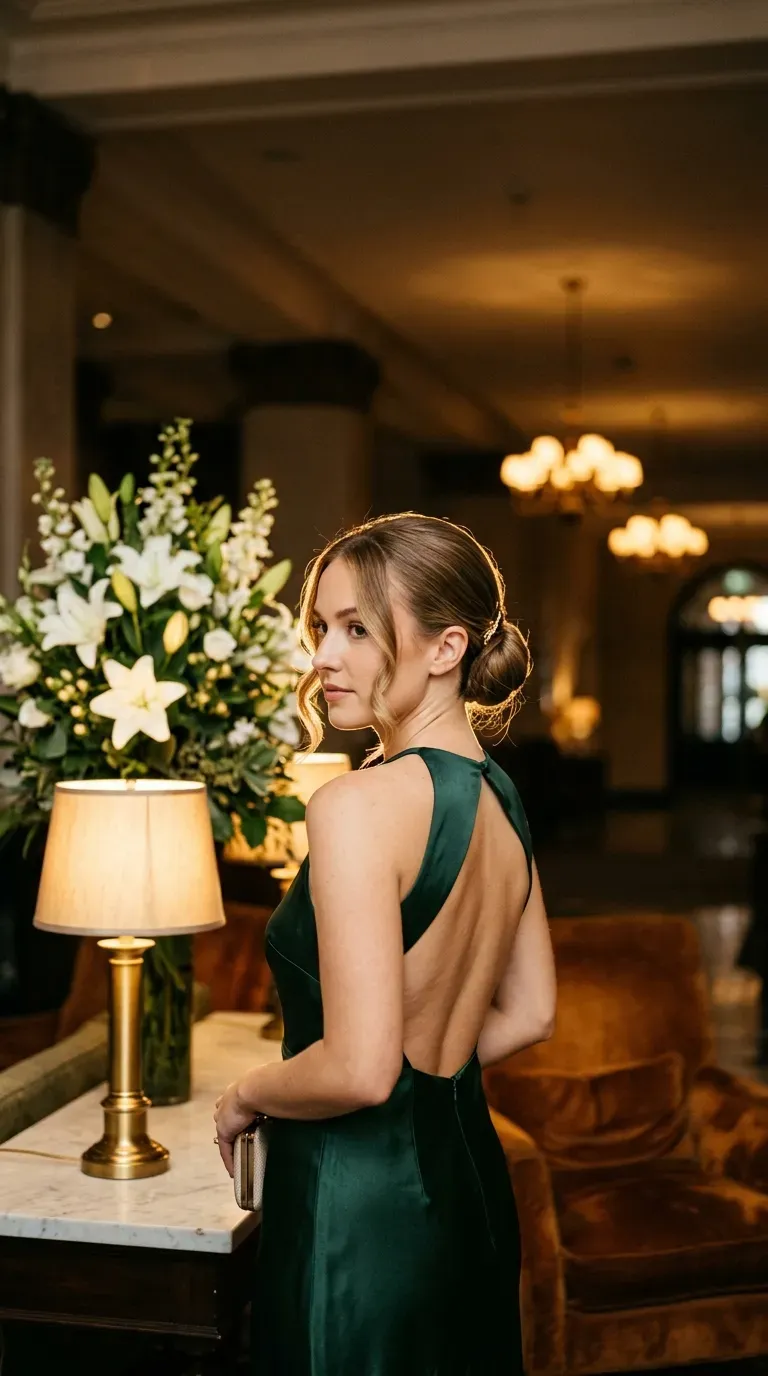
A low chignon looks soft when the front is loose and neat when the back is smooth.
Brush your hair into a low ponytail, twist it, and wrap it around the base. Pin it with U shaped pins in your hair color. Pull out two pieces at the front and curl them gently.
- Brush the back with a little gel for a clean finish
- Add a small gold clip at the side if you want a detail
Best for dinners and evening dates where you want something polished.
17. Curtain Bangs With Loose Bends
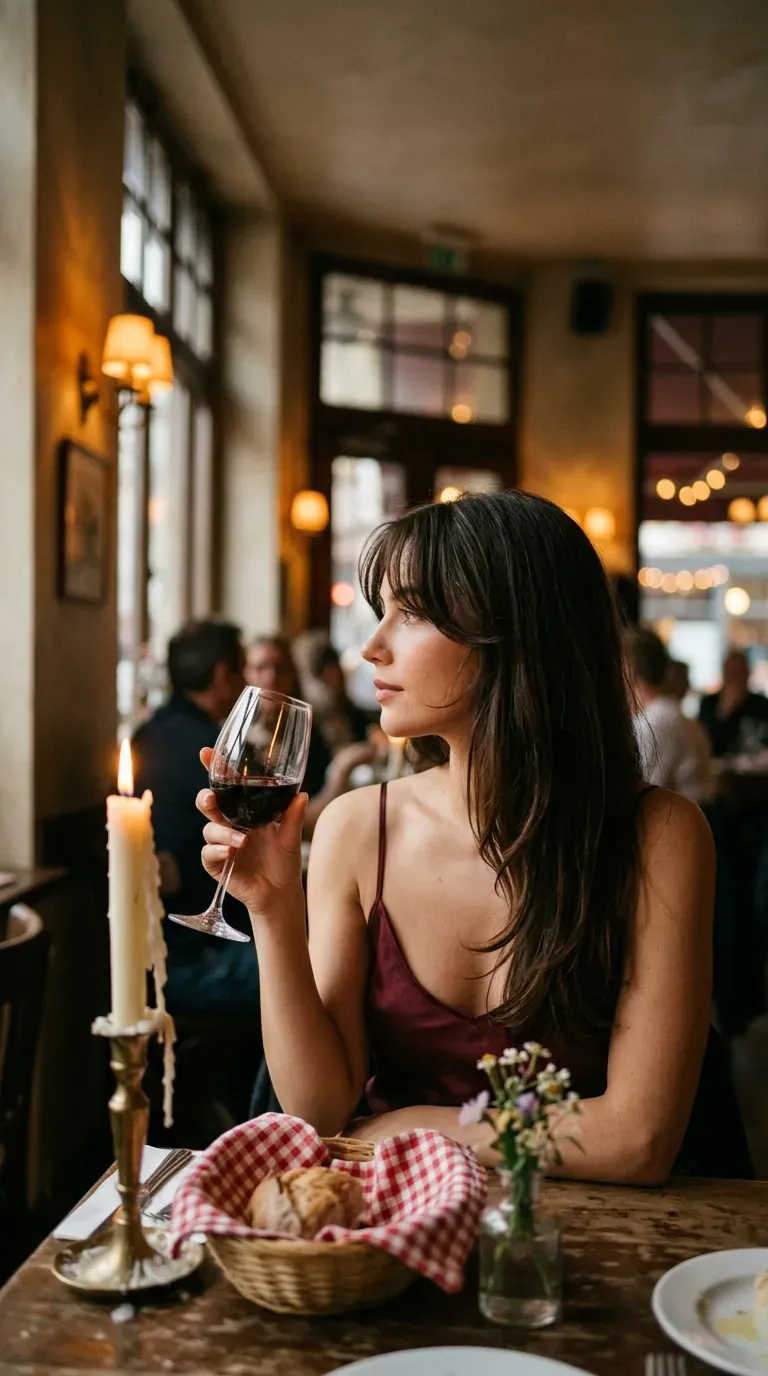
Curtain bangs only need two minutes and one tool, a round brush.
They work with straight or wavy hair and frame your face through a long dinner. If you do not have bangs, ask a stylist for a longer, center parted version that blends into your layers.
Watch out: Heavy product makes bangs split into stripes. A dab of dry shampoo at the roots is plenty.
Style the bangs first, while the roots are still damp.
Roll the ends over a round brush, forward first and then out to each side.
Hit them with the cool setting for a few seconds so the bend stays.
Conclusion
The best first date hairstyles are the ones that still feel like you after three hours of talking and a gust of wind on the walk back. Pick the look that matches your hair type and the plan, then add one small detail, like a clip, a ribbon, or a loose braid. Test it once before the date so you know how long it takes and what holds up. On the night, you can think about the conversation instead of your hair, which is the whole point.
Save this list for the next time you need a look that feels like you, only a little more put together.