
Most date night hair looks great in the mirror and sad by the time the appetizers arrive. The curls drop, the pins slide, and the heart you spent twenty minutes on turns into a loose lump.
That is the real problem with a lot of Valentine’s Day hairstyles. They are styled for one photo, not for a whole evening of hugging, walking, and leaning across a small table.
This list is built differently. You will find 18 looks that use hearts, soft curls, braids, bows, and pins in ways that actually hold. Some take ten minutes. A few need a friend and a mirror. All of them work on a night out, a school dance, a brunch with friends, or a quiet dinner at home.
Each idea gives you the exact move and one detail that keeps it in place. Pick one that matches your hair length and your patience, then save the ones you want to try later. Your hair does not have to be long to feel romantic.
1. Heart Shaped Half Up Braid With Pearl Pins
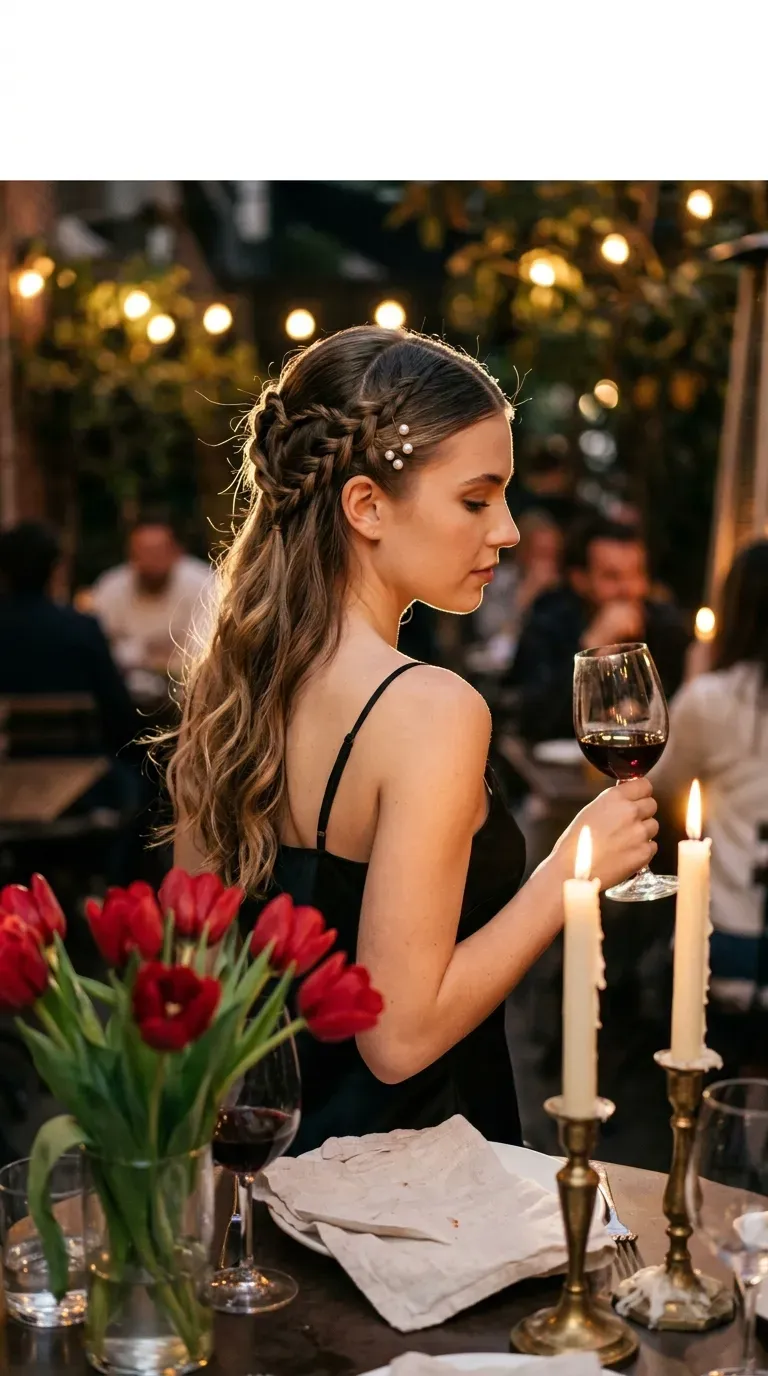
Two Dutch braids that curve toward each other at the back of the head make a heart you can see from the front and the back. It looks tricky, and it is really just two braids and a pin.
What you need:
- A fine tooth comb
- Two small clear elastics
- Four to six pearl pins
- A light hold spray
Leave the rest of the hair loose in soft waves so the heart stands out. The neat braids against relaxed lengths are what make it feel romantic instead of fussy.
Quick tip: Braid on day two hair. Freshly washed strands slip out of every section.
Part your hair down the center and clip the bottom half out of the way.
Start each Dutch braid at the temple and curve it down toward the middle of the back.
Pin both braid ends together where they meet. That point becomes the bottom of the heart.
2. Soft Barrel Curls Pinned Behind One Ear
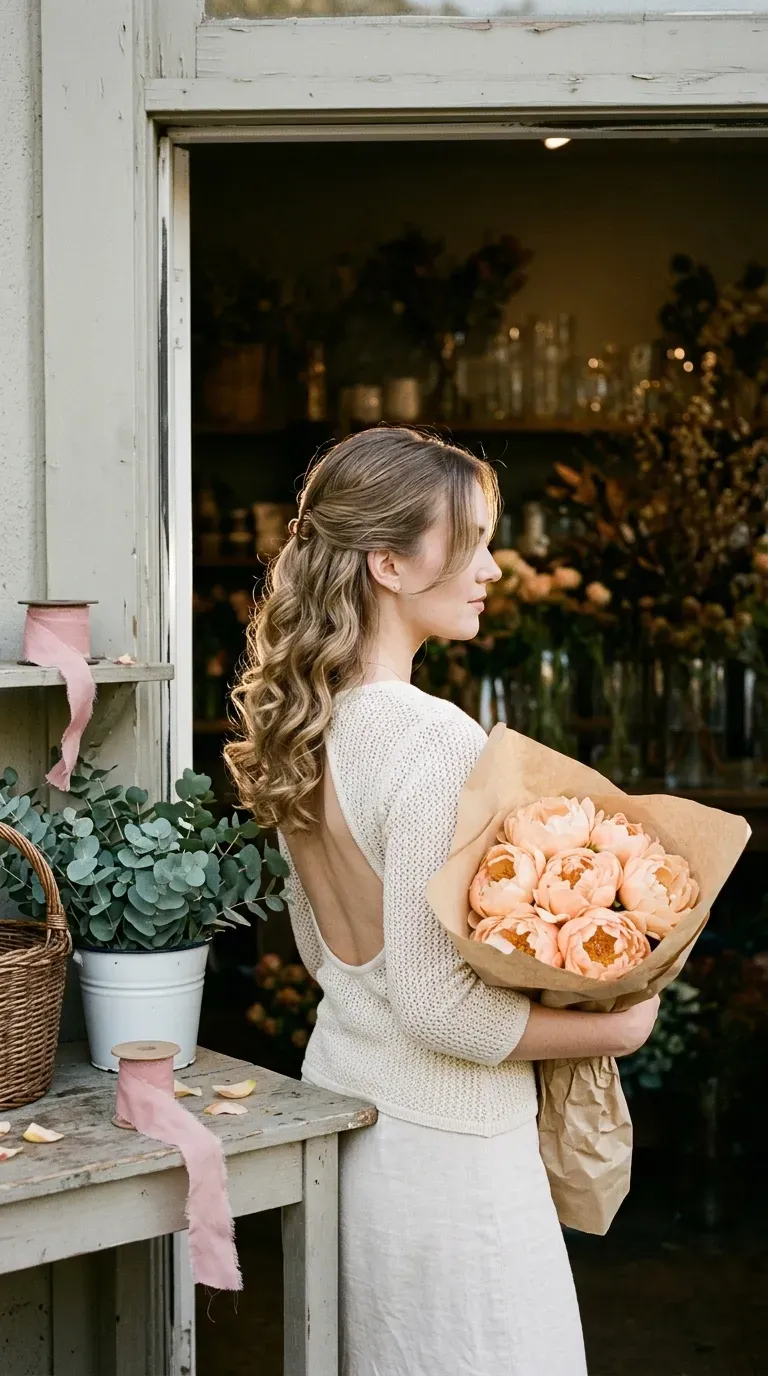
Curls that fall straight into your face by dinner are the top date night complaint. A deep side pin fixes it.
Curl in sections with a one inch barrel, always wrapping away from your face. Let each curl cool in your hand before you let go. Then run your fingers through, not a brush, so the curls blend into one soft wave.
- Tuck the side with the part behind your ear and secure it with a small pearl or gold clip
- Leave one thin face framing piece out on that side
- Keep the other side loose
A tiny pin does more than hairspray ever will.
3. Heart Shaped Bun Made From A Split Ponytail
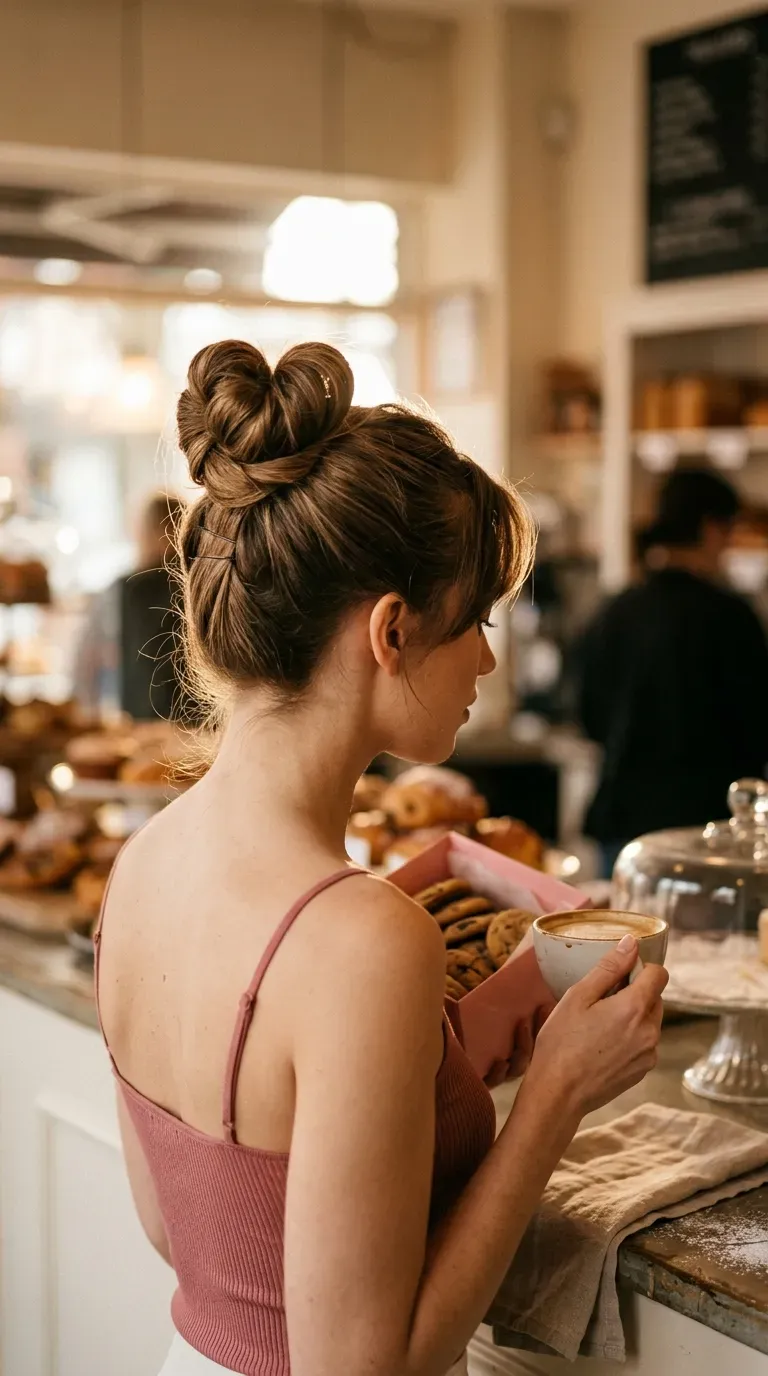
Heart buns look like salon work, but they need one ponytail and a steady hand.
- Tie a ponytail at the crown.
- Split it into two equal halves.
- Twist each half and wrap it outward into a loop, with the tips meeting at the base.
- Pin the tips together and fluff the loops until the heart shows.
Smooth the front with a little gel so the shape stays crisp. A fuzzy front hairline makes the heart harder to read.
Works best on shoulder length hair or longer, since the loops need some length.
4. Low Bubble Ponytail With A Satin Bow
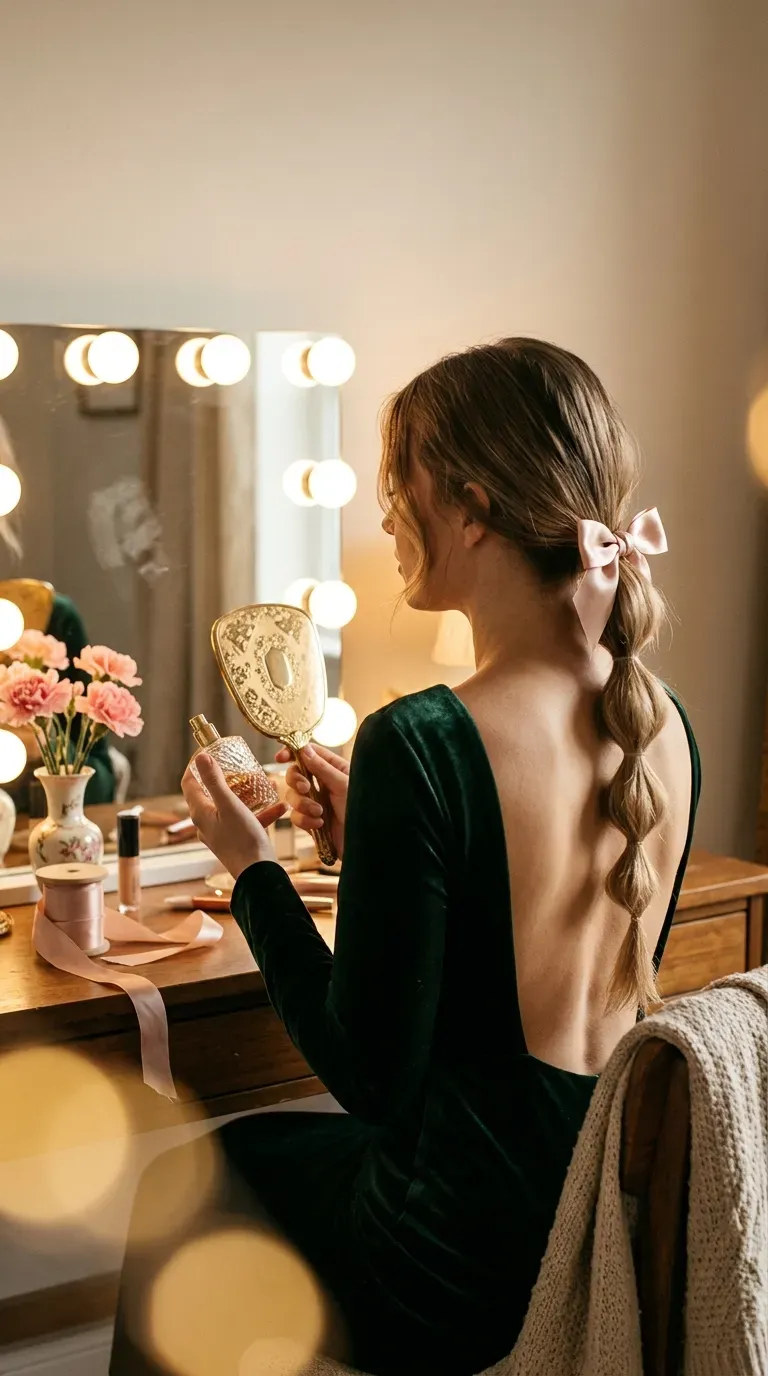
A low bubble ponytail holds through a long dinner because every elastic has a small job.
Make the ponytail at the nape, then add clear elastics every two inches down the length. Pull each section outward with your fingertips until it puffs.
- Cover the top elastic with a satin ribbon tied in a small bow
- Match the ribbon to your outfit, not to the holiday
- Tug the bubbles wider at the end, not at the top
Pink and red are the obvious ribbon picks. Deep burgundy looks richer in photos.
5. Curtain Bangs With Loose Waves And A Side Part
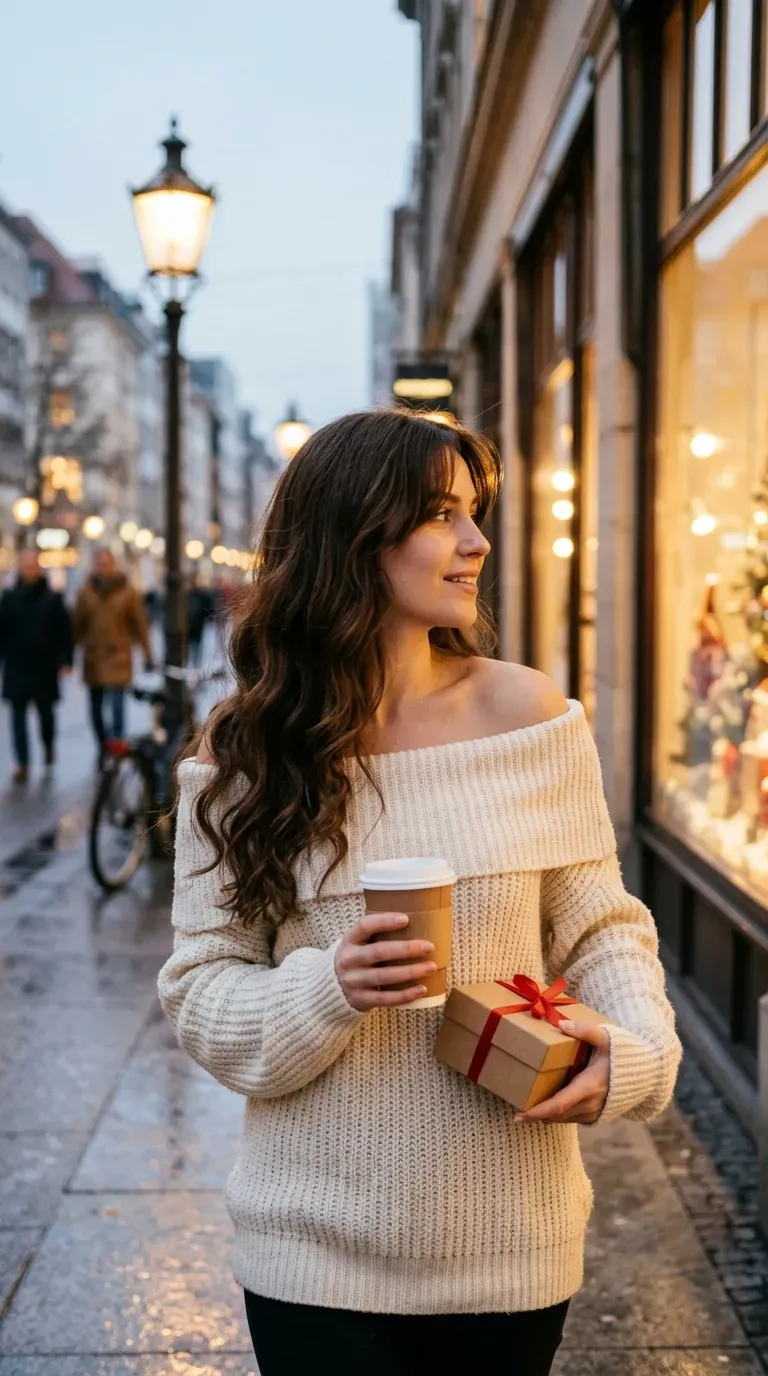
Curtain bangs do the face framing that a curling iron usually has to do alone.
For the wave, blow dry the bangs with a round brush, rolling them away from the center. Then curl the rest in loose sections, leaving the last inch of each strand straight so it looks less staged.
No bangs? Pull two thin pieces forward from your part and curl them away from your face. It reads almost the same in photos.
Quick tip: Keep a mini comb in your bag. Bangs separate in cold weather, and a quick part fixes them.
6. Pull Through Braid With A Red Ribbon Woven In
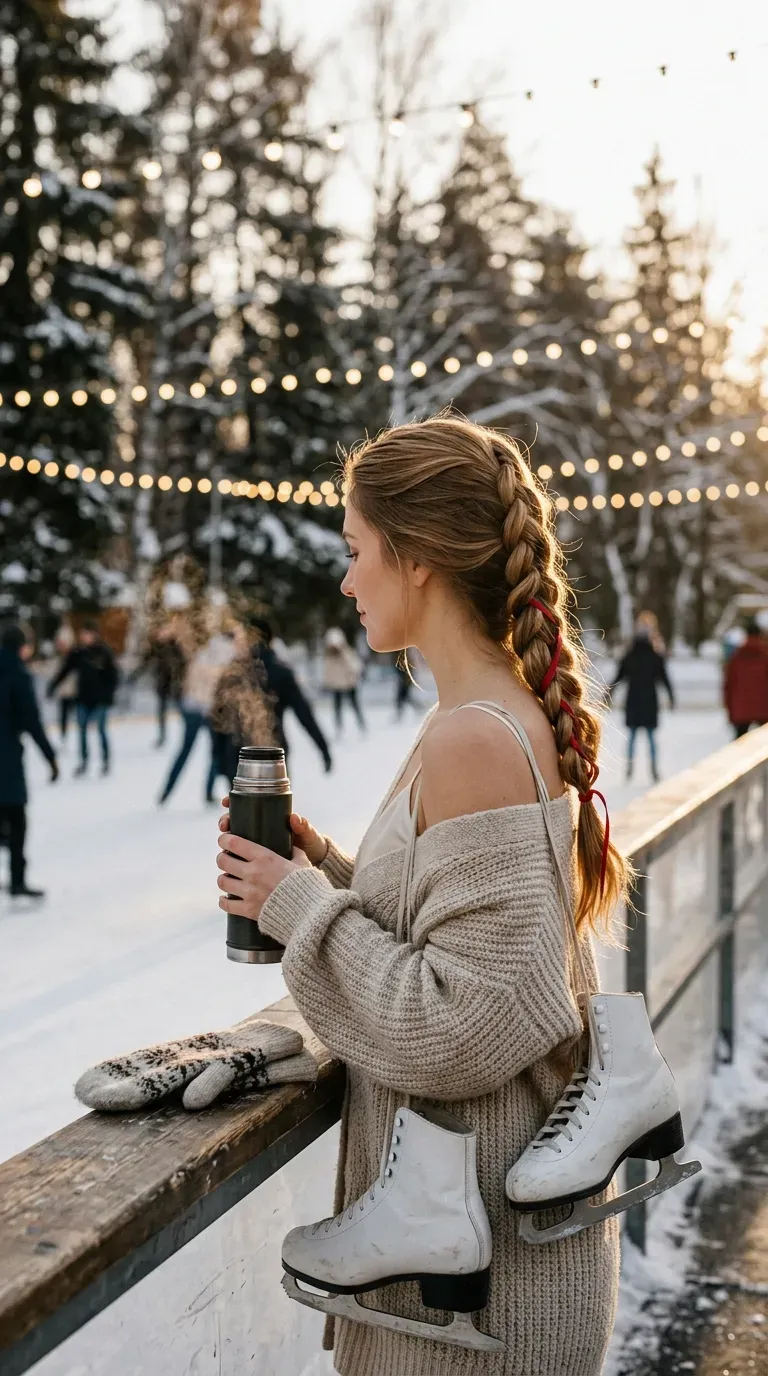
A pull through braid looks like a fancy braid but works like a ponytail trick.
- Make a ponytail, then add another elastic a few inches below it.
- Split the hair between the two elastics and pull the ponytail through.
- Repeat down the length.
- Thread a thin red ribbon through the gaps as you go.
Fluff each loop with your fingers once you reach the end. The braid gets thicker and softer that way.
Ribbon tends to slide, so tie it to the last elastic with a tiny knot before you start.
7. Half Up Twist With A Heart Claw Clip
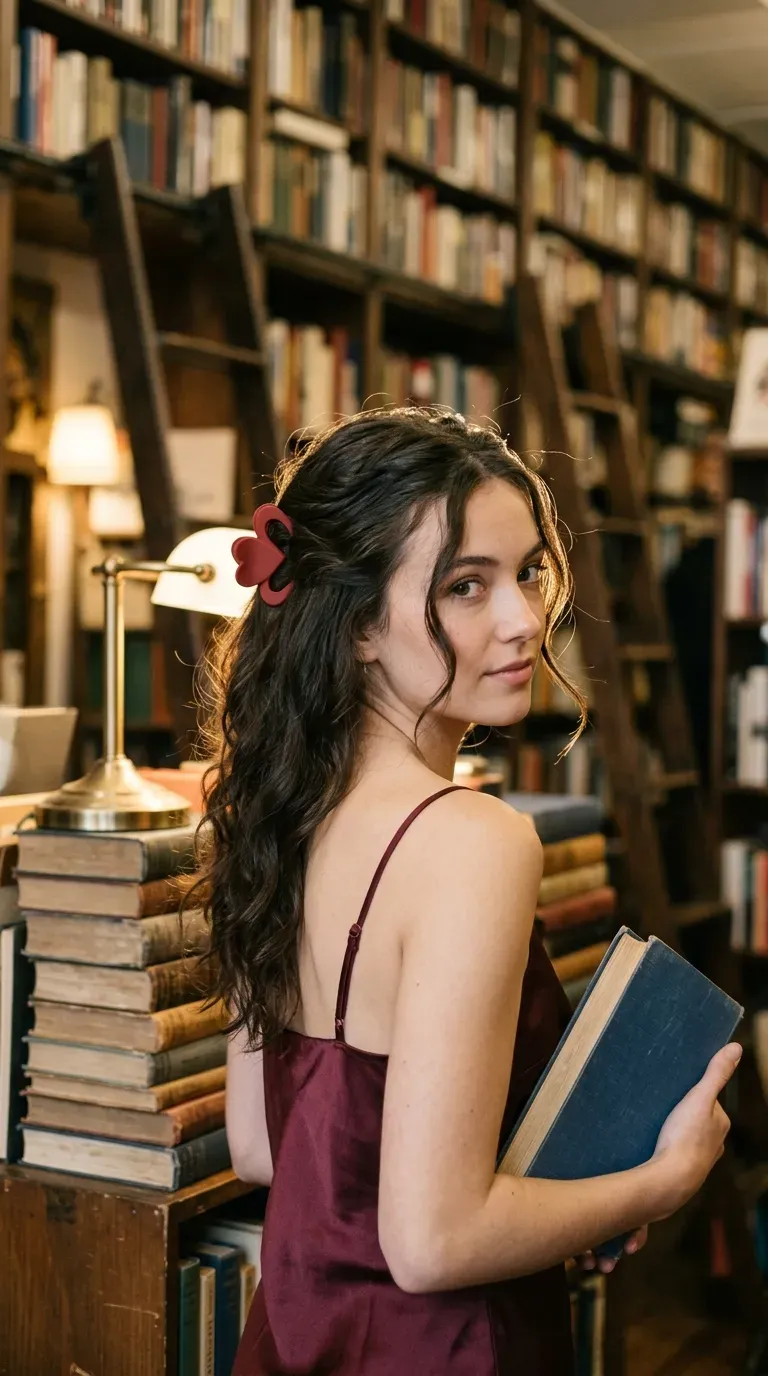
Most claw clip half ups slump because the clip sits too low on the head.
Gather the top half of your hair, twist it once, and push it up toward the crown before you close the clip. The twist adds lift, and the lift keeps the clip from sliding.
- Pick a heart shaped clip in red, blush, or tortoiseshell
- Pull out two thin pieces at the front
- Curl the lengths underneath in loose waves
A small clip holds thin hair better than a big one, so choose by how much hair you have.
Clip at the crown, where the hair has something to grip.
Let your hair dry fully before you clip it.
Clipping near the nape, where it slides down within the hour.
Closing the clip on damp hair, which leaves a dent.
8. Sleek Low Bun With Face Framing Curls
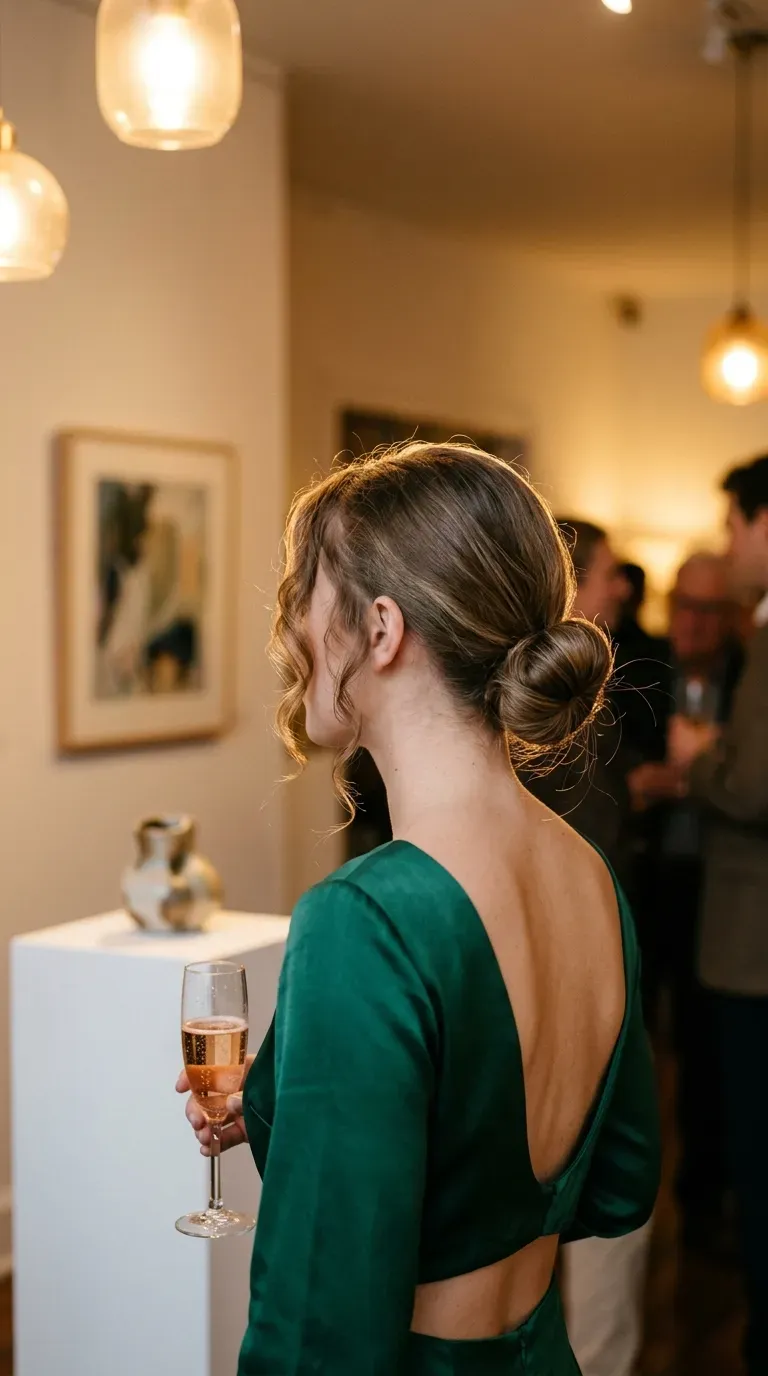
A smooth low bun with two loose curls at the temples is the quietest romantic look on this list.
Brush your hair into a low ponytail with a little smoothing cream or gel on your palms. Twist it into a bun and pin it flat, then release one thin piece on each side of your face. Curl those pieces with a small iron, wrapping away from your cheeks.
It suits dresses with open backs or square necklines, because the bun sits right where the neckline starts.
Keep the curls loose and unsprayed. Stiff curls look dated.
9. Space Buns With Curly Ends And Heart Clips
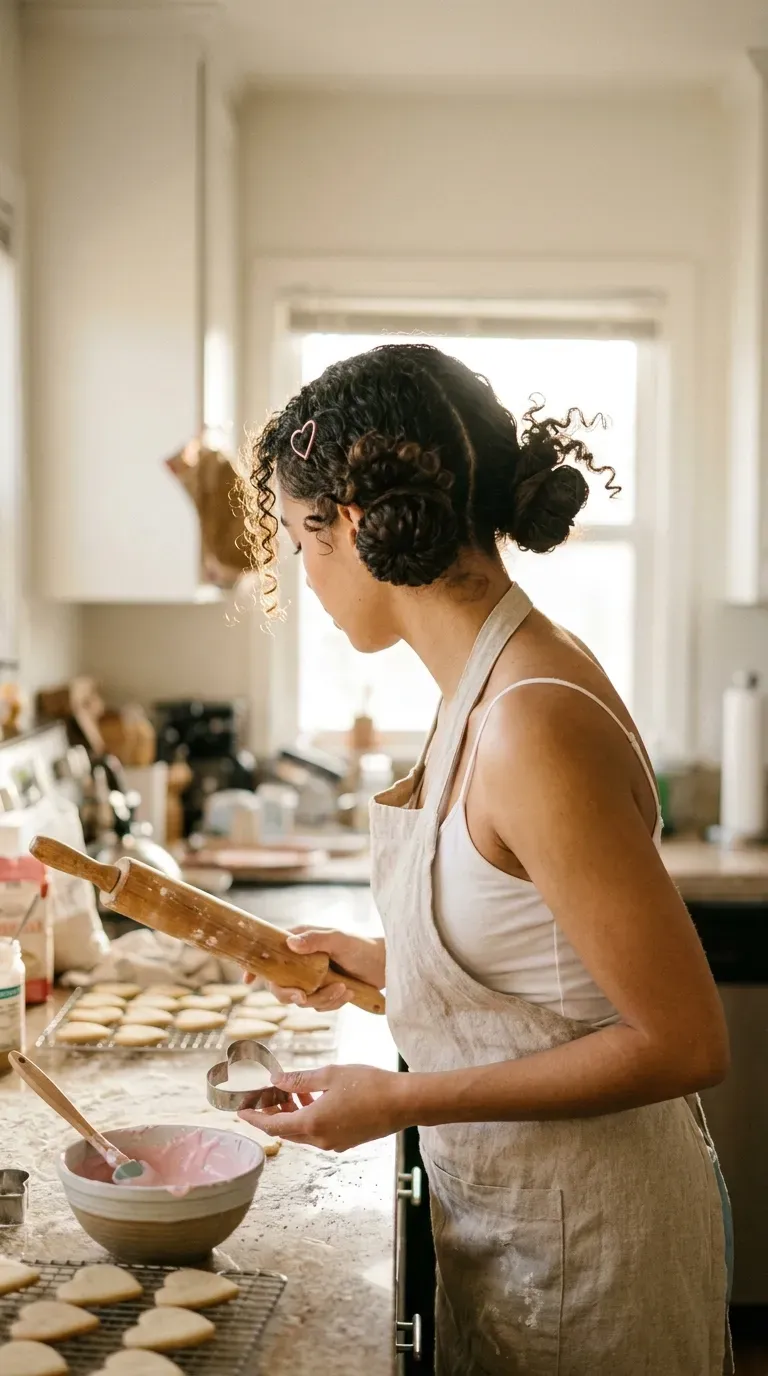
Space buns usually flatten curls. This version keeps them.
Part down the middle and make two ponytails at ear level. Twist each one loosely and wrap it into a bun, but leave a few inches of the ends hanging out. Curl those ends around a wand so they spring over the top of each bun.
High buns look playful, while buns at ear level look softer and more date night. Choose by the mood of your plans.
Finish with a small heart clip on each side, pinned just above the bun.
10. Hollywood Waves With A Deep Side Part
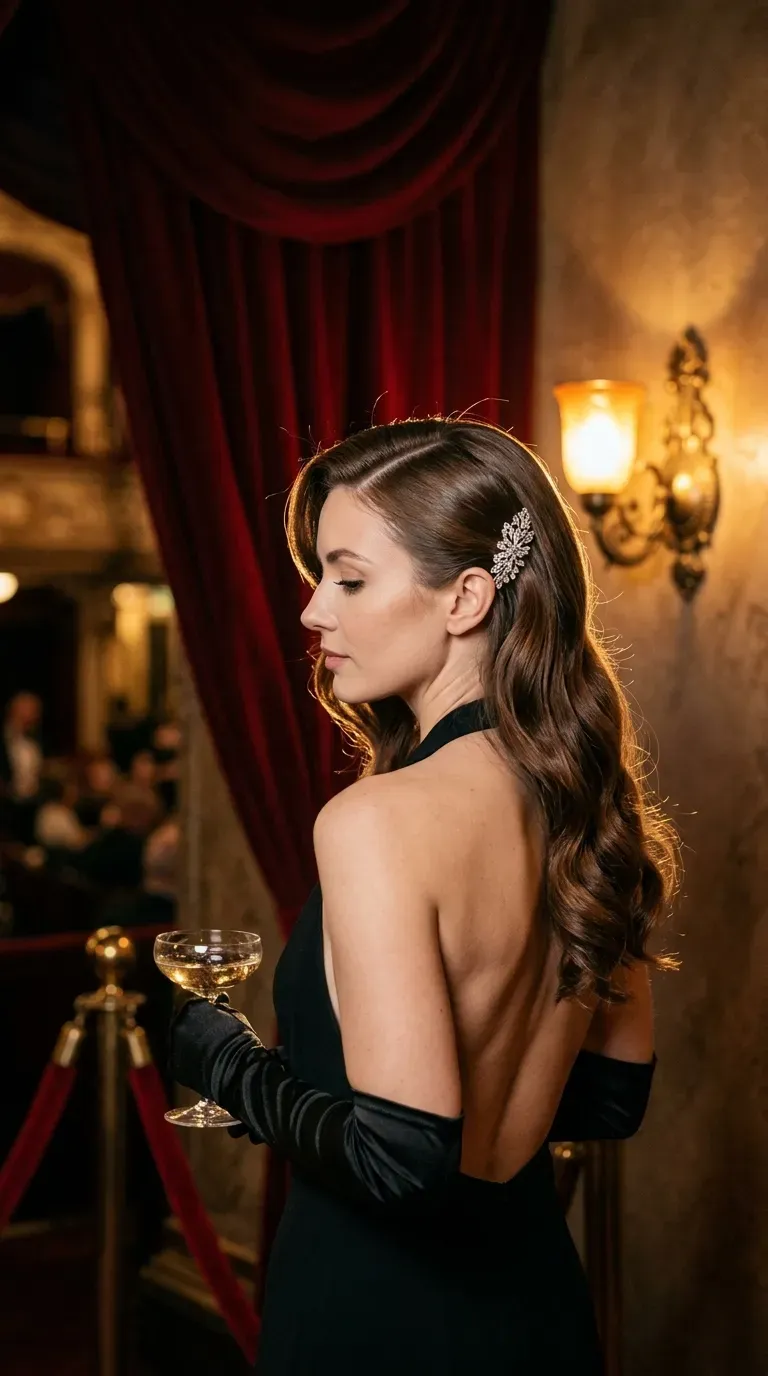
Hollywood waves have a reputation for needing a pro, but most of the work is waiting.
- Curl every section in the same direction around a one inch iron
- Pin each curl flat against your head while it cools
- Take the pins out and brush through with a soft bristle brush
- Sweep the heavy side behind one ear
That brush out step is the whole trick. Without it you get ringlets, and with it you get a shiny wave that moves.
A bit of shine spray at the end makes the light catch every ripple.
Tight, separate curls that sit like springs and look stiff.
One smooth ripple that falls past the shoulders and catches the light.
11. High Ponytail With Spiral Curls And A Bow
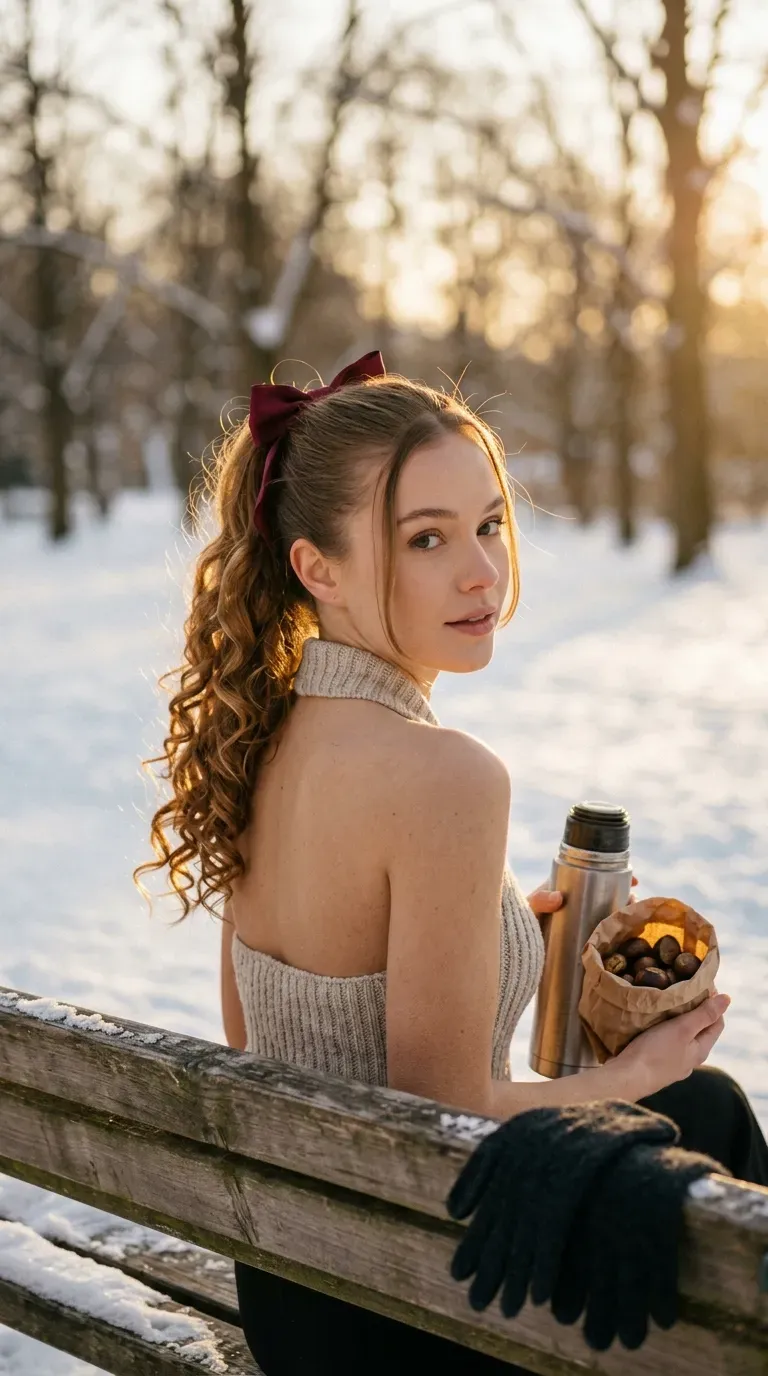
Straight ponytails can look flat in photos, and spirals fix that fast.
Pull your hair into a high ponytail first, then curl the ponytail in small sections around a thin wand. Hold each spiral for a few seconds and let it drop without brushing.
Wrap a thin strand of hair around the elastic and pin it. Then add a ribbon bow over the pin.
Mistake to skip: Curling before you tie the ponytail. The elastic crushes the curls you just made.
12. Mermaid Braid With Rosebud Pins
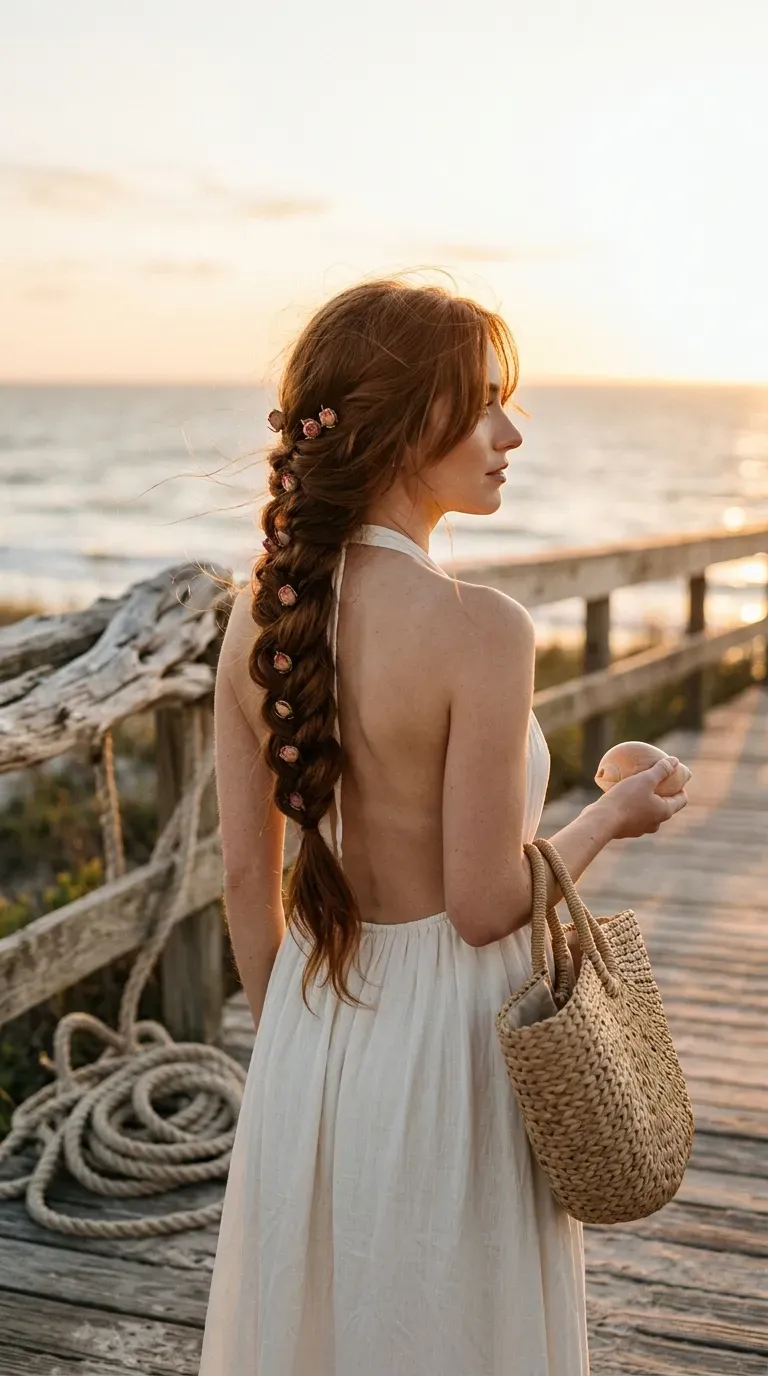
Thin strands crossing back and forth give a mermaid braid its scaled look.
Split the hair into two halves. Take a very thin piece from the outside of one half, cross it over, and add it to the other half. Switch sides and repeat down the length. The thinner the pieces, the more detailed it looks.
Tuck small rosebud pins between the weaves every few inches.
Loosen the edges gently when you finish. A tight mermaid braid looks stiff.
13. Hair Bow Half Up With Loose Curls
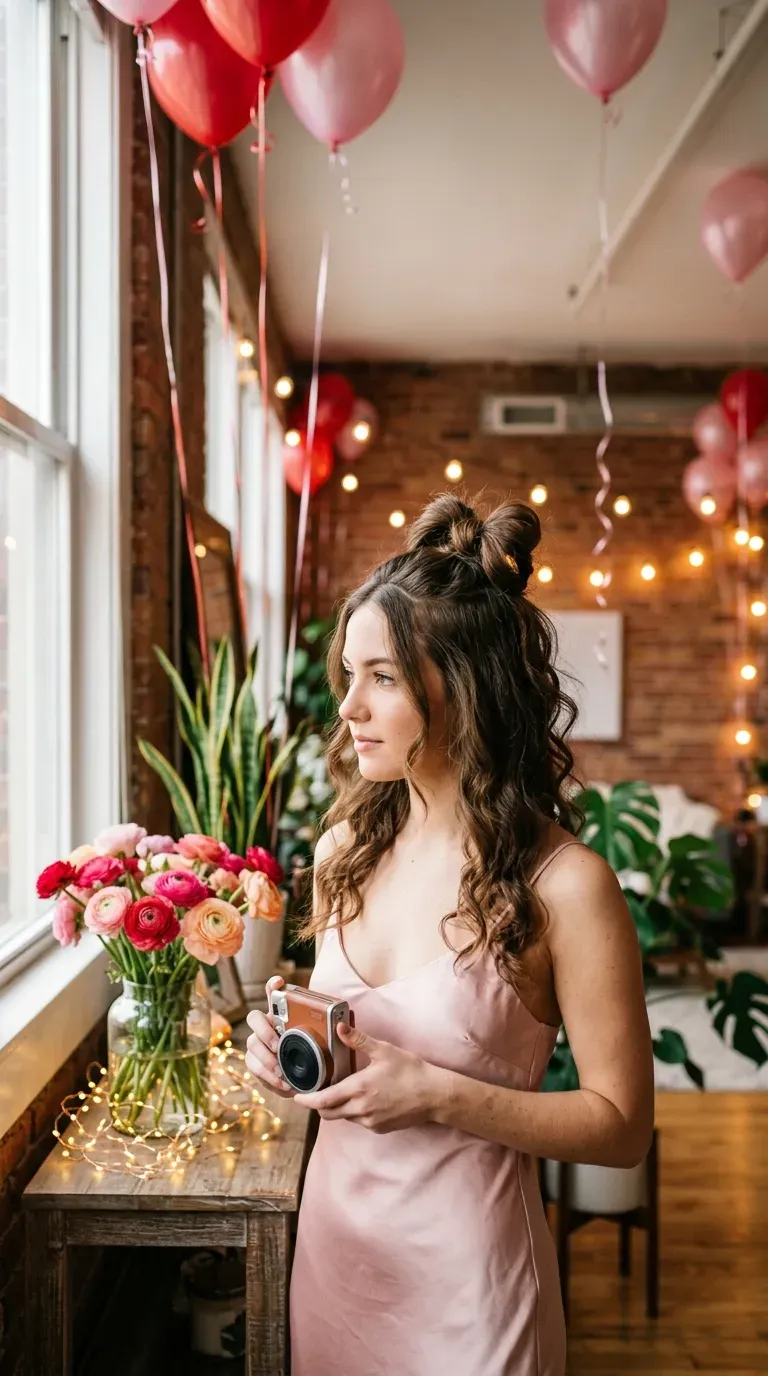
A bow made from your own hair never slips the way a clip on bow can.
Pull the top half into a half ponytail, but only pull it through halfway so a loop stays in front. Split the loop into two sections and wrap the leftover tail across the middle. Pin it flat at the back.
Curl the rest of your hair in loose waves so the bow has something soft to sit against.
- Spray the bow lightly so the loops keep their shape
- Pin the center twice, not once
14. Rope Twist Low Chignon With Fresh Flowers
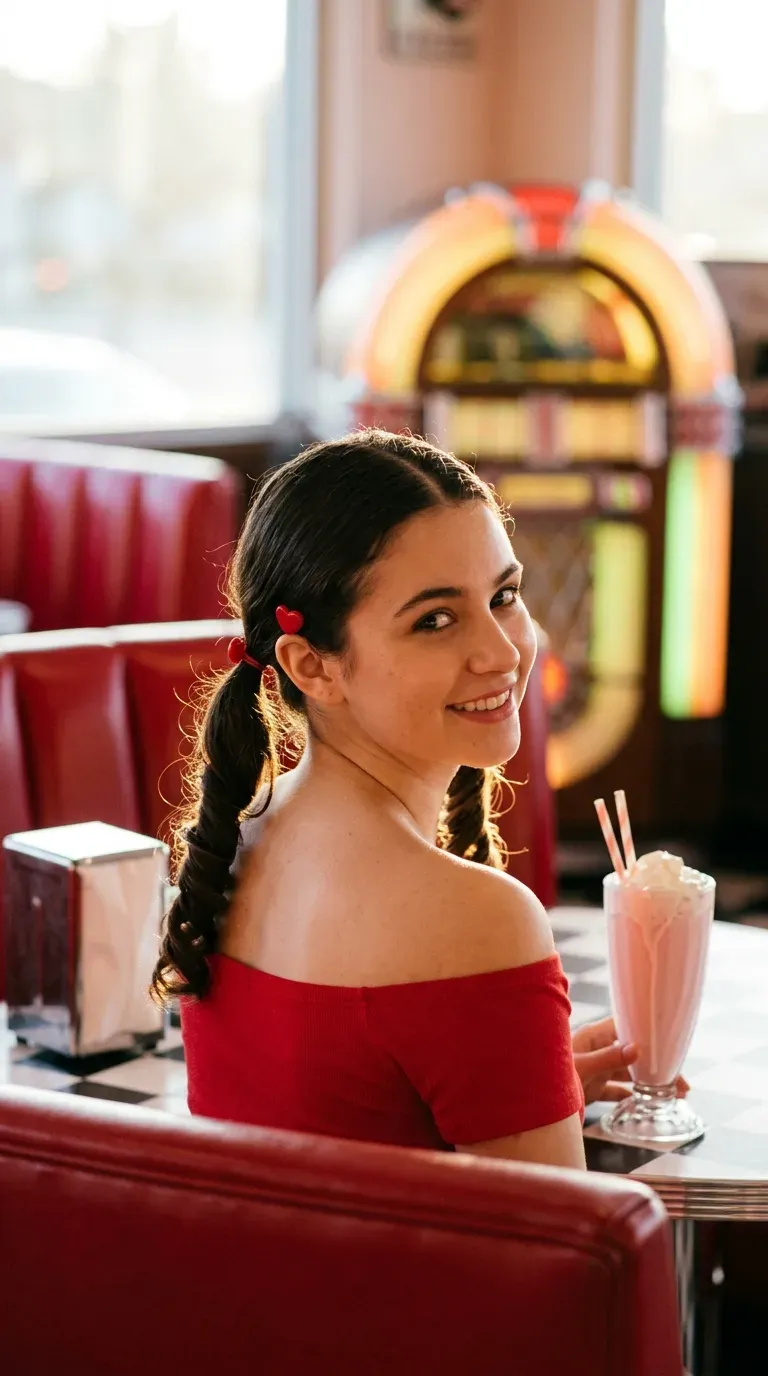
One rule keeps flowers in hair from looking like a costume: use fewer than you think.
Make a low ponytail at the nape. Twist it into a rope, coil it into a loose chignon, and pin it every inch or so. Pull a few strands out around the ears to soften the edge.
Pick small flowers such as spray roses, waxflower, or baby’s breath. Cut the stems to about an inch and slide them in with a bobby pin through the stem.
Keep the flowers in a glass of water until the last minute. They hold up better.
15. Spiral Curled Pigtails With Heart Clips
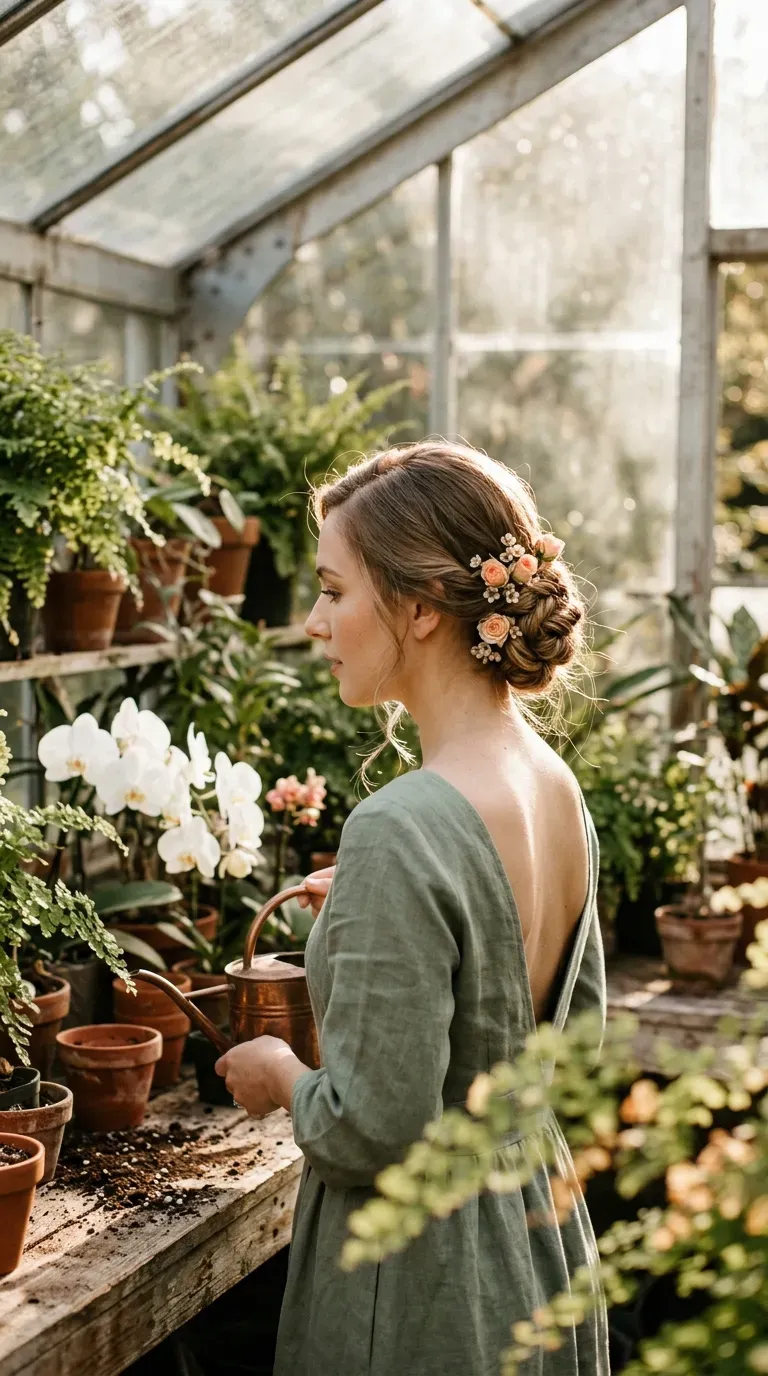
Pigtails are not only for little kids, and curls make them look grown up.
Part down the middle and tie two low pigtails behind the ears. Curl each one with a thin wand into tight spirals. Rake your fingers through the spirals once so they blend into larger ringlets.
- Add a heart clip just above each elastic
- Pull a small piece out at each temple
- Keep the pigtails low for a softer shape
Works for school dances, birthday dinners, and casual dates alike.
16. Face Framing Braids With Soft Curls Down
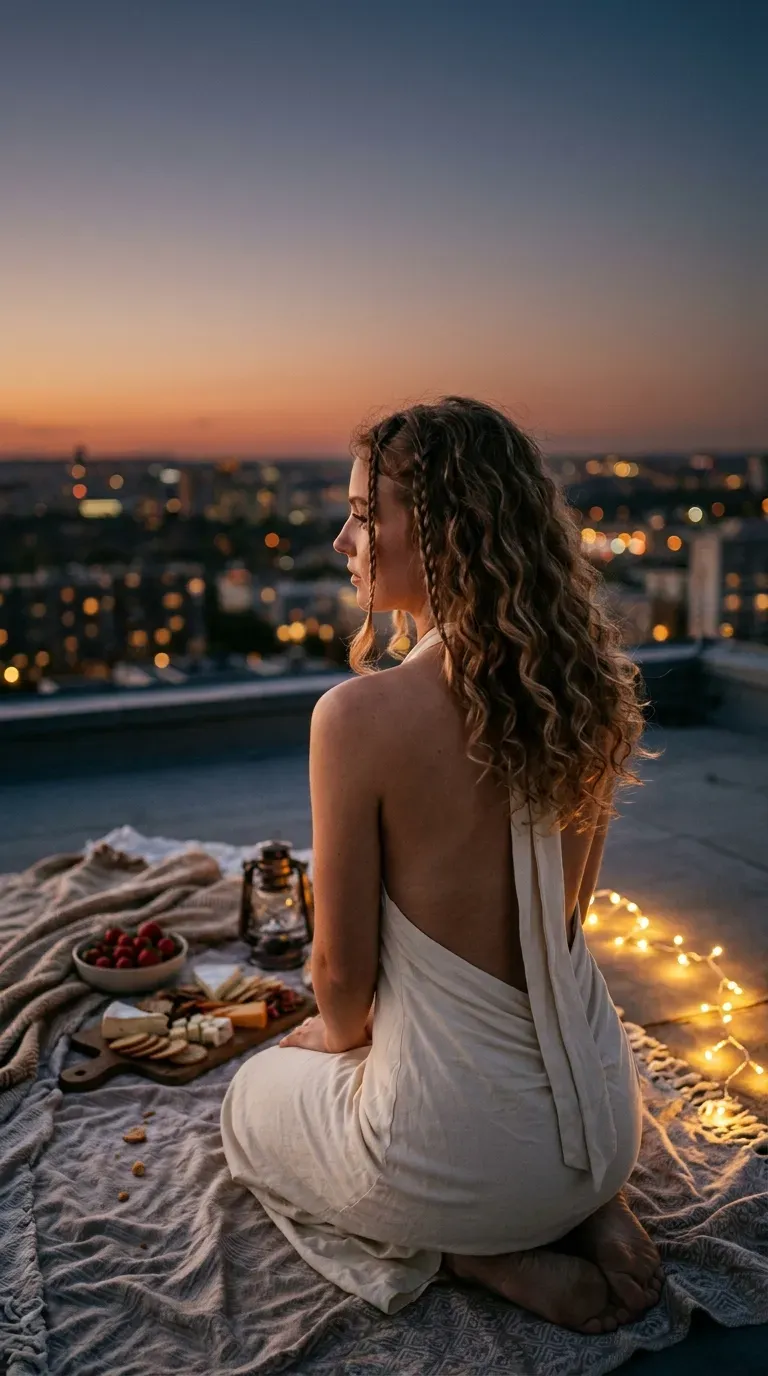
Two thin braids at the front change the whole look without touching the back.
Take a small section at each temple and braid it loosely down to the ends. Tie it off with a clear elastic, then pin it behind the ear or let it hang forward. Curl the remaining hair in loose waves.
These braids work with curls of any size, because they frame the face and keep the front hair from blowing into your lip gloss.
Who it suits: anyone growing out bangs, or anyone who just wants hair out of their eyes.
Add grip before you style, not after. A little dry texture spray on your roots and mid lengths gives curls and braids something to hold onto.
17. Short Bob With Soft Flip Curls And A Heart Barrette
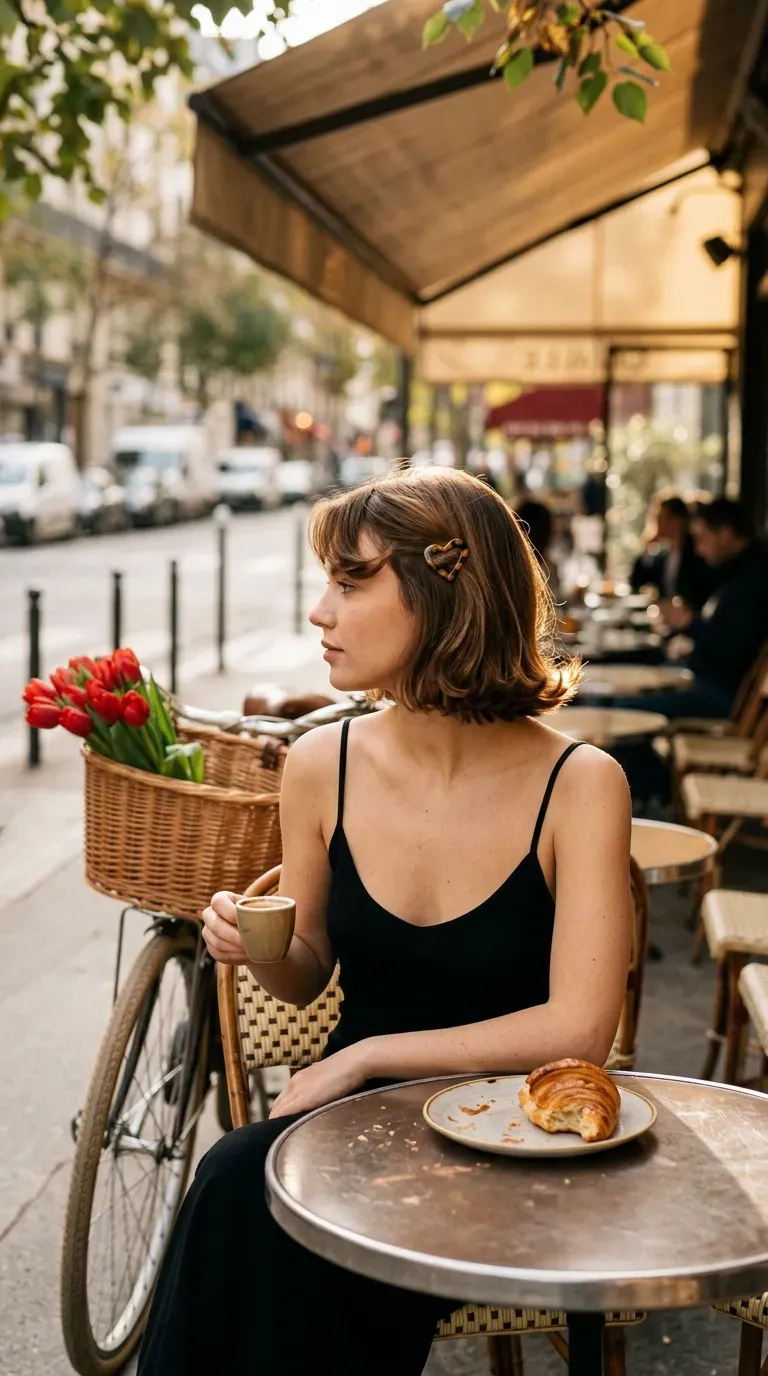
Bobs get left out of most hair lists, so this one is made for them.
Curl the hair away from your face at the front and flip the ends outward at the back. Use a one inch iron and hold each section vertically. Let it cool before touching it.
- Part to one side
- Pin back that side with a heart barrette
- Add a little shine spray at the ends
Chin length hair needs fewer pins than long hair, so one statement clip is enough.
18. Low Side Ponytail With Soft Curls And A Satin Scrunchie
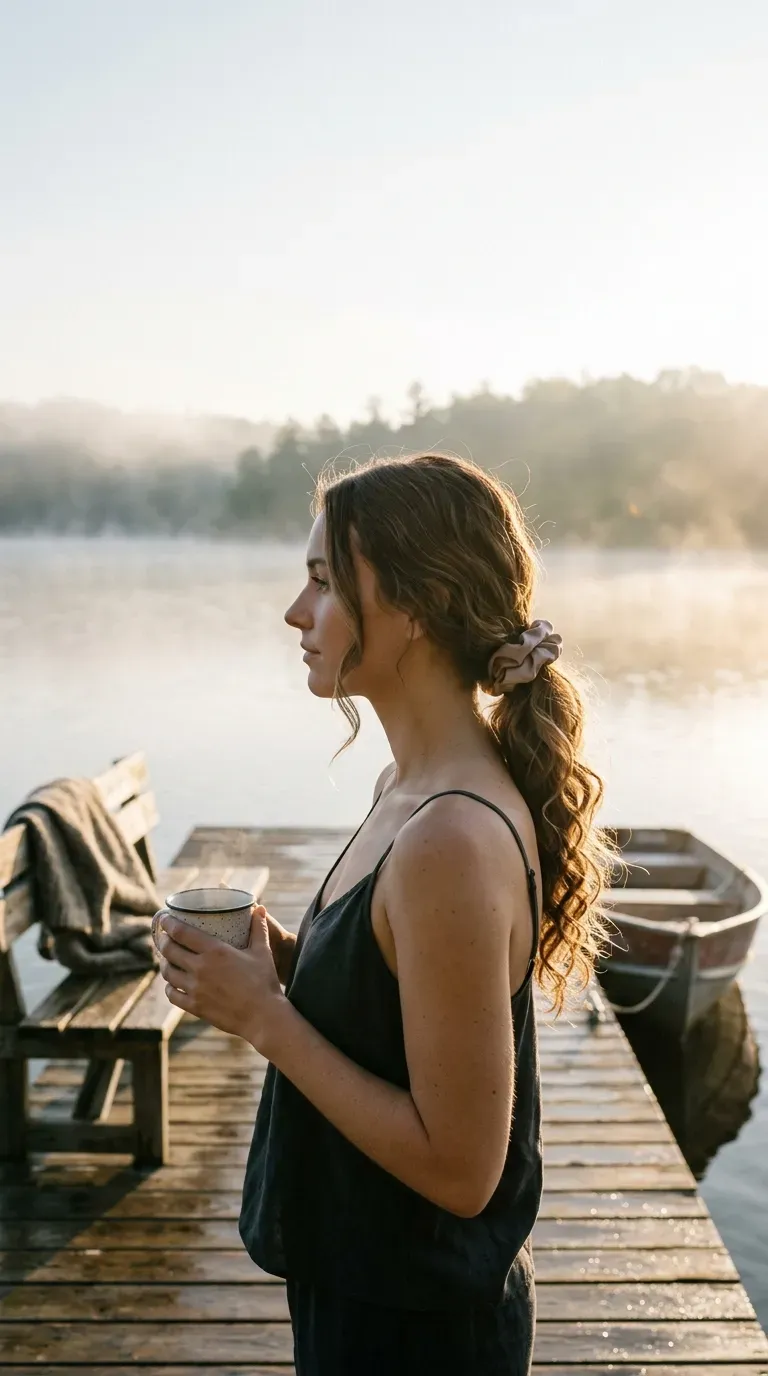
A low side ponytail looks soft from the front and still shows off the curls from behind.
Brush all the hair to one side and tie it low, just behind the ear. Curl the ponytail in loose, big sections and shake it out. Wrap a satin scrunchie over the elastic so the plain band disappears.
- Choose blush, burgundy, or ivory
- Pull two thin pieces out at the front
- Let the ponytail rest on the shoulder that shows more of your outfit
It is the fastest look on this list and a good last minute choice.
Conclusion
The best Valentine’s Day hairstyles are the ones that still look good when the night is over. That means a few smart pins, hair that has a little grip, and a shape you feel comfortable wearing.
Start with the look that matches your hair length today. If you have time, practice it once before the big day, so the braid or bun feels easy on the night. Small details like a ribbon, a heart clip, or a pair of pearl pins do a lot of the work for you.
You do not need all 18 looks. You only need one that makes you feel like yourself, just a little more dressed up.
Save this list to your Valentine’s Day board so your hair plan is ready when February gets close.