
Most picture day hair goes wrong before anyone leaves the house. Someone tries a brand new style at 7:15 in the morning, it falls apart in the car, and the photo shows a lopsided bun and a cowlick standing straight up like an antenna.
The photographer usually gets one or two tries. Nobody checks a mirror in the gym line, and nobody fixes flyaways between the morning bell and the flash. So the best picture day hairstyles aren’t the fanciest ones. They’re the ones that still look neat after a bus ride, a morning of recess, and a kid who can’t stop touching their head.
Every style below was picked with that in mind. They hold their shape, they look clear on camera from the shoulders up, and most take fifteen minutes or less. There are options for long hair, short hair, curls, coils, braids, and boys who just want their hair to lie flat for once.
Do a practice run the weekend before. Your future self, standing at the bathroom sink on Thursday morning, will thank you.
1. Half Up Half Down Tied With a Satin Ribbon
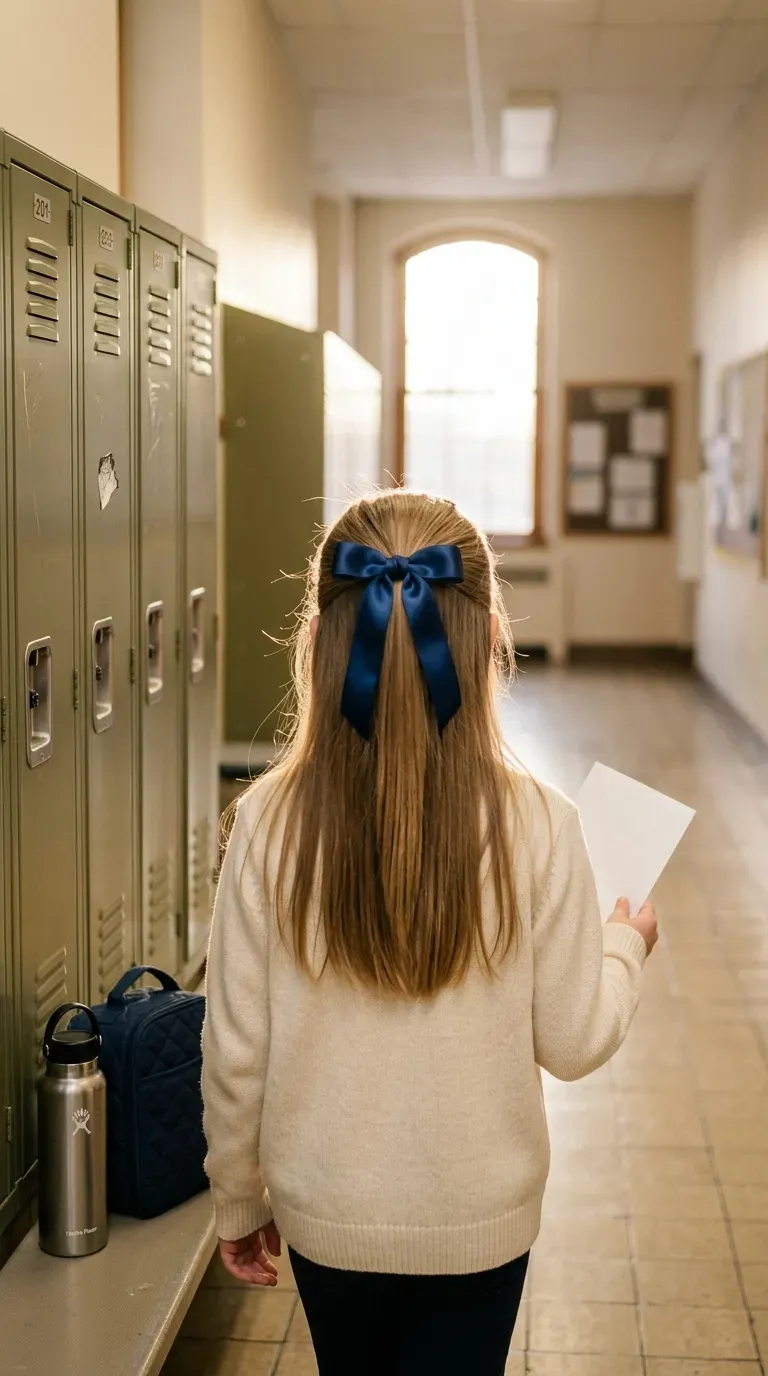
The hair stays off the face, and the length still shows on both shoulders in the photo. That balance is why this one never goes out of style.
- Brush everything smooth, then gather the top section above the ears.
- Secure it with a clear elastic at the back of the crown.
- Tie a satin ribbon over the elastic and trim the tails to even lengths.
Match the ribbon to the shirt, not the backdrop. The order form sometimes shows which backdrop the photographer uses, so check it before you pick a color.
2. Sleek Low Ponytail Wrapped in Its Own Hair
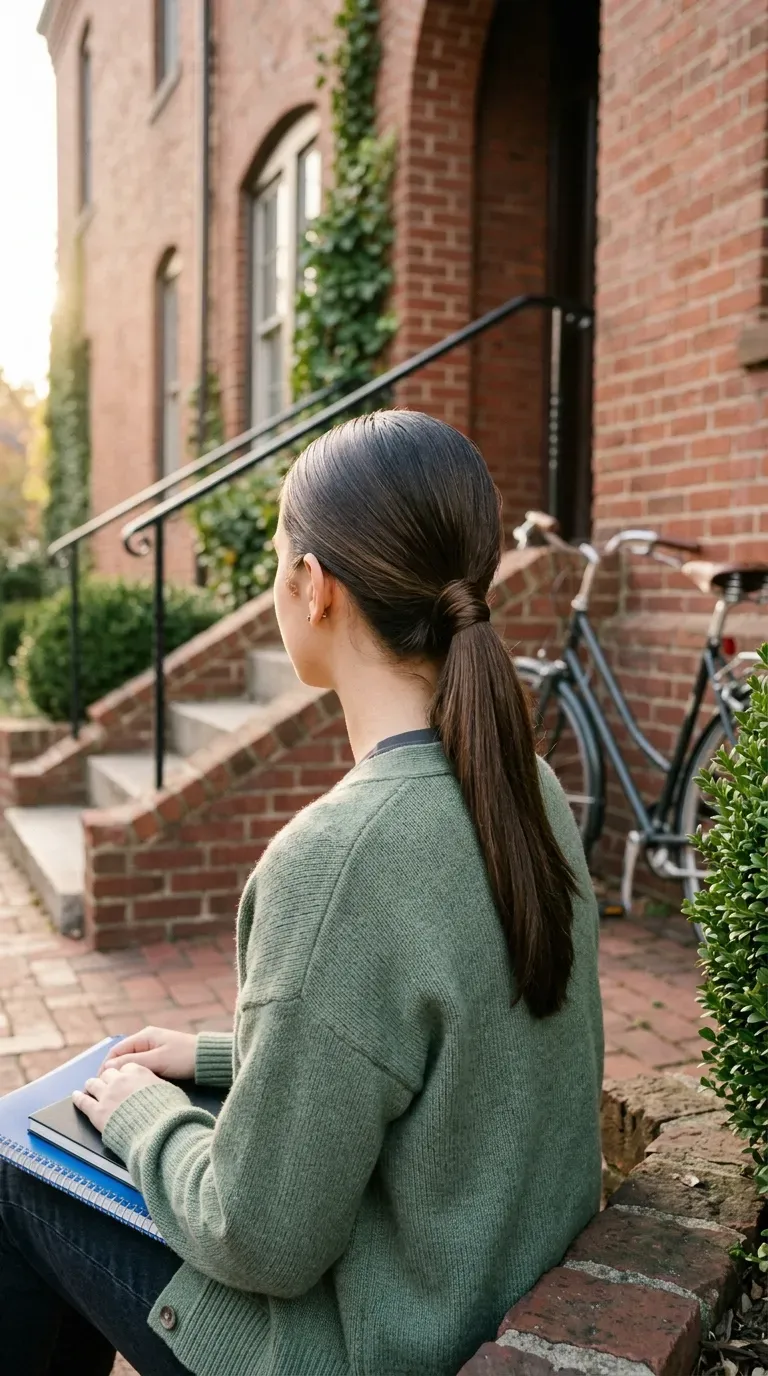
Hiding the elastic is the small move that makes a plain ponytail look finished on camera.
- Brush hair back toward the nape with a little smoothing cream on the brush.
- Tie it low with a strong elastic.
- Take a thin strand from underneath, wrap it around the band twice, and slide a bobby pin through the end to tuck it under.
Run a soft bristle brush over the top one more time after tying. Bumps near the crown are easy to miss in the bathroom mirror, but they show up clearly in a straight on school photo.
3. Two Dutch Braids That Survive Gym Class
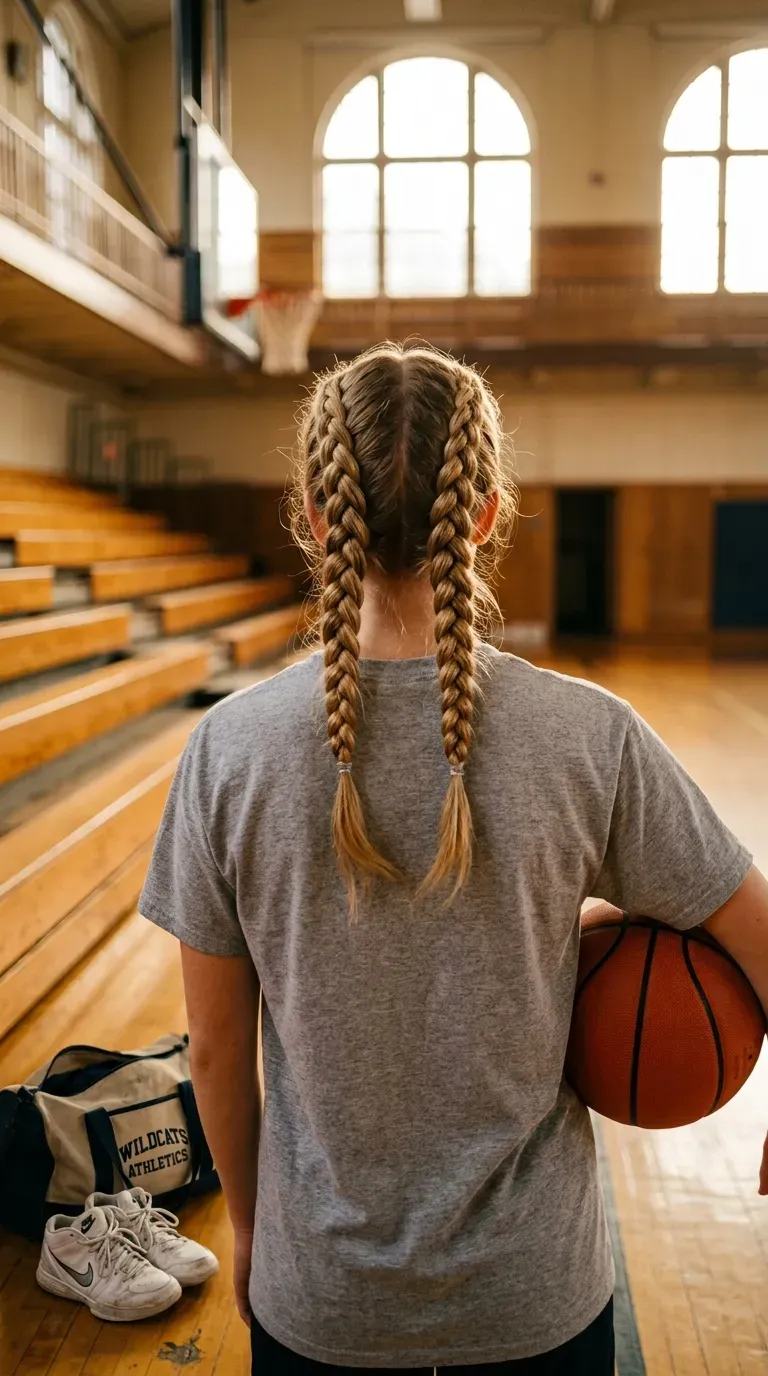
Picture day lands on gym day more often than seems fair. Dutch braids can handle it. They sit close to the head, so tag and the climbing rope won’t pull them loose.
Braid them snug, but not so tight that your kid winces. A braid that pulls at 7 a.m. can turn into a headache by snack time.
Quick tip: After tying off each braid, gently tug the outer loops so they widen a little. The braids look fuller, and the pattern near the hairline shows up better from the front, which is where the camera is.
4. Overnight Braid Waves With No Heat
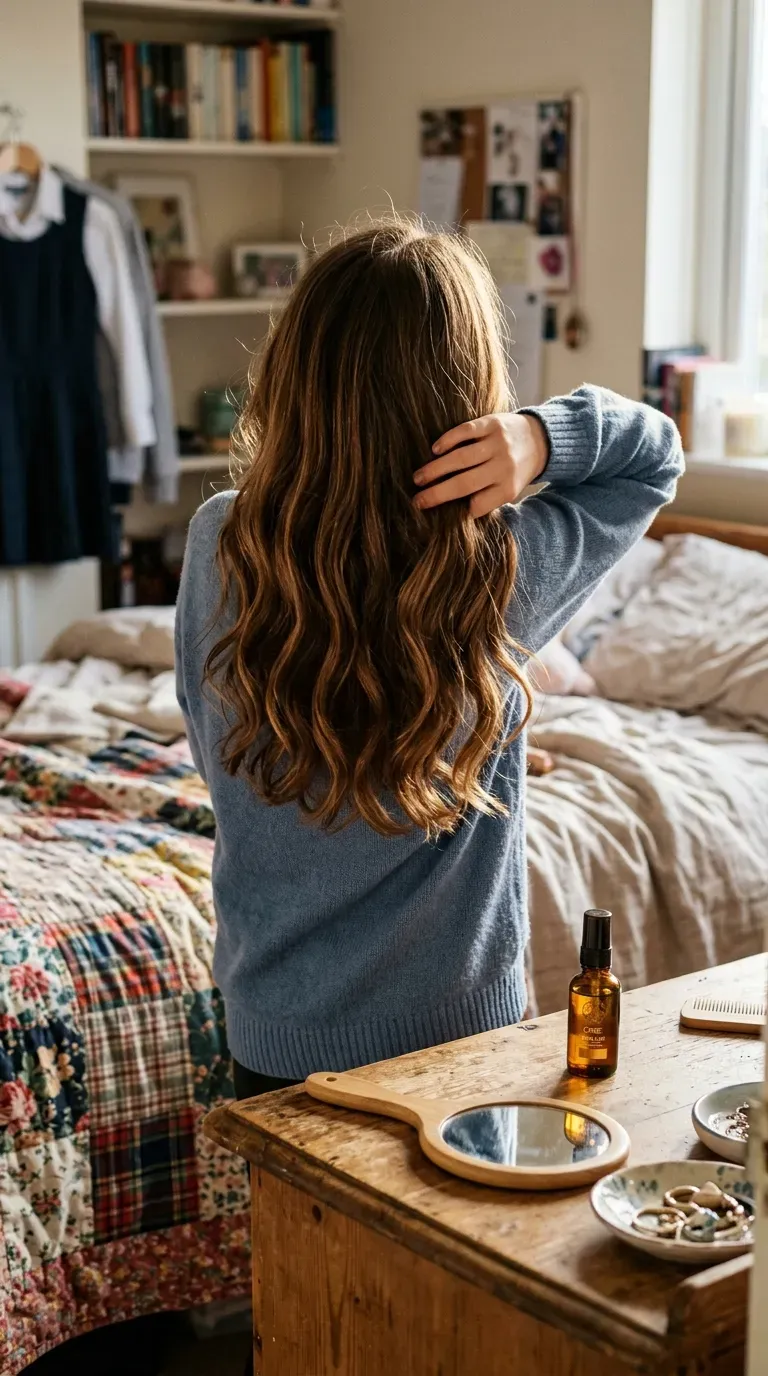
The usual mistake is braiding soaking wet hair at bedtime. It won’t dry by morning, and you wake up to damp, flat kinks.
- Wash in the late afternoon so hair is only slightly damp by bedtime.
- Make two loose braids, one behind each ear.
- In the morning, undo them and break up the waves with your fingers.
Keep the brush away. Four strokes can turn nice waves into a frizzy cloud. Finish with a tiny drop of hair oil rubbed between your palms first, then smoothed over the ends only.
5. Classic Side Part That Tames a Short Cut
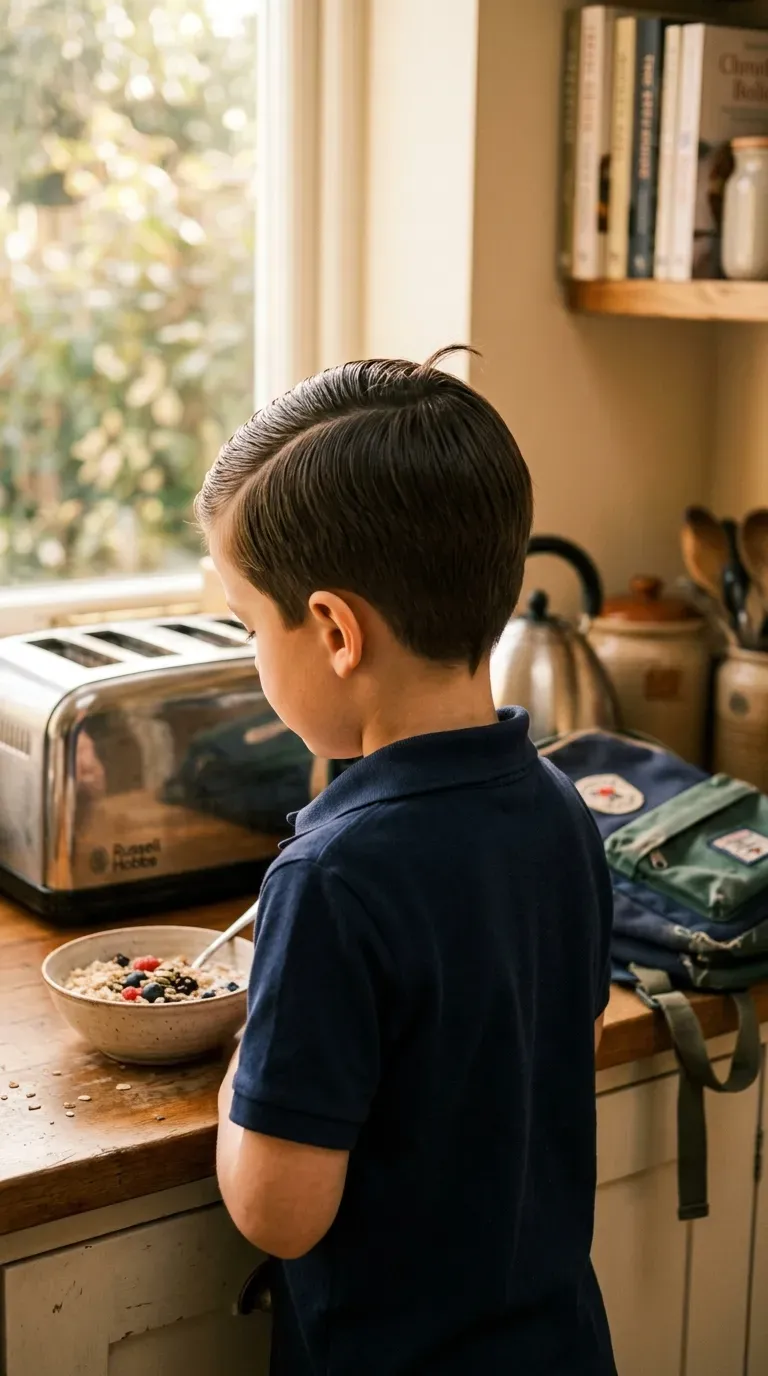
Short hair on boys often looks either fluffy or flat in school photos, with nothing in between.
A side part gives it shape. To find the natural part, comb damp hair straight back, then push it forward with your palm. It splits where it wants to go. Comb a clean line there and smooth the top over with a small amount of light hold cream.
Book the haircut about a week ahead instead of the night before. Freshly cut edges can look a little stiff and sharp up close.
Hair air dried any which way. The crown sticks up, the front lies flat on the forehead, and the cowlick does whatever it wants.
A clean part on the natural side, the top combed across, and the cowlick pressed down with cream while the hair was still damp.
6. Textured Crop Styled With Matte Paste
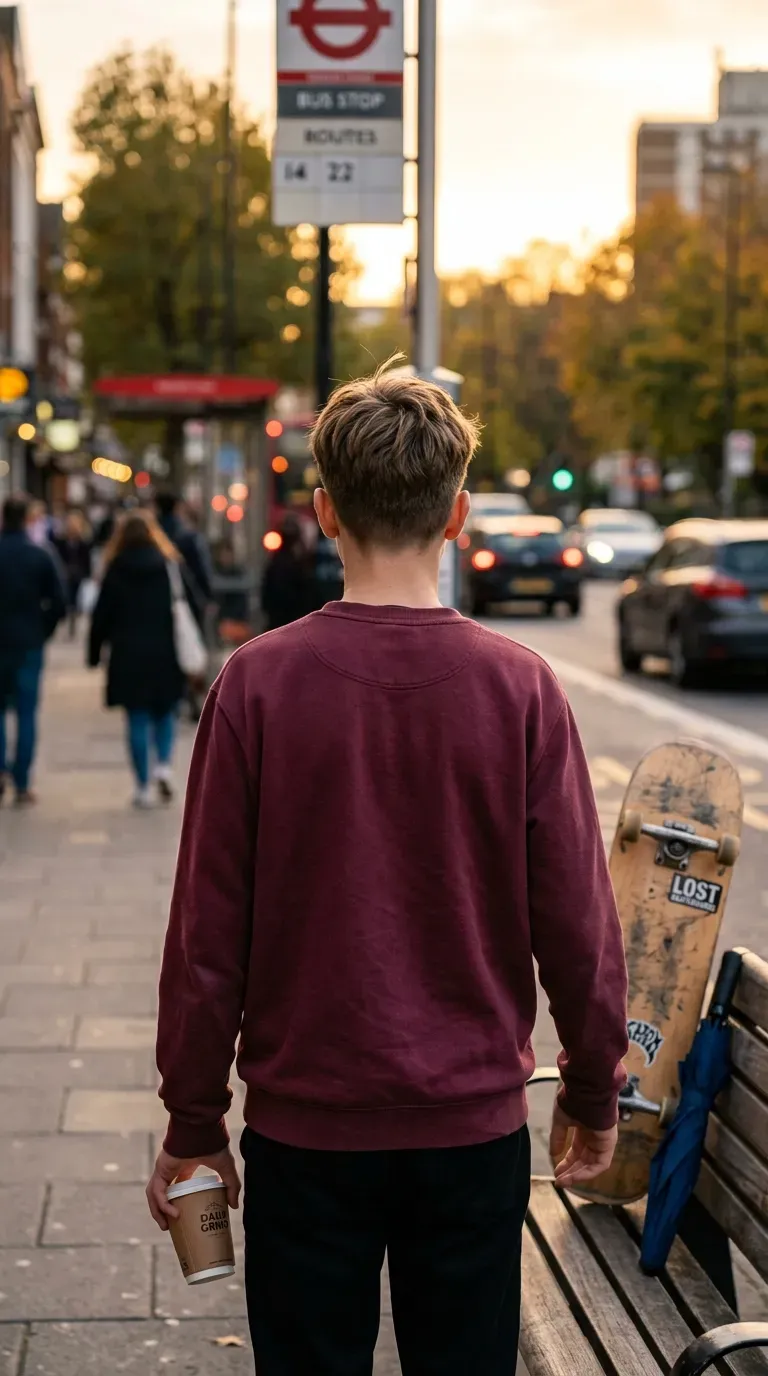
Lots of parents reach for gel on picture day. Under bright studio lights, gel can look wet and crunchy. A matte paste gives short crops soft texture instead.
Here’s the routine:
- Start with fully dry hair.
- Warm a pea sized bit of paste between your fingertips.
- Push the top forward and slightly up, then pinch a few pieces.
Less really is more. Too much paste makes fine hair look greasy by the time the class lines up. This works best on crops with an inch or two of length on top.
7. Headband Pushback for Growing Out Bangs
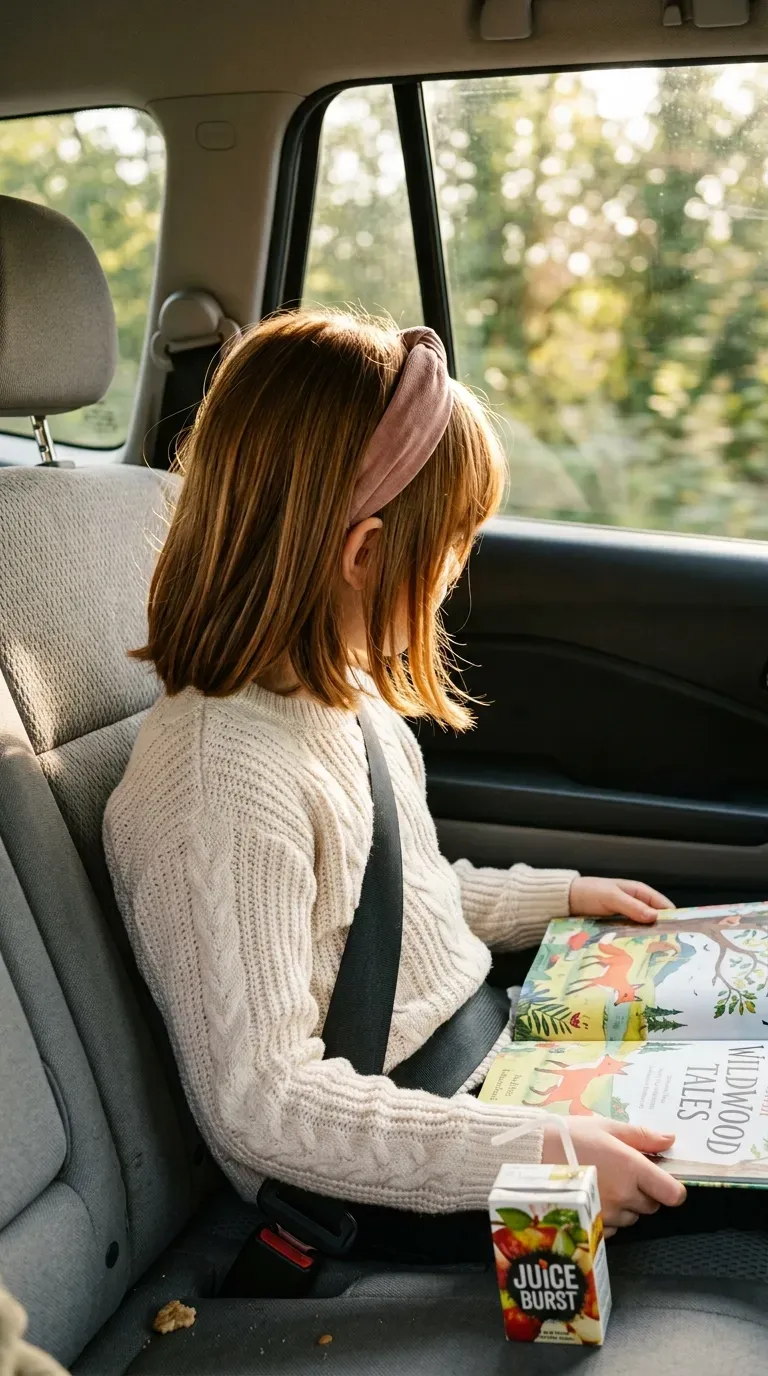
Growing out bangs follow one rule on picture day: don’t fight them, hide them.
A soft fabric headband pushes that awkward length back and keeps it there all morning. Skip the plastic kind with little teeth. They can leave lines and tend to creep forward by lunch.
- Mist the bangs lightly with water.
- Brush them straight back.
- Slide the headband on from the nape and push it forward until it sits just behind the hairline.
Pick one about two fingers wide. Very thin ones disappear in the photo, and very wide ones steal the whole shot.
8. Low Bun With a Clean Center Part
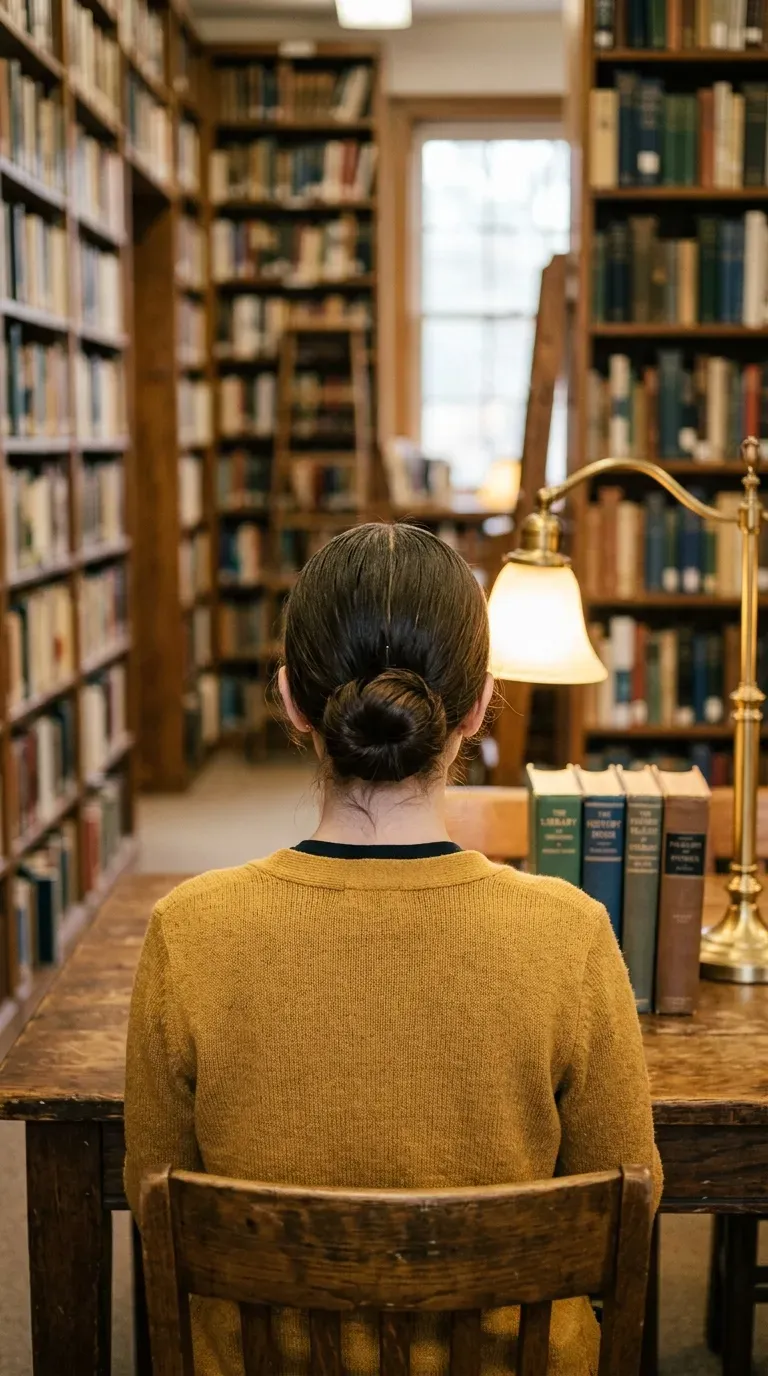
A neat center part, two smooth sides, and a round bun tucked right at the nape. From the front, it looks polished without looking like a dance recital.
Twist the ponytail into a coil, wrap it around the elastic, and pin it with four bobby pins pointing toward the center of the bun. Pins that point outward tend to slip out by second period.
Watch out: A bun set too high can peek over the top of the head in a front facing photo, like a little bump. Keep it low, about level with the bottoms of the ears.
9. Defined Curls With Leave In and a Diffuser
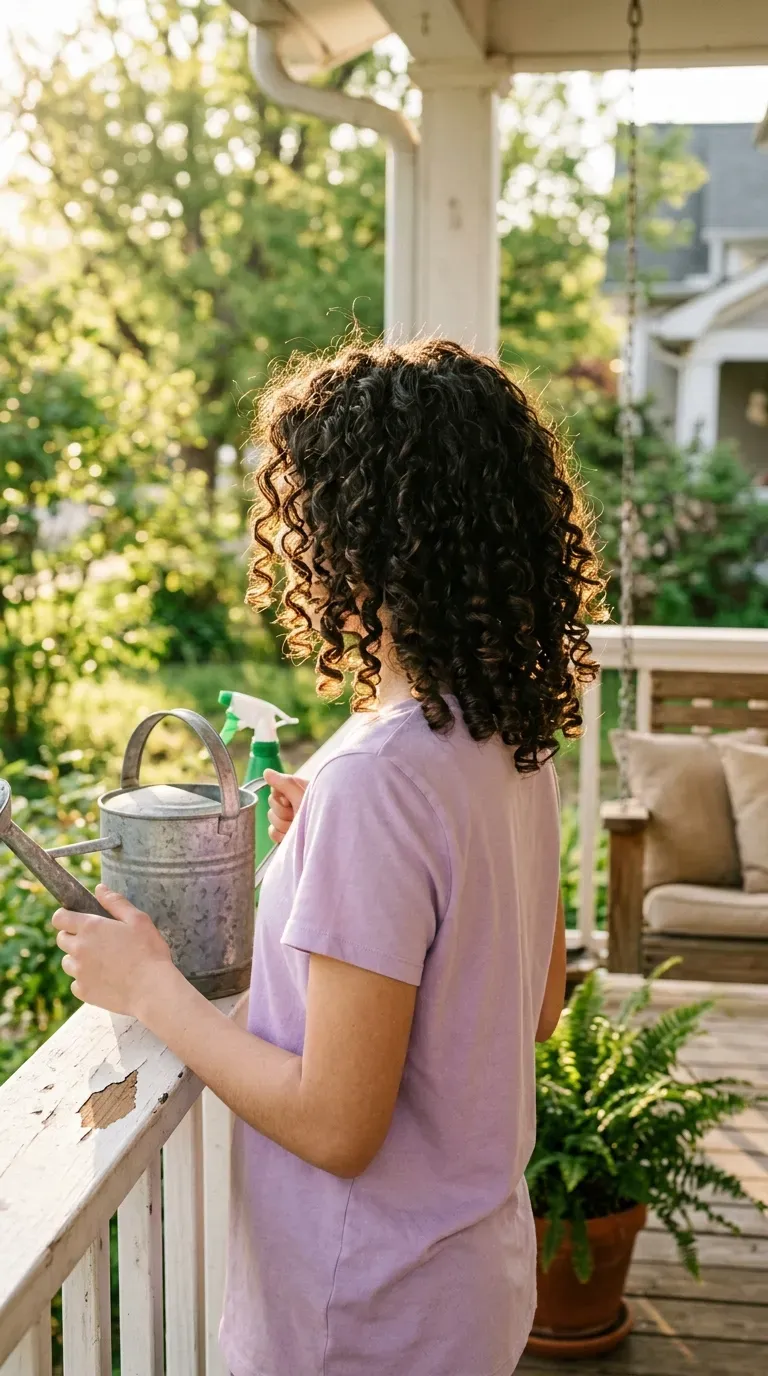
Brushed out curls turn into a puffy cloud. Curls left alone with the right product turn into defined spirals that look great on camera.
The difference is timing. Apply leave in conditioner and a curl cream to soaking wet hair, scrunch upward, then diffuse on low or let it air dry completely before anyone touches it.
Do this the morning of if you can. Sleeping on fresh curls tends to flatten one side. If mornings are too rushed, a satin pillowcase helps second day curls hold their shape.
Scrunch product into soaking wet hair, not damp hair.
Let the curls dry fully, then gently scrunch out any crunch.
Pack a small water spray bottle for a midmorning refresh.
Brushing or combing curls once they are dry.
Touching or twirling the hair while it dries.
Heavy oil on the roots right before photos.
10. Twist Out on Natural Hair Set the Night Before
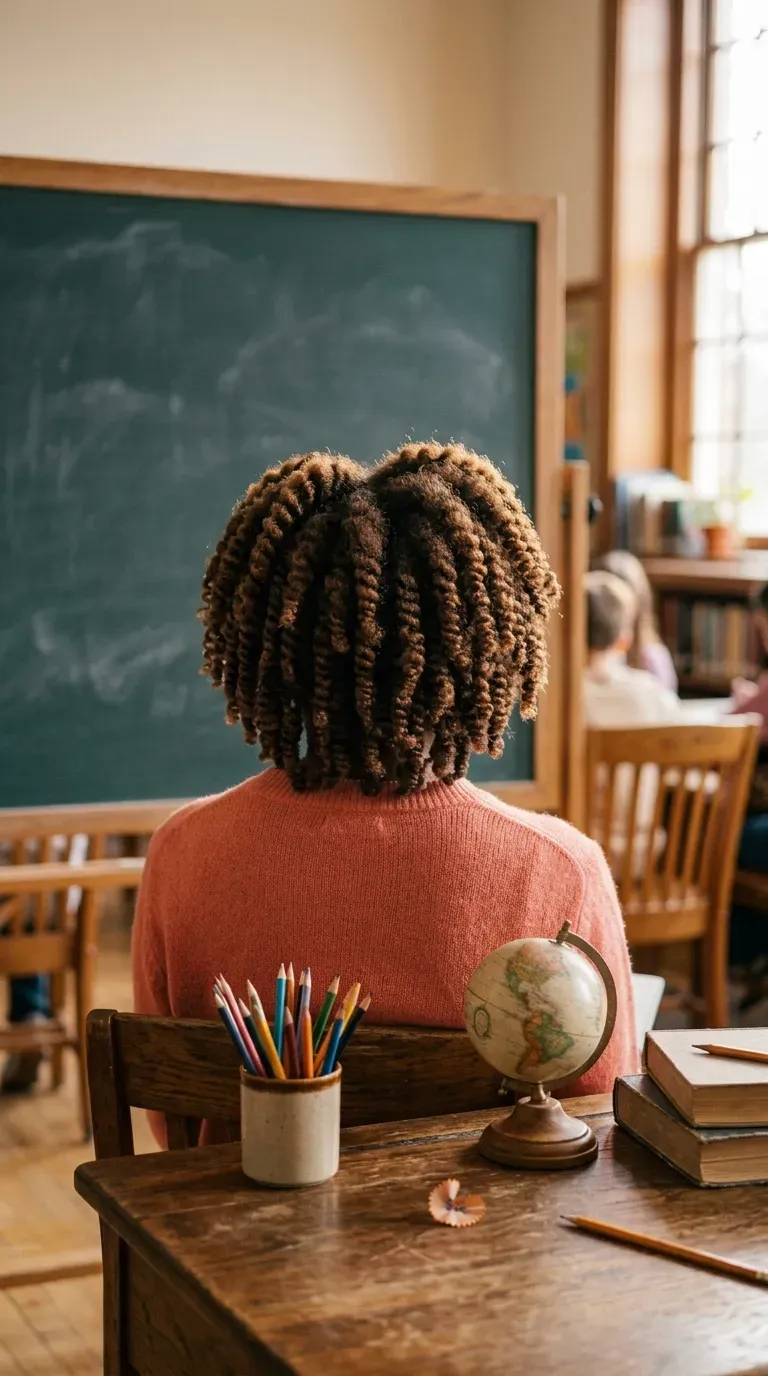
Twist outs usually look their best on the first morning, so setting one the night before picture day is good timing.
- Section clean, moisturized hair into medium two strand twists.
- Cover with a satin bonnet or scarf for sleep.
- In the morning, untwist slowly with a little oil on your fingers and gently separate each piece.
Fluff the roots with a pick, but leave the ends alone. The definition lives at the ends, and picking them can turn neat twists into frizz before the bus even pulls up.
11. Box Braids Gathered Into a Half Up Top Knot
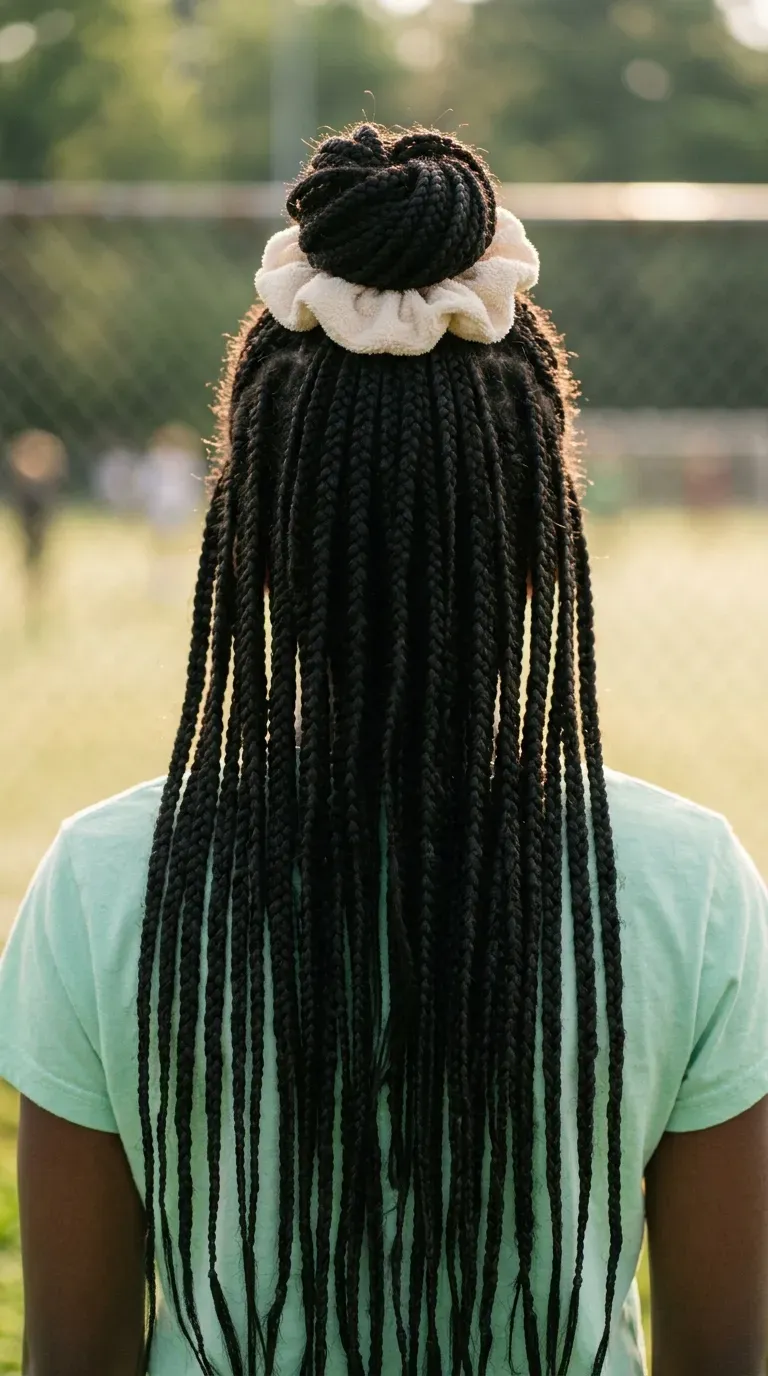
Fresh box braids already photograph well. Gathering the top section into a knot adds shape and stops braids from swinging forward over the face mid shot.
- Gather the braids from the front half of the head.
- Twist them into a loose knot at the crown.
- Secure with a large soft scrunchie or a braid cuff band.
Ask your stylist to finish the install a few days before picture day. Edges can feel tender right after, and a few days lets the hairline settle. A little edge control and a soft brush tidy things up that morning.
12. Twisted Crown Pinned With Pearl Clips
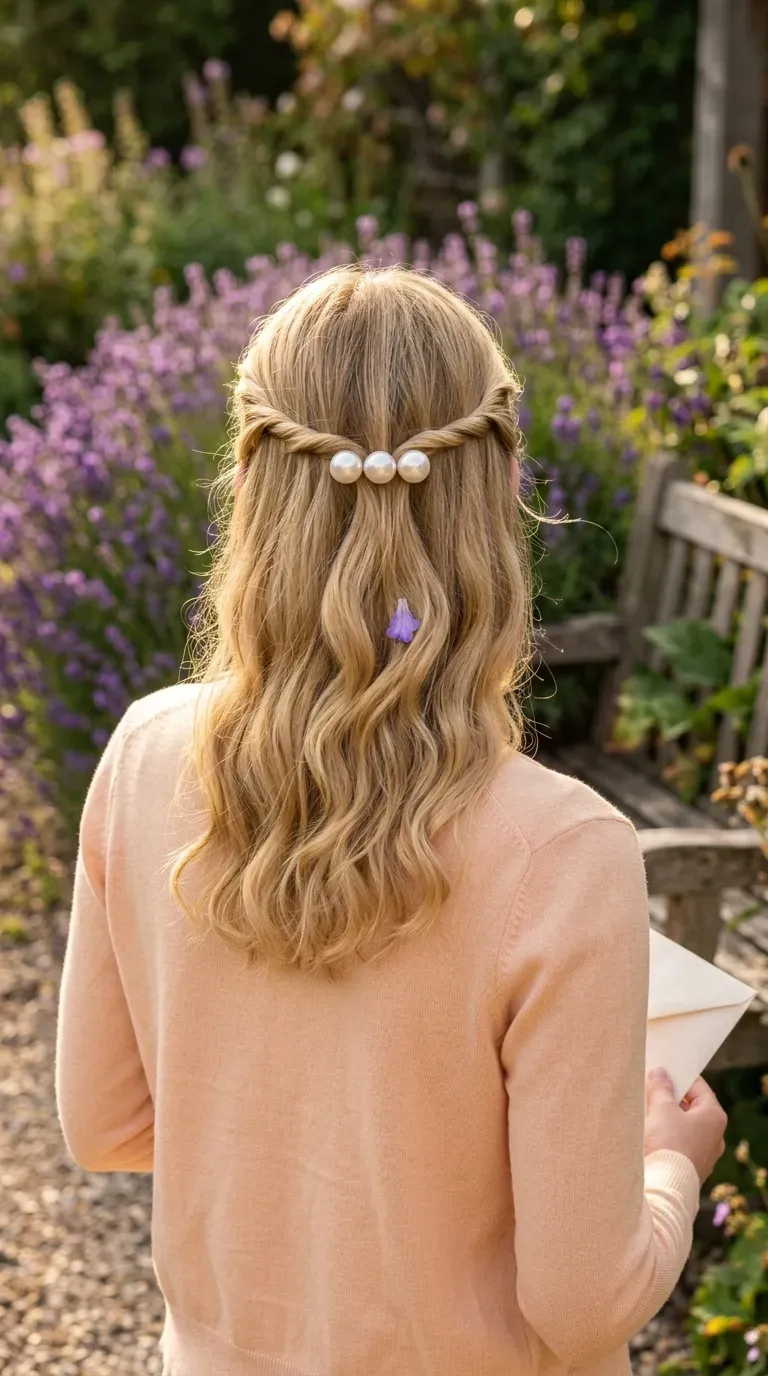
Some kids want something fancy for picture day, and the twisted crown delivers with zero braiding skills.
Take a small section above each ear, twist it toward the back of the head, and meet both twists in the middle. Pin them together with two or three pearl clips in a short row.
The clips do most of the work here. They catch the studio light and frame the head nicely. Keep the rest of the hair down and smooth, so the twist is the only detail.
13. Short Quiff Brushed Up and Back
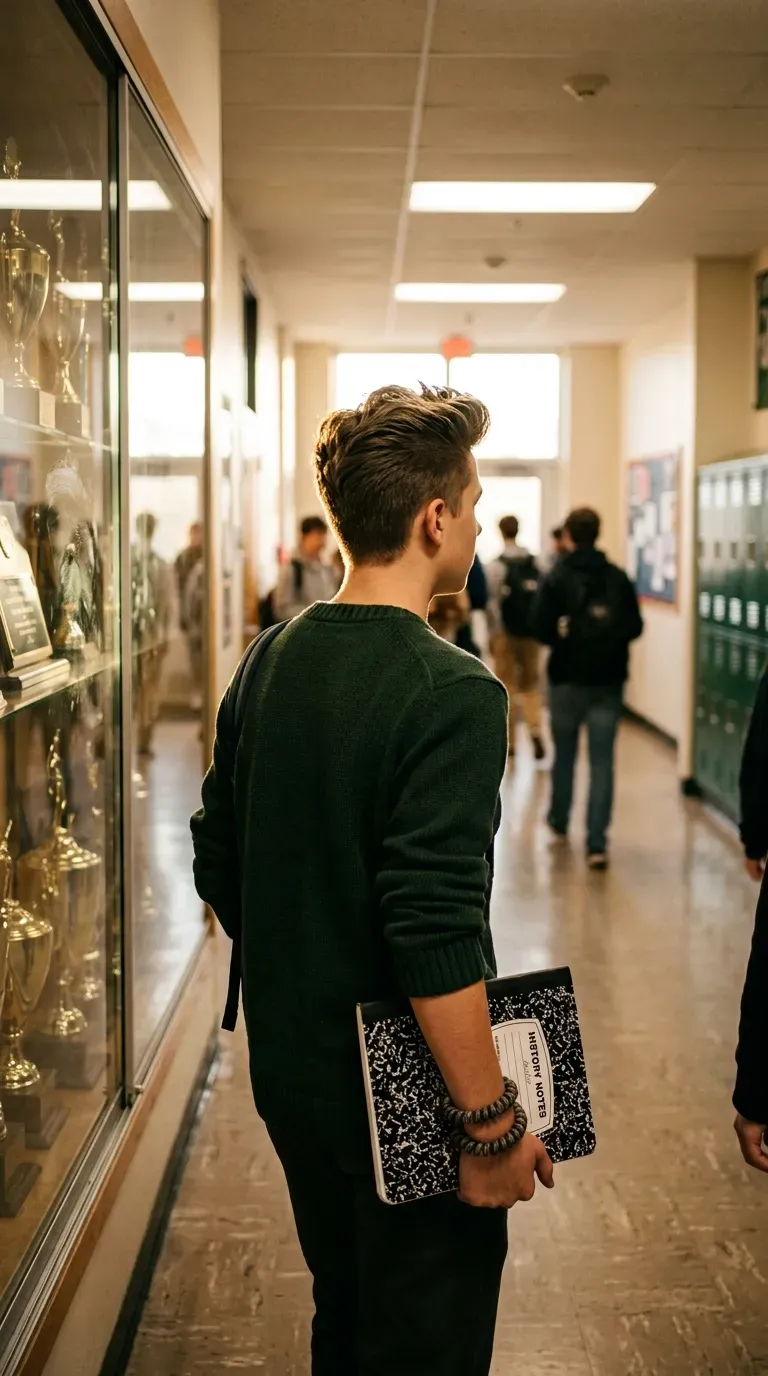
Teen boys often want a little height, but a tall pompadour can lean sideways by third period.
A short quiff keeps the lift low enough to stay put all morning.
- Blow dry the front upward with a round brush.
- Work a small amount of cream or clay through the top.
- Push the front up and back with your fingers, then smooth the sides down flat.
A light mist of hairspray stops the front from drooping. Skip the heavy stuff, which can look shiny and stiff in a close portrait.
14. 360 Waves Kept Sharp With an Overnight Durag
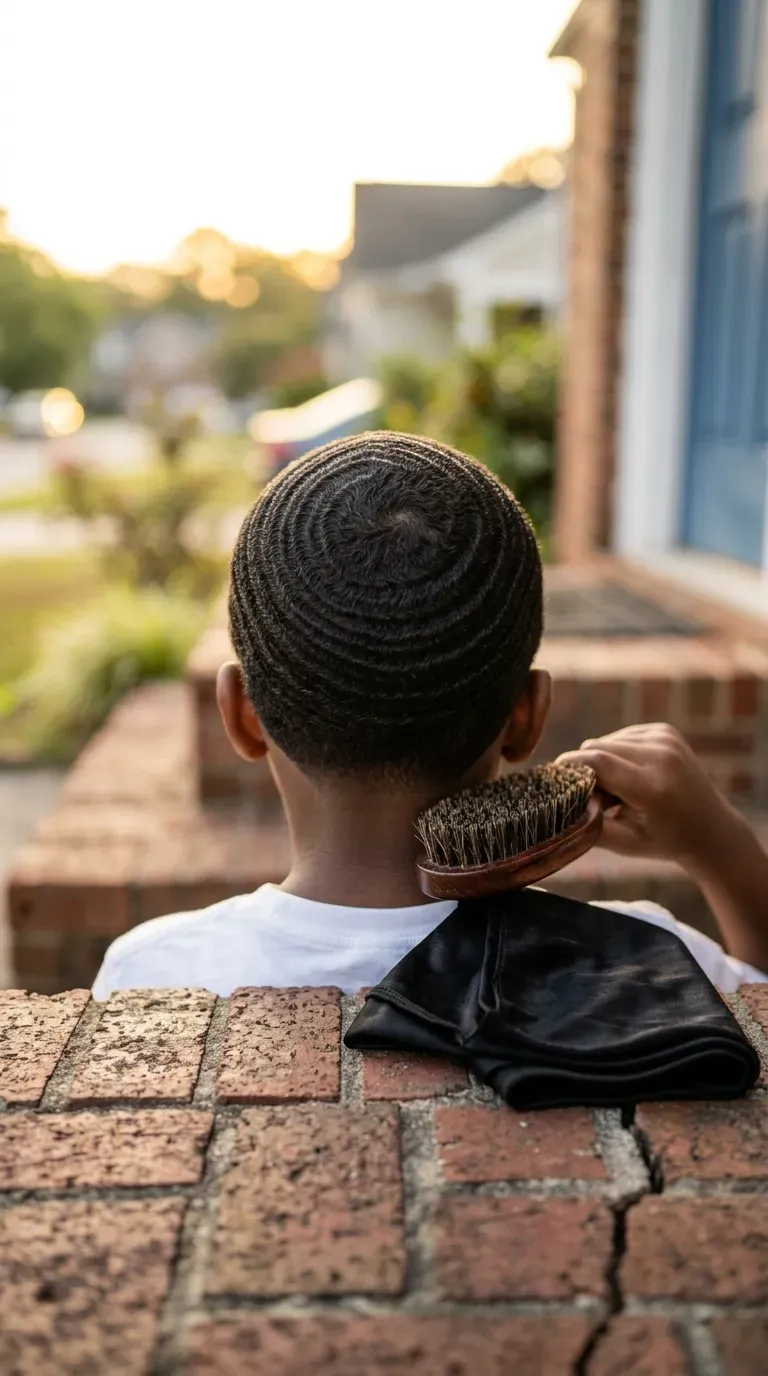
Waves look their sharpest when the work happens the night before, not just the morning of.
Brush in the direction of the waves for a few minutes with a medium soft brush. Then tie on a durag, snug but comfortable enough to sleep in. In the morning, a few light passes with the brush wake the pattern back up.
Quick tip: Schedule the line up two or three days early. The edge still looks crisp, but it loses that freshly cut redness some kids get right after the clippers.
15. Short Bob Tucked Behind One Ear
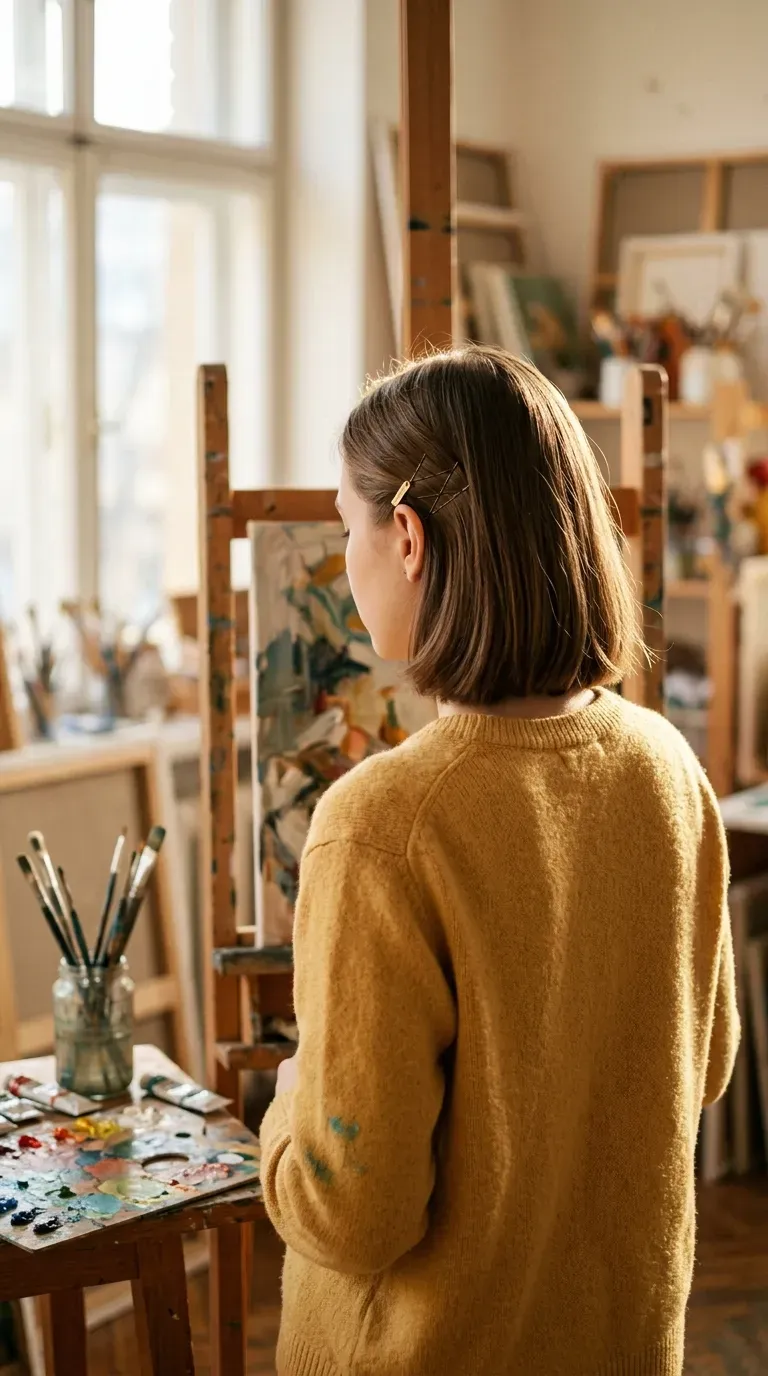
Short bobs don’t need a style to look good on picture day. They need control.
The real problem is the side that keeps falling across one eye. Tuck it behind the ear and slide two bobby pins underneath in an X, so nothing shows from the front.
- Smooth the ends under with a flat brush.
- Leave the other side loose for balance.
- Add one small barrette above the tucked ear if your kid wants a little sparkle.
Simple, and it holds all morning.
16. Space Buns for Younger Kids Who Fidget
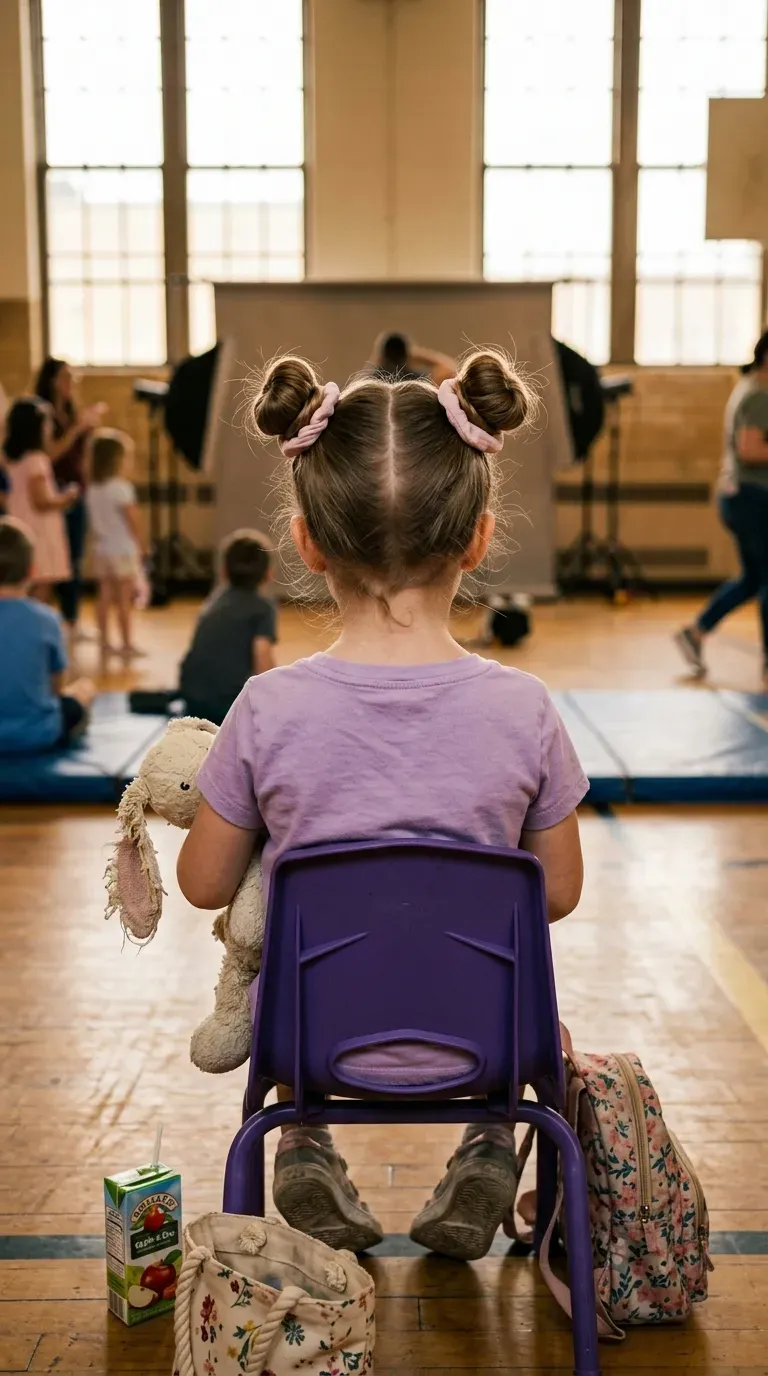
Little kids touch their hair constantly. Space buns hold up to fidgeting better than anything with loose ends.
Part down the middle and make two high ponytails. Twist each one and wrap it into a small bun, then pin it with three bobby pins and pull a scrunchie over the top.
Keep the buns the same size by counting twists on each side. Five on the left, five on the right. Uneven buns stand out more than you’d expect in a front facing class photo.
Practice the style once before picture day. Trying something for the first time at 7 a.m. is where most morning hair stress comes from, and it’s the easiest part to fix.
17. Waterfall Braid on Straight Hair
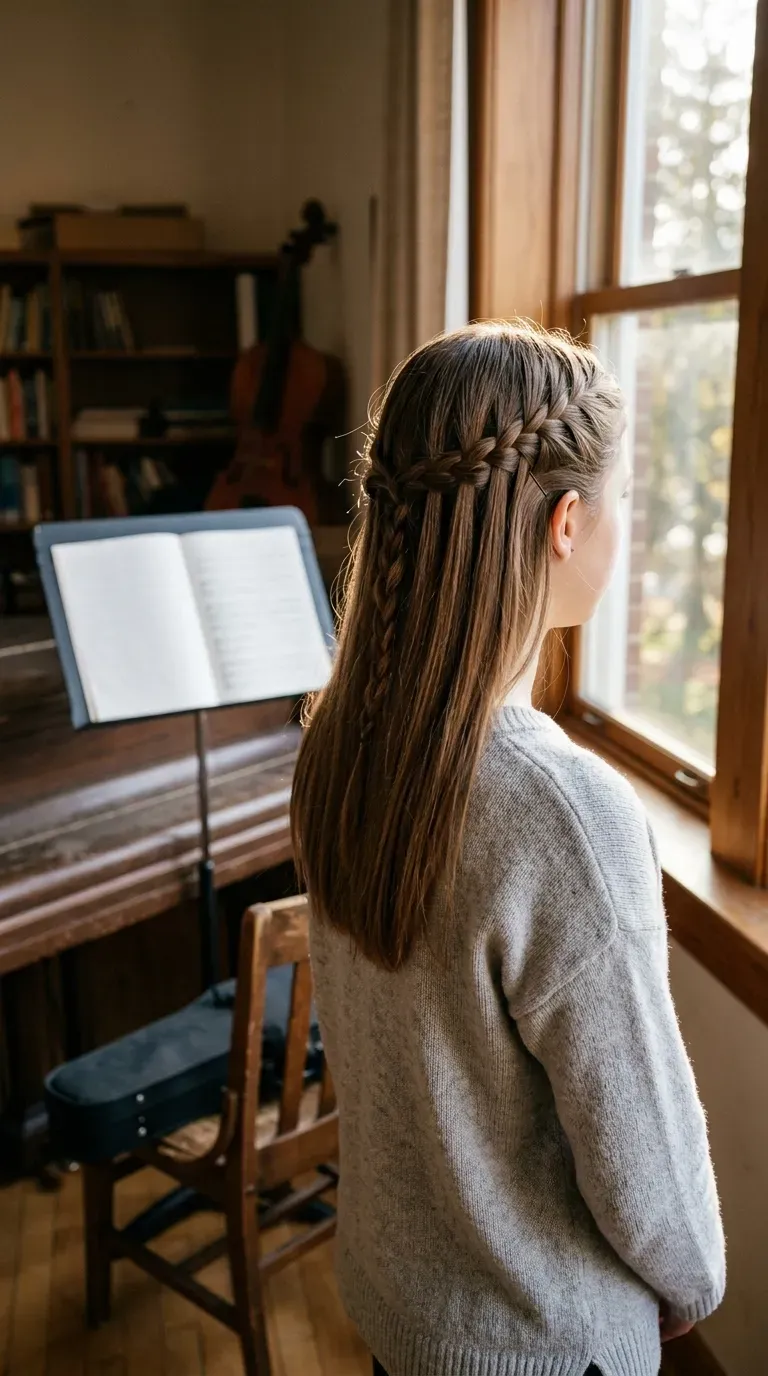
Strands drop through a sideways braid like a little curtain, and the rest of the hair falls loose underneath. It looks harder than it is.
Start a regular braid at one temple. Each time you cross the top strand over, let it drop and pick up a new piece of hair in its place. Keep going around the back of the head and pin the end behind the opposite ear.
Fine, straight hair shows the pattern best. On very curly hair the braid tends to disappear, so the twisted crown from earlier is a better match for curls.
18. Long Layers Smoothed With a Round Brush
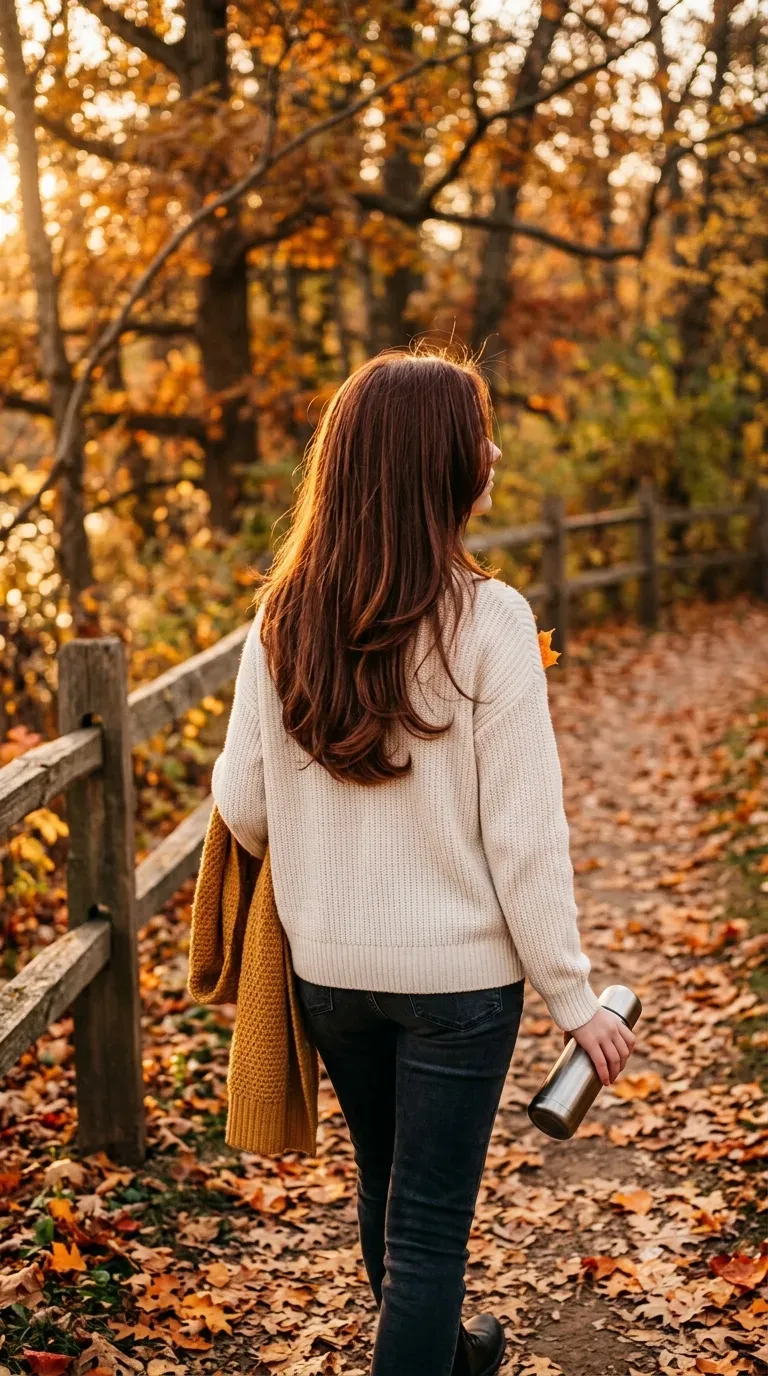
Flat ironing long hair stick straight is a common picture day move. On camera, it often looks limp and thin.
A round brush blowout gives body without that flatness.
- Rough dry until hair is mostly dry.
- Work in sections, rolling the brush under at the ends.
- Hit each section with cool air to set the bend.
Point the dryer nozzle down the hair, root toward ends. It keeps the strands smooth and cuts down on frizz at the crown, which is the first place studio lights pick up flyaways.
19. Pull Through Braid Ponytail Made of Tiny Elastics
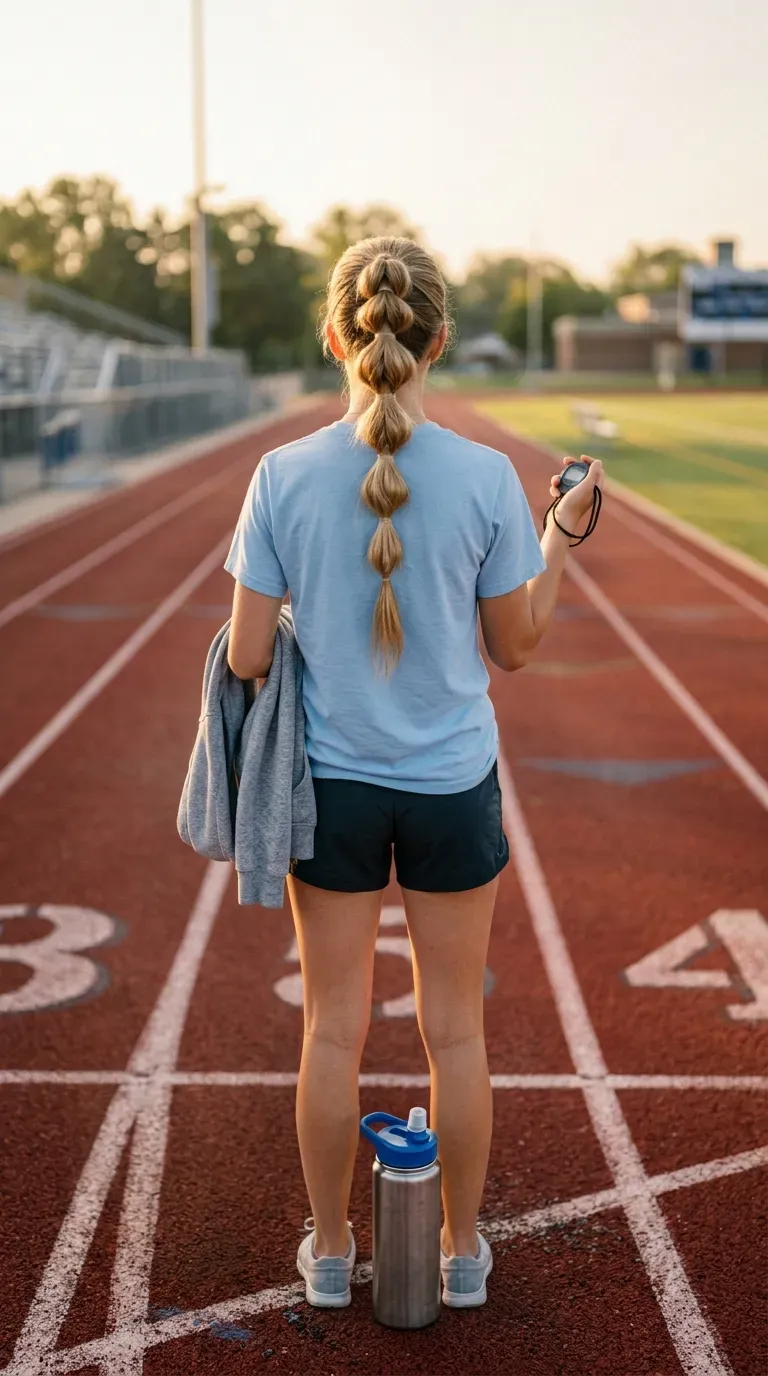
It looks like a fancy braid. Really, it’s a stack of small ponytails, which makes it a good pick for parents who never learned to braid.
The style holds well because every section has its own elastic. Clear elastics vanish in photos. Colored ones can look busy unless they match the outfit.
After you finish, pull gently at each section to widen it. Wider puffs look fuller and smoother from the front, and they hide the elastics even better.
Make a high ponytail. Split it into a top half and a bottom half, and clip the top half up out of the way.
Tie the bottom half with a clear elastic a little below the base.
Drop the top half, split it in two, and bring the pieces down around the tied section. Join them below it with another elastic.
Repeat down the length, always lifting the newest section up and splitting the one beneath it.
20. Low Twisted Side Bun for Older Students
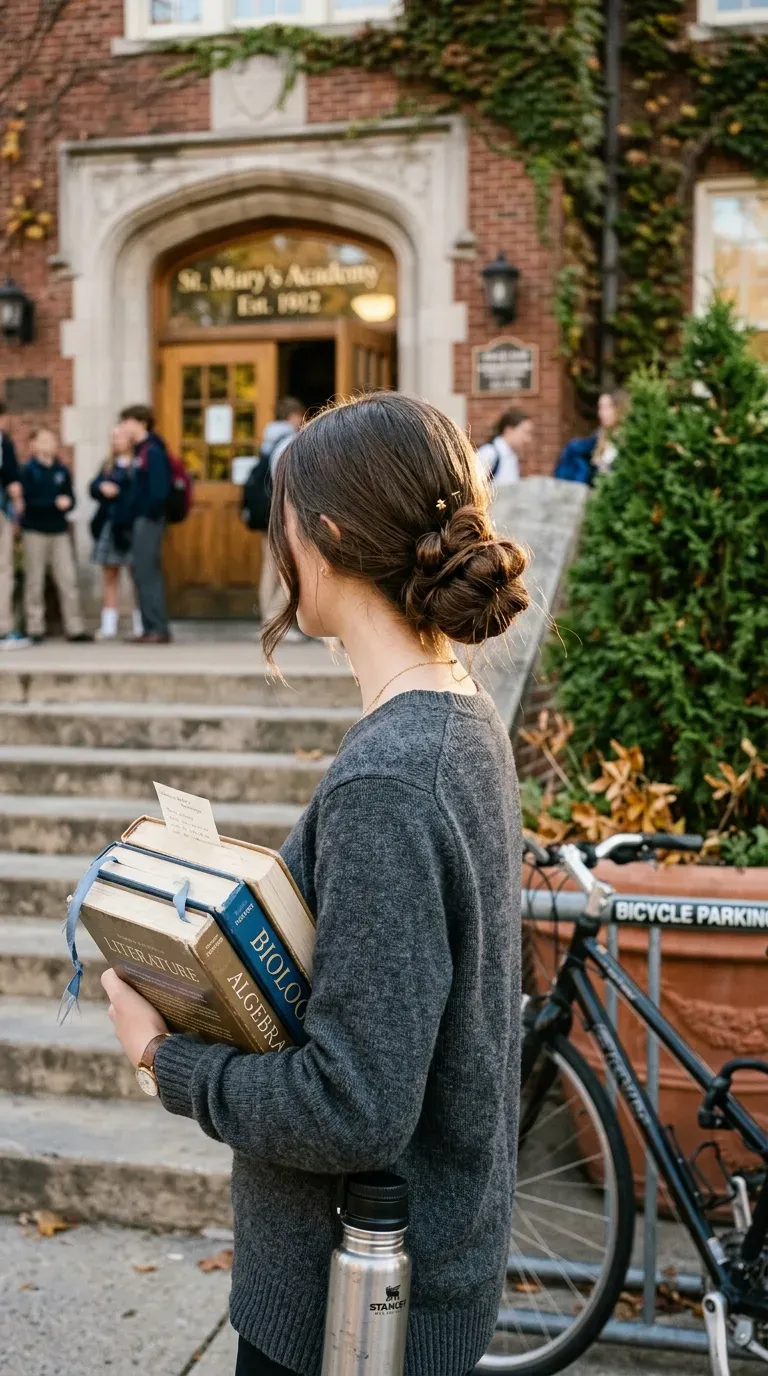
Older students usually want something that doesn’t feel like a little kid style. A low side bun looks grown up and still lasts through a full morning of classes.
- Make a deep side part.
- Twist the hair loosely toward the opposite side, just below the ear.
- Coil it into a bun and pin it with U shaped pins, which grip thick hair better than bobby pins.
Leave a couple of loose pieces near the face so it doesn’t look severe. These photos end up in yearbooks for a long time, and most teens are happiest with a style that still looks like them.
Small Prep, Better Photos
Picture day doesn’t need a salon visit or a two hour morning. It needs a style that fits your kid’s hair, a quick practice run, and a few minutes of prep the night before.
The best picture day hairstyles are the ones that hold their shape through the bus ride and recess, and still look like your kid. Pick one or two from this list, try them on a Saturday, and keep a spare elastic, a few bobby pins, and a small comb in the backpack for retake day.
Save this list to your school prep board so it’s ready the next time that order form comes home.