
Thick hair is lovely right up until it starts running your day. It takes forty minutes to blow dry, it sits on your neck like a scarf in July, and every hair tie you own has snapped at least once.
The usual fix is thinning shears, or a stylist who ‘takes some weight out’ with a razor. Most of us know how that ends. Frizzy short bits poke out of the top layer, the ends look chewed, and three months later the bulk is back.
A hidden undercut for thick hair women works differently. Your stylist shaves or clips a section underneath, usually at the nape or above one ear, and the longer hair on top falls right over it. Nobody can tell anything changed, not your boss, not your mom, not the friend who notices every haircut. You just feel lighter, your hair dries faster, and ponytails stop pulling at your scalp.
The trick is picking the right spot and the right size for your hair and your life. Below are 15 ways to do it, starting with barely there nape cuts and moving up to bolder options you can show off on your own terms.
1. Start With a Classic Nape Undercut Under Long Layers

Most stylists will suggest this one first, and there is a good reason.
The nape is where thick hair packs the most density. It is also the spot that makes your neck sweat and your ponytail sag. Shaving a small band there removes a surprising amount of bulk while the long layers above cover it completely.
Ask for:
- A section from the nape up to roughly the bottom of your ears
- A #2 or #3 clipper guard so it grows back soft, not prickly
- Long layers on top so the edge blends when your hair moves
Quick tip: Bring a hair tie to the appointment. Have your stylist put your hair in a ponytail before cutting so you agree on exactly where the line sits.
2. Go Ear to Ear for Serious Weight Removal

Some hair is so dense that a small nape section barely makes a dent. That is when a wider undercut earns its place.
This version runs behind both ears in one continuous band. It still sits below the top layer, so worn down your hair looks exactly the same. The difference shows up on the scale, so to speak. Many women say their hair feels noticeably lighter and dries much faster.
It does have one honest catch. A wider section takes longer to grow out if you change your mind. Start a bit lower than you think, because your stylist can always take it higher at the next visit.
3. Hide a Side Undercut Under a Deep Side Part

Flip your part to one side and the hair on that side doubles up. That extra layer makes a reliable cover for a shaved patch above the opposite ear.
How to set it up:
- Pick the side you already part on most days.
- Have the undercut placed on the thin side of the part, above the ear and behind it.
- Keep it narrow, about two to three fingers wide.
Worn down, the heavy side falls over and covers everything. Tuck one side behind your ear and a little peek shows. The undercut becomes something you can flash or hide in a second, which is why women who work in conservative offices tend to love it.
4. Add a Small Design That Only Shows in a Ponytail
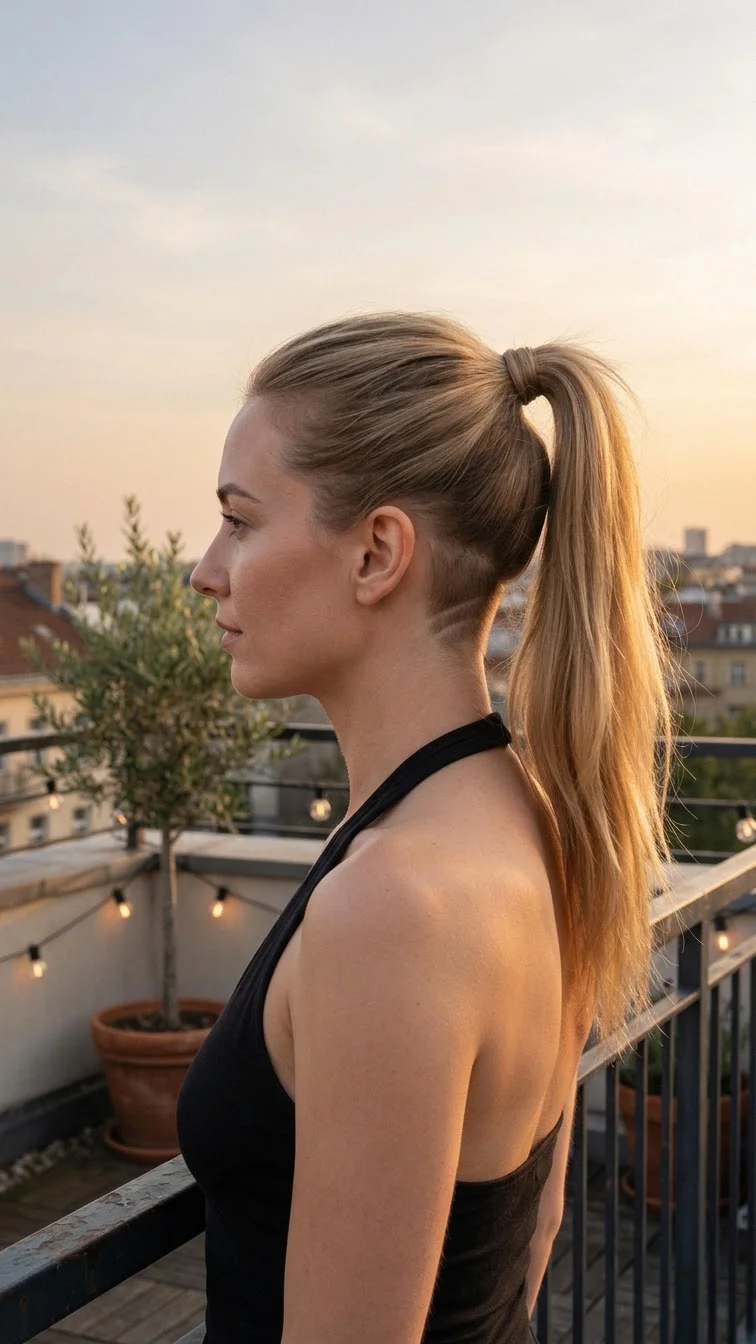
Here is the fun part of a hidden undercut. Nobody sees the design unless you decide they should.
Thin lines, a soft wave, small dots, or a simple chevron all work well at the nape. Keep it small. A design that fits within the width of your palm reads clean in a ponytail and does not look busy.
Keep in mind: Designs fade fast. The lines blur after about two weeks as the hair grows, so you will need quick touch ups if you want it crisp. Many barbers do a design refresh in ten minutes or so.
Save the bigger, bolder patterns for when you are sure you love the look.
5. Tuck a Short Nape Undercut Under a Blunt Lob

Thick hair and a blunt lob have a common problem. The bottom edge puffs out into a triangle shape instead of hanging straight.
A short undercut at the nape fixes that. With less hair stacked underneath, the top layer lies flat and the blunt line hangs clean and swingy.
Keep the undercut shorter here. A lob sits higher on the neck than long hair, so the section should stop well below where the ends land. Your stylist will usually take it from the hairline up about an inch or two.
The payoff is a sharp, heavy looking lob that is actually light to wear.
6. Pair It With a Shoulder Length Shag

Shags rely on movement. On thick hair, the layers often get crushed under their own weight and the cut ends up looking like a helmet.
Taking out the bottom section lets each layer breathe. They stack, flip, and separate the way a shag is meant to.
What to tell your stylist:
- Cut the undercut first, then cut the shag on the remaining hair
- Keep the undercut narrow so the shortest layers still cover it
- Ask for curtain bangs to soften the front
One lived in detail. A shag with a hidden undercut air dries in a fraction of the usual time, which means fewer mornings fighting a damp, heavy back section.
7. Let Thick Curls Cover a Nape Undercut

Curls hide an undercut better than any other texture. Shrinkage and volume pile right over the shaved section.
There is one warning, though. Curly hair is usually cut dry, curl by curl, and the undercut changes how the bottom layer falls. Find a stylist who cuts curls and ask them to shape the curls after the undercut is done, not before.
The benefits are real. Wash day gets shorter because there is less hair to detangle and saturate with product. Diffusing takes less time, and the curls at the bottom stop getting flattened by the weight above.
8. Lighten a Thick Stacked Bob From Underneath
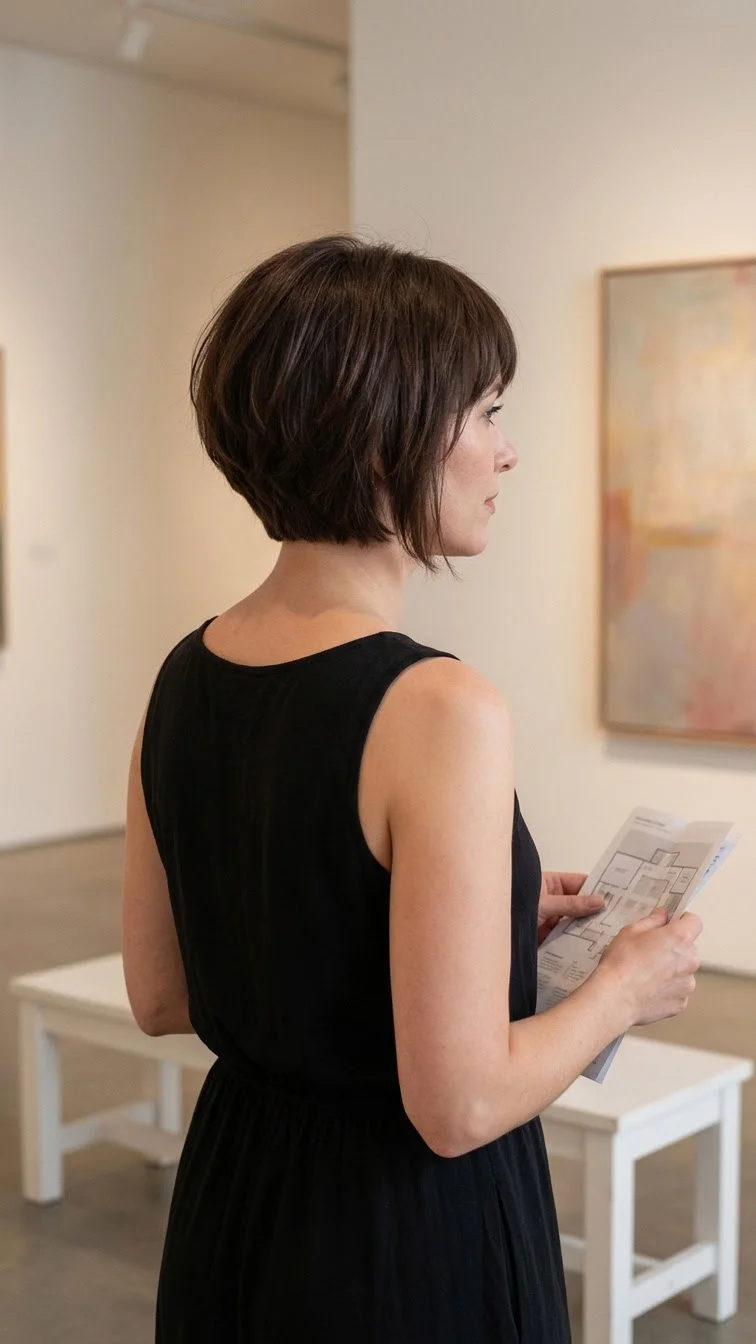
Stacked bobs look tidy and sharp on paper. On thick hair, the back can balloon out like a mushroom.
A hidden undercut is the reason a stacked bob on dense hair can actually look like the photo you saved. Your stylist removes the bulk at the base, then builds the stack on top of it. The curve stays neat and close to the head.
Before you book, read the do and don’t list below. A bob is short, so the placement of the undercut matters more here than with long hair.
Ask for the undercut to stop at least an inch below where the stacked layers end.
Check the back with a hand mirror while your hair is dry and styled.
Book a trim every five to seven weeks to keep both parts in sync.
Going shorter than a #1 guard on a bob, since stubble shows through short layers.
Letting the undercut creep above your ear line on a chin length cut.
Cutting it at home the first time. Let a pro set the line.
9. Show It Off With a Sleek High Ponytail

The clean buzz line that shows when the ponytail goes up is the reveal people ask about.
Steps for a sleek finish:
- Brush everything back with a boar bristle brush.
- Smooth a pea sized bit of gel or styling cream along the hairline.
- Secure the ponytail high on the crown with a strong elastic.
- Wrap a thin strand around the base and pin it underneath.
A high ponytail also feels very different with an undercut. There is far less tension on the scalp, so headaches from heavy ponytails often ease up. Gym days and long shifts get a lot more comfortable.
10. Give a Half Up Top Knot a Little Peek

Not ready to show the whole undercut? A half up style shows just a strip of it.
Gather the top section from your temples back to the crown and twist it into a small knot. The hair underneath stays down and covers the nape. If your undercut sits above one ear, the knot pulls the top layer up enough to let a narrow band of it peek through on that side.
It reads as a style choice, not a statement. Wear it on weekends and let it down again on Monday.
Best for: someone who wants to test how they feel about the undercut being seen.
11. Double Up With a Nape and Side Combo

For the thickest hair, one section is sometimes not enough. Combining a nape undercut with a side undercut on your thinner part side takes out a lot more bulk.
Think of it as an L shape. The cut runs across the back of your neck and then curves up behind one ear. A deep side part covers the side, and the length covers the back.
It is a bigger commitment than any single section. Growing out two areas at once can feel awkward for a few months. If your hair takes over an hour to dry and still feels heavy after a nape cut, though, this is the next step up.
12. Hide a Disconnected Undercut Under Long Hair and Curtain Bangs

Disconnected means there is no blending at all. The undercut is short, the hair above is long, and the line between them is sharp.
That sounds dramatic, but on long straight hair it is the easiest version to hide. Straight hair lies flat, so it drapes over a sharp line without lifting.
A few honest notes:
- Long straight hair shows a gap if you part it at the back, so skip low pigtails
- Curtain bangs pull eyes forward, which keeps attention off the back of your head
- A flat iron on the bottom inch of the top layer keeps it lying smooth
Long, sleek, and secretly much lighter.
13. Keep It Grow Out Friendly With a Scissor Cut Undercut
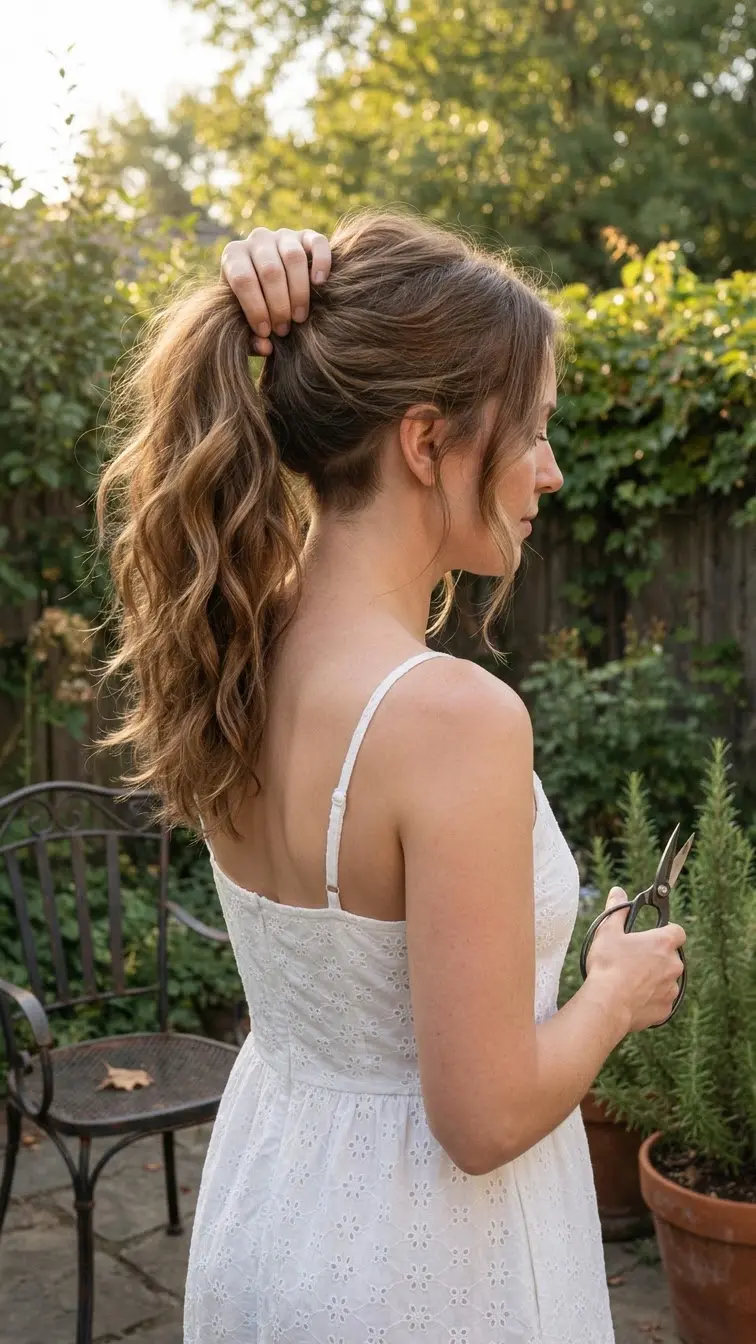
Nervous about the buzz? Skip the clippers.
A scissor cut undercut leaves the section about half an inch long instead of shaving it close. It still takes out the weight, but it feels soft to the touch and grows out without that spiky, in between stage.
Growing out a clipper undercut usually means a few months of short pieces sticking out at the neck. A scissor version blends back in faster because it starts longer.
Starts very short, so the regrowth pokes out at the nape and through the top layer. Expect a stubborn spiky stage and a lot of tucking.
Starts with some length, so it lies down with the rest of your hair. Regular trims blend it back in with far less awkwardness.
Good to know: scissor undercuts need a refresh a little more often than clipper ones to keep the weight off.
14. Put a Peekaboo Color Above the Undercut

An undercut already creates a secret layer. Coloring the band of hair right above it adds a second one.
Copper, rose gold, or a deep plum show up only when your hair moves or when you clip it up. Worn down, the top layer covers both the color and the shave.
Ask your colorist to lighten and tint a thin slice about one inch thick sitting just above the undercut line. Thick hair hides a slice like this easily.
Bright shades fade fast. Wash with cool water and a color safe shampoo, and plan on a gloss every few weeks.
15. Try a Behind the Ear Undercut for Easy Tucking

Thick hair never stays tucked behind the ear. It springs right back out because there is too much of it.
A small undercut behind the ear solves exactly that. With the bulk gone, the hair sits flat and stays tucked, and a pair of earrings actually gets seen.
This is the smallest option on the list, roughly the size of a playing card. It takes the least nerve and grows out quickly.
Who it works best for: women who wear their hair down most days and keep pushing it out of their face at work.
A hidden undercut for thick hair women is one of those changes that feels bigger than it looks. Nobody at work will notice a thing, but you will feel it the first time your hair dries before lunch or your ponytail stops tugging by 3 p.m.
Start small if you are unsure. A nape section or a behind the ear patch hides easily and grows out quickly. Once you know how much lighter you like your hair, you can go wider, add a design, or slip in a peekaboo color.
Bring a photo and a hair tie, and ask to see the line before the clippers start.
Save this list to your hair board so you have it ready for your next appointment.