Long hair is supposed to feel like a win. But when it hangs straight down past your shoulders with nothing happening near your face, it can pull everything down with it. Your cheekbones disappear. Your jaw looks heavier. You look tired in photos even after a full night’s sleep.
The usual advice is to cut it shorter. That’s not what most women want, and it doesn’t fix the real problem anyway.
The real problem is where the shape sits. One length hair puts all the weight and movement at the bottom. Long hair with face framing layers moves some of that shape up, so the eye lands on your cheekbones, eyes, and smile instead of sliding down to your ends.
And you keep your length. Below are 20 ways to cut and style face framing pieces, matched to different face shapes and hair types, with the exact words to use at the salon.
1. A First Layer at the Cheekbones for Instant Lift
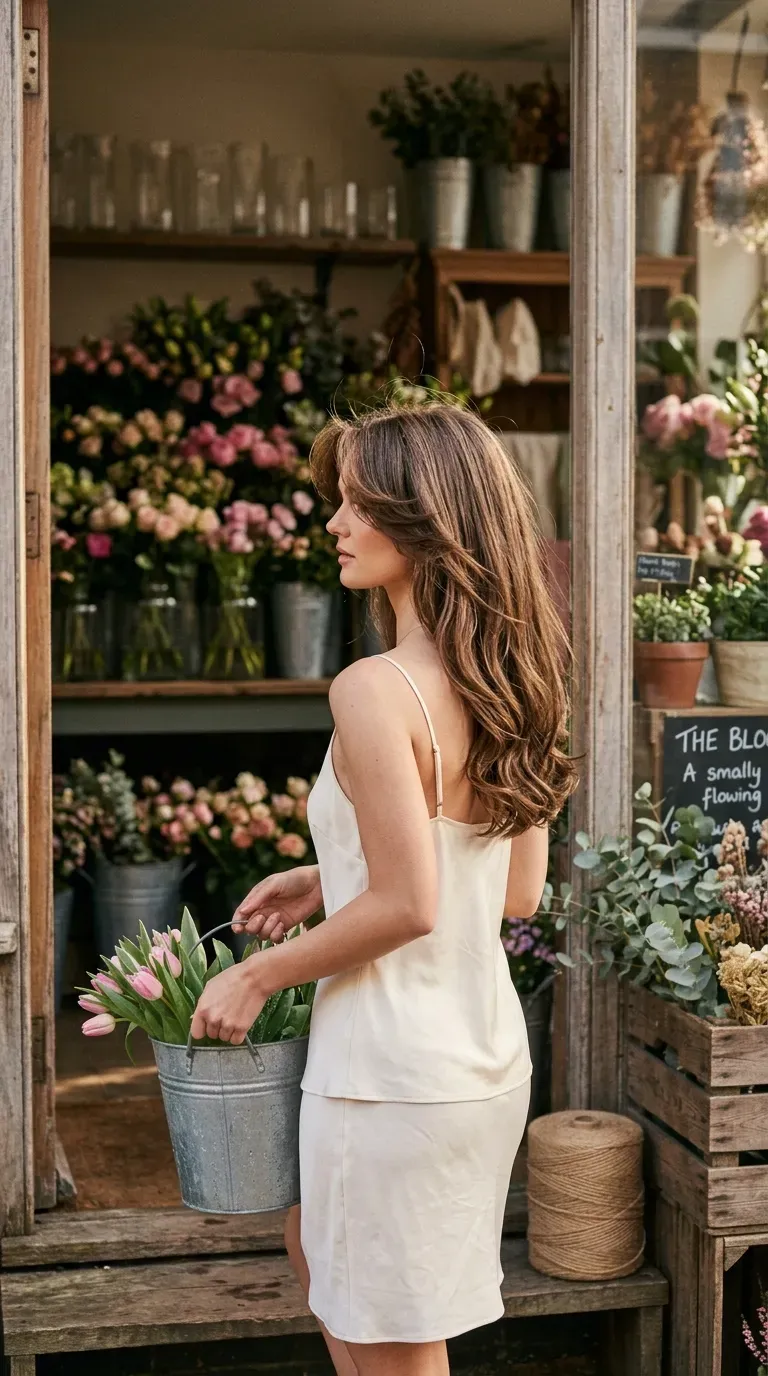
Hair that falls straight from the part draws a long, heavy line down both sides of your face.
A first layer cut right at the cheekbones breaks that line. The shortest pieces curve around the top of your face, and the eye stops there instead of sliding down to your ends.
Ask for:
- Shortest layer at the cheekbone
- Each layer below it a little longer, blending into your length
- Ends left full at the back
Blow the front pieces back and away with a round brush for the most lift.
Straight curtains of hair on both sides, one long heavy line, and the eye pulled down toward the ends.
The shortest pieces curve at the cheekbones, the eye stops higher, and your face has a shape around it.
2. Chin Length Face Framing Layers

A good rule for a first face framing cut: start at the chin and adjust from there.
Chin length layers are the middle ground. They’re short enough to frame your jaw and cheeks, but long enough to tuck behind your ears or pull into a ponytail on gym days.
- Ask the stylist to cut them dry
- Check both sides in the mirror for balance
- Request a soft, slightly curved edge, not a blunt line
Most people can wear this length without styling it every single morning.
3. Collarbone Length Face Framing for a Subtle Start

Collarbone length face framing gives you movement around your face without any short pieces to manage.
The front layers start near your collarbone and blend into the rest of your hair. It’s subtle, but it’s enough to soften one length hair that looks heavy and flat at the sides.
Works well for: anyone growing out a bad cut, nervous first timers, and people who wear their hair up most days.
At your next appointment, go a little shorter if you want more lift.
4. Middle Part Swoop That Opens Up the Face

A curtain style swoop, without actual bangs, opens up your face like pulling back a pair of curtains.
- Part your hair down the middle while it’s damp.
- Blow dry the front sections forward first, then roll them back and away with a round brush.
- Give each side a cool blast to set the curve.
- Finish with a tiny bit of cream on your fingertips.
Ask your stylist for face framing that starts around the lips or chin, so the swoop has enough length to curve.
5. Angled Face Framing That Slopes Toward the Back

Angled face framing starts short at the front and gets steadily longer toward the back, like a gentle slope.
Angled vs stacked face framing:
- Angled: one smooth, continuous line that feels sleek
- Stacked: separate steps you can see, choppy and textured
The angled version suits straight and smooth wavy hair, where the line stays clean. On thick hair, it also takes bulk off the sides without making the back look thin.
6. Curl by Curl Face Framing on Long Curly Hair

Curly hair doesn’t need to be blown straight to show face framing.
When the front curls are cut a little shorter, they spring up around your cheekbones and frame your face on their own. The trick is cutting them dry, curl by curl, so the stylist sees exactly where each one lands.
- Start longer than you think, since curls shrink
- Define the front curls separately with a curl cream
- Clip the roots at the crown while diffusing for lift
Your face framing turns into a ring of bouncy curls right where you want attention.
7. Air Dried Face Framing on Long Wavy Hair
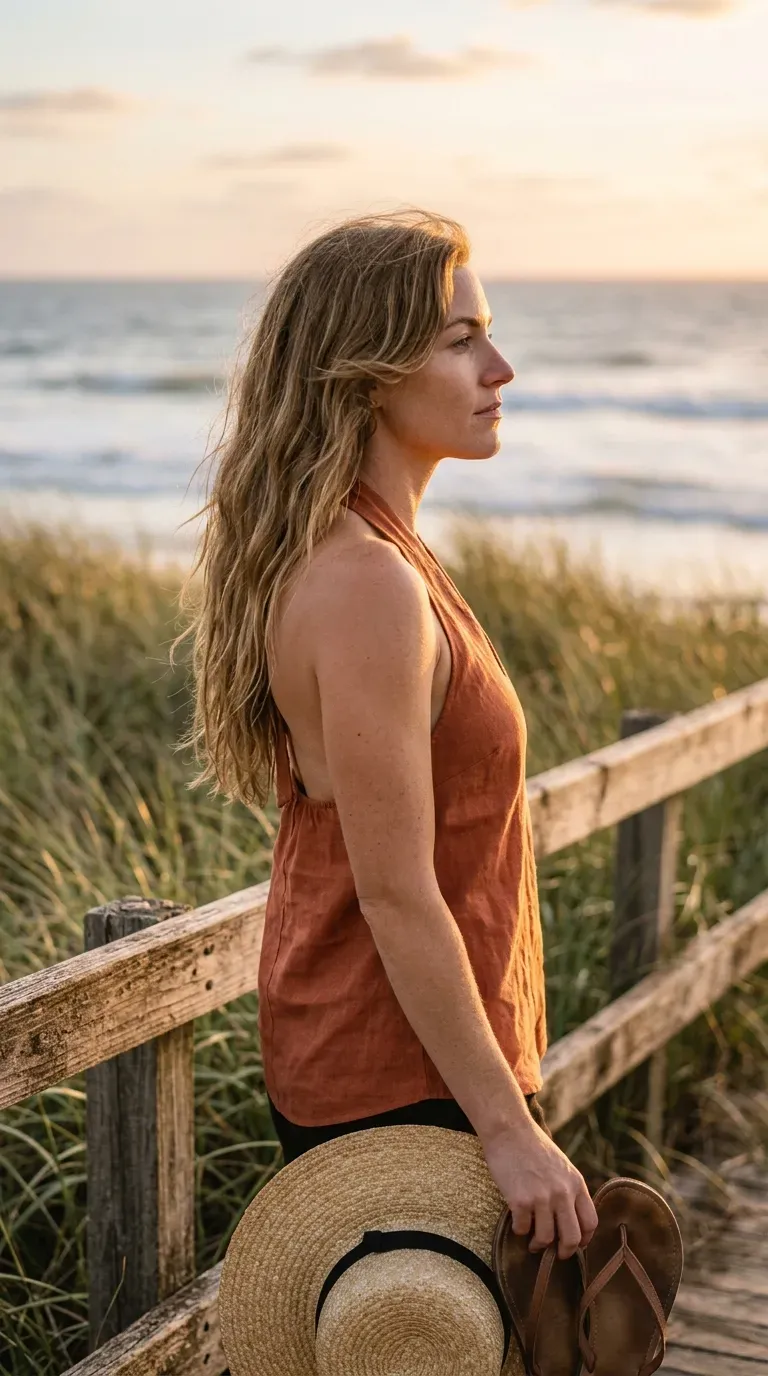
Something I keep noticing with wavy hair: the face framing pieces are almost always the first to wave as it air dries.
Cut them around the chin or cheekbones, and they’ll often bend outward on their own, which pulls attention up toward your eyes without any tools.
- Twist each front section away from your face while damp
- Let it dry completely without touching
- Scrunch out any crunch once it’s dry
On day two, rewet just the front pieces at the sink and twist them again.
8. Front Only Layers for Fine Hair

The mistake fine hair often makes is layering the whole head, which can leave the ends looking thin and see-through.
Ask for face framing in front only. The back stays one length, so your hair keeps its fullness, while the front gets the shape and lift you’re after.
Quick tip: a little volumizing spray at the roots of just the front section gives the face framing extra lift without weighing down the rest.
A small change, and it shows right where people look first.
9. Point Cut Face Framing for Thick Hair

Soft, separated pieces around the face instead of one thick wall of hair. That’s what point cutting does for thick hair.
The stylist snips into the ends of the front layers vertically, which thins out the edges and lets each piece move on its own. The face framing curves gently instead of puffing out sideways.
Thick hair holds shape well, so these layers often keep their curve for a day or two after a blowout.
10. Feathered Face Framing Blown Back 70s Style
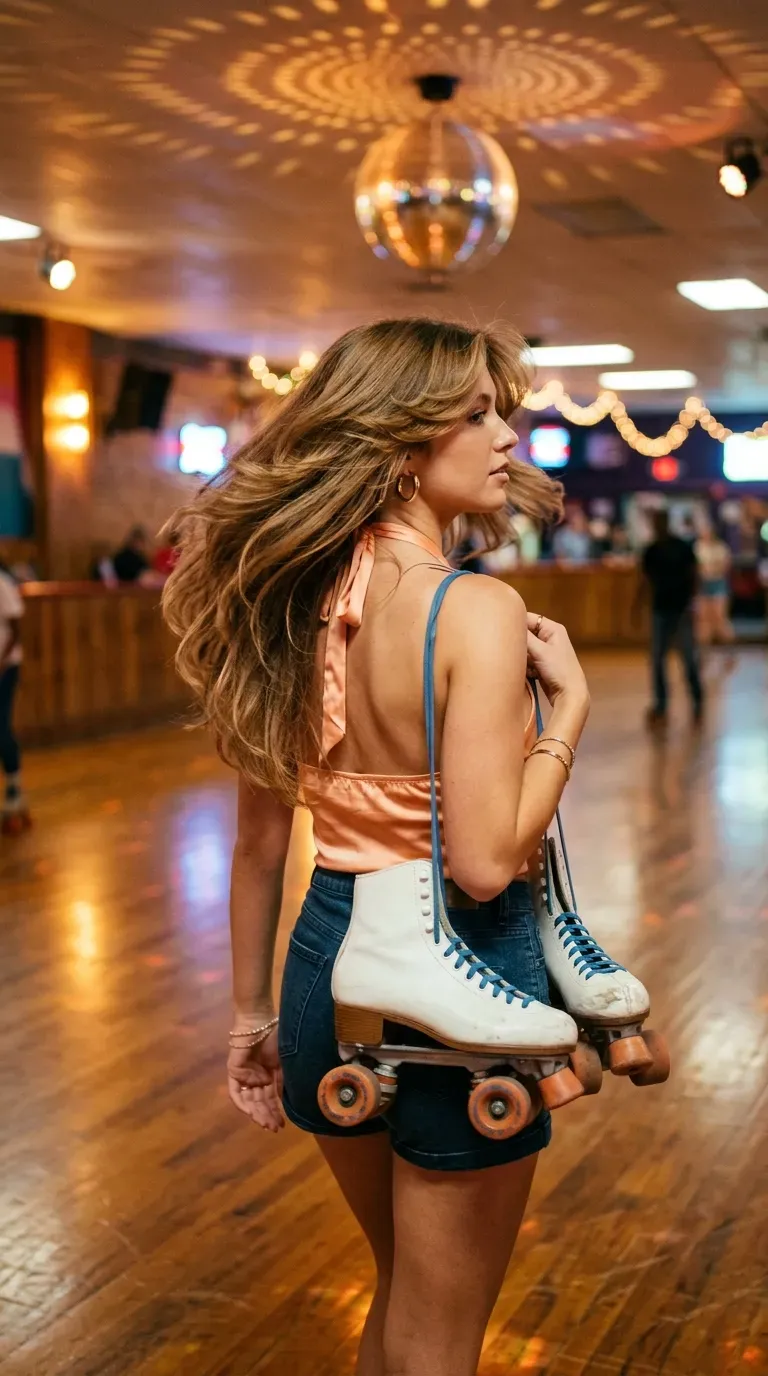
Feathered face framing is cut at an angle that wants to fall backward, away from your face.
- Rough dry your hair until it’s mostly dry.
- Point the dryer down the hair and roll each front section back with a large round brush.
- Hold for a few seconds, then hit it with a cool shot.
- Brush through lightly with your fingers.
The result is soft and full at the sides, with your whole face on show. Keep a light hairspray in your bag for windy days.
11. Face Framing Layers That Flip Outward

Top down on a summer drive, and the front layers flick outward in that playful 90s way.
The face framing pieces are cut to land around the chin or collarbone, then flipped out with a flat iron at the very end of each pass. Everything behind them stays smooth and long.
- Flip the ends out, never under
- Keep the flip to the front layers only
- Set with a flexible spray, not a stiff one
Straight hair that won’t hold a curl but takes a bend easily handles this best.
12. Face Framing With Money Piece Highlights

Lighter color on the face framing layers puts brightness exactly where you want people to look.
A money piece is a pair of lighter sections at the front of your hair. Combined with face framing layers, the brighter ends trace the curve of the cut and sit right next to your face.
- Ask for lightness on the underside of the front pieces too
- Keep the rest of your color softer for contrast
Book a gloss between color appointments. Light pieces near the face tend to show brassiness first.
13. Deep Side Part Face Framing

Small rule: move the part, and the face framing changes shape.
A deep side part sweeps more hair across one side of your forehead, so the face framing falls at a diagonal instead of straight down. It softens a strong forehead and adds volume at the root on the fuller side.
Styling detail: blow dry the part in the direction you want while it’s still wet. Once it dries flat, it’s hard to move.
Ask your stylist to cut the face framing with your side part already in place.
Flip your part to the other side on flat days for quick root lift.
Wearing a deep side part with layers cut for a middle part. The two sides end up uneven.
Pressing the root flat with a flat iron, which cancels the sweep.
14. Face Framing for Round Faces That Starts Below the Chin

People with round faces often skip face framing because they think it adds width. Placed lower, it tends to do the opposite.
Starting the first layer just below the chin creates long lines down the sides of the face, which draws the eye up and down instead of across.
- Keep the shortest layer below the jawline
- Pair it with a middle or slightly off center part
- Skip big round blowouts right at cheek level
Smooth the front pieces with a gentle flat iron bend for long, clean lines.
15. Cheekbone Layers With Width for Longer Faces

Long, straight hair on a longer face can make everything look longer still.
Face framing that starts at the cheekbones and curves slightly outward adds a little width right where it helps. Soft volume at the sides balances the length of the face.
- Ask for the shortest layer at the cheekbones
- Blow the front out and slightly away, not straight down
- Consider curtain bangs to shorten a tall forehead
A sleek, flat middle part tends to stretch the shape again, so give the roots a little lift.
16. Wispy Jaw Length Layers for a Strong Jawline

Soft, wispy pieces landing just past the jaw and curving in gently. That’s the shape that softens a strong jawline.
The key is texture. Blunt pieces ending right at the jaw can make it look wider, while feathery, tapered ends blur the line.
- Ask for the shortest layer just below the jaw
- Request point cut or razor tapered tips
Who it suits: square and heart shaped faces that want a softer outline without losing any length.
17. Half-Up Style With the Face Framing Left Out

Running late for brunch, hair washed two days ago. Pull the top back, leave the front pieces out, and you look put together in a minute.
Gather the hair behind your face framing layers and tie it with a velvet ribbon or a small elastic at the back of the crown. The face framing stays loose on both sides.
Quick tip: give just the front pieces a quick pass with a hot brush. Everything else can stay exactly as it is.
Whatever up style you wear, keep the face framing out. Pulled back with everything else, the layers you paid for simply disappear.
18. Inward Curving Face Framing on Straight Hair

On straight hair, face framing that curves inward toward the jaw looks soft and polished.
- Blow dry the front sections until almost dry.
- Wrap each one around a medium round brush, rolling under toward your face.
- Or use a flat iron, turning it inward at the end of the pass.
- Smooth over with a drop of serum.
The inward curve hugs the cheeks and chin. It usually holds best on hair that’s a day old rather than freshly washed and slippery.
19. Stretched Face Framing on Long Coily Hair

The common mistake with coily face framing is cutting it without counting shrinkage. The front can end up far shorter than you planned.
Ask for face framing cut on stretched or dry hair by someone trained in textured hair. Worn natural, the front coils sit around your cheeks. Silk pressed, they swing like classic face framing layers.
- Bring your usual leave-in to the appointment
- Ask the stylist to show where each layer lands when natural
A satin scarf at night keeps the front coils from flattening.
20. Face Framing on Waist Length Hair

Very long hair is where face framing shows the most. Without it, waist length hair can look like it’s pulling everything toward the floor.
A few layers around the face, with the rest kept one length, give very long hair a clear top to its shape.
- Keep the face framing between the cheekbones and collarbone
- Leave the back long and full
- Book quick front trims between full appointments
Many women with very long hair find this one cut makes their hair feel styled instead of just long.
Brighter, Without the Big Chop
The right face framing layers can change how your whole face reads, without losing an inch of length in the back. Pick the starting point that suits your face shape, match the cut to your texture, and on busy mornings, style just the front pieces.
Long hair with face framing layers is one of the easiest requests to make at the salon, and one of the easiest to adjust next time. Start a little longer, see how the layers sit for a few weeks, then go shorter if you want more lift.
Save this list to your hair board so it’s ready for your next appointment.