
Your hair reaches halfway down your back, and you still grab the same ponytail every single morning. You pull it tight at the crown, check the mirror, and think, well, it’s fine. Then you see a woman in line at the coffee shop with a soft twisted half-up style and wonder how long that took her.
Probably about four minutes.
Long hair gets stuck in a rut because most tutorials assume you own a curling wand, have a free half hour, and have arms that never get tired. Real mornings look different. You have one hair tie on your wrist, a claw clip somewhere in your bag, and maybe some leftover waves from yesterday.
So this list sticks to easy hairstyles for long hair that use what you already have: elastics, bobby pins, a clip, sometimes a ribbon or even a pencil. Each one gets quick once you’ve done it twice. Some work better on second day hair than clean hair. A few hide a bad hair day completely.
Pick two or three to practice this week, and let your ponytail finally take a day off.
1. Half-Up Twist Held With a Claw Clip
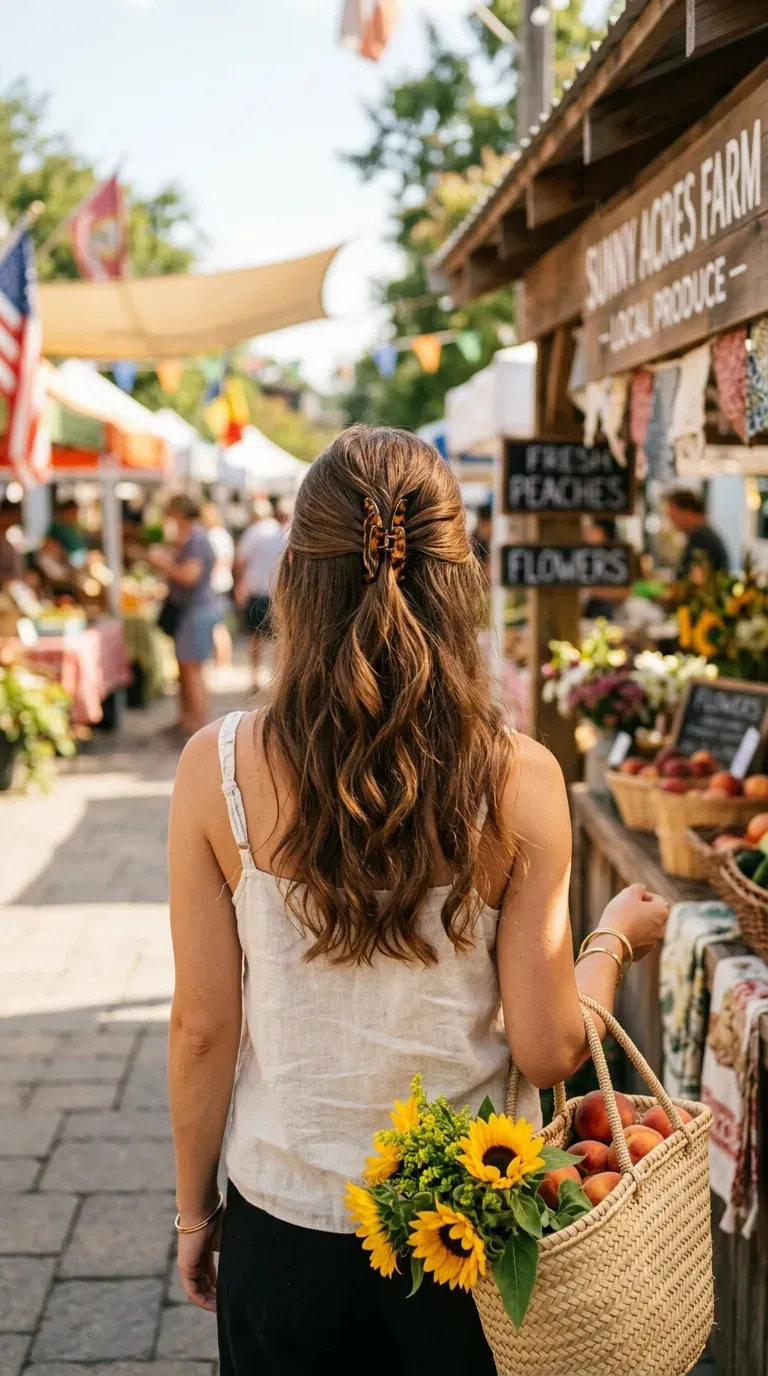
The fastest fix for a flat ponytail day is to stop tying everything up.
- Gather the top section of hair, everything above your ears.
- Twist it two full turns.
- Fold the twist upward and clamp it flat with a medium claw clip.
The bottom stays down, so your length still gets to show. A clip with longer teeth grips thick hair much better than a tiny one, which tends to slide down by lunchtime.
Quick tip: Point the clip’s teeth downward so they bite into the twist instead of resting on top of it.
2. The Five Minute Low Knot Bun
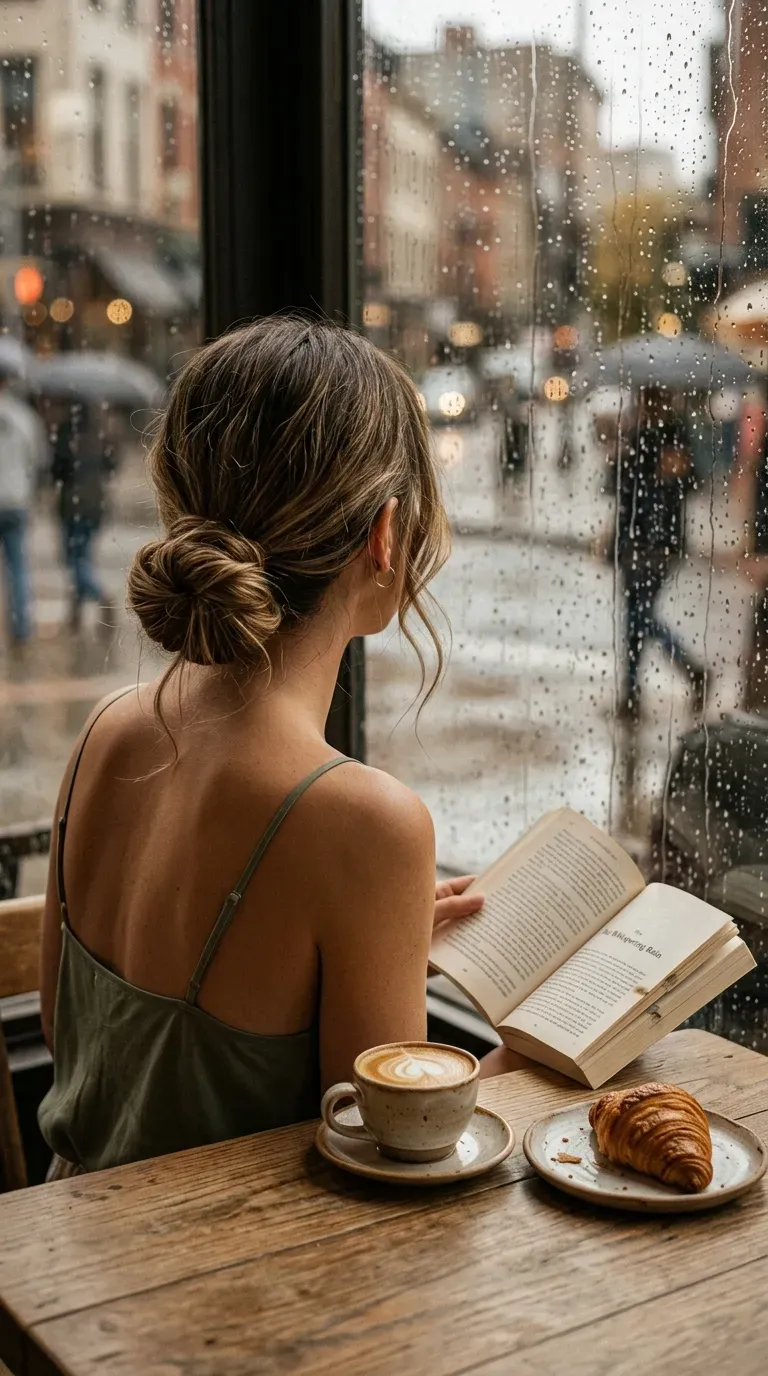
Here is the rule: knot the hair first, then add the elastic.
Split your hair into two halves at the nape. Tie them like the first step of a shoelace, then do it once more. Tuck the ends under and slip one elastic over the whole knot. That’s it.
The knot does most of the holding, so the bun stays put without a fistful of pins. It also looks softer than a donut bun and behaves best on day two or three hair, when there’s a little grip.
Skip it on freshly washed, silky hair, because it slides apart. A quick spray of dry shampoo at the roots fixes that.
3. Pull-Through Braid Made With Clear Elastics

Can’t braid? Plenty of women with gorgeous long hair can’t either, and this style doesn’t care.
All it needs is small clear elastics:
- Tie a small ponytail at the crown, then another just below it.
- Split the top pony in two and flip the lower pony up through the gap.
- Join the two halves with a bit of new hair and tie them underneath.
- Repeat down the back, then gently pull each loop wider.
From across a room it reads like a chunky, fancy braid. A pack of clear elastics costs very little at the drugstore. Keep a tiny bag of them in your car, because they vanish.
4. Velvet Ribbon Tied Over a Low Ponytail

A deep burgundy velvet ribbon knotted over a plain elastic makes a basic low ponytail look planned.
Brush your hair back, tie it low at the nape, then wrap the ribbon twice around the elastic before you tie the bow. Leave the tails long, roughly the length of your hand, so they hang into the ponytail instead of sticking out sideways.
Good ribbon choices:
- Velvet for fall and winter
- Satin for weddings and dinners out
- Thin grosgrain for regular work days
Cut the ribbon ends at an angle. They fray less and look neater after a few wears.
5. Two-Strand Rope Twist Ponytail
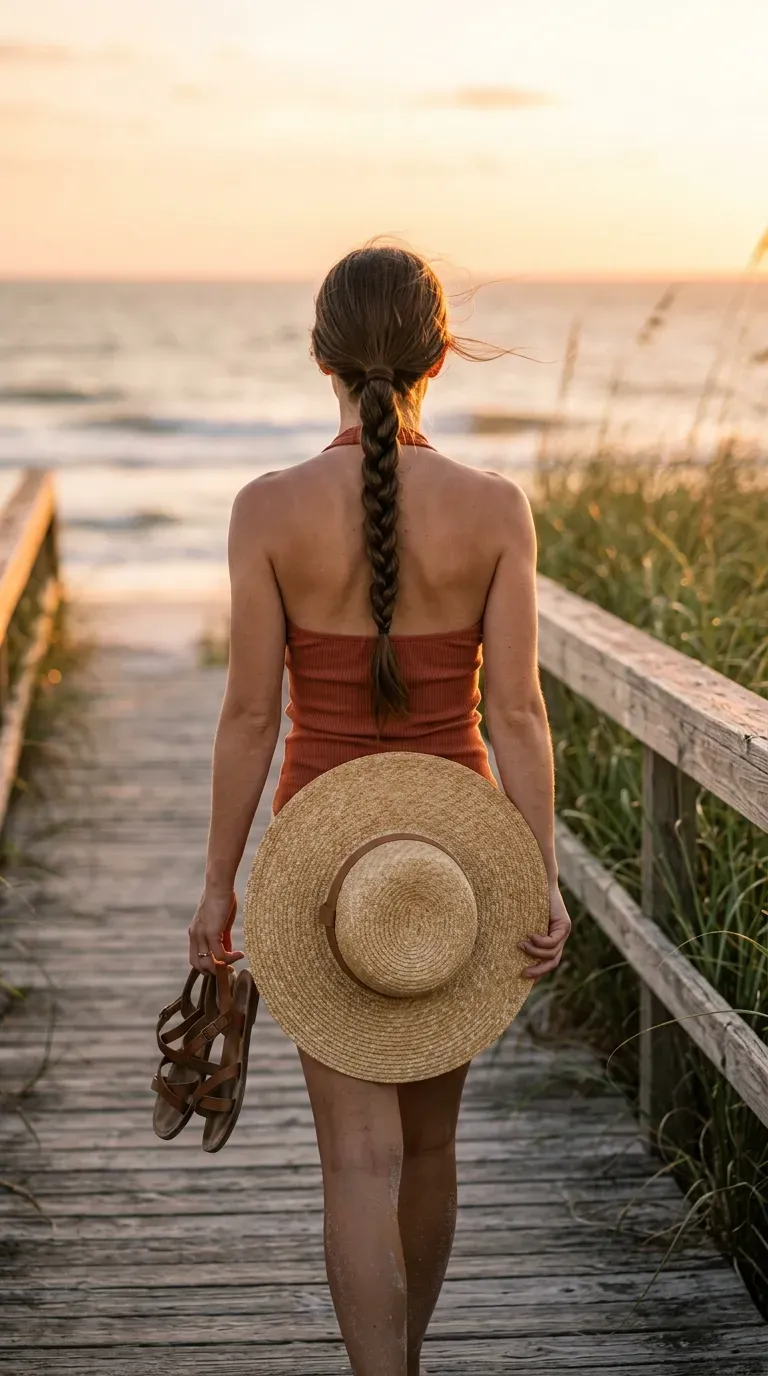
A rope twist looks like a braid but goes twice as fast, since there are only two pieces to manage.
Tie a ponytail at mid height. Split it in two. Twist each half clockwise, then wrap the two halves around each other counterclockwise and secure the end.
Braid vs rope twist:
- A braid needs three strands and steady hands.
- A rope twist needs two strands and one direction rule.
That opposite direction is the whole trick. Get it backward and the rope unwinds within a minute. Wavy or day two hair holds the twist longest.
6. Lazy Bubble Ponytail With Matching Elastics
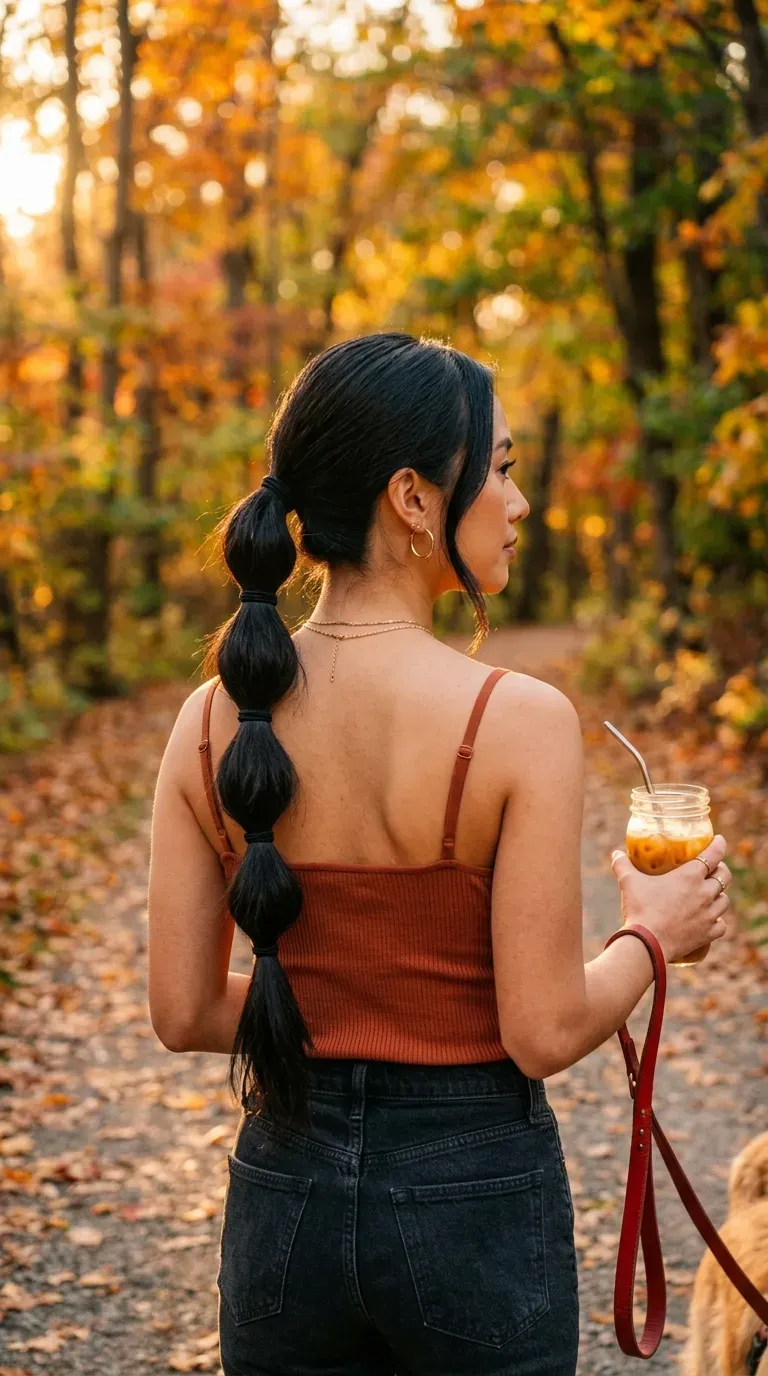
The most common bubble ponytail mistake is spacing the elastics too far apart, so the result looks like a string of sausages.
Keep them about three finger widths apart. After each elastic, pinch the hair between it and the last one and tug the edges outward to puff the bubble. Work slowly toward the ends.
A low bubble pony reads soft and casual. A high one looks sporty and survives a long walk or a gym class.
Quick tip: Match the elastics to your hair color. Black elastics on blonde hair show every gap.
7. Half-Up Top Knot for Day Three Hair

Day three hair always looks oiliest at the crown, which happens to be exactly where a top knot sits.
Gather the top section, twist it into a small bun on top of your head, and wrap an elastic around it. Leave everything else loose. Pull two thin strands free near your temples so it looks deliberate.
After a lot of tired hair days, one pattern stands out: with long hair, a messier knot looks more polished. A tight little ball reads childish. A loose one reads relaxed and pretty.
Oily, flat roots on top, a dent from yesterday’s ponytail, and lengths that feel limp and heavy.
Roots tucked into the knot, extra height at the crown, and the dent hidden while the lengths swing loose.
8. Side Braid Pinned Behind One Ear
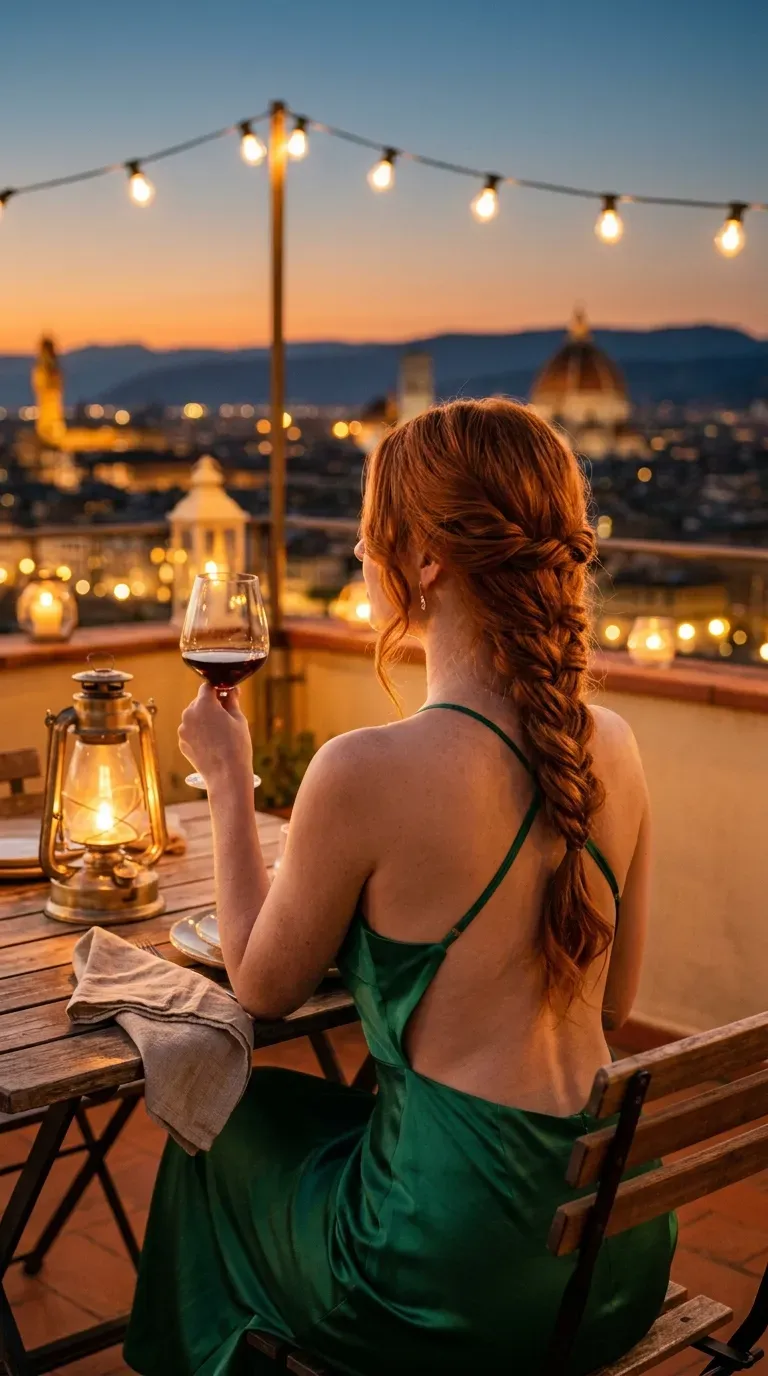
Ten minutes before a dinner reservation, wearing a dress with an open back, this is the style to grab.
Sweep all your hair over one shoulder. Before braiding, take a small section behind the opposite ear, twist it back, and pin it. That pinned twist makes the side braid look connected to your whole head instead of thrown over.
Braid loosely and tie off with a clear elastic. Then pancake the braid by gently pulling the outer loops. Long hair makes a thick, full braid that looks like you spent far longer on it.
9. Two Front Twists Pinned Into a Crown

Take a one inch section above each temple.
- Twist the left section back toward the middle of your head.
- Pin it just past the center.
- Twist the right section the same way and lay it over the first pin.
- Pin it so the second twist hides the first pin.
Your face stays clear, the back stays long, and it holds up on a windy walk. Pearl bobby pins add a little shine where the twists meet. Two is plenty. More than that starts to look busy.
10. Flip-Through Low Ponytail
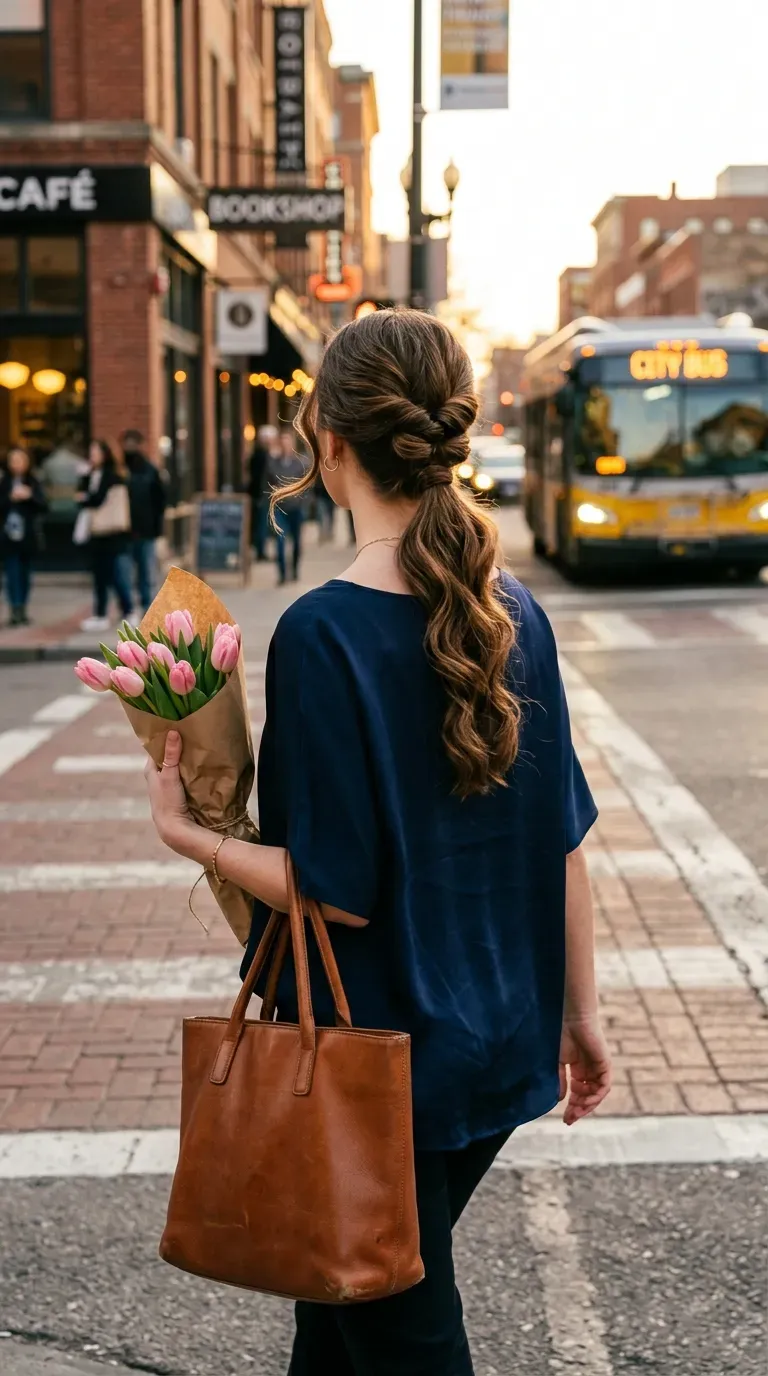
People assume a flipped ponytail is dated. It isn’t. It just needs to sit low and stay a little loose.
Tie a low ponytail and slide the elastic down about an inch. Open a gap in the hair above it with two fingers, then push the tail down through the gap. The sides roll inward and hide the elastic.
Flip it twice for a longer roll that looks like a twisted updo. Tug the rolled sections a bit looser at the top.
Office days, when a plain pony feels too bare, are where this one earns its spot.
11. Claw Clip French Twist
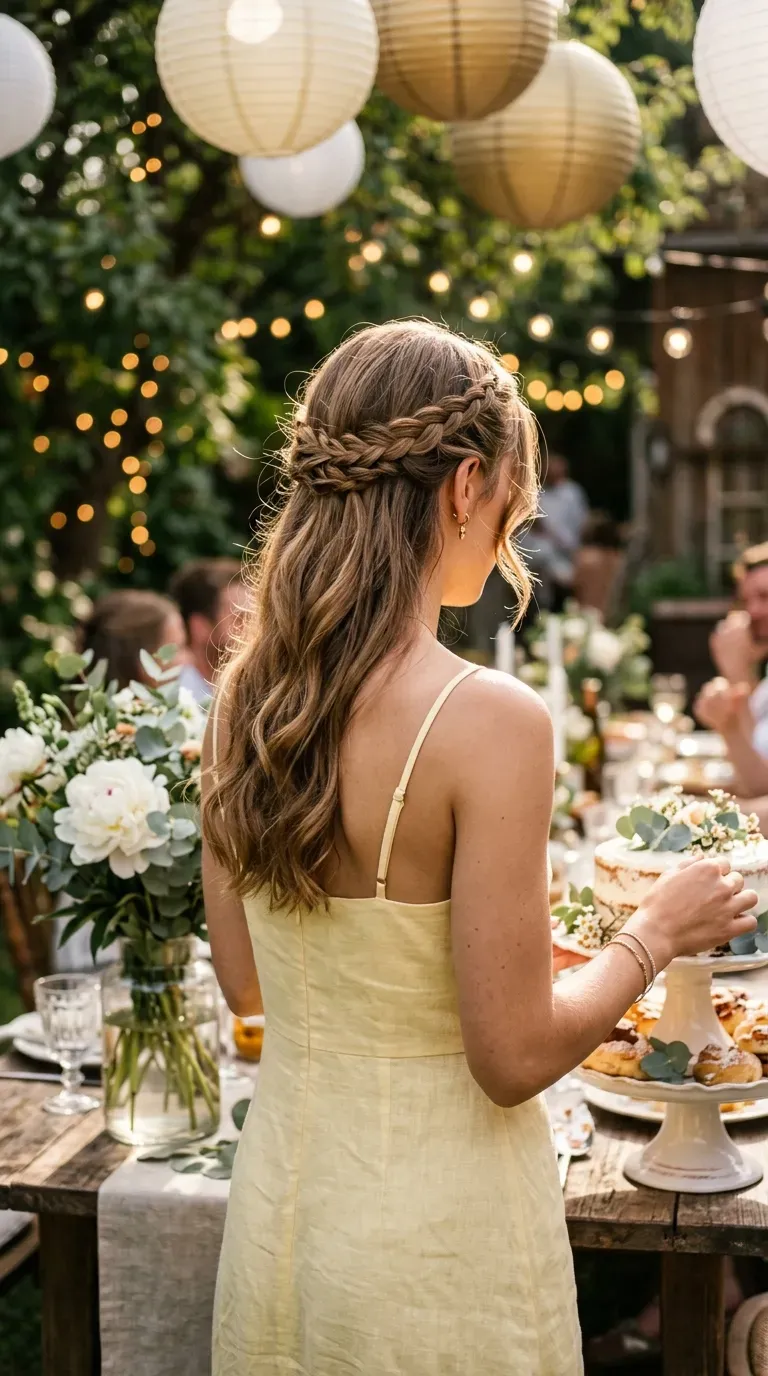
A French twist used to mean twenty pins and a tutorial video. A big claw clip cuts it down to one move.
Gather your hair at the nape, twist it upward into a long vertical roll, tuck the ends inside, then clamp the clip across the roll sideways.
On very long hair, fold the ends over once before twisting so the roll isn’t too tall for the clip to cover.
Watch the size: small clips rarely hold waist length hair for more than an hour. Go wide.
Twist the roll firmly before the clip goes on, so the clip only has to hold, not shape.
Pick a clip with teeth that interlock when closed.
Clipping right after hair oil or serum. The roll slides straight out.
Shaking your head to test it. Check the hold with a light tug instead.
12. Braided Half-Up Crown
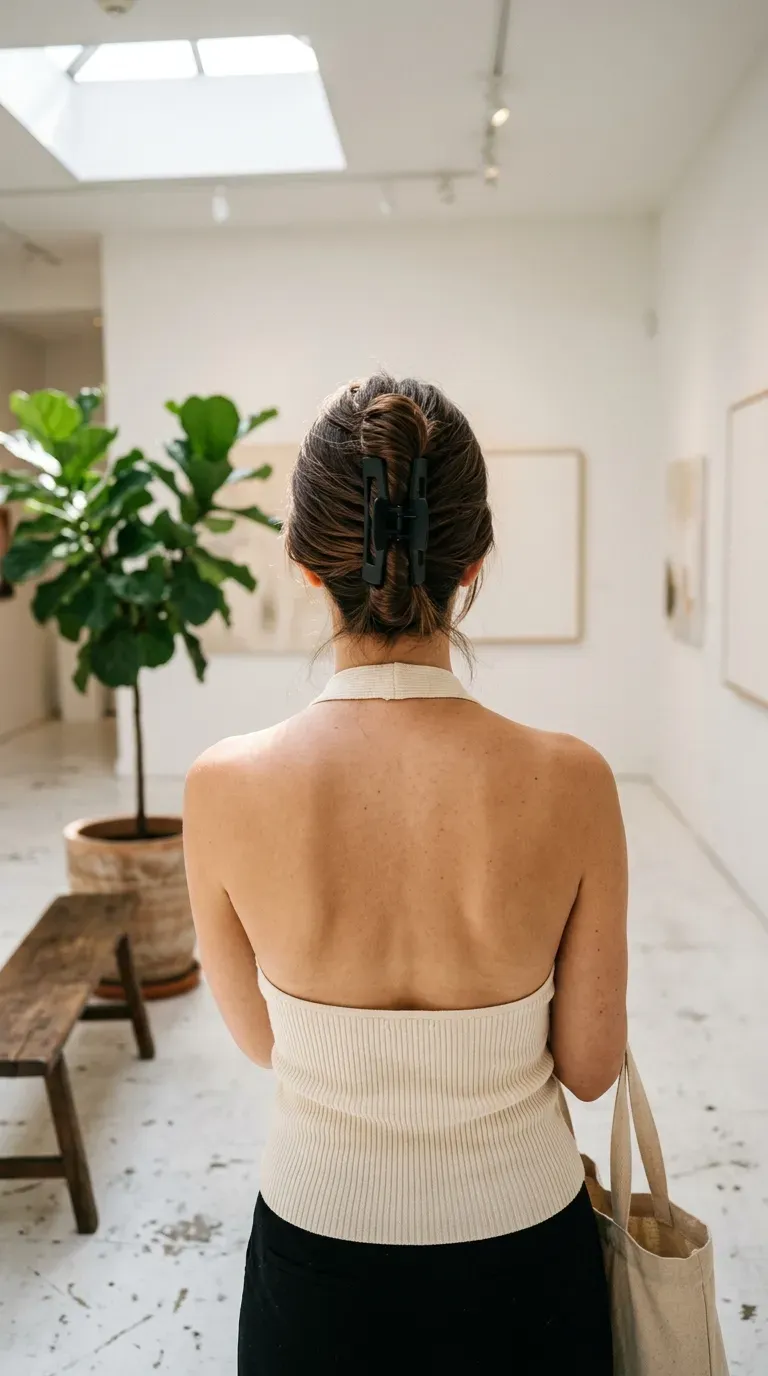
Two small braids turn a half-up style into something that fits a bridal shower or a graduation party.
Braid a thin section behind each ear. Bring both braids back and pin them where they meet, crossing the ends underneath. Leave everything below loose.
Small details that help:
- Braid loosely, then pull the edges for width.
- Pin each end under the opposite braid so nothing pokes out.
- Leave a few face framing wisps near your ears.
Thin braids hold up even on slippery hair, since they’re pinned in two spots instead of one.
13. Silk Scarf Wrapped Low Ponytail
Frizz all over the lengths on a humid day? A silk scarf hides most of it.
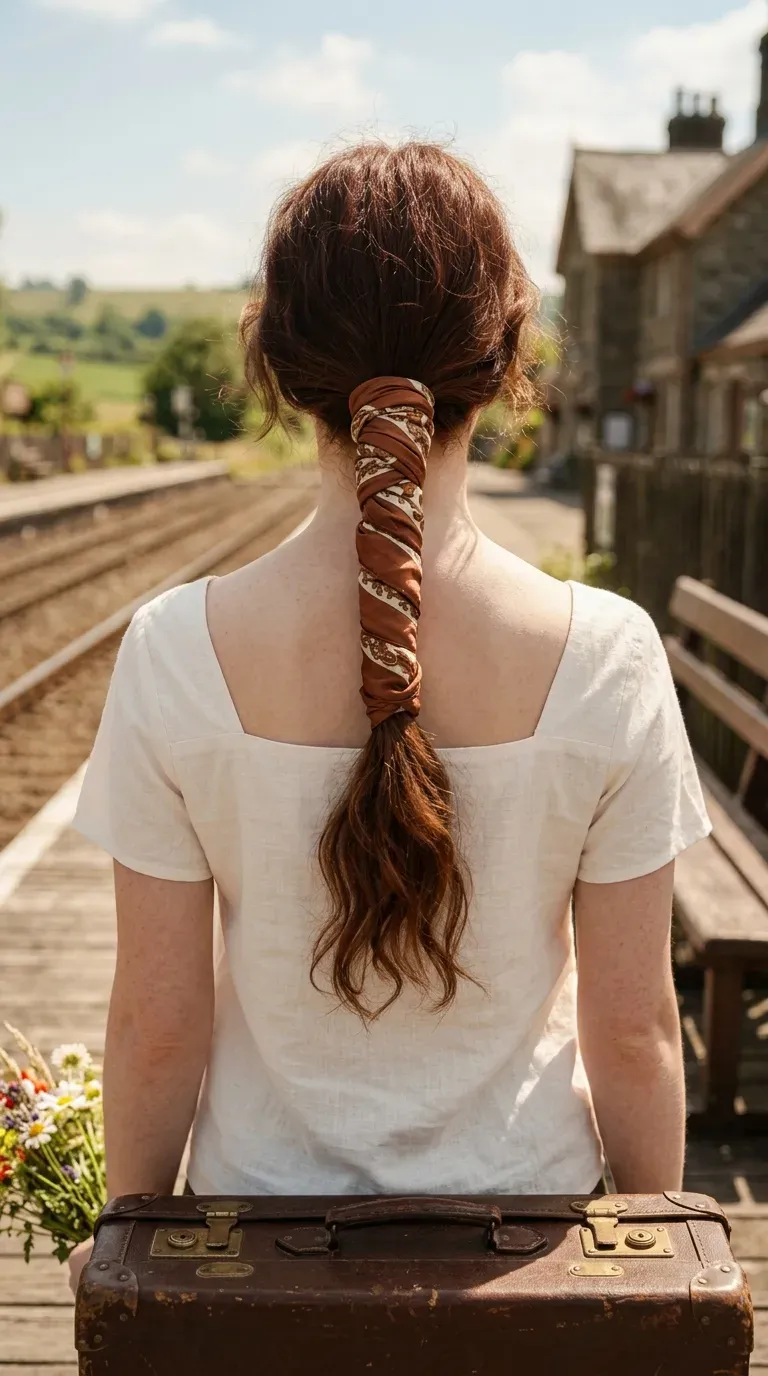
Tie a low ponytail, then fold a square silk scarf into a long strip. Wrap it around the elastic, knot it, and let both ends hang down the ponytail. For more hold, braid one scarf tail into the ponytail and tie off the bottom.
Silk is smooth, so the hair under it tends to rough up less as the day goes on.
Patterned scarves hide flyaways better than solid ones. Keep one rolled in your bag for emergencies.
14. Loose Fishtail Braid Down the Back
Most people quit fishtails because they braid too tight, and it takes forever.
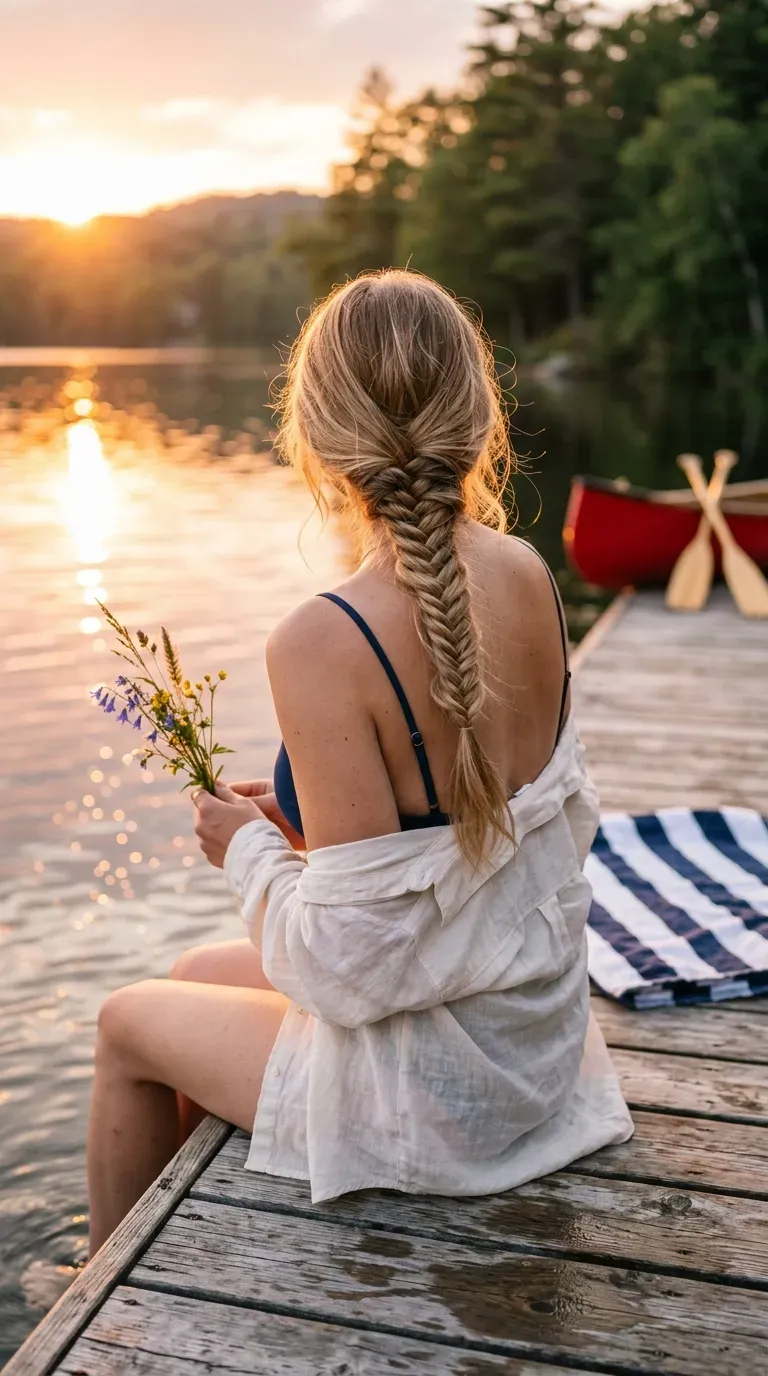
Split your hair into two halves. Take a thin piece from the outside of the left half and cross it over to join the right half. Repeat on the other side. Keep the pieces about pencil width and don’t pull hard.
About halfway down, the motion clicks and speeds up. Stop an inch above the ends, tie it off, and loosen the edges with your fingertips.
On waist length hair, sit down while you braid. Your arms will thank you.
15. Pencil Bun When You Have Nothing Else
Hair tie snapped at your desk? Grab a pencil.
Twist all your hair into a rope, wrap it around itself into a bun, and slide the pencil through the bun and the hair at its base. Turn the point downward and push it back through the other side. The tension locks everything in place.
Long, thick hair holds this best, since there’s more weight to grip the pencil. Fine hair might need one bobby pin tucked under the bun.
A chopstick or wooden hair stick works the same way and looks more finished at night.
16. Overnight Braid Waves Worn Down
Rule for heatless waves: braid damp hair, never soaking wet.
Soaking wet hair won’t dry inside a braid by morning. Mostly dry hair will, and it sets the wave cleanly.
- One braid gives loose, wide waves.
- Two braids give tighter waves that start higher.
- A braid that starts at the crown puts waves close to the roots.
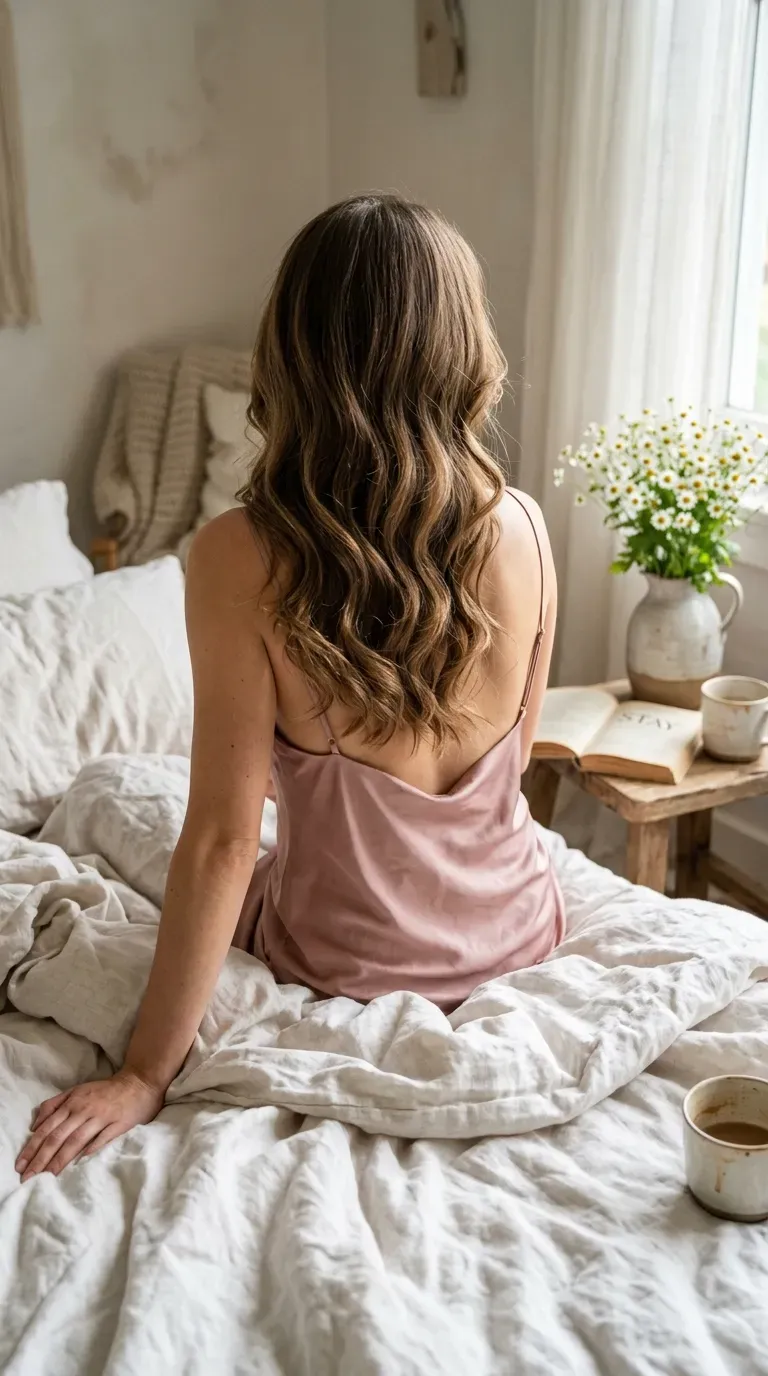
In the morning, unravel, shake it out with your fingers, and skip the brush. A brush turns waves into frizz in seconds.
Satin pillowcases help if your braids usually come out fuzzy.
17. Twisted Low Chignon With Six Bobby Pins

Six pins is enough. Really.
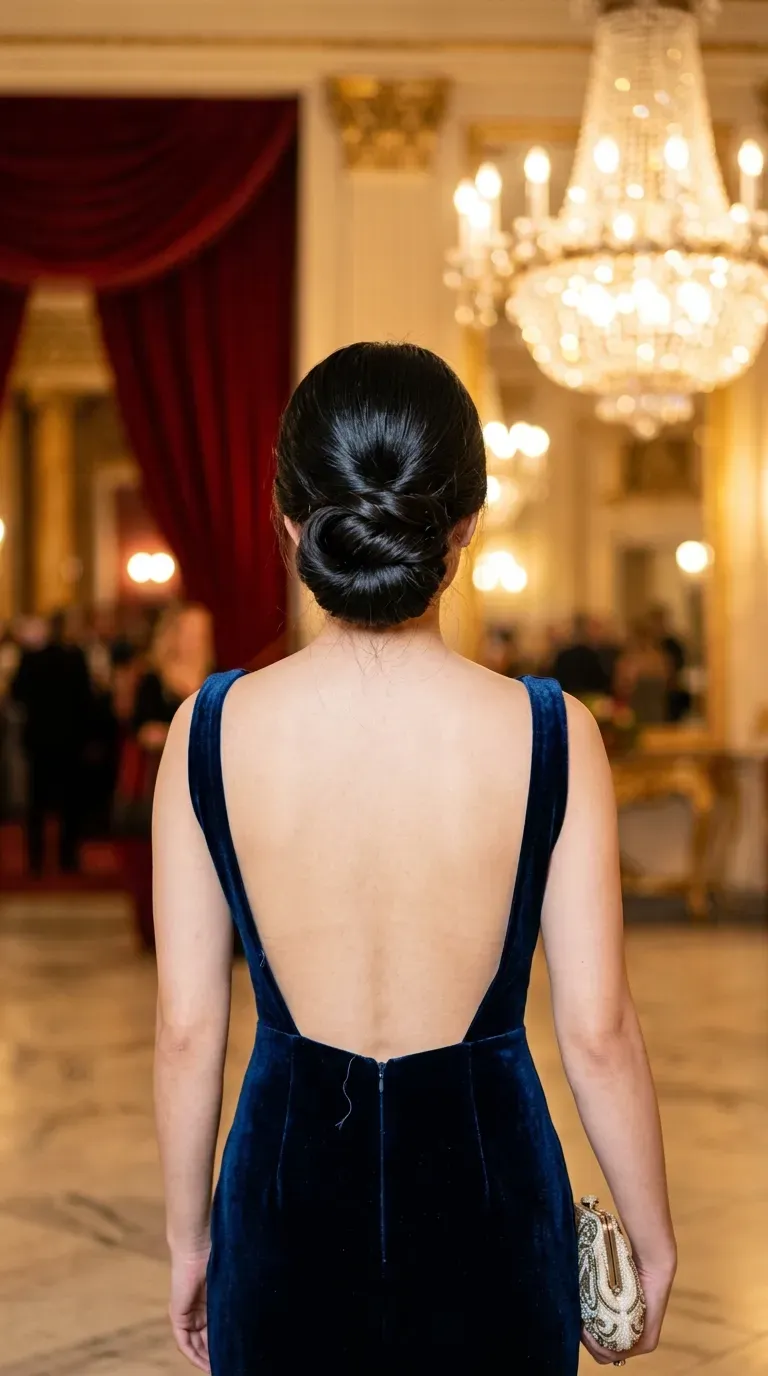
- Make a low ponytail at the nape.
- Twist the whole tail tightly until it starts to coil on its own.
- Wrap the coil around the elastic.
- Push pins in at four sides of the bun, then add two where the ends tuck in.
Slide each pin in against the direction of the twist so it catches hair on the way in.
Keep this one for job interviews, formal events, and any day you want hair completely off your face without looking stiff.
18. Half-Up Double Knots

Two little buns aren’t just for teenagers at festivals. Placed lower and kept loose, they look grown up.
Split the top section down the middle. Twist each side into a small knot just behind the crown, a little lower than feels natural, and secure each with an elastic. Leave the rest loose and wavy.
Placement matters most here. Knots high on the head read playful. Knots back near the crown read relaxed.
A slight zigzag in the middle part hides the scalp line between them, which helps if your part shows a lot.
19. Wrapped High Ponytail
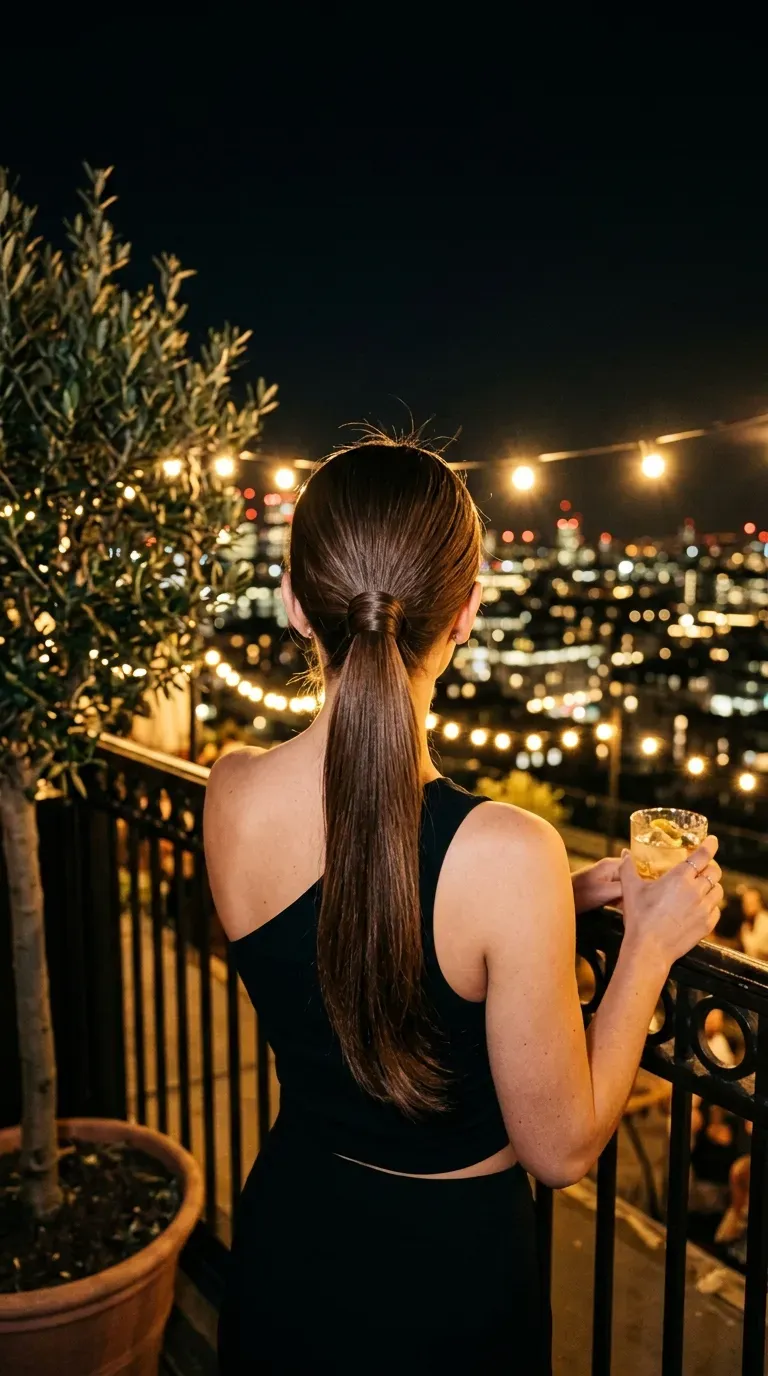
A thin strand wrapped around the elastic is the difference between gym hair and dinner hair.
Tie a high ponytail. Pull a slim section from underneath, wrap it around the elastic a few times, and pin the end into the base with one bobby pin pointing up.
Hold the wrap tight as you go and pin it before letting go, or it loosens right away.
Smooth the crown with a dab of hair cream before tying. That small step does more for a sleek finish than any spray.
Hiding the elastic makes any style with a tail look finished. The same wrap works on low ponytails, side ponytails, and bubble ponytails too.
20. Knotted Half-Up With Two Thin Sections
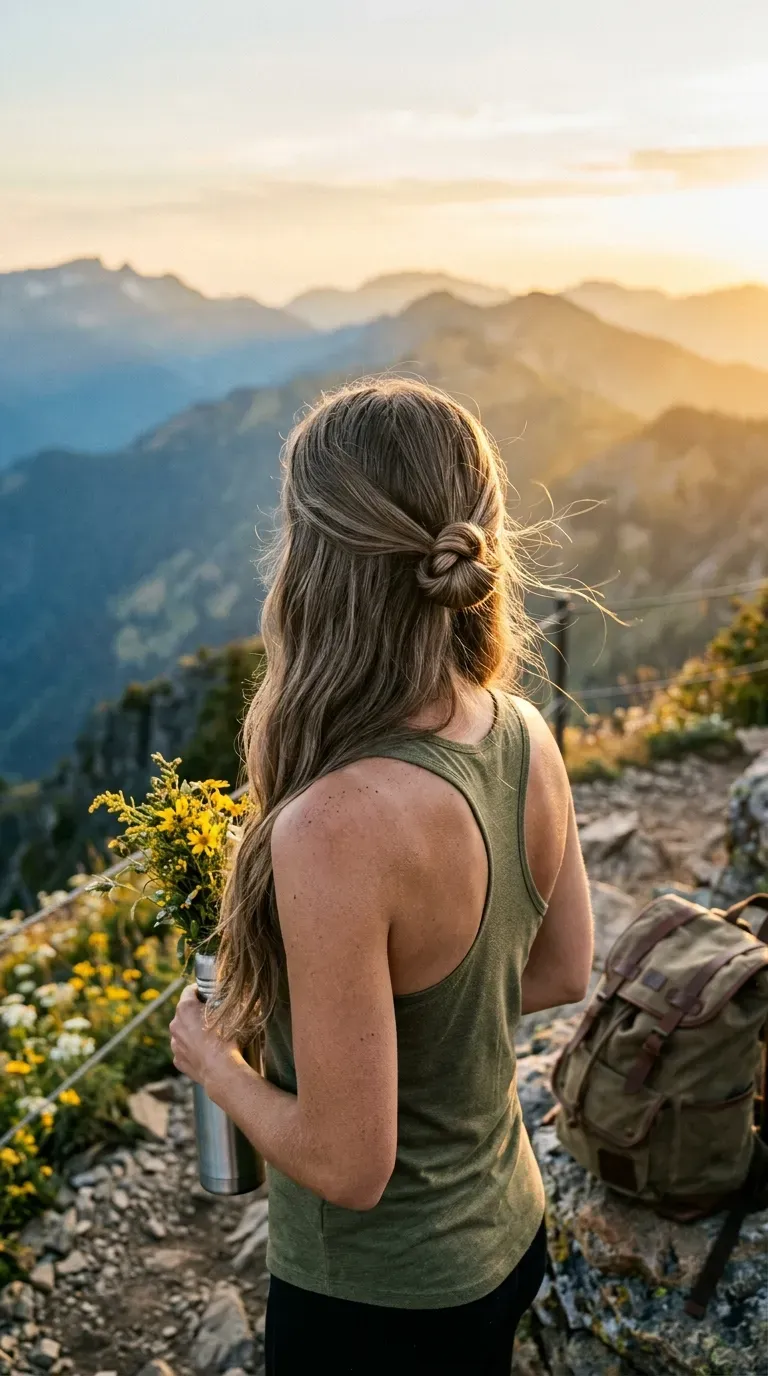
The usual mistake is grabbing sections that are too thick, which makes the knot look like a lump.
Take a thin section behind each ear, about two fingers wide. Tie them together once at the back of your head, like the first step of a shoelace. Pin the ends underneath or let them hang down.
Tie it a second time for a bigger knot.
Who it suits: fine hair looks fuller with a double knot, while thick hair usually only needs one.
21. Braided Low Bun That Holds All Day
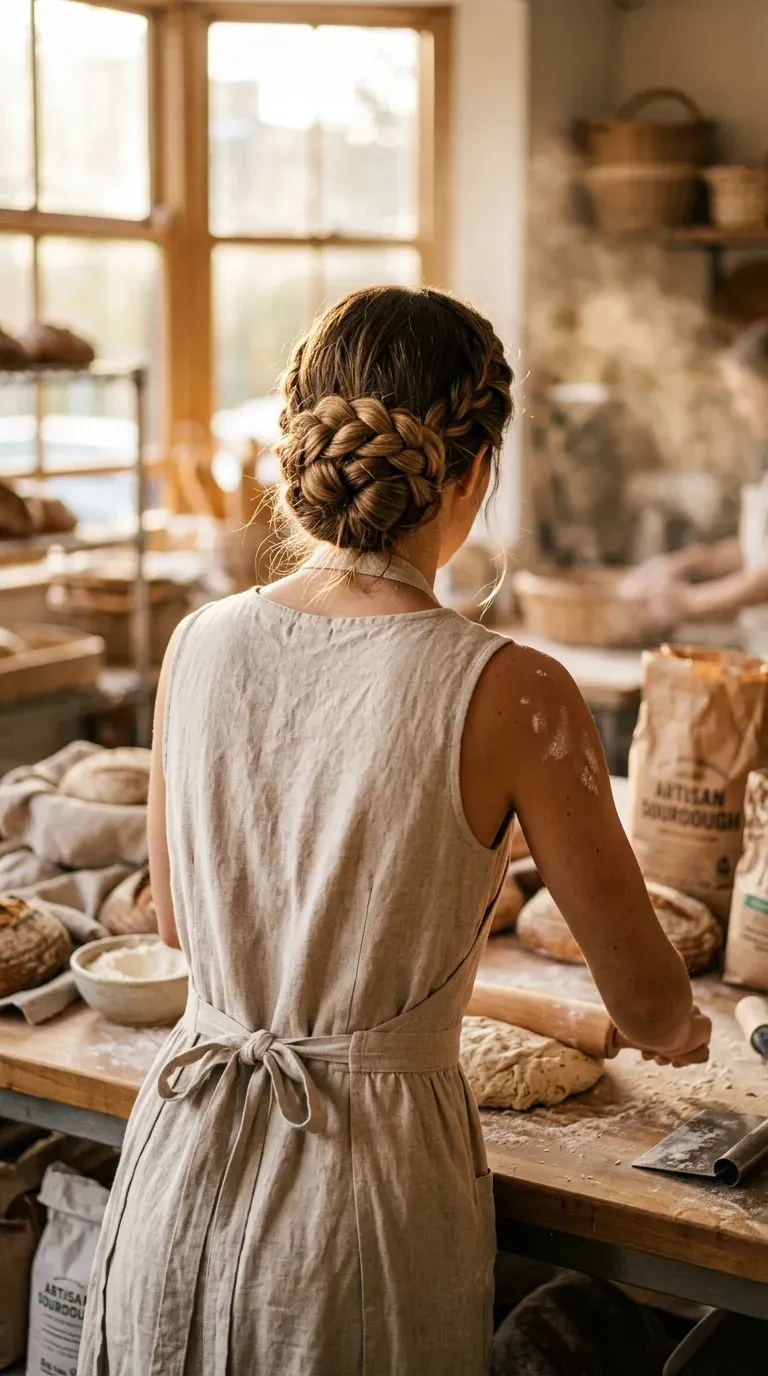
Long hair makes a big bun, and big buns get heavy. Braiding first solves that.
Braid a low ponytail all the way down, then coil the braid around the elastic and pin it in four or five spots. The braid gives the bun structure, so it doesn’t sag after a few hours.
A friend who works long hospital shifts wears this most days, because it still looks tidy near the end of her shift.
Quick tip: Loosen the braid before coiling. A tight braid makes a small, hard bun. A loose one spreads into a wide, soft circle.
22. Pearl-Pinned Side Sweep
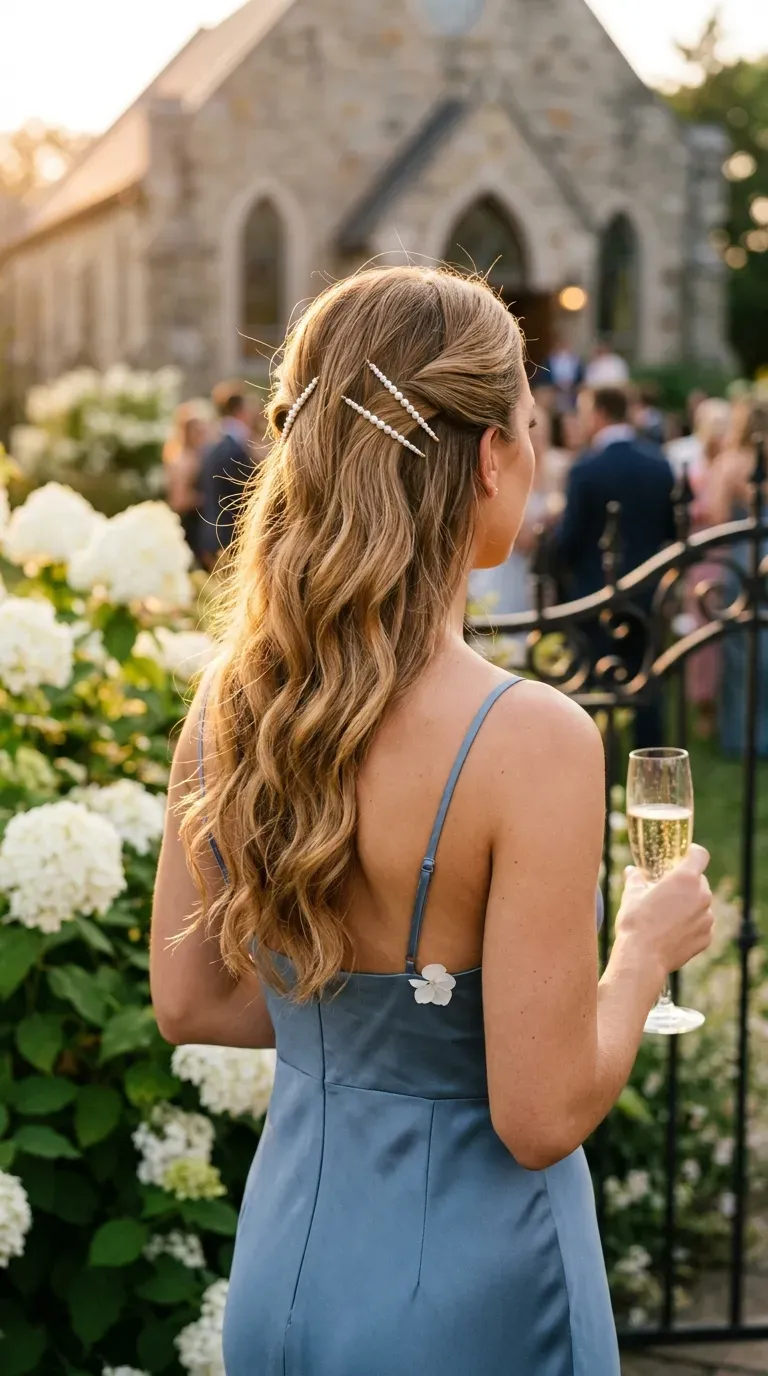
No elastic needed, which is good news if ponytails give you a headache by noon.
Part your hair deeply on one side. Sweep the heavier side back behind your ear and pin it with a few pearl bobby pins in a slight diagonal line. Let everything else fall down your back.
It shows off your neck and earrings, and it takes about a minute.
Two pins crossed in an X hold far better than a single straight pin, especially on smooth, freshly washed hair.
23. Headband Tuck Roll for Hot Days
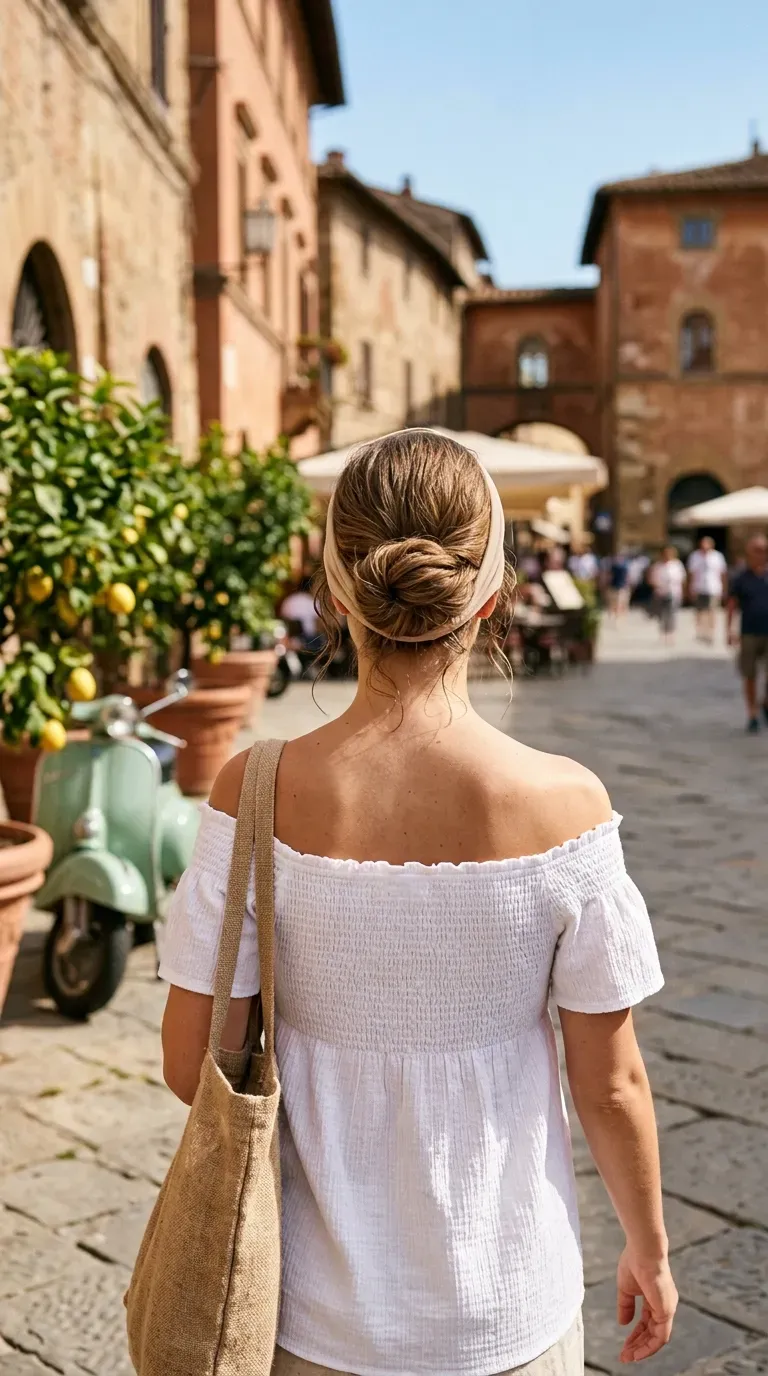
Summer heat and hair on your neck do not mix. This roll keeps everything up with one stretchy headband.
Slip a fabric elastic headband over your head so it sits like a halo. Starting at the sides, tuck small sections up and over the band at the back. Keep working toward the center and finish by tucking the ends.
It looks like an old Hollywood updo, but most people get it on the second try. Very thick hair might need two pins at the center of the roll.
Roll slipping down? Sit the headband lower at the back, right at the nape, before you start tucking.
Roll too bulky in the middle? Use smaller sections near the center than at the sides.
Ends poking out? Twist them into a small rope before the final tuck so they stay inside.
24. Low Twisted Side Ponytail

Side ponytails split opinions, but the twisted version tends to win people over.
Instead of brushing everything to one side, twist the hair on the far side of your head back along the hairline, adding a little more hair as you go, until it reaches the ponytail spot.
Plain side pony vs twisted side pony:
- Plain looks quick and casual.
- Twisted looks styled and keeps the side hair in place all day.
Tie it just below one ear and wrap the base with a ribbon or a strand of hair. Off the shoulder tops show it best.
25. Low Braided Pigtails That Look Grown Up
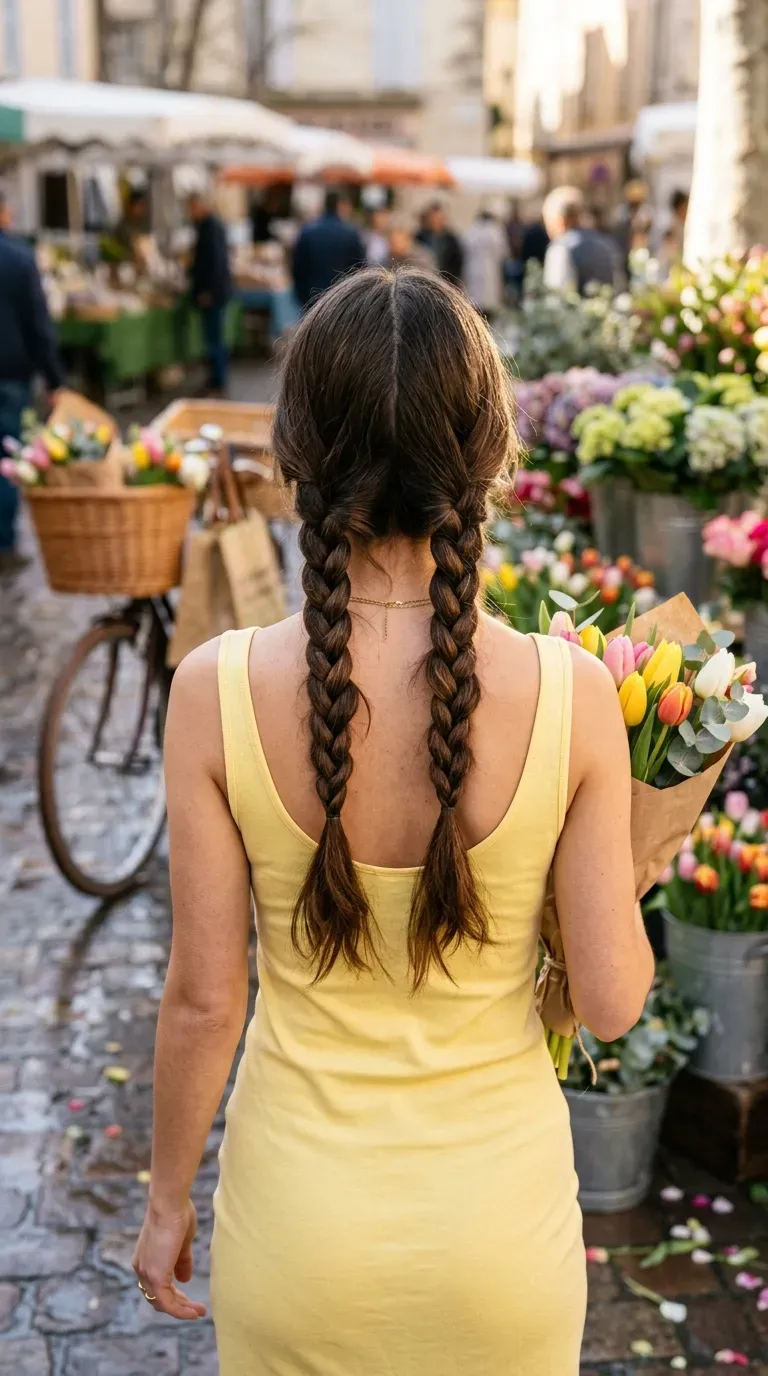
Two loose braids that start below the ears, ends fluffed, with a few strands slipping out at the front. That’s the grown-up version.
Part your hair down the middle. Braid each side loosely, starting low near the nape instead of high behind the ears. Tie with small elastics, then pull the outer loops wide.
- Low and loose reads relaxed and pretty.
- High and tight reads like school photo day.
A light texture spray before braiding gives slippery hair some grip. Weekend errands and casual brunches are its natural home.
Your Ponytail Can Take a Break Now
Long hair is a lot of hair to manage, so it makes sense that one quick ponytail became the default. But most of these styles take about the same time once your hands learn them. The claw clip twist and the knot bun are good starting points, since they need almost nothing.
Keep a few clear elastics, some bobby pins, and one good clip within reach, and these easy hairstyles for long hair stop feeling like extra work. Practice one new style on a slow morning, not before an early meeting.
Save this list to your hair board so it’s right there the next time your ponytail feels tired.