
You spend fifteen minutes pinning your hair up, it looks great in the mirror, and by the time you find parking it has slid halfway down your neck. Sound familiar? Thick hair is heavy, and most updo tutorials are filmed on hair that weighs about half as much as yours.
The usual fix is more pins. Thirty, forty, a whole card, until your scalp aches and the bun still sags because the pins are just sliding through slippery, dense hair with nothing to hold on to.
Here is the honest truth about updos for thick hair. Hold does not come from the number of pins. It comes from spreading the weight, building an anchor, and using tools made for bulk, like big claw clips, U pins, spiral pins, and strong elastics.
Every style below uses one or more of those tricks. Most need fewer than six pins, and several need none at all. You will find quick everyday buns, a few dressier options for weddings and dinners, and the small details that keep each one sitting where you put it.
1. Claw Clip French Twist That Grips the Whole Length

Small claw clips snap on thick hair. Big ones, the 4 to 5 inch kind with a strong spring, hold like a vise.
Here is how to get it to stay:
- Brush everything back and gather it into a loose ponytail at the nape.
- Twist the ponytail tightly upward, flat against the back of your head.
- Fold the leftover ends down over the twist so the clip has more to bite.
- Slide the clip in vertically so its teeth catch both the roll and your scalp hair.
Quick tip: If the clip slips by lunch, a light mist of dry shampoo along the twist gives it grip without adding a single pin.
2. Split Low Bun That Halves the Weight

A single bun made from all your hair turns into a heavy ball that drags everything down. Two smaller buns sit tighter and weigh less on each anchor point.
- Part your hair down the middle at the back, nape to crown.
- Make two low ponytails, side by side, each with its own elastic.
- Twist and coil each one around its base and pin it with two U pins.
- Nudge the buns toward each other so they read as one wide shape.
That is four pins total. It works best on hair that reaches past the shoulders, where one bun would be the size of a grapefruit.
3. Braided Base Bun That Gives Pins Something to Grab

Pins slide out of smooth, dense hair. They lock into a braid.
That is the whole secret. Pull your hair into a ponytail first, wherever you want the bun to sit. Braid the ponytail all the way down and tie off the end with a small elastic. Then wrap the braid around the base and push U pins through the braid and into the hair around the elastic.
The crisscross of the braid holds every pin in place, so three or four is usually enough even for waist length hair.
Small warning: Braid it loosely. A tight braid makes a bun that looks small and hard instead of full.
4. Two Elastic Messy Bun With Zero Pins

Most messy buns fall apart because one elastic is doing the job of three.
The fix is a second elastic and a different order of steps:
- Tie a firm ponytail where you want the bun.
- Twist the ponytail and wrap it around the base loosely.
- Put a second, larger elastic over the whole bun, stretching it around twice.
- Pull a few loops loose with your fingertips to soften the shape.
No pins, no poking. The first elastic holds the base, and the second one holds the bun to the base.
Look for spiral or coil elastics for the outer one. They grab thick hair without creasing it.
5. Dutch Braid Into a Low Knot

Ever notice that the hair at your sides is what pulls an updo loose? A side braid locks that hair down before you even start the bun.
Start a Dutch braid at one temple, crossing strands under instead of over. Braid along your hairline and around the back toward the opposite ear, adding hair as you go. Once all your hair is caught, finish as a regular braid and tie it off.
Now coil that braid into a low knot just behind the ear and push in two U pins.
It feels secure enough for a long day of walking, and it looks just as good with a sundress as with a sweater.
6. Spiral Pin Chignon Held With Just Two Pins
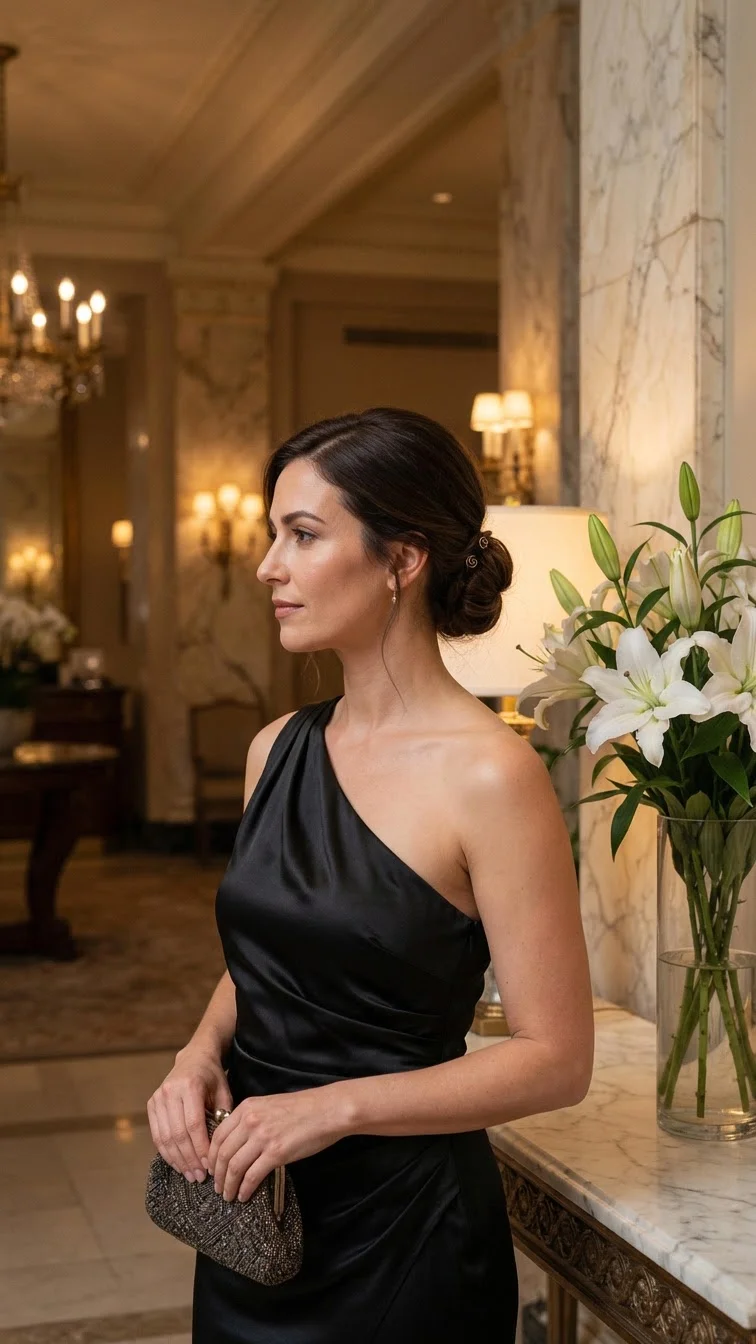
Spiral pins look like tiny corkscrews, and they do what twenty bobby pins cannot.
Twist your hair into a low bun at the nape. Then push one spiral pin in from the top of the bun, pointing down, and turn it clockwise as you go, like a screw. Repeat from the bottom, pointing up.
That is it. The coils wind through the hair and grip from the inside, so nothing shows and nothing slides.
They come in packs of two or four at most drugstores, often next to the bobby pins. Buy the brown or blonde ones that match your hair so they disappear completely.
7. Wooden Hair Stick Bun You Can Do in a Minute
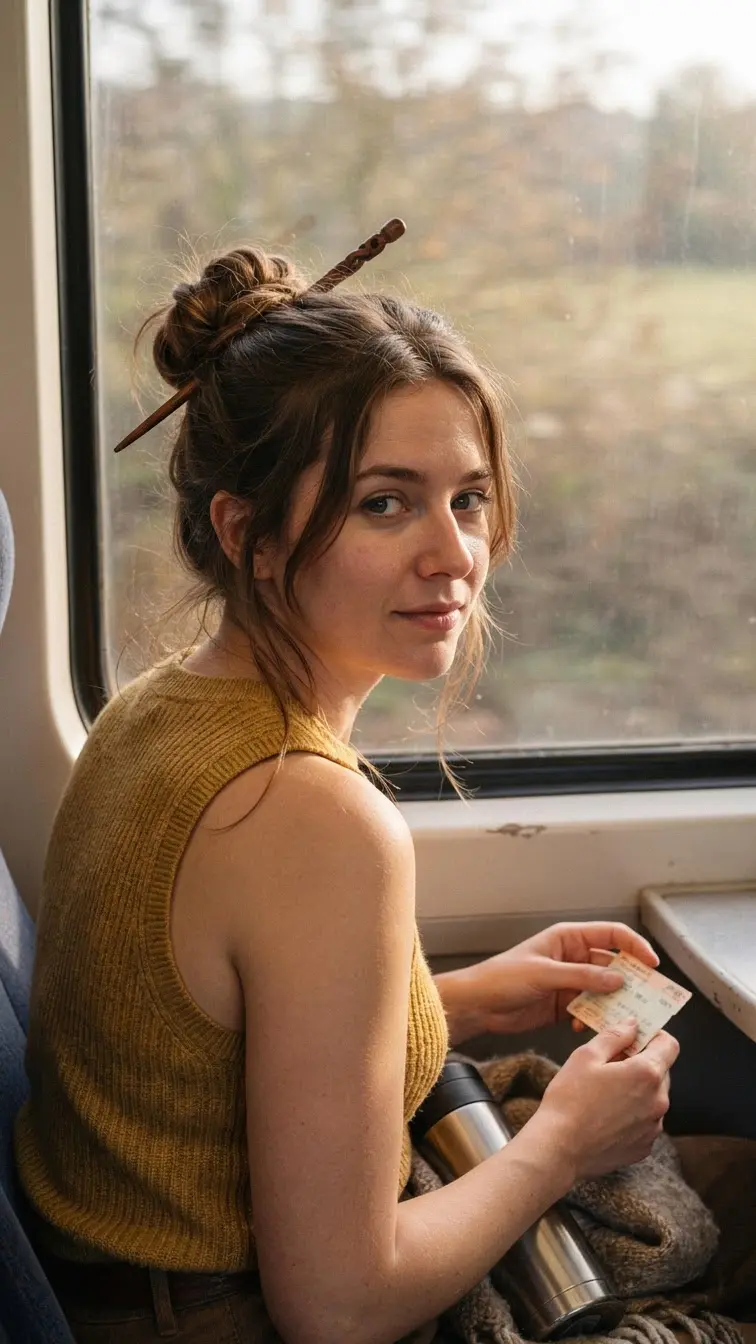
Heavy hair actually helps here. The weight presses down on the stick and keeps it locked.
How it goes:
- Gather all your hair at the back of your head, no elastic.
- Twist it tightly and wrap it around itself into a bun.
- Push the stick in at the top edge of the bun, catching scalp hair.
- Swing the stick down and across, then push it through the other side.
Practice it twice at home before you rely on it. The first try usually comes out lopsided, the third try comes out fast.
Pick a stick at least 7 inches long. Shorter ones do not reach all the way through a thick bun.
8. Topsy Tail Rolled Chignon
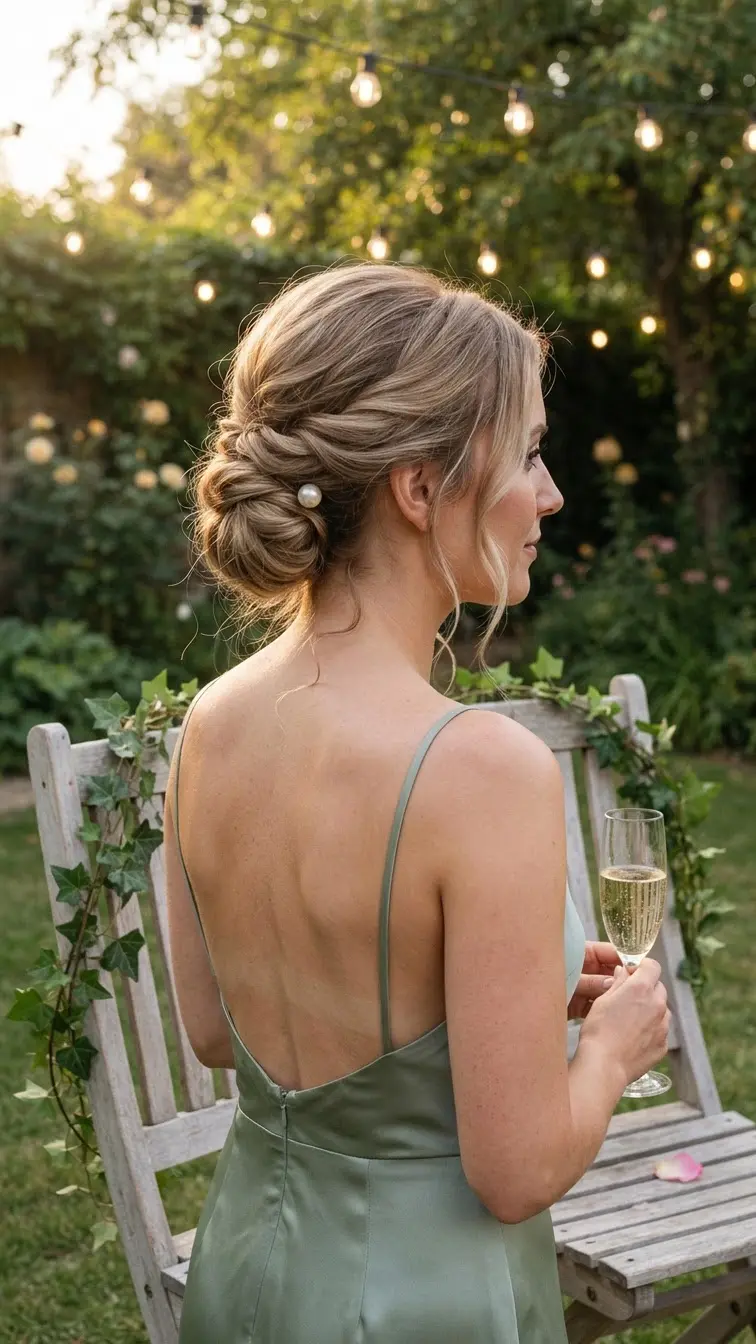
Looks fancy. Takes about three minutes.
Tie a loose low ponytail and slide the elastic down an inch. Split the hair above the elastic, then flip the ponytail up and through that gap. You now have twisted sides that hold themselves tight.
Next, roll the ponytail ends upward and tuck them into the gap you made. Two U pins on each side lock the roll against your head.
The twist pulls weight in toward the center instead of letting it hang. Add a pearl pin on one side if you are heading somewhere dressy. It covers the U pin and nobody will know.
9. Hidden Underbraid Anchor Updo
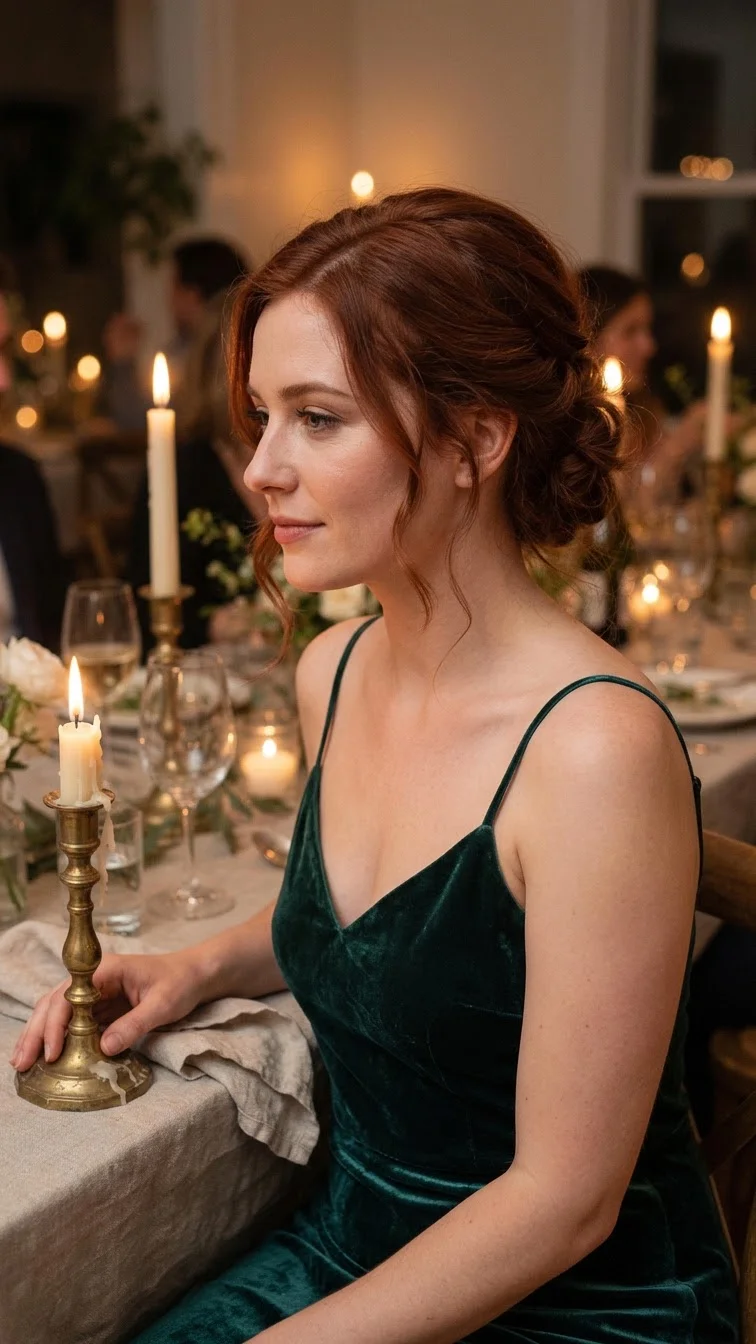
Thick hair usually has a stubborn underlayer at the nape that pushes everything outward. Use it as the foundation.
- Section off the bottom inch of hair at the nape, ear to ear.
- Braid it sideways, flat against your head, and tie it off.
- Pin the end of that braid under itself with one bobby pin.
- Loosely twist the top hair in sections and pin each twist into the braid.
Pins pushed into a braid stay put, so your whole updo now sits on a solid shelf. This is the one to pick for weddings, long dinners, and anything with dancing.
Pins slide through loose nape hair, the updo slowly droops, and you keep adding more pins to catch it.
Every pin hooks into the braid, the shape stays low and soft, and the bulky underlayer is tucked flat out of sight.
10. Stacked Double Bun for Very Long Thick Hair
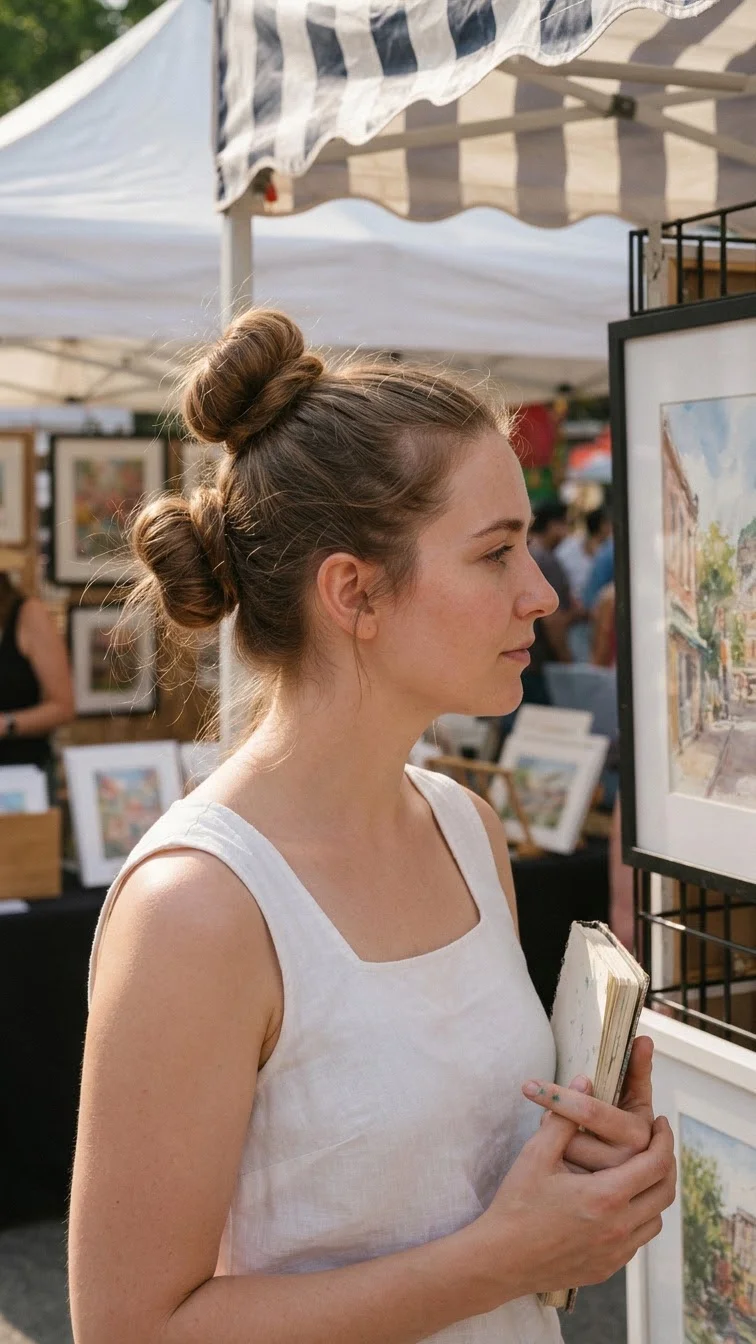
Is your hair long enough to sit on? Then one bun is never going to be comfortable.
Split it horizontally instead, ear to ear. Tie the top half in a ponytail at the crown and coil it into a bun. Tie the bottom half just below it and coil that one too. Each gets two U pins.
The two buns stack into a tall, neat shape that spreads the weight over the whole back of your head instead of one sore spot.
Best for long, heavy hair and long days. Most people stop getting that afternoon headache once the weight is split.
11. Self Knotted Low Bun

No elastic, no pins, and it survives a full beach day.
Split your hair into two equal sections at the nape. Tie them in a basic knot, the same way you start tying shoes. Tie a second knot on top of the first. Tuck the leftover ends up under the knot.
The knot holds itself because thick hair has enough friction to stop it from sliding loose. Fine hair needs help here. Yours does not.
Quick tip: Slightly damp or second day hair knots tighter than freshly washed hair, which tends to be too slippery.
12. Looped Ponytail Bun With One Elastic
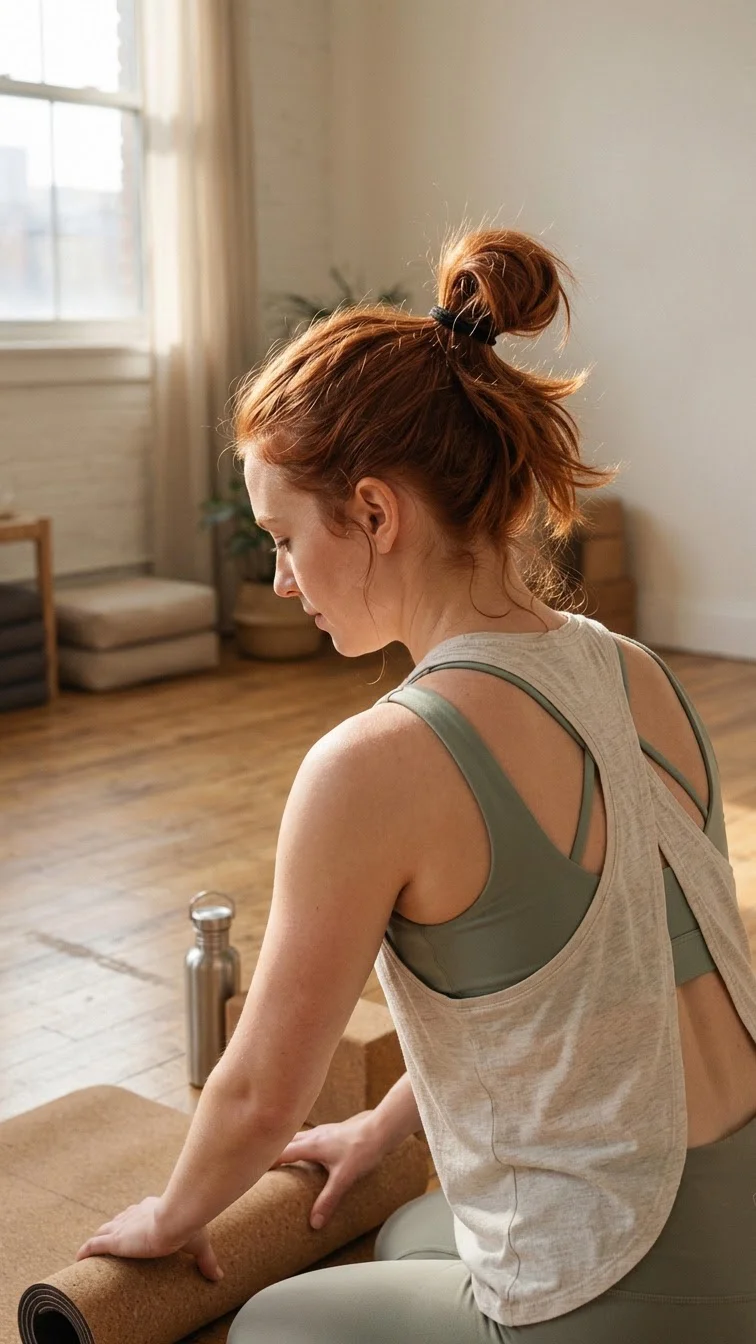
The gym bun, the sleep bun, the cleaning the house bun. It never gets enough credit.
- Pull your hair into a ponytail with a strong elastic.
- On the last wrap, pull the hair only halfway through, making a loop.
- Wrap the hanging ends around the elastic to hide it.
- Tuck the very tips into the elastic.
Thick hair makes a big, full loop with zero effort. Widen it by tugging the sides, or keep it tight for workouts.
It sounds too basic to list, but it is the one you will probably wear most.
13. Headband Tuck Roll Updo

The headband does the job of a dozen pins here. It grips your head all the way around, so the roll has a full ring to hang on.
Slip an elastic headband over your hair. Then take small sections, about an inch each, and tuck them up and over the band at the back, working ear to ear. Tuck the ends last.
Thick hair needs smaller sections than tutorials show, or the roll bulges in the middle.
Add one bobby pin at the center only if the ends peek out. Some people need it. Many do not.
14. Fishtail Wrapped Side Bun

Side buns on thick hair usually slide toward the back by noon. The fishtail fixes that.
- Pull your hair to one side and tie a low side ponytail behind the ear.
- Take a 1 inch strand from underneath and set it aside.
- Twist the rest into a bun and pin it with two U pins.
- Fishtail braid the strand you saved and wrap it around the bun’s base.
- Pin the braid end underneath.
The braid acts like a belt, cinching the bun tight against your head. Tuck the elastic on the side facing the wall in photos.
15. Crown Braid Pinned With U Pins

Two braids, not one. A single braid made from thick hair is too fat to lay flat over your head.
Part your hair down the middle and braid each side loosely, starting behind the ear. Lift the left braid over the top of your head and pin it on the right. Lift the right braid around the back and pin it on the left, tucking the ends under the first braid.
U pins slide along the braid like hooks. Six of them hold the whole crown.
It stays cool and off your neck, which makes it a strong pick for outdoor summer events.
Push U pins in sideways so they hook the braid and your scalp hair together.
Gently pull the braid loops wider after pinning so the crown looks full.
Start with second day hair for extra grip.
Braiding everything into one giant braid that sits like a rope on top.
Shiny serum on the lengths right before braiding.
Bobby pins pushed straight down, which pop out as you move.
16. Pull Through Braid Updo Made With Elastics
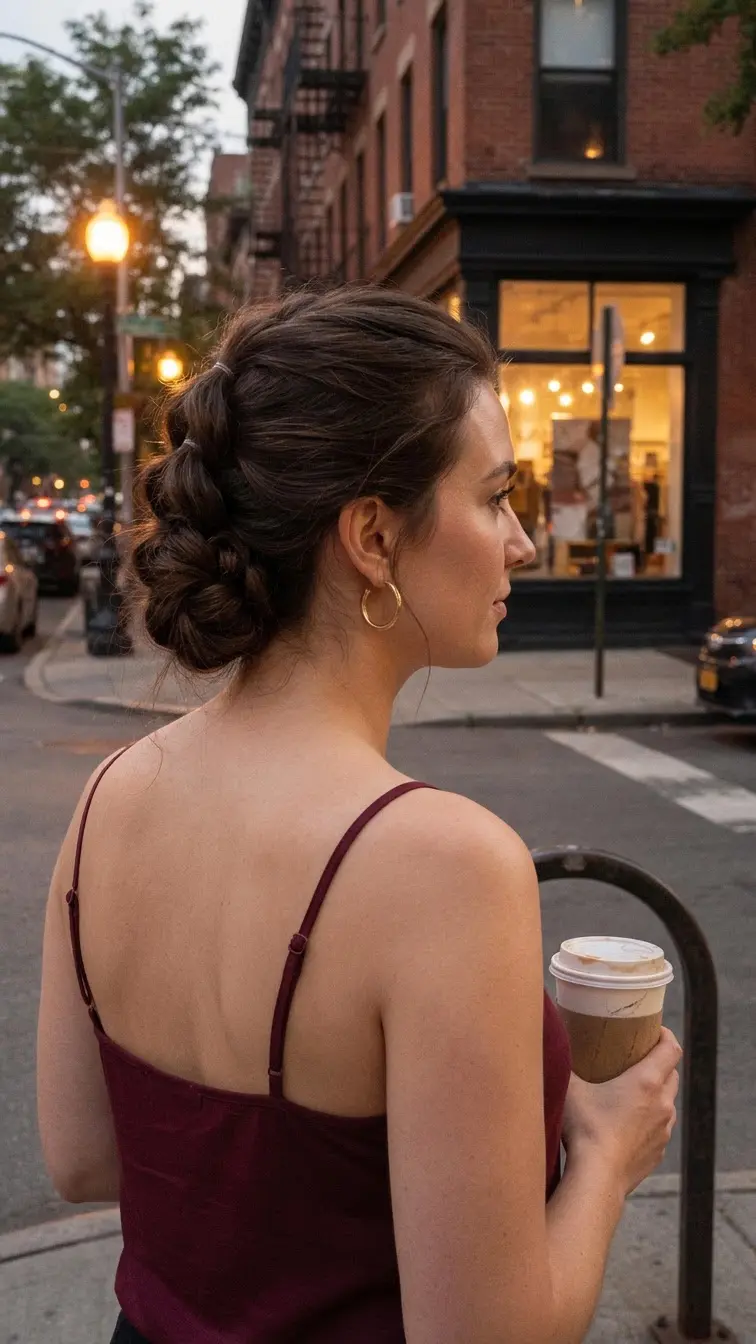
Braiding is not your thing? This looks like a braid and needs only elastics.
- Tie a ponytail and split it into a top half and a bottom half.
- Tie the top half a few inches down.
- Split that new section, bring the bottom half up through the gap, and tie it.
- Keep going until you reach the ends.
- Fold the whole braid up and tuck the tail under its own top section.
Two U pins hold the fold. The elastics carry the rest of the weight.
Clear elastics vanish in dark hair. Pick ones labeled for thick hair, because thin ones snap.
17. Silk Scarf Wrapped Chignon

Fabric holds what pins cannot. A silk scarf wrapped around a bun adds hold, hides frizz, and turns a plain chignon into something you can wear to dinner.
Twist a low bun and secure it with one strong elastic around the base. Fold a square scarf into a long strip. Wrap it around the bun twice, snug but not tight, and tie a small bow or knot under the bun.
Silk or satin is gentle on thick hair and keeps it from snagging.
Styling detail: A scarf in one color from your outfit makes the whole look feel planned.
18. Rope Twist Bun That Locks Itself

Rope twists hold their shape because the two strands pull against each other. Thick hair makes that tension even stronger.
Tie a high ponytail. Split it into two strands and twist each one to the right, until it starts to coil. Then cross the strands over each other to the left. The opposite directions are what lock the rope.
Wrap the rope around the elastic and tuck the end underneath with one U pin.
This is the sleekest bun on the list and the most secure. It holds through workouts, windy walks, and full days on your feet.
The best updos for thick hair do not fight the weight. They split it, anchor it, or give it something solid to grab. Once that idea clicks, you stop reaching for a whole card of bobby pins and start reaching for the one tool that actually holds.
Start with the style that fits your week. A claw clip twist for busy mornings, a braided base bun for long workdays, a crown braid or scarf chignon when you have somewhere to be.
Practice each one twice. The second time is always faster, and by the third your hands remember the steps.
Save this list to your hair board so it is ready the next time your bun starts to slide.