
Curly hair worn fully down looks great for about an hour. Then the humidity hits, the curls at your face start sticking to your lip balm, and the back turns into one big puff that keeps catching on your bag strap. Pulling it all up feels like a waste of a good curl day.
Half up half down curly hairstyles sit right in the middle. Your curls stay out and on show, but the front is handled, the volume has somewhere to go, and you stop touching your hair every five minutes.
The catch is that most half up tutorials are made for straight hair. They tell you to brush sections smooth, pull elastics tight, and tease the crown. Do that with curls and you get frizz, dents, and broken spirals.
The styles below are built for curly texture. They use soft ties, finger sections, and pins that grip without crushing. Some take two minutes, and a few are worth saving for a wedding or a night out.
1. High Pineapple Half Up With a Silk Scrunchie
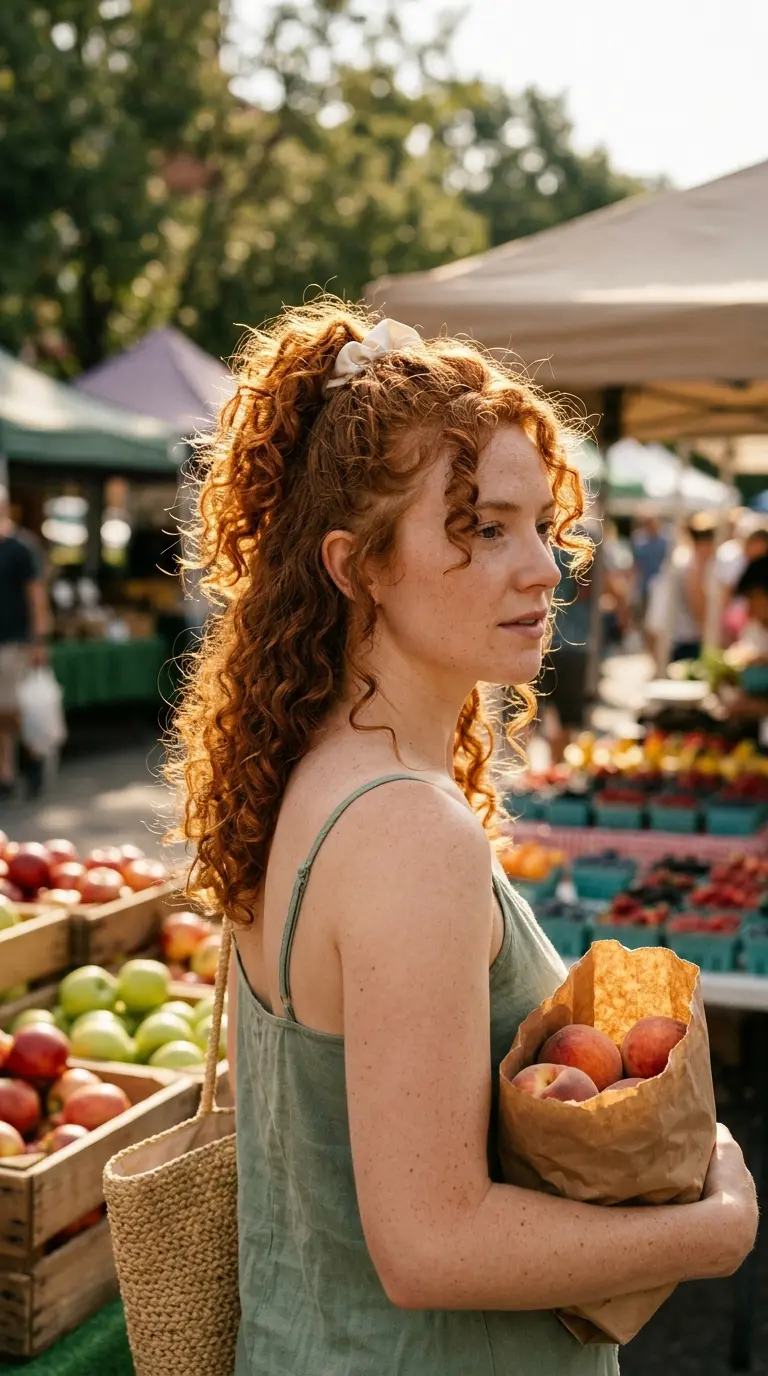
Your curls already know how to sit on top of your head. You probably sleep in a pineapple, so this is just the daytime version with half the hair.
- Flip your head forward and gather only the top section, from temple to temple.
- Loop a silk scrunchie around it twice, loosely. Two wraps, never three.
- Flip back up and shake the curls at the base so they fall over the scrunchie.
The loose top looks full without any teasing, and the bottom half stays long.
Quick tip: Pull two thin curls out at your temples before you tie. They soften the front and hide any bumps along the hairline.
2. Two Twists Pinned at the Crown
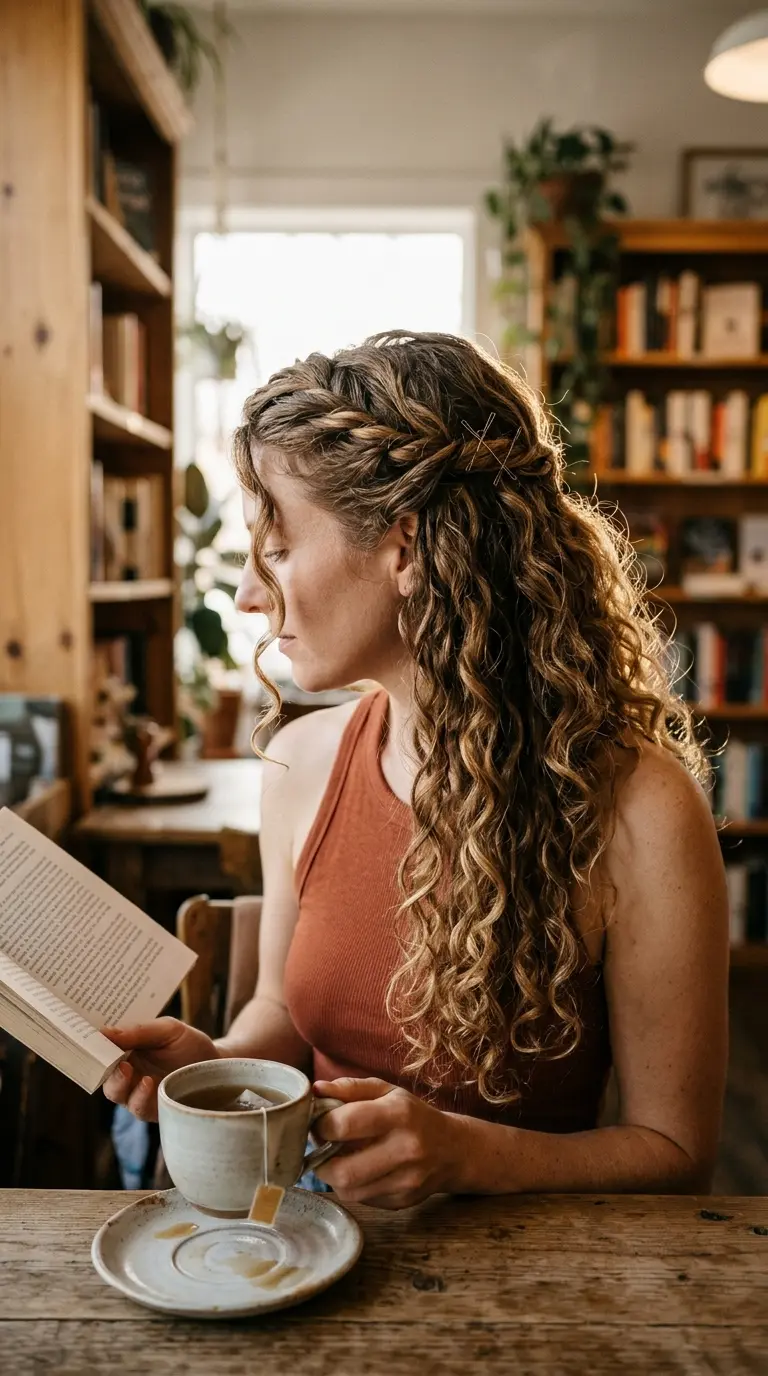
Most people twist curly hair too tight and then wonder why it looks flat. Keep the twists loose and they look fuller, not neater.
Grab a two finger section above each ear. Twist it backward, away from your face, only three or four turns. Bring both twists to the crown and cross two bobby pins in an X over the spot where they meet.
The twist pattern blends into the curls, so nobody sees where the section starts. It holds through a full workday and comes out with a little extra wave at the sides.
Best for 2C to 3B curls that are at least shoulder length.
3. Claw Clip Half Up for Second Day Curls
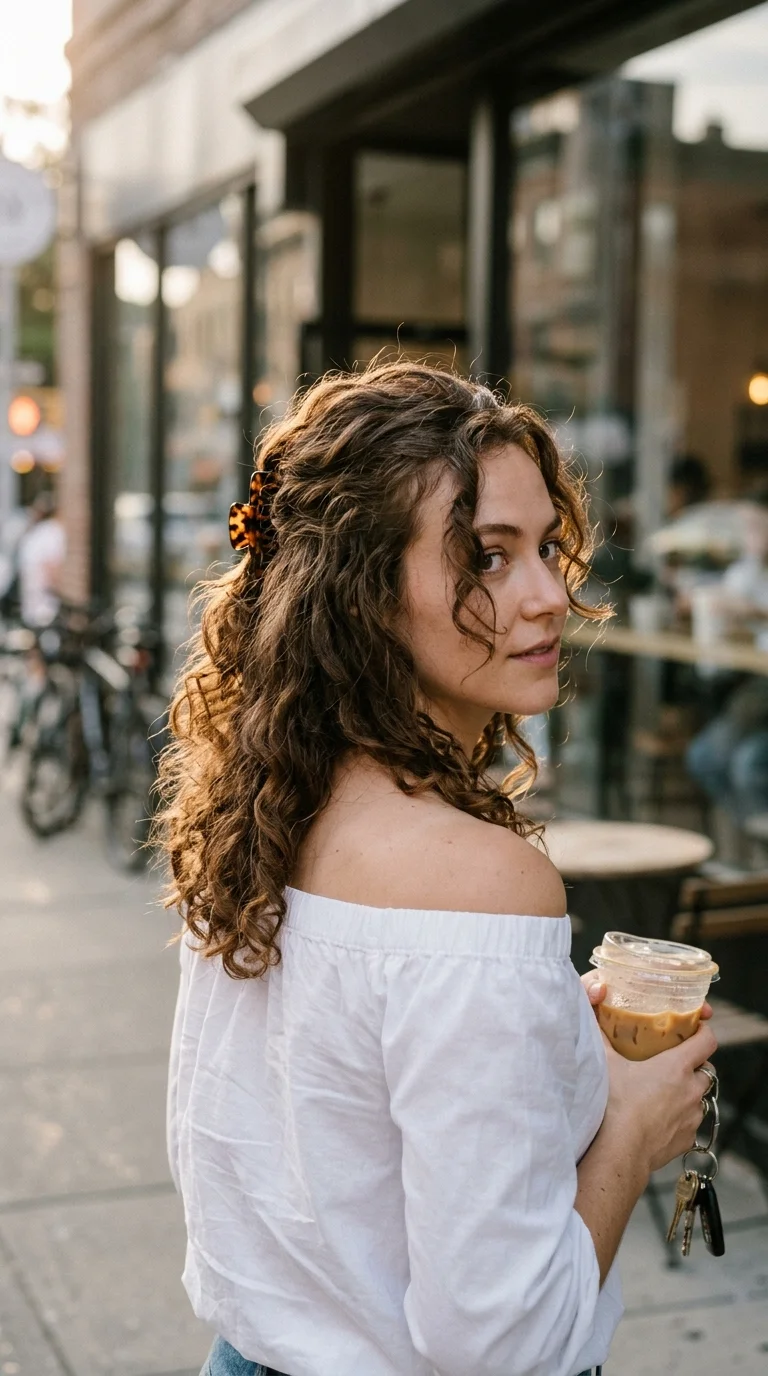
Day two curls are a little flat on top and a little wild on the ends. A claw clip hides the first problem and shows off the second.
- Lift the top section and give it one loose twist.
- Fold the twist up against your head.
- Clip it with the teeth pointing down.
That is the whole style. The twist adds lift at the crown, which is usually the part that went flat overnight.
Pick a medium clip with wide gaps between the teeth. Tight, narrow teeth snag curls and leave frizz when you take it out.
4. Messy Half Up Top Knot
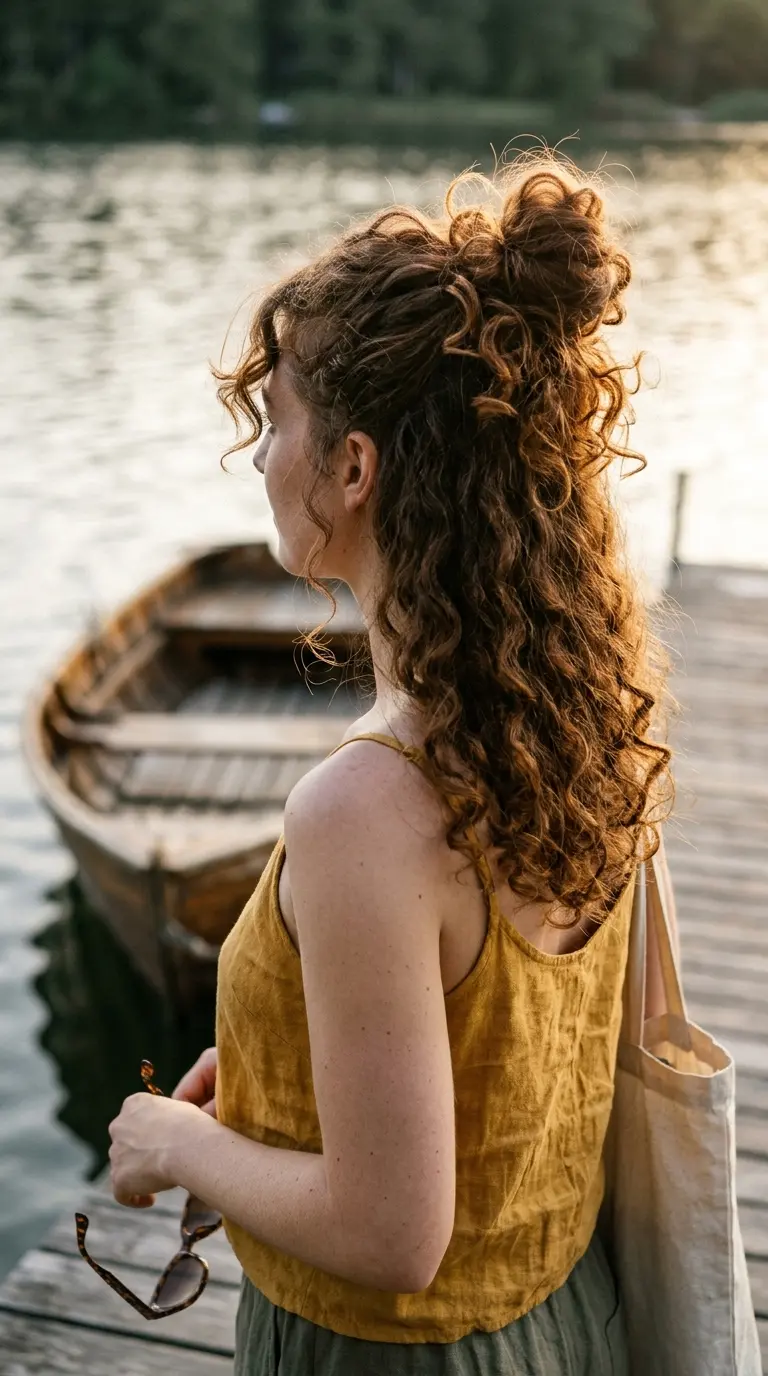
Skip the smooth ballerina bun. A curly top knot should look a bit undone, with ends sticking out of the coil.
Gather the top third of your hair and twist it into a loose rope. Wrap the rope around itself once and secure it with a spiral hair tie. Leave the ends tucked or let them poke out, both look right on curls.
The knot sits higher than a ponytail would, so it lifts your whole silhouette. Before you start, make sure you have the right gear on hand. These four items cover almost every style on this list.
5. Mini Half Up Space Buns
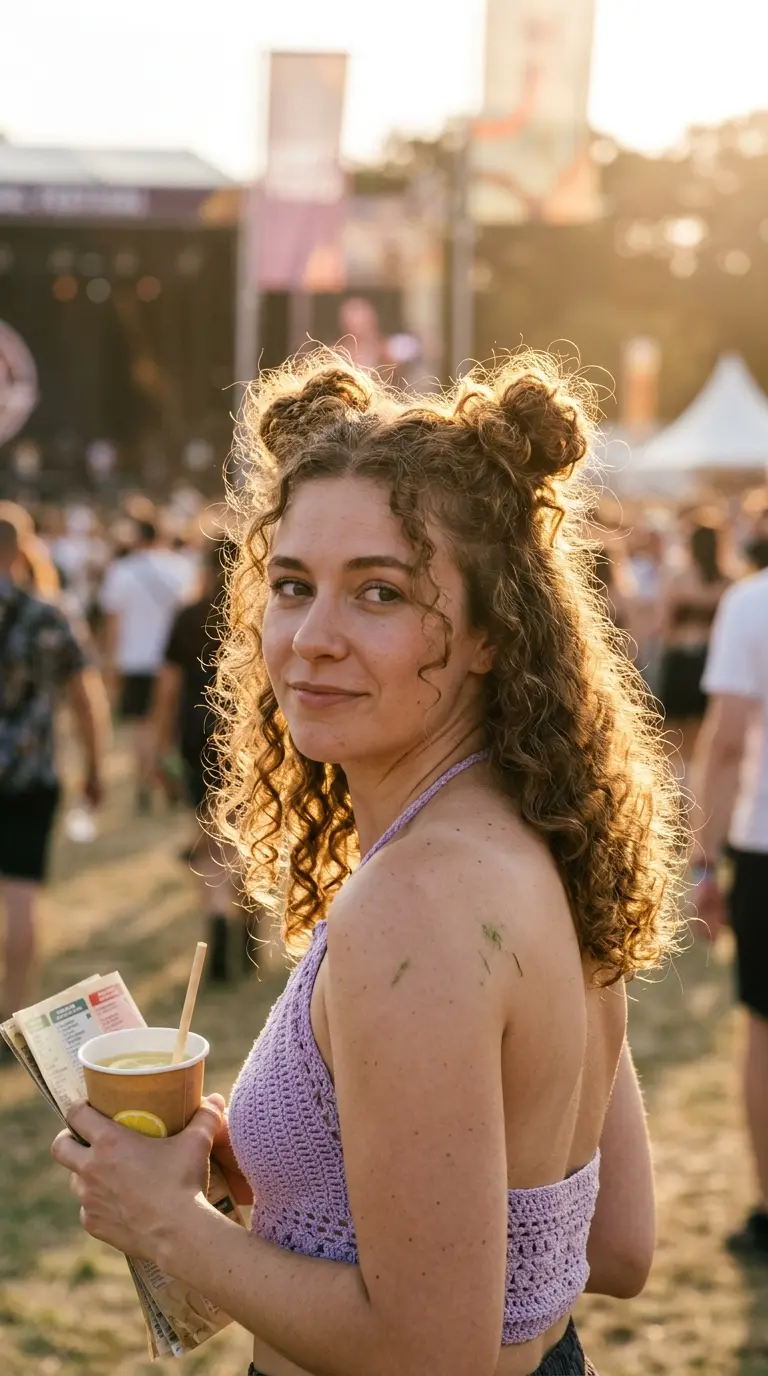
Space buns sound like a teen look until you shrink them. Two buns the size of a walnut feel grown up and still a little fun.
Make a clean center part from your forehead to the crown. On each side, take only the hair between your part and the top of your ear. Twist each section into a small coil and pin it flat with two pins.
They suit concerts, theme parks, and long hot days outside.
Watch out: If the buns sit too far forward, they read as horns. Keep them just behind the top of your head, roughly in line with the back of your ears.
6. Silk Scarf Woven Through a Half Up Ponytail
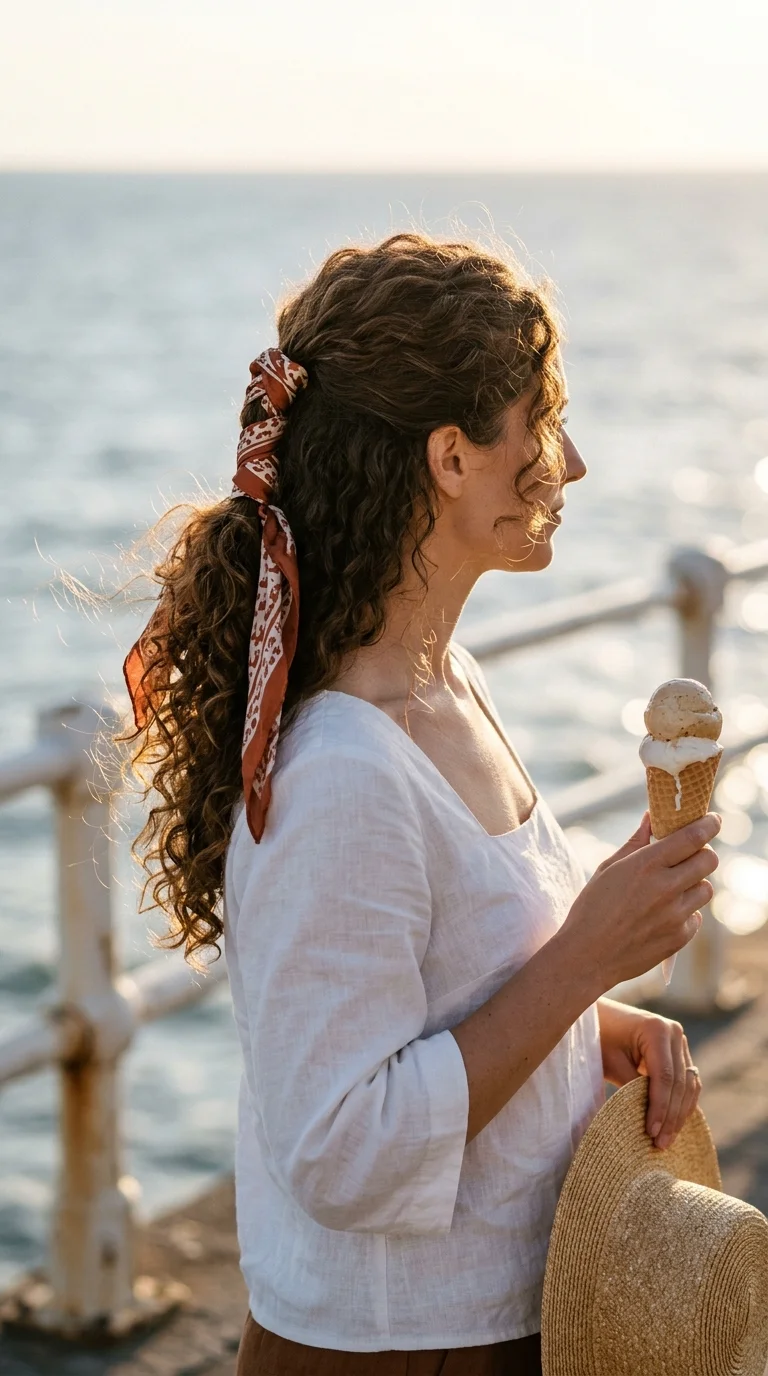
A silk scarf does two jobs here. It hides the elastic, and it adds color without any extra styling.
Tie your top section into a soft ponytail with a spiral tie. Fold a square scarf into a narrow band about two fingers wide. Knot it once over the tie, then crisscross the tails down the first few inches of the ponytail and tie them off.
Let the tails hang into the curls below.
The fabric sits against your hair all day, so silk or satin is worth the extra few dollars. Cotton scarves pull moisture out of curls and leave the ponytail drier than the rest of your head by evening.
7. Two Front Dutch Braids Into Loose Curls
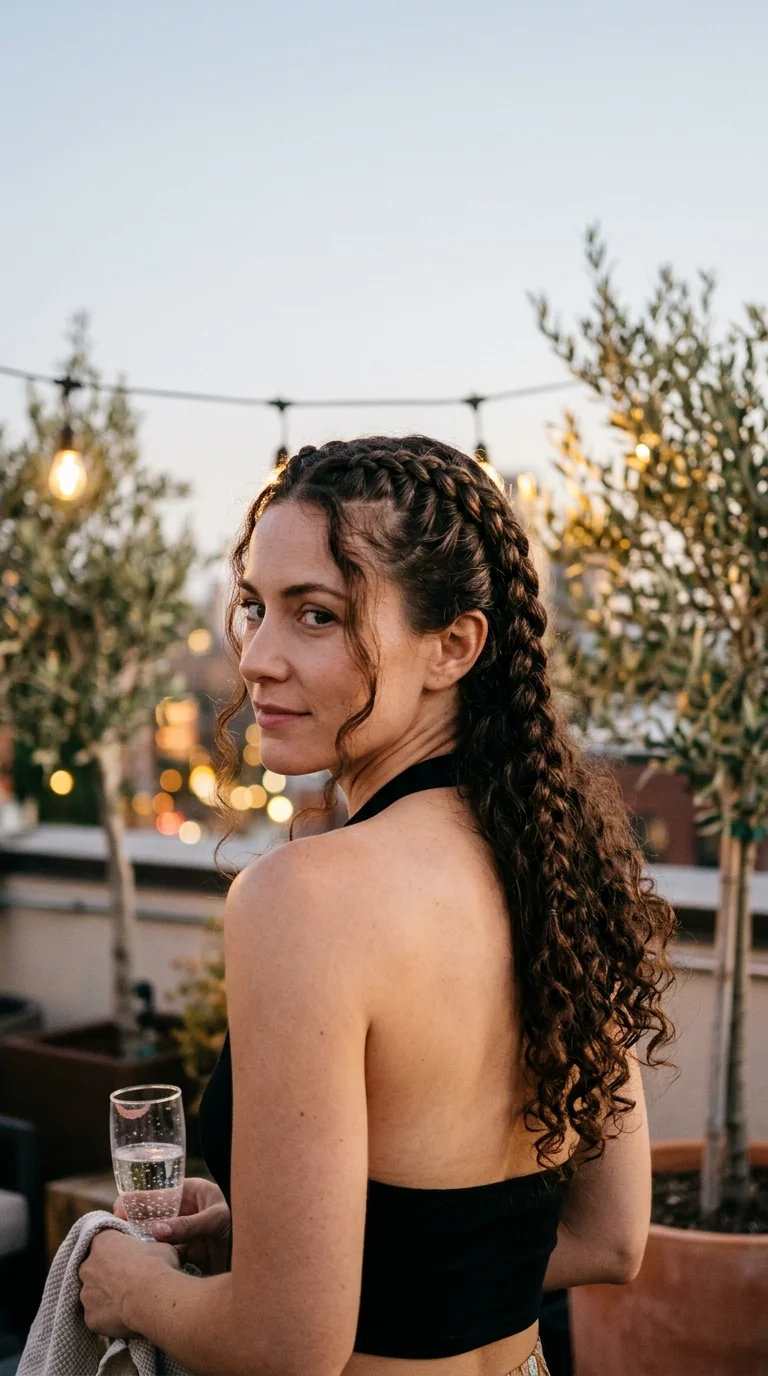
Braids at the front, curls at the back. This is the style for days when your hairline needs to be handled and the rest of your hair is doing great.
Dampen the front section with a water mist first. Dry curls fight the braid and end up fuzzy. Start a Dutch braid at the front hairline on one side, adding hair from the top only. Stop at the crown and tie it off. Repeat on the other side, then join both tails with one small elastic.
The braids stay tight while the curls stay free.
Sleep in a satin bonnet and the braids will often last into day two.
8. Half Up Bubble Ponytail
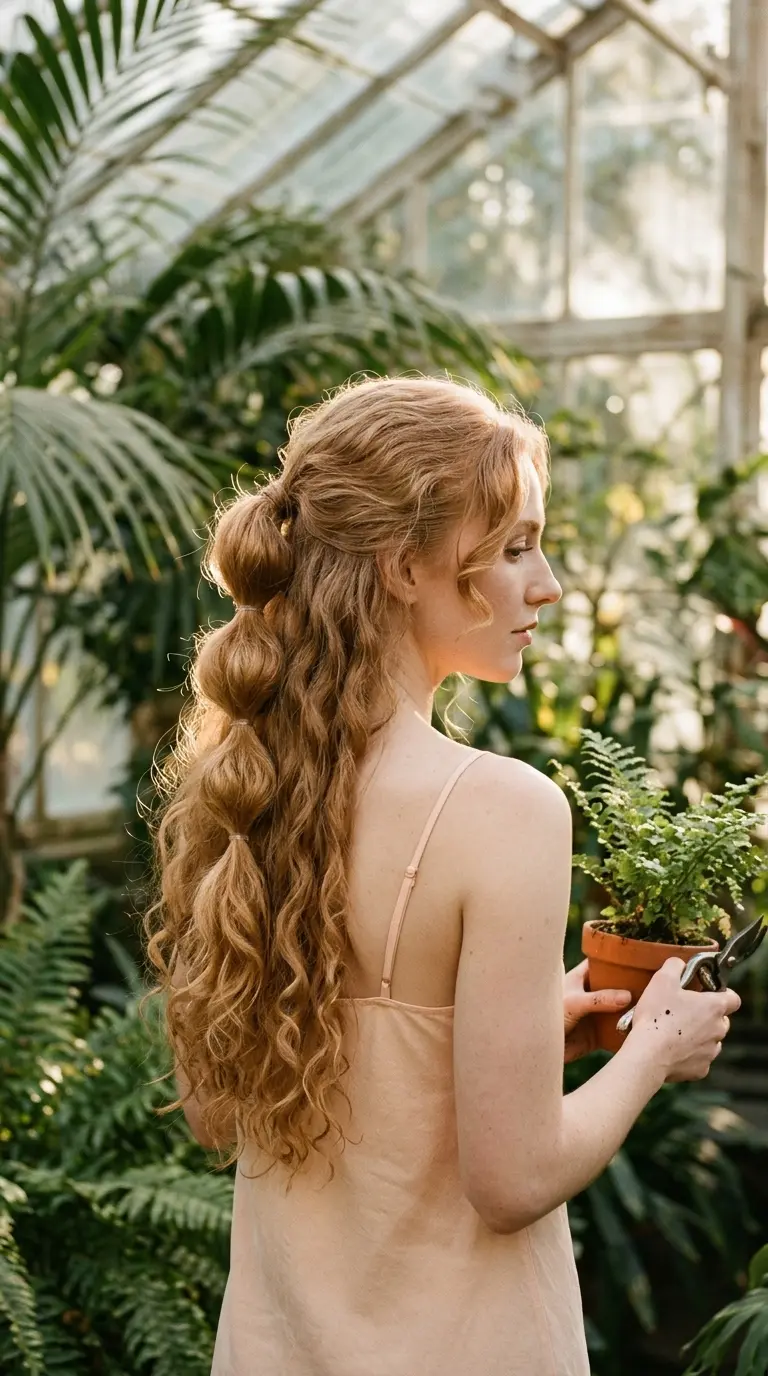
Bubbles look tricky. They are just elastics placed a few inches apart.
- Tie the top section into a ponytail at the crown.
- Place a clear elastic two inches below the first tie.
- Pinch the hair between the ties and gently pull it outward to make a rounded bubble.
- Repeat once or twice more, depending on length.
Curls give the bubbles natural fullness, so you barely need to pull. Straight hair has to be teased for this look. Yours does it on its own.
Use clear elastics that are a size bigger than you think. Small ones squeeze the curls flat between bubbles.
9. Hair Bow Made From Your Own Curls
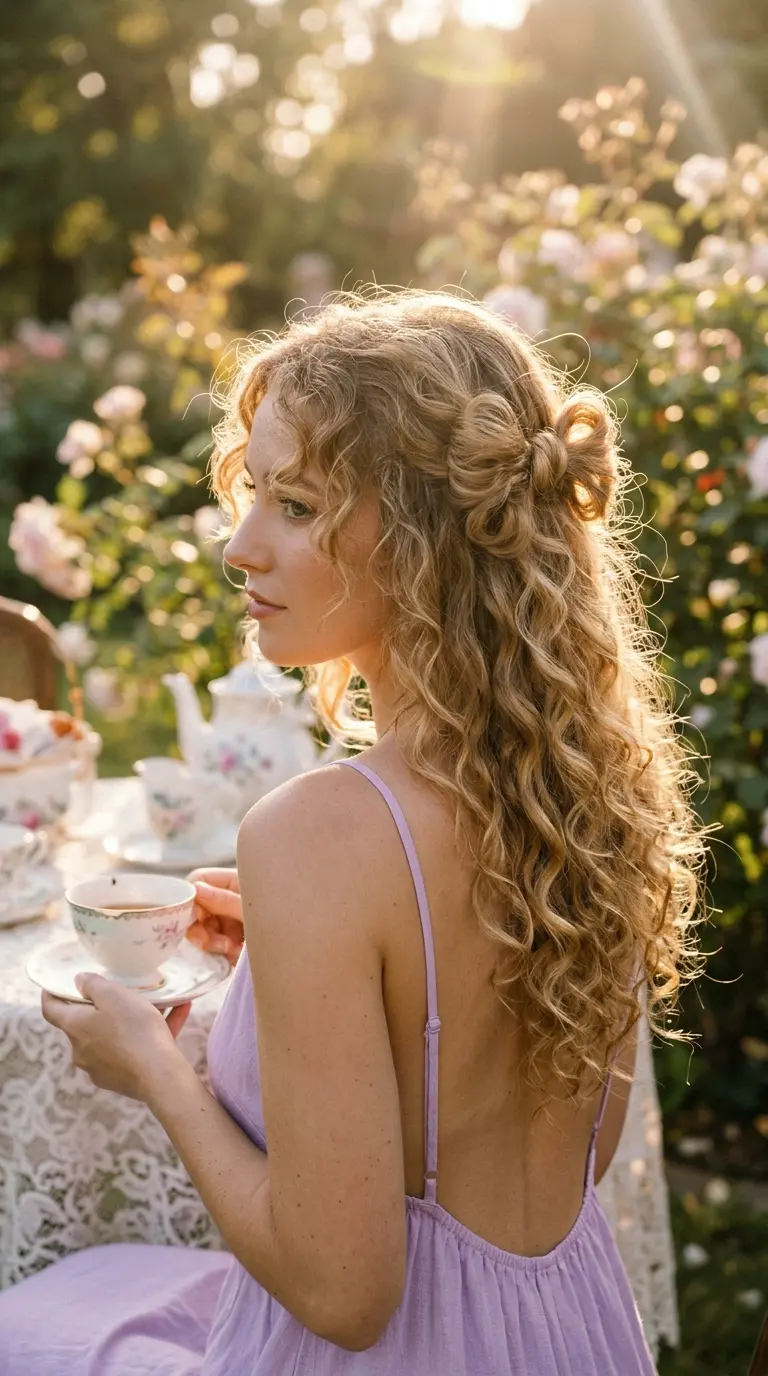
A curly hair bow looks softer than a sleek one, and honestly more forgiving. The texture hides uneven loops.
Tie the top section into a ponytail, but on the last wrap of the elastic, stop halfway so you have a loop with the ends sticking out toward your face. Split the loop into two halves. Bring the loose ends back over the middle to form the knot of the bow and pin them underneath.
Pin each loop flat at the sides so the bow does not droop by lunch.
Curls with medium thickness work best. Very fine curls make a small, floppy bow.
10. Crown Braid Halo With Curls Left Down
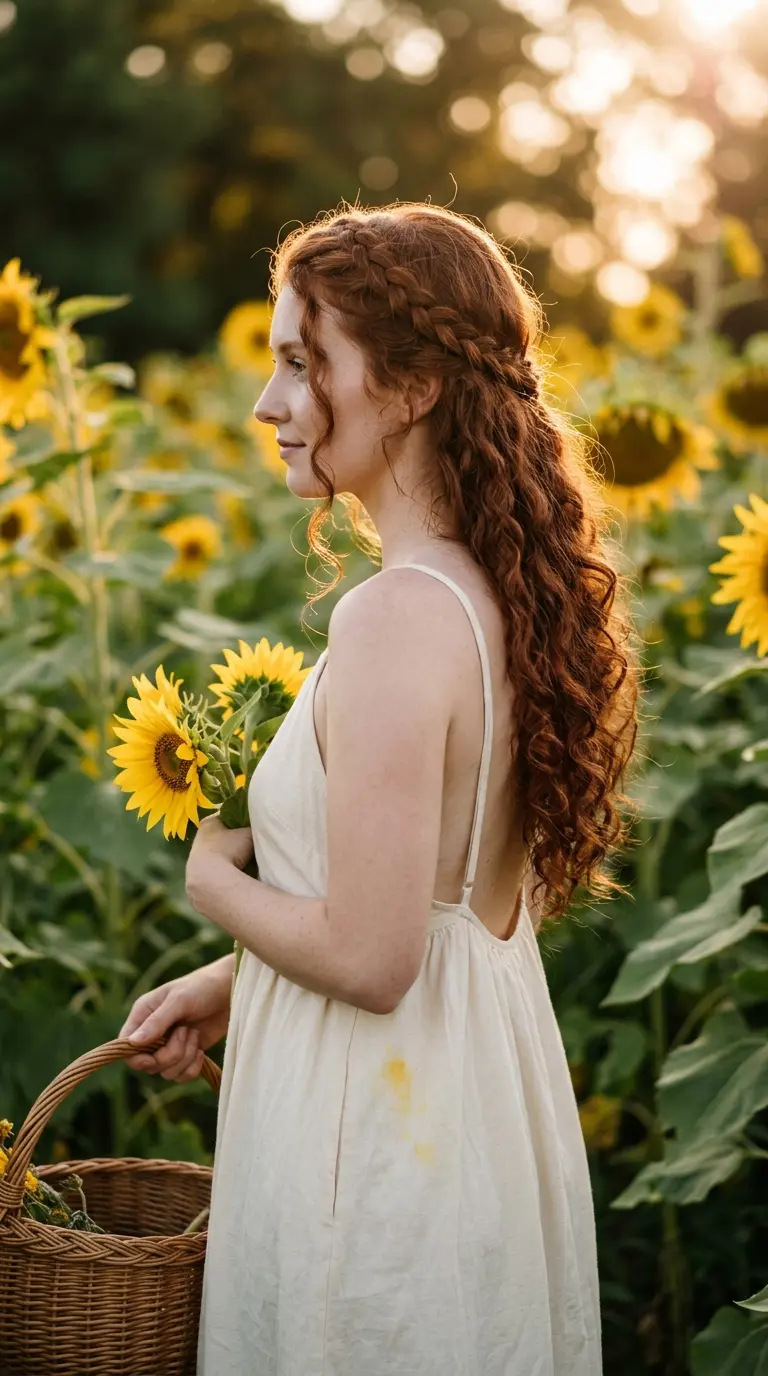
The halo looks like an updo from the front and like loose curls from the back. You get both looks in one style.
Take a small section near your left temple. Braid it in a regular three strand braid, adding a little hair from above as you move around the back of your head. Keep the braid high, just under the crown. Finish at the right temple and pin the tail under the braid start.
Braiding curly hair is mostly about prep. These habits make a halo hold instead of fuzzing out by noon.
Mist each section with water and a little leave in cream before you braid.
Separate strands with your fingers so the curl clumps stay whole.
Pin the braid tail under the start so it disappears.
Brushing the section first. It breaks the curls into frizz.
Braiding bone dry hair, which leaves a fuzzy halo.
Pulling the braid tight at the temples, where hair is most fragile.
11. Curly Bangs Out, Top Section Back
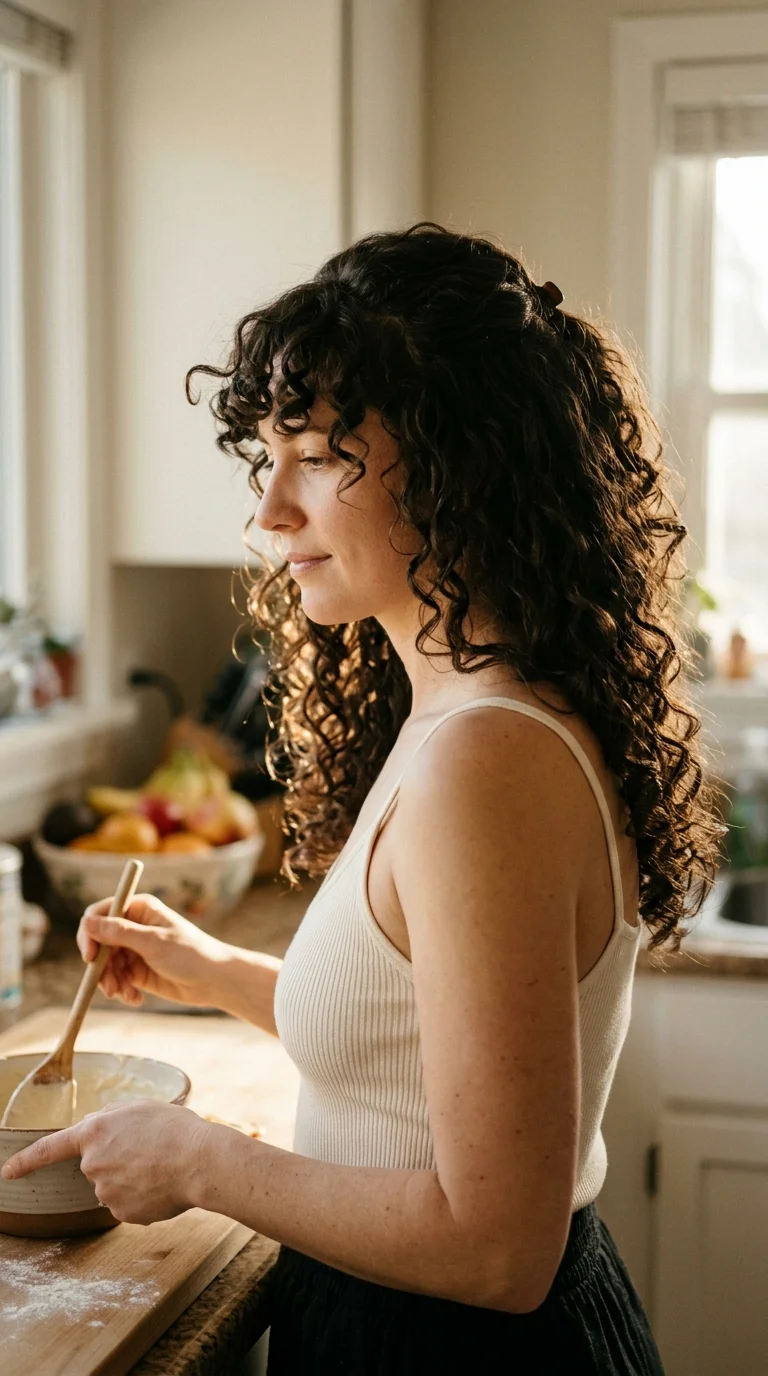
Curly bangs are lovely until the hair behind them falls forward and buries them. The fix is to separate the two.
- Section your bangs off first and clip them out of the way.
- Take a two inch band of hair right behind them, ear to ear.
- Pull that band back and tie it at the crown.
- Unclip the bangs and scrunch them with a little water.
Now the bangs sit on their own, with a clean gap behind them.
People who are growing out curly bangs love this one. It keeps the in between length looking like a choice.
12. Row of Three Barrettes
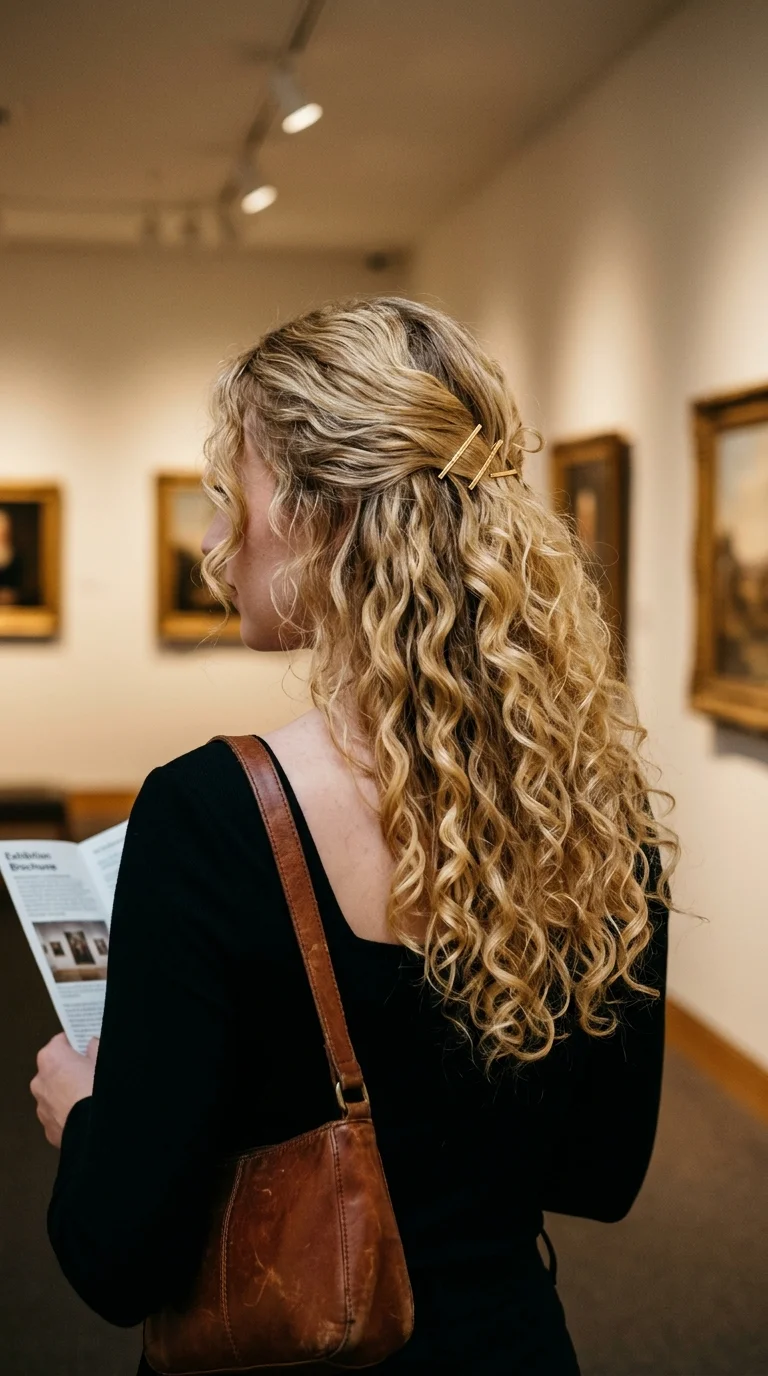
No ponytail, no elastic, no dent. Three barrettes hold the top section in place and your curls fall freely around them.
Push the top section back with your fingers, never a comb. Slide one barrette in at the center back, then add one on each side a couple of inches apart. Angle the side ones slightly upward so they grip more hair.
Gold, pearl, or tortoiseshell all work. Pick the color that shows against your hair, because the barrettes are the whole point.
It is a solid choice for the office, since it looks tidy without looking like you tried hard.
13. Low Half Up Knot at the Nape
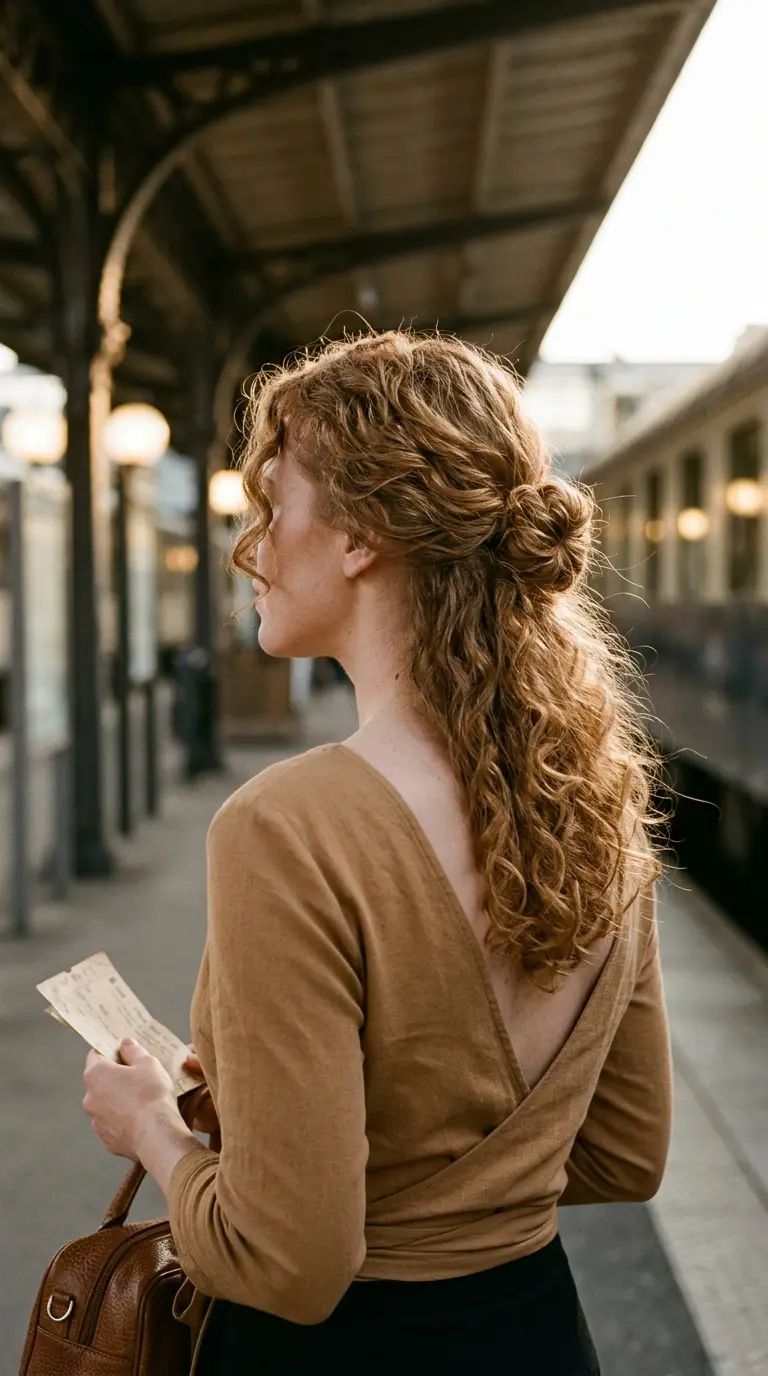
High half up styles get all the attention. A low one is calmer and easier to lean back against, which matters on a long flight or a car ride.
Gather the top and sides down toward the nape, leaving the bottom layer loose. Tie the gathered hair into a knot with itself, the same way you knot a scarf, and slide one pin through the middle of the knot.
There is nothing at the crown to press into a headrest. Your curls hang below the knot, so the back still looks full.
Short on time? This takes about ninety seconds once you have done it twice.
14. Rope Twist Crown With Front Curls Loose

Leaving the front curls out is a small choice that changes the whole face shape of a style. It softens a twist that might otherwise look severe.
Start just behind your ear, not at the temple. Split a section into two strands, twist each one to the right, then wrap them around each other to the left. Add hair as you travel across the back. Pin the end behind the opposite ear.
The opposite twist directions are what lock a rope twist. Skip that and it unravels in an hour.
Pull the two temple curls forward last and scrunch them so they sit apart from the twist.
15. Half Up Fishtail Braid
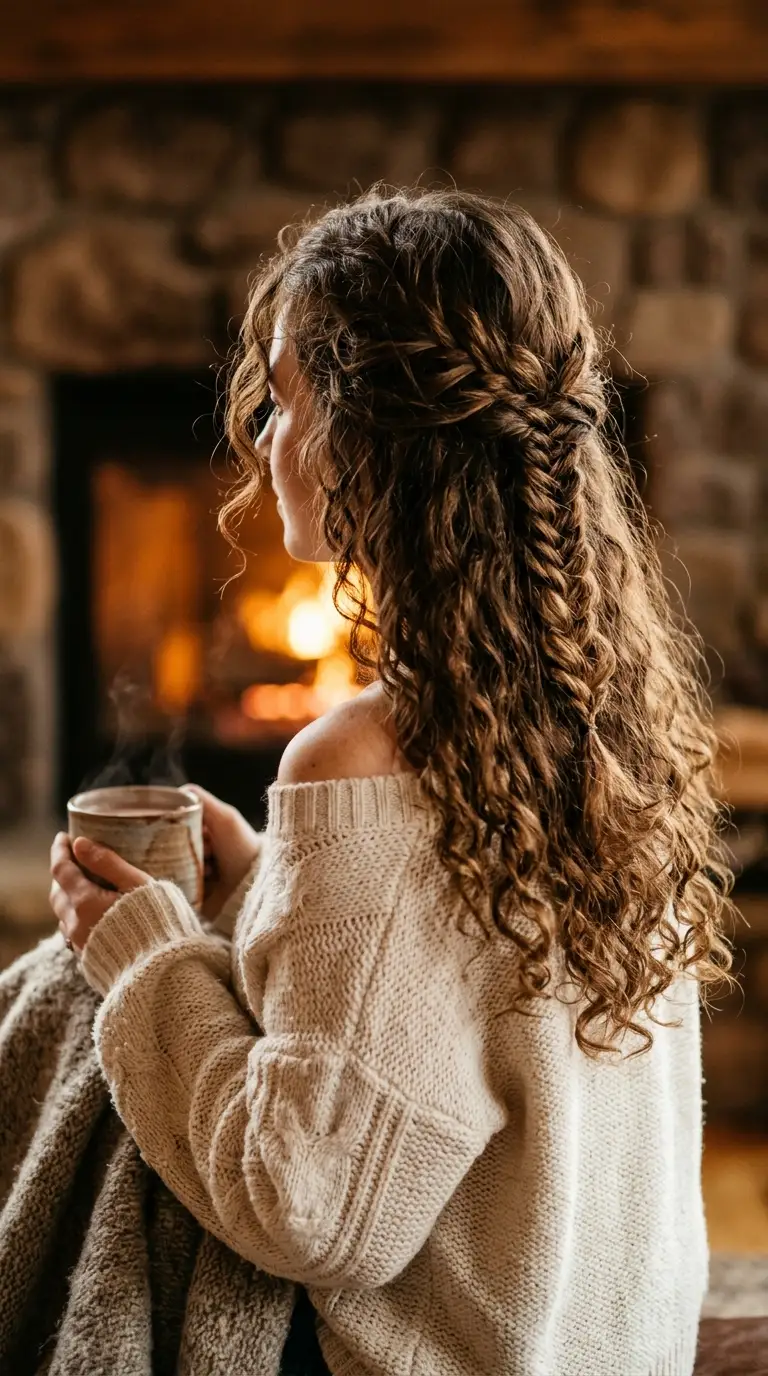
Myth: fishtail braids only work on straight hair. Curls actually make a fishtail look thicker, because each tiny strand has texture.
The trick is taking very thin pieces. Split your half up ponytail into two sides. Pull a thin strand from the outer edge of the left side and cross it to the right. Repeat on the right. Keep going until about three inches from the end, then tie it.
Gently tug the edges of the braid to widen it.
Quick tip: Hold the braid against your chest as you work, not behind your head. You can see each strand and your arms get tired much later.
16. Day Four Refresh Pineapple
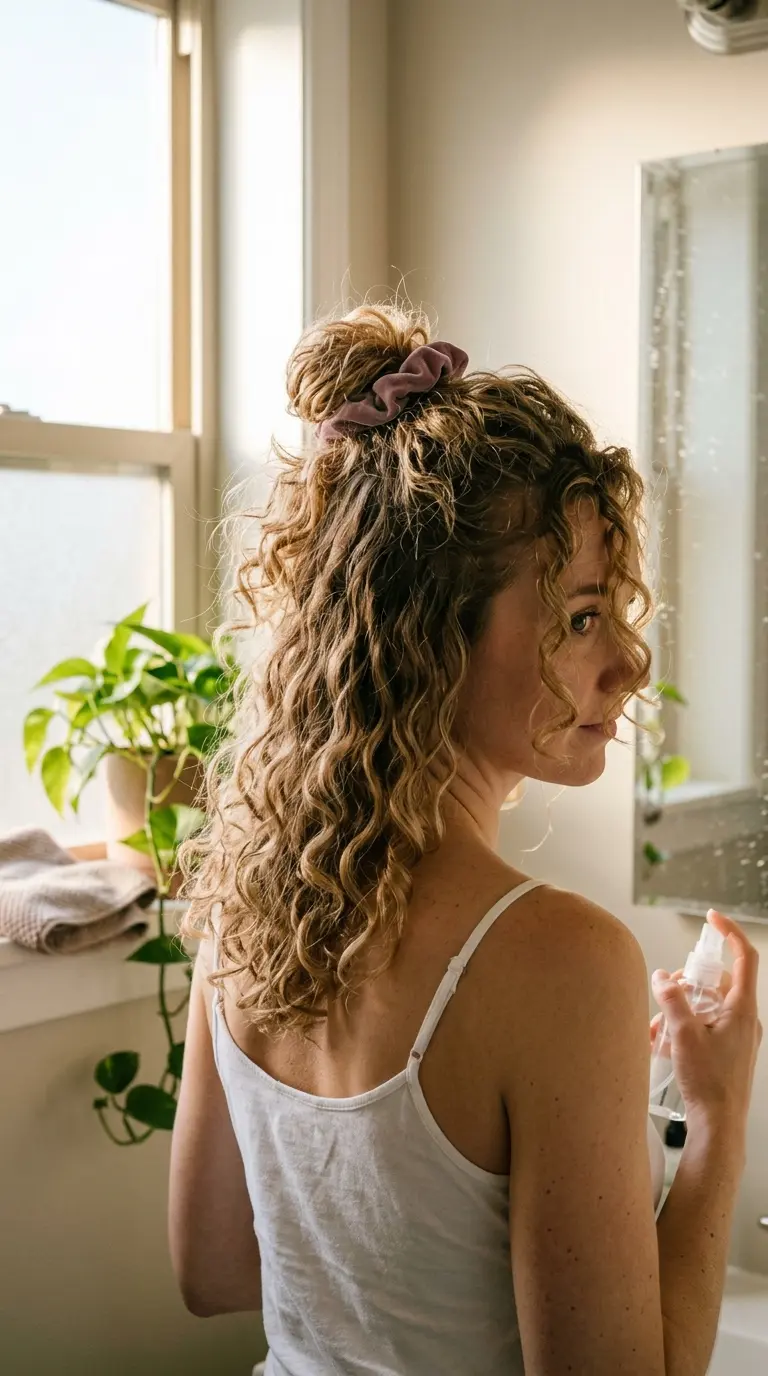
By day four, the top of your hair is flat and fuzzy while the bottom still has decent curl. Put the tired part up and refresh the good part.
- Gather the crown and top into a loose pineapple.
- Mist only the loose bottom curls with water.
- Scrunch in a pea sized amount of curl cream.
- Air dry for ten minutes before you leave.
Here is how the same hair looks before and after those four steps.
Flat roots, a frizzy halo along the part, and curls that stretched into loose waves overnight. Wearing it all down shows every tired spot.
The flat crown is tucked into a soft pineapple with lift, and the bottom curls are springy again. It reads as a style you planned, and it took under fifteen minutes.
17. Ribbon Laced Half Up Ponytail
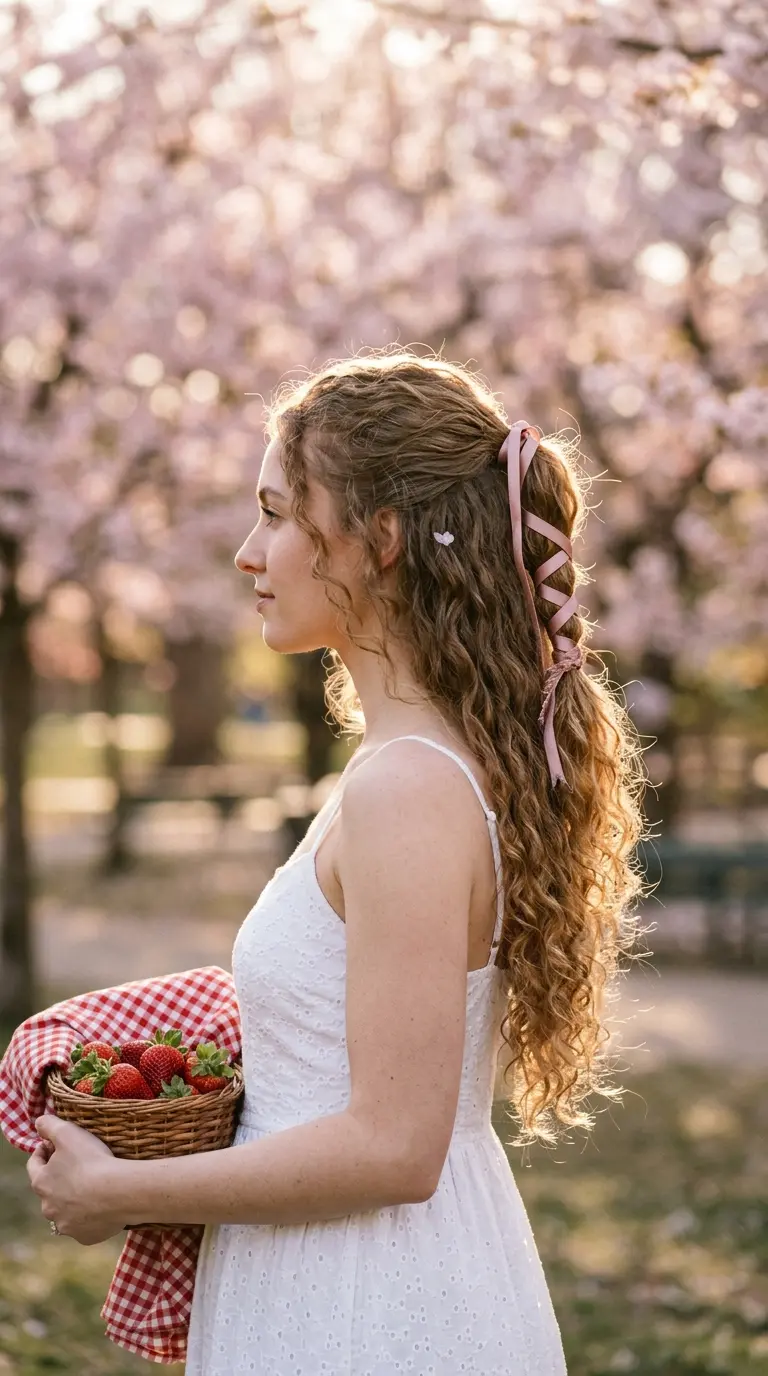
The ribbon is the star here, but the curls are what make it look soft. On straight hair this style looks stiff. On curls the ribbon sinks into the texture.
Tie the top section into a ponytail. Knot a long, thin ribbon over the elastic, leaving two equal tails. Crisscross the tails down the ponytail every two inches, like lacing a shoe, and tie a small bow near the ends.
Choose a ribbon no wider than your little finger. Wide ribbon covers the curls you want people to see.
18. Headband and Half Up for Shoulder Length Curls
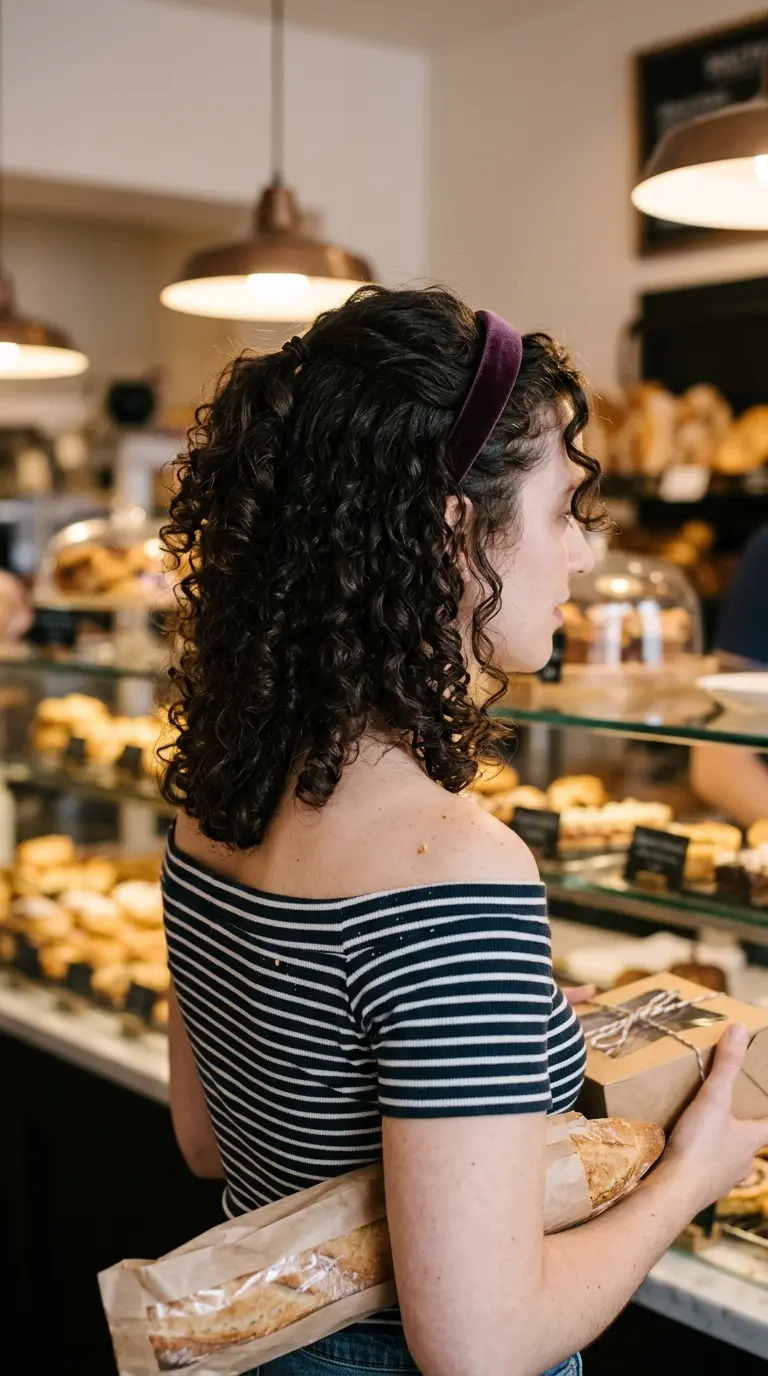
Shorter curls often do not have enough length for a proper half up section. A headband does the hard part.
Slide a padded headband on from the back of your head forward, so it lifts the roots instead of flattening them. Then take the small amount of hair just behind the band and tie it with a mini elastic at the crown.
The band handles the front, the tiny tie adds height, and your curls stay full at the sides.
If you get headaches from headbands, look for ones with a fabric wrap and no plastic teeth.
19. Twisted Rosette at the Crown
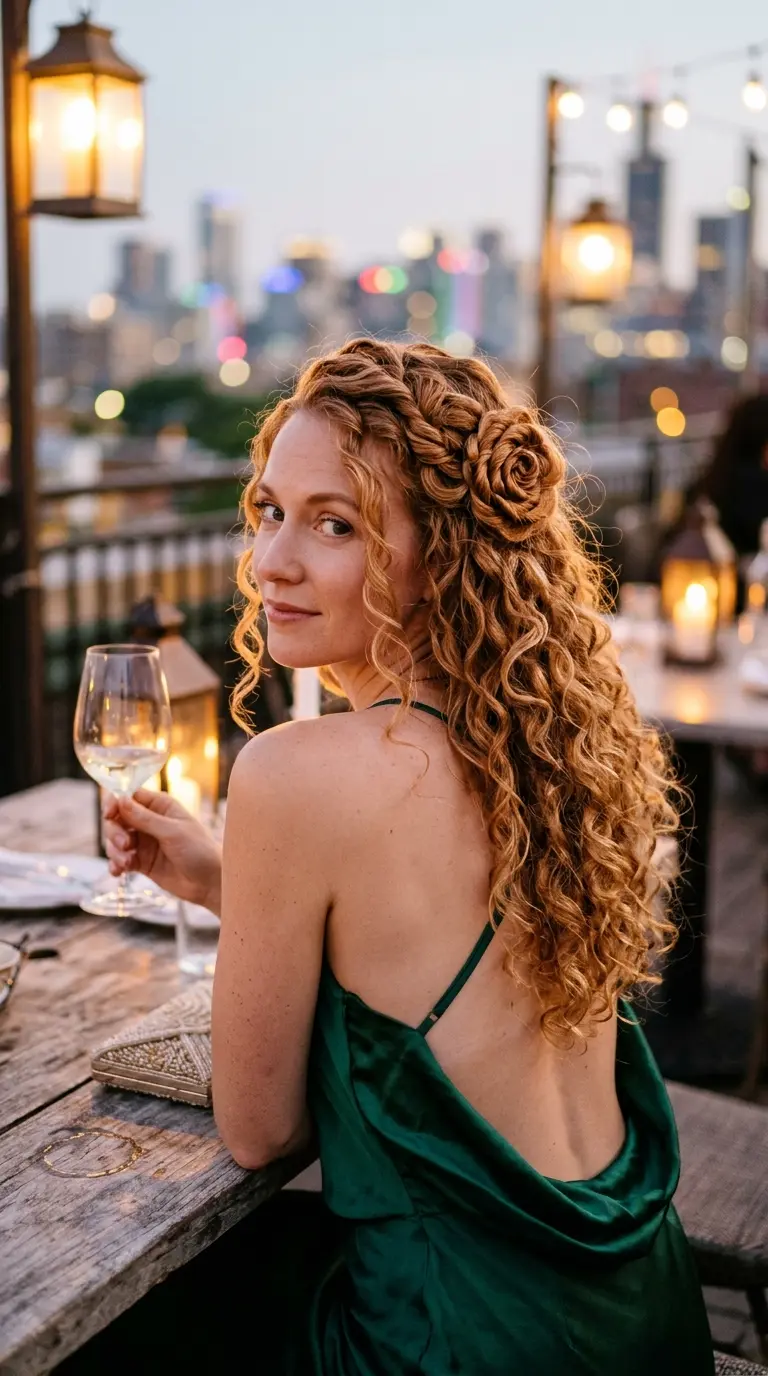
Coil, pin, done. A rosette looks like a lot of work, but it is just a twist wound in a circle.
Tie the top section into a small ponytail. Twist the ponytail until it starts to coil on itself. Wrap the coil flat around the base, like a snail shell, and pin through the outer edge in three spots.
Leave the curly ends slightly visible at the center so the rosette has a soft middle.
Wear it to dinner, a birthday, or a concert. It holds through dancing better than most half up styles, because the coil sits flat and has nothing to swing.
20. Twisted Half Up With Pearl Pins for Weddings
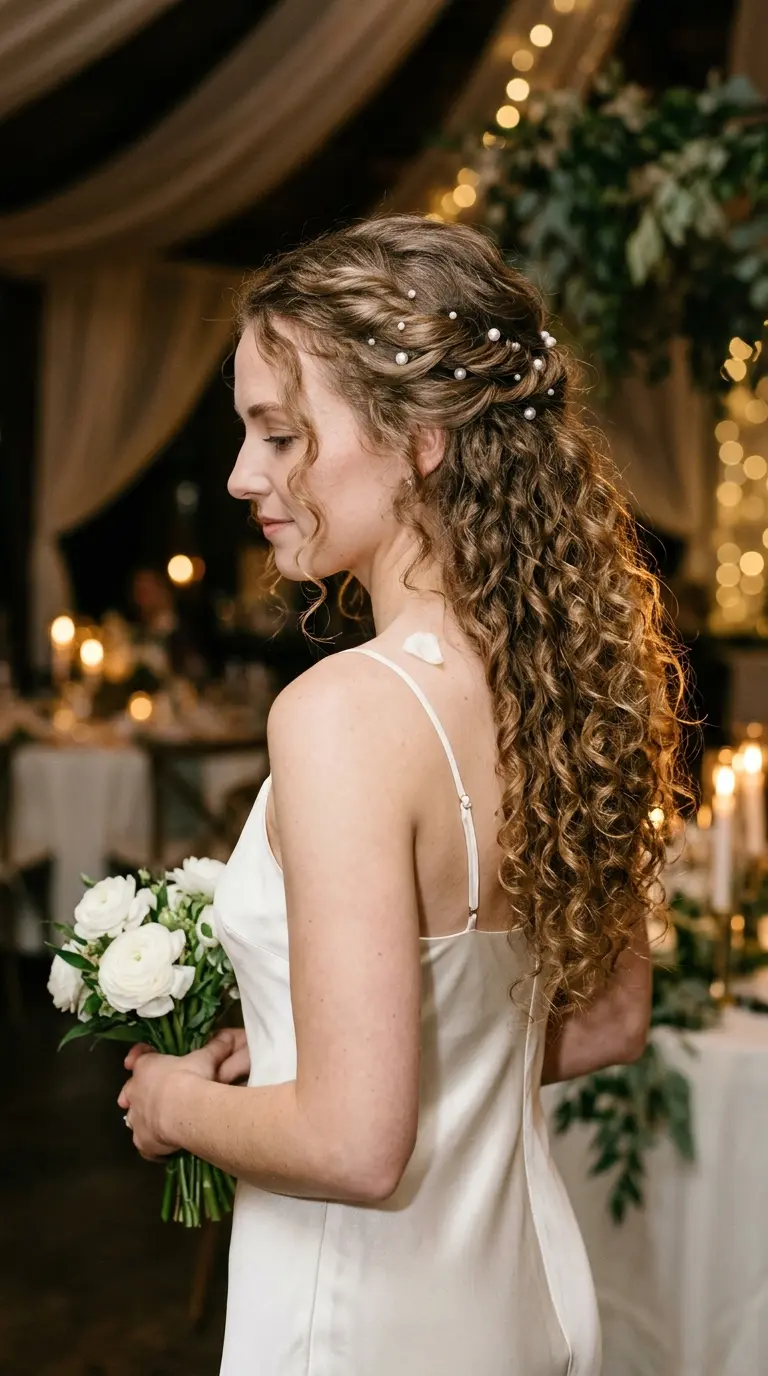
Brides and guests with curls often get pushed toward a sleek updo. You do not need one. A twisted half up with pearls looks formal and keeps your texture front and center.
Here is the order that holds up through photos and dancing:
- Define your curls the day before so they are settled, not crunchy.
- Twist two sections from the temples and pin them together at the back.
- Slide five to seven pearl pins along the twists, spacing them unevenly.
- Mist with a light hold spray from arm’s length.
Uneven spacing looks more natural than a neat row. Bring a few spare pins in your bag, since one always falls out before the cake.
Curls Out, Front Handled
Your curls do not need to be tamed to look put together. They need a little structure in the right spot, usually the front and the crown, and the rest can do whatever it wants.
Start with the pineapple, the claw clip, or the barrettes on a normal weekday. Once your hands know the sections, the braids and the rosette get much faster. Keep a spiral tie on your wrist and a few pins in your bag, and you can switch styles halfway through the day.
The best half up half down curly hairstyles are the ones that still look good at 6 p.m. Pick two from this list and practice them this week.
Save this list to your curly hair board so you have a fresh idea ready the next time your curls need a little direction.