
Most curly hair fights start in the shower. You brush it while it is wet, rub it hard with a bath towel, blast it with the dryer on high, and then wonder why it looks twice as big by lunch.
The usual fix is to flat iron it, scrape it into a tight bun, or hide it under a hat. That works for a day. Then the curls come back, a little drier and a little angrier than before.
Your curls are not the problem. Most of the trouble comes from cuts made for straight hair, heavy brushing, and styles that ask curls to lie flat. The hairstyles for curly hair that actually hold up are the ones that expect shrinkage, leave room for volume, and need fewer hands in the hair once it dries.
Below are 30 cuts, updos, and everyday styles built around real curls. Each one comes with simple steps, the products that help, and the small habits that keep frizz down. Pick one for this week and let your texture do some of the work.
1. Wash and Go With a Deep Side Part

Start with soaking wet hair. That one detail matters more than which gel you buy.
- Rake a leave in conditioner through with your fingers while you are still in the shower.
- Flip your part far to one side, about where the arch of your eyebrow ends.
- Glaze a light gel over the top with flat palms, then scrunch upward.
- Leave it alone until it is fully dry, then scrunch out the crunchy cast.
The deep part gives instant lift at the crown, which is where most curls go flat first.
Quick tip: clip the roots on the heavy side with two small duckbill clips while it dries.
2. Loose Pineapple Updo for Second Day Curls

Second day curls usually fail in one spot. The back gets crushed flat from the pillow while the front still looks fine.
A loose pineapple hides that spot and saves the shape.
- Flip your head forward and gather every curl at the very top of your head.
- Wrap a spiral hair coil or a soft scrunchie around it once, not twice.
- Let the front curls fall forward over your hairline.
Sleep in it, too. Pineappling at night keeps curls from getting squashed, so the morning fix is a quick shake at the roots.
It works best on curls that reach at least past your chin.
3. Curly Shag With Curtain Bangs

Look at the shape first: short, choppy layers around the crown, curtain bangs that split in the middle, and ends that stay light and airy.
A shag suits curls because the layers take bulk off the top. Without that weight, the curls spring up instead of hanging flat.
Ask your stylist for:
- A dry cut, curl by curl, so the length is judged after shrinkage
- Curtain bangs cut longer than you think, around the cheekbone
- Layers that start around the chin
Style the bangs with a little mousse and twist them away from your face while they dry. Bangs often shrink more than the rest of your hair, which is exactly why they start long.
4. Half Up Curly Top Knot

Here is the rule: take only the hair above your temples. Grab more and the knot gets heavy while the loose curls underneath start to look thin.
- Section from the top of each ear up to the crown.
- Twist that section loosely and wrap it into a small knot.
- Pin it with two bobby pins crossed in an X.
- Pull out one or two curls near each temple.
The rest of your curls stay down and keep their full length.
Reach for this one when your front pieces are frizzy but the back still looks great.
5. Rounded Curly Bob Cut Dry
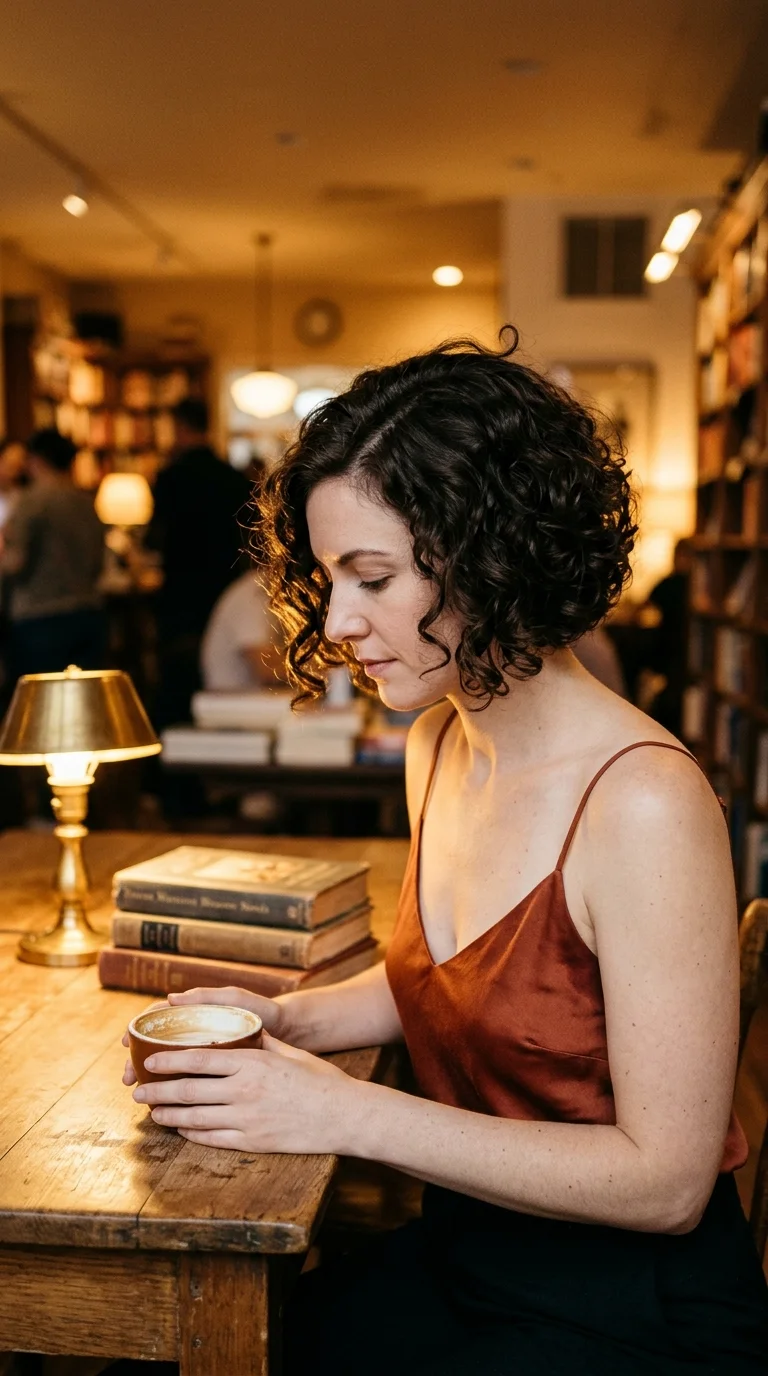
Lots of people think curly hair cannot go short without turning into a triangle. That only happens when a bob is cut wet and blunt, with all the weight sitting at the bottom.
A rounded curly bob is cut dry, so the stylist sees where each curl lands. The back is stacked a little shorter, and the sides curve in toward the jaw.
What you get:
- Volume at the crown instead of at the ends
- A shape that still looks neat as it grows
- Much less drying time on wash day
Quick tip: book a trim every eight to ten weeks, before the triangle starts creeping back.
6. Diffused Volume Curls With Root Clips

Air drying and diffusing give two very different results on the same head of hair.
Air dried curls tend to hang heavier and flatter at the roots. Diffused curls dry faster and sit higher, because warm air sets them before gravity pulls them down.
Here is the method:
- Scrunch in gel while your hair is dripping wet.
- Slide flat root clips under the top layer at your crown.
- Cup sections in the diffuser bowl on low heat and low speed.
- Hold each section for about a minute, then move on.
Take the clips out only when the roots feel completely dry.
Air dried curls that sit flat at the crown, stretch out at the ends, and frizz wherever the towel rubbed.
Diffused curls with lifted roots, tighter clumps, and a shape that lasts longer between wash days.
7. Low Curly Bun With a Silk Scarf

It is raining, you have a meeting in twenty minutes, and your curls have started to frizz at the crown.
A low bun wrapped with a silk scarf handles all of it.
- Gather your curls at the nape without brushing them.
- Twist them loosely and coil them into a bun.
- Pin the bun, then tie a long silk scarf around it and knot the ends at the side.
The silk keeps the outer curls from rubbing against your coat collar. Leave a few curls loose near your ears so the look stays soft instead of strict.
Small warning: skip tight elastics here. They leave a dent that still shows the next day.
8. Two Front Twists Pinned Back
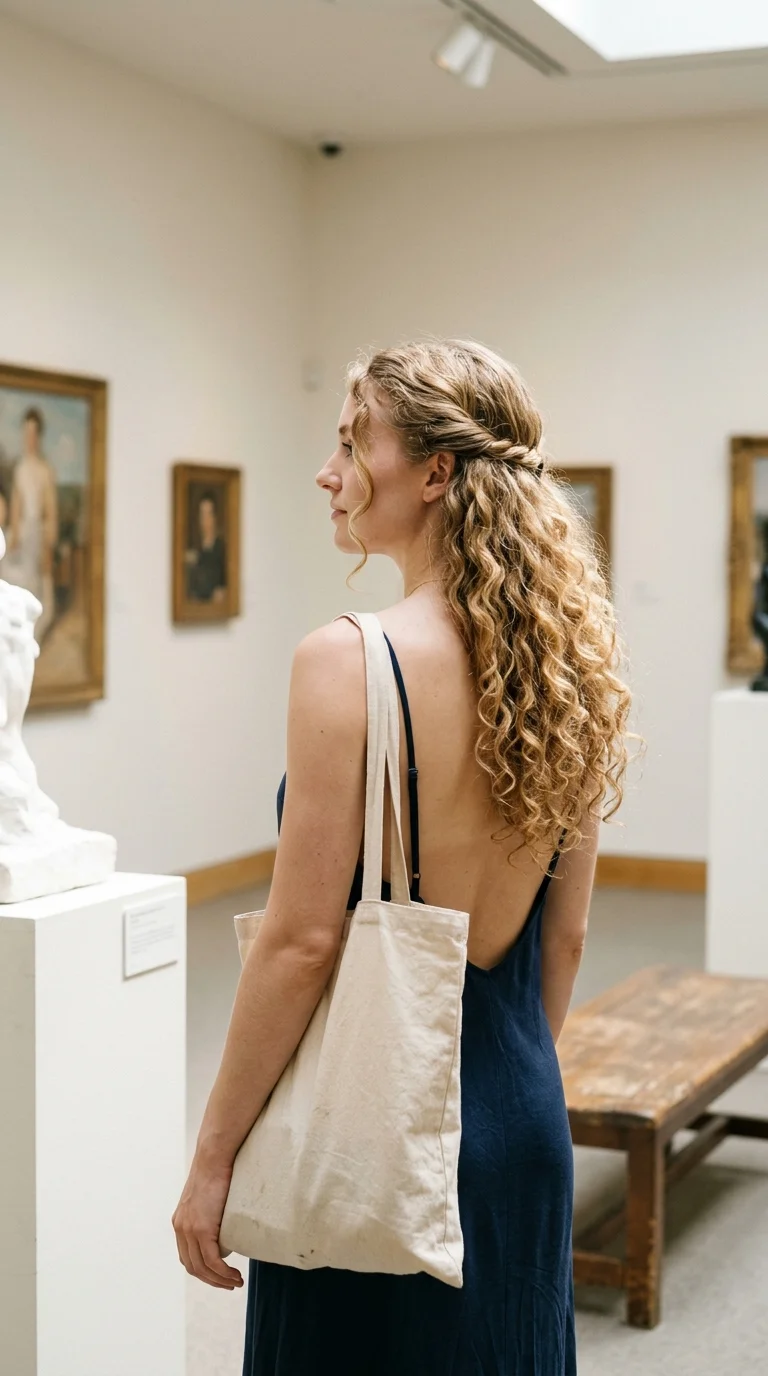
The mistake most people make here is twisting the front pieces too tight. Tight twists pull the curls straight and leave a flat stripe along the hairline.
Keep them loose:
- Take a two finger section on each side of your part.
- Twist each one back toward the crown, adding a curl or two as you go.
- Pin both twists just behind your ears with bobby pins.
Everything else stays down.
That small change clears your face, shows off your cheekbones, and hides growing out bangs on the days they refuse to cooperate.
9. Loose Curly Ponytail With a Silk Scrunchie
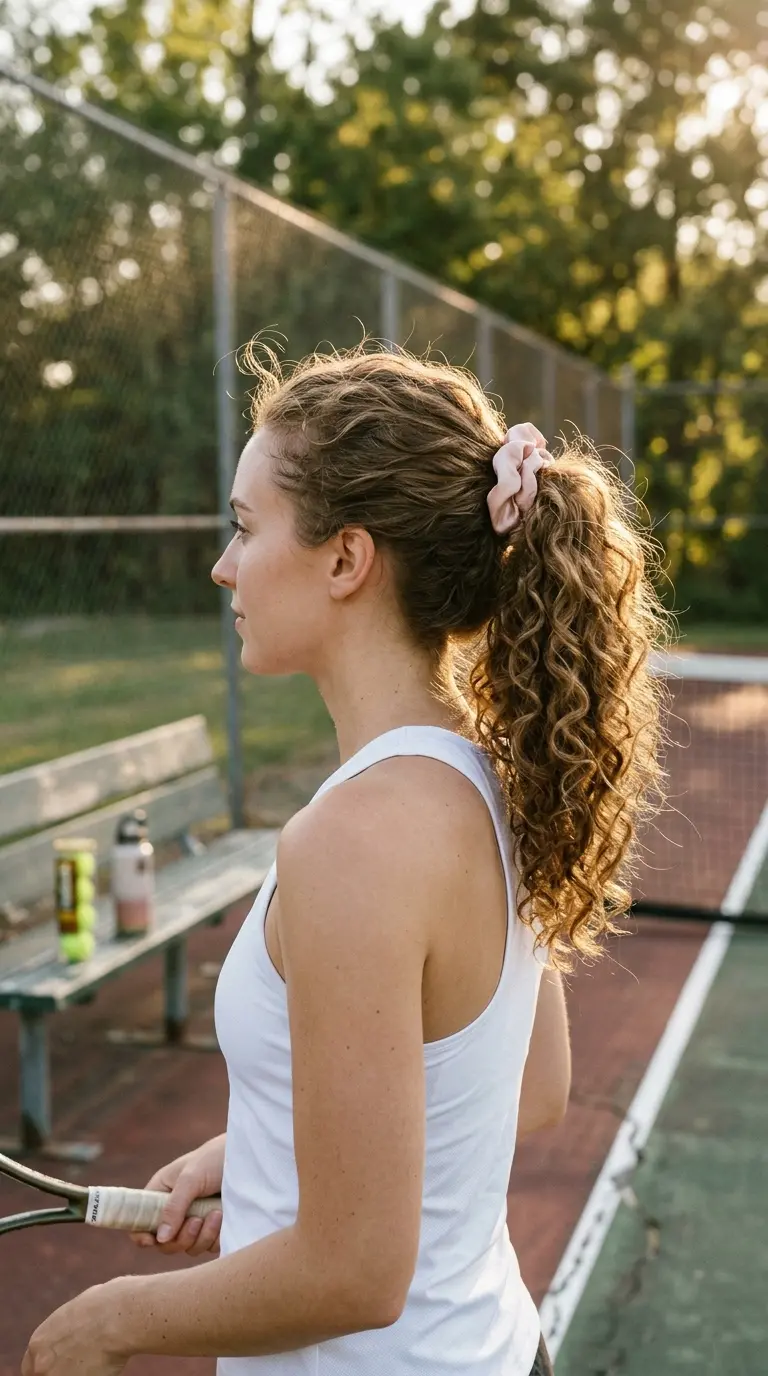
A ponytail that does not wreck your curls comes down to what holds it.
Silk and satin scrunchies grip without snagging, so the curls in the tail keep their clumps. A regular elastic tends to rough up the hair right where it bends.
How to do it:
- Gather curls with your fingers, never a brush
- Place the pony at the middle of the back of your head
- Wrap the scrunchie twice, loosely
- Smooth the front with a drop of gel on your palms
Wear it low on sleep nights and higher for the gym.
10. Long Butterfly Layers for Curls

Long curly hair often turns into a heavy curtain. The top lies flat, and all the curl gathers in the last few inches.
Butterfly layers fix that by cutting shorter layers around the face and crown while the overall length stays long. The short pieces lift and spring up, and the long ends keep their pattern.
Ask for:
- Face framing layers starting at the cheekbones
- A second set of layers around the shoulders
- No razor, since it can leave curly ends frayed
The first wash after this cut feels lighter on your head. You may also find you need less product to get the same definition.
11. Loose Dutch Side Braid With Curly Ends

Braids on curly hair look fuller than on straight hair, so a loose side braid goes a long way.
- Part deep on one side and gather everything toward the opposite shoulder.
- Dutch braid down the side, crossing strands under instead of over.
- Stop at the collarbone and tie it off with a clear elastic.
- Pancake the braid by gently tugging the edges wider.
The curly tail below the elastic is the best part, so leave it loose and scrunch it with a little cream.
Save this one for second or third day hair. Fresh curls are too slippery to stay put.
12. Curly Claw Clip Twist
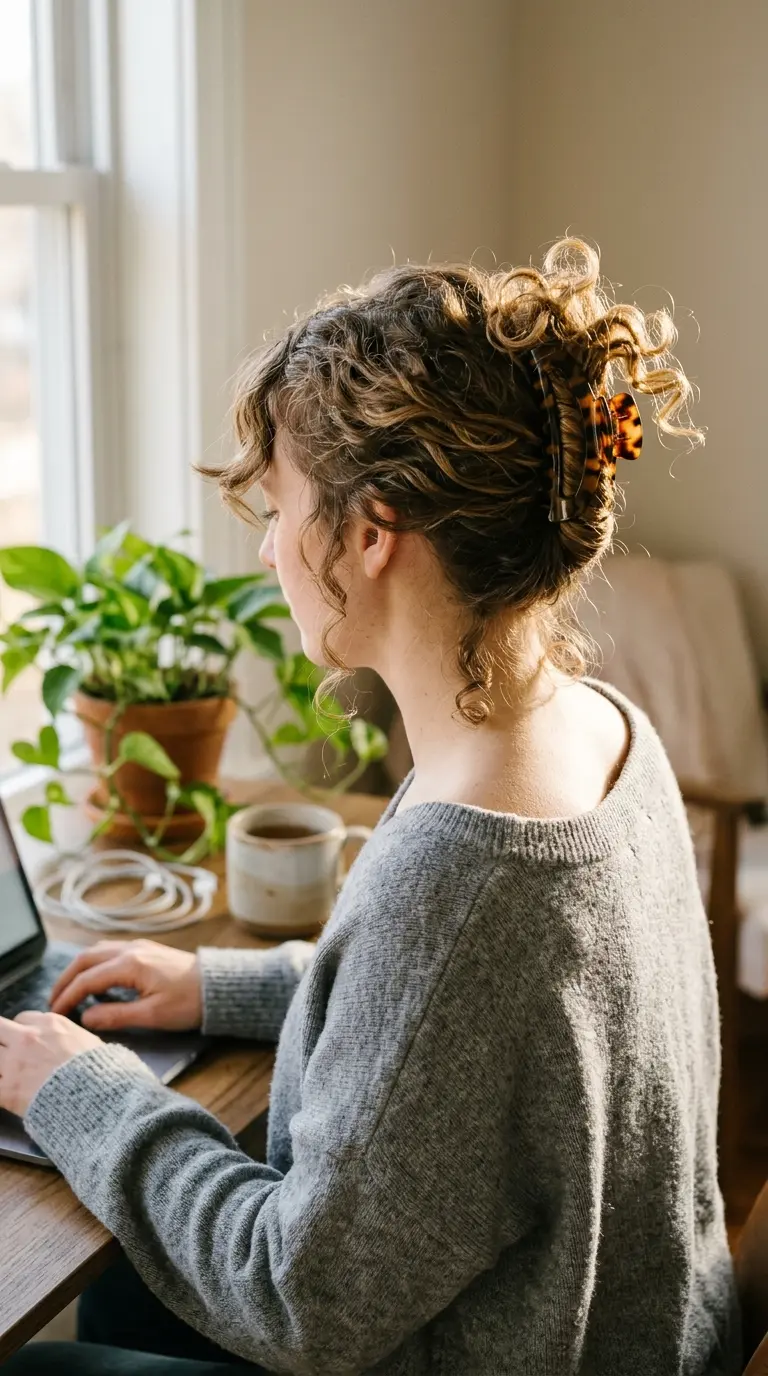
Pick a claw clip with long, wide teeth. Short teeth cannot hold the volume of curly hair and slip out by noon.
Twist all your curls up the back of your head, fold the ends over the top, and clamp the clip right over the twist. Let the ends spill out of the top like a little fountain.
What makes it look finished:
- A few curls pulled loose at the temples
- The shortest layers at the nape left alone
- A mist of water on the loose ends if they look stretched
It takes about a minute, and it is gentle enough to wear while your curls are still damp.
13. Wolf Cut for Curly Hair
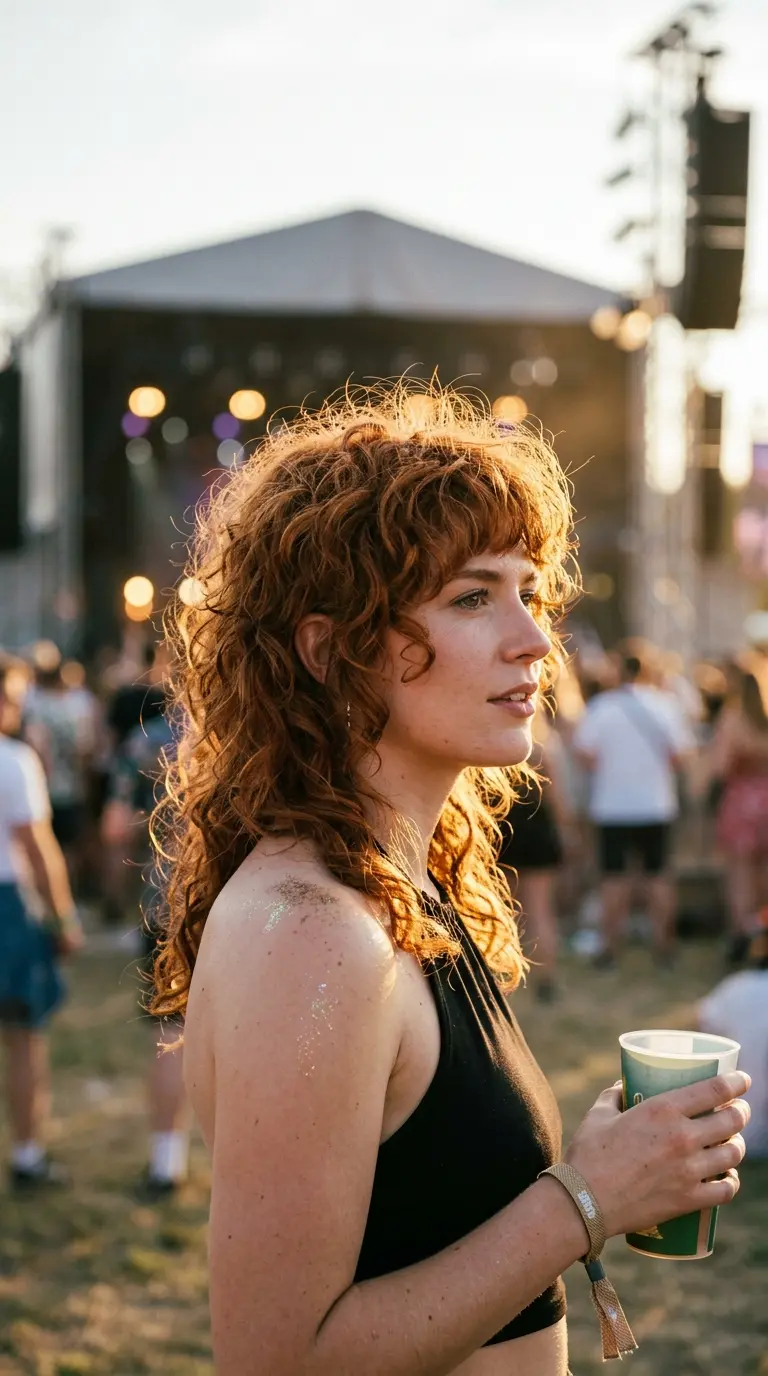
A wolf cut sits somewhere between a shag and a mullet. It has more height at the crown than a shag, but it is softer at the back than a true mullet.
On curls, that crown height does most of the work. The short top layers bounce up, while the longer back pieces stay springy around the neck.
Good fit if:
- Your curls are loose to medium, not super tight
- You like messy hair more than neat hair
- You are fine with a trim every couple of months
Style it with curl cream and a hard scrunch, then shake the roots. It is supposed to look a little wild.
14. Pinned Up Curly Faux Bob
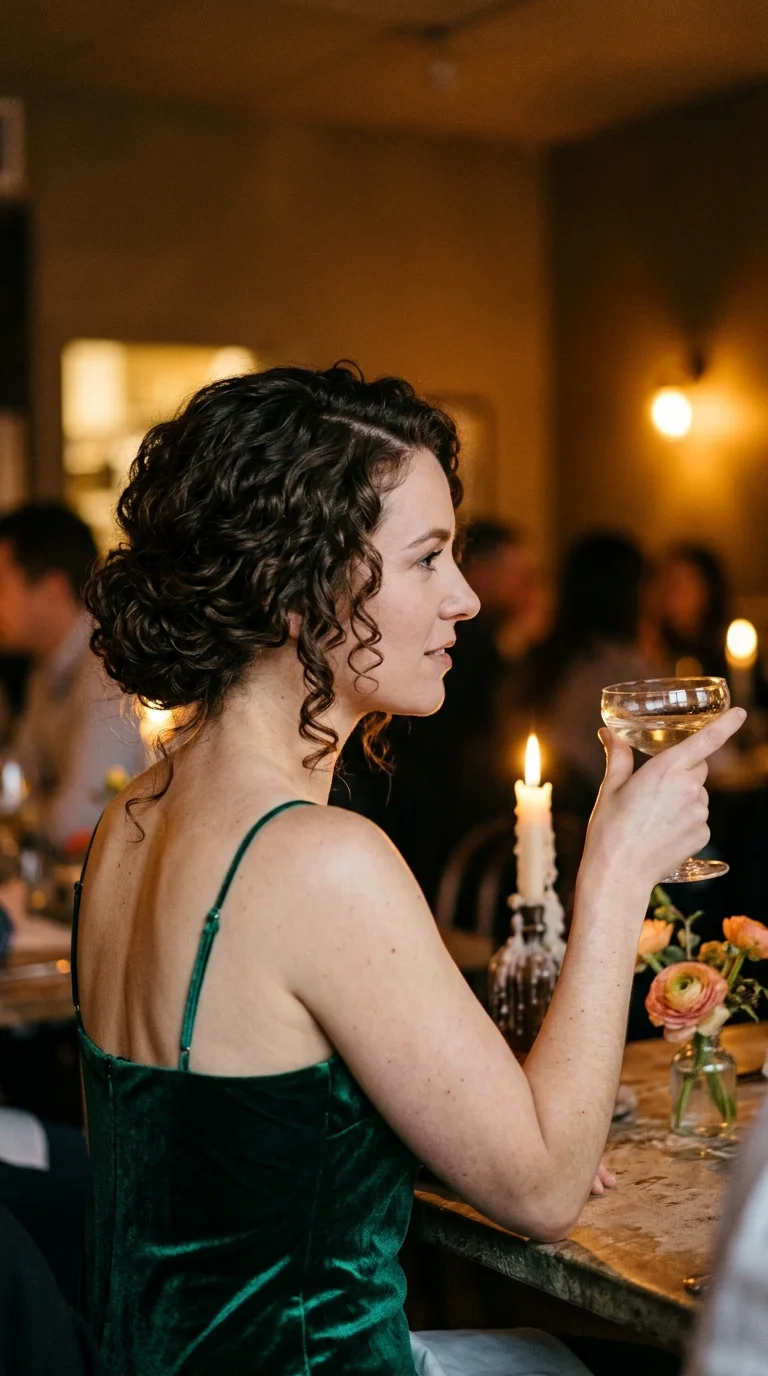
Long curls are lovely until you want a shorter look for one night. Cutting is not the only option.
A faux bob tucks the length under so it reads as a curly bob from every side.
- Loosely braid or twist the bottom half of your hair at the nape.
- Fold that section up and pin it flat against the back of your head.
- Let the top layer of curls fall over the pins to hide them.
- Fluff the sides so they curve toward your jaw.
Use plenty of pins and check the back with a hand mirror. One stray pin is easy to miss in curls.
15. Day Three Curl Refresh With a Wide Headband

By day three, curls usually look tired on top and fine underneath. A quick refresh and a wide headband cover the gap.
- Mist the top layer with a spray bottle of water until damp, not soaked.
- Rub a pea size bit of curl cream between your palms and scrunch it in.
- Push a padded or wide fabric headband back from your hairline.
- Shake the roots behind the band to bring back some lift.
The band hides the flat spot along your part, and the fresh scrunch wakes up the curls in the back.
Mist with water and scrunch upward with a small bit of cream.
Refresh only the curls that look flat or frizzy, usually the top layer.
Brushing dry curls, which turns them into a cloud of frizz.
Piling on fresh gel every morning, which leaves curls stiff and dull.
16. Curly Space Buns
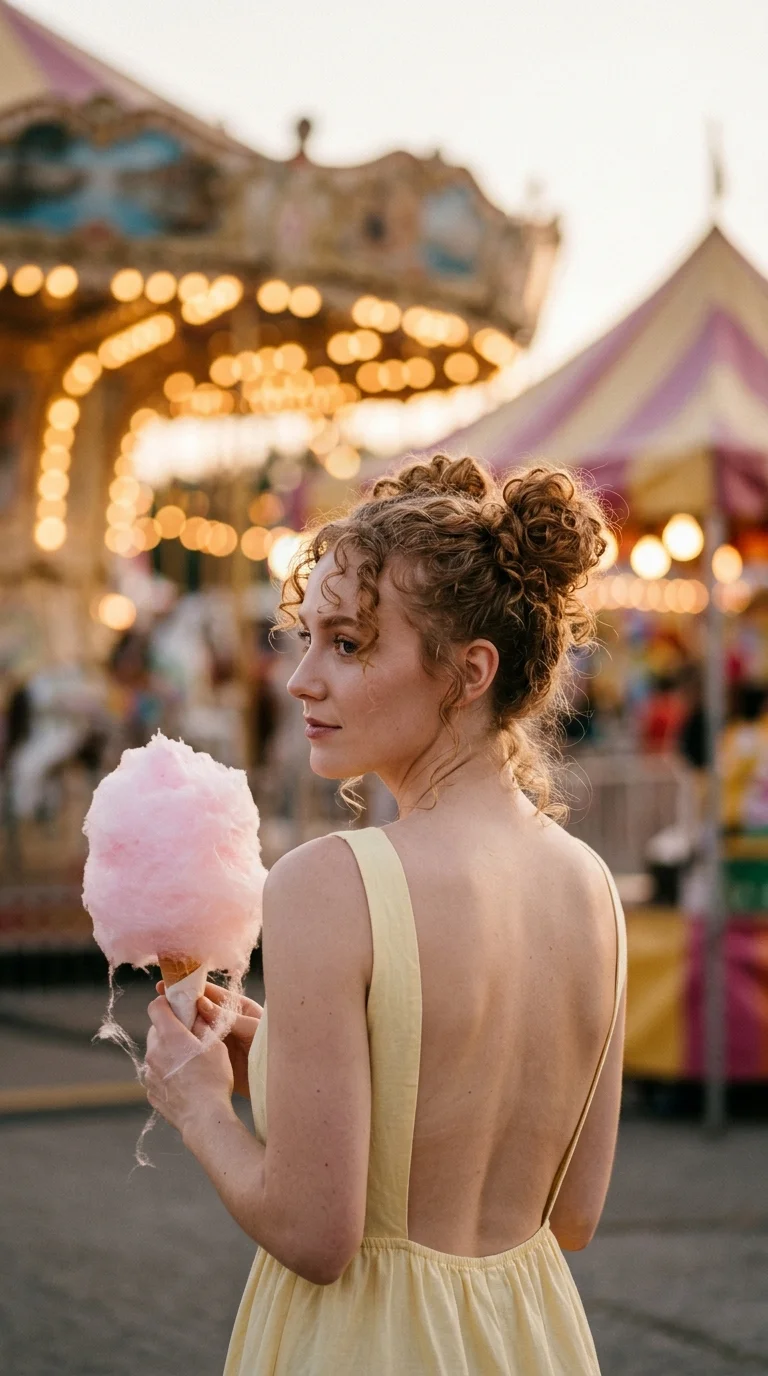
Space buns are the fastest way to hide uneven curls, since every curl ends up piled inside a bun.
- Part down the middle, all the way back to the nape.
- Gather each side high, just above the ears.
- Twist each half loosely and wrap it around itself.
- Pin the buns, leaving the ends poking out a little.
Leave out a few curls along your forehead and at the nape. That keeps the style from looking too neat.
They hold up well at concerts and on hot days, because none of your hair touches your neck.
17. Bandana Wrapped Curls
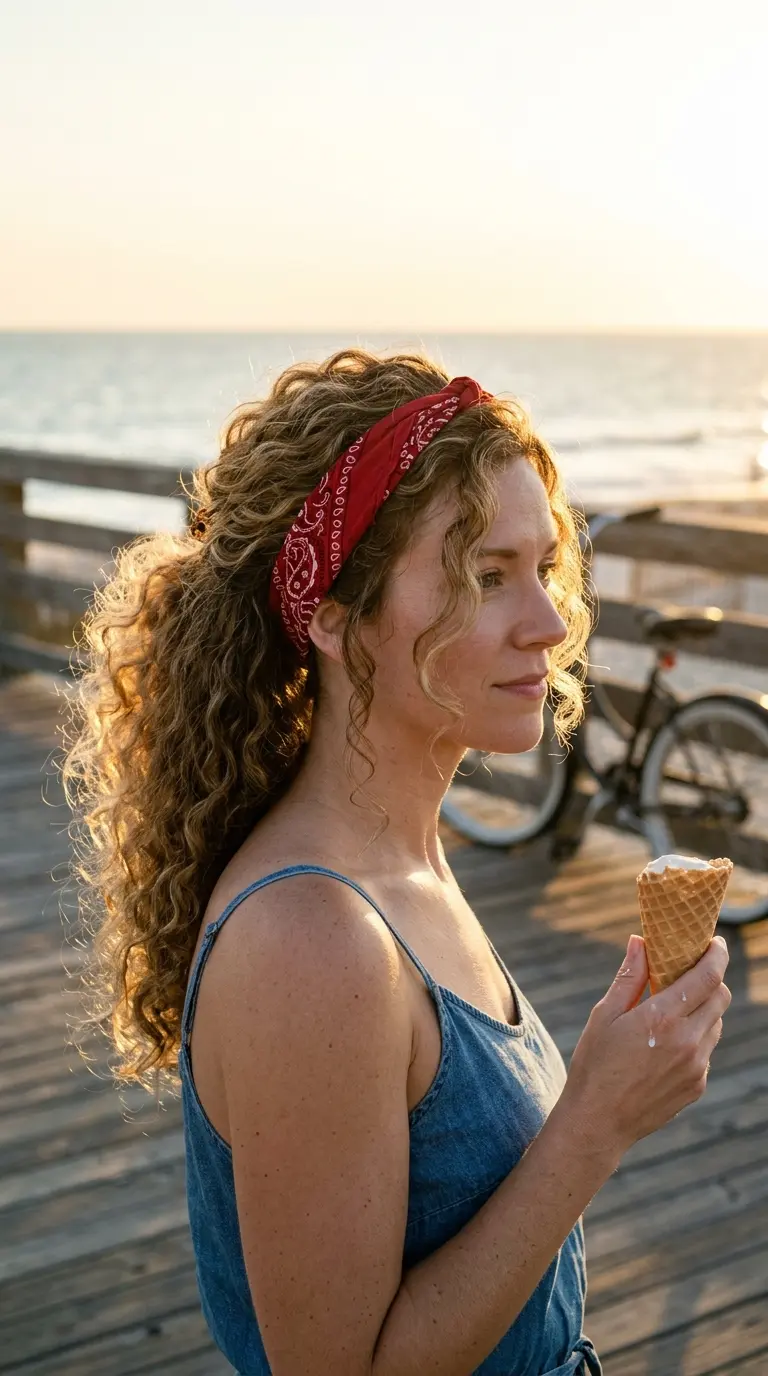
A folded bandana pushed back from the hairline, with curls puffing out behind it, has a relaxed weekend look that is hard to fake.
- Fold a square bandana into a long strip about two inches wide.
- Lay it across your head just behind your hairline.
- Tie the knot at your nape, underneath your curls, so the knot stays hidden.
Cotton grips curls better and stays put on a long walk. Satin is gentler if your curls dry out fast.
Pick a print that does not match your outfit exactly. A little clash is part of the charm.
18. Tapered Curly Pixie

Short curly hair gets a bad reputation for being high maintenance. A tapered pixie is actually one of the easiest shapes to live with.
The sides and nape are cut close, and the curls on top stay a few inches long. Less hair means less product, less drying time, and fewer tangles.
Daily routine:
- Wet the top with a spray bottle
- Scrunch in a little gel
- Leave it alone to air dry
The catch is the trim schedule. Plan on a visit every five or six weeks to keep the taper neat around your ears.
19. Full Curly Bangs on Long Hair

Cutting curly bangs wet is the classic mistake. They look like the right length in the chair, then bounce up to your hairline once they dry.
Ask for curly bangs cut dry, curl by curl, and keep the section narrow, no wider than the outer corners of your eyes.
To style them:
- Wet only the bangs with a spray bottle.
- Scrunch in a small bit of mousse.
- Diffuse them first, so they set with lift before you start on the rest.
Full bangs on long curls draw the eye up, which balances out a lot of length at the back.
20. Defined Finger Coils on Shoulder Length Curls
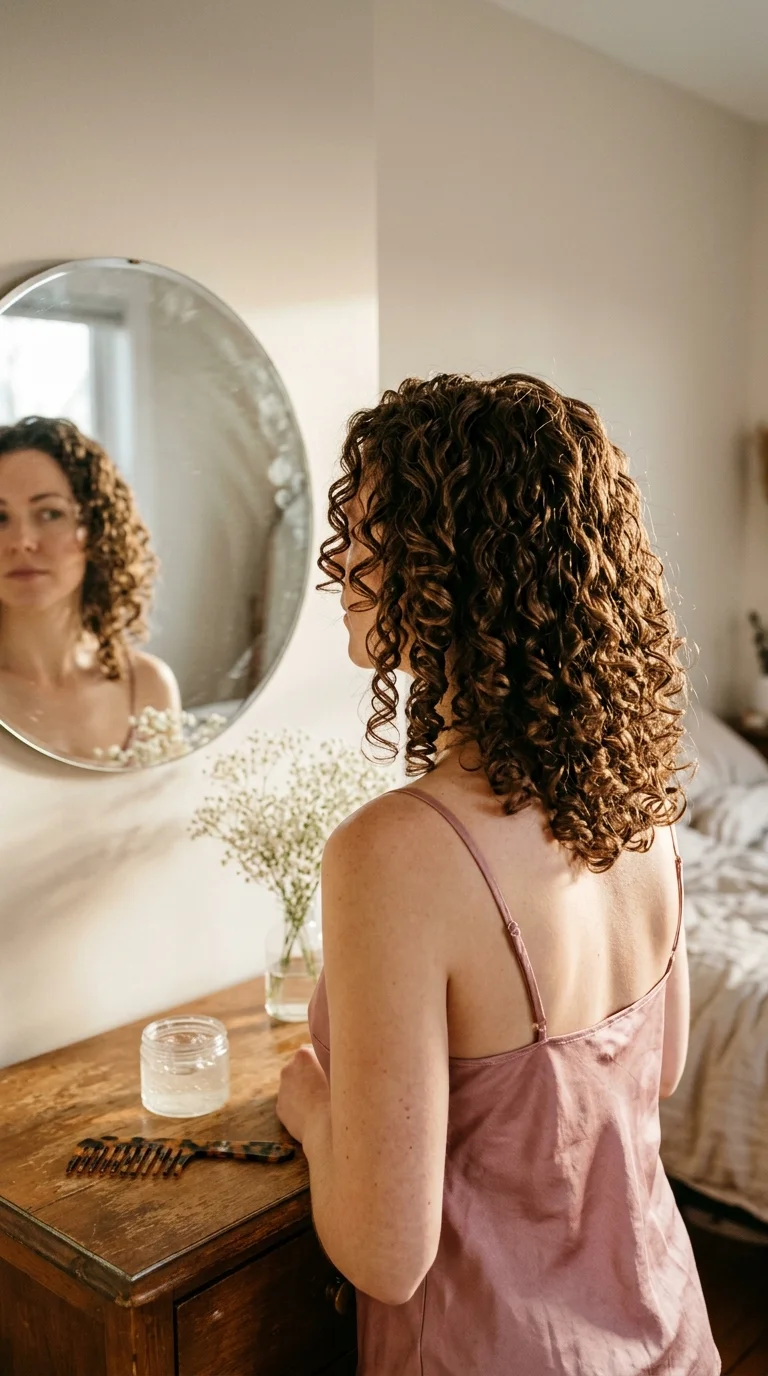
Finger coiling feels slow the first time. After a few rounds you stop thinking about it, and the definition it gives is hard to get any other way.
Work on soaking wet hair, one small section at a time.
- Smooth gel down the section with your fingers.
- Wrap it around one finger, starting at the root.
- Slide your finger out and leave the coil alone.
Short on time? Coil only the top and front pieces. Those are the curls people see first.
It works best on curls that already form ringlets. Looser waves tend to drop the coil quickly.
21. Side Pinned Curls With Pearl Barrettes
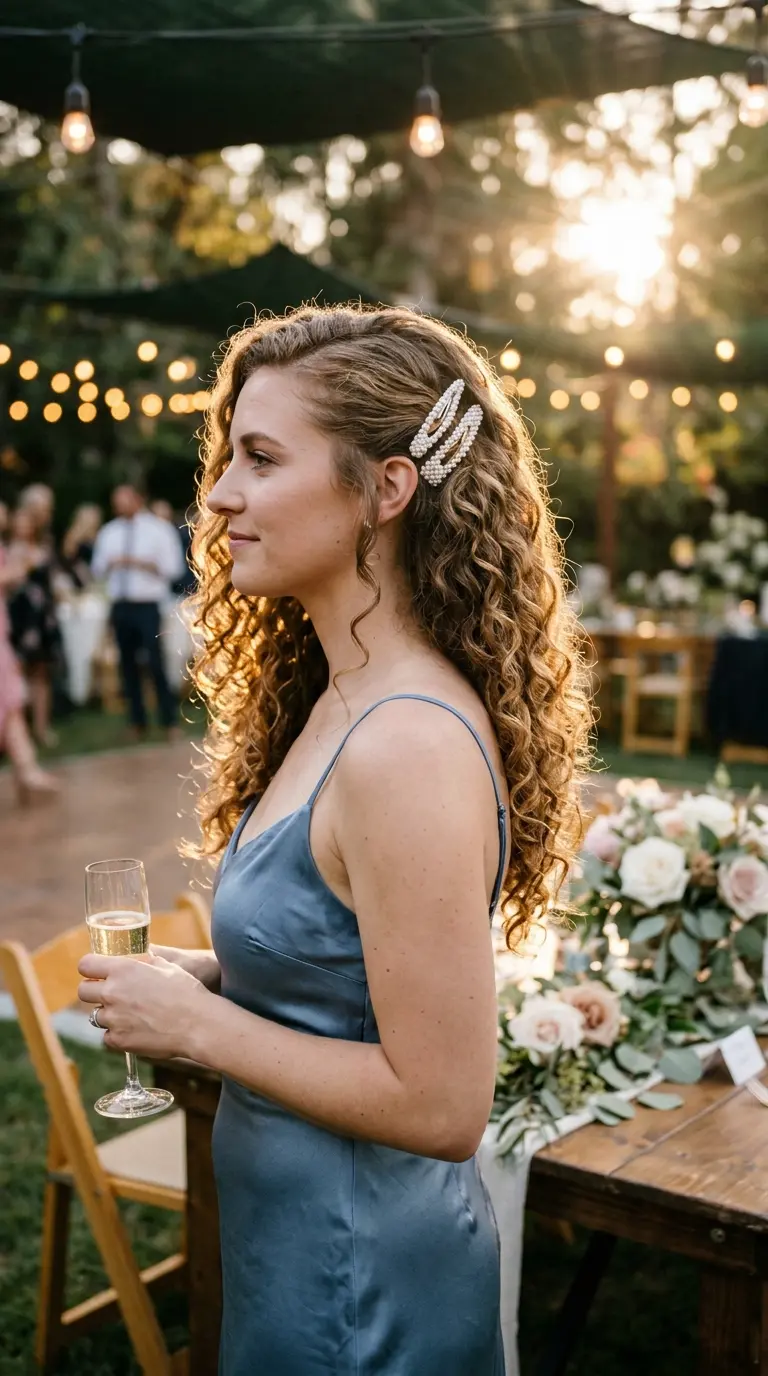
Wedding guest, date night, or a family dinner where you want to look a little more put together. Side pinned curls cover all three in about two minutes.
Sweep the curls on your part side back behind your ear. Hold them flat with two or three pearl barrettes stacked in a short row just above the ear.
Quick tip: slide each barrette in at a slight angle, pointing toward the crown. Barrettes placed straight tend to slip down in curly hair.
The other side stays big and loose, and that lopsided balance photographs really well.
22. Curly Lob With Face Framing Layers

A curly lob lands between a bob and long hair, usually just above the collarbone.
Compared to a bob, it carries enough weight to stretch the curls slightly, so they look looser and longer. Compared to long hair, it dries faster and tangles less.
Face framing layers keep it from looking boxy.
Ask for:
- The longest layers to hit the collarbone
- Front layers that start at the chin
- A front that is slightly longer than the back
Wear it with a deep side part on dressy days and a middle part when you want it softer.
23. Twisted Crown Halo for Curly Hair

Curls make twisted crowns look full without any teasing, since the texture fills in the gaps on its own.
- Start at one temple and twist a two inch section back along your hairline.
- Feed a little more hair into the twist every few inches as you move around your head.
- Pin it at the back of the crown.
- Repeat on the other side and tuck the ends under each other.
The curls below sit free around your shoulders.
It does best on second day curls with a bit of grip. A light mist of water over the twists brings back definition.
24. Bubble Ponytail With Curls Between Sections
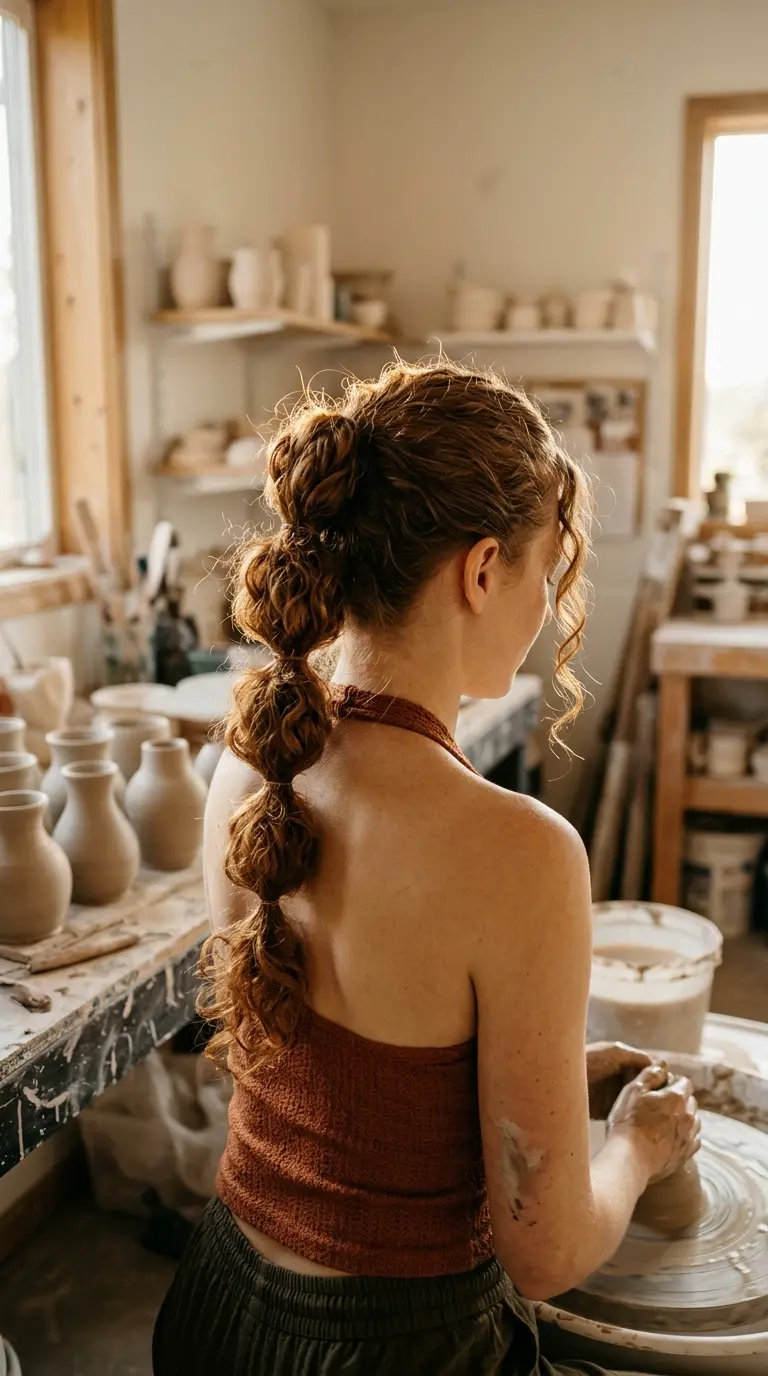
A regular ponytail on thick curls can feel heavy and tug at your scalp by the afternoon. Splitting it into bubbles spreads the weight out.
- Tie a ponytail at mid height with a soft elastic.
- Add another elastic every few inches down the length.
- Gently pull each section wider so it puffs into a round bubble.
- Leave the very end loose and curly.
The curls inside each bubble stay intact, and no brushing is involved.
Wrap the top elastic with a thin piece of your own hair. It hides the band and makes the whole thing look more finished.
25. Stretched Curls With the Banding Method

Shrinkage can make shoulder length curls look chin length. Banding stretches them back out without any heat.
- On damp hair with leave in, split your hair into four to six sections.
- Wrap a soft hair tie down each section every couple of inches, like rings down a pole.
- Let it dry completely, overnight if you can.
- Remove the ties slowly and fluff with your fingers.
You end up with looser, longer curls that still keep their shape.
Use fabric ties, never rubber bands. Rubber bites into wet hair and snaps strands.
26. Romantic Curly Updo for Weddings
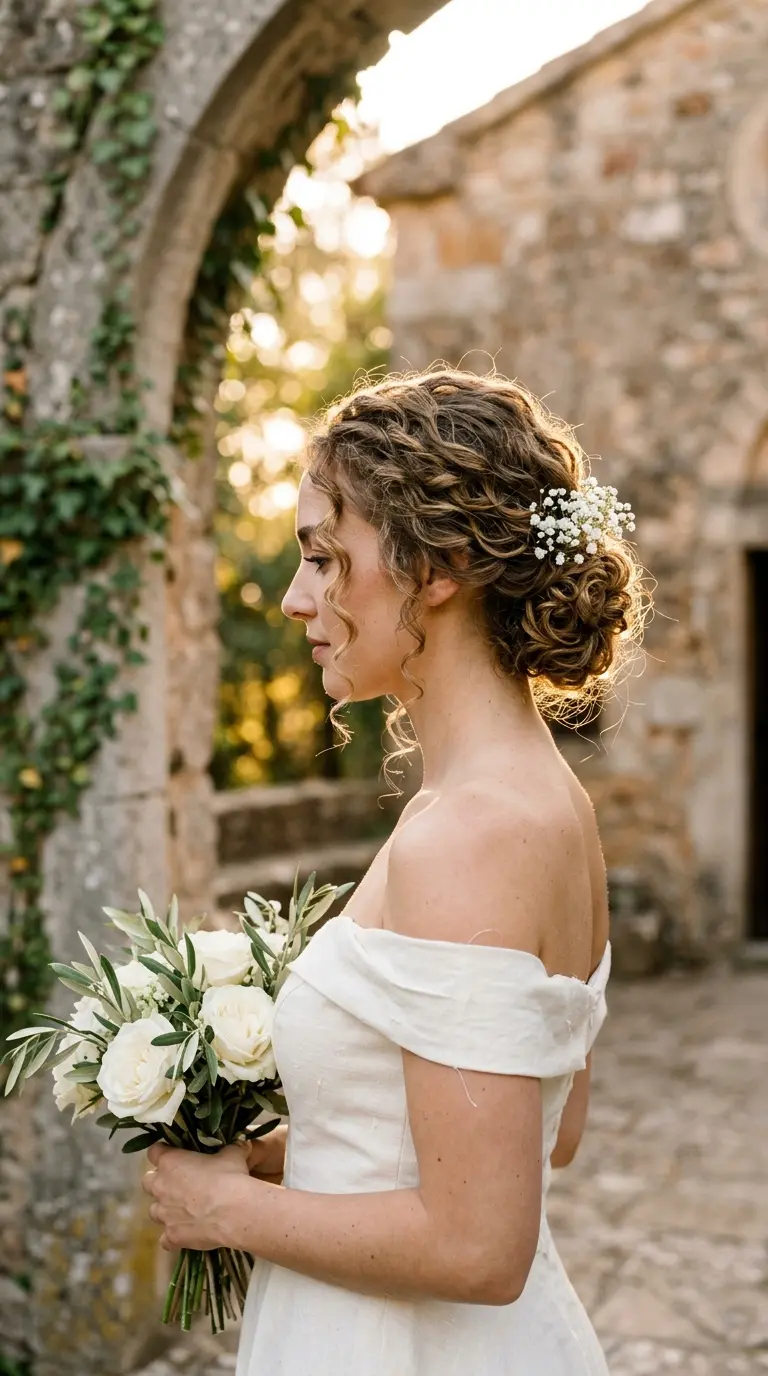
Your stylist may want to straighten your hair first and then curl it again. It is fine to say no.
A curly updo built with your own texture often holds better, because natural curls give the pins something to grip.
Ask for:
- A low, loose gathering of curls pinned at the nape
- Face framing tendrils left out at the temples
- Hidden braids underneath to anchor the pins
- A trial run a few weeks before the day
Bring photos of curly updos specifically. Pictures of straight hair updos lead to the wrong plan.
Pack a small spray bottle for touchups between photos.
27. Rope Twist Half Up
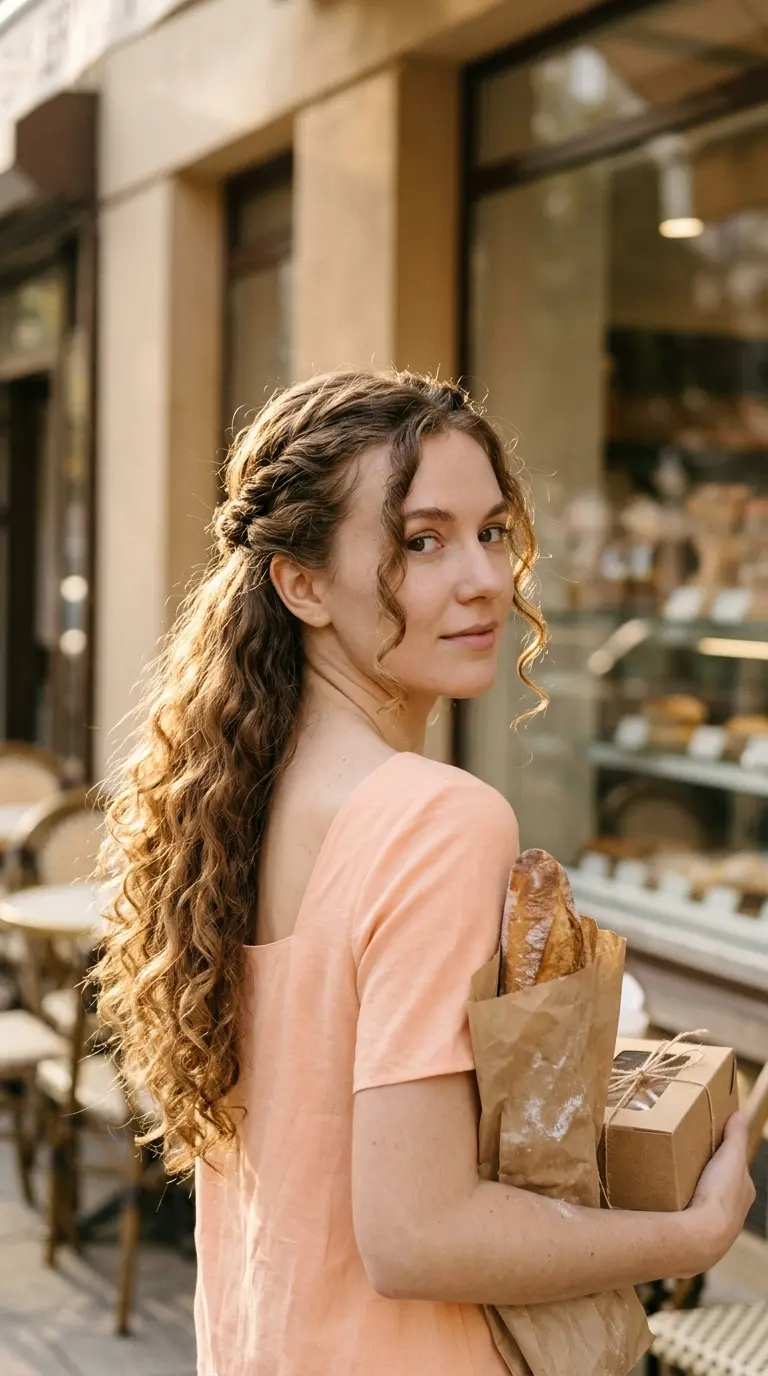
Twist both strands the same direction, then wrap them around each other the opposite way. That is the whole secret to a rope twist that does not unravel.
- Take a section from each temple and bring them to the back of your head.
- Split the joined section into two strands.
- Twist each strand to the right, then cross them over each other to the left.
- Tie it off with a small clear elastic and leave the tail curly.
It looks tidier than a half up knot and gives the back of your hair a detail people notice.
28. Curly Faux Hawk With Pinned Sides
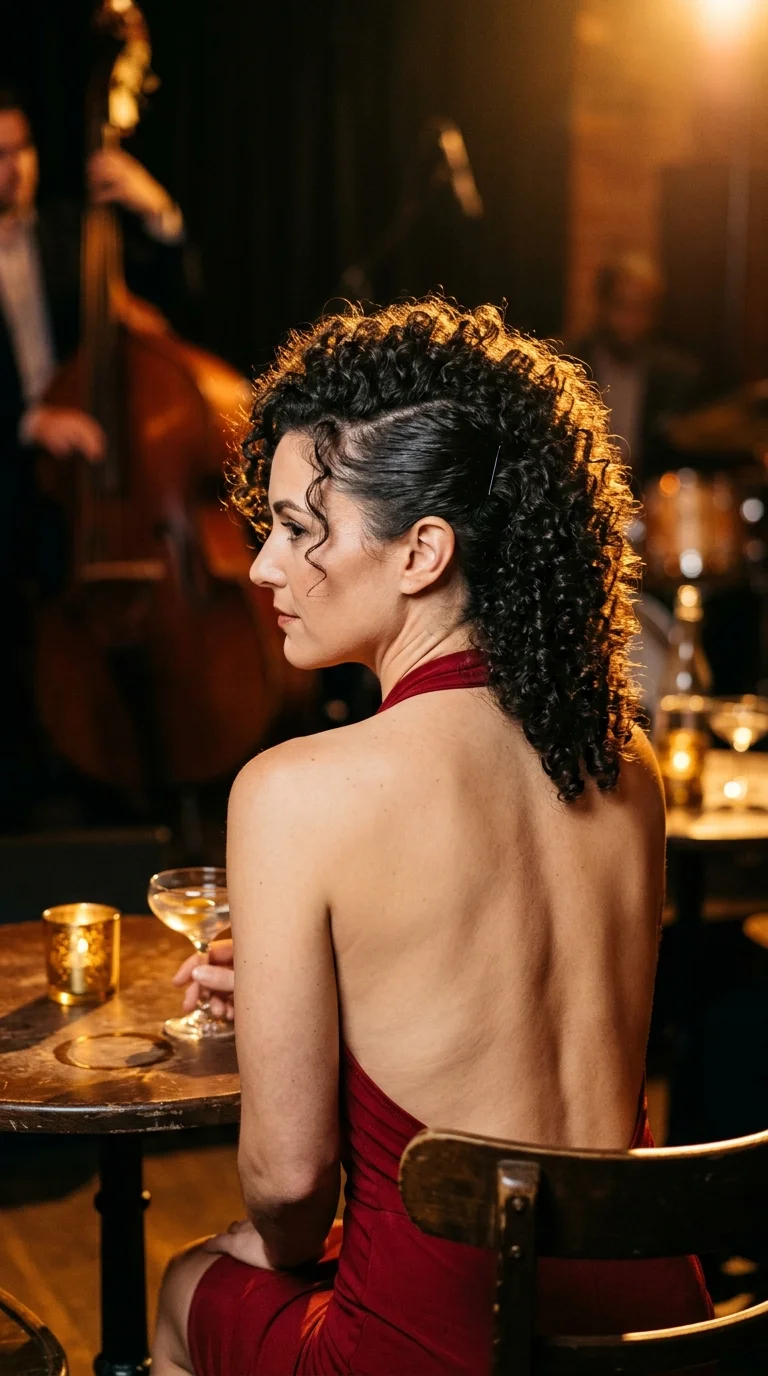
Two flat pinned sides and a strip of big curls running down the middle. It looks bold, but it hides frizzy sides better than almost anything.
- Smooth a little gel onto the sides with your palms.
- Twist each side back toward the center and pin it flat.
- Keep pinning in a line down the back of your head.
- Fluff the center curls up and forward.
Bobby pins that match your hair color disappear into curls. Gold pins work if you want them to show.
Good for concerts, parties, and any day the sides of your hair will not behave.
29. Long Air Dried Curls With a Center Part

Air drying fails most often for one reason: touching. Every time your fingers go into drying curls, the clumps break apart and frizz moves in.
Here is the low effort routine:
- Apply leave in and gel on soaking wet hair.
- Make a clean center part with the tail of a comb while hair is wet.
- Plop your hair in a cotton tee for ten to twenty minutes.
- Keep your hands off until it is fully dry.
Then scrunch out the gel cast.
A center part on long curls looks calm and balanced. It shows the curl pattern evenly on both sides, so neither side looks heavier.
30. Curly Bob With a Hidden Nape Undercut

Very thick curls can make even a short bob feel like a helmet, especially in summer. A hidden nape undercut takes out bulk where nobody sees it.
Your stylist shaves or clips a small section at the nape, under the top layer. With your hair down, the bob looks completely normal from every side. Pull it up, and the short strip shows.
Good to know:
- It cuts down drying time
- The undercut needs a quick clean up every few weeks
- Growing it out takes patience, so think it over first
Thick, heavy curls get the most out of this one.
Curly hair gets easier the moment you stop asking it to act straight. A cut that respects shrinkage, a little gel on wet hair, and fewer hands in it while it dries will fix more frizz than any new product.
Start with one style from this list. Pick the one that fits your curl length right now, not the length you wish you had. Give it a couple of wash days before you judge it, because curls often settle in after the first try.
These hairstyles for curly hair work with your texture, so mornings feel shorter and a lot less like a fight.
Save this list to your Pinterest board so it is ready the next time your curls need a new plan.