
At the end of a long braiding appointment, your braider shakes the last curly strand loose and you see the whole thing move at once. Soft waves everywhere. Braids swinging past your shoulders. Suddenly you want to book a beach trip you cannot afford.
That feeling is why bora bora braids have filled up so many boards lately. They are knotless braids with loose, wavy curls left out along the length, so the finished look sits between neat braids and a bouncy curly blowout. It’s beachy and a little messy, but the parts still look polished.
The tricky part is choosing. Length, curl amount, color, and braid size all change the final look more than most people expect, and a photo on your phone rarely tells you which details matter.
Below are 20 versions worth showing your braider. Each one comes with notes on what makes it work, how to wear it, and how to keep those curls soft past the first week.
1. Classic Waist Length Bora Bora Braids With Curls All the Way Down
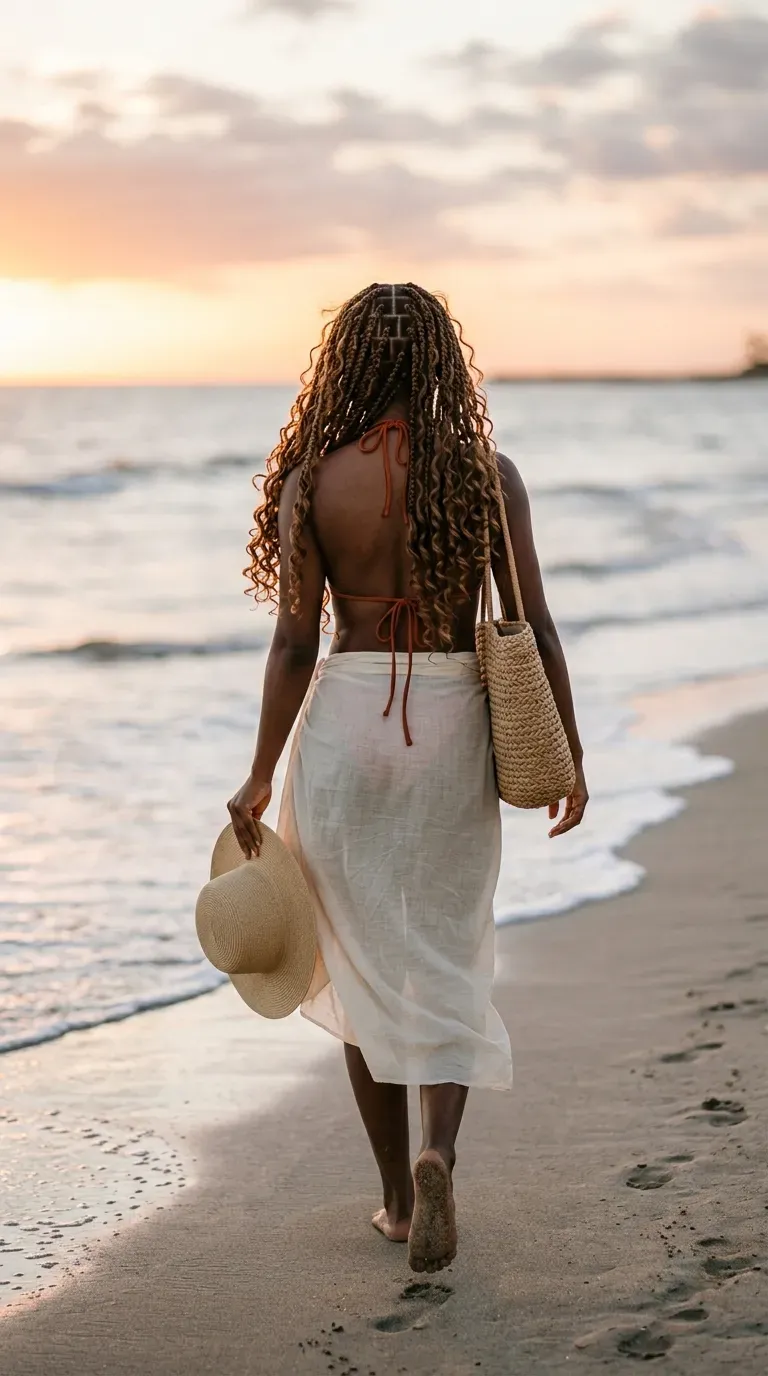
Waist length is the version most people save first, and it makes sense. The extra length gives every curl room to fall and swing, so the whole head looks full even with medium sized braids.
What to ask your braider for:
- Medium knotless parts, roughly the width of your fingertip
- Curls added to every braid, not every other one
- A few extra loose curls left hanging at the very ends
Quick tip: bring a reference photo taken from behind. Front facing photos hide how thick the curls really look down your back.
2. A Shoulder Grazing Boho Bob for Hot, Sticky Days
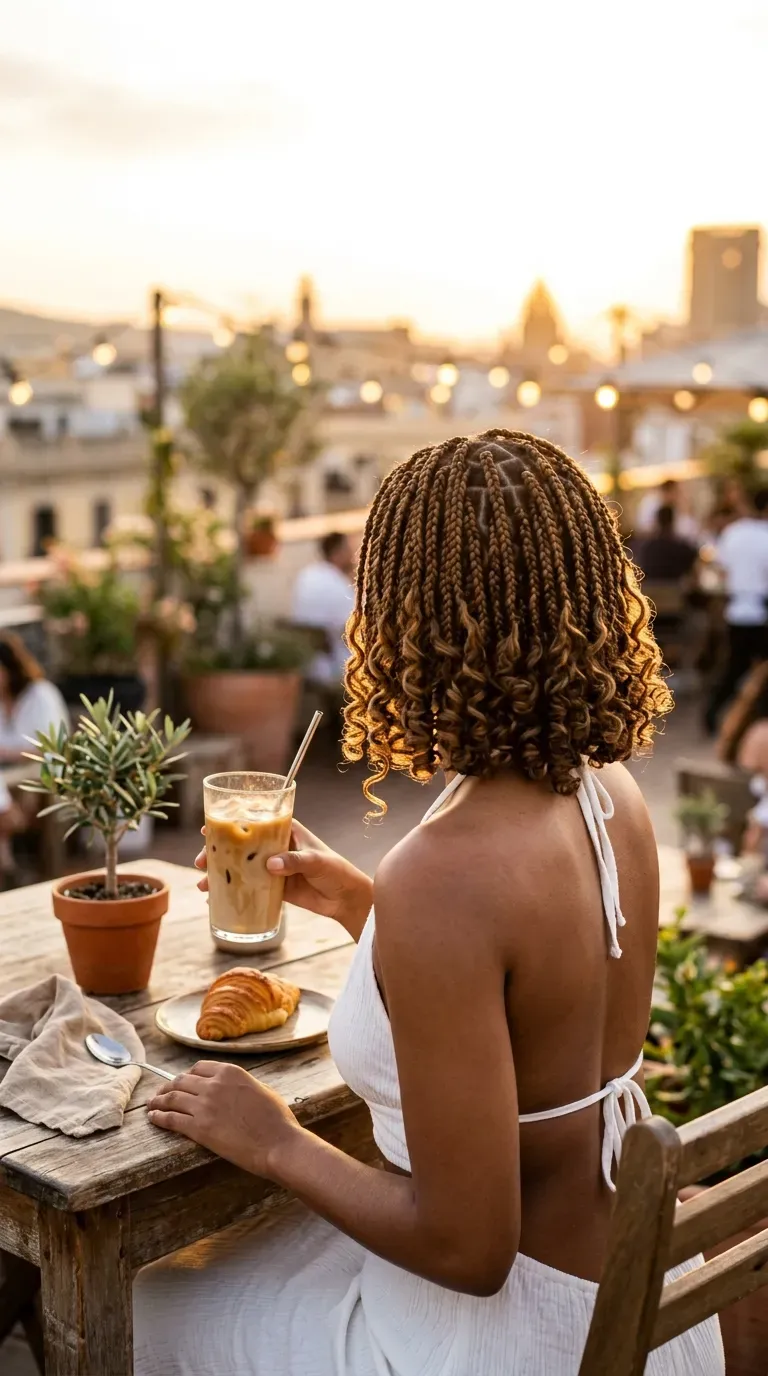
Long braids get heavy. On a humid afternoon, all that weight on your neck feels like a wool scarf you cannot take off.
A bob version fixes it. The braids stop around the jaw or shoulders, and the curls gather near your face instead of trailing down your back.
Why people love it:
- Less pull on the scalp, which matters if your edges are tender
- A shorter appointment than long styles
- Curls stay springy longer since they rub against fewer things, like bag straps and seat backs
Best for anyone who wants the look without giving up a whole Saturday.
3. Honey Blonde Peekaboo Curls Hiding Underneath
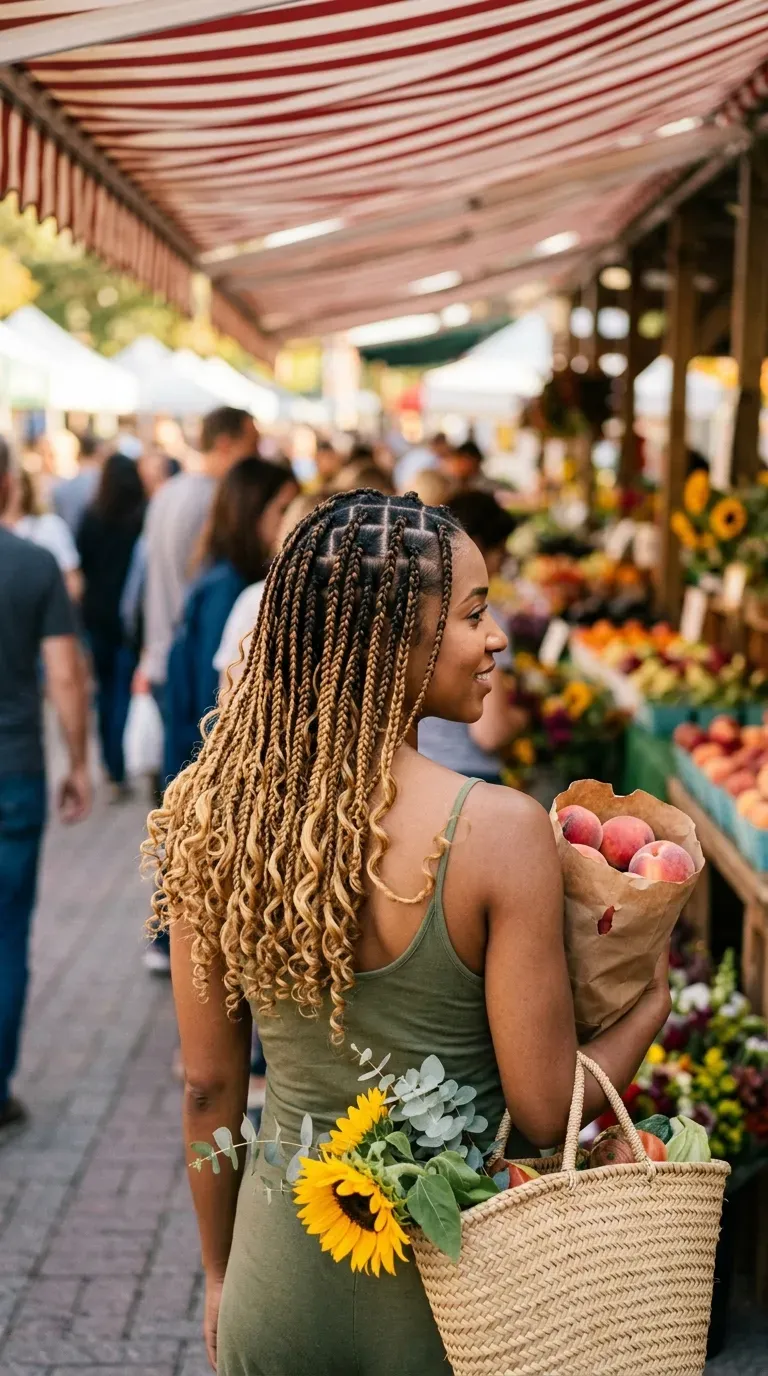
The trick here sits underneath. Dark braids cover the top layer, and honey blonde braids and curls fill the bottom rows, so the color only flashes when you move, turn, or tie your hair back.
Getting the placement right:
- Keep the first two rows at the nape fully blonde.
- Mix blonde and dark in the third row so the change looks soft.
- Leave everything above the ears in your darker shade.
One warning: blonde curls often show frizz sooner than dark ones. A light mousse every few days keeps them from looking dry.
4. Half Up Top Knot With Curly Tails Falling Free
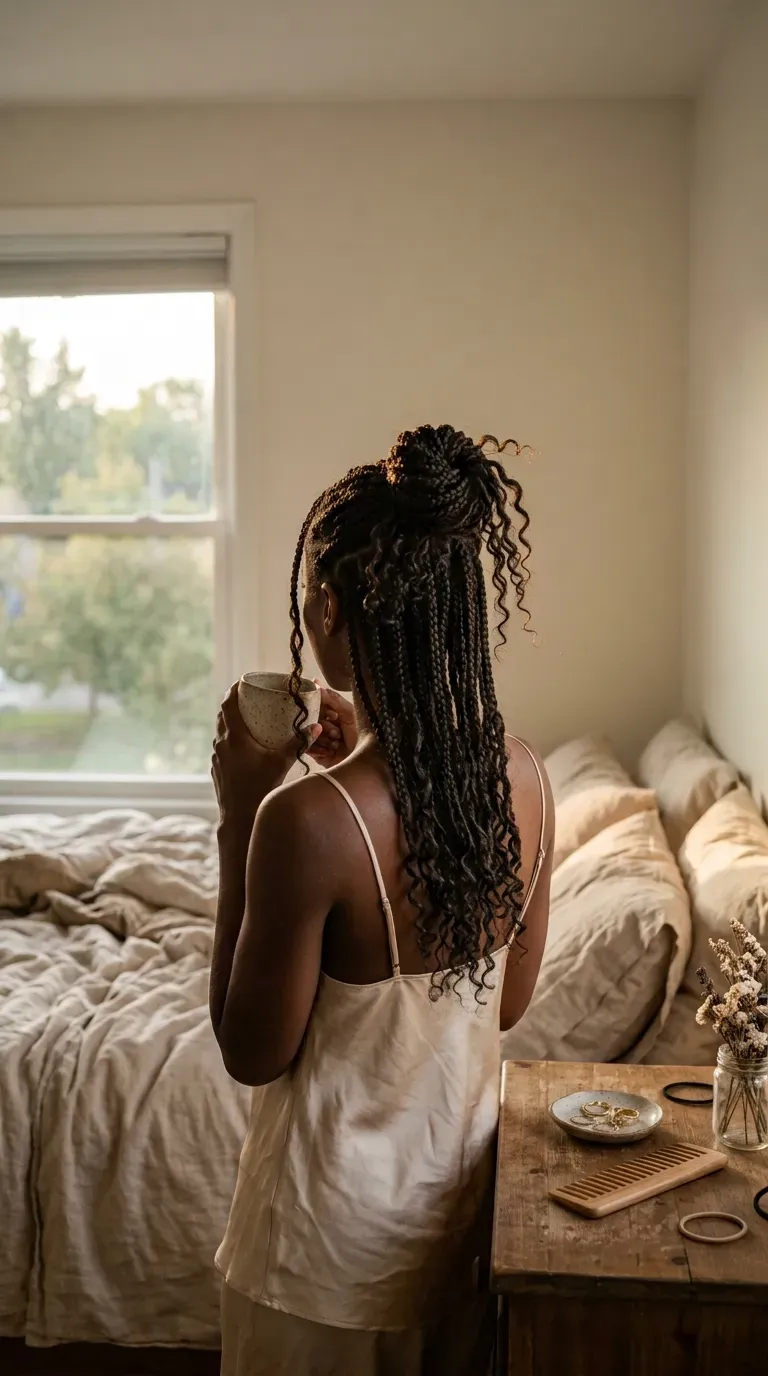
Gather the braids from your temples back toward the crown. Leave everything below your ears hanging down.
- Twist the gathered section into a loose knot at the top of your head.
- Secure it by wrapping one braid around the base instead of using a tight band.
- Pull the curly ends out of the knot so they spill over like a small fountain.
- Fluff the curls around your face with damp fingers.
It only takes a few minutes once your hands learn the motion. This works best on second week braids, when the front parts have softened and you want a little lift.
5. Gold Cuffs and Tiny Shell Charms Scattered Through
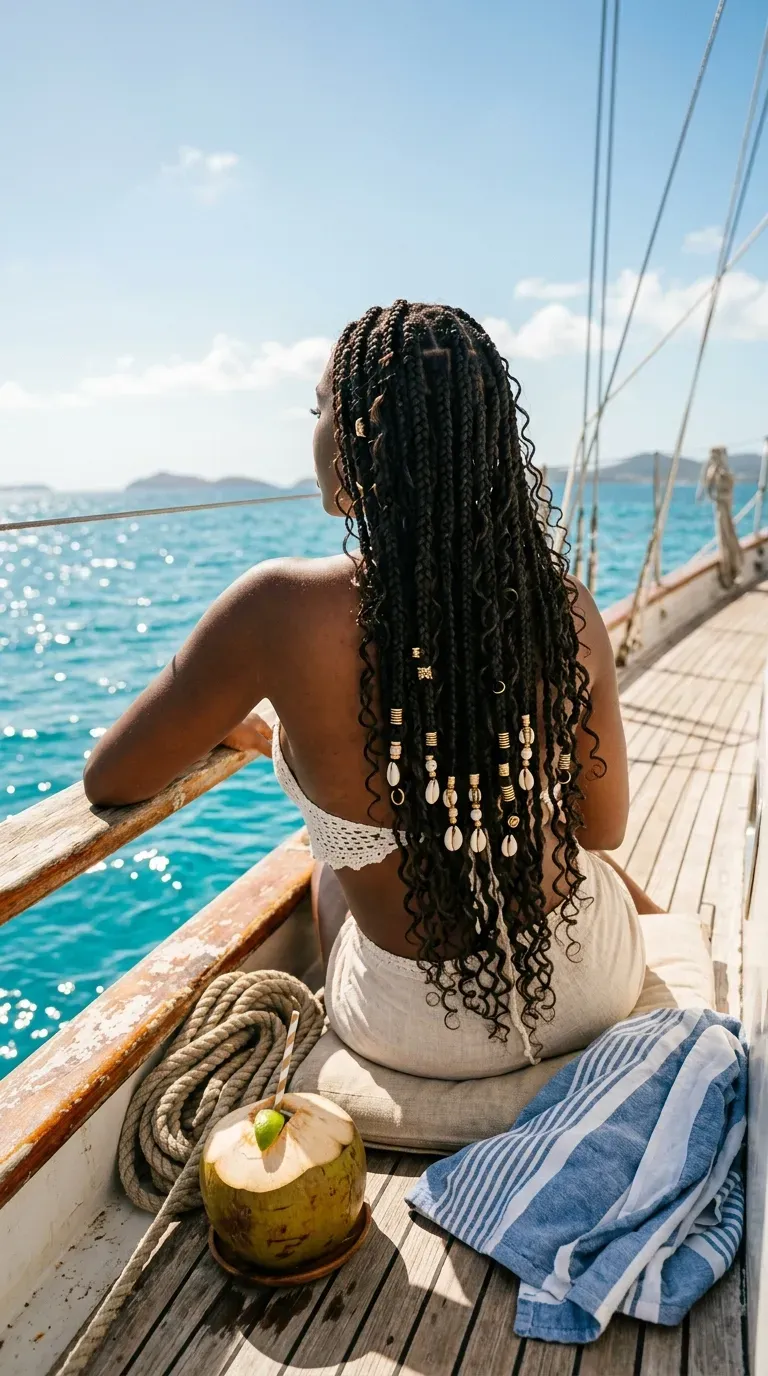
Here is the rule worth remembering: keep your accessories to one zone.
Shells and cuffs look intentional when they cluster in one place and random when they are sprinkled everywhere. Pick one of these:
- Around the face: three or four cuffs on the front braids only
- At the ends: shells threaded just above the curly tips, so they click softly when you walk
- One statement braid: a single braid wrapped in gold thread near your ear
Slide cuffs on with the opening facing your scalp. That way they do not snag the curls every time you run your fingers through.
6. Jumbo Bora Bora Braids for a Faster Install
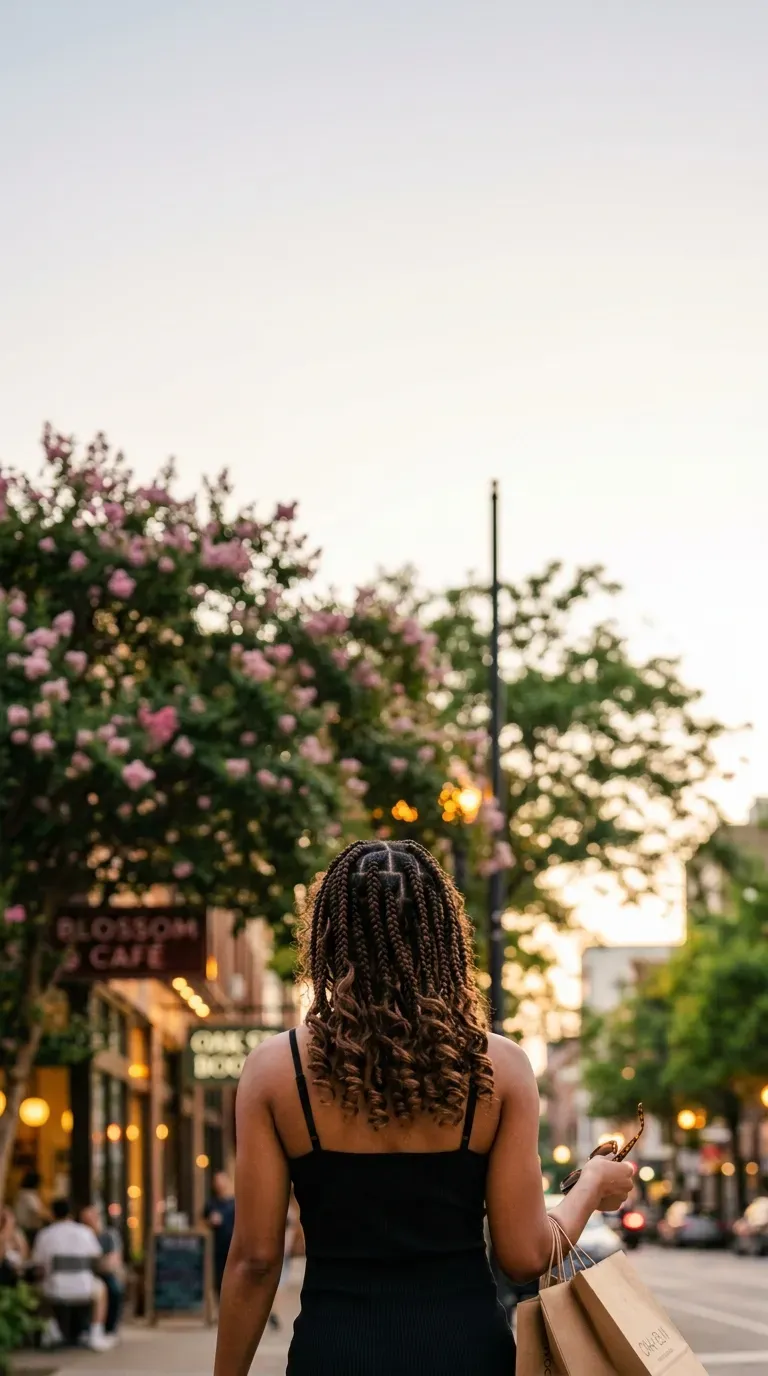
Bigger braids mean fewer braids, and fewer braids mean less time sitting still. That alone wins over a lot of people.
The look changes too. Jumbo parts give you bold, chunky braids with curls that bunch together in clusters. Smaller parts spread the curls evenly, so the whole head reads as one soft cloud.
Quick tip: jumbo braids can feel heavy on day one, so ask for light, fluffy curl hair instead of thick bundles. Your neck will notice the difference.
| Jumbo Braids | Small Braids |
|---|---|
| Chair time: shorter | Chair time: much longer |
| Look: bold and chunky | Look: soft and full |
| Curls: grouped in clusters | Curls: spread all over |
| Lifespan: usually shorter | Lifespan: usually longer |
7. Small Braids Packed With Extra Curls for Big Volume
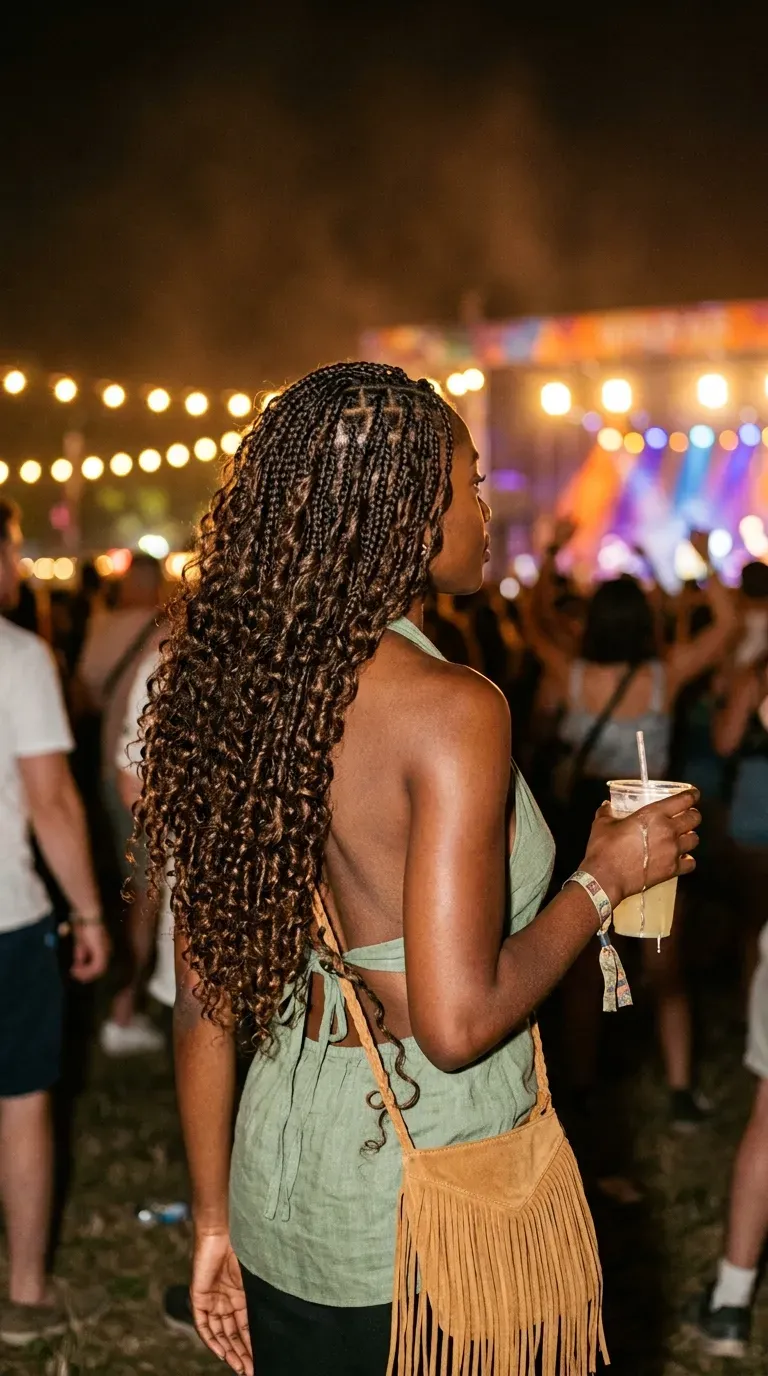
I have noticed that the photos people save most are the ones where you can barely see the braids. Just curls everywhere, with braids peeking through.
That look comes from small parts and a generous amount of curl hair working together.
Ask for:
- Small knotless parts
- Two curly pieces in each braid instead of one
- Extra curls near the hairline so the front matches the back
Fair warning: this version takes the longest to install and the most care to keep untangled. The payoff is volume that photographs like a full head of natural curls.
8. Copper Ombre That Fades Lighter Toward the Ends
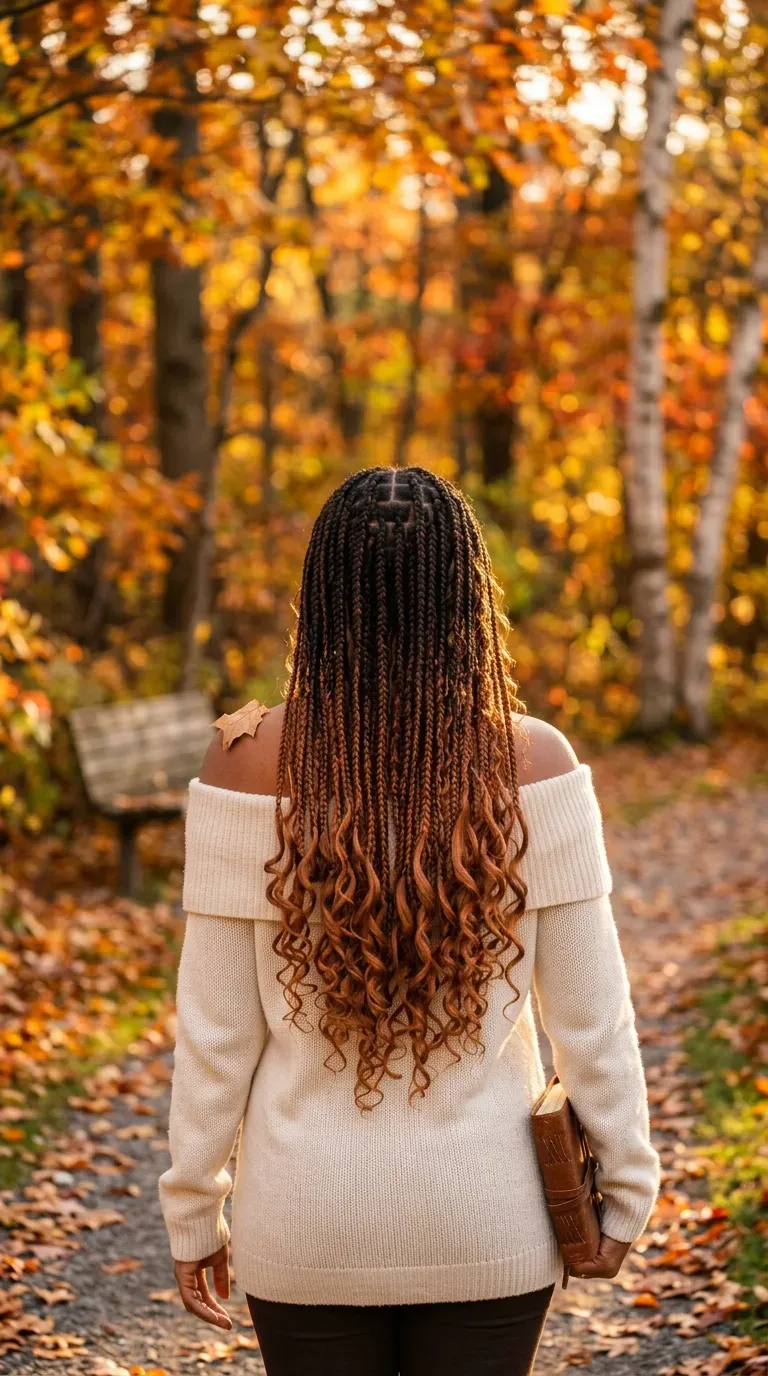
The most common ombre mistake is a hard line. Dark braids that suddenly switch to bright copper halfway down look like two different hairstyles stacked together.
A smooth fade needs the braider to blend colors inside each braid, starting the lighter shade a few inches before the full switch.
Shade pairings that blend well:
- Soft black into warm copper
- Dark brown into auburn
- Chocolate brown into ginger
Match the loose curls to the ending shade, not the root. Otherwise the curls look darker than the braid they sit on.
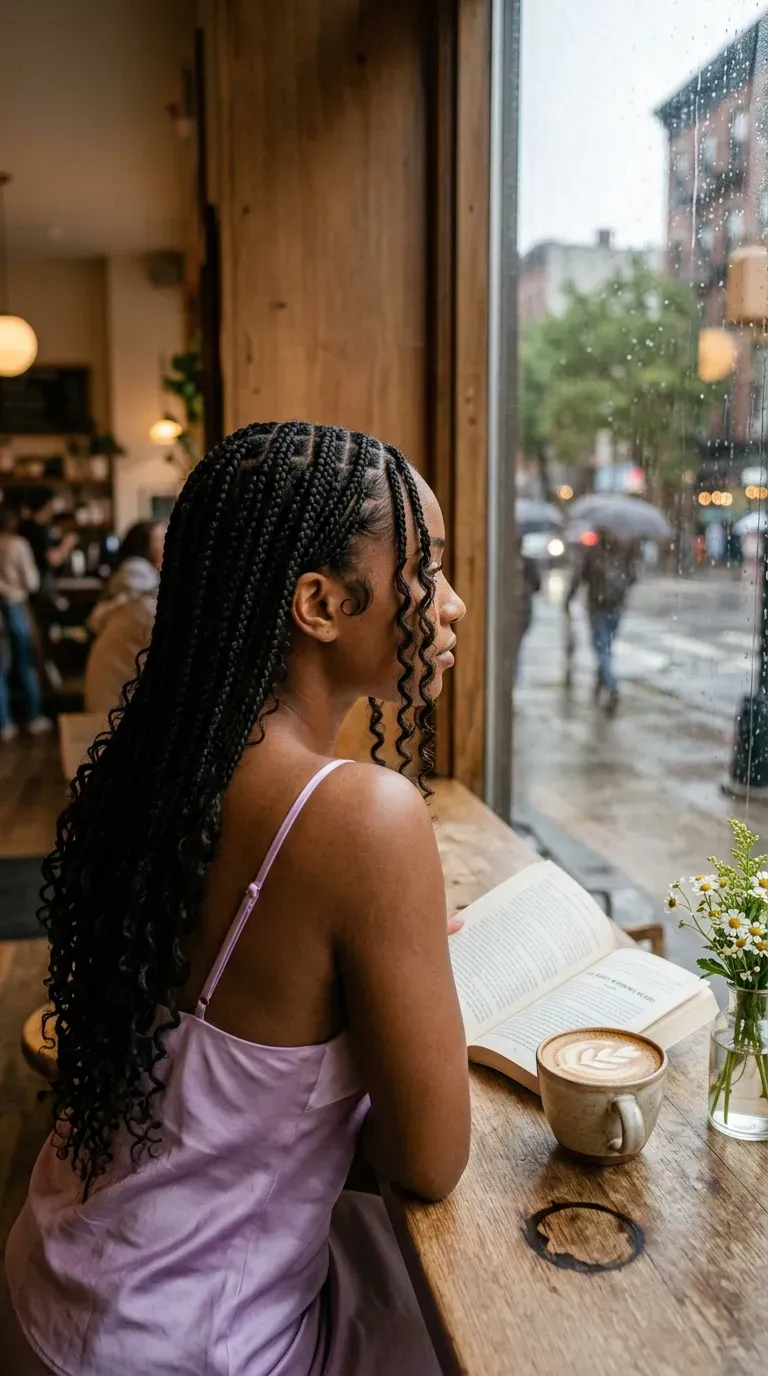
9. Middle Part With Curtain Curls Framing Your Face
Monday morning, five minutes before you leave, and the mirror shows braids that look a little flat at the front. Curtain curls fix that.
Ask your braider to leave a few extra loose curls along both sides of a center part. They fall around your cheekbones and soften the whole look, even on days you do nothing else.
To refresh them, mist with water, add a pea size dab of curl cream, and twist each section around your finger.
They frame round and oval faces especially well.
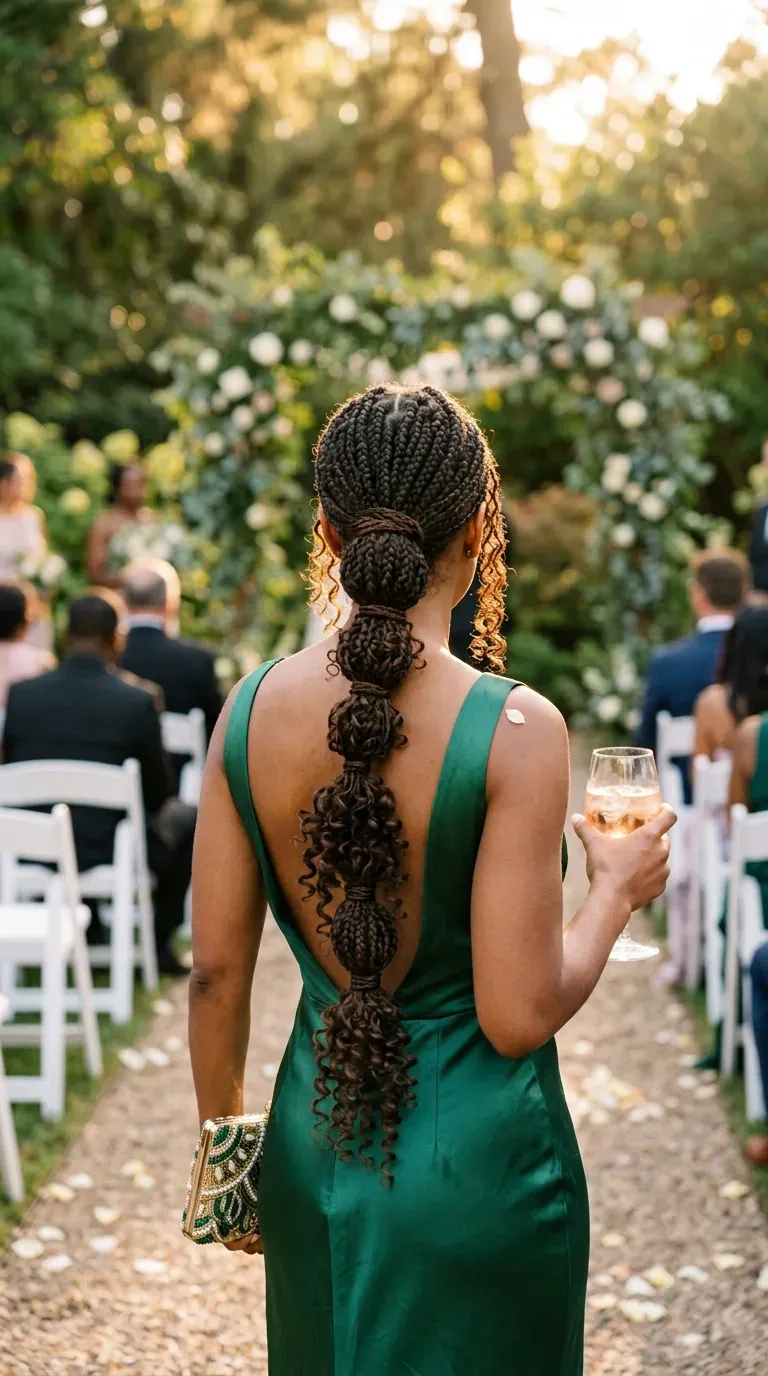
10. Low Bubble Ponytail Wrapped With Braided Bands
A lot of people think ponytails and braids do not mix because the weight pulls on the edges. That mostly happens when the ponytail sits high and tight.
Keep it low and loose, and it holds up fine:
- Gather the braids at the nape, not the crown.
- Tie with a soft scrunchie, then wrap one braid around it to hide it.
- Add two or three more wraps down the length, about a hand apart, and gently puff out each section.
Curls pop out of every bubble, which looks lovely at weddings and dinners.
Tie at the nape so the braids hang with their own weight.
Use a soft scrunchie or a wrapped braid as the band.
Wearing it high and snug from morning to night.
Thin rubber bands that grab and tear the curls.
11. Deep Side Part for an Instant Dressed Up Look
Center parts can start to feel the same after a couple of weeks. You still love the braids, you are just bored of seeing them.
A deep side part changes the shape without touching the install. Ask for the part to be set a few inches off center during braiding, so it lies flat instead of fighting you later.
Then flip most of the braids to one side. The heavy side gets fuller curls, and the light side shows off your ear and jawline.
Small styling detail: one big gold hoop on the open side finishes the look.
12. Burgundy Wine Braids With Soft Dark Roots
Burgundy shows up best in low light, which surprised me the first time I saw it in person. Indoors it reads almost black, then a candle or sunset hits it and the red comes alive.
What makes it work:
- Roots kept in a natural dark shade, so the color looks grown in
- Burgundy blended through the length instead of one flat color
- Curls in a slightly lighter wine shade so they catch the light
Darker months suit it best, especially for holiday dinners and cozy fall photos.
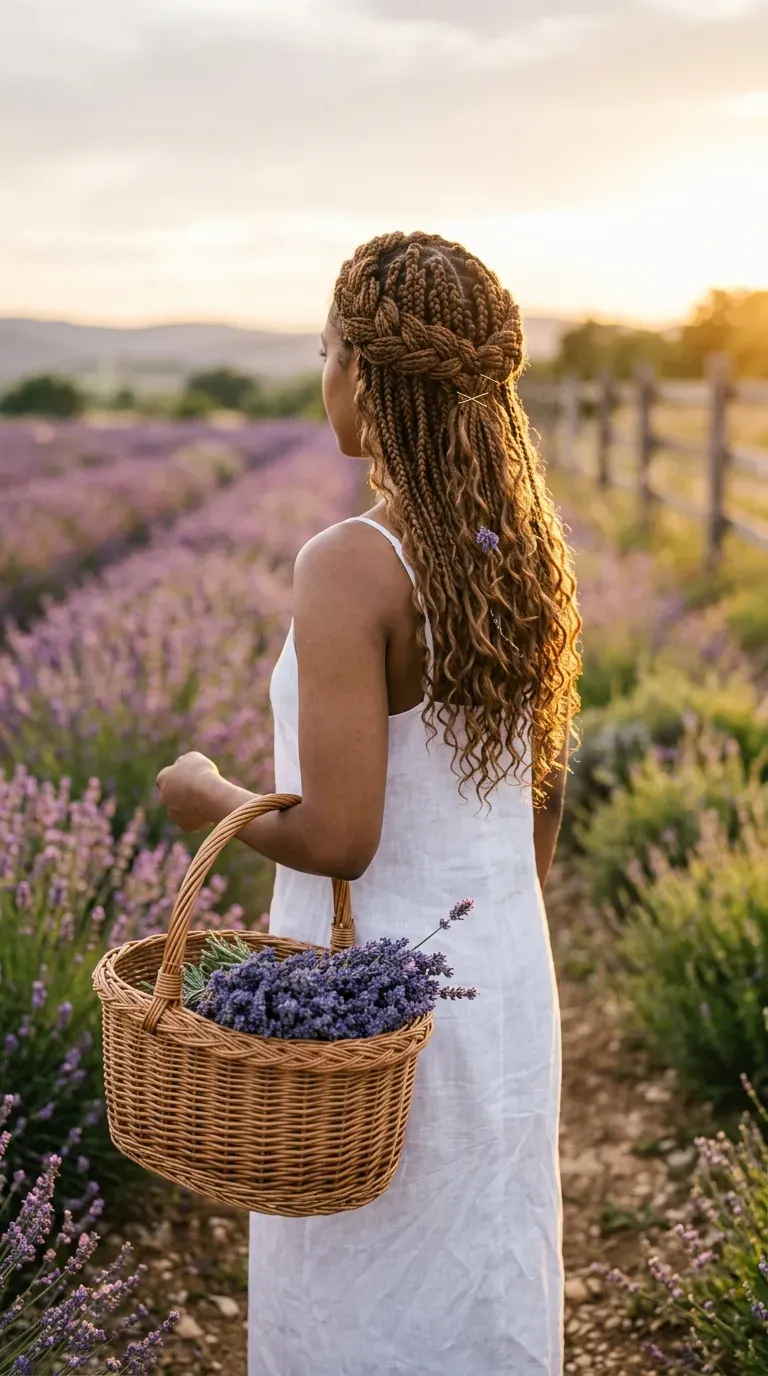
13. Braided Crown Halo With Curls Hanging Below
Week three is usually when braids start to feel heavy and the curls lose some bounce. A halo fixes both in one go.
- Take four or five braids from each side of your face.
- Cross them over the top of your head like a headband.
- Pin the ends at the back with bobby pins in your braid color.
Everything else hangs free, so the curls still show down your back. Gold pins look pretty here if you want them to be seen.
Week three braids hanging heavy on your neck, fuzzy parts at the front, and curls pressed flat from sleeping.
Front braids lifted into a halo that hides the fuzz, weight off your neck, and curls fluffed back up with water and mousse.
14. Layered V Cut Shape for Extra Swing
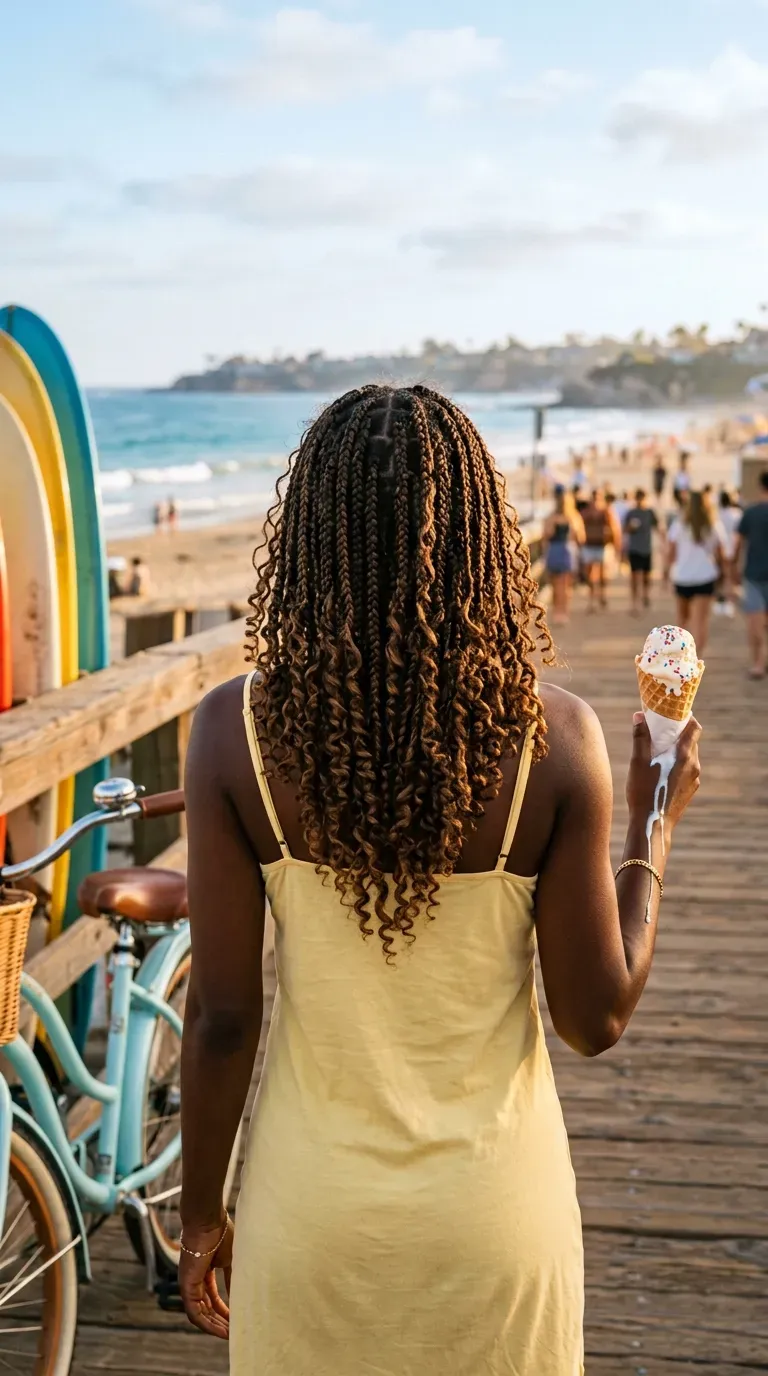
Layers give braids movement that one even length cannot. When you turn your head, the shorter pieces flip first and the long ones follow a beat later.
For the V shape, the braids get shorter toward the sides and longer through the center back. Your braider can cut it at the end, or plan each length while braiding, which usually looks cleaner.
Quick tip: synthetic braid ends are often sealed in hot water. Human hair curls should not be dipped, so keep them pulled out of the way during that step.
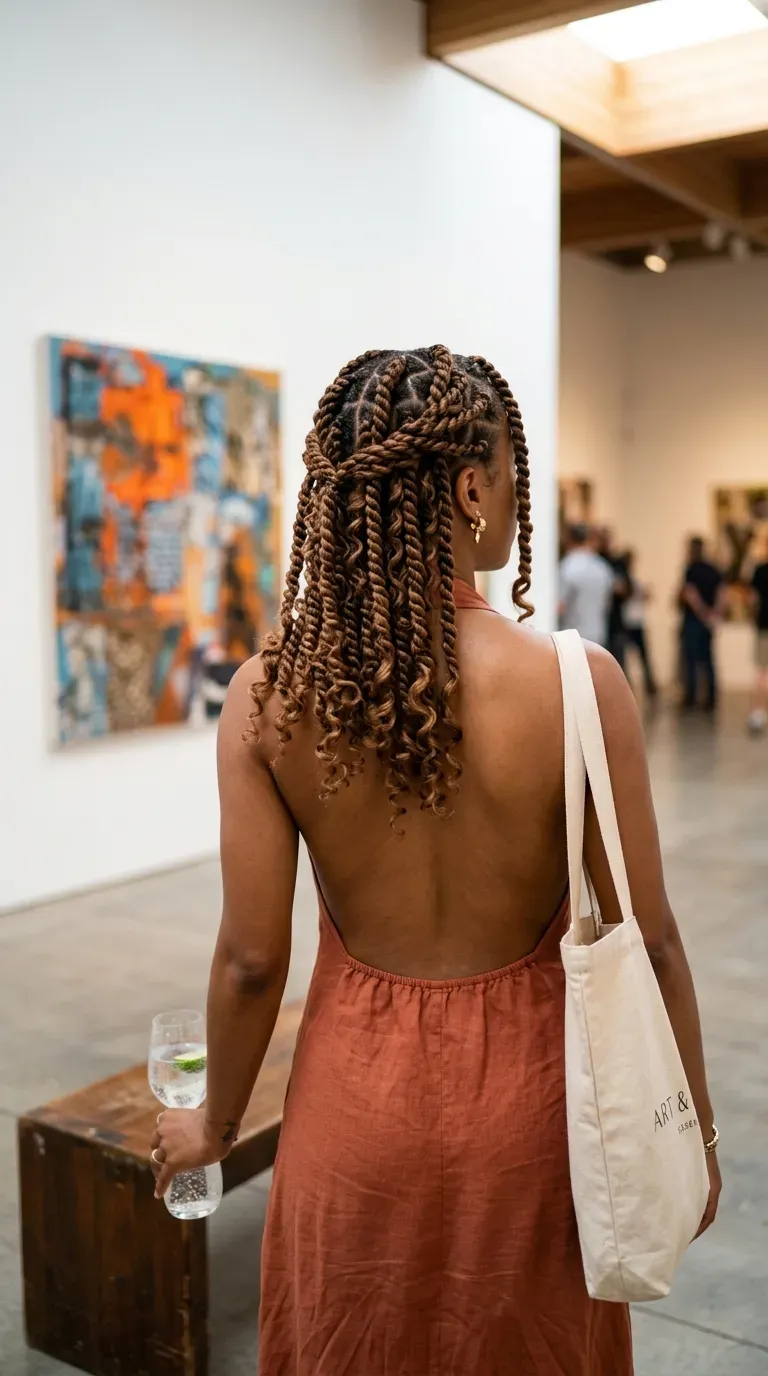
15. Two Strand Twist Version With the Same Loose Curls
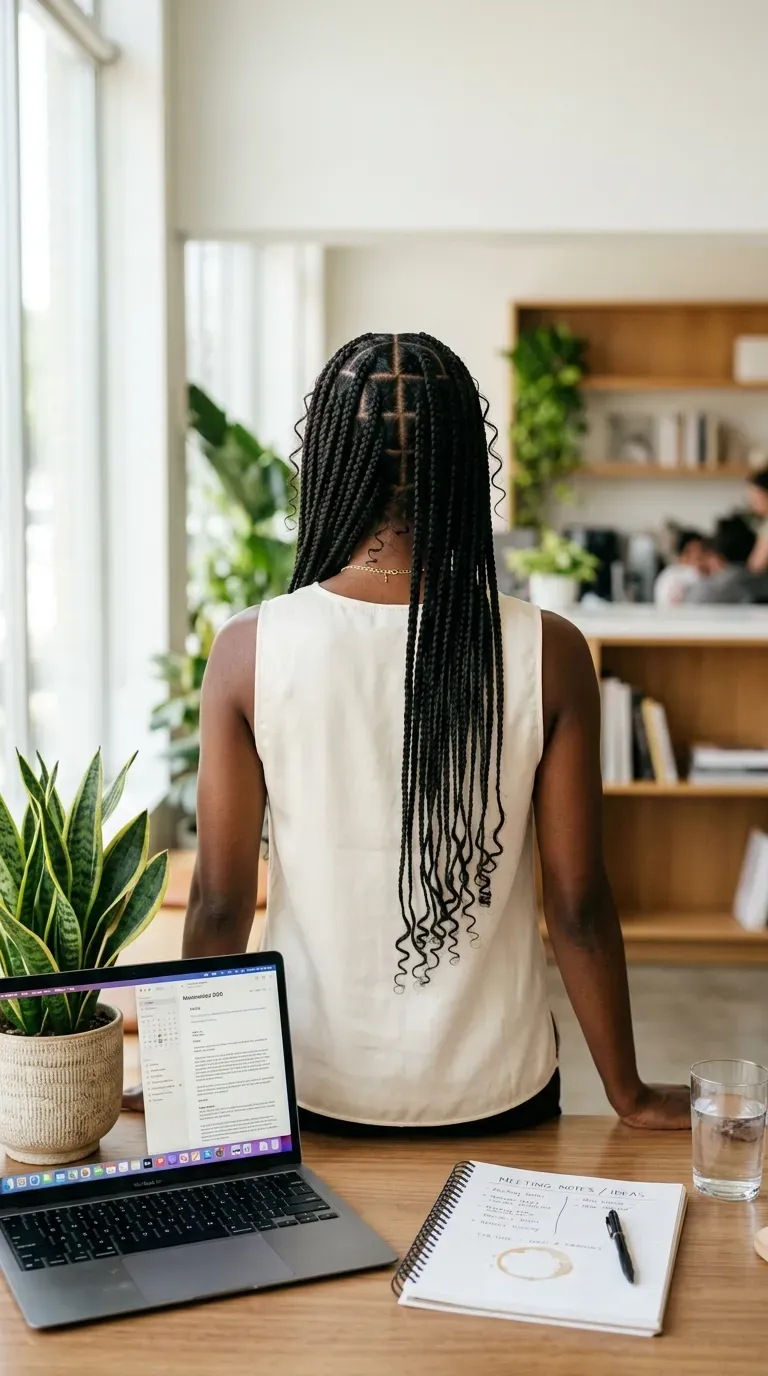
Twists give you the same beachy curls with a softer, rope like texture. Some people prefer them because the finish looks more relaxed and a little less uniform.
How they differ:
- Twists usually install quicker than braids of the same size
- Braids tend to hold their shape longer
- Twists can loosen at the ends if the hair is slippery
If your scalp gets sore during long appointments, twists are worth asking about first.
16. Fewer Curls for a Neater Office Look
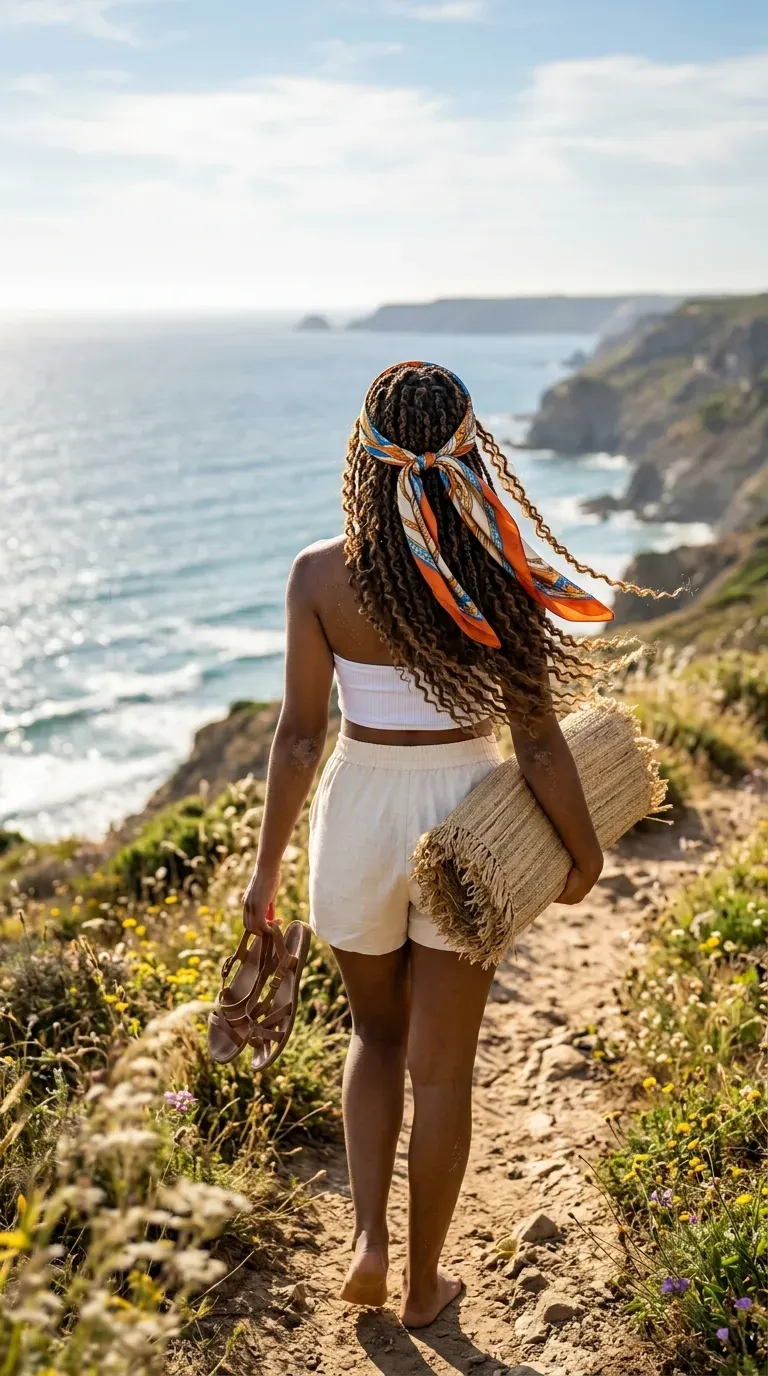
Full curls look great on vacation and less great caught in your laptop hinge. I have watched people spend whole meetings picking strands out of a cardigan zipper.
A lighter curl amount keeps the style but cuts the fuss. Curls go mainly at the ends and around the face, while the braids stay clean down the middle.
It also tends to last longer, since fewer loose strands means fewer knots. Ask your braider for a light curl ratio and agree on the amount before the first braid goes in.
17. Silk Scarf Tied Like a Headband on Beach Days
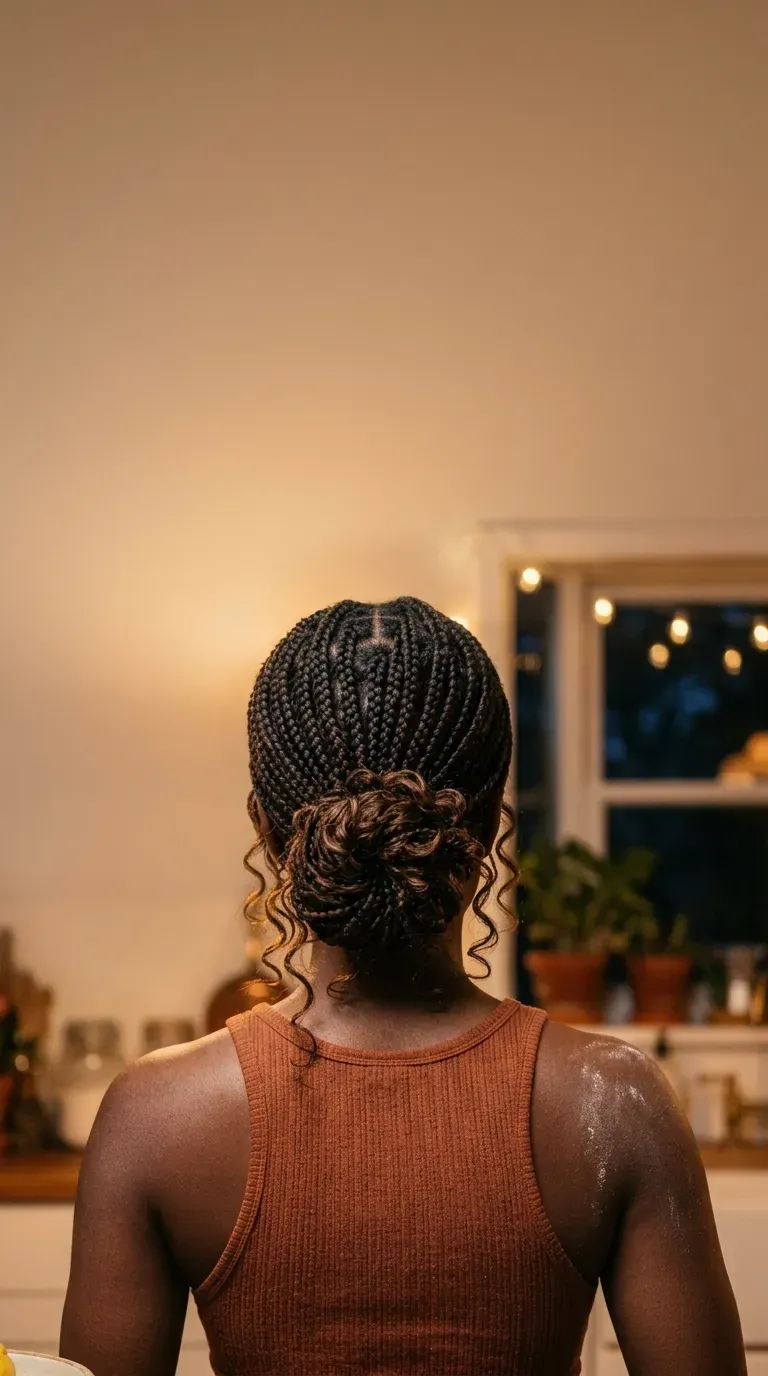
Wind off the water, sunscreen on your hands, and curls blowing straight into your lip gloss. Every beach trip has that moment.
A silk scarf tied as a headband keeps the front braids back while the rest hangs loose. Fold a square scarf into a long strip, lay it under your braids at the nape, and knot it on top just off center.
Silk matters here. Cotton grabs curls and leaves them fuzzy by lunch.
Bonus: the trailing scarf ends look lovely in back view photos.
18. Low Messy Bun With Curls Pulled Loose
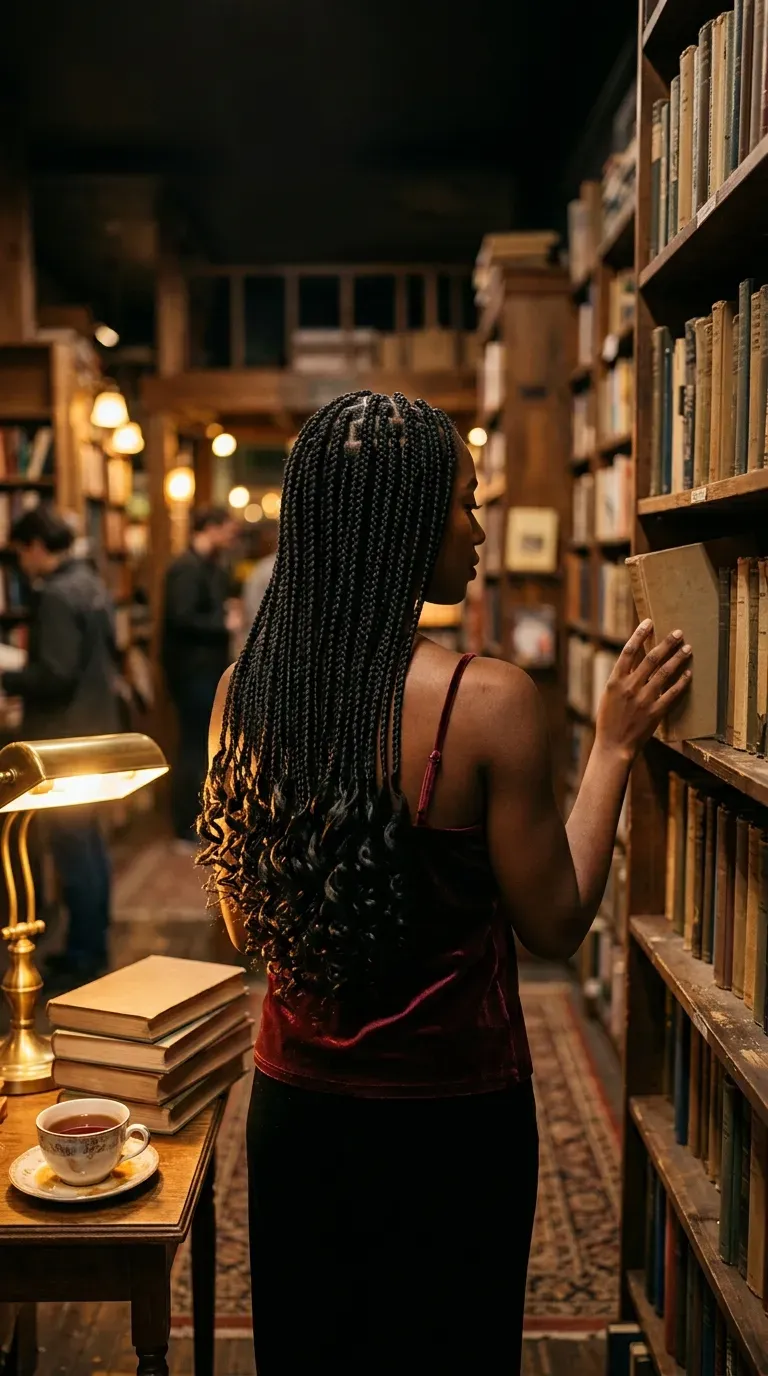
Cooking, cleaning, workouts: some days your braids just need to be out of the way.
- Gather all the braids low at the nape.
- Twist them loosely and coil them into a bun.
- Wrap the last braid around the base to hold it, or use one large claw clip.
- Pull a few curls out around the bun and at your neck.
The loose curls keep it from looking like a gym bun. Keep it soft, though. A tight bun pressed against a chair back all evening will flatten the curls you paid for.
19. Soft Black Braids With Glossy Natural Curls
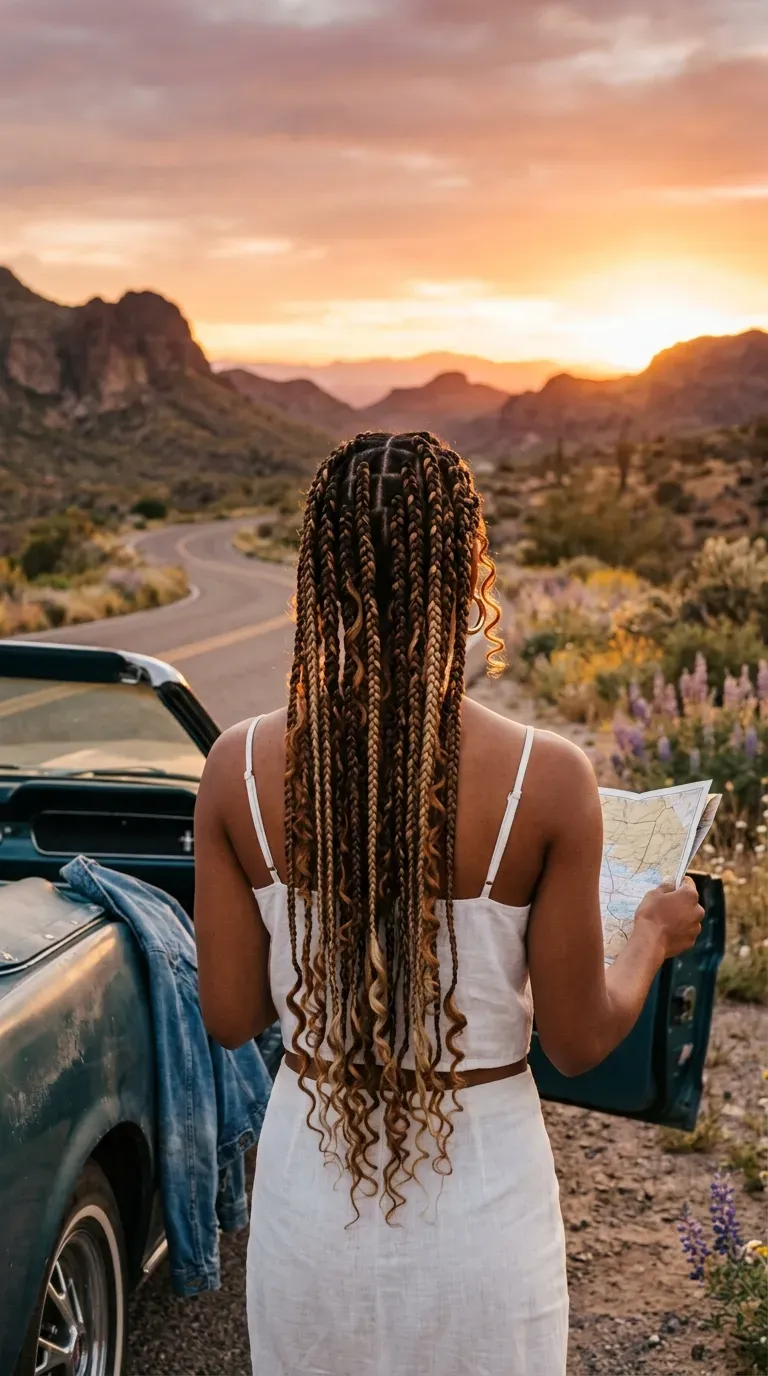
Some people skip black because they assume it will look plain next to all the highlights on their feed. It does not.
Natural black, often called 1B, shows off the curl pattern better than almost any color. Every wave catches the light, so the shine reads as texture instead of color.
Two habits keep it glossy:
- A light leave in spray instead of heavy oil, which collects lint
- A satin bonnet every night, no exceptions
It also blends into your own roots as they grow in, so the style looks fresh for longer.
Curls want water and slip, not oil. Mist them, add a little mousse or leave in, detangle with your fingers, and sleep in satin. Do that and the curls stay soft long after the braids start to age.
20. Three Tone Caramel Blend for Sunlit Dimension
Blending three shades gives braids a depth that one color cannot. In bright sun, the lightest strands light up first, so the hair looks sun kissed instead of dyed.
A blend that stays soft:
- Dark brown as the base, about half the braids
- Caramel mixed through the middle
- Honey blonde scattered near the face and ends
Ask for the curls in caramel and honey, not dark brown. Light curls against a darker base give you that glow you keep seeing in beach photos.
Your Next Braid Appointment Starts Here
The best part of bora bora braids is how much room they leave for you. Change the length, the curl amount, the color, or how you tie them up, and the same basic install feels brand new.
Pick one or two looks above to show your braider, and talk through the curl ratio before they start. That one conversation shapes the final style more than anything else.
Then look after those curls. Water, a little mousse, satin at night, and gentle fingers keep them soft for weeks.
Save this list to your braid board so it is ready the next time you book an appointment or want a fresh way to wear your braids.