
Most school morning hair battles are not really about hair. They are about the clock. The cereal is going soggy, someone cannot find her left shoe, and the bus comes in eleven minutes whether the braid is finished or not.
The usual advice makes it harder. Tutorials show a calm kid sitting still for twenty minutes in perfect lighting. Real mornings come with a wiggly seven year old, a knot at the nape, and a parent holding a hair tie between their teeth.
So this list sticks to easy school hairstyles for girls that actually fit into a weekday. Most take under five minutes. A few take ten but last two days, which pays you back by Thursday. Every style here keeps hair out of her eyes during reading time, holds up through recess, and goes easy on a tender scalp.
Keep a brush, a spray bottle of water, and a cup of soft elastics by the front door. Older girls can learn several of these on their own, and that is the real win.
1. Low Ponytail With a Hair Wrapped Base
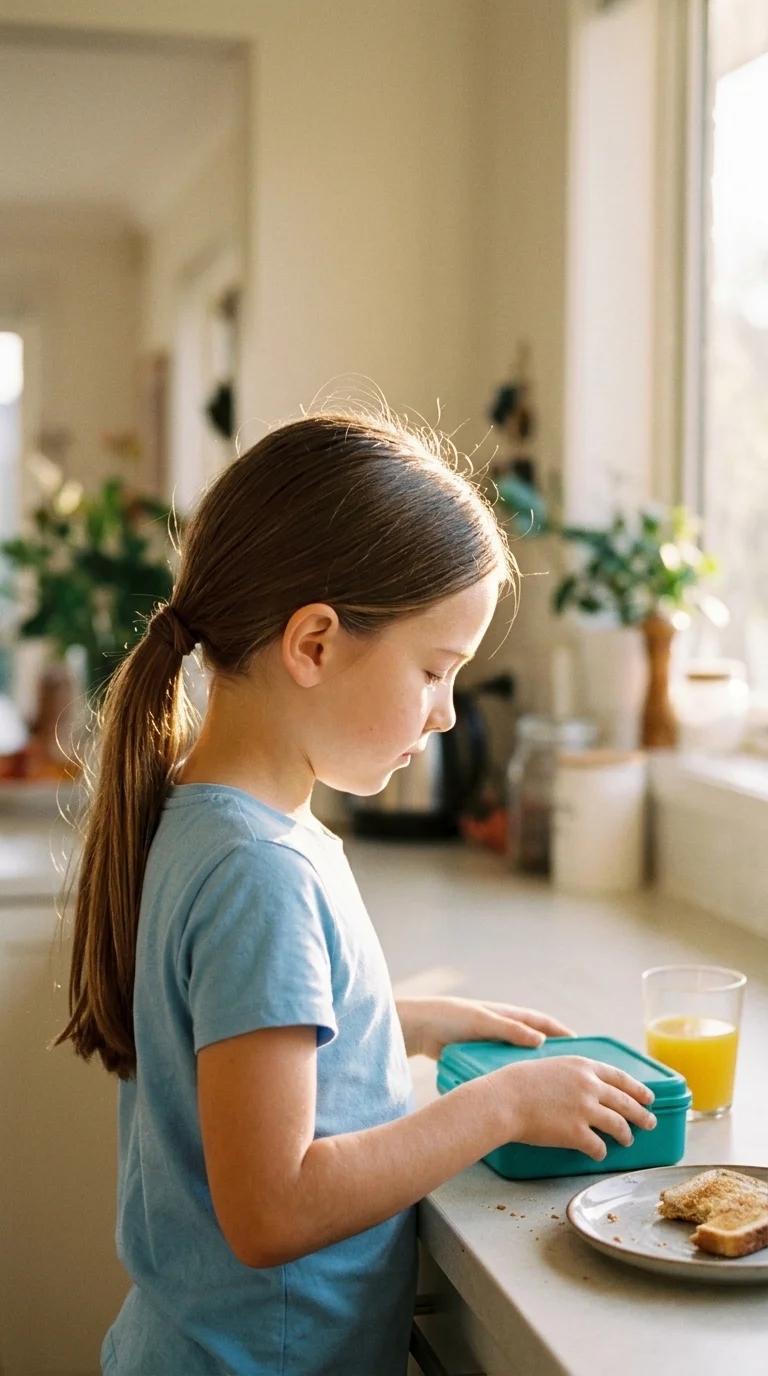
Five minutes before the bus, this is the style to reach for. It looks finished even though it is only a ponytail.
- Brush the hair back and tie a low ponytail at the nape with a soft elastic.
- Pull a thin strand from the underside of the ponytail.
- Wrap that strand around the elastic until it is hidden.
- Tuck the end under and push a small bobby pin up into the wrap.
The wrap does more than look tidy. It stops the elastic from sliding down during the day, so the ponytail still sits at the nape by pickup.
Quick tip: dampen the wrapping strand first. Dry strands slip, damp ones grip.
2. Half Up Topknot That Keeps Bangs Out of Her Eyes
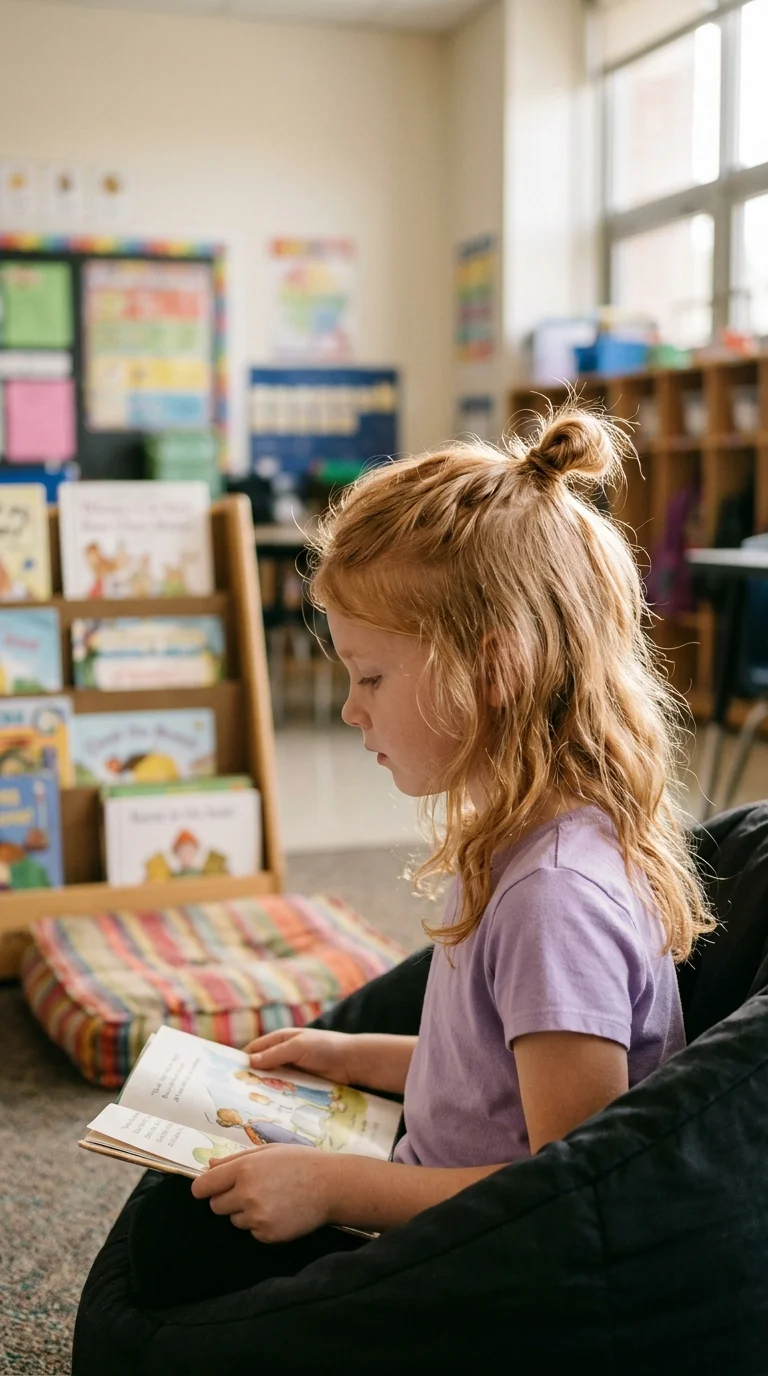
Growing out bangs at school is a daily fight. They fall into her eyes during the spelling test, and she pushes them back with a glue covered hand.
A half up topknot solves it without clips that pop off. Gather the front and top section from temple to temple, twist it, and wrap it into a small bun at the crown. Secure it with one elastic. The rest of the hair stays down and covers the neck, which kids with sensitive skin often prefer.
- Works on chin length hair and longer.
- Leave the very shortest bang pieces out if they will not reach.
- A mini scrunchie hides a lumpy bun.
Best for the girl who hates having all her hair pulled up.
3. Low Pigtails Tied With Ribbon
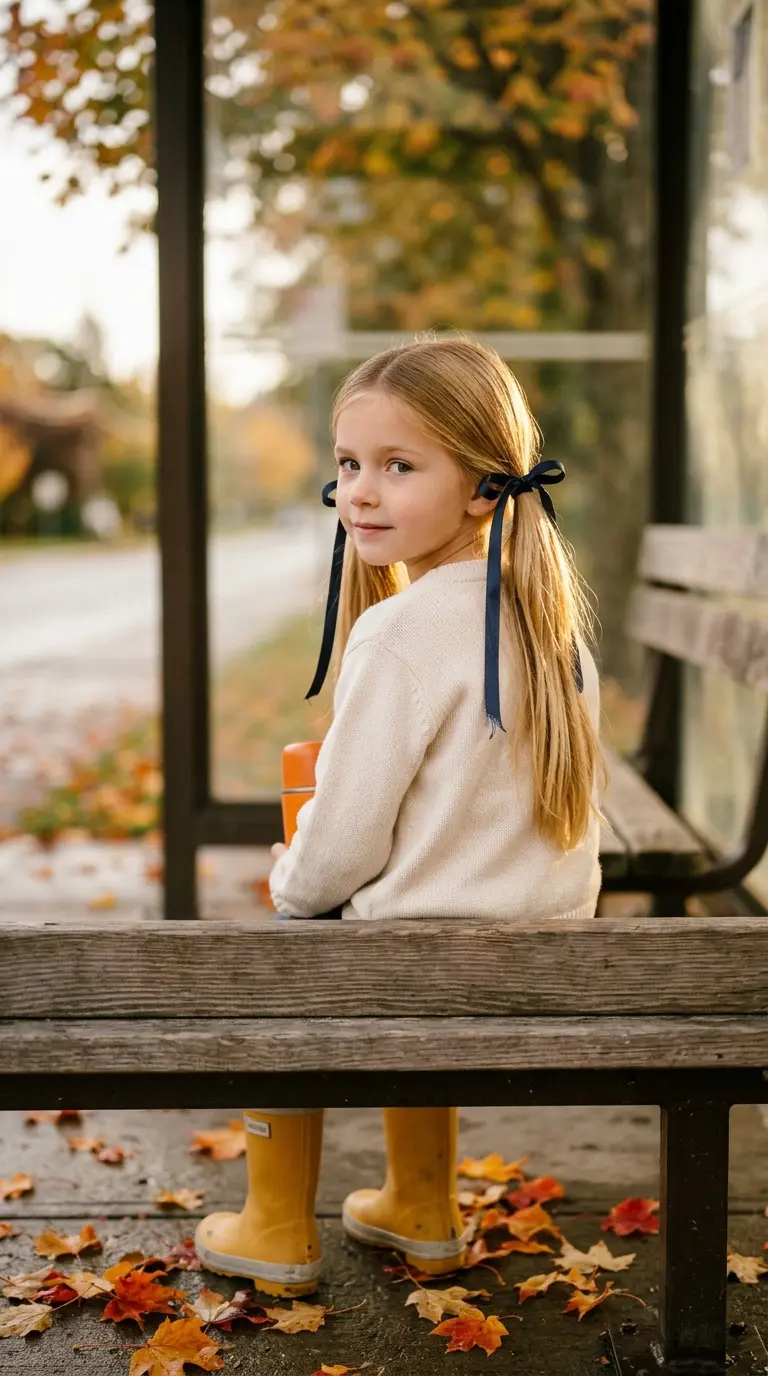
Two neat pigtails sitting just behind the ears, a center part as straight as a ruler, and a thin satin ribbon knotted at each elastic. That little ribbon is what makes other parents ask who did her hair.
Here is the quick version:
- Part down the middle with the tail of a comb, from forehead to nape.
- Clip one side out of the way while you tie the other.
- Tie each pigtail low with an elastic.
- Knot a ribbon over each elastic and trim the ends at an angle so they do not fray.
A slightly crooked part is fine on a busy day. Nobody at school is measuring it.
4. Classic Three Strand Braid Down the Back

One rule makes a basic braid last all day: keep the tension even from top to bottom.
Most braids loosen because the first few crosses are tight and the rest get sloppy as tired fingers rush to finish. Hold each strand with the same grip all the way down and the braid stays snug from the nape to the ends.
Start from a low ponytail if her hair is slippery. Braiding from an elastic gives you an anchor and stops the braid from drifting to one side.
Good to know: a braid done on slightly damp hair dries tighter and lasts longer. Done on freshly washed, bone dry hair, it may slip by recess.
5. Snap Clip Row for Short Hair
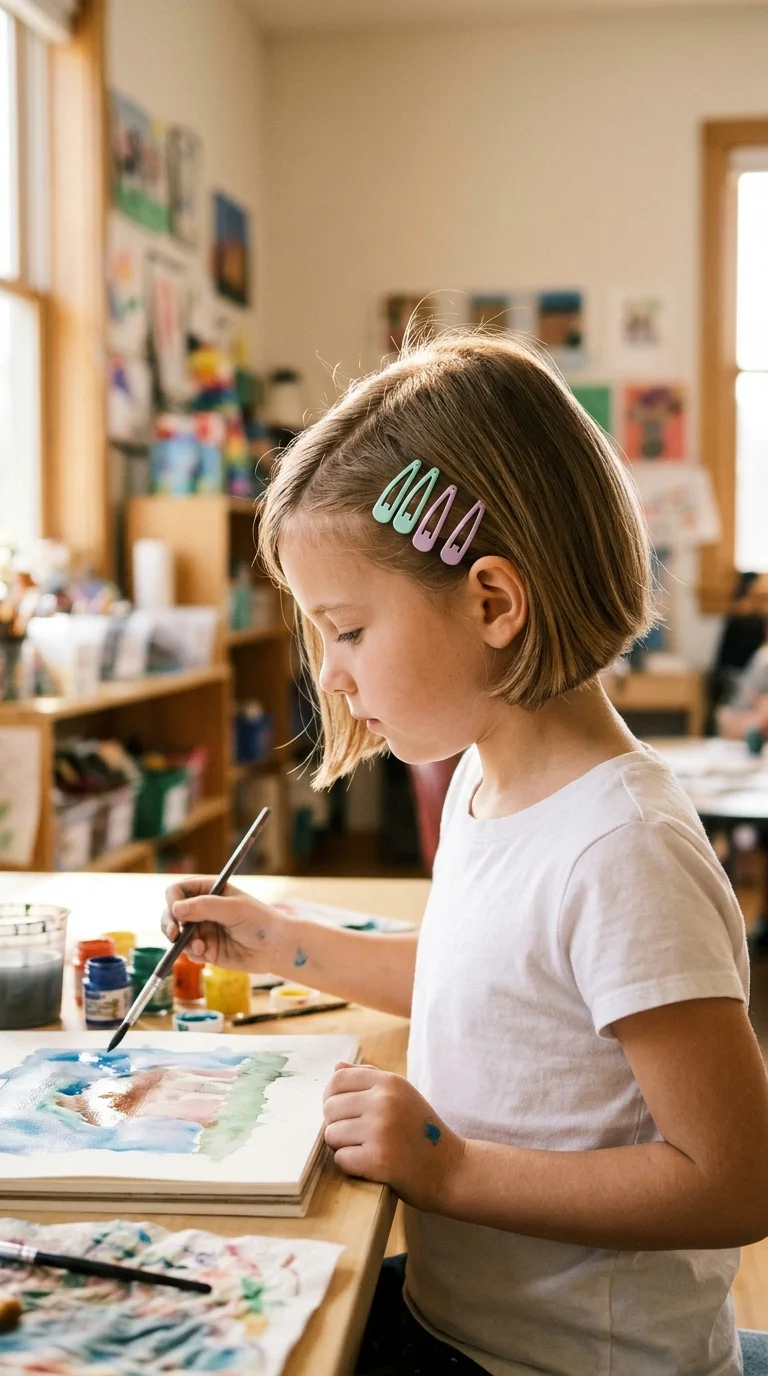
Short bobs can feel like they have no options. A row of snap clips proves otherwise, and it takes about ninety seconds.
Make a side part. Comb the heavier side back over the ear. Slide three or four snap clips in a neat line just above the ear, each one angled the same way.
What helps clips stay put:
- Rough up the root under each clip very lightly with your fingers for grip.
- Choose small clips. Big ones slide out of fine hair.
- Matte clips slip less than shiny ones.
Let her choose the colors each morning. Kids fuss less over styles they picked themselves.
6. Flipped Ponytail That Takes One Extra Second
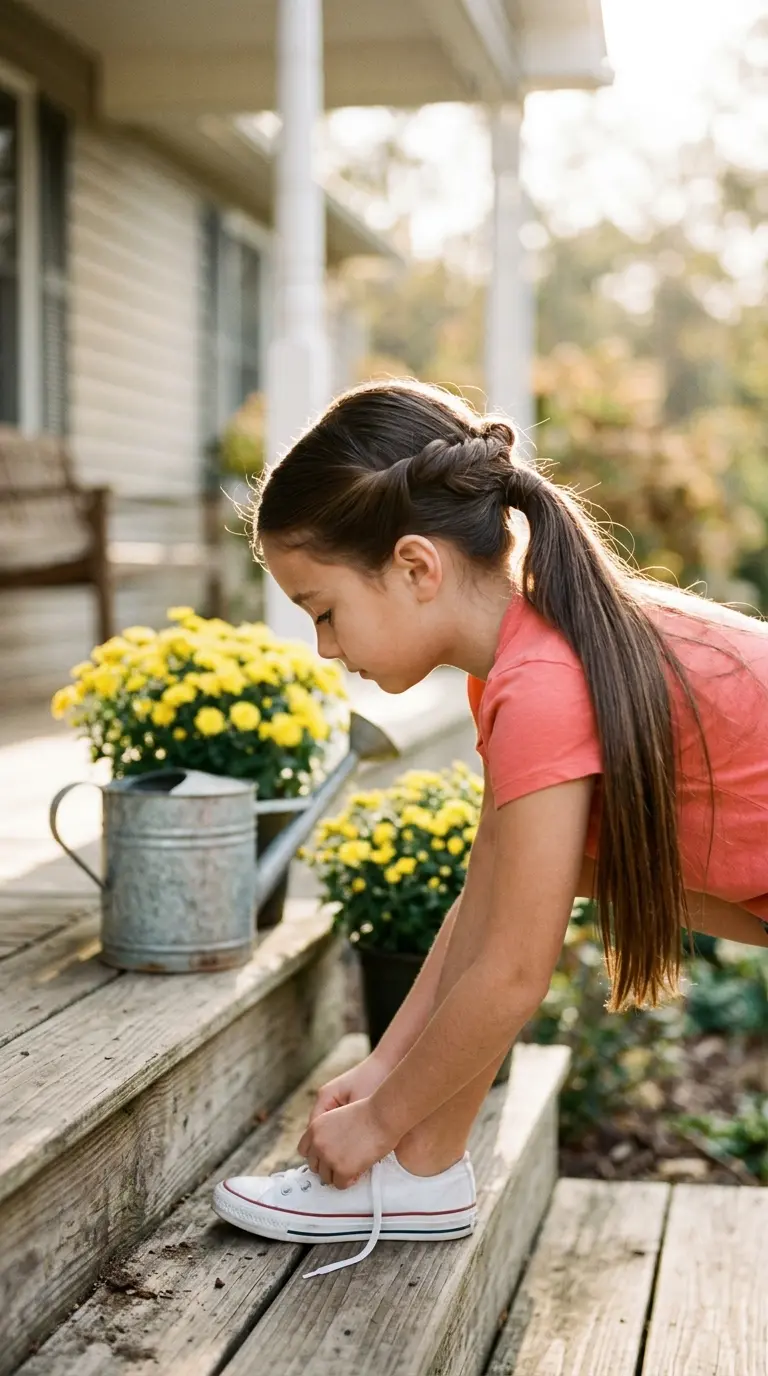
The common mistake with a low ponytail is leaving it plain when one extra second makes it look styled.
Tie a loose low ponytail. Push your finger through the hair just above the elastic to make a small gap. Flip the ponytail up and through that gap, then tug the ends to tighten.
That is the whole style. The flip creates two soft twists on either side of the elastic, which hides a wobbly part and any bumps.
Keep the ponytail loose before you flip it. If it is tied tight against the head, there is no room for the tail to pass through and you end up pulling.
7. Two Space Buns for Field Trip Day
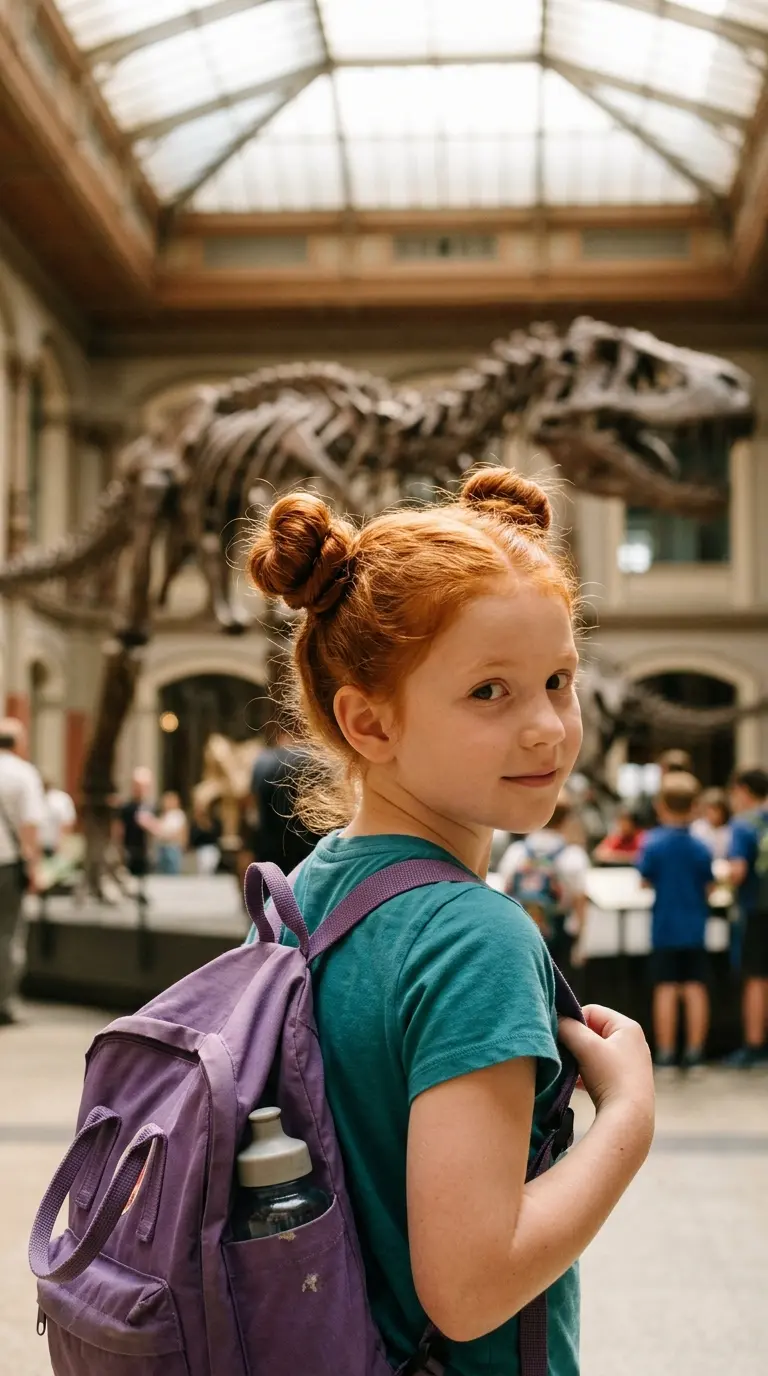
Field trip mornings come with an early bus and a long day of walking, so the hair has to survive a lot.
Two space buns hold up well. Part down the middle, tie two high pigtails, then twist each one and wrap it around its own base. Pin with two bobby pins each or slip a second elastic over the bun.
- High buns stay clear of backpack straps.
- The center part and two buns make her easy to spot in a crowd of kids.
- Buns keep their shape even if it drizzles.
Pack one extra elastic in the front pocket of her backpack. A teacher can retie a fallen bun in seconds.
8. Side Braid Over One Shoulder
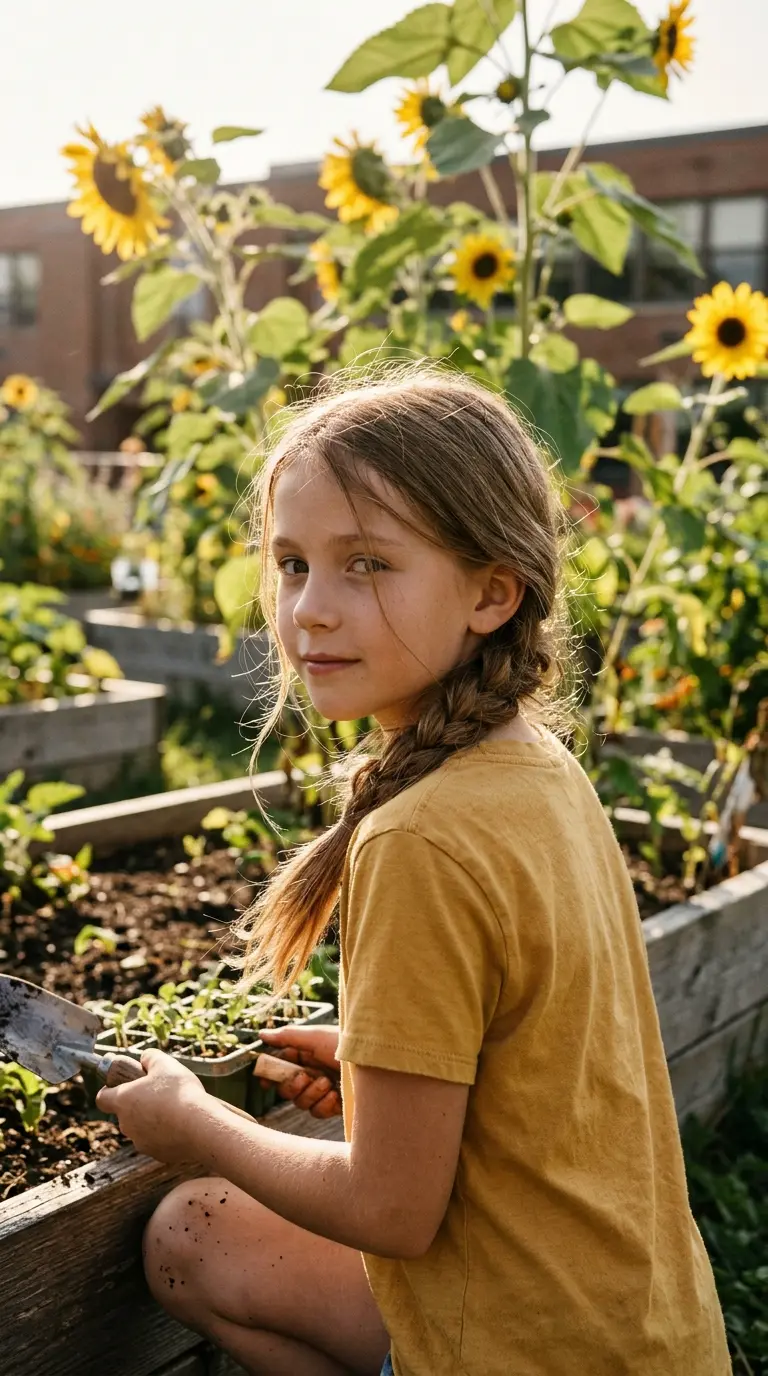
Kids who sit cross legged on the carpet all morning often like a side braid more than a back braid. It does not press into their back when they lean against the bookshelf.
Brush all the hair over one shoulder. Braid loosely from just behind the ear, keeping the braid sitting forward on the chest. Tie it off and gently pull the outer edges of each section to soften it.
A side braid also hides second day hair well. Messy roots get swept to one side and nobody notices.
Skip it on gym day. Side braids swing around a lot when kids run.
9. Twisted Front Sections Pinned Back
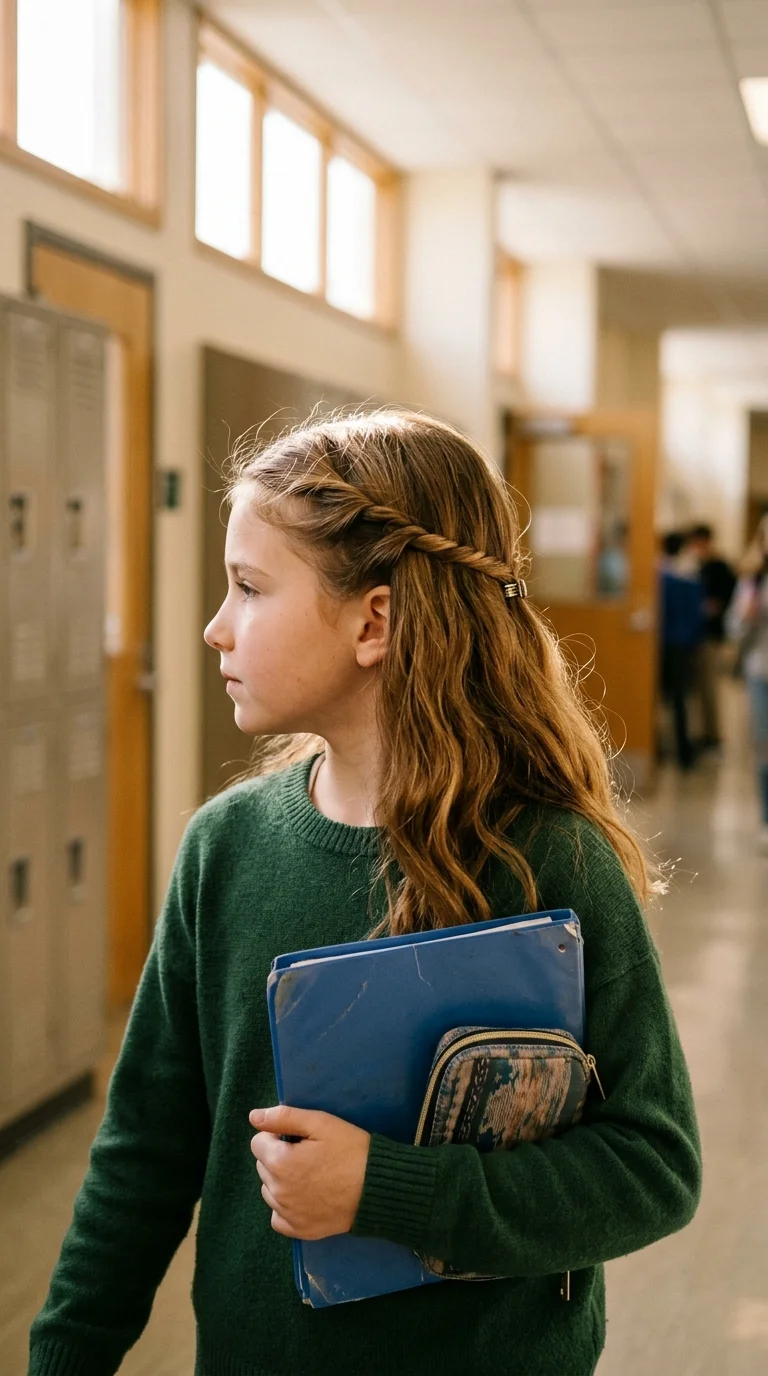
Here is the style for days when her hair looks nice down but keeps falling into her face.
- Take a one inch section at each temple.
- Twist each section back toward the crown, turning it away from the face.
- Meet the two twists at the back of the head.
- Secure them together with a small clear elastic or one barrette.
The rest of the hair stays loose. You get a clear face and a neat back without a full updo.
Quick tip: twist away from the face, not toward it. Twists that turn forward unravel by second period.
10. Bubble Ponytail for Long, Thick Hair
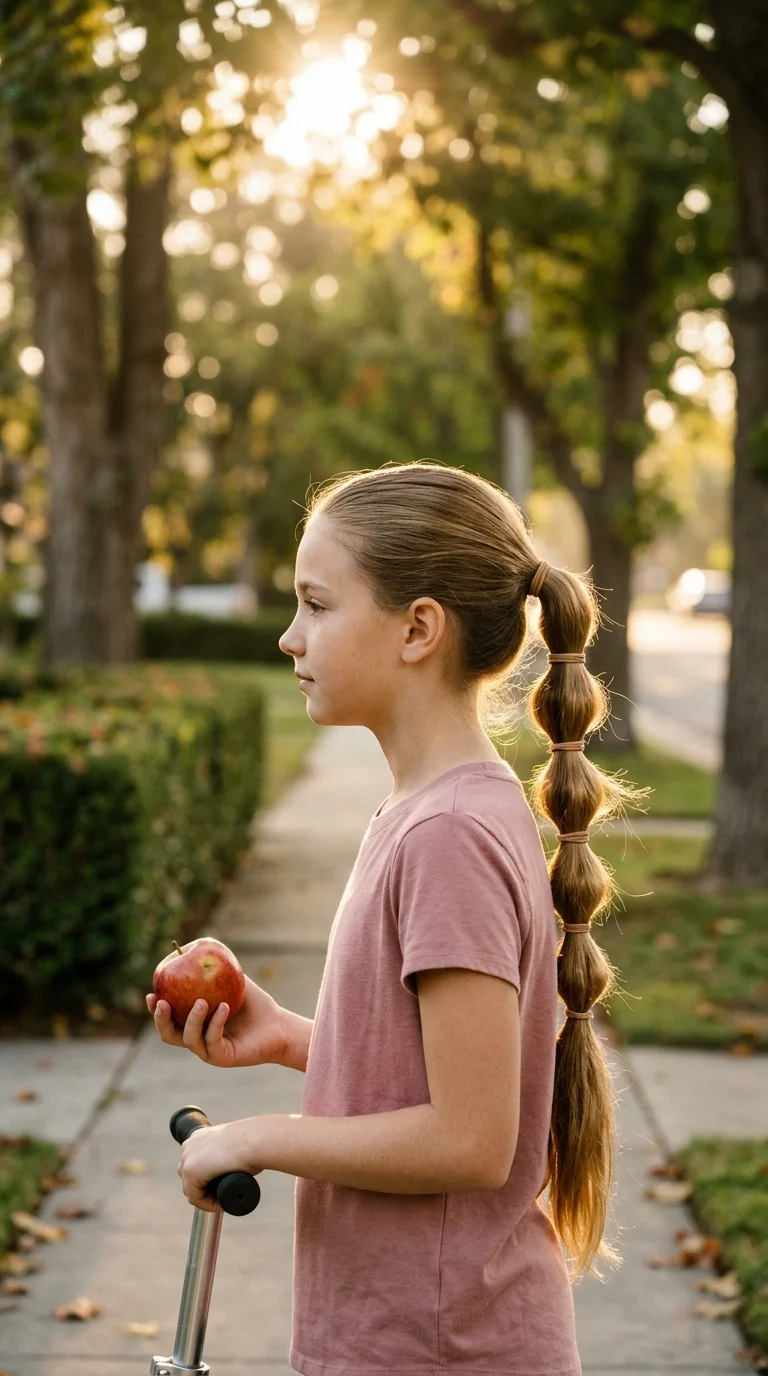
Thick hair that turns into one giant tangle by lunch does much better when it is held in sections. That is exactly what a bubble ponytail does.
Tie a mid height ponytail. Add elastics every two or three inches down its length. Gently pull the hair between each pair of elastics outward to make round bubbles.
Why it suits thick hair:
- Every section is held, so knots cannot travel down the length.
- It looks full without looking heavy.
- Taking it out at night is quick. Roll off the elastics and brush.
Use the same color elastic all the way down. Mixed colors look busy on a long ponytail.
11. Single Dutch Braid for Gym Day
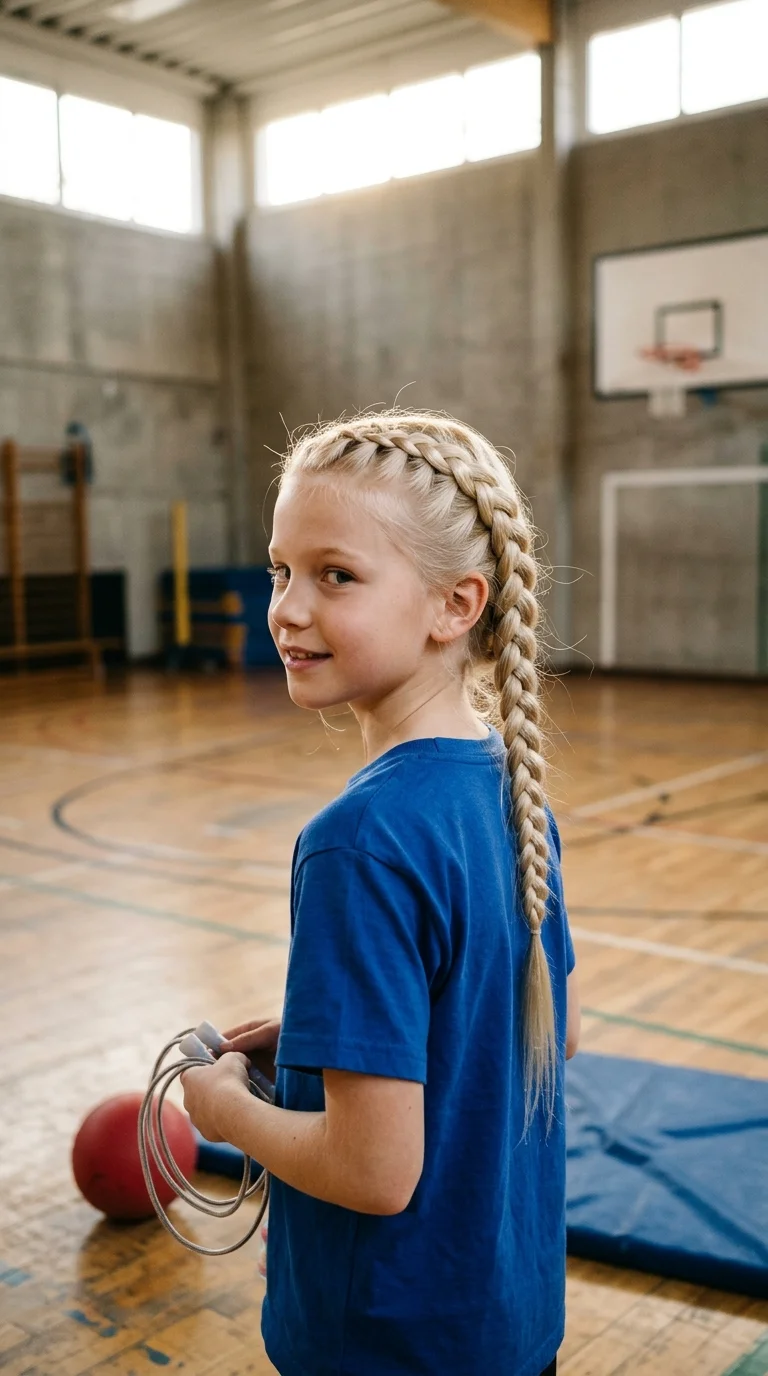
A plain ponytail and a Dutch braid both get hair off the face. Only one survives a game of dodgeball.
The difference is that a Dutch braid is attached to the scalp the whole way down. Hair cannot swing loose from the sides, so nothing pulls out when she runs, rolls, or hangs upside down on the bars.
To braid it, start at the hairline with three small strands. Cross each outside strand under the middle one, adding a little hair each time. Once you reach the nape, finish with a regular braid.
It takes about six minutes once your hands learn it. The first few tries take longer, and that is normal.
12. Mini Claw Clip Half Up

A tiny claw clip shaped like a flower, a butterfly, or a plain tortoiseshell half moon, sitting right at the back of the crown. That is the whole look, and older girls ask for it again and again.
Gather the top half of the hair from ear to ear. Twist it once and clip it flat against the head. Leave the rest down.
Pick a clip about two inches wide. Larger clips made for adults are heavy and slide down kid hair.
It works on straight, wavy, and curly hair. On fine hair, a light mist of texture spray before twisting gives the clip something to grab.
13. Criss Cross Elastic Style for Younger Kids
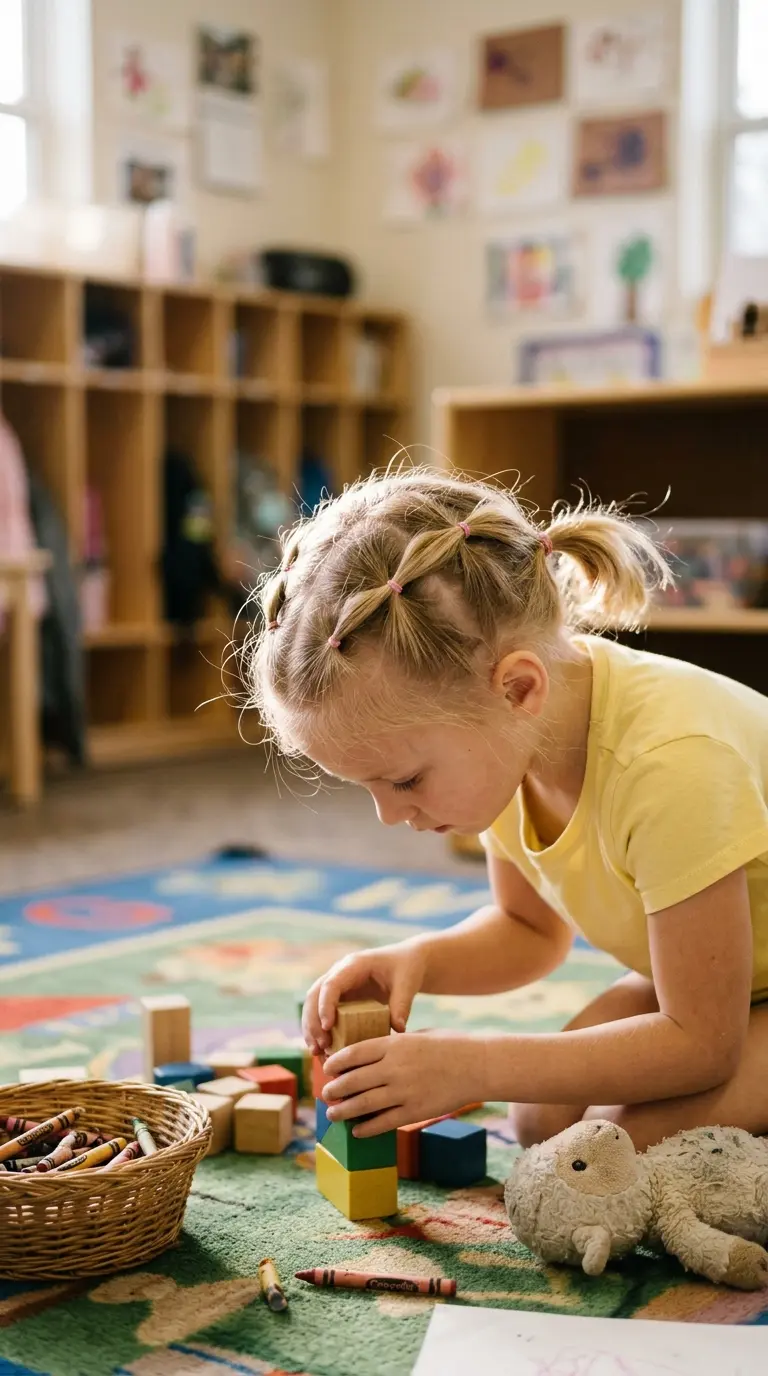
People assume the little sectioned styles with tiny elastics take forever. The basic version takes about eight minutes and lasts two or three days.
- Make four small ponytails across the front hairline.
- Split each ponytail in half.
- Join the right half of one with the left half of the next using another elastic, a little further back.
- Gather the ends into two pigtails at the back.
The finished pattern looks like little diamonds across the top of the head.
Use soft polyband elastics, not tight rubber bands. Young scalps are tender, and tiny elastics pulled too tight can leave sore spots.
Keep each elastic snug, not tight. She should be able to raise her eyebrows without feeling a pull.
Mist the sections with water before you part them so the lines come out clean.
Loosen elastics with a drop of detangler before sliding them off.
Pulling the hairline sections hard to make the lines look crisp.
Snipping elastics out with scissors right next to the scalp.
Leaving the style in past day three, when the roots start to tangle.
14. Fishtail Braid That Looks Harder Than It Is
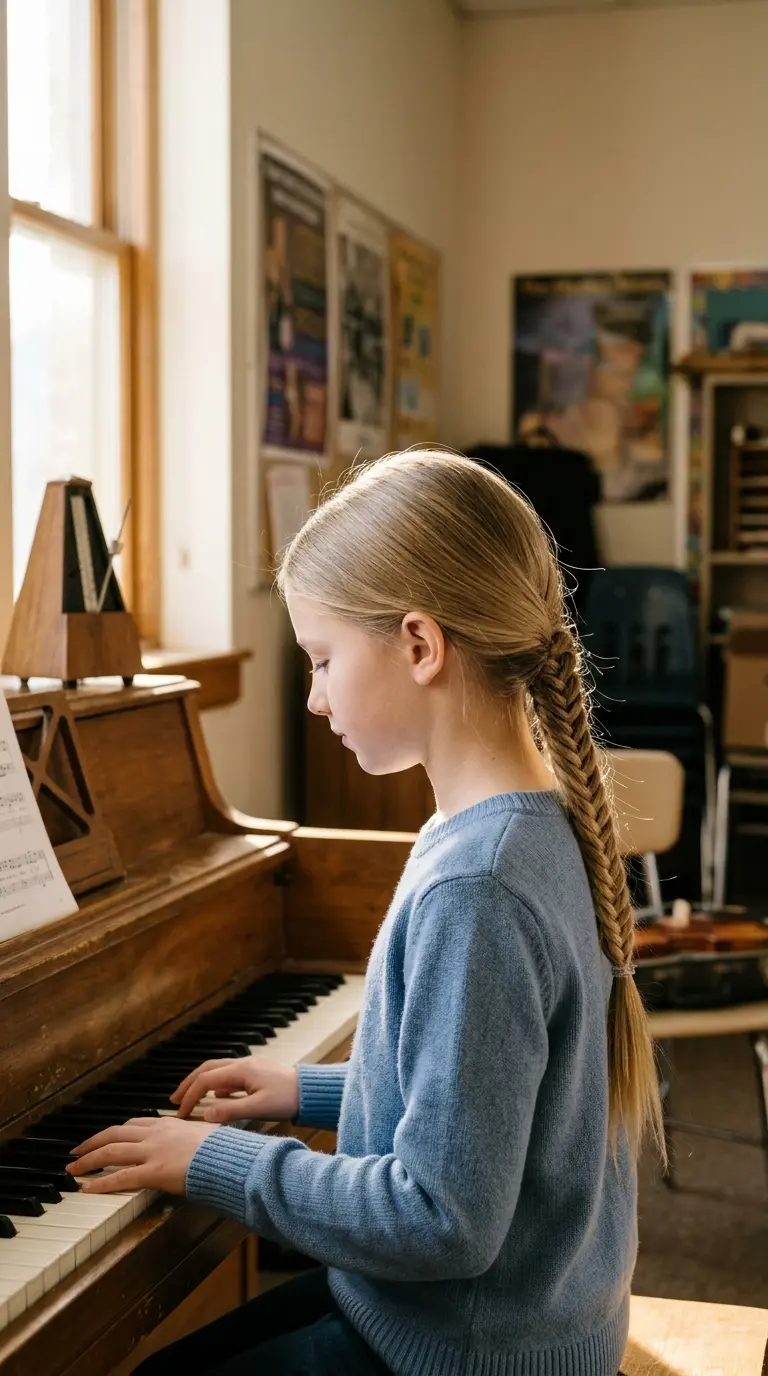
Piano lesson on Saturday, school concert on Monday, spelling test on Tuesday. A fishtail braid can carry her through all three if you redo it once in between.
It uses only two sections, which is why it is easier than it looks:
- Split a low ponytail into two halves.
- Take a thin piece from the outside of the left half and cross it over to the right half.
- Do the same from the right side.
- Keep going until you reach the ends, then tie off.
Thin pieces give a finer pattern. Thick pieces finish faster. On a rushed morning, go thick.
15. Low Bun for Picture Day
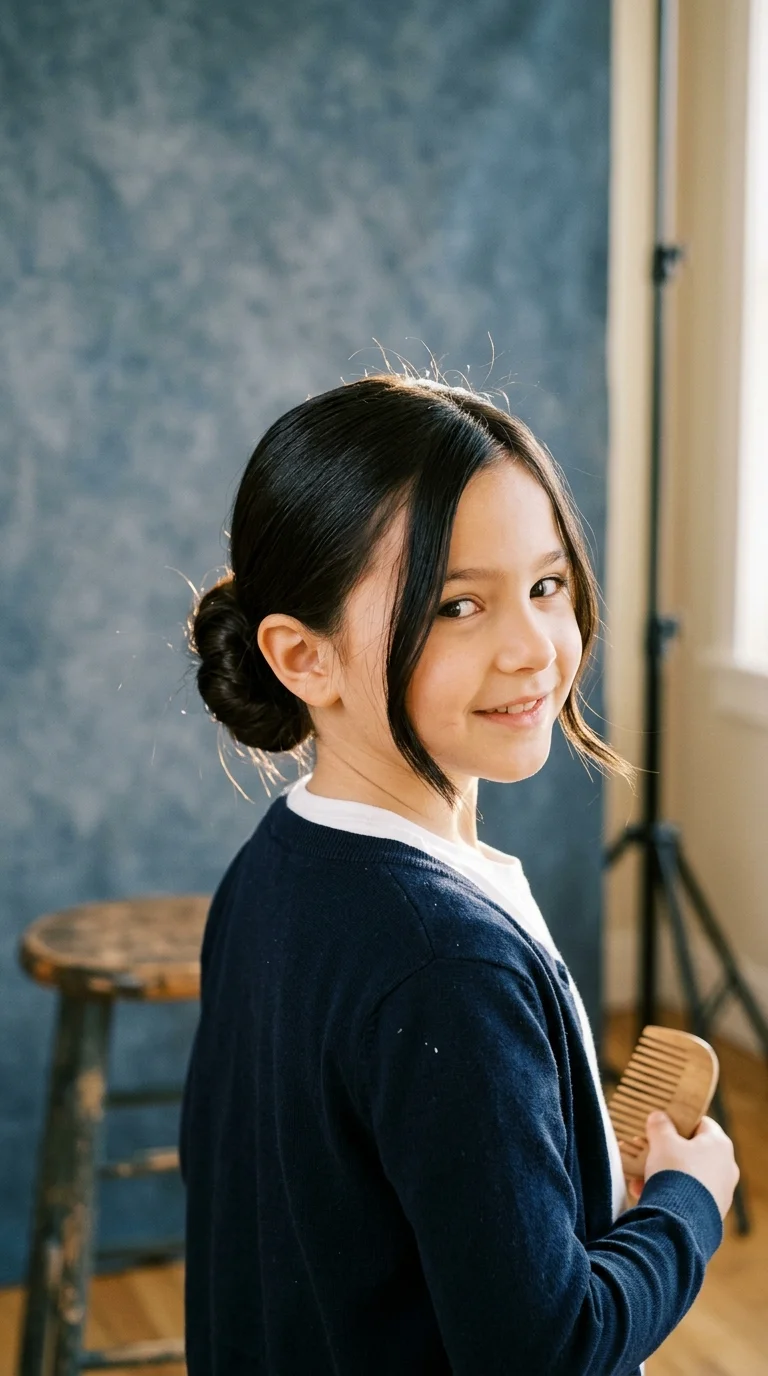
Picture day hair has a short shelf life. Loose hair gets tangled on the bus, and by the time her class lines up, it looks like she slept on it.
A smooth low bun avoids that. Brush the hair back into a low ponytail, twist it, and coil it around the elastic. Pin it with four bobby pins pointing in toward the center.
- Pull two soft pieces out at the temples so the front does not look severe.
- A pea sized bit of hair cream on the brush tames flyaways without looking wet.
- Send a small comb in her pocket.
The bun stays tidy in the photo and still looks fine at the end of the day.
16. Double Dutch Braids That Last Two Days
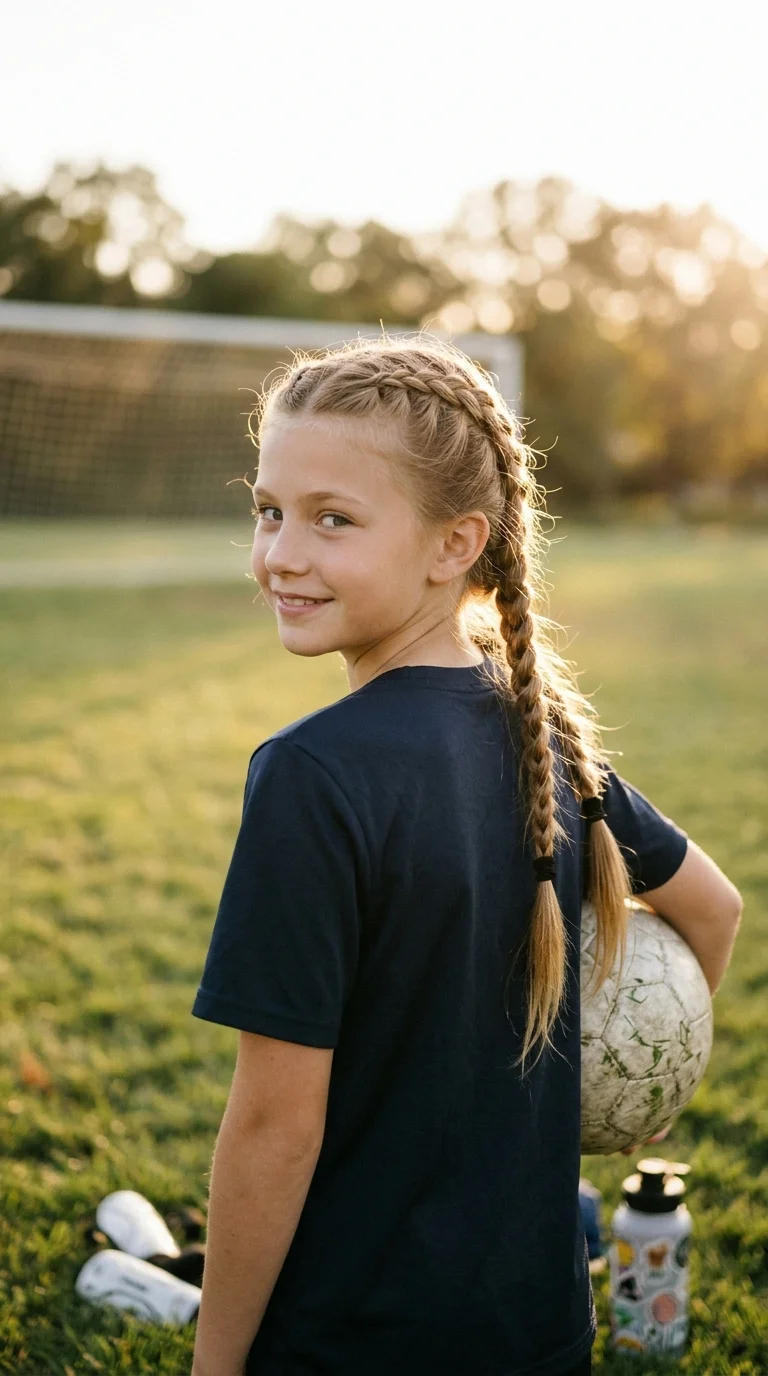
Two days. That is the payoff for spending ten minutes on Sunday night.
Part down the center and clip one side away. Dutch braid each side from the hairline to the nape, then finish with regular braids to the ends. Tie each one with a soft elastic.
On day two, smooth the front with a damp hand and add a headband if the hairline looks fuzzy.
What makes them last:
- Braid on damp hair so it dries tight.
- Sleep in a satin cap or on a satin pillowcase.
- Keep the part clean, since that is what makes them look neat.
Girls who play soccer or swim after school get the most out of this one.
17. Pull Through Braid With Small Elastics
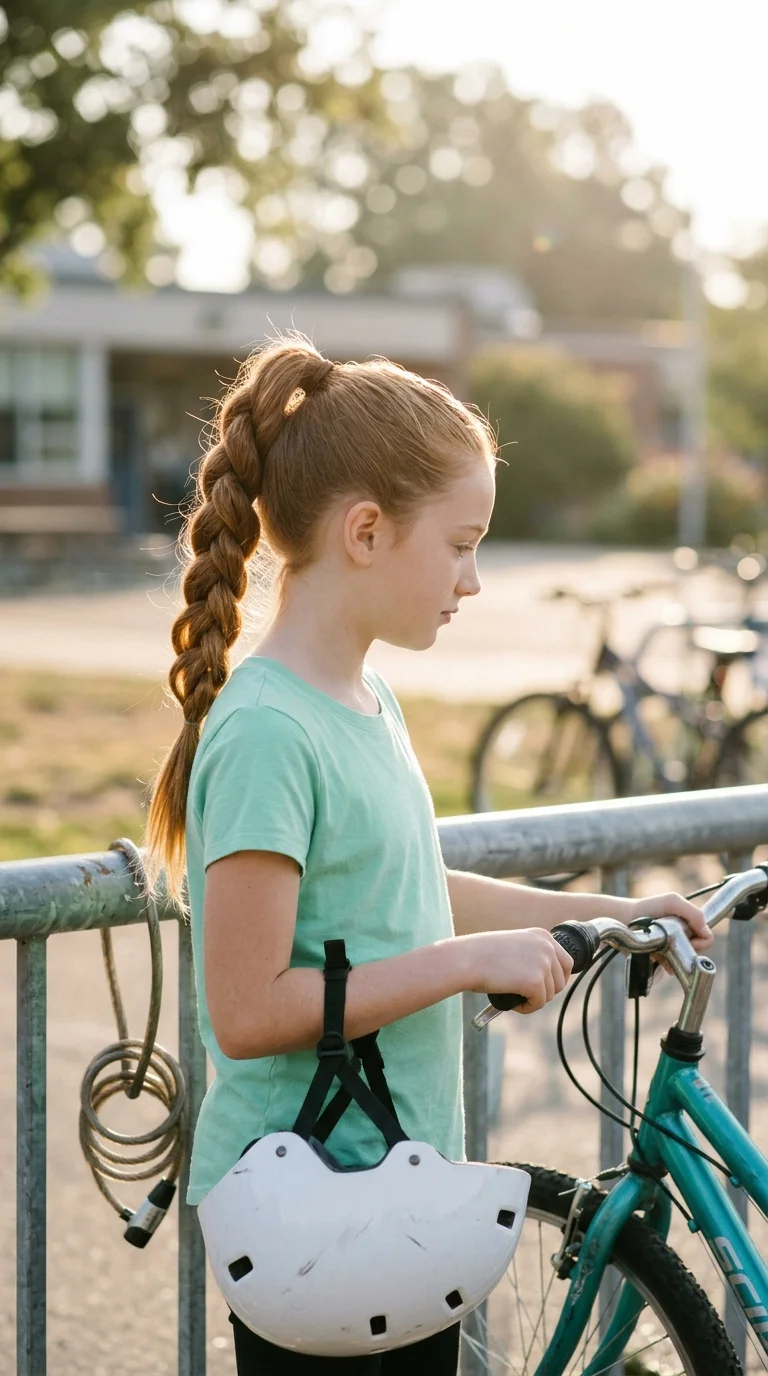
No braiding skills needed, which is why parents who say they cannot braid love this one.
- Tie a high ponytail.
- Just under it, tie a second small ponytail from the hair below.
- Split the top ponytail in two and lay the halves on either side of the second one.
- Tie the halves together just below, then bring the second ponytail up between them.
- Repeat down the length.
Pull the loops wider at the end for a chunky look.
It also holds well under a bike helmet, because elastics lock each section instead of tension.
18. Braided Headband
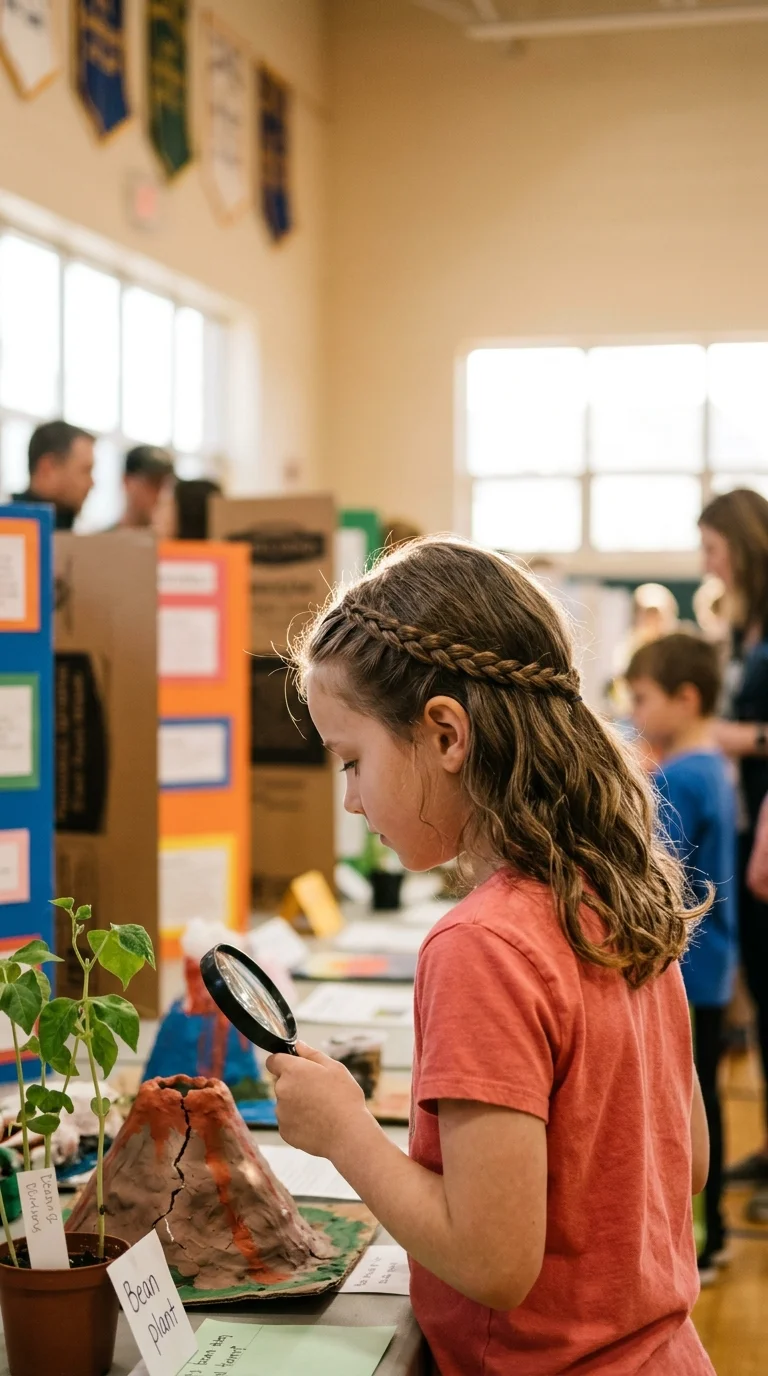
A thin braid running from ear to ear like a headband, with the rest of the hair falling loose behind it. It frames her face and nothing pokes her scalp.
Take a section just behind the hairline on one side. Braid it, either a regular braid or a small Dutch braid. Lay it across the top of the head and pin the end behind the opposite ear.
Quick tip: if her front hair is too short to braid, braid a section from behind the ear instead and pin it forward.
Kids who refuse real headbands usually tolerate this one. There is no pressure behind the ears.
19. Messy High Bun for Hot Afternoons
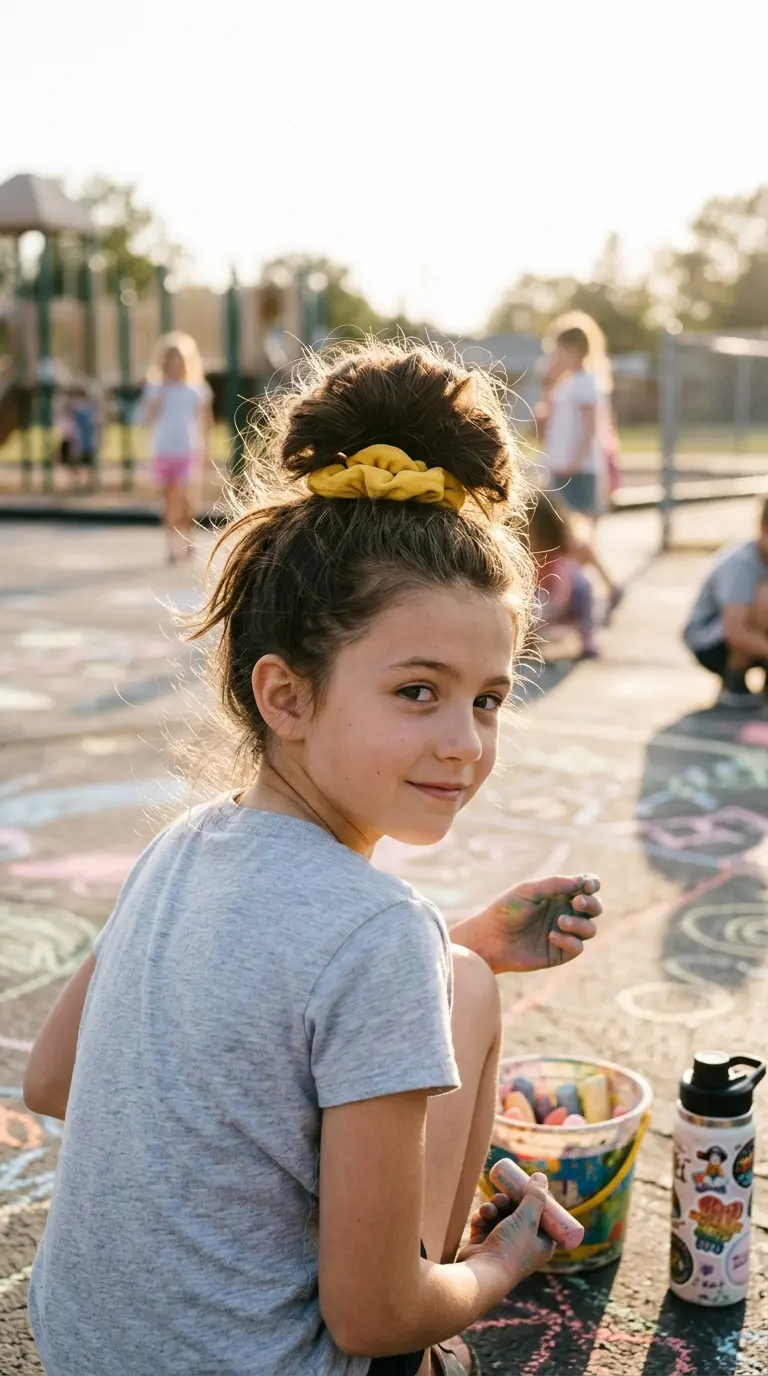
Warm September afternoons make loose hair miserable. A messy high bun gets every strand off her neck.
Pull the hair into a high ponytail at the crown. Twist it loosely and wrap it around the base, leaving the ends a little loose. Secure it with a big scrunchie stretched over the top.
Messy is the point here. Do not chase every bump.
- Thick hair: use two elastics, one on the ponytail and one over the bun.
- Fine hair: gently tease the ponytail before wrapping so the bun looks bigger.
Keep a spare scrunchie on her wrist. It doubles as a bracelet.
20. Rope Twist Ponytail
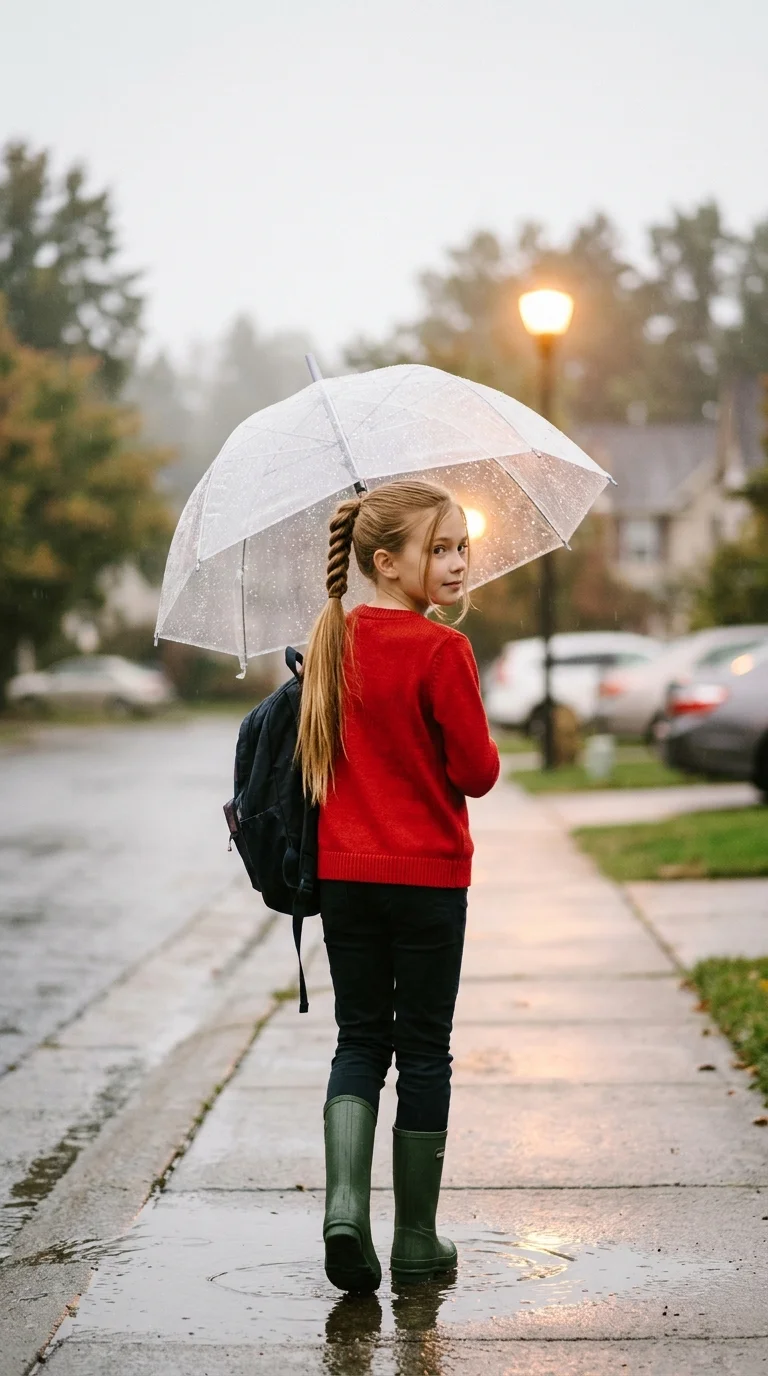
Rope twists fall apart for one reason. Most people twist the strands in the same direction they wrap them.
Here is the fix. Tie a ponytail and split it into two strands. Twist each strand to the right. Then wrap the two strands around each other to the left. The opposite directions lock the rope in place.
Tie the end with an elastic and give the whole rope a gentle tug from the bottom to tighten it.
A rope twist handles damp days better than loose hair does. Rain makes it fuzz a little, but it keeps its shape.
21. Half Up Pigtails
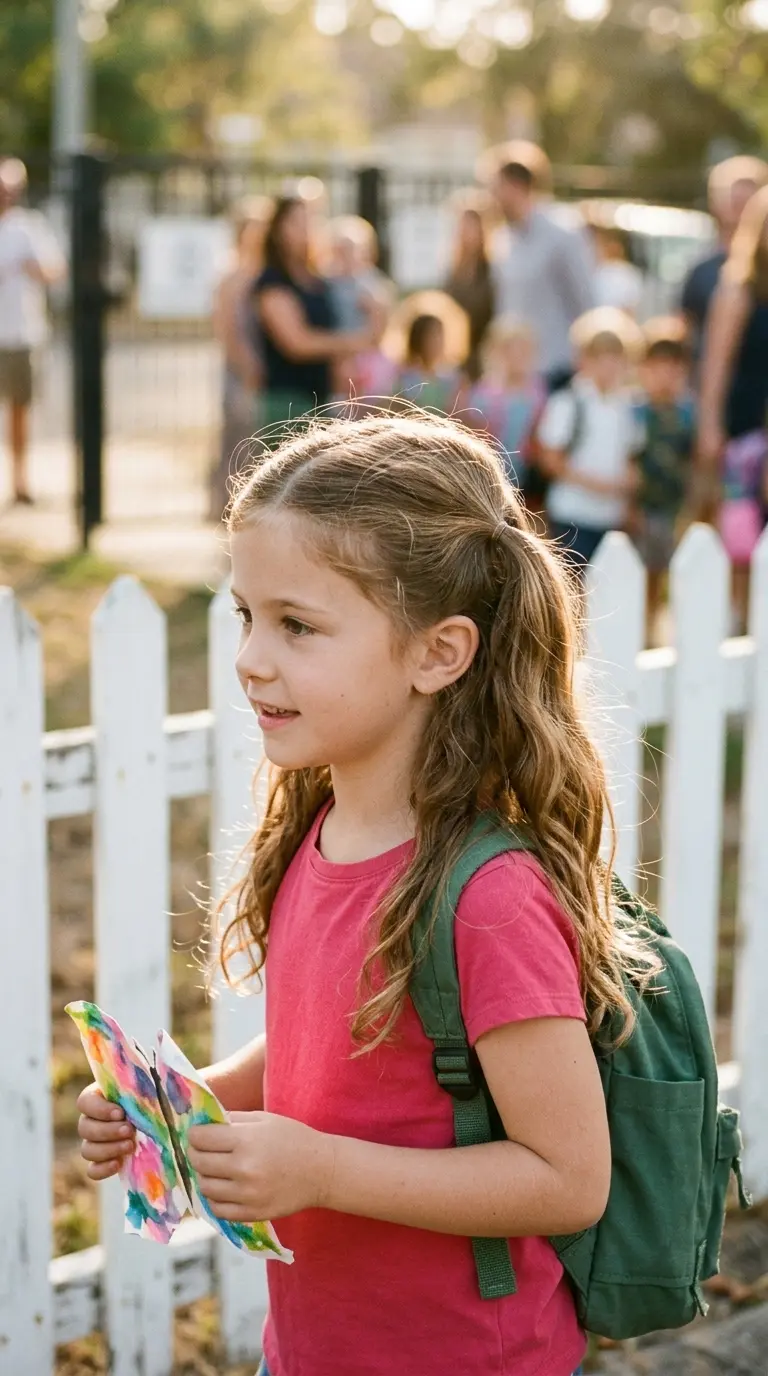
Second graders seem to love these more than any other age. They look playful and they keep the front clear.
Part the hair down the middle, but only through the top half of the head. Gather each side of that top section into a small ponytail just above and behind each ear. Leave everything underneath loose.
Things to know:
- Chin length hair works, as long as the top sections reach.
- Add small bows for a birthday or picture day.
- Tie them at the same height by checking the mirror together.
Lopsided pigtails are a rite of passage. Fix them only if she asks.
22. Bow Bun Made From Her Own Hair
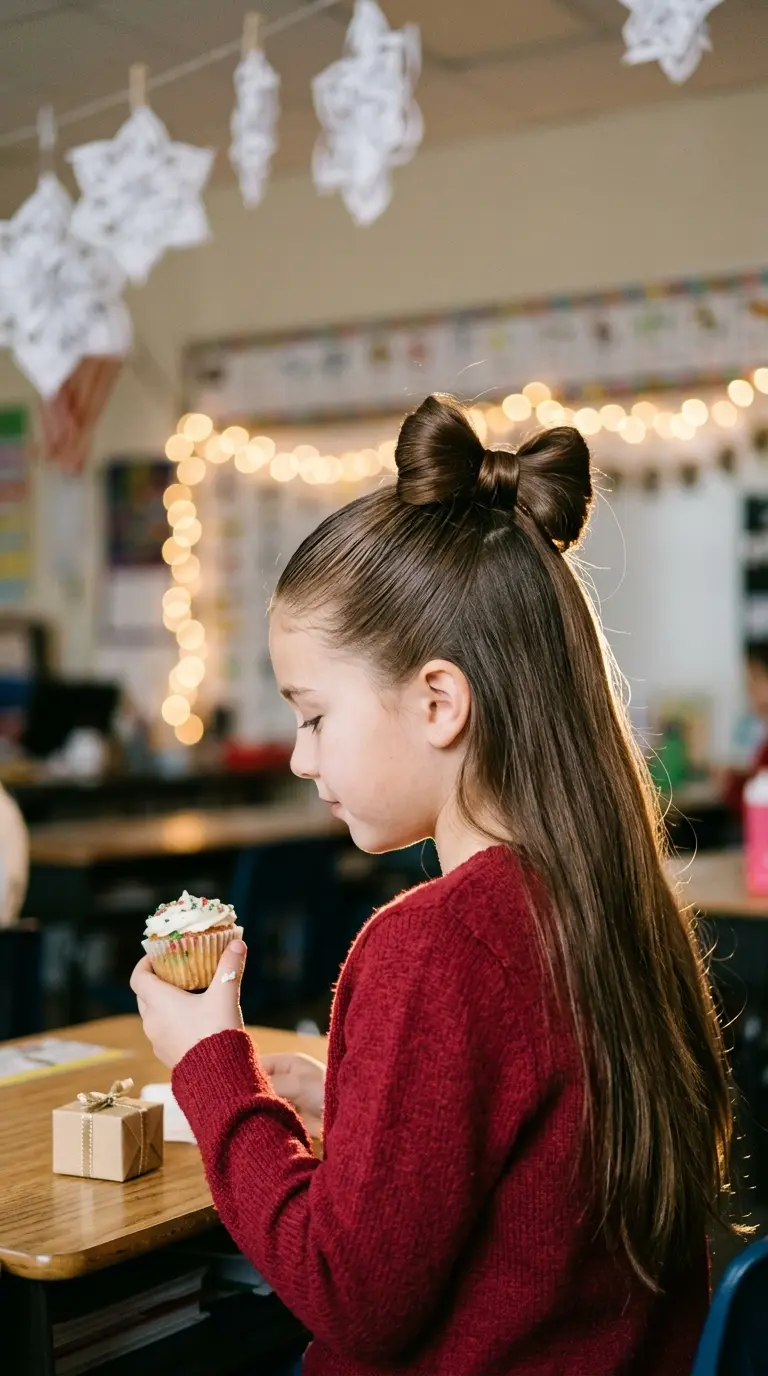
For class parties and the last day before winter break, this one gets the most compliments.
- Tie a high ponytail, but on the last pass, stop halfway to make a loop with the ends hanging forward.
- Split the loop in half to form the two sides of the bow.
- Fold the hanging ends back over the middle of the bow.
- Pin them under the bow with two bobby pins.
Mist the loop with a little water or hairspray before splitting it. The bow holds its shape better.
Shoulder length hair and longer works best. Shorter hair makes a very small bow.
23. Half Up French Braid
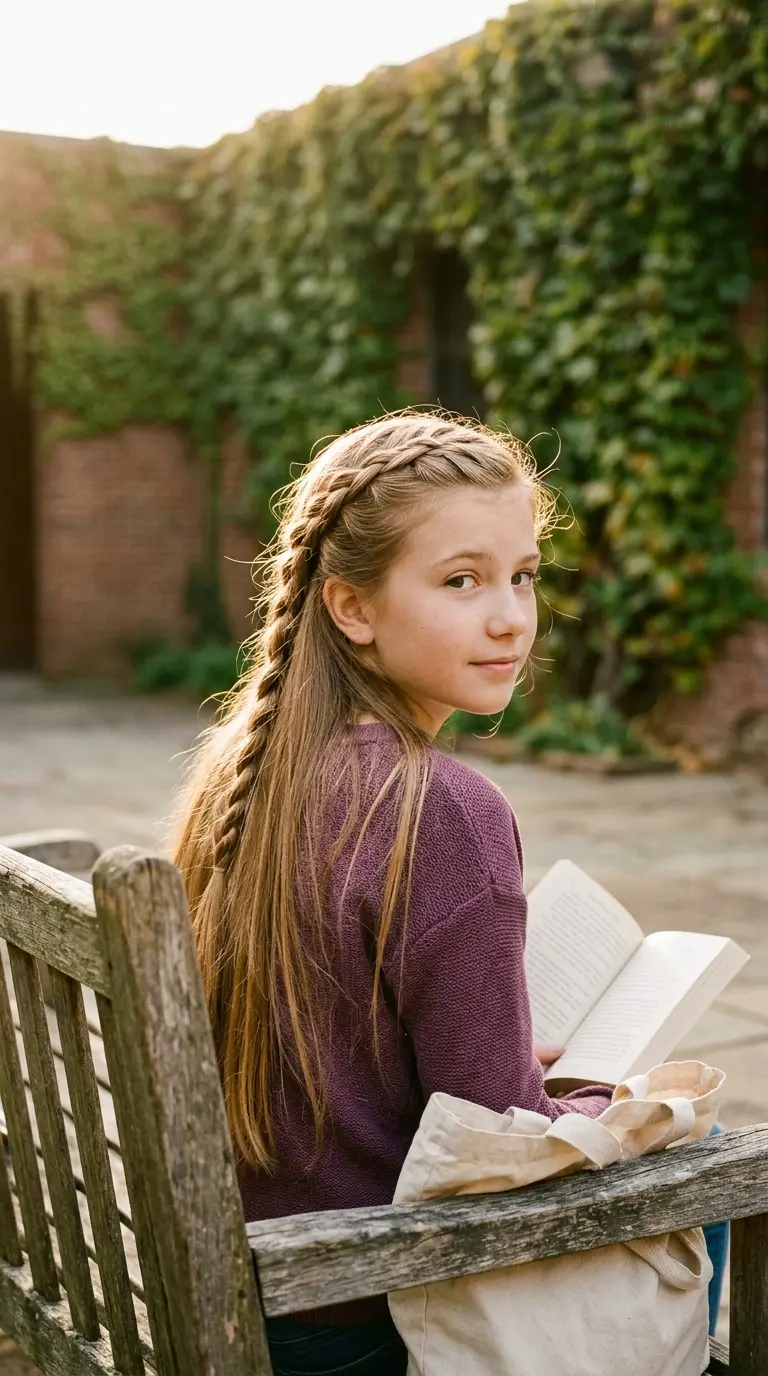
Older girls who feel too grown up for pigtails still go for this one. It reads neat, not babyish.
Take a triangle of hair from the front hairline to the crown. French braid it straight back, adding hair only from that top section. Stop at the crown, tie it off, and let the tail hang over the loose hair underneath.
The braid keeps her face clear for reading and writing, and leaves enough hair down to feel like her own style.
By eleven or twelve, she can learn to do it herself. It is a good first braid to try on her own head because she can feel each section as she adds it.
24. Twisted Crown That Holds Through Recess
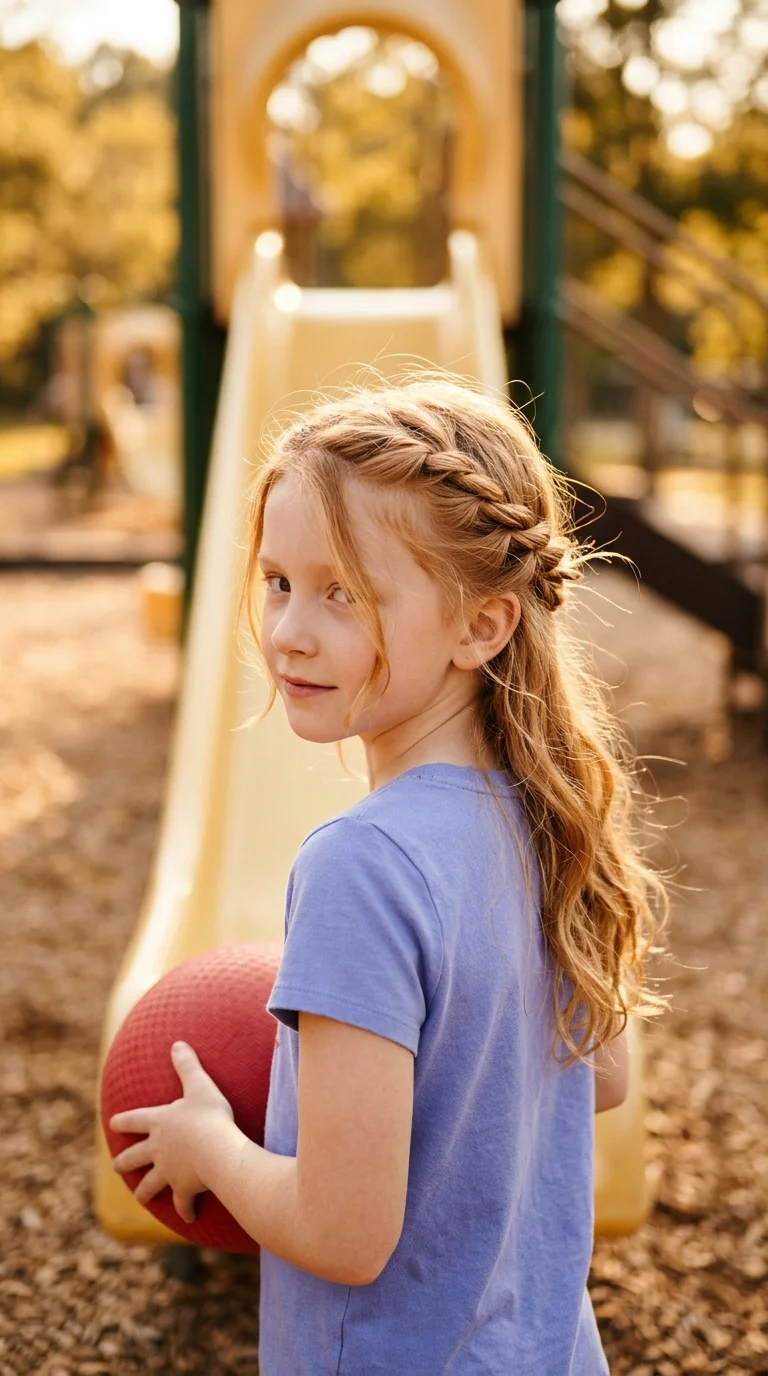
A full crown braid takes a patient kid and a lot of time. A twisted crown looks close to it and takes about half as long.
Start at one temple. Take a small section, twist it back, and add a little more hair to it every inch, like a twisted version of a French braid. Work around the back of the head toward the other side. Pin the end under where you started.
It holds through tag, the monkey bars, and a winter hat at the end of the day.
Watch out: do not twist too close to the nape on very young kids. That area is tender, and they will complain by lunch.
25. Overnight Braids for No Heat Morning Waves
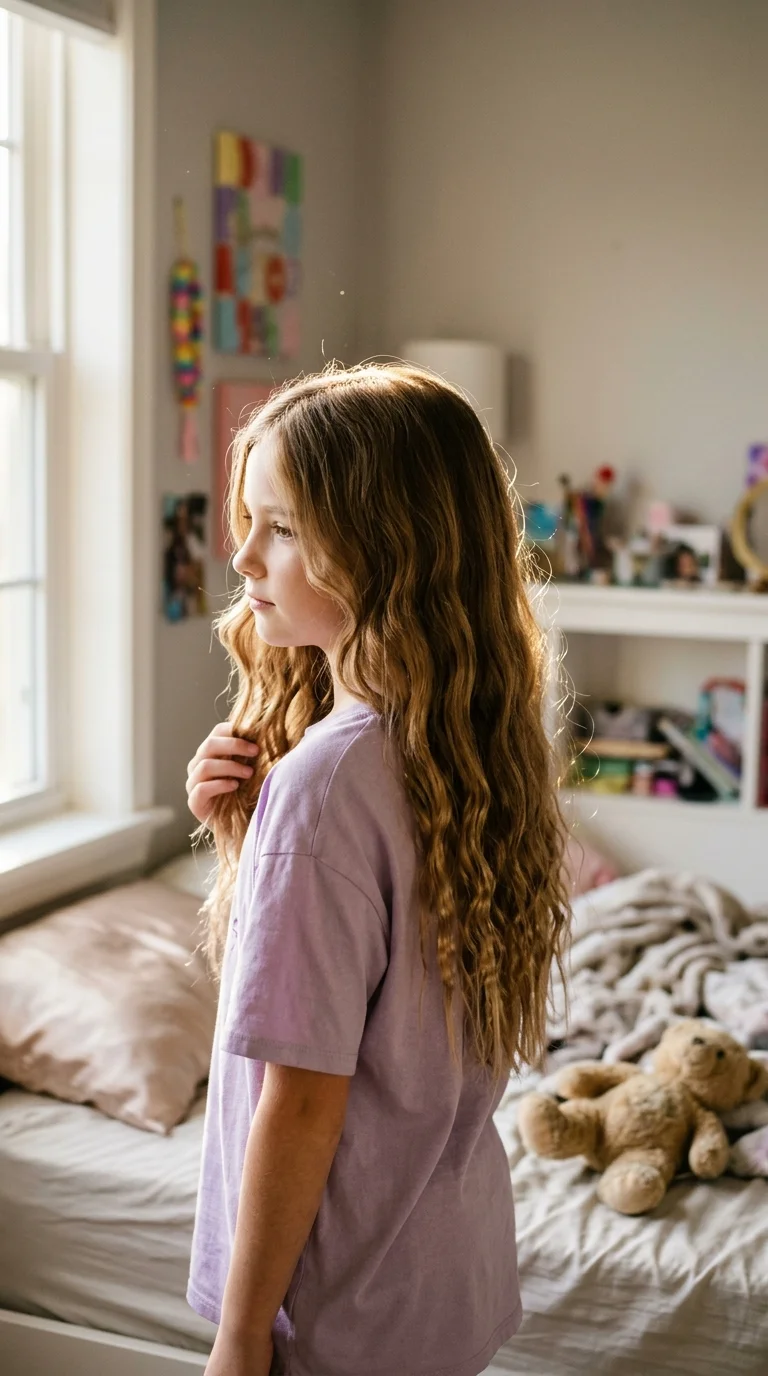
Mornings go faster when the hairstyle is done the night before.
After bath time, while her hair is damp but not dripping, make two loose braids and let her sleep in them. In the morning, take them out, run your fingers through, and the hair has soft waves with zero heat.
- Two braids give big, loose waves. Four to six braids give tighter, fuller ones.
- Very wet hair will still be damp in the morning, so towel dry well first.
- Do not brush the waves out. Use fingers only.
Best on straight or slightly wavy hair. Very curly hair does not need it.
Towel dried hair goes into two loose braids while she brushes her teeth. About three minutes, no brush fights, done before the story.
Braids come out at breakfast, fingers comb through, and soft waves are ready. No heat, no styling time, and one less thing before the bus.
School mornings will never be quiet, but hair can be the easy part. Pick three or four styles from this list that suit her hair length and your patience, then rotate them through the week. A wrapped ponytail on Monday, double Dutch braids that carry Tuesday and Wednesday, and a fun bow bun on Friday.
The best easy school hairstyles for girls are the ones she likes wearing and you can do half awake. Keep the tools by the door, let her pick, and let a little mess slide. A bump in the ponytail never ruined anyone’s school day.
Save this list to your school morning board so it is ready the next time she asks for something new at 7:45.