
It is 7:10 on a Tuesday, the bus comes at 7:32, and somebody still cannot find her other shoe. Nobody has time to detangle a full head of coily hair on a school morning, and nobody should have to.
That is the whole point of a weekly style. You do the real work once, usually on Sunday with a show on and snacks within reach. After that, mornings shrink to a quick spritz, a little edge care, and out the door. The trick is picking styles that actually hold up through recess, gym class, and a few nights on a satin pillowcase.
These natural hairstyles for school Black girls were chosen with that in mind. Each one comes with a rough idea of the sitting time, what keeps it neat until Friday, and a small fix for the day it starts to look tired.
Some take twenty minutes. A few need a long Saturday and a lot of cartoons. All of them go easy on her edges and on her patience, which matters just as much as how the style looks in the class photo.
1. Classic Two Strand Twists That Hold Up All Week
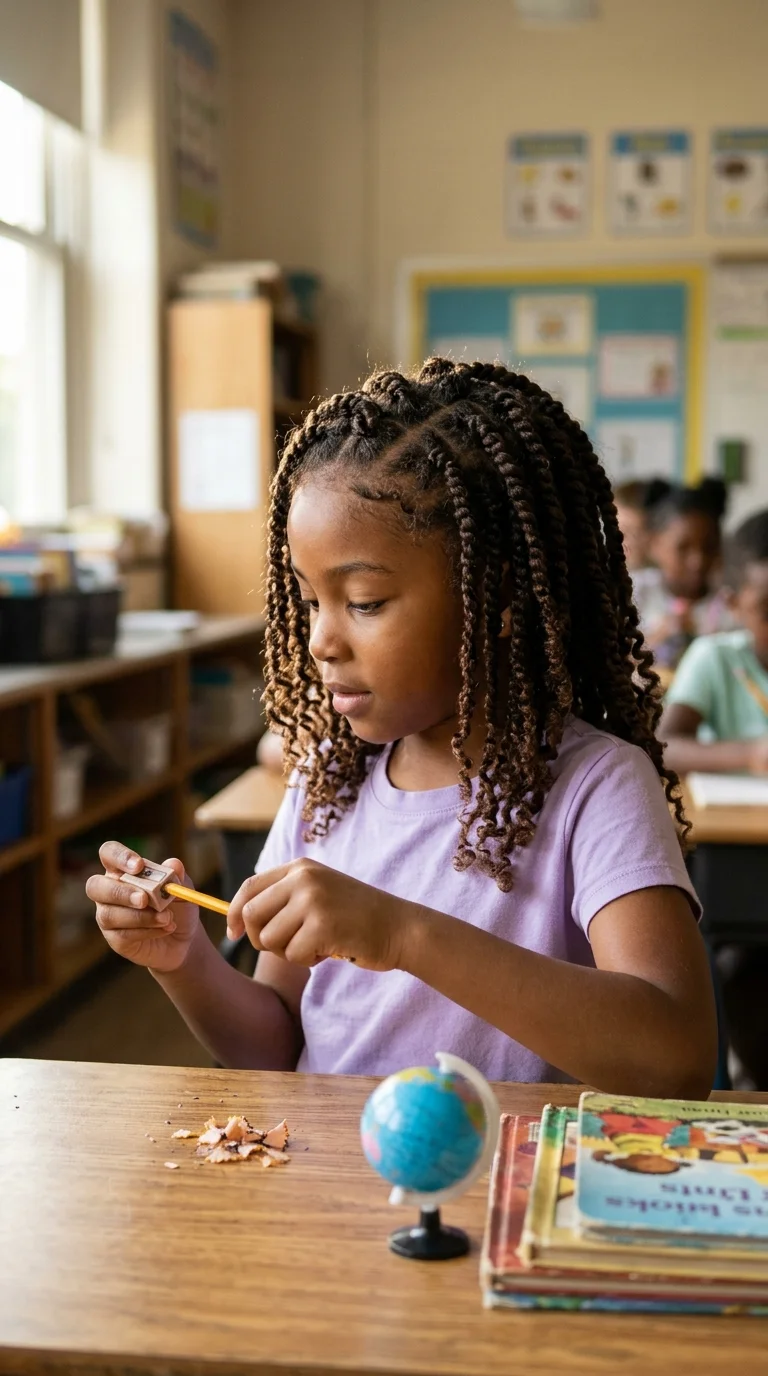
Two strand twists are the style most parents learn first, and for good reason. They protect the ends, they look tidy on day one, and they still look good on day six.
- Start on clean, damp hair with leave in conditioner worked through each section.
- Part small squares, about the width of a fingertip, so the twists stay neat longer.
- Twist the two strands snugly all the way down, then coil the tip around your finger.
Smaller parts mean more sitting time, but far fewer frizzy twists by Thursday.
Quick tip: a drop of light oil on the ends each night keeps them from unraveling.
2. Straight Back Cornrows That Finish in Two Puffs
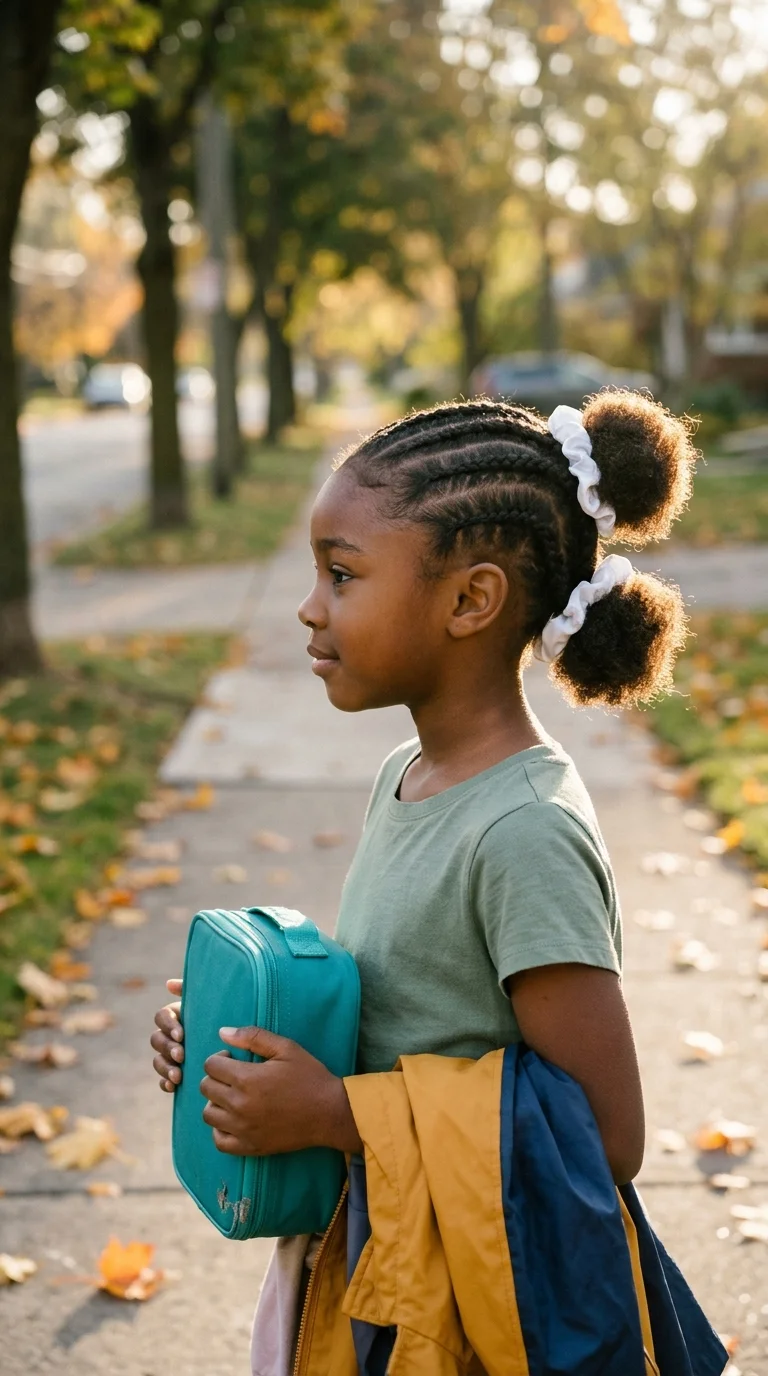
Mornings get a lot shorter when the braids do most of the work. Cornrow the front half straight back, stop around the crown, and gather the loose hair into two puffs.
Why it lasts:
- The braids keep her edges and front sections flat and neat all week.
- The puffs can be redone in two minutes if they get squished at recess.
- Takedown is quick, so wash day stays easy.
Four to six rows is plenty for a first try. Keep the tension gentle at the hairline, because her edges carry the most stress in any braided style.
Best for: hair that reaches at least chin length when stretched.
3. Bantu Knots With Neat Square Parts
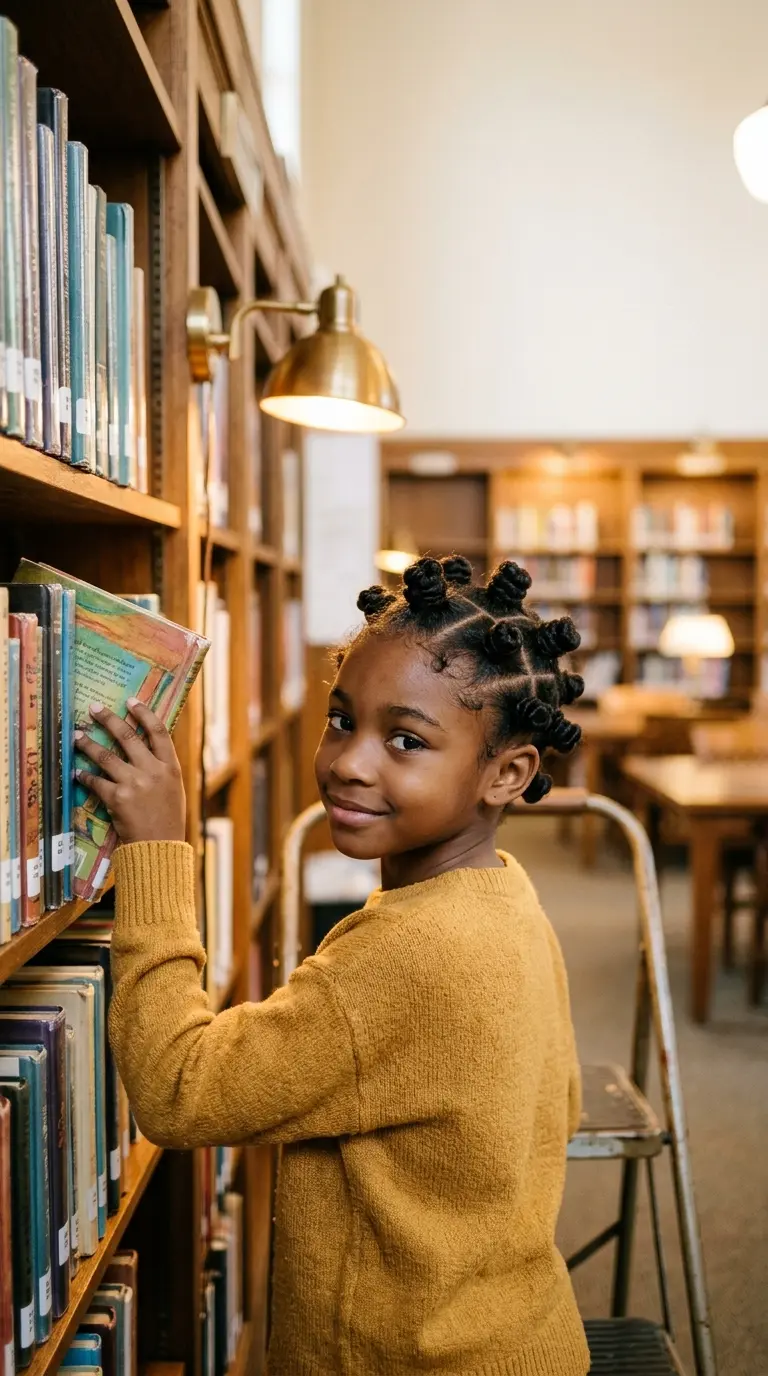
Neat little knots in a square grid look sharp from every angle, even from the back row of the classroom.
Section clean, damp hair into squares about two inches wide. Twist each section until it coils on itself, wrap it into a knot, and tuck the end underneath. A tiny rubber band is only needed if an end keeps slipping out.
Bantu knots hold for four to seven days on most coily hair. On the last day, unravel them for a defined knot out before wash day.
Watch for: knots that pull at the scalp. If she winces while you wrap, loosen that one right away.
4. A Halo Cornrow That Circles the Whole Head
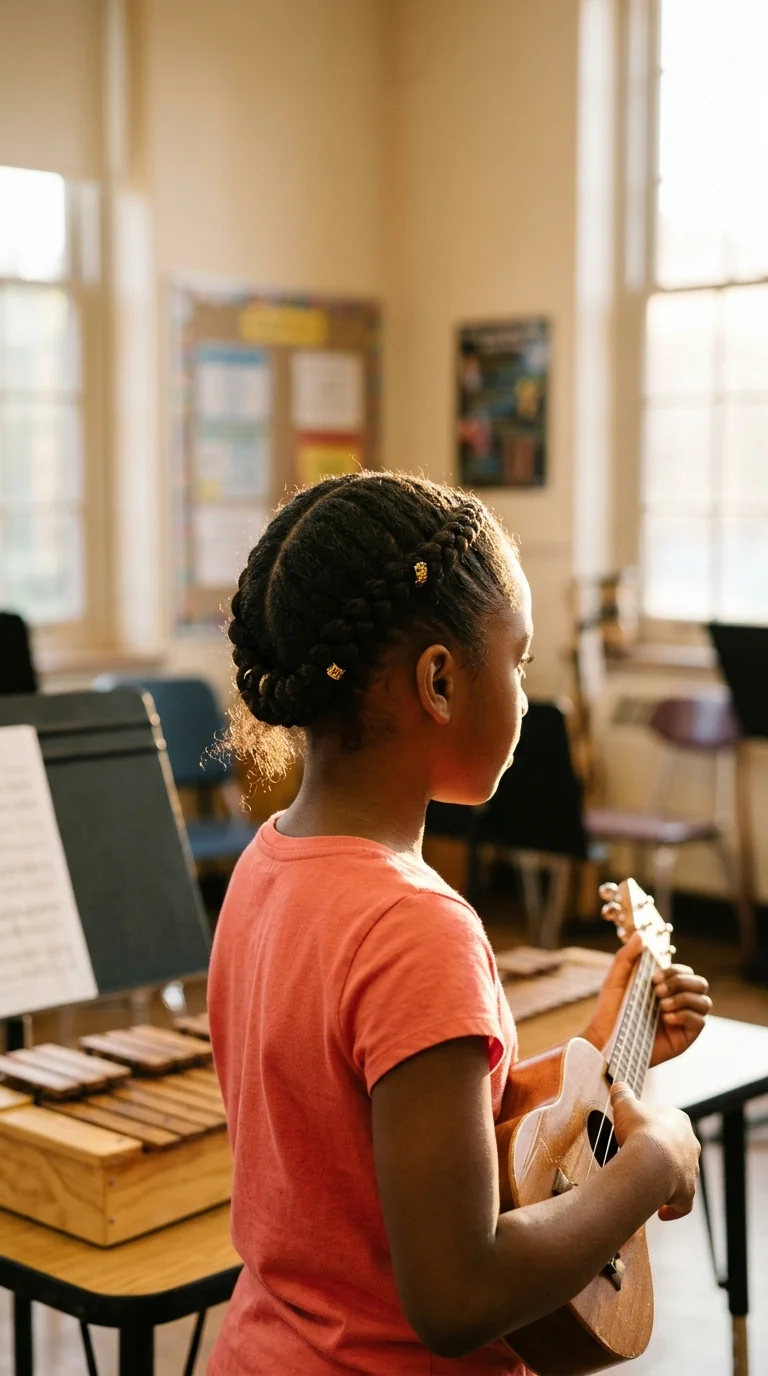
One rule makes a halo braid work: start behind one ear, not at the front.
That hides the start and the end of the braid in a spot nobody stares at. Feed in hair as you travel along the hairline, across the forehead, and around the nape.
The rest:
- Stretch the hair first with a low heat blow dry or big twists left in overnight.
- Pick up small sections near her edges so they don’t carry all the tension.
- Tuck the tail under the braid and hold it with one bobby pin.
It takes a few tries to learn. Once you have it, a halo can last a week or more under a satin scarf.
5. Chunky Flat Twists Into a Low Bun
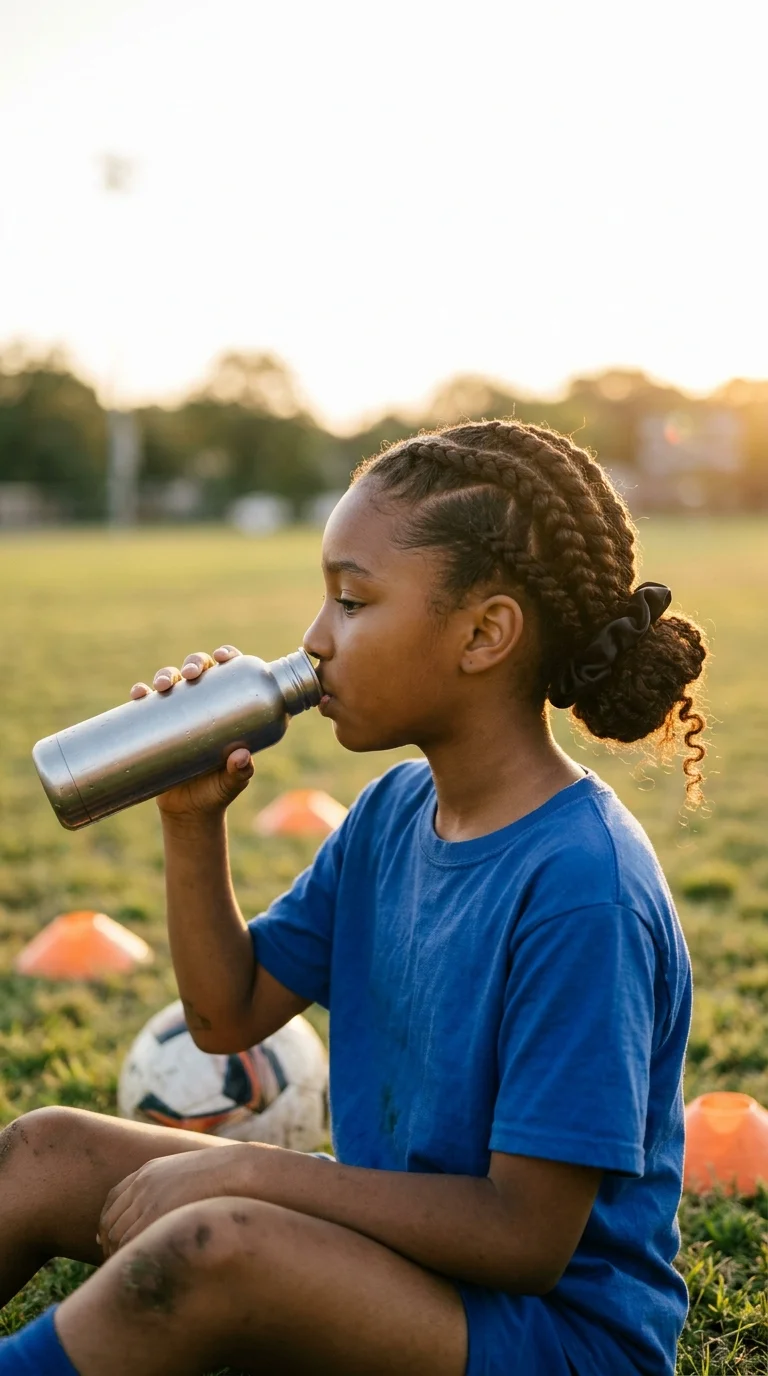
Big cornrows take a skill a lot of parents haven’t picked up yet. Flat twists give a similar look with a much easier hand motion.
- Part six to eight rows running back toward the nape.
- Flat twist each row against the scalp, adding hair as you go. It works like a cornrow, just with two strands.
- Gather all the loose ends at the nape and twist them into a low bun.
- Pin the bun with a few large bobby pins.
The bun gets messy first. Redo it midweek and the whole style looks new again.
A good pick for girls in sports, since nothing swings into her face.
6. Shoulder Length Knotless Braids With Clear Beads
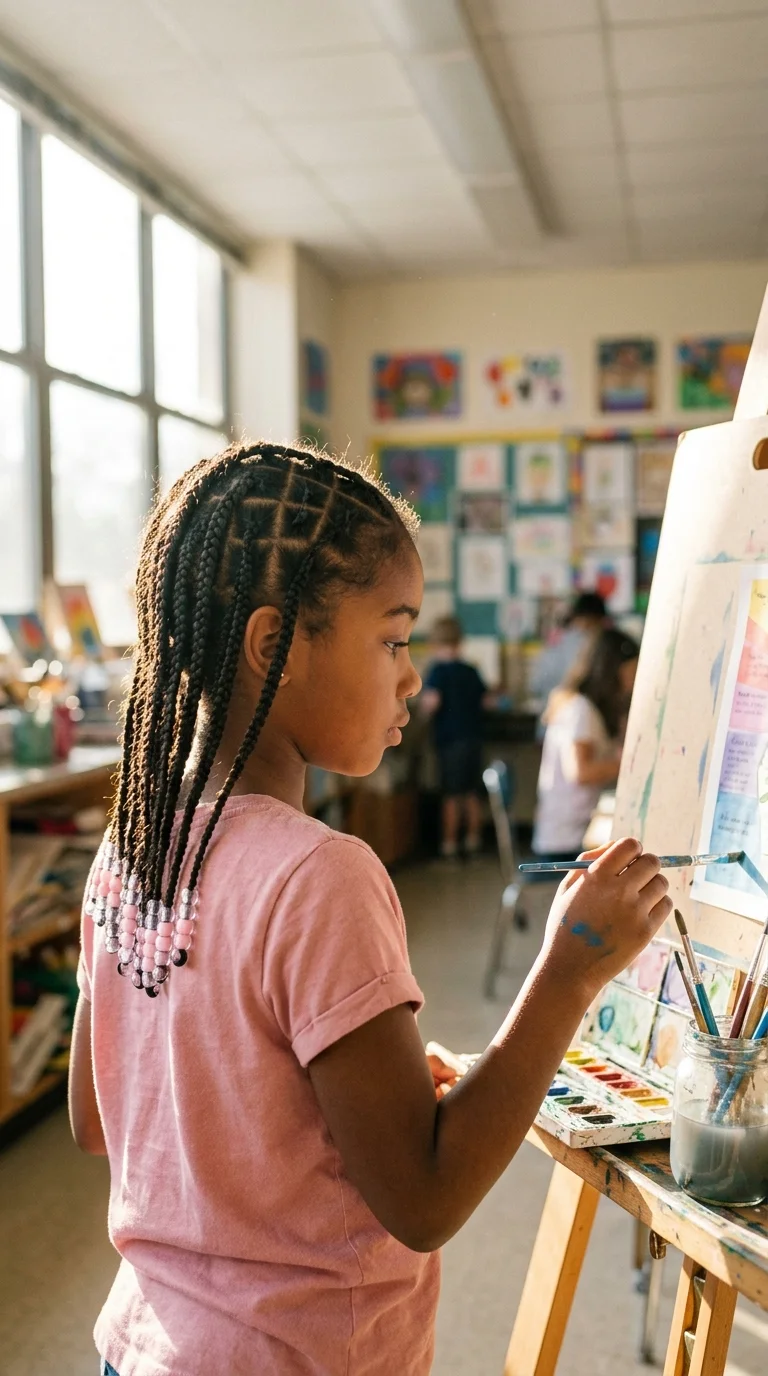
Knotless braids start with her own hair and add braiding hair little by little, so there is no tight knot at the root. Compared with traditional box braids, they sit flatter and pull less on the first night.
Keep them kid sized:
- Shoulder length or shorter, so the braids stay light for long school days.
- Medium parts instead of tiny ones, which cuts the sitting time a lot.
- Clear or pastel beads on the ends. They look sweet and stop the ends from fraying.
Many families get two to four weeks from a set. Watch her hairline, and take them out early if small bumps show up along her edges.
7. Three Afro Puffs on a Triangle Part
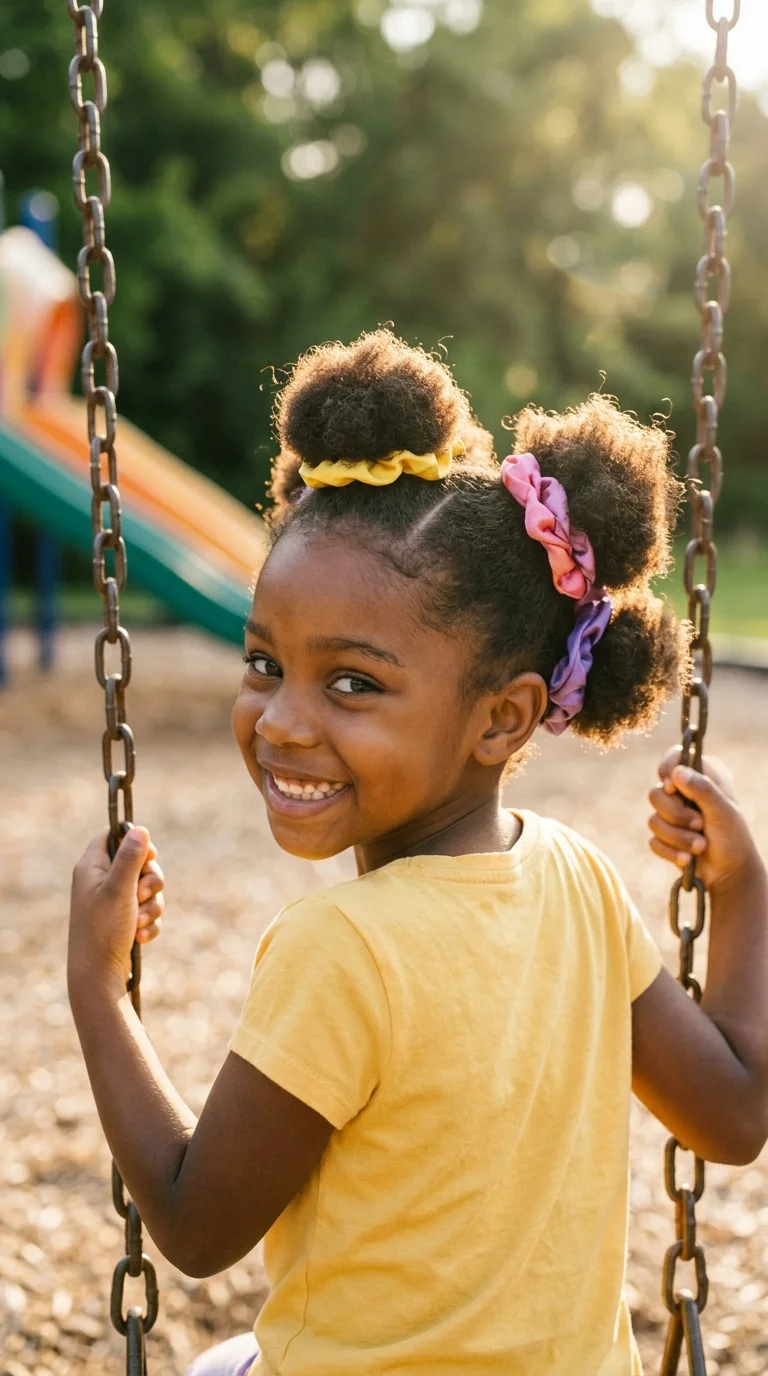
A kindergartner on the swings with three bouncy puffs is one of the happiest sights on any playground.
Part a small triangle at the front, then split the rest into two sections behind it. Smooth each one with a bit of gel and a soft brush, and wrap it with a fabric covered band or a satin scrunchie.
Keep it going: at night, loosen the bands, cover everything with a satin bonnet, and retie in the morning. A quick spritz of water and leave in brings the puffs right back.
Three puffs spread the hair out, so no single spot gets pulled all week.
8. Zigzag Cornrows Into Two Twisted Ponytails
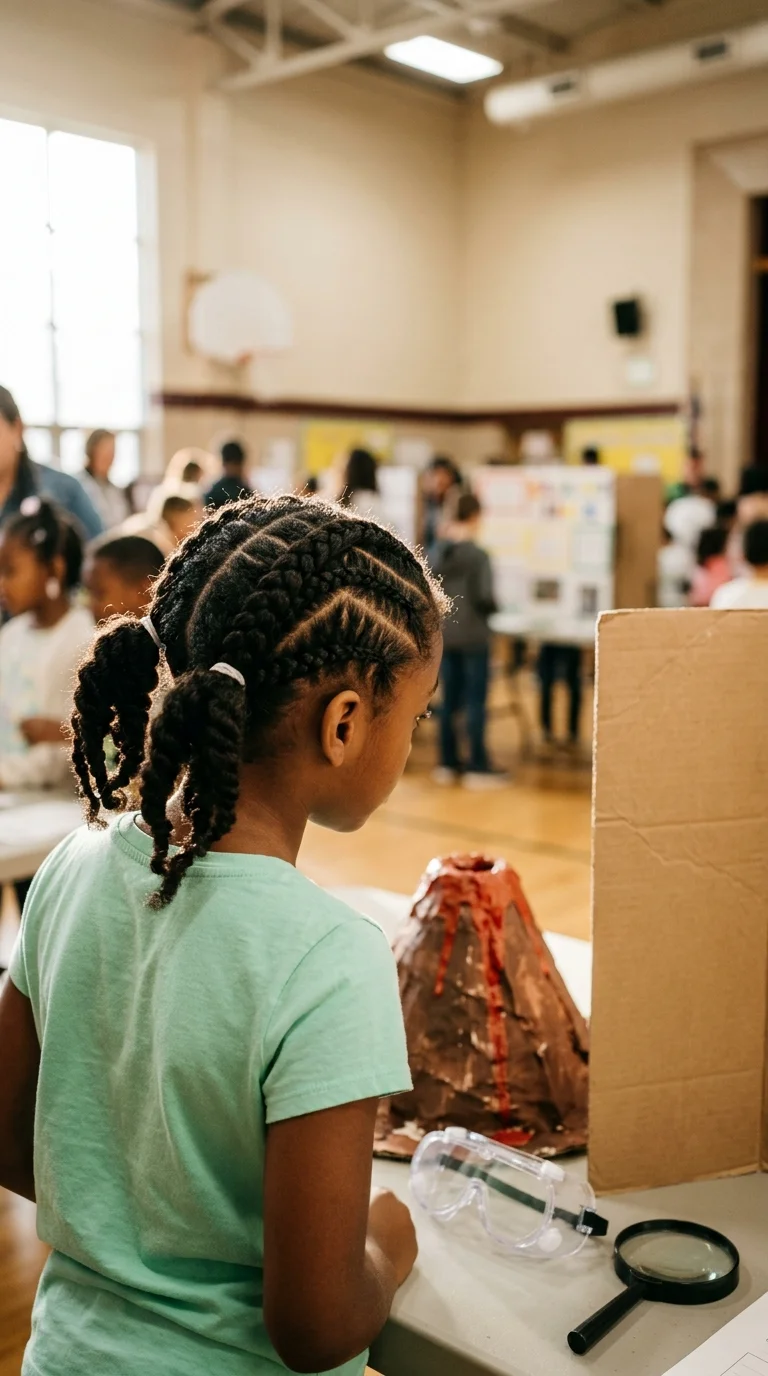
Most zigzag parts go wrong at the very first line. Rush it, and every row after has to follow a crooked center.
Draw the zigzag slowly with the tail of a rat tail comb, using a light hand and small, even angles. Then cornrow two or three rows on each side, following the zigzag, and stop at the back of the head. Gather each side into a ponytail and two strand twist the length.
A little edge control along the part keeps the zigzag crisp. Retouch it on Wednesday night and it carries the rest of the week.
9. A Rubber Band Grid With Loose Curly Ends
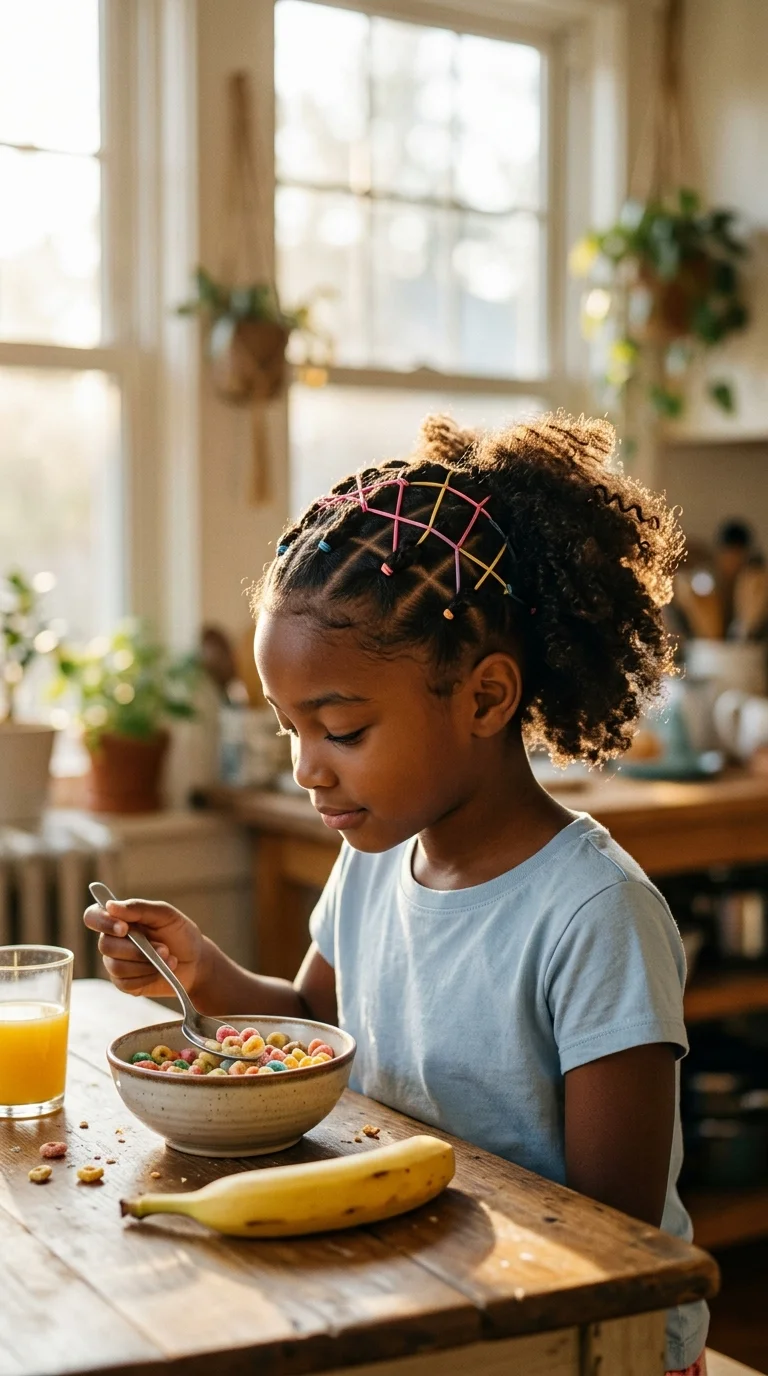
I see rubber band styles on little girls in first and second grade more than almost anything else, and it makes sense. No braiding skill needed, only patience and a pack of small bands.
- Part a row of tiny ponytails across the front hairline.
- Split each ponytail in half and join each half to the ponytail behind it.
- Keep going row by row until you reach the back, then leave the ends loose and curly.
Choose soft, snag free bands. Cheap ones can grab fragile coily strands and break them on the way out.
Removal tip: slide a finger under each band and snip it with small blunt scissors.
10. Two Feed In Braids With Fluffy Curly Tails
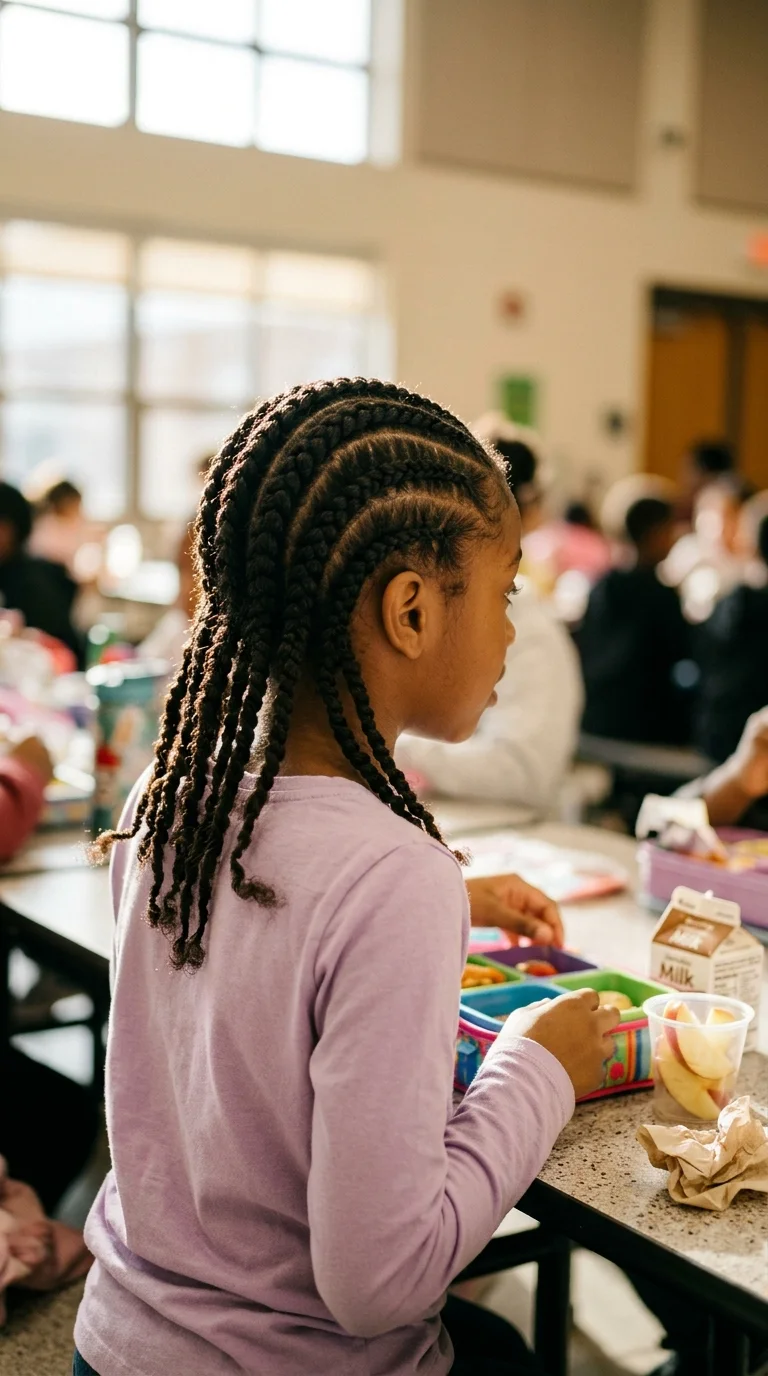
Plenty of parents think two braids only last a couple of days on natural hair. Done on stretched hair with feed in sections, they easily make it to Friday.
Start each braid small at the front hairline and feed in a little more hair with every pass. Braid down to the nape, then stop and let the ends puff out into soft curly tails.
The tails are where she gets to have fun. Some girls want them big and fluffy. Others like them tucked into tiny buns for gym.
Night tip: tie the satin scarf over the braids only, so the tails don’t flatten.
Stretch the hair first with big overnight twists or a low heat blow dry, so the braids lay flat.
Start each braid with a small section at the hairline and grow it as you go.
Braiding on soaking wet hair. It shrinks as it dries and pulls the braids tight.
Adding extra hair right at her edges, where she can least handle the weight.
11. Heart Part Cornrows for a Sweet Little Detail
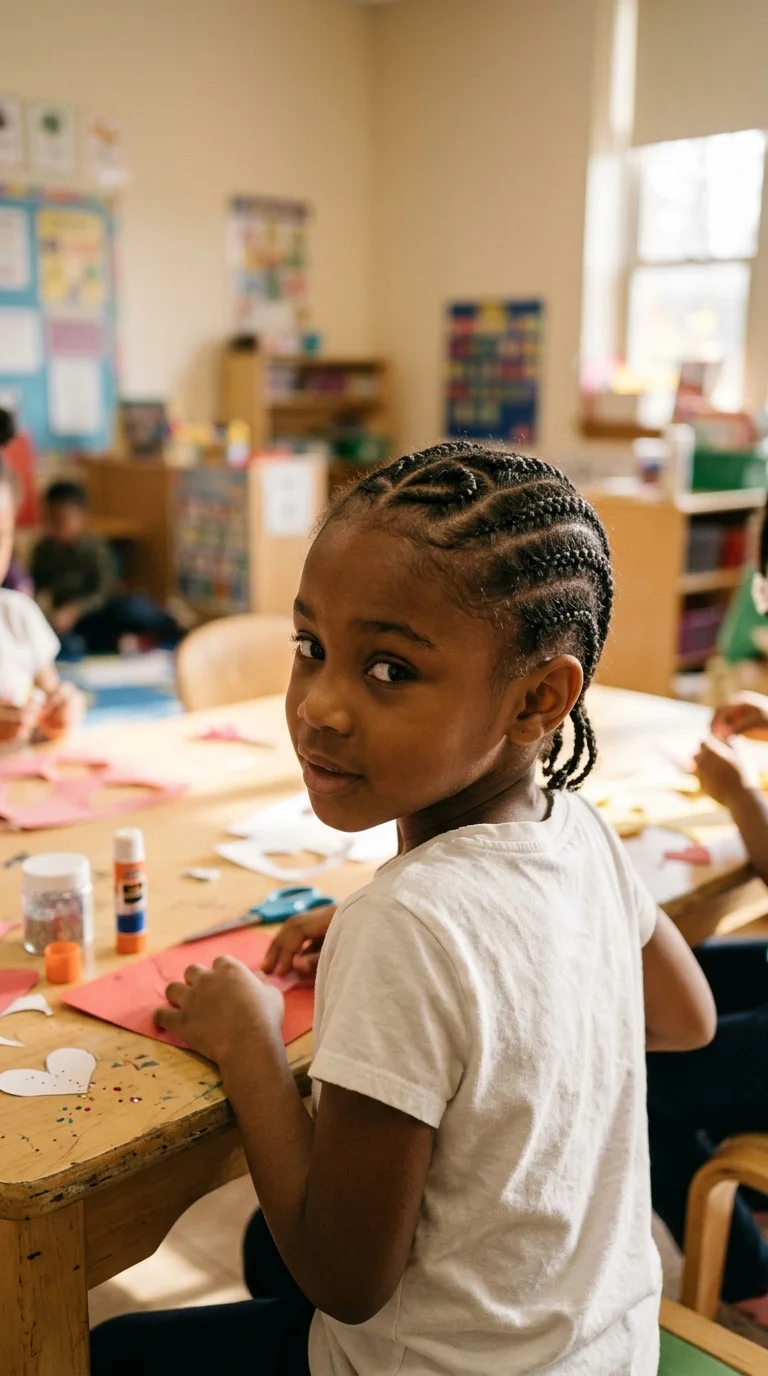
A small heart at the crown is the detail that makes kids beg to keep their braids in.
Sketch the heart first with a dab of gel on the comb tail, so the line shows clearly. Then cornrow two curved rows along the edges of the heart until they meet at the bottom point, and run the remaining rows straight back.
Keep the heart near the top of the head, not right on the hairline. It is easier to braid there, and it keeps the tension away from her edges.
Valentine’s week, picture day, or a random Tuesday. Kids rarely need a reason.
12. Front Cornrows With Twists Hanging in Back
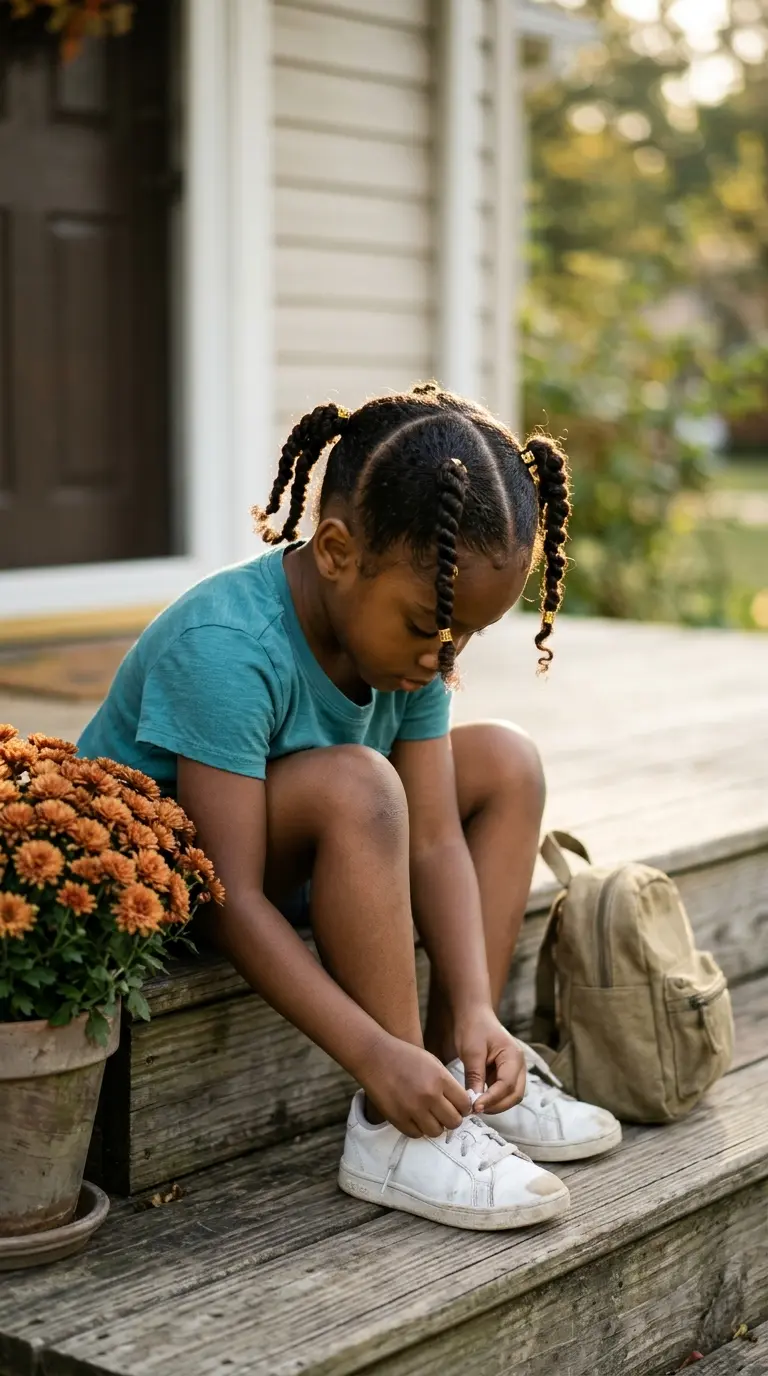
Full cornrows can take an entire afternoon, and some kids just can’t sit that long. Splitting the job in half helps everyone.
Here is the split:
- Front half: four to six cornrows running back to the crown.
- Back half: loose two strand twists from the crown down.
- Where they meet: blend the last inch of each cornrow into a twist so there is no gap.
It looks finished from the front, which is what teachers and photos see most. The back stays soft and touchable.
The twists also give her something to play with that won’t wreck the braids.
13. Four Ponytails With Two Strand Twisted Tails
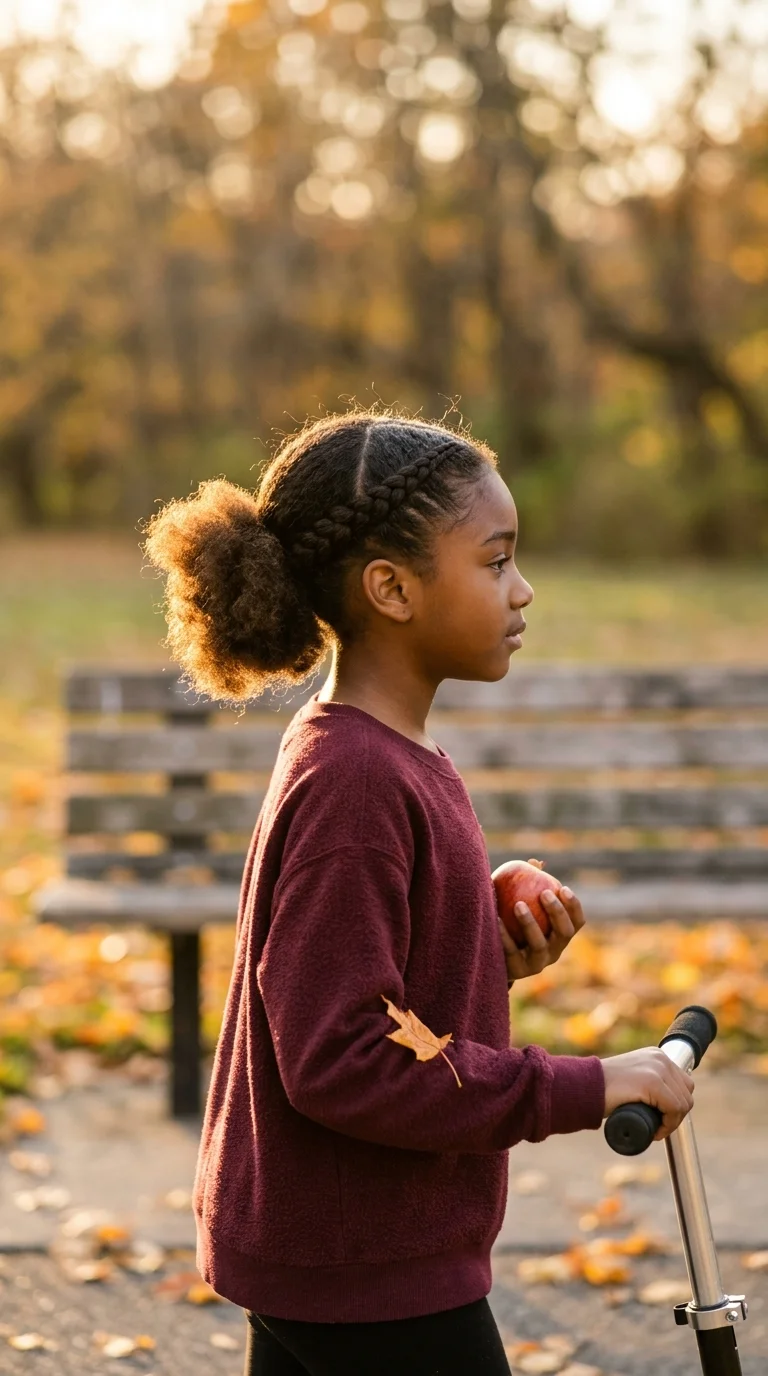
Two parts, four squares. One part runs ear to ear, the other runs front to back, and that is the whole map.
- Smooth each square into a ponytail with a soft brush and a little gel.
- Secure it with a fabric band.
- Two strand twist each ponytail down to the end.
- Add a small cuff or bead to each tail if she asks for one.
Four ponytails spread the weight around her head, which is gentler than one big puff worn all week.
Best for: younger girls with medium length hair who like their style to bounce.
14. Kinky Twists That Blend With Her Own Texture
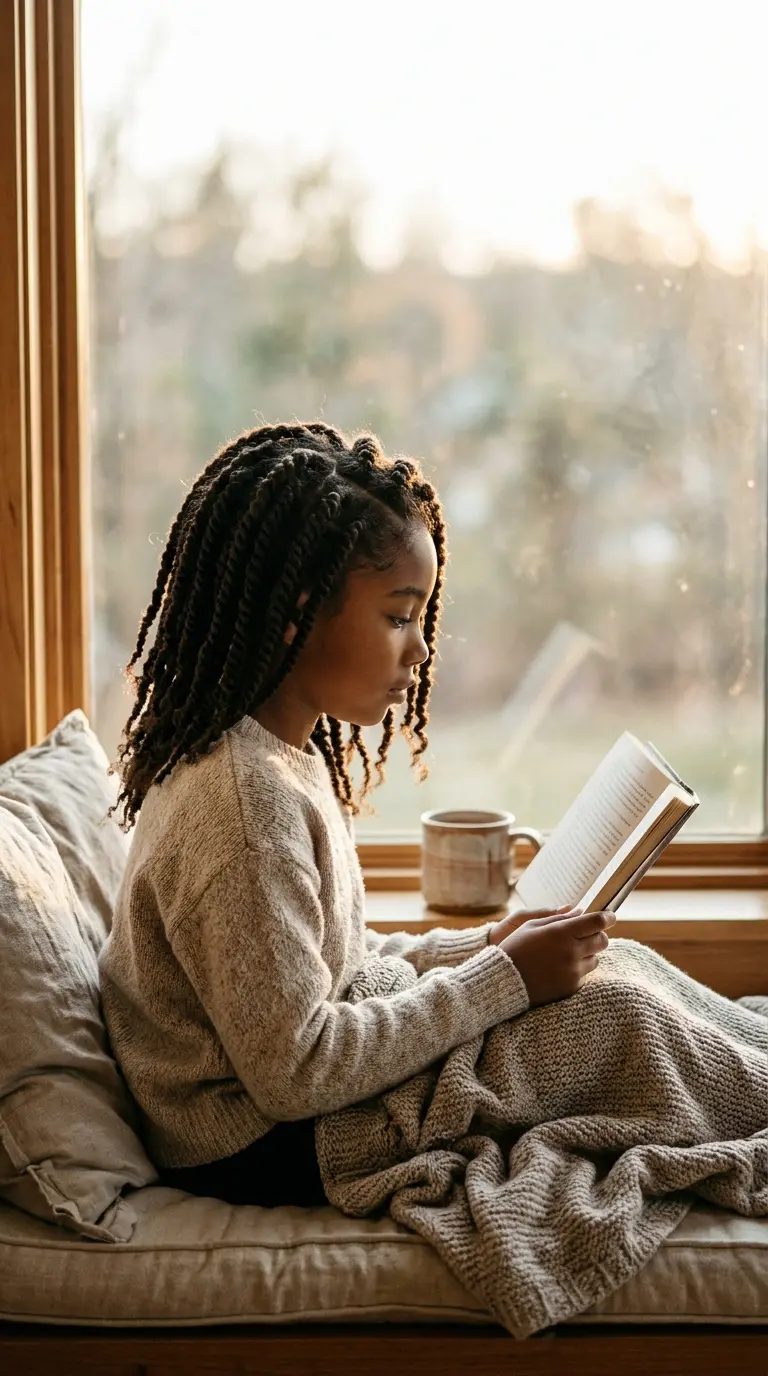
Kinky twist hair has a coarse, matte finish that blends right into coily hair. Silky braiding hair, by comparison, can look shiny and stiff next to her roots.
That blend is why the style looks fresh longer. As new growth comes in, the roots and the twists still match.
A few things to keep in mind:
- Stick to medium twists that end no lower than the middle of her back.
- Many stylists rinse the added hair in diluted apple cider vinegar before installing, to soften it and calm itchy scalps.
- Plan on three to four weeks, then give her hair a rest before the next set.
15. Side Swept Cornrows Into One Low Side Puff
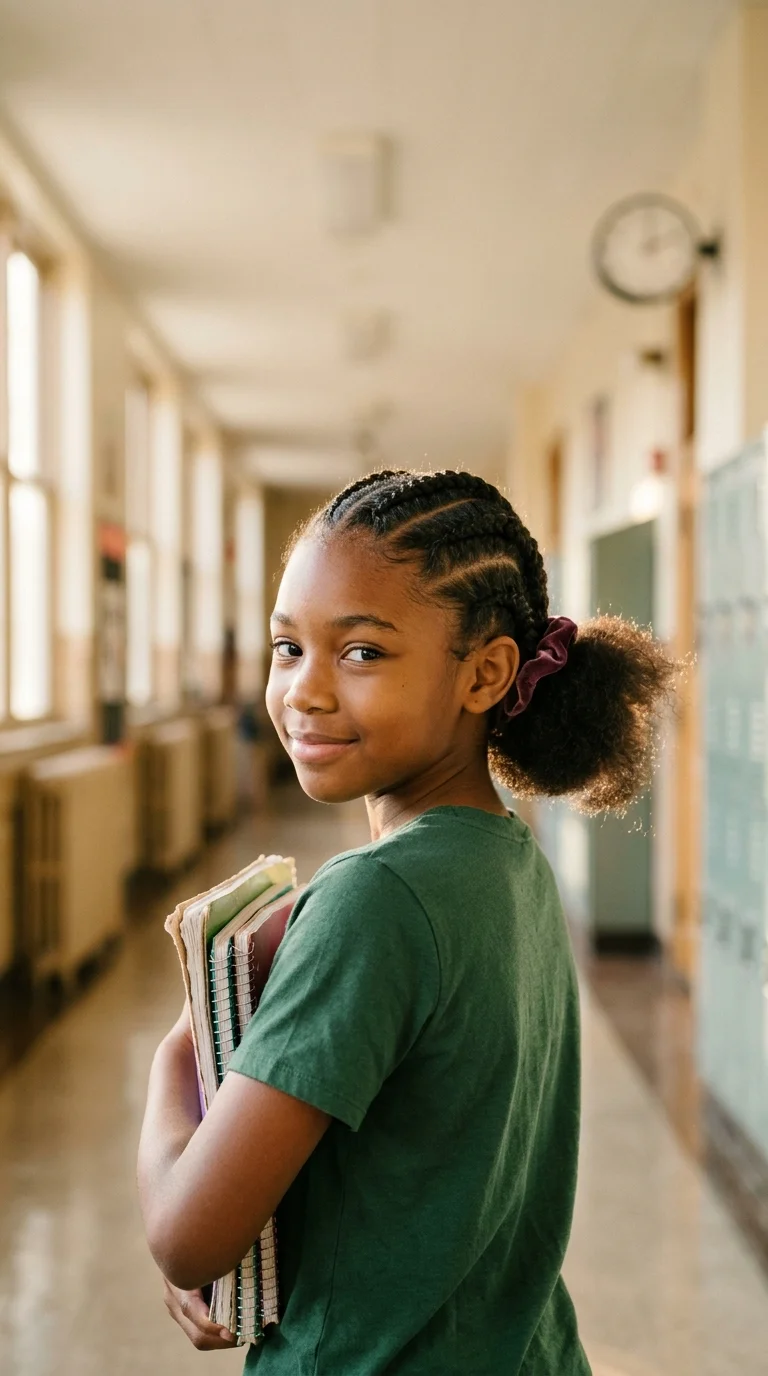
A side swept style feels a little more grown up, which girls in fourth and fifth grade tend to love.
Cornrow five or six rows on a diagonal, all sweeping toward one side and ending behind the ear. Gather the loose ends into a single low puff that sits just behind and below that ear.
Quick tip: braid the rows on the long side first. They are the hardest to angle, and doing them while she is still patient keeps them neat.
The puff rests near her shoulder instead of the back of her head, so it doesn’t get crushed against a car seat or a classroom chair.
16. Stitch Braids Into a High Ponytail
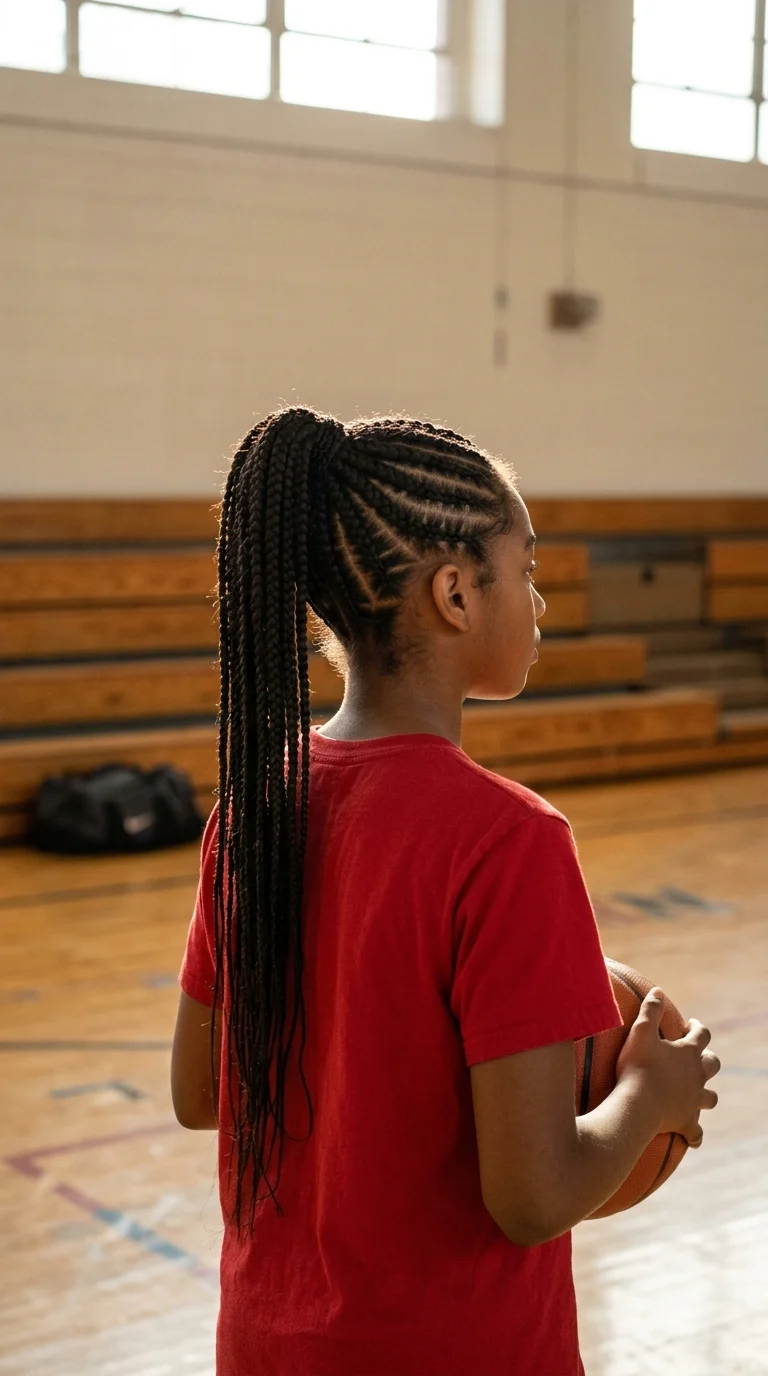
The big mistake with high ponytails on natural hair is pulling everything up tight to make it smooth. That is the fastest route to sore edges.
Stitch braids give you smooth, polished lines without the yank. Each cornrow gets neat horizontal stitches, made by hooking the hair with a fingernail as you braid, and every row runs up toward the crown.
Leave a little slack at the hairline, then gather the braid ends into a ponytail at the top. Add braiding hair to the ponytail if she wants extra length.
Save this one for older kids who can handle a long session.
17. Fulani Inspired Braids With a Center Row and Beads
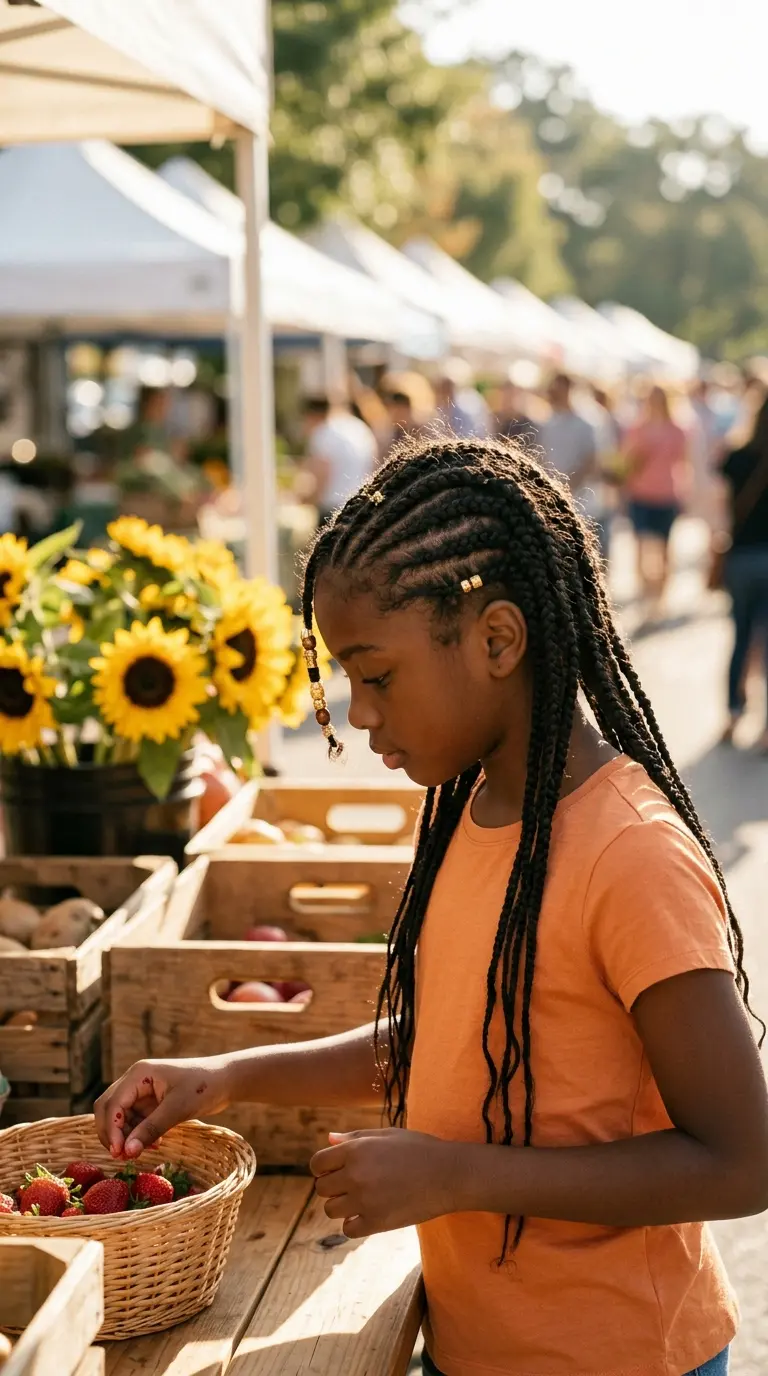
One cornrow down the center, side braids angled toward the face, and a few gold or wooden beads at the ends. That layout is what makes Fulani inspired braids so easy to spot.
For school, a scaled down version works best:
- One center cornrow running toward the nape.
- Two or three side cornrows on each side, angled forward.
- Knotless braids filling the back, ending at the shoulders.
- Beads on a handful of braids, not all of them, so the ends stay light.
It is a long install, so plan on a weekend afternoon. In return, you get a style that can go two to three weeks.
18. A Banded Bubble Ponytail Down the Back
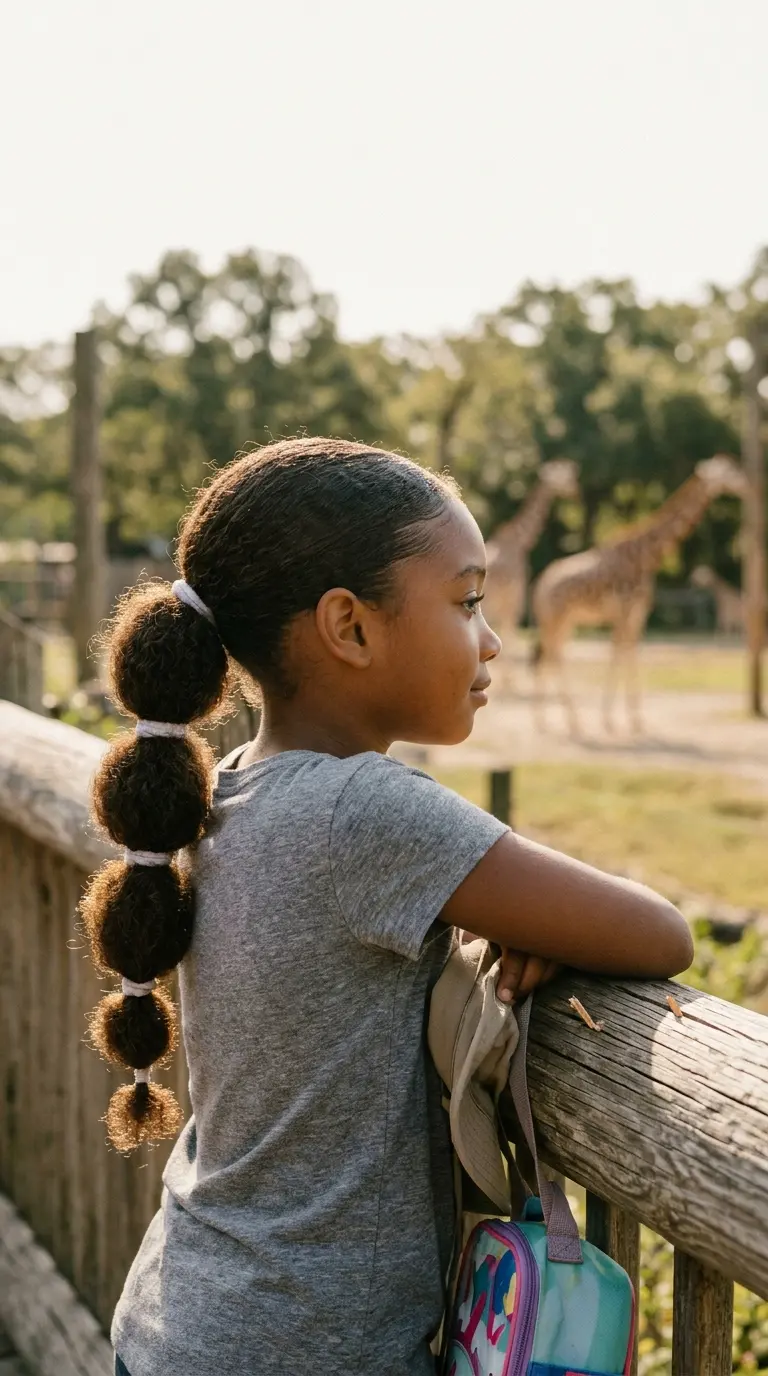
Field trip day calls for something that survives a bus ride and a long walk around the zoo.
A banded ponytail handles it. Gather stretched hair into one low ponytail at the nape. Slide a soft band down every two or three inches, then gently pull each section wider to make a round bubble.
Why it works on natural hair:
- The bands hold the shape even if the hair shrinks a little.
- Each bubble fluffs back up in seconds.
- Nothing is braided, so takedown is quick.
Sleep in a satin bonnet and it can stay in all week.
19. Space Buns With Cornrowed Sides
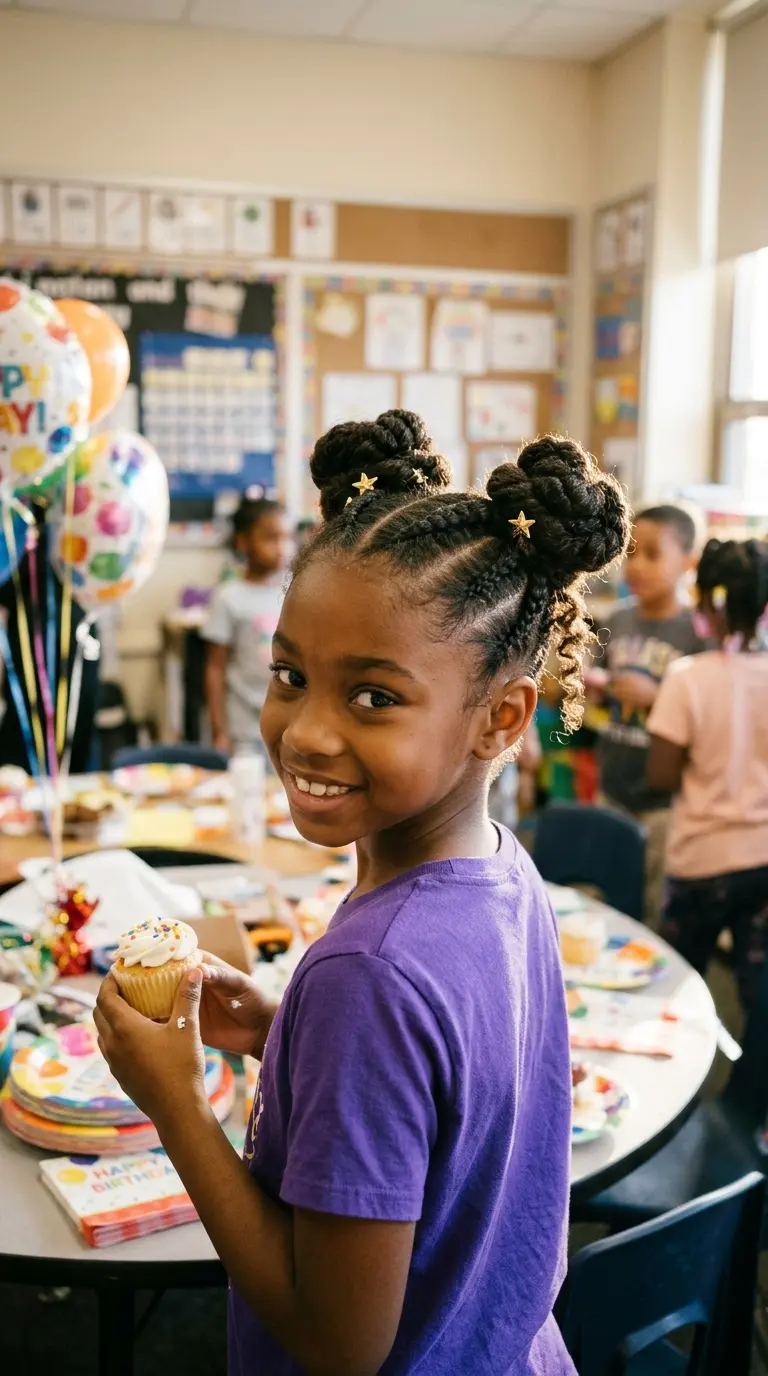
Here is the one rule for buns that stay put: braid the base first.
Two or three cornrows on each side, running up toward the top of the head, keep the hair around the buns flat. Without them, the sides frizz out by Wednesday.
- Part the hair straight down the middle.
- Cornrow each side up toward the crown.
- Twist the loose ends into a bun on each side and pin it in place.
If the buns look fuzzy by Thursday night, take only the buns down and twist them back up. The braids underneath stay put the whole time.
Best for: spirit week, class parties, and girls who like a little fun.
20. Day Five Refresh: Old Twists Pinned Into a Crown
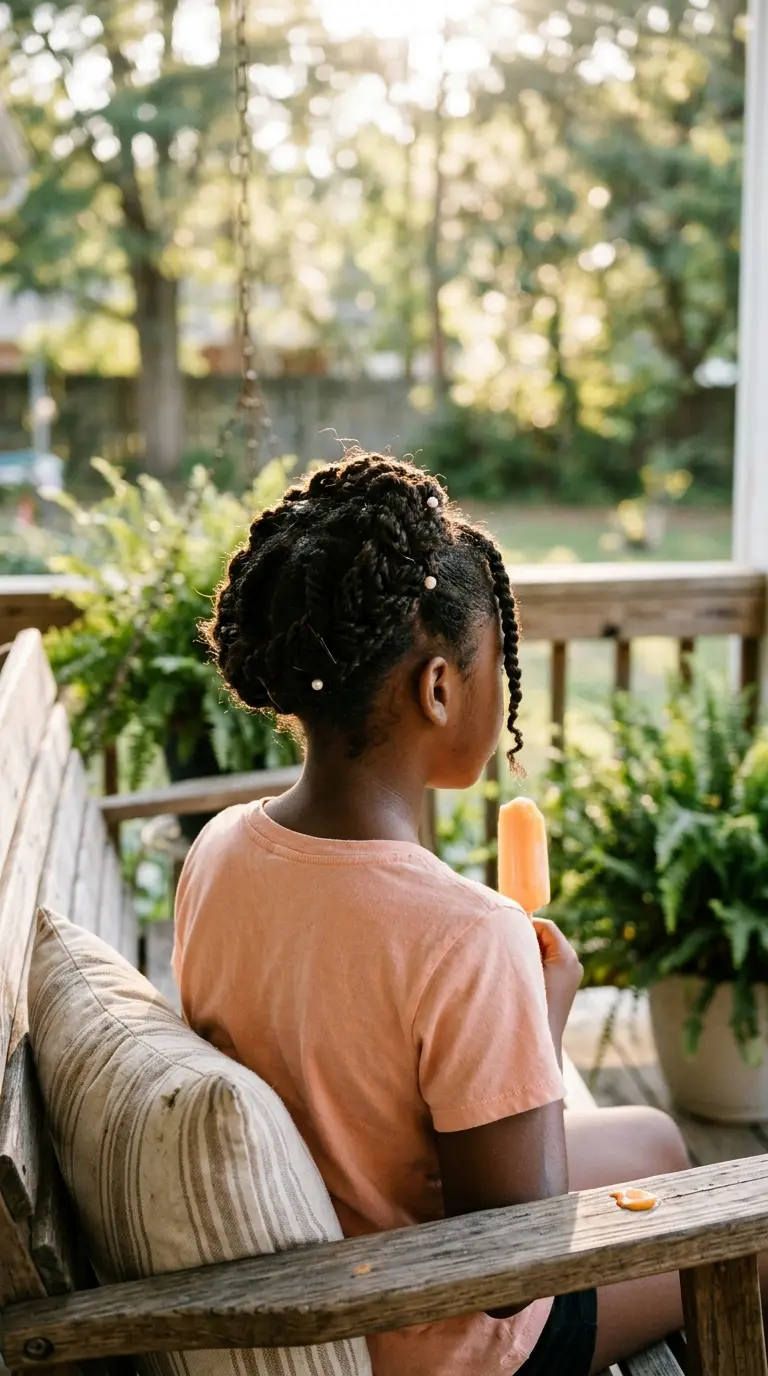
By Friday, even a great set of twists starts to look fuzzy at the roots. Before taking them down, give the week one more good day.
Lift the twists from the back and sides, cross them over the top of her head, and pin them into a crown with large bobby pins. The fuzzy roots get hidden and the ends tuck in neatly.
Quick tip: smooth a little gel on the front hairline only. The rest of the frizz reads soft and on purpose.
It buys a day or two, which is often all you need to reach wash day.
Twists that are five days old, fuzzy at the roots, flat on one side from sleeping, with a few ends starting to unravel.
The same twists crossed and pinned into a crown, front hairline smoothed, ends tucked away, ready for the weekend.
A good weekly style is really a gift to your mornings. Put the time in once, protect it at night with a satin bonnet or pillowcase, and the school week runs on a spray bottle and a little edge care.
Start with the styles that match your hands right now. Twists, puffs, and banded ponytails are kind to beginners. Halo braids and stitch braids can wait until you feel ready.
Rotate a few favorites, and give her edges a rest between the tighter styles. These natural hairstyles for school Black girls are meant to make life easier for both of you.
Save this list to your school mornings board so next Sunday’s style is easy to pick.