
Sixth grade has a way of making you notice your hair. Suddenly there are lockers, class photos, a new lunch table, and about four minutes between the bathroom mirror and the bus.
Here is the honest part. The girls whose hair always looks put together are not spending an hour on it. They have three or four go to styles they can do half asleep, and they know one small trick for each, like where to put the part or how to make a braid look fuller.
That is what this list of middle school hairstyles for girls is for. Every style here works with a brush, a pack of small elastics, some bobby pins, and maybe a claw clip or a ribbon. There are quick ones for late mornings, sporty ones that survive gym class, and a few dressier picks for picture day or the school dance.
Each idea says what hair length it works on. Some need a parent or older sister for the first try, and that is fine. Pick two to practice this weekend, then add more as you go.
1. Sleek High Ponytail With a Wrapped Base
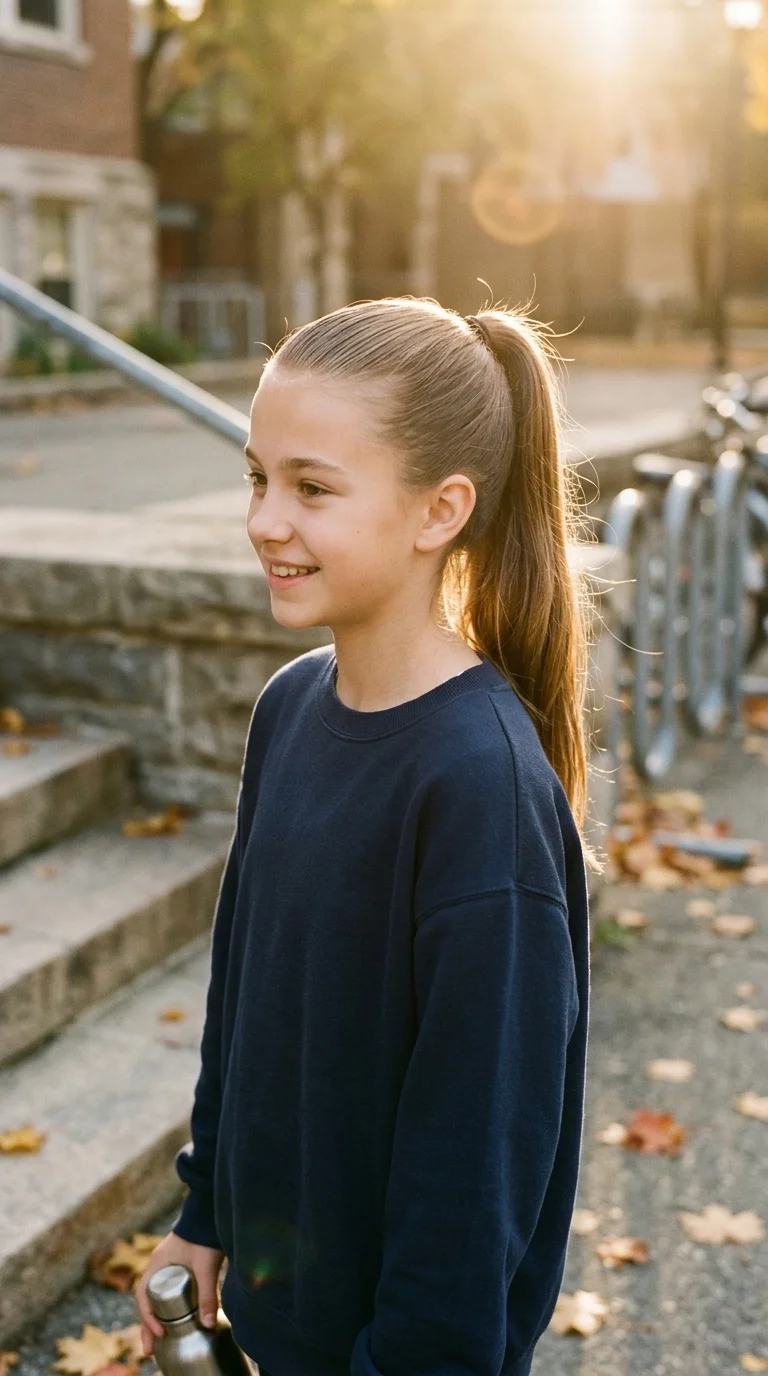
Volleyball tryouts, a math quiz, and a group photo can all land on the same Tuesday. This ponytail handles all three.
- Brush your hair up to the crown while your head is tipped back a little. This stops the bumps at the nape.
- Tie it with a strong elastic.
- Pull a thin strand from underneath the ponytail.
- Wrap it around the elastic two or three times and pin the end underneath with one bobby pin.
The wrapped strand hides the elastic, which is the small detail that makes it look finished.
Quick tip: a dab of hair gel or leave in cream on your brush keeps flyaways down until lunch.
Best on shoulder length hair or longer.
2. Claw Clip Twist for Rushed Mornings
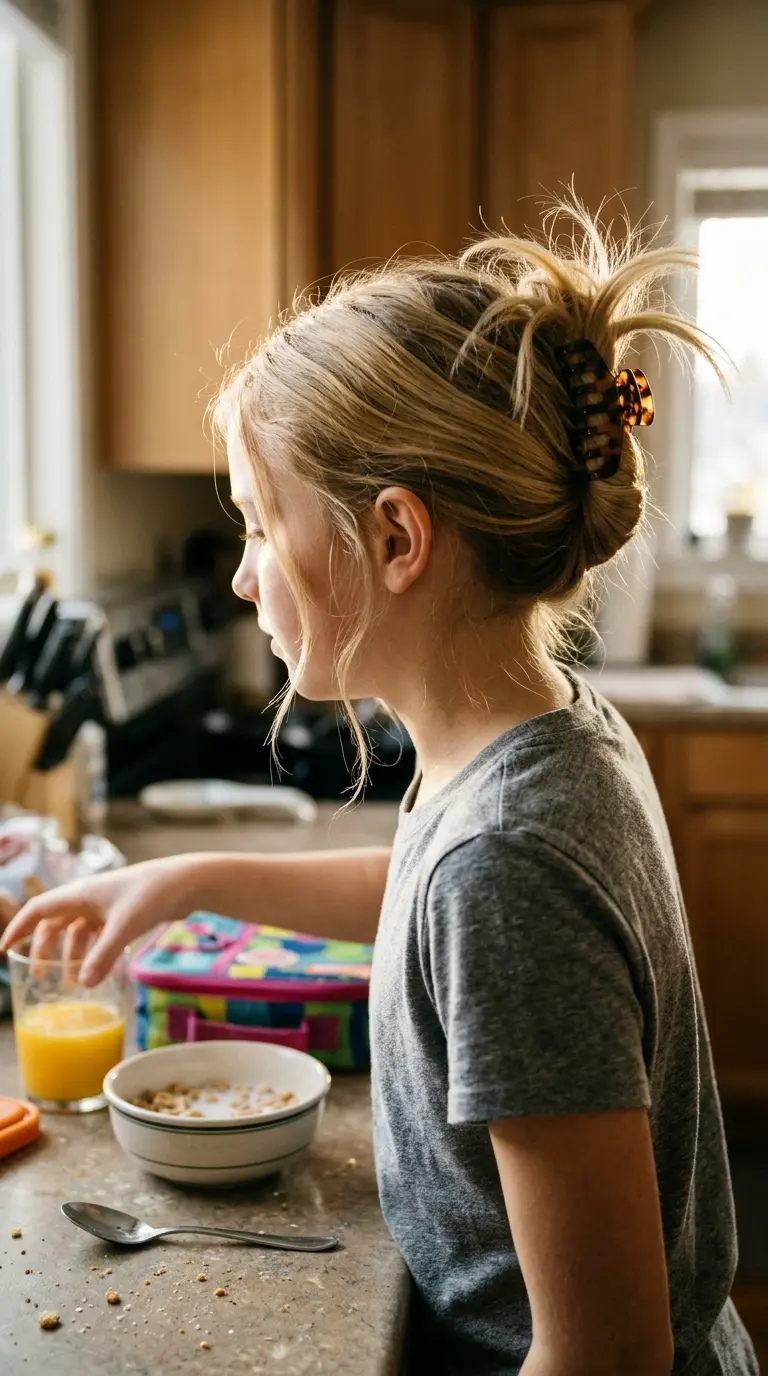
A tortoiseshell claw clip, a twist, and about forty seconds. That is the whole setup.
Gather all your hair at the nape like a low ponytail. Twist it upward, flat against the back of your head, until the ends reach the crown. Open the clip, bite it across the twist from the side, and let the ends spill over the top.
The spilling ends matter. Tucking them in makes it look like a shower clip.
Good for thick hair that hates elastics, and for the days your alarm did not go off. Medium sized clips work best for tweens, since the giant ones tend to slide down by second period.
3. Two Dutch Braids Into Low Pigtails
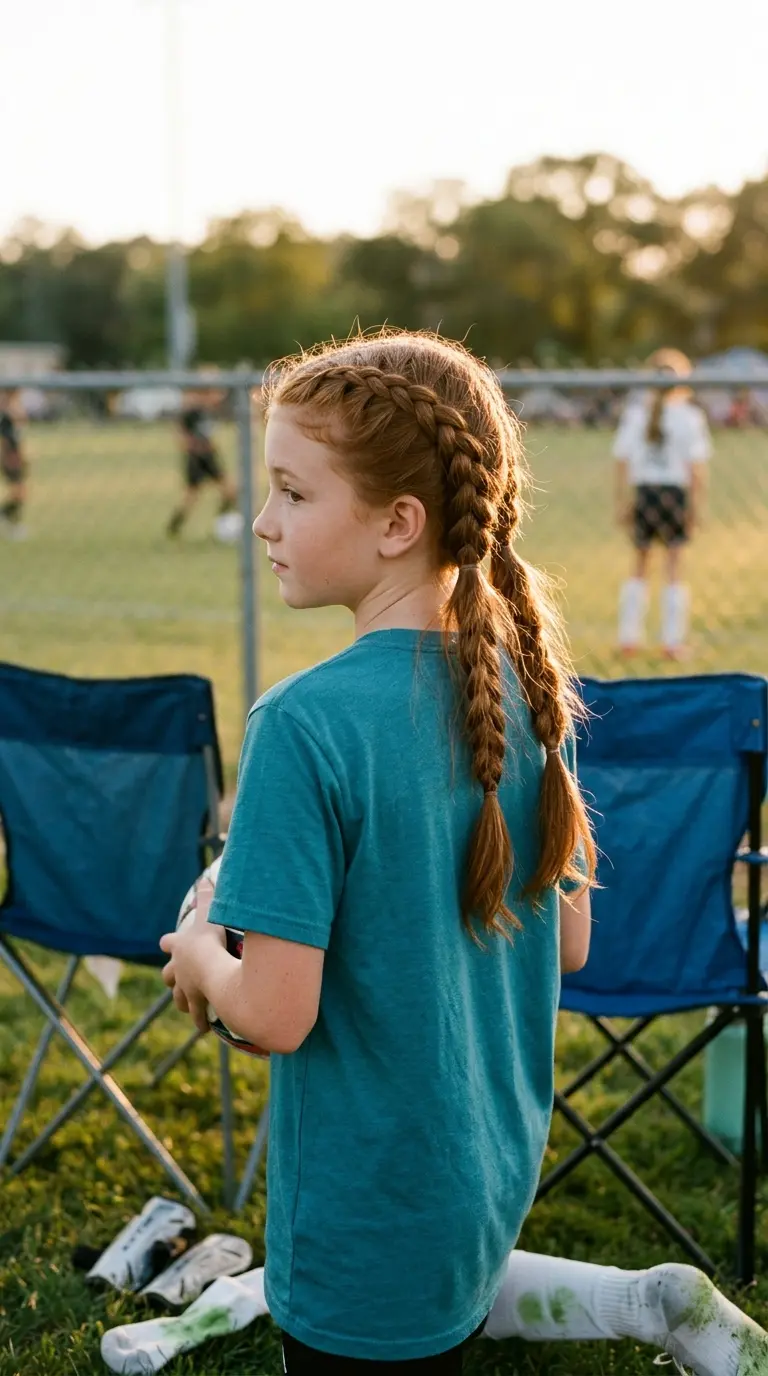
Most braids fall apart during PE. Dutch braids are the exception, because each piece crosses under instead of over, so the braid sits on top of your head and grips.
The common mistake is braiding too loosely at the start. If the first three crosses are tight, the rest stays neat.
- Part straight down the middle with the tail of a comb.
- Braid each side from the hairline to the nape.
- Stop braiding at the nape and tie it off as a pigtail.
Leaving the ends loose looks younger and softer. Braiding all the way down looks sportier. Both last two days if you sleep in a satin bonnet or on a silk pillowcase.
Spray hair lightly with water first so the sections stay smooth.
Keep your hands close to your scalp for the first few crosses.
Gently tug the outer edges after tying off to make the braids look fuller.
Braiding on tangled hair. Brush out every knot before you start.
Pulling so tight it hurts. Snug is enough.
Rubber bands without fabric, which snag when you take them out.
4. Half Up Space Buns With a Zigzag Part
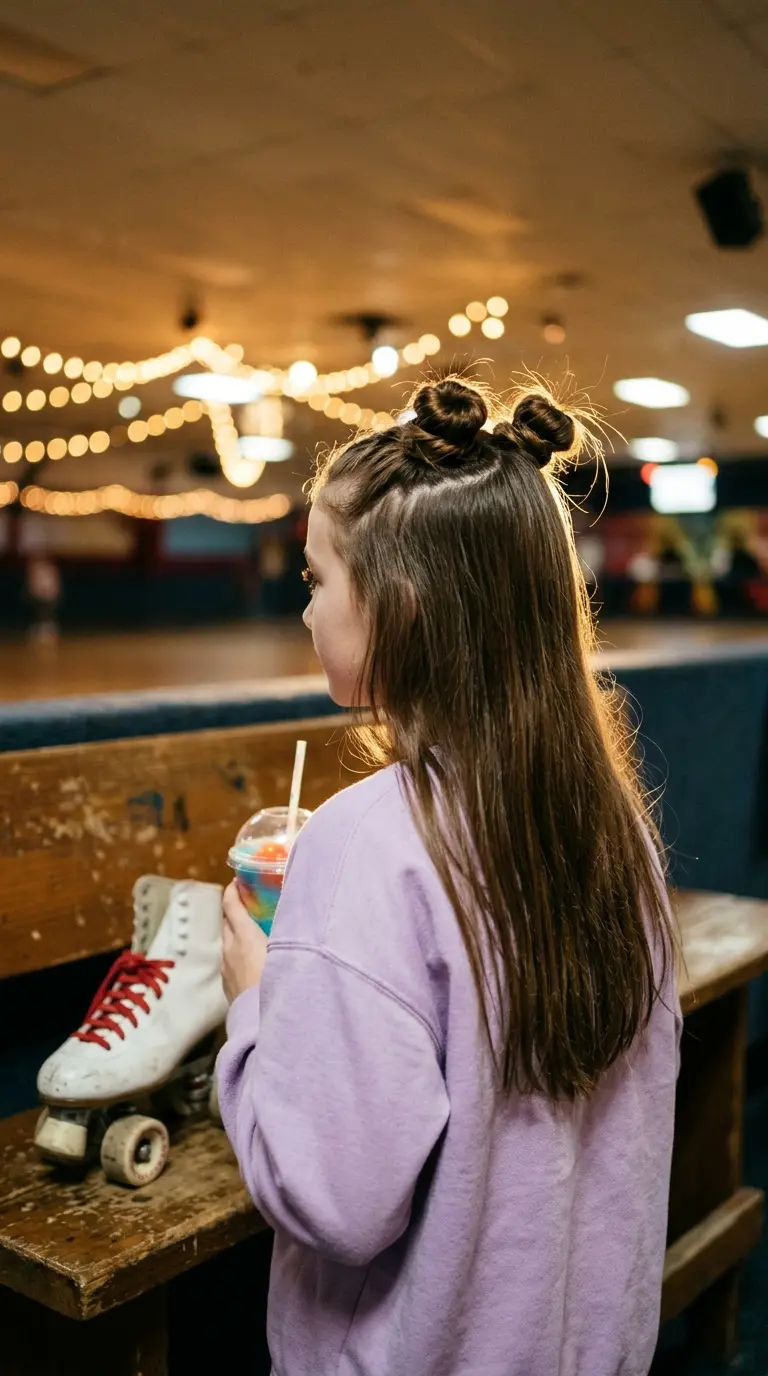
Two little buns on top, the rest of your hair down. It reads fun without looking like you are trying too hard.
The zigzag part is what makes it look on purpose. Drag the tail of a comb back from your hairline, wiggling it left and right in short moves, then flip the pieces to each side.
Next, take the top section on each side, twist it into a ponytail, wrap it around itself, and secure it with a small elastic and two pins.
Keep the buns about the size of a ping pong ball. Bigger ones flop forward by fourth period.
Works on medium and long hair, straight or wavy.
5. Bubble Ponytail With Tiny Clear Elastics
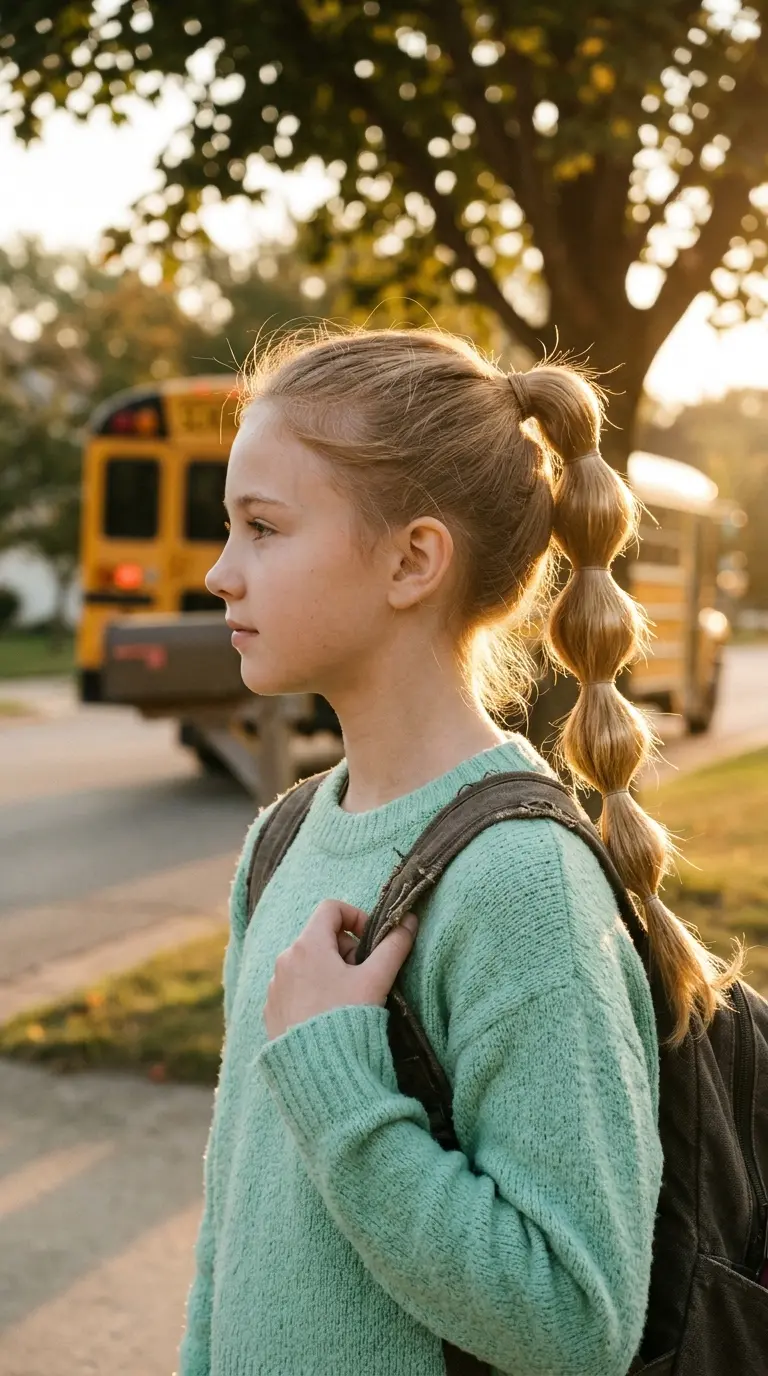
Bubble ponytails look complicated. They are just a regular ponytail with extra elastics.
What you need: one strong hair tie and four or five tiny clear elastics, the kind sold in packs of a hundred.
Make a high or mid ponytail. Add a clear elastic every two inches down the length. Then pinch the hair between each pair of elastics and gently pull it out to the sides so it puffs into a round bubble.
Clear elastics disappear in blonde and light brown hair. On dark hair, black ones blend better.
Small warning: cut the tiny elastics out with nail scissors at the end of the day instead of pulling them. Pulling breaks hair.
6. Messy Top Knot With Face Framing Pieces
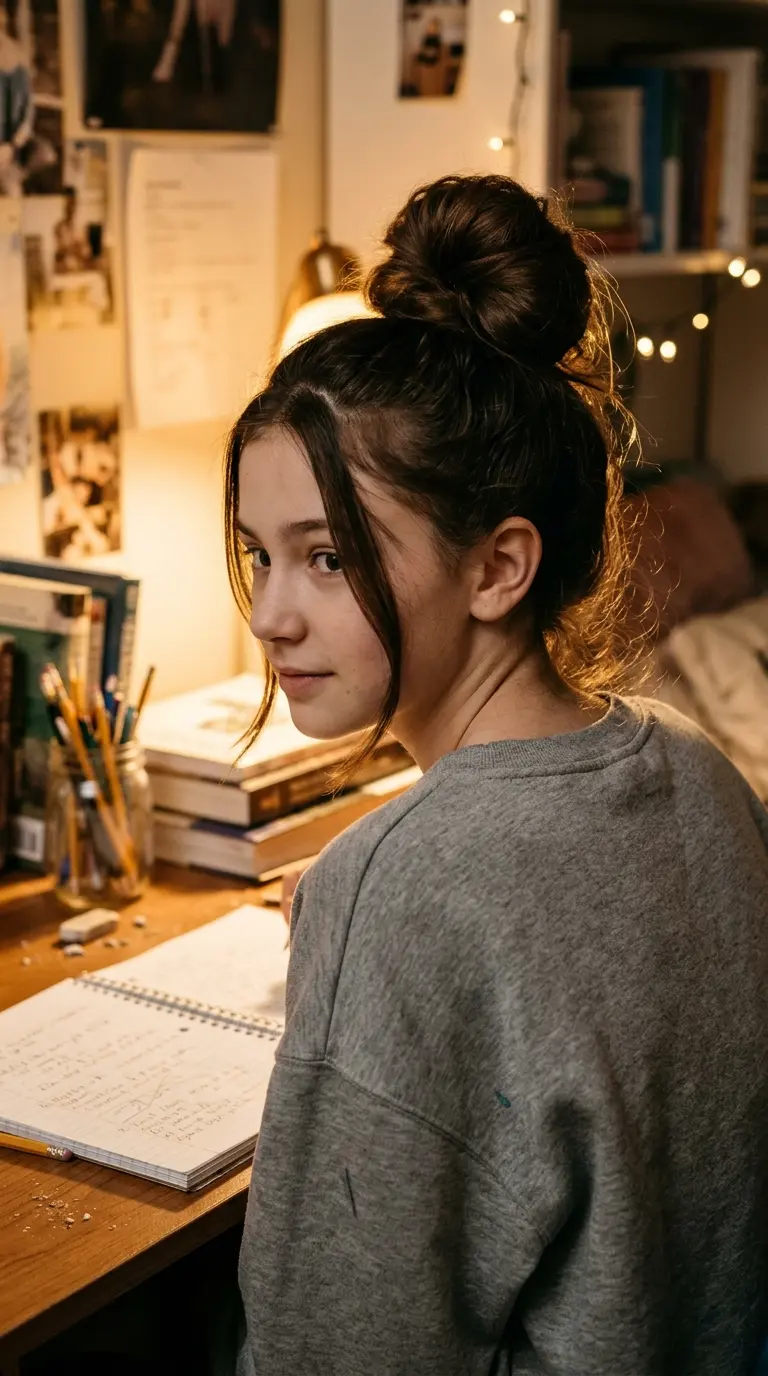
There is a difference between a messy bun and a bun that just looks messy. The trick is all in the front.
Pull two thin pieces out at your hairline before you start, one on each side of your face. Then flip your head upside down, gather everything at the crown, and twist it into a loose coil. Wrap a scrunchie around it twice.
Now loosen it. Tug a few bits from the top of the bun so it looks fuller and rounder.
It is the go to for homework nights, sleepovers, and Mondays. If your hair is very fine, tease the ponytail a little with a comb first so the bun has some body.
7. Side French Braid Over One Shoulder
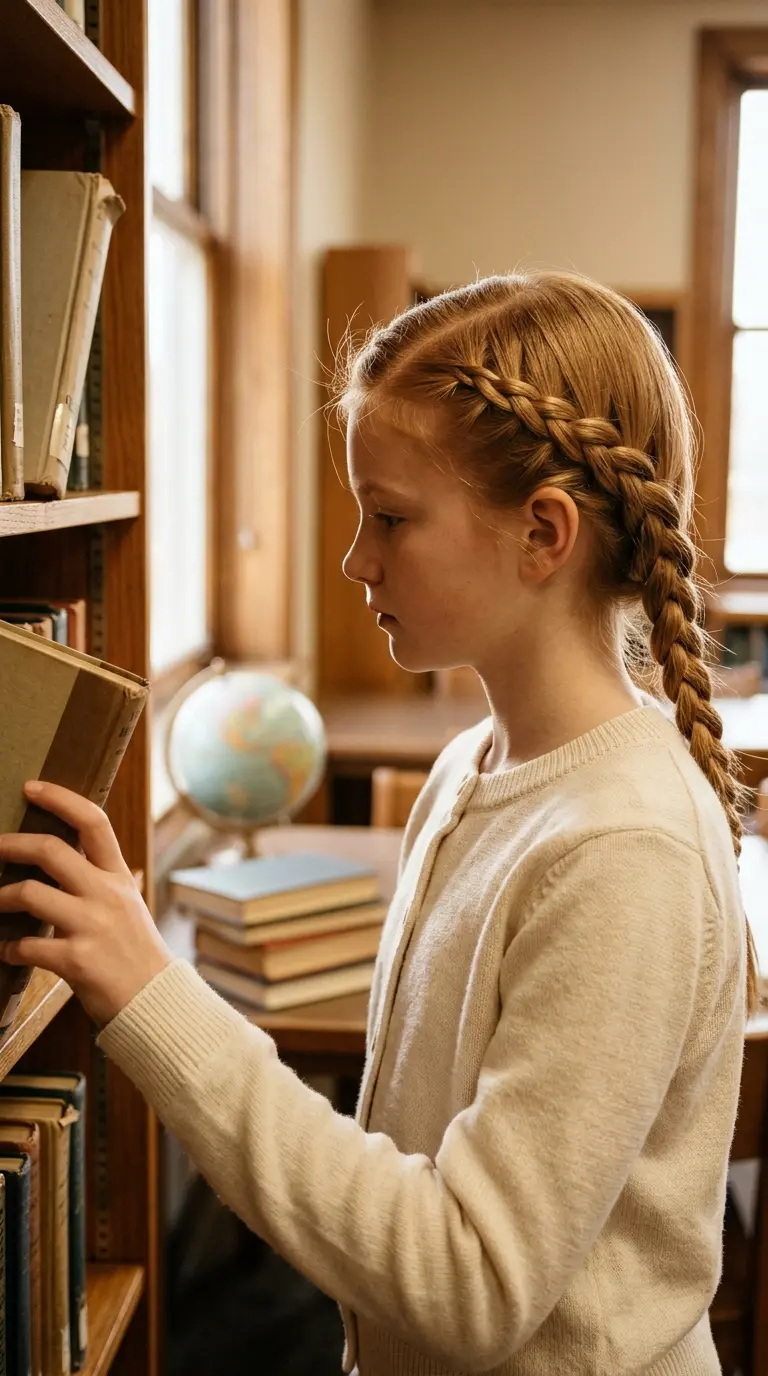
Picture day, a choir concert, a birthday dinner. A side braid works for all of them.
Start with a deep side part. Pick up three pieces right at the part and French braid along your hairline, adding hair from the top and bottom, angling the braid toward the ear on the opposite side. Once you pass behind that ear, keep braiding normally and bring it forward over your shoulder.
Here is something many people miss. Angle the braid downward slowly. If it drops too fast, it bunches behind the ear.
Quick tip: a small clear elastic at the end, then a ribbon tied over it, looks extra neat for photos.
8. Ribbon Bow on a Half Up Style
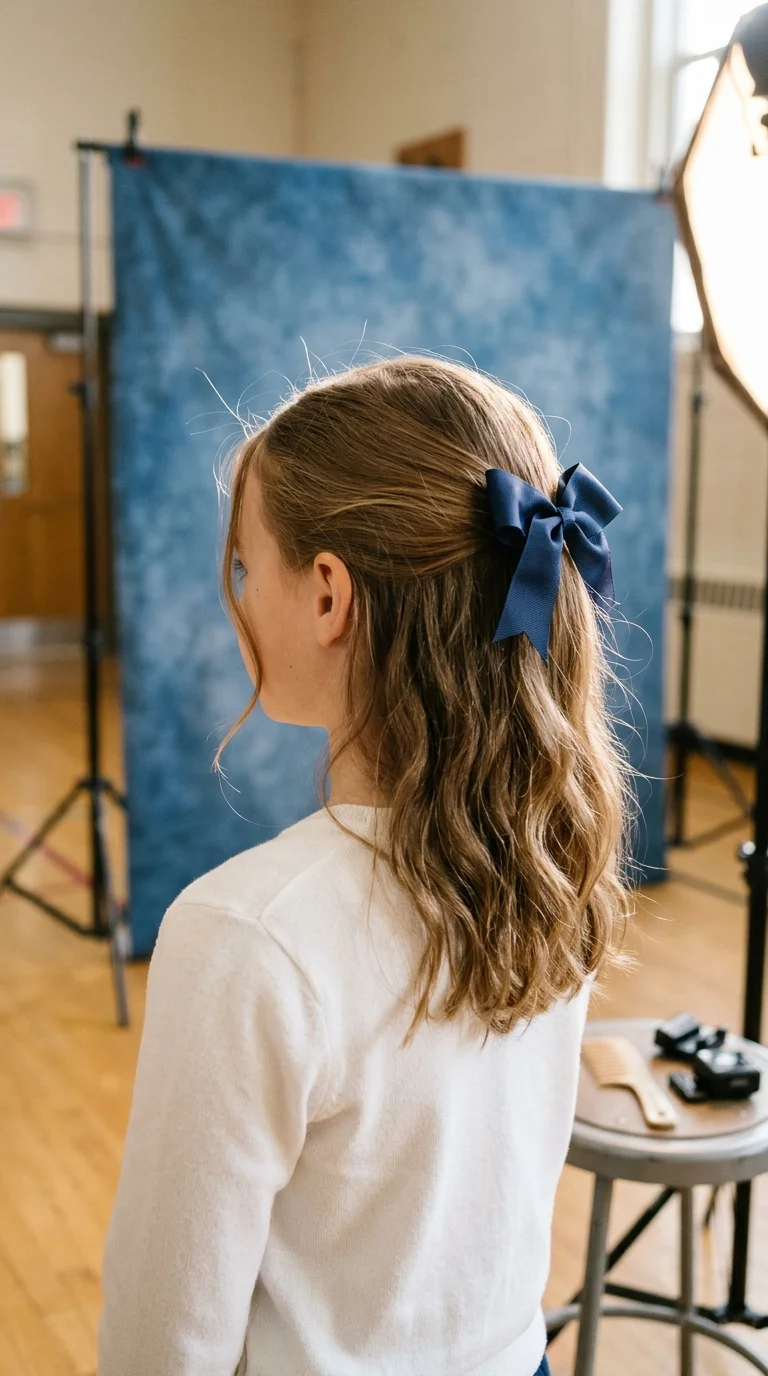
Bows are back, and tweens are wearing them on everything.
The easy version takes two steps. Pull the top section of your hair back, from temple to temple, and tie it with a small elastic. Then tie a ribbon over the elastic in a regular shoelace bow.
A few choices change the whole look:
- Thin satin ribbon looks soft and sweet.
- Wide grosgrain ribbon in navy or black looks a little more grown up.
- Long tails that hang past the shoulders look dressier than short ones.
Snip the ribbon ends on a slant so they do not fray in the backpack. Keeps for weeks.
9. Twisted Front Pieces With Butterfly Clips
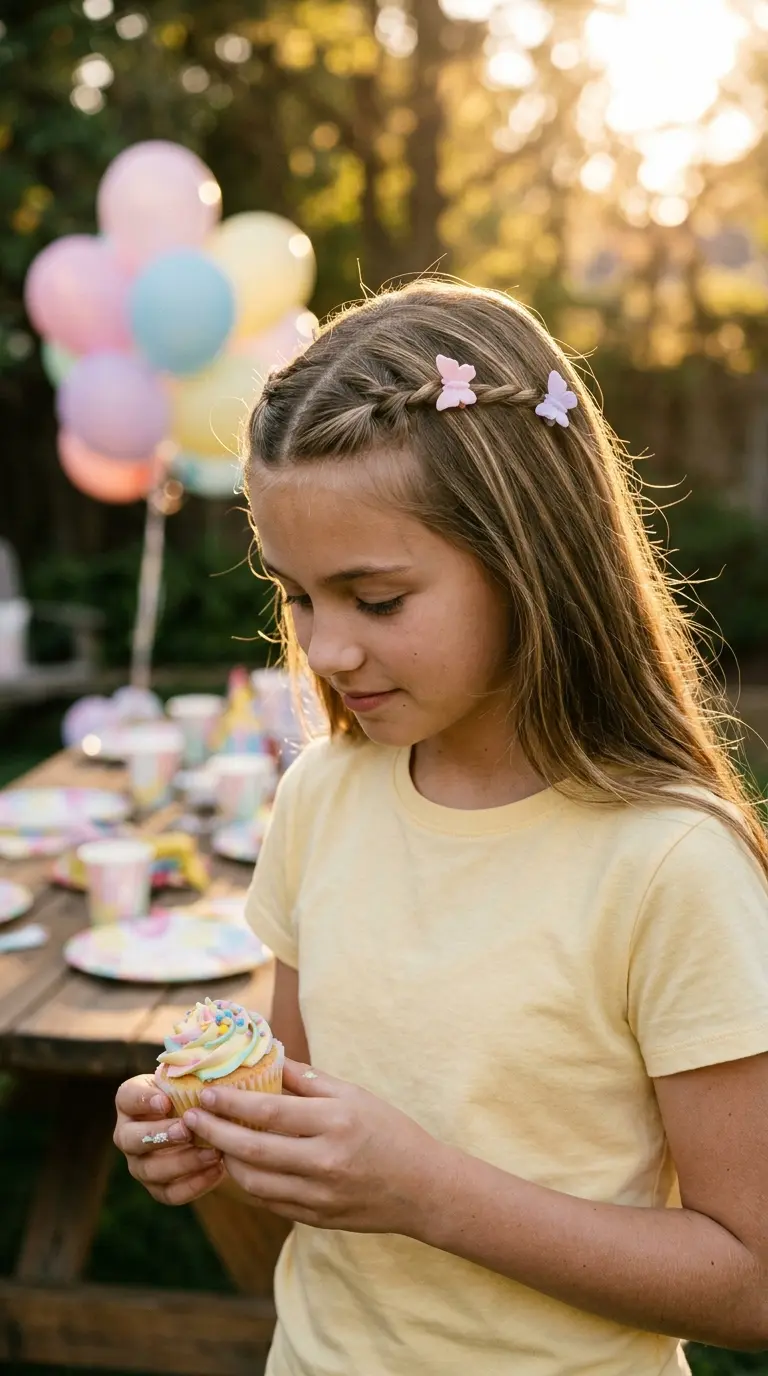
Got hair that is down most days? Of everything on this list, this is the easiest way to make loose hair look styled.
Take a one inch piece from the front on each side of your part. Twist each one away from your face, toward the back, until it lies flat. Clip it just behind the ear with a butterfly clip.
That is it. Two clips, maybe a minute.
The style borrows from the late 90s, and it has a fun, slightly retro feel. Pastel clips look sweet. Tortoiseshell or plain gold ones are quieter for kids who do not want to stand out too much. Great for growing out bangs, too.
10. Sleek Low Bun With a Middle Part
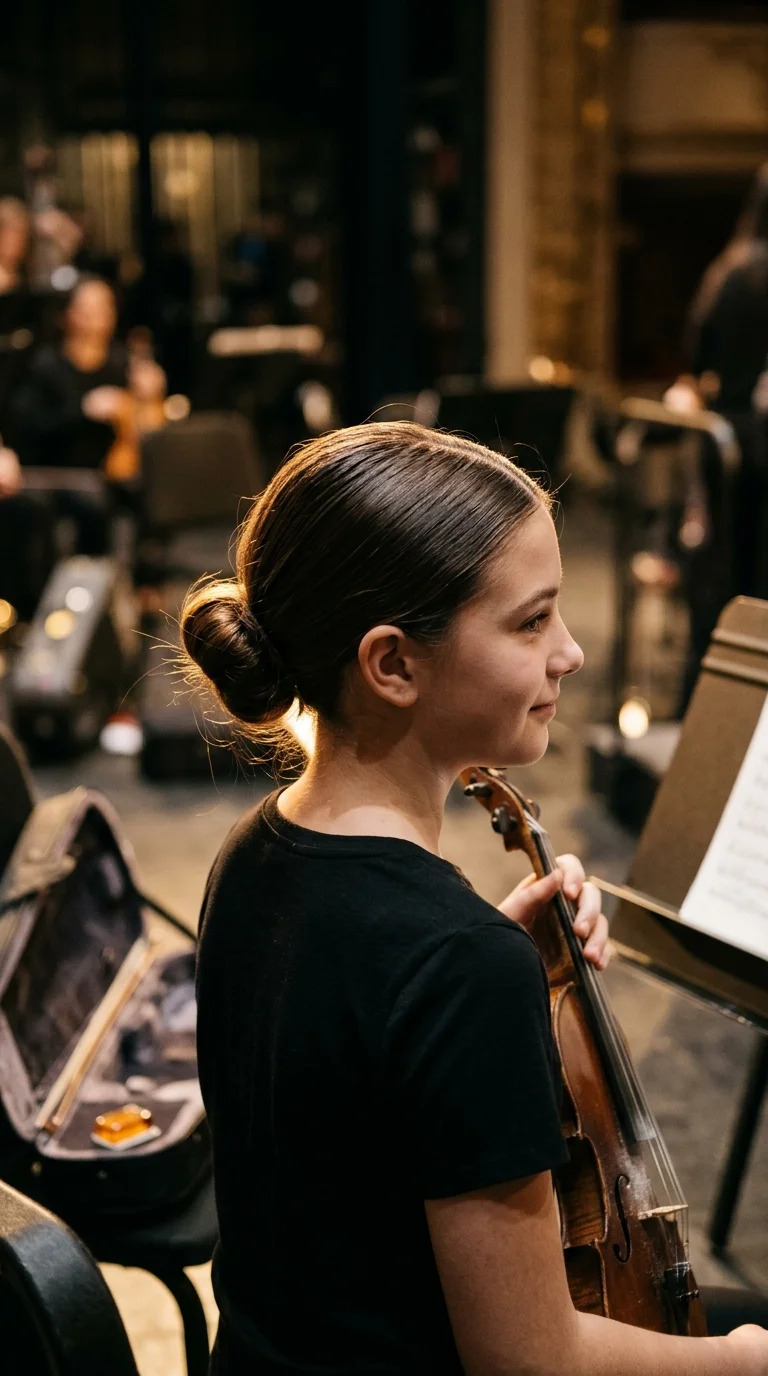
Band concerts, orchestra, dance recitals, and any day with a dress code tend to call for the same look. Smooth, low, and tidy.
- Part your hair right down the middle.
- Brush it back into a low ponytail at the nape with a little gel.
- Twist the ponytail and coil it around the elastic.
- Pin it with four bobby pins, pushing each one in toward the center of the bun.
- Cover it with a hair net in your hair color if you are dancing.
Older girls wear this one a lot, so it makes a tween look polished and ready. Brush it again with a soft brush before the gel dries.
11. Rope Twist Ponytail
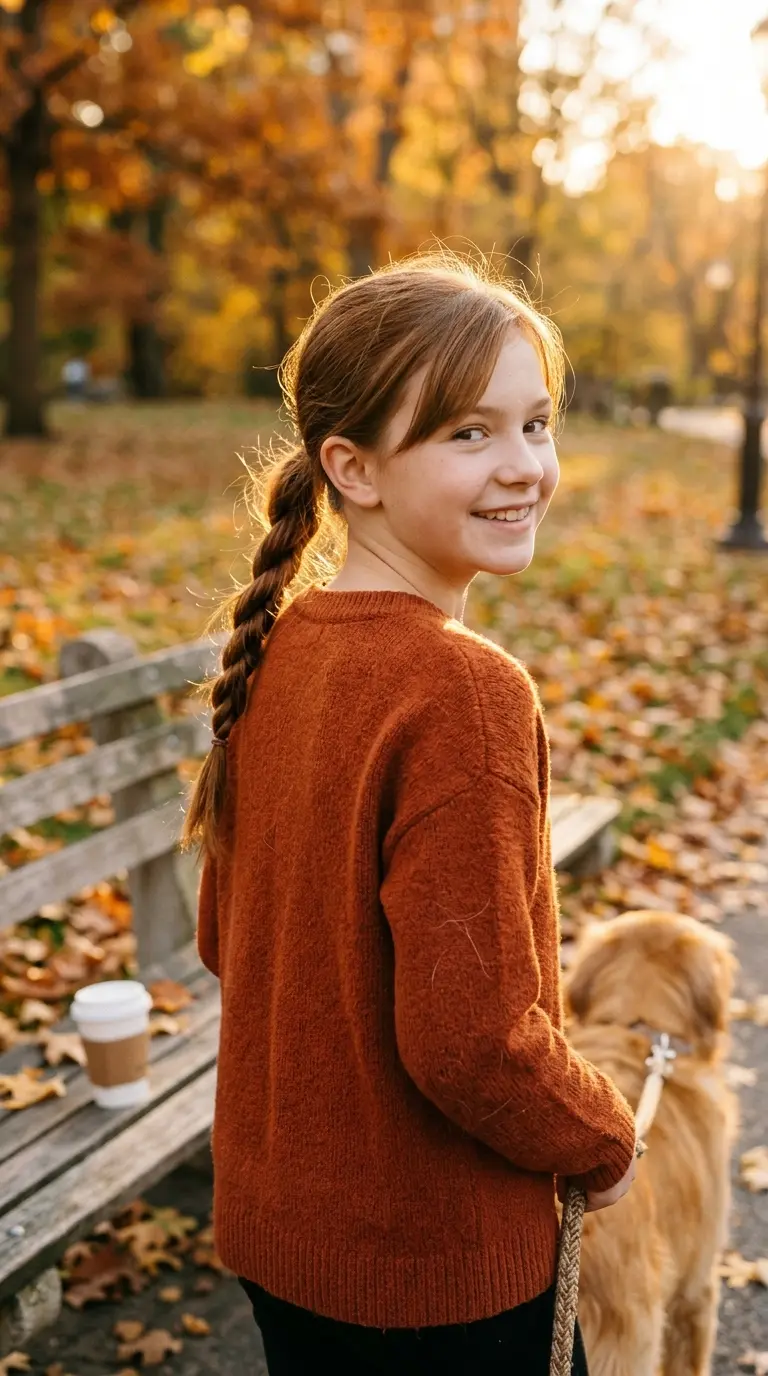
Braiding not your thing yet? A rope twist gives you the same twisty look with only two pieces to hold.
Start with a regular ponytail. Split it in half. Twist each half to the right, tightly. Then wrap the two halves around each other to the left. Tie off the end.
Twisting one way and wrapping the other is the whole secret. Do them both in the same direction and it unravels in seconds.
It holds best on hair that is a little textured or second day. On very slippery hair, a spray of dry shampoo before twisting helps the pieces grip.
12. Braided Headband Across the Crown
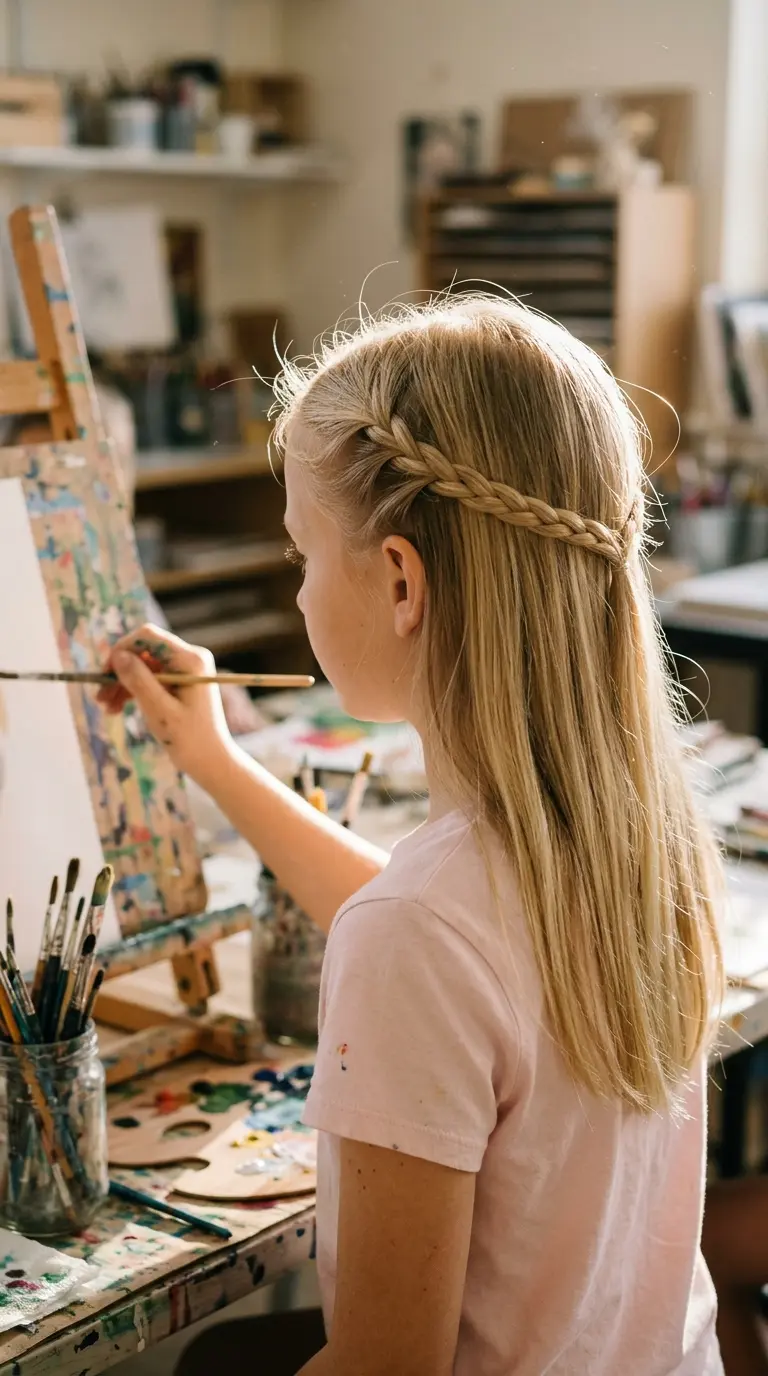
You know that annoying piece at the front that always falls in your eyes during a test? This fixes it.
Take a section about an inch wide from behind one ear. Braid it all the way down, three strand style. Bring it up and over the top of your head like a headband, then pin the end behind the other ear, hiding it under your hair.
- Fine hair: gently pull the braid edges wider so it looks fuller.
- Thick hair: use two pins crossed in an X so it does not slide.
- Bangs: let them fall in front of the braid.
It keeps hair off your face all day without a plastic headband pinching behind your ears.
13. Low Fishtail Braid
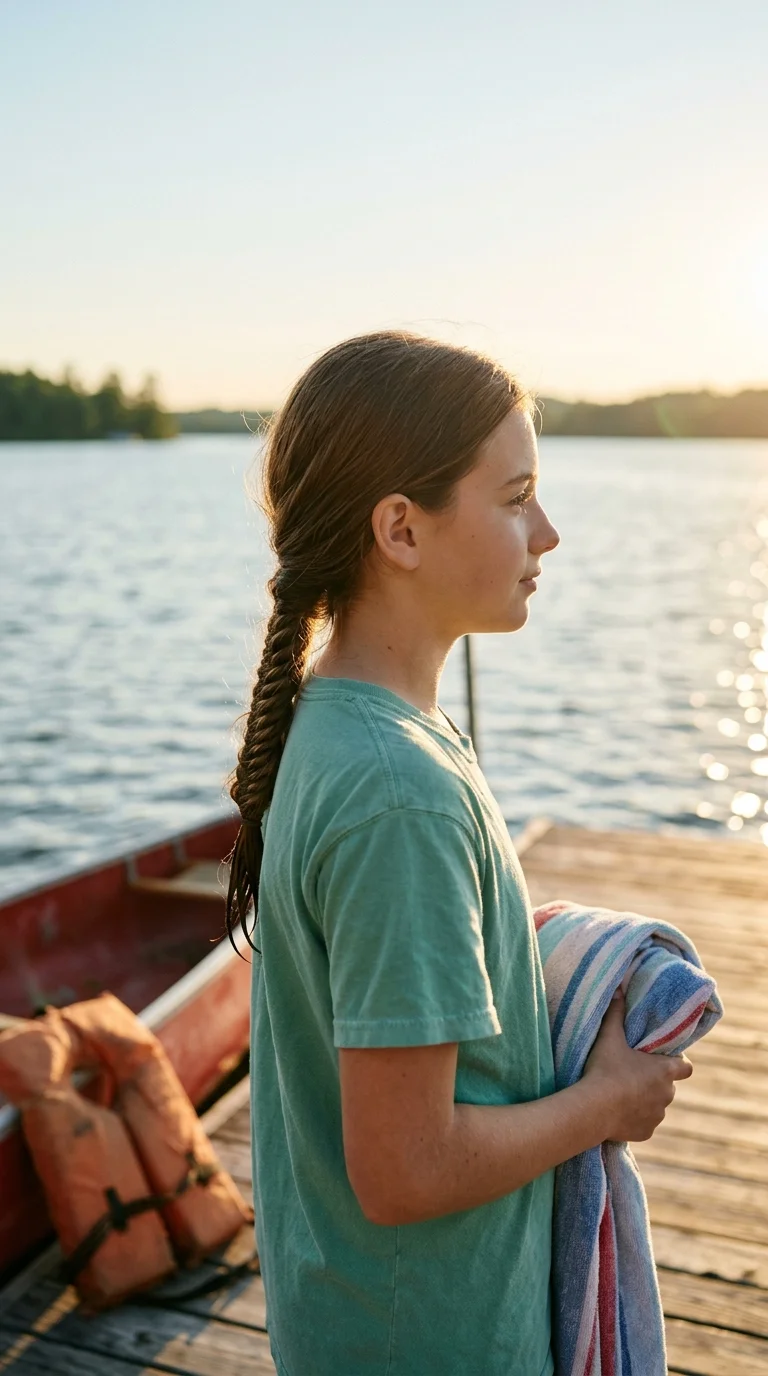
Fishtails look like a lot of work. They are actually slower, not harder.
Instead of three pieces, you only use two. Take a tiny strand from the outside of the left half and cross it over to the right half. Then do the same from the right side to the left. Repeat all the way down.
The smaller the strands, the prettier it looks. Big chunks make it look like a regular braid.
Plan on ten minutes the first few times. Put on a show and practice on a friend or a doll head first. By the third try, your fingers just know it. Best on long hair that reaches past your shoulders.
14. Pull Through Braid Ponytail
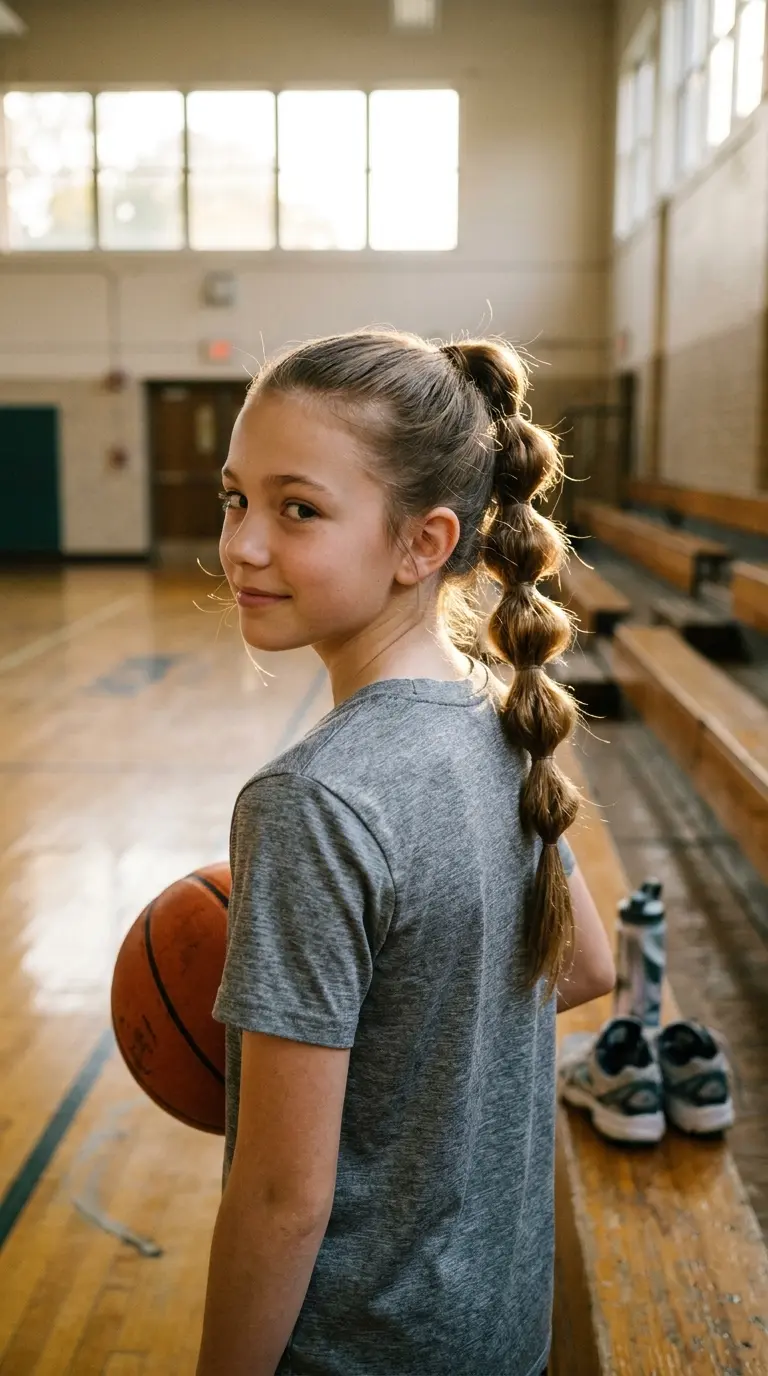
Fuller than a braid, easier than a braid. No actual braiding involved.
Make a high ponytail. Below it, take two sections from the ponytail itself, one on top and one underneath. Tie each one with a small elastic. Split the top section in half, pass the bottom section up through the middle, and tie it off. Keep repeating down the length.
Each step creates a fat little loop that sits on top of the next.
Quick tip: loosen every loop with your fingers at the end. It makes thin hair look twice as thick.
It also stays put through dodgeball, which is the real test.
15. Heatless Waves From Overnight Braids
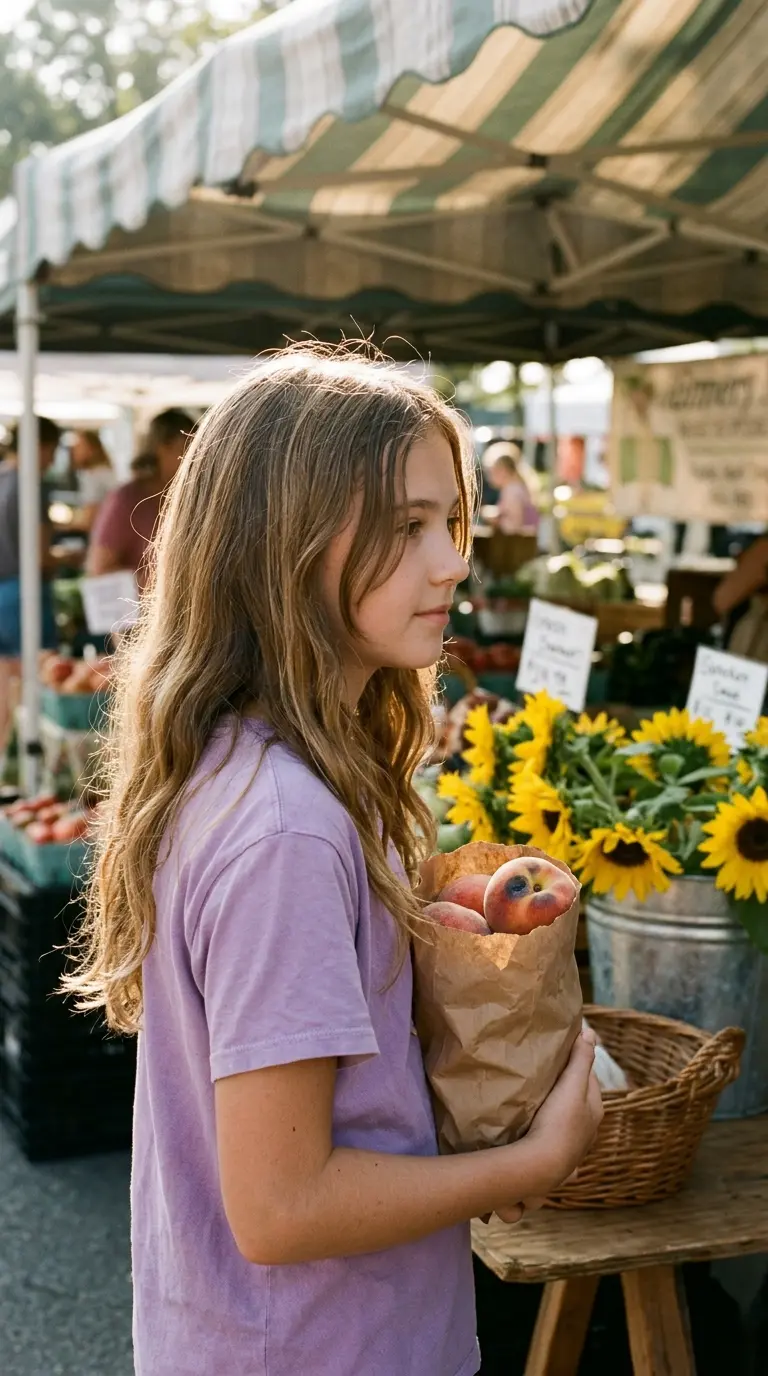
Curling irons and twelve year olds are not always a great mix. Burned fingers, frizzy ends, and a parent hovering in the doorway.
Braids give you waves while you sleep instead.
- Wash your hair at night and let it dry until it is only a little damp.
- Make two braids, one on each side. More braids means tighter waves.
- Sleep on them.
- In the morning, take them out and break up the waves with your fingers. Do not brush, or they turn into a puff.
If your hair is soaking wet at bedtime, it will still be damp at breakfast. Mostly dry is the goal.
Hair is almost dry and plaited into two snug braids, ends tied with soft scrunchies, head on a silk pillowcase.
Braids come out, fingers comb through, and soft bendy waves are ready with zero heat and zero waiting by an outlet.
16. Half Up Mini Top Knot on Shoulder Length Hair
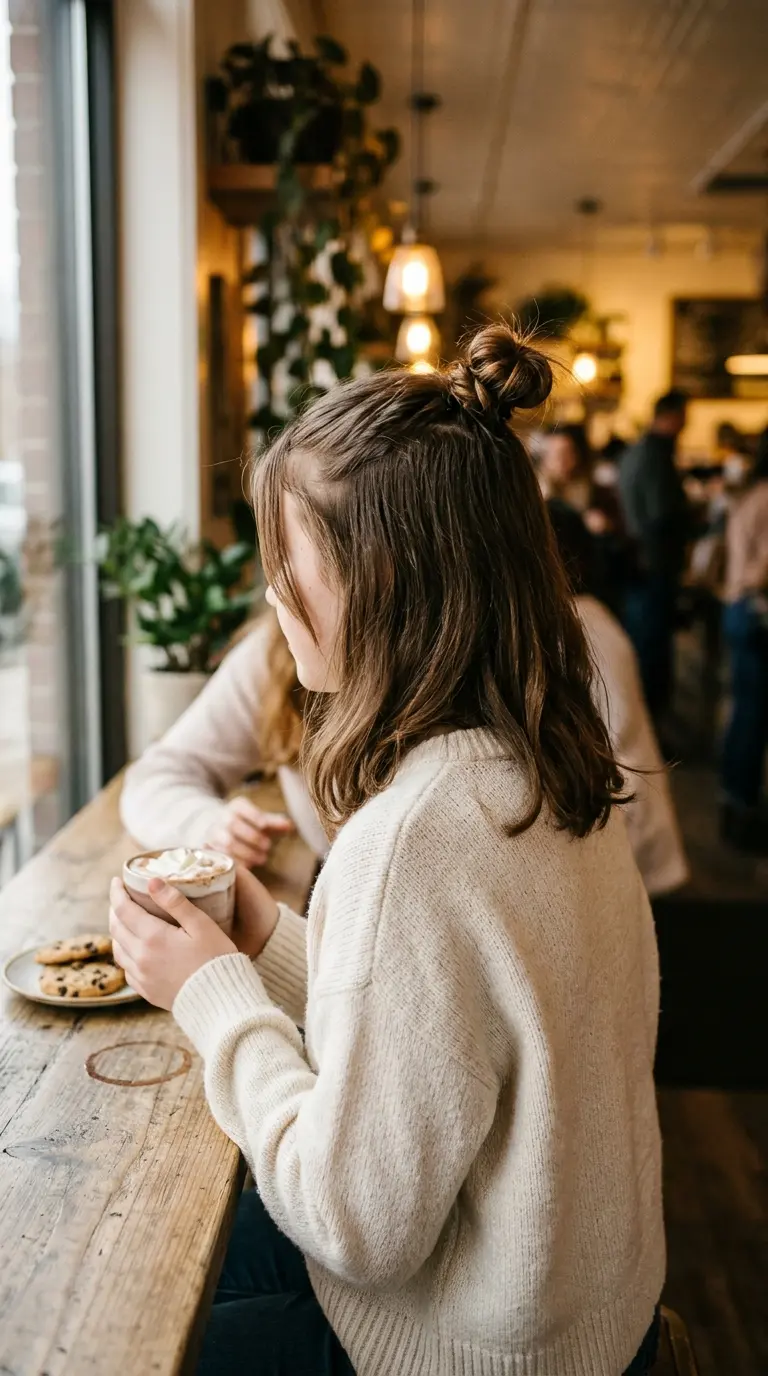
Lots of girls cut their hair to their shoulders in middle school. Then they find out most ponytail ideas need longer hair.
This one does not.
Grab the top third of your hair, from the crown forward. Twist it into a tiny bun right at the crown and wrap a small elastic around it twice. Leave the bottom part down.
Because the bun is small, short layers do not escape. Pin any stubborn pieces with a bobby pin that matches your hair color.
It looks relaxed and a bit cool, and it grows with you, since it works just as well when your hair gets longer.
17. Waterfall Braid Over Loose Waves
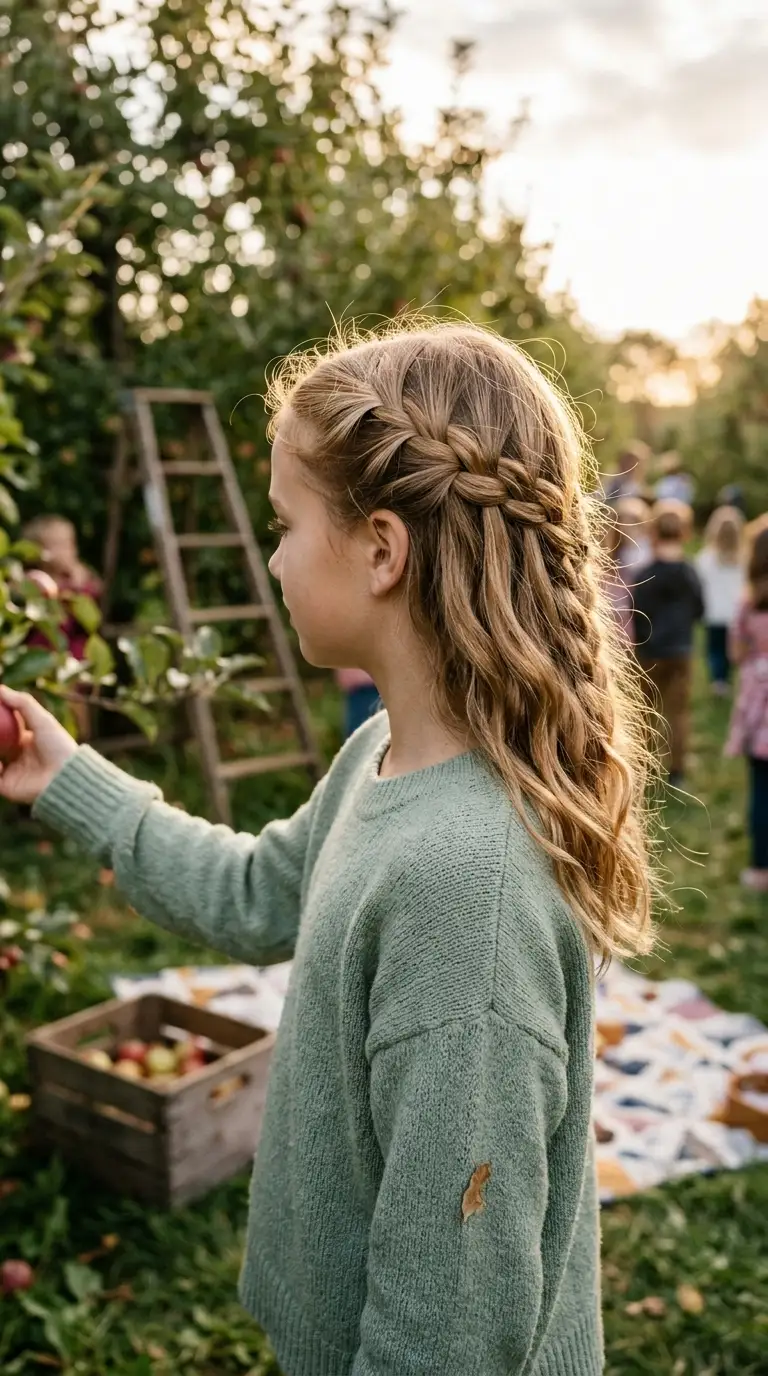
Save this one for the school dance, a wedding, or the holiday concert. It takes practice but looks very special.
Start a regular French braid at your temple. After each cross, drop the bottom strand and let it hang. Pick up a new strand right next to it and keep going. The dropped strands are the waterfall.
Braid across the back of your head toward the other ear, then pin it in place.
Mistake to skip: dropping thick pieces. Thin strands make it look delicate. Thick ones make it look like a regular braid with gaps.
Loose waves underneath make the dropped strands pop. Do it on wave day if you can.
18. Snap Clip Stack on a Short Bob
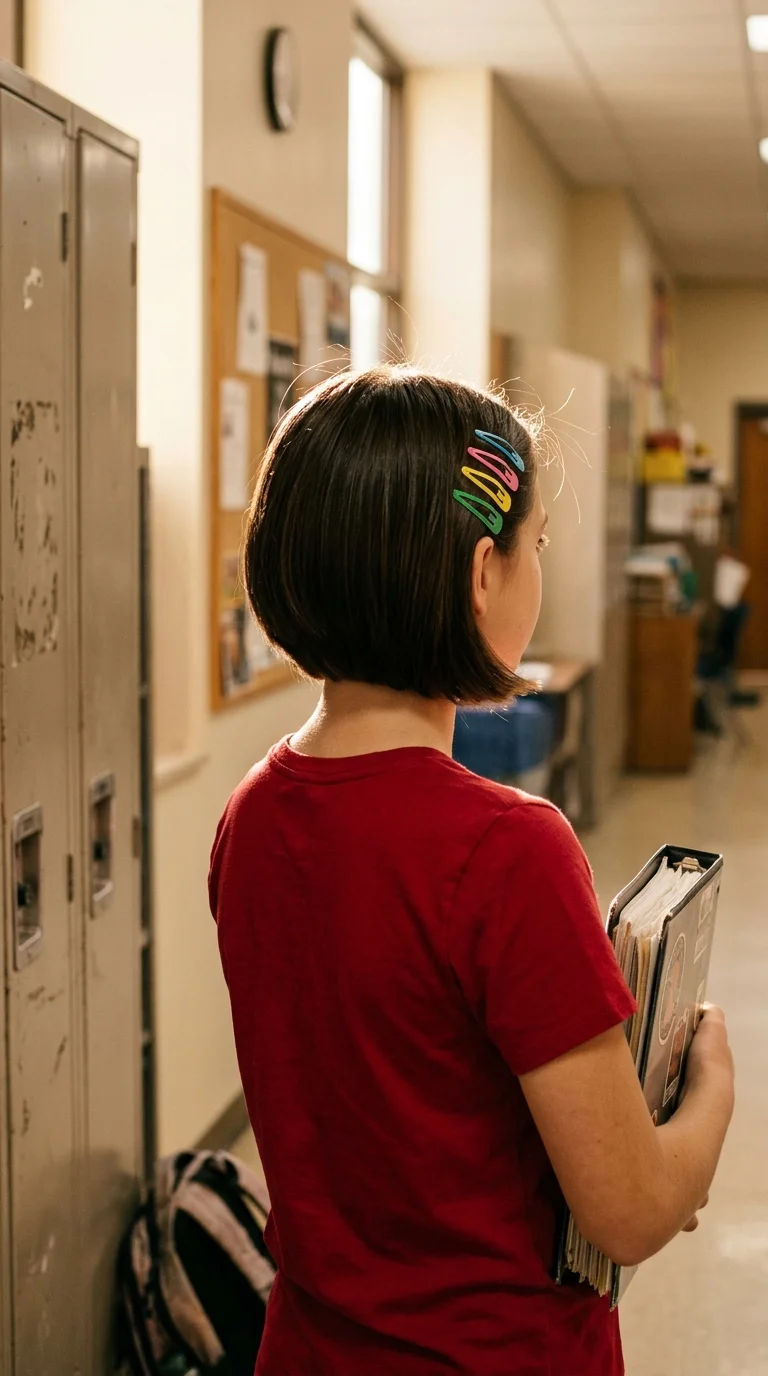
Short hair gets skipped in most hair lists. It should not, because it is the fastest hair to dress up.
Tuck one side behind your ear. Line up three or four snap clips above the ear, all slanted at the same angle, about a finger width apart. Leave the other side loose.
Mix it up:
- All one color looks neat and calm.
- Rainbow clips look playful.
- Gold or pearl clips work for picture day.
The uneven look, one side clipped and one side swinging, is what keeps it fresh. Also works on a grown out pixie that finally reaches the ears.
No two girls in sixth, seventh, or eighth grade need the same routine. What helps is having a few styles you can trust, one quick, one sporty, and one fancy, and knowing the small trick that makes each one work.
Start with whatever matches your hair today. Long hair might love the bubble ponytail and the Dutch braids. Shoulder length hair has the mini top knot. Short hair has the snap clip stack.
The best middle school hairstyles for girls are the ones you can fix in a bathroom mirror between classes. Keep spare elastics and a few bobby pins in your pencil case, and practice the harder braids on weekends when nobody is waiting for the bathroom.
Save this list to your Pinterest board so you have it ready for the next busy school morning.