
Your curls look their best on day two, right up until a strand sticks to your lip gloss for the fifth time before lunch.
That is the curly girl trade off. Wear it all down and you spend the day pushing hair out of your eyes. Pull it all up and you hide the curls you spent forty minutes defining. Most quick fixes, like a stretchy headband or a claw clip, either squash the front or slide off by noon.
Front braids with curly hair in the back solve both problems at once. The braids hold the front and sides flat, so your face stays clear while you work, eat, or chase a toddler around the park. Everything behind the braids stays loose, bouncy, and on full display.
Below are 15 styles that keep the hairline neat and leave the curls alone. Some take ten minutes in the bathroom mirror. Others are worth booking a braider for. Each one comes with a small tip so it still looks good after the first day.
1. Two Dutch Braids That Stop at the Crown

The easiest place to start. Two Dutch braids, one on each side of a center part, braided only to the crown and then left to blend into your curls.
- Mist the front section with water and a little leave-in so it is damp, not soaked.
- Braid under, not over, so the braid sits on top of your head instead of sinking in.
- Stop at the crown and secure with a small clear elastic.
- Fluff the curls just behind the elastic with your fingers so the band disappears.
Quick tip: braid a little tighter at the temples. That is where curly hair loves to sneak loose first.
2. One Chunky Side Cornrow Tucked Behind the Ear
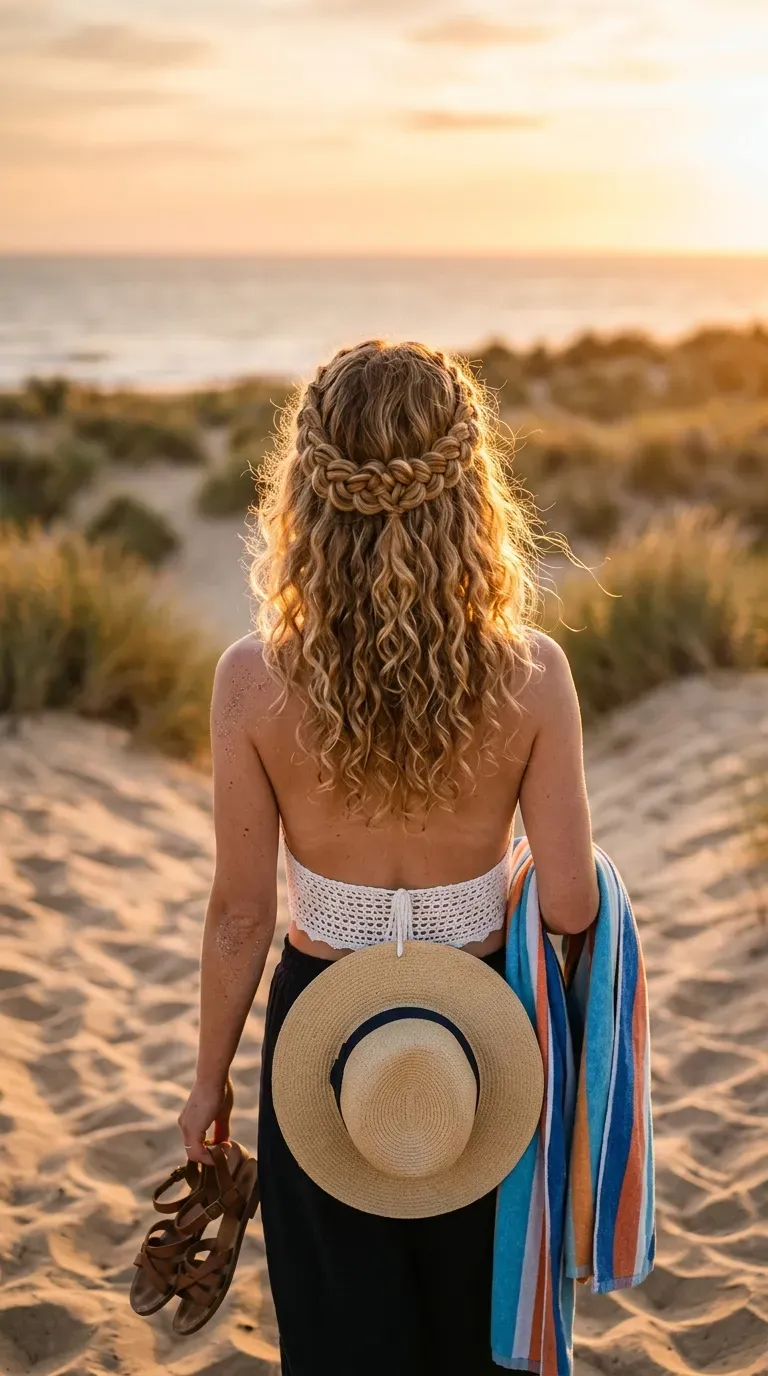
Wearing a side part? One thick cornrow along the shorter side keeps that half of your face totally clear while the deep side keeps all its volume.
It reads bold from the front and soft from the back, which is a nice mix for work days.
- Start the braid right at your part line, not an inch below it.
- Keep it going past your ear and stop just behind it.
- Pin the tail flat under the curls with one bobby pin.
The longer side does the rest of the work. Leave it alone and let it fall.
3. Three Skinny Feed-In Braids Straight Back

Thick cornrows can feel heavy on fine or loose curls. Three skinny feed-in braids fix that.
They pull back cleanly from the forehead, sit flat, and hand off to your curls a few inches past the hairline. Because each braid holds so little hair, almost none of your length gets tied up. More curls stay out in the back.
Ask your braider to taper the ends so they melt into your curl pattern instead of stopping with a blunt tail.
Quick tip: sleep on a satin pillowcase. The braids stay neater, and the back curls wake up less crushed.
4. A Halo Braid That Works Like a Headband

A braid running ear to ear across the top of the head looks like a headband, except it never slides off.
Here is how to set it up:
- Part from the top of one ear to the top of the other.
- Clip the curls behind that line out of the way.
- Dutch braid along the part, pulling hair only from the front side.
- Tuck the end under the curls and pin it.
It holds best on second day hair, when the curls have a bit of grip. Freshly washed curls tend to slip right out.
5. Zigzag Part Cornrows for a Sharp Front

Tiny rule for zigzag parts: draw them with the tail of a rat tail comb, never your finger.
A crisp zigzag between each cornrow makes even simple braids look custom. Four or five braids going straight back is plenty. The parts do the talking.
Keep the zigs small near the hairline and a bit wider as you move back. Big zigs right at the forehead can look messy once baby hairs fluff up.
Finish with a light edge gel along the parts only, and leave the back curls product free so they stay soft.
Clip every section before you braid so the zigzags stay put.
Keep tension even across all braids so the parts look the same width.
Braid on damp hair, not dripping hair.
Heavy gel brushed into the loose curls in the back.
Giant zigzags right at the forehead.
Parting with your fingers and hoping it looks sharp.
6. Fishtail Braids Pinned Just Above the Curls

Regular three strand braid or fishtail? For the front of curly hair, the fishtail usually wins on texture.
A fishtail uses more, smaller sections, so it looks woven and soft instead of chunky. On curls it also hides frizz better, since the stray bits just blend into the pattern.
Make two fishtails from the temples, cross them just above where the curls start, and pin each end under the opposite braid. From the back it looks like a tiny bow.
Gently pull the edges once everything is pinned. A slightly loosened fishtail looks fuller and more relaxed.
7. A Heart Shape Braided Into the Crown
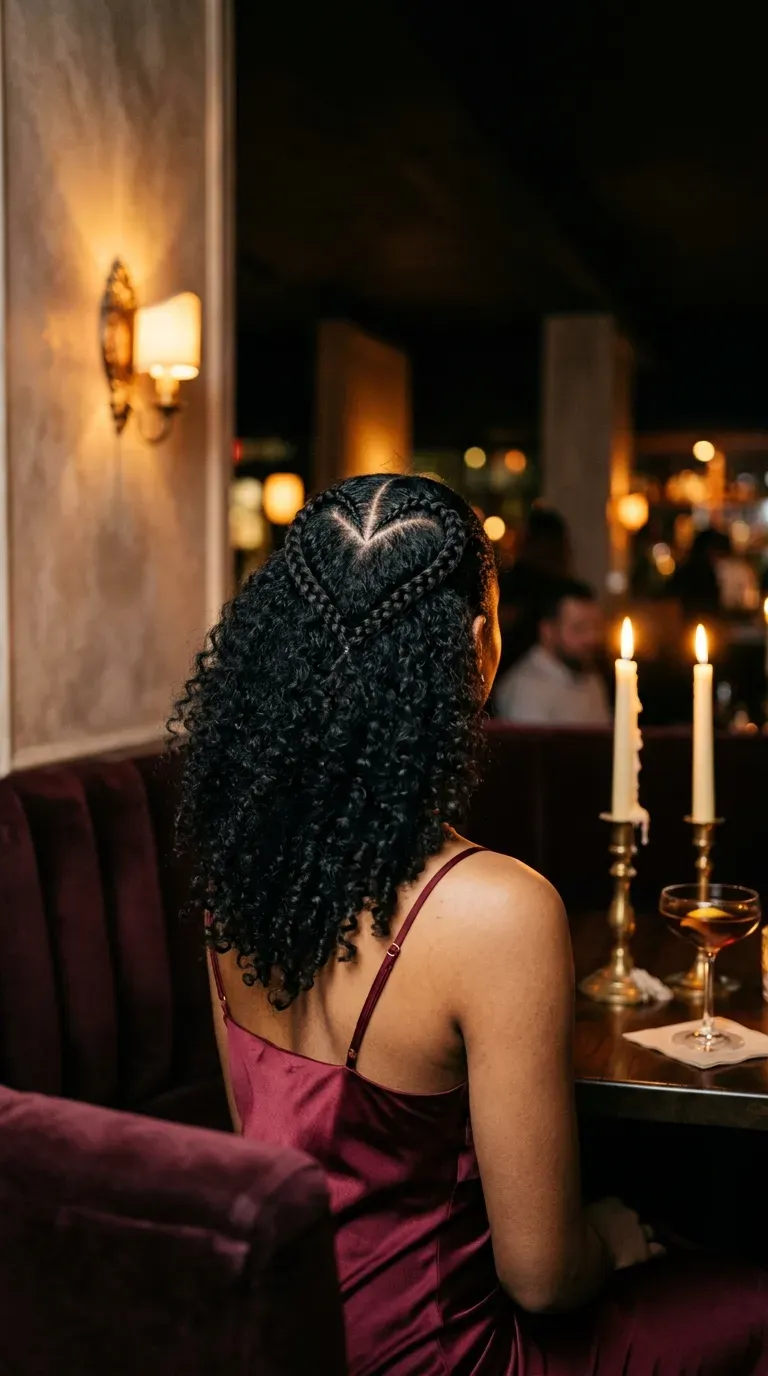
Date night, birthday dinner, a friend’s engagement party. A heart braided into the crown is the style people will turn around to look at.
Two braids start at the center of the hairline, curve out toward each temple, then swing back in and meet at the crown. That curve forms the heart. Below the point, your curls hang loose.
Mark the heart with a comb first and clip each half. Freehanding usually ends lopsided.
Keep the outline braids thin. Small braids make the heart easy to read, even from across a room.
8. Stitch Braids With Gold Cuffs Over Loose Curls
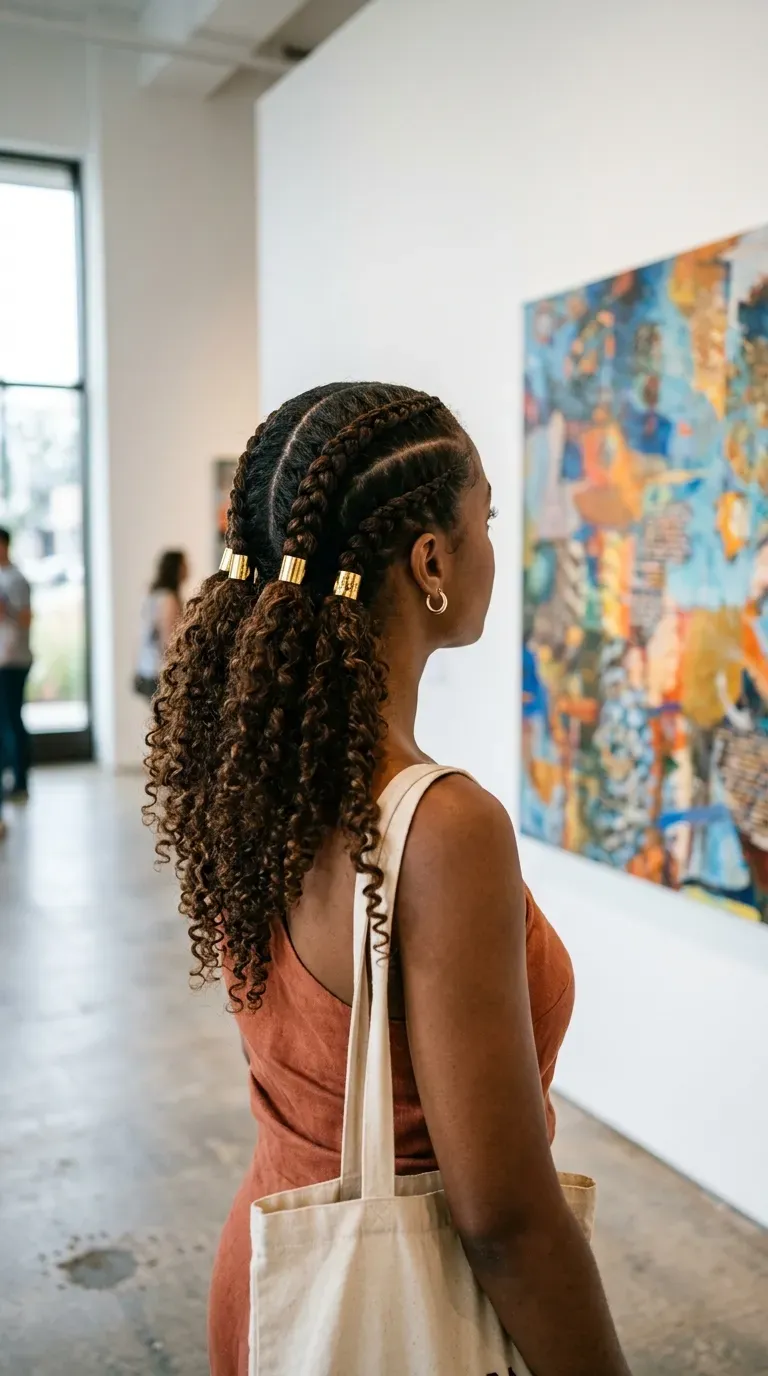
Stitch braids get their name from the little horizontal lines your braider makes with a fingernail, like stitches on a seam. They look extra neat and graphic.
Two or three stitch braids at the front, then curls out the back. That is the whole formula.
Slide a couple of gold cuffs onto each braid, close to where it meets the curls. The metal catches the light and pulls the eye to the spot where braid turns into curl.
Watch out: cuffs can snag loose curls. Open them wide, slide them on, and press closed with your fingers.
Front curls fall in your eyes, edges puff up by midday, and you keep pushing hair back during meetings.
The front sits flat and sharp, the cuffs mark where the braids stop, and your curls in the back get all the attention.
9. Lemonade Braids Swept to One Side
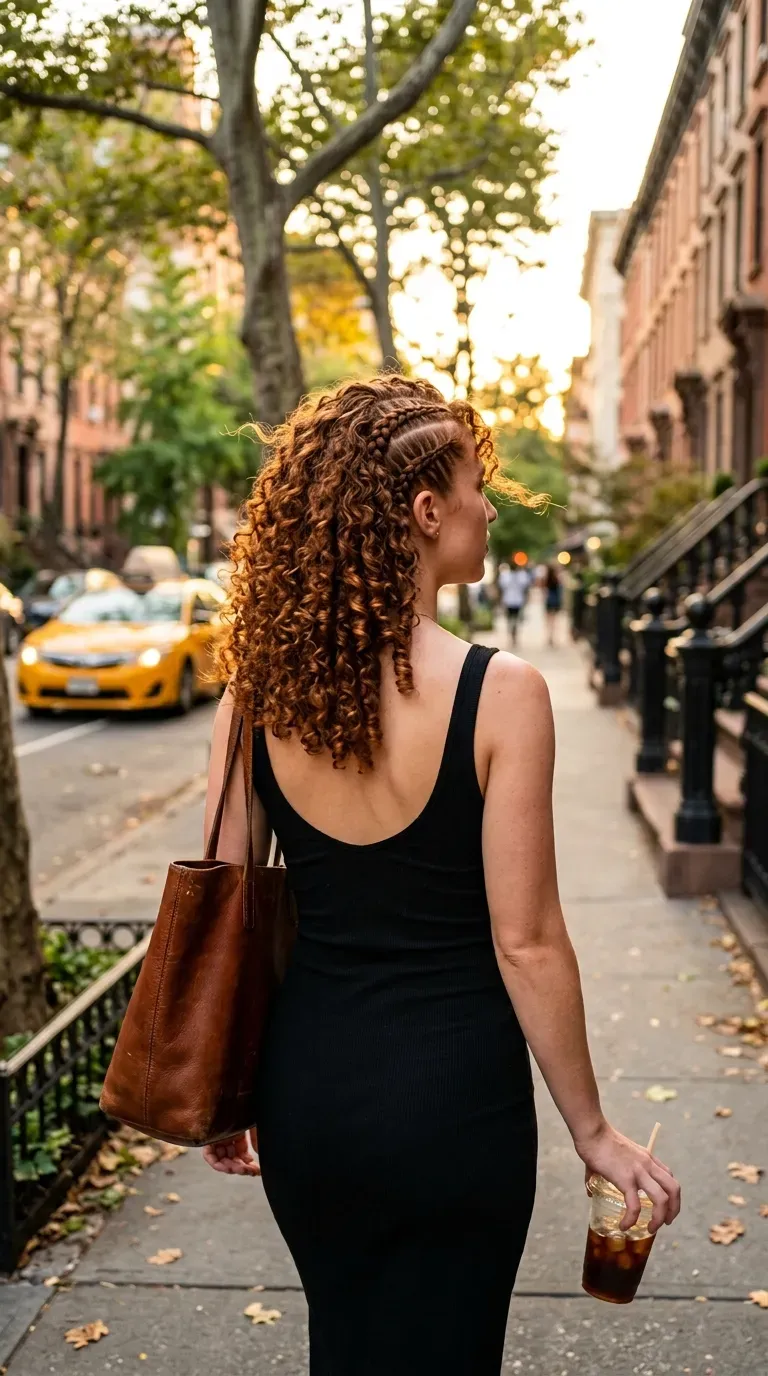
Remember Beyoncé’s Lemonade era? Those side swept cornrows are where the name comes from, and the look has stuck around ever since.
For a curly version, braid only the front third of your head and let the braids drape toward one side. Then shift all your curls over that same shoulder.
Good to know:
- Six to eight braids is a comfortable middle ground.
- Go smaller and looser if your hairline is fragile.
- Push the curls to the braided side so the lopsided look feels on purpose.
It photographs beautifully from behind.
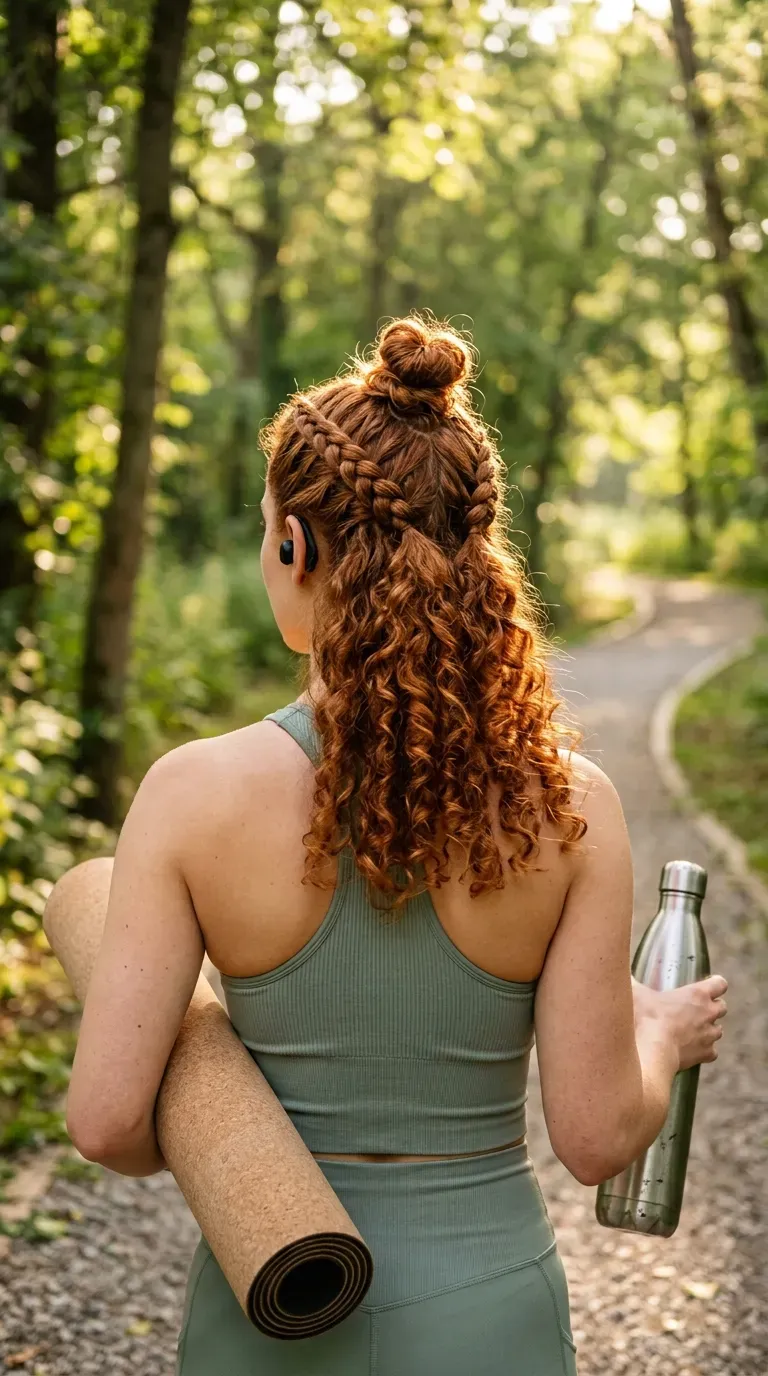
10. Two French Braids That Meet in a Mini Top Knot
The usual mistake with this one is pulling too much hair into the knot. Then it stops being curls in the back and quietly turns into a ponytail.
Keep the knot small. Two French braids from the temples meet at the crown, and only the braid tails plus a thin layer of curls get twisted up. Everything underneath stays down.
Pin the knot with two bobby pins in an X, not an elastic. Elastics tend to flatten the curls around them.
It works well for the gym or a long shift, because the knot stops the braids from loosening as you move.
11. Tiny Hairline Braids That Frame Your Face
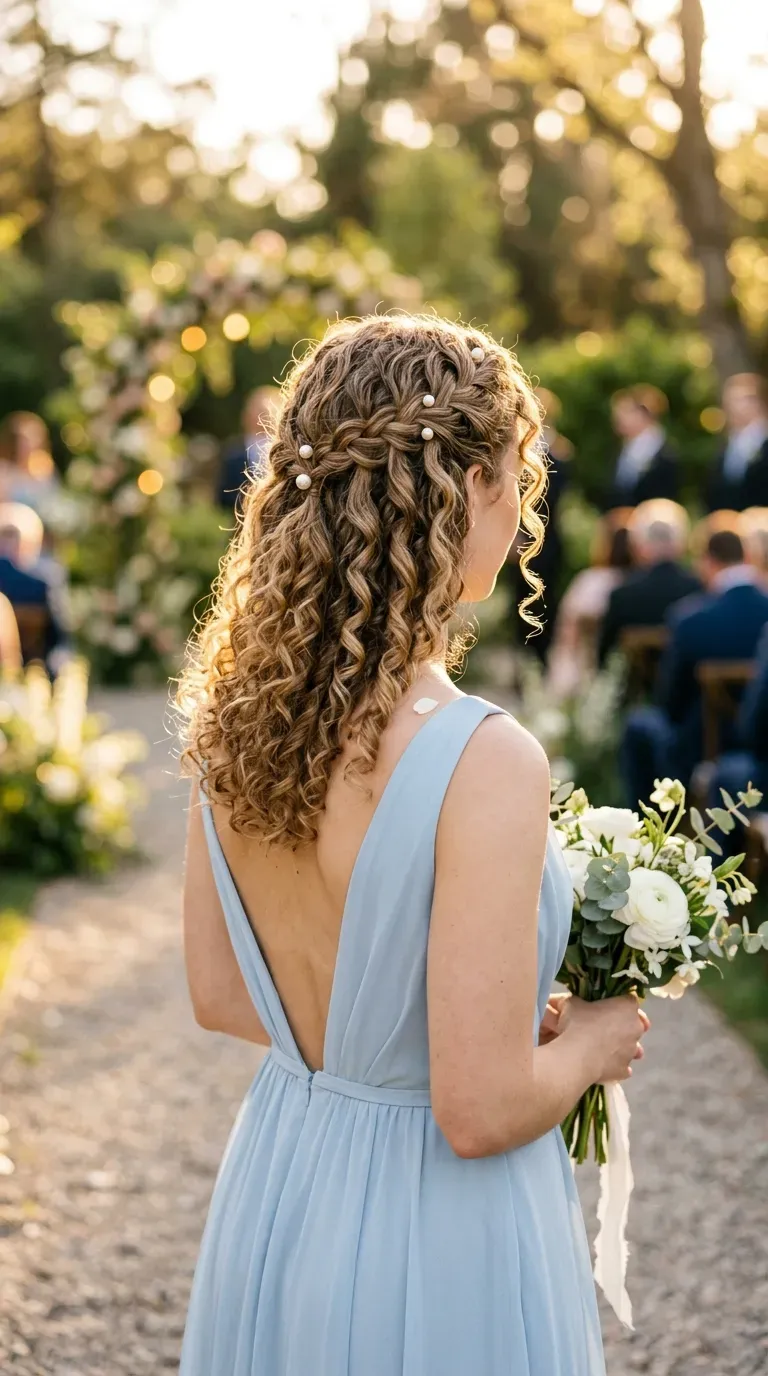
Not everyone wants a full set of braids. Sometimes you just need the hair at your temples to behave.
Tiny braids along the hairline, about the width of a pencil, do exactly that. Five or six on each side, running back a few inches before they dissolve into curls.
From the front they read as a neat edge more than a hairstyle. From the back you get a little row of detail framing the curls.
Be gentle here. The hairline is the most delicate part of your head, so keep these loose enough to slide a finger under each one.
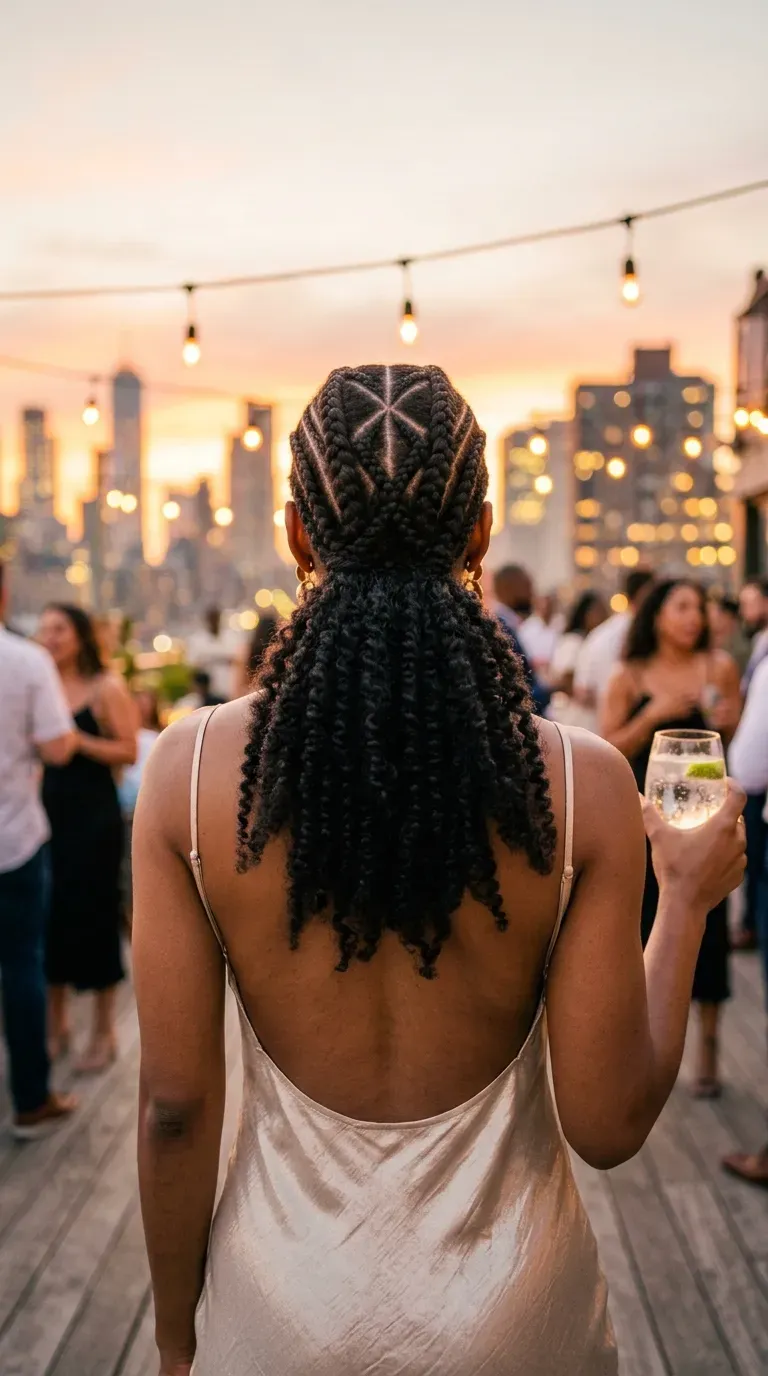
12. Criss Cross Braids Over the Top of Your Head
People assume criss cross braids take forever. They really just take a plan.
The setup is simpler than it looks:
- Four cornrows angle in from each side of your head.
- Where they meet in the middle, they cross over each other in an X.
- Each one continues back toward the opposite side.
Every braid is a plain cornrow. The pattern does the showing off.
Map the X with your comb before anything gets braided, and end all the braids by mid crown. That leaves the whole back half for curls, so the style never looks busy.
13. A Waterfall Braid That Lets Curls Fall Through

The waterfall braid moves sideways across your head and drops a strand every time it crosses, so the curls fall straight through it.
- Take a small section at one temple and start a regular braid.
- After the first cross, let the top strand drop and pick up a new piece from just below it.
- Keep moving across the back of your head, dropping as you go.
- Pin the end behind the opposite ear.
Defined curls work better here than fluffy ones. Each dropped strand should still look like a ringlet when it lands.
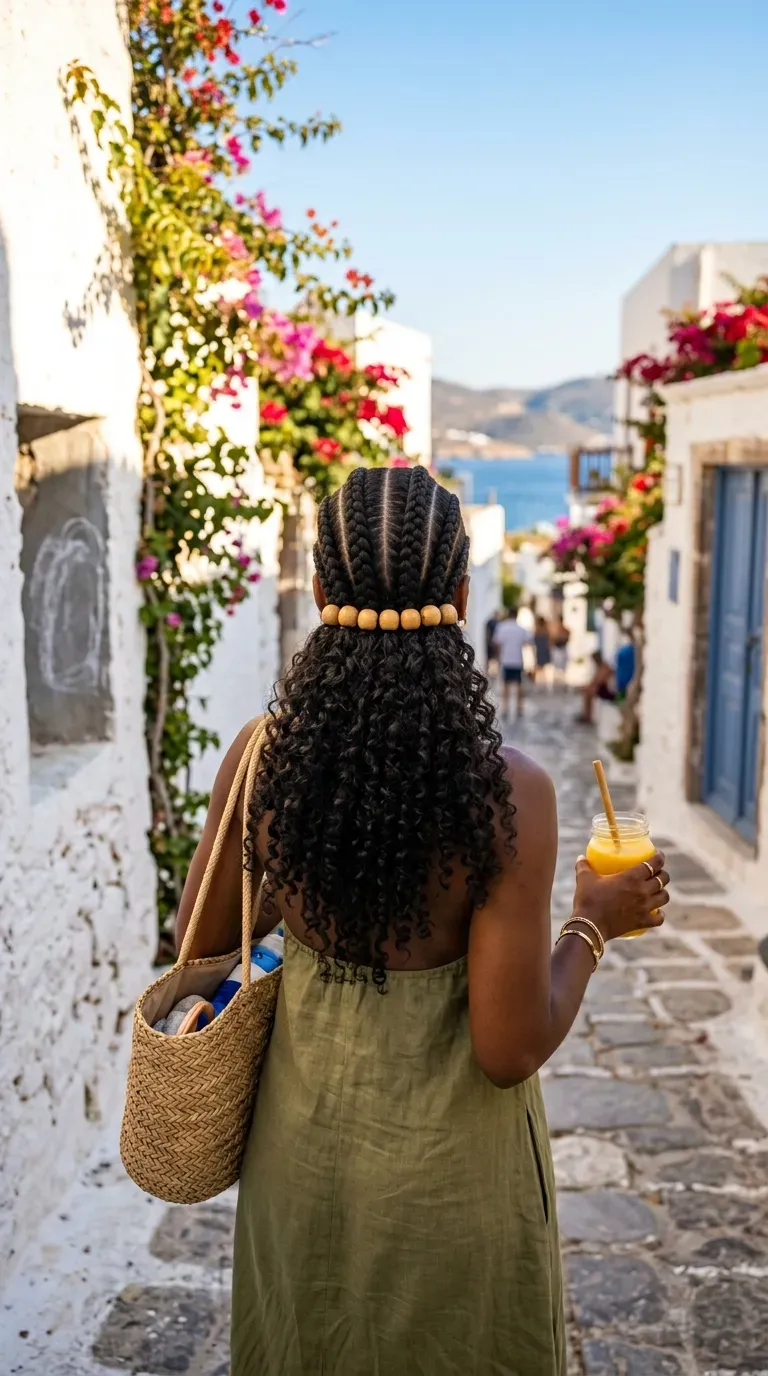
14. Middle Part Front Braids With Wooden Beads
A clean middle part with braids on both sides is about as symmetrical as hair gets. Wooden beads at the ends make it feel relaxed, almost beachy.
Braid four to six cornrows back from the center part. Stop them just past the ears, slide one wooden bead onto each tail, and let the tails rest on top of your curls.
Wood is lighter than glass or metal, so it pulls less on the braid ends.
Quick tip: thread beads with a bead threader or a small loop of thread. Fingers alone will test your patience.
Stop your braids where your curls look their best. For most styles that means just past the ears or at the crown, never all the way down at the nape. Braid less, show more curl.
15. Four Goddess Braids With the Curly Ends Left Out

Goddess braids are thick cornrows with curly pieces left out along the braid. Four of them at the front give you braid and curl in one look.
The trick is the ends. Instead of braiding to the tip, stop a few inches early and let the hair coil naturally so the tails blend into the curls behind them.
Who it suits best:
- Thick, long curls with plenty of volume.
- Anyone who wants the front protected for a week or so.
- Girls who like a soft, boho finish over a sleek one.
Refresh the loose ends with water and a dab of curl cream.
Your Curls, Your Rules
Curly hair does not have to be all down or all up. A few braids in the right place give you a clear face, a style that holds through a busy day, and curls that still get to be the main event.
Start with whichever look fits your skill and your week. Two Dutch braids for a rushed morning. A heart or criss cross pattern when you have time, or a braider booked. Every one of these front braids with curly hair in the back keeps the hairline tidy and leaves the curls alone.
Save this list to your hair board so your next braid idea is one tap away.