
21 Easy Braided Hairstyles for Beginners (No Braiding Skills Needed)
Most braid tutorials lose me at the part where the hands speed up and three strands suddenly become a French braid. If you have ever paused a video six times and still ended up with a lumpy mess, you are not bad at hair. You were just handed the hardest version first.
The good news is that a lot of the prettiest braided looks barely involve braiding. Some are built with clear elastics. Some are two twists wrapped around each other. A few are knots, and one is a braid you clip in and call done.
This list of easy braided hairstyles for beginners starts with styles that need zero braiding skill. It slowly works up to a basic three strand braid, which is the only real braid you need to learn. Each style comes with what you need, how long it takes, and the small fixes that make it look finished instead of rushed.
Grab a brush, a pack of elastics, and a hand mirror so you can check the back of your head.
1. Bubble Braid Ponytail Made With Only Clear Elastics
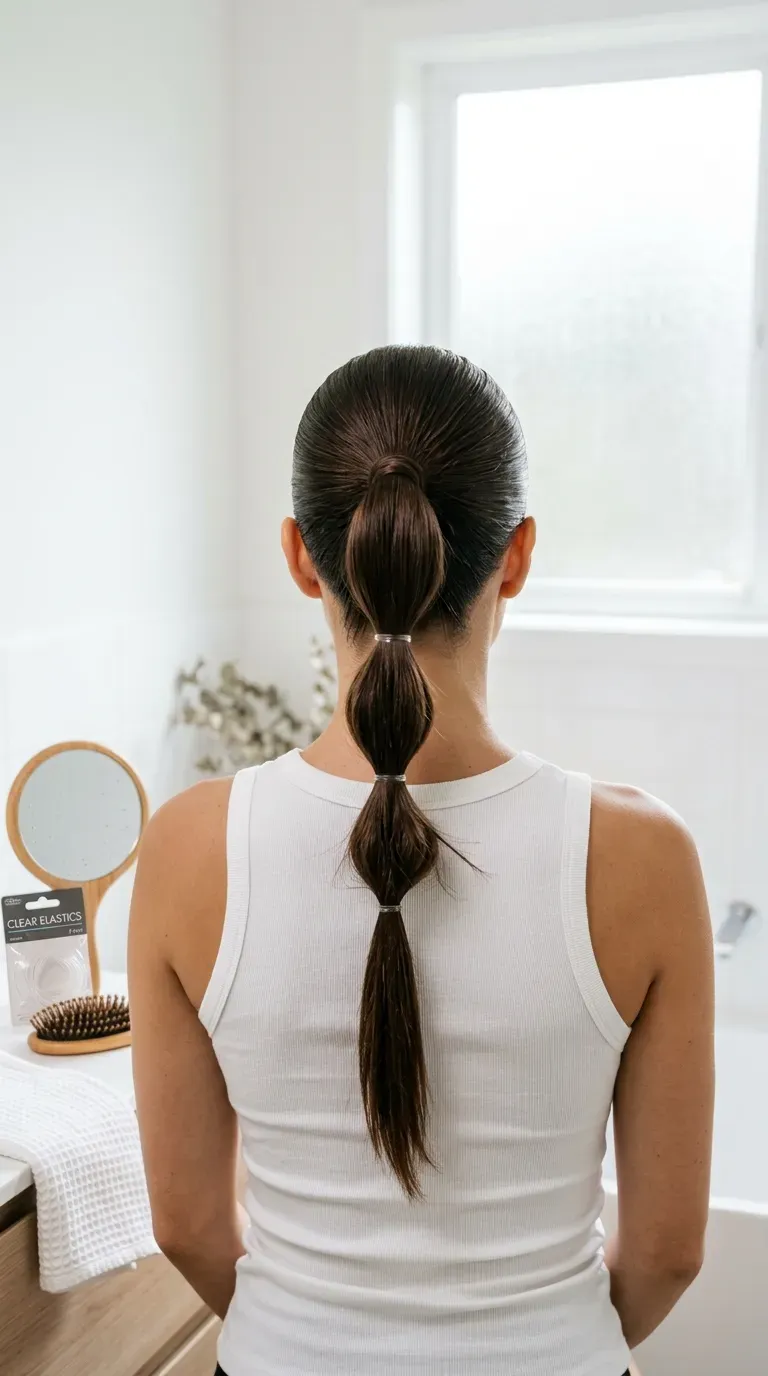
From across the room it looks like a braid, and there isn’t a single crossover involved.
Pull your hair into a high or mid ponytail. Add a clear elastic about two inches down, then another two inches below that, and keep going to the ends. Now gently tug the hair between each elastic outward with your fingertips so every section puffs into a round bubble.
- Pull small pieces, not big chunks, or the bubbles go flat on one side.
- Check the spacing in the mirror before you puff.
It holds up well on fine hair that refuses to stay in a real braid.
2. Pull Through Braid That Is Really Just Stacked Ponytails
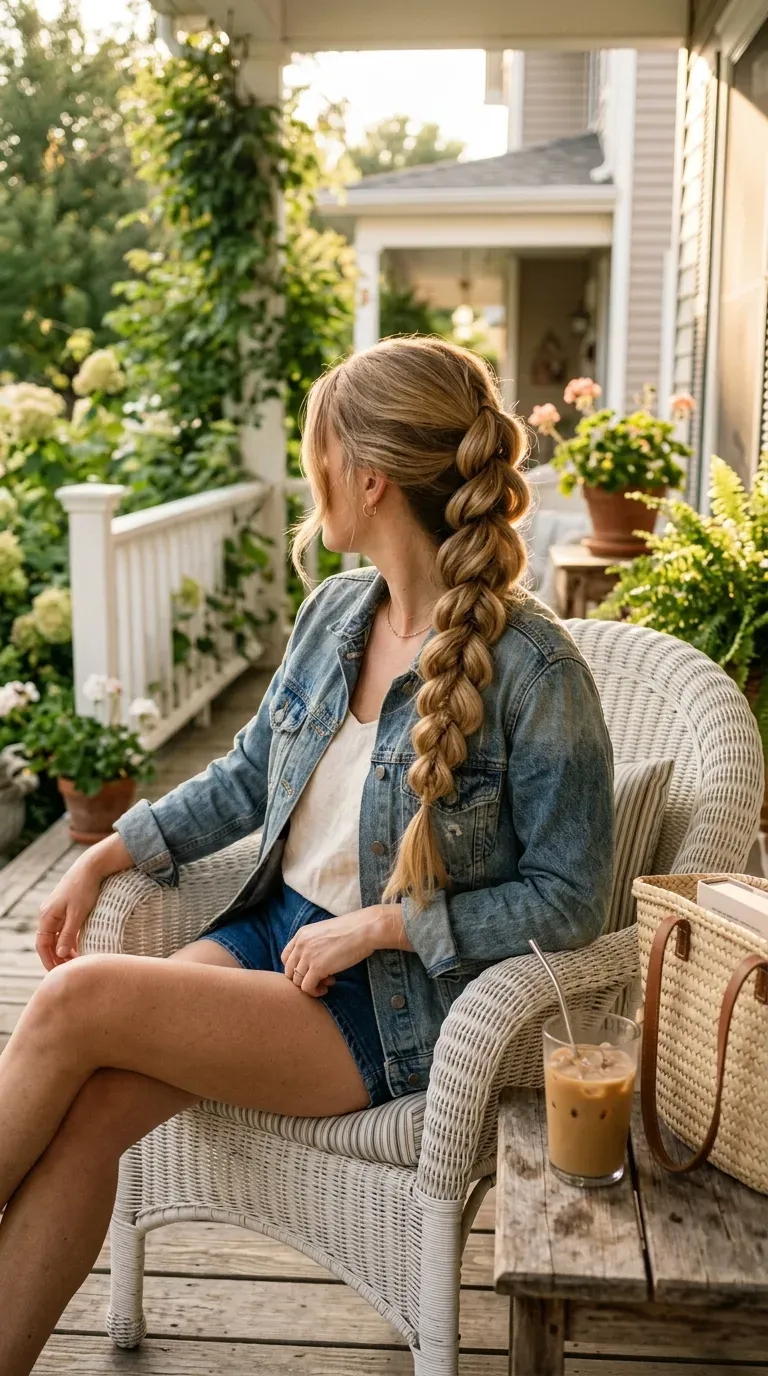
That chunky, woven braid all over Pinterest is not braided at all. It is a column of small ponytails looped through each other.
It works because elastics hold every section in place, so nothing slips while you figure out the next move. Mistakes are easy to undo too. Snip one elastic and redo that section.
Two things make it look polished:
- Use elastics that match your hair color, not black on blonde.
- Pancake each loop wider than feels right, because it shrinks once you step back.
Thick hair gets the most out of this one, since there is more to fan out.
Tie a ponytail at the crown. Split it into two equal sections, one on top and one underneath.
Put an elastic on the top section an inch down. Split it in half and pass the bottom section up through the gap.
Tie the new lower section an inch down and keep swapping to the ends. Pancake every loop at the very end.
3. Two Strand Rope Twist Ponytail
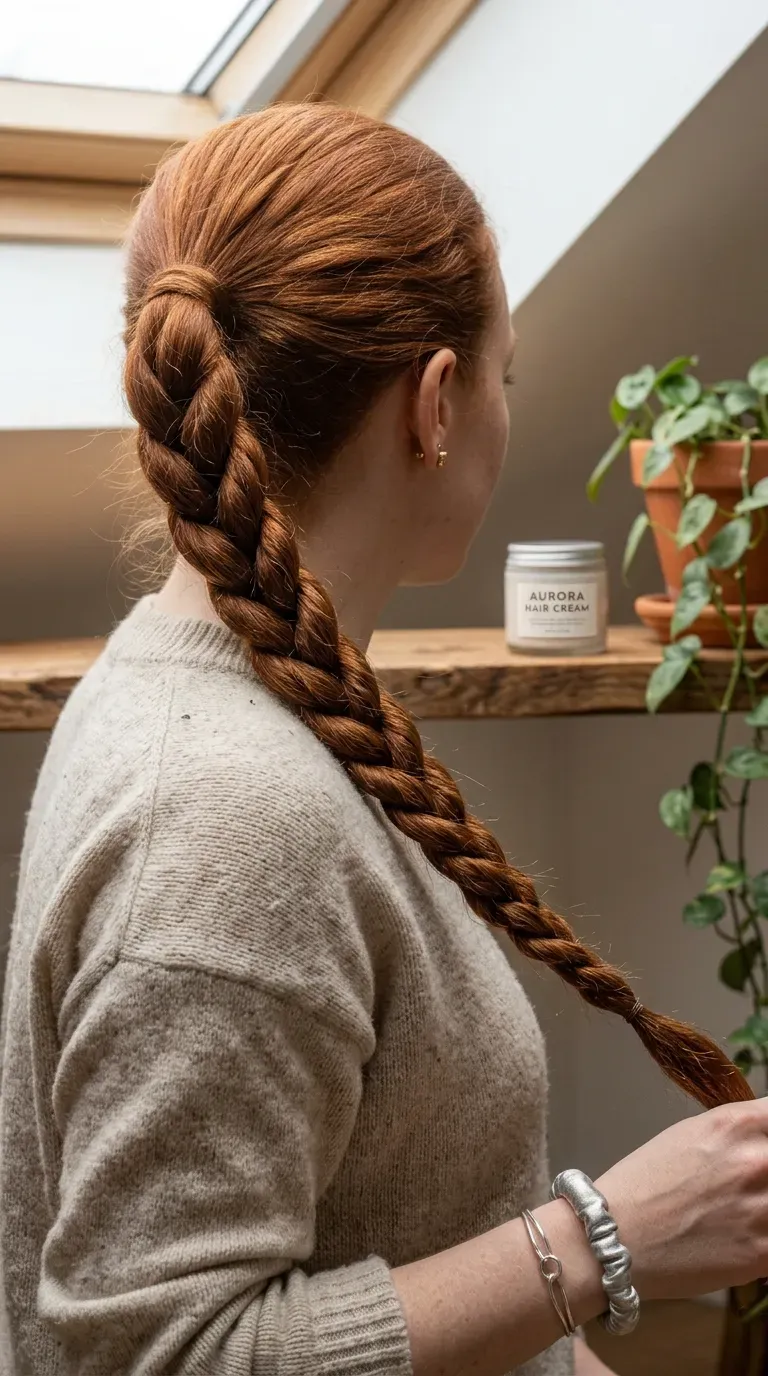
Twist both strands to the right, then wrap them around each other to the left. That one rule is the whole style.
Start with a ponytail and split it in two. Twist each half tightly in the same direction, holding both so they don’t unwind. Then wrap them around each other the opposite way, all the way down, and tie the end.
The opposing directions lock together. That is why a rope twist stays put with no braiding at all.
- Smooth a little water or cream on the lengths first so flyaways stay in.
- Lefties can flip it: twist left, wrap right.
Twist each strand tighter than seems necessary. It relaxes once wrapped.
Pinch the finished end while you grab the elastic.
Twisting and wrapping in the same direction. It unravels within minutes.
Heavy serum on the whole length, which makes the strands slide apart.
4. Twisted Headband Across the Front of Your Head
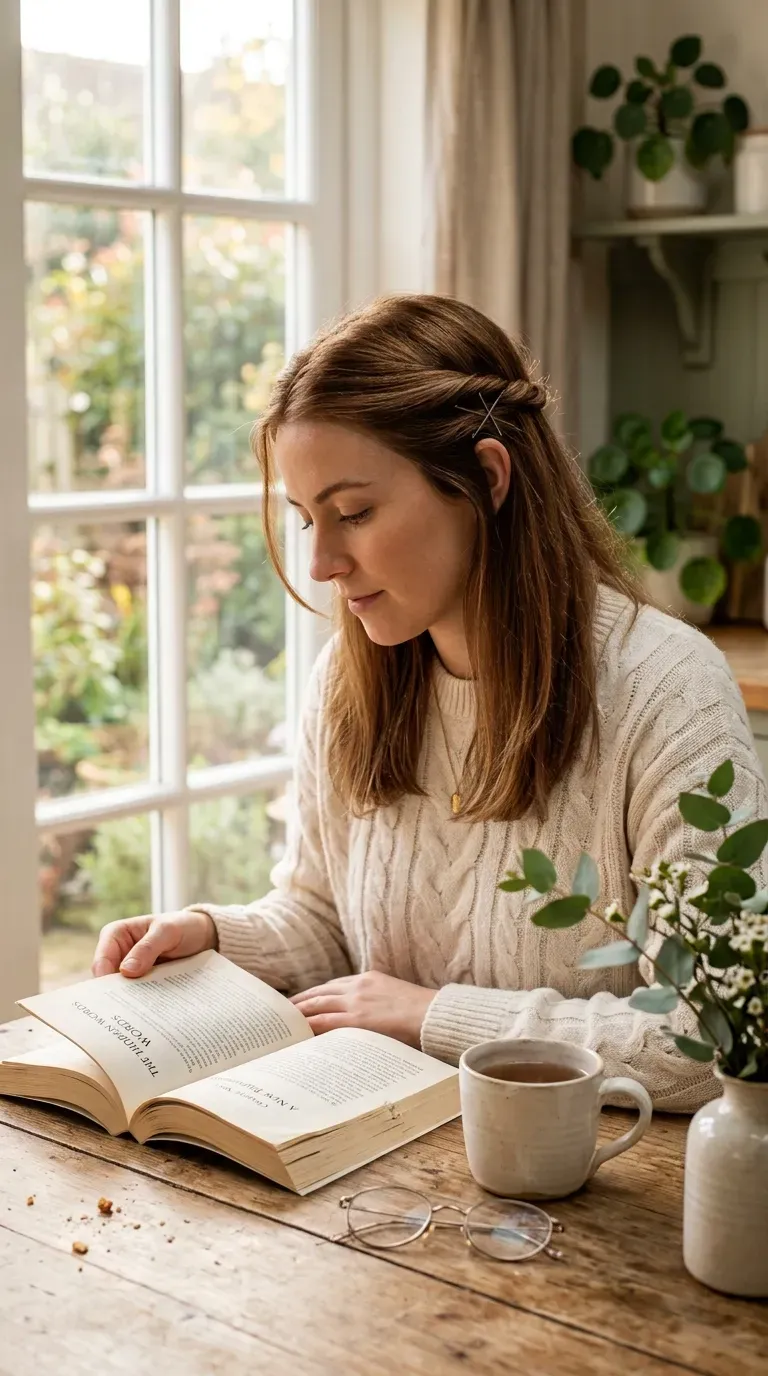
Growing out bangs or face framing layers that fall in your eyes every time you look down? This pins them back with a soft twist instead of a plastic clip.
Take a two inch section just above one ear. Twist it back, away from your face, adding a little new hair to the twist every inch or so as you move across the top of your head. Stop behind the other ear and secure it.
That’s it. No crossing strands and no third section.
It works on shoulder length hair and longer, and it gives flat second day roots a bit of lift.
💡 Quick Tip
Two bobby pins crossed in an X hold far better than one. Slide the first pin down into the twist, then slide the second up across it.
5. Topsy Tail Flip Chain Down the Back of Your Head
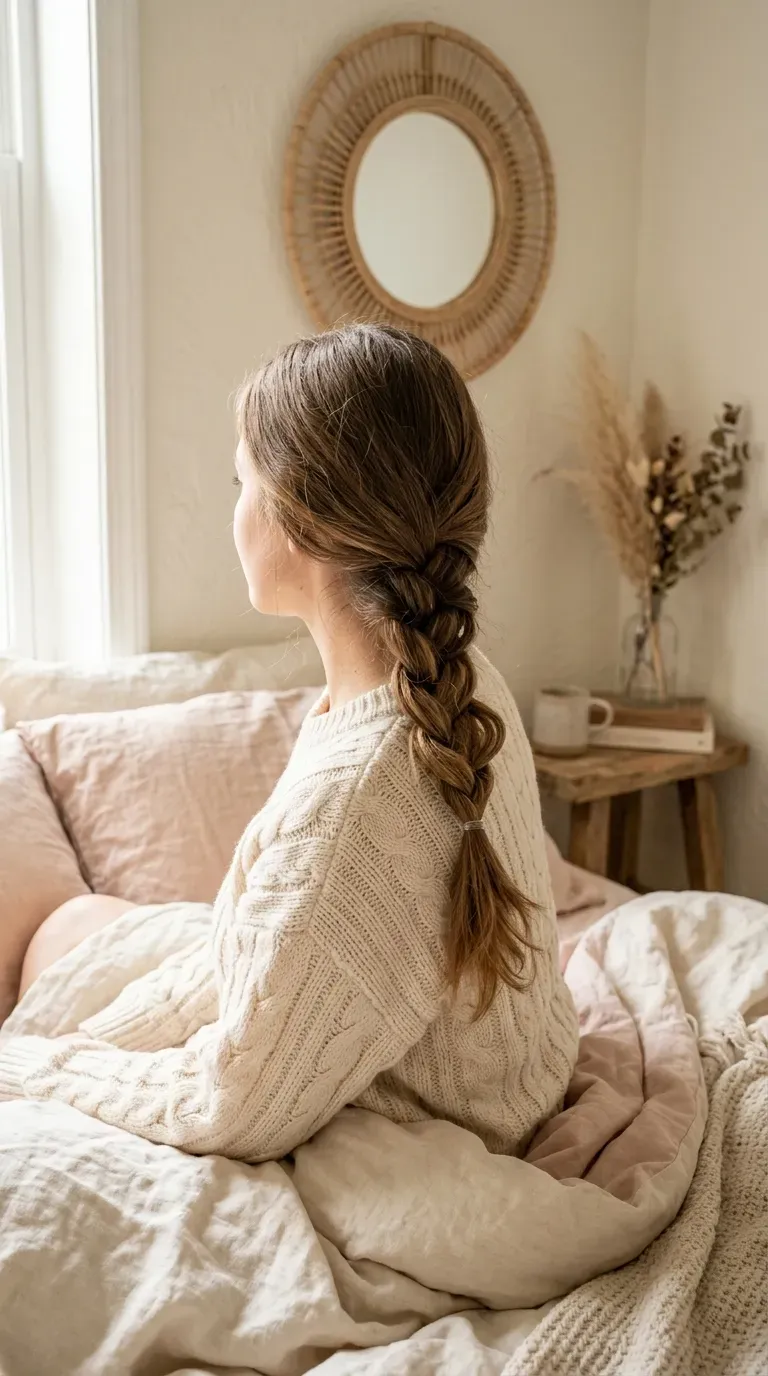
Tie a small half up ponytail at the back of your crown. Loosen it slightly, poke a finger through the hair just above the elastic, and flip the tail down through that gap.
Then repeat three or four times, moving lower each round:
- Gather a new section from both sides, plus the tail above.
- Tie it and flip it through.
- Keep going until you reach the nape.
The flipped sections twist into a rope pattern that reads like a braid from behind. It is also one of the quickest ways to get long hair off your neck on a hot day.
6. The Basic Three Strand Braid, Loosened for a Fuller Look
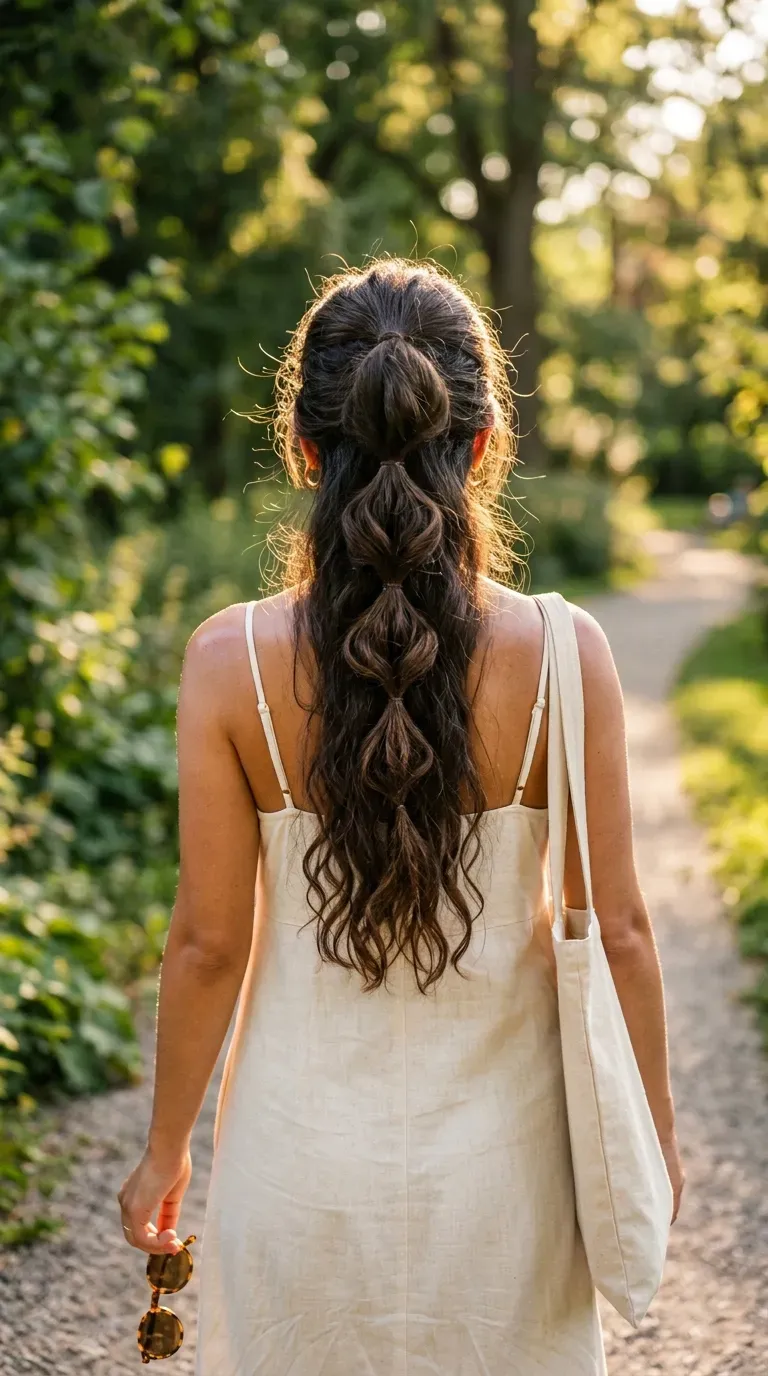
Most people learned this one as a kid on a doll or a younger sibling, then forgot the rhythm. It comes back fast.
It is also the only real braid on this list, and it opens up several of the later styles. The secret to making it look fuller than your hair actually is happens after you tie it off:
- Hold the end firmly.
- Gently pull the outer edge of each loop outward with your fingertips, working up toward the top.
That move is called pancaking. It turns a skinny braid into a wide, soft one, and it hides uneven sections nicely.
Split your hair into three equal sections: left, middle, and right.
Cross the right section over the middle. It is now the new middle.
Cross the left over the new middle. Repeat right, left, right until the ends, then tie it off.
7. Silk Scarf Woven Into a Loose Side Braid
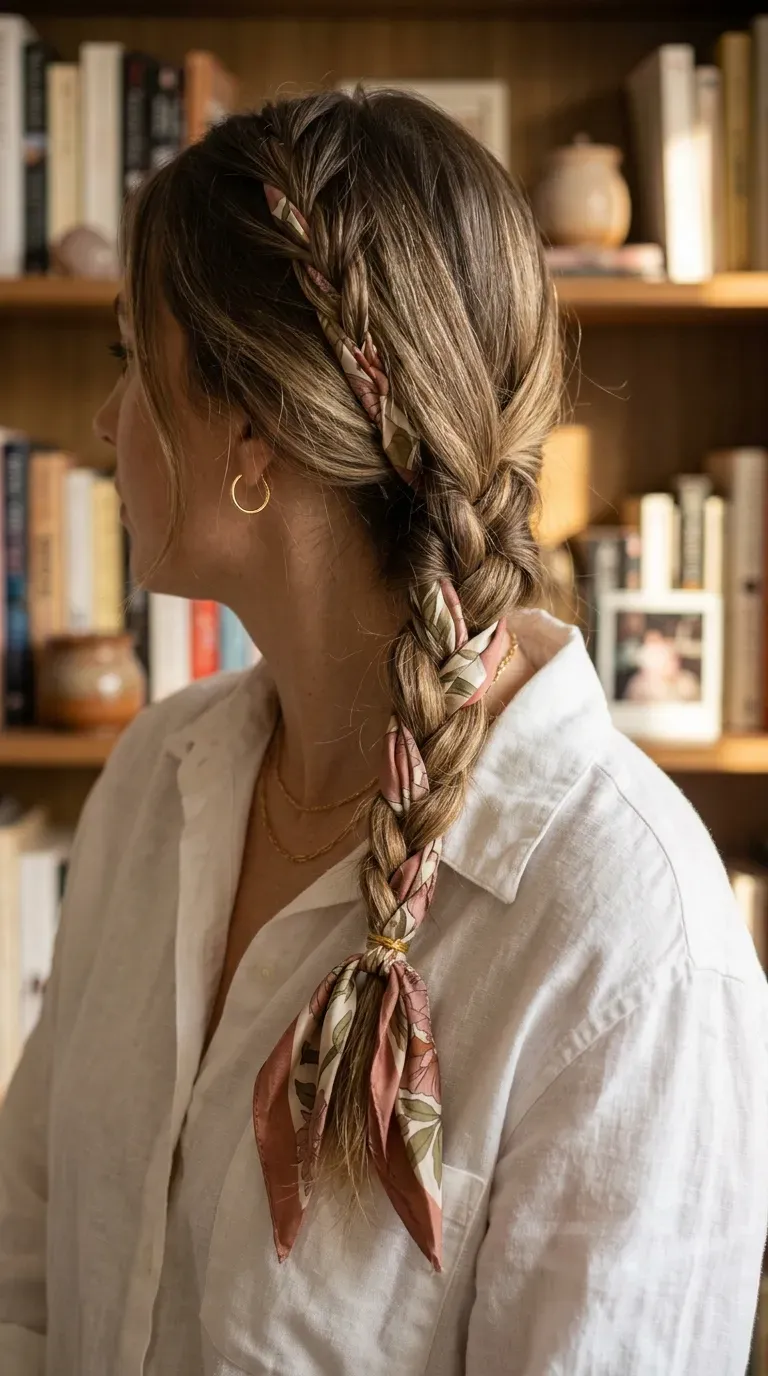
A thin printed scarf peeking out of a braid catches the eye before anyone notices whether your sections are even.
Tie a narrow scarf around the base of a low side ponytail. Treat each half of the scarf as part of a strand: add one tail to your left section and one to your right, then braid as usual. Knot the scarf ends around the bottom elastic and let them hang.
The scarves that work best:
- Skinny silk or satin, about two fingers wide
- Prints that pull in one of your outfit colors
Thick cotton scarves bulk up fast and drag the braid sideways.
The scarf rides along inside two of your three strands. It never becomes a fourth strand, because four pieces is a whole different braid.
8. Two Mini Braids Pulled Back Into a Half Up Style
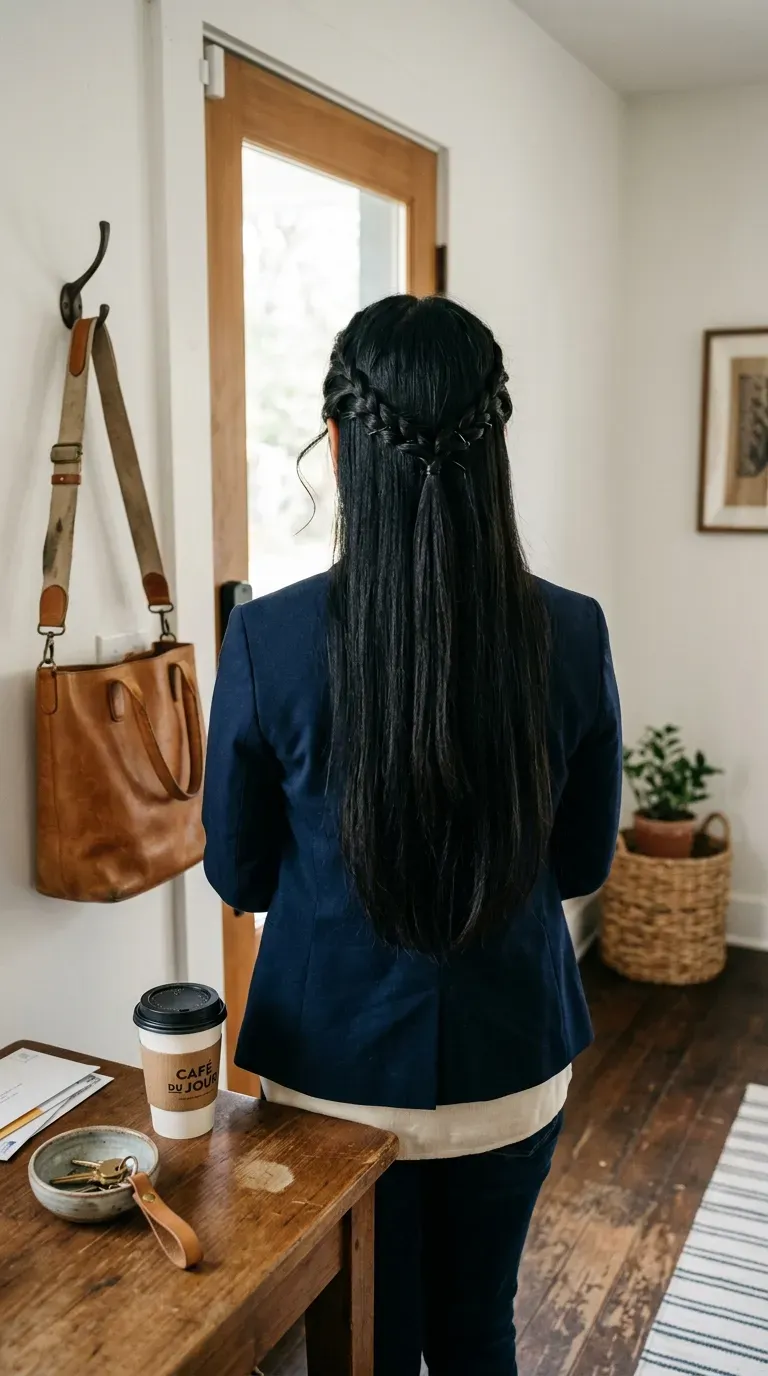
Clean hair that won’t hold a curl, a meeting in twenty minutes, and a front section that keeps falling forward. This is the fix.
Take a thin section at each temple and braid it loosely down to about chin level. Bring both mini braids to the back of your head, cross them, and tie them together with a small clear elastic hidden under the top layer.
Easy ways to change it up:
- Twist instead of braid if three strands still feel fiddly.
- Leave two thin pieces out at the front to soften it.
It looks tidy without looking like you tried too hard.
⚠️ Watch Out
Keep the mini braids loose at the root. Tight little braids at the temples tug on the hairline, and doing that every day can stress fragile edges.
9. Low Braided Bun Wrapped and Pinned in Place
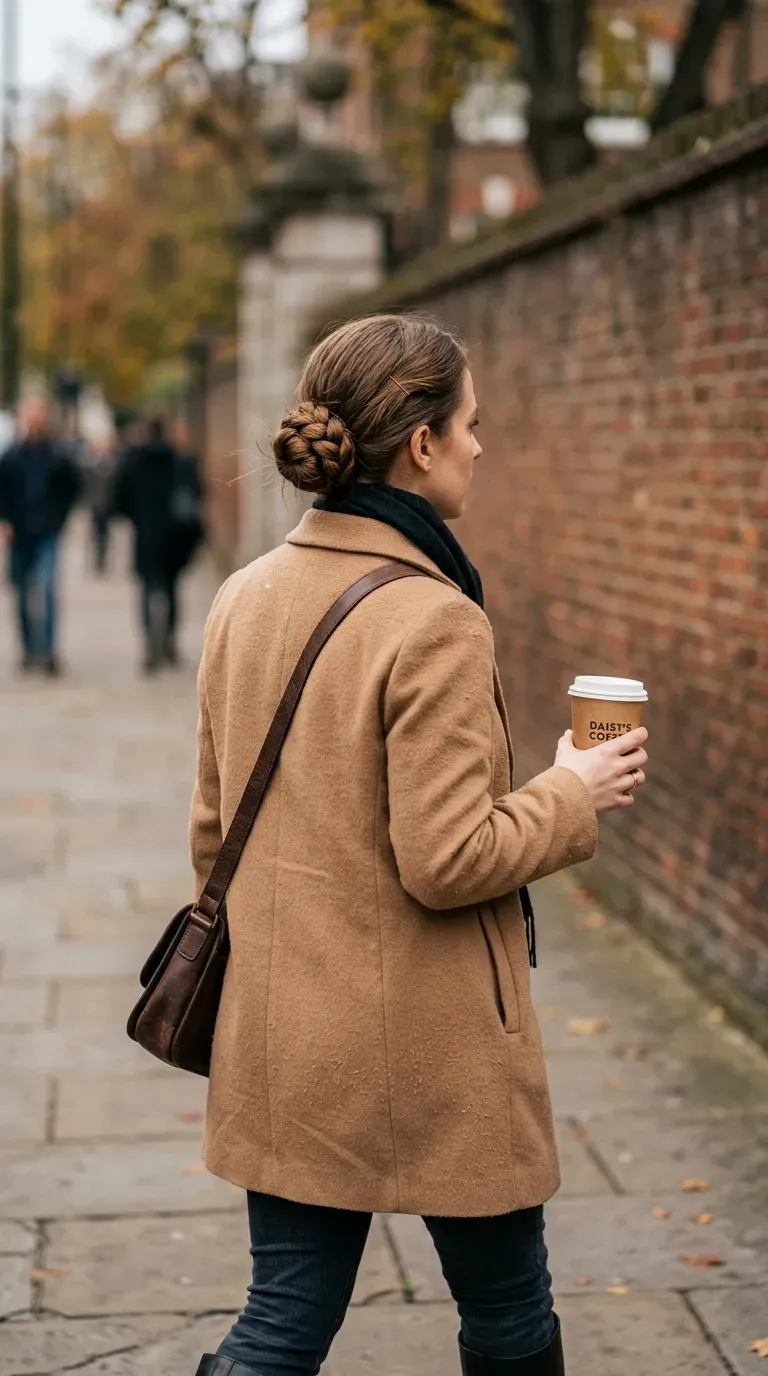
A plain twisted bun slides loose by lunch. A braided one holds, because the braid gives your pins something textured to grip.
Here is the quick version:
- Tie a low ponytail at the nape.
- Braid it all the way down and tie the end.
- Wrap the braid around the elastic in a loose coil and tuck the tail underneath.
- Pin it in four spots, like the points of a compass.
Pancake the braid before wrapping it if you want a bigger bun. On fine hair going to work, skip that step for a small, neat one. Either way, it survives a jacket hood.
10. Twisted Space Buns for Hair That Won’t Braid

The usual space bun mistake is placing them too far apart and too far forward. They end up looking like earmuffs.
Part your hair down the middle and make two ponytails a little behind the top of each ear, closer together than feels natural. Twist each ponytail tightly until it starts to coil on its own, wrap it around its base, and pin.
Why twist instead of braid? A twist coils in seconds and keeps a rounder shape.
Leave a few face framing pieces out, and it works for concerts, the gym, or a slow Saturday.
| Fine Hair | Thick Hair |
|---|---|
| Lightly tease each ponytail before twisting so the buns look bigger. | Split each ponytail in two and twist them separately so the buns don’t sag. |
| Two pins per bun is plenty. | Use four pins per bun, pushed toward the scalp. |
| Small clear elastics disappear. | Snag free fabric elastics hold the weight. |
11. Braided Bangs Pinned Off to the Side
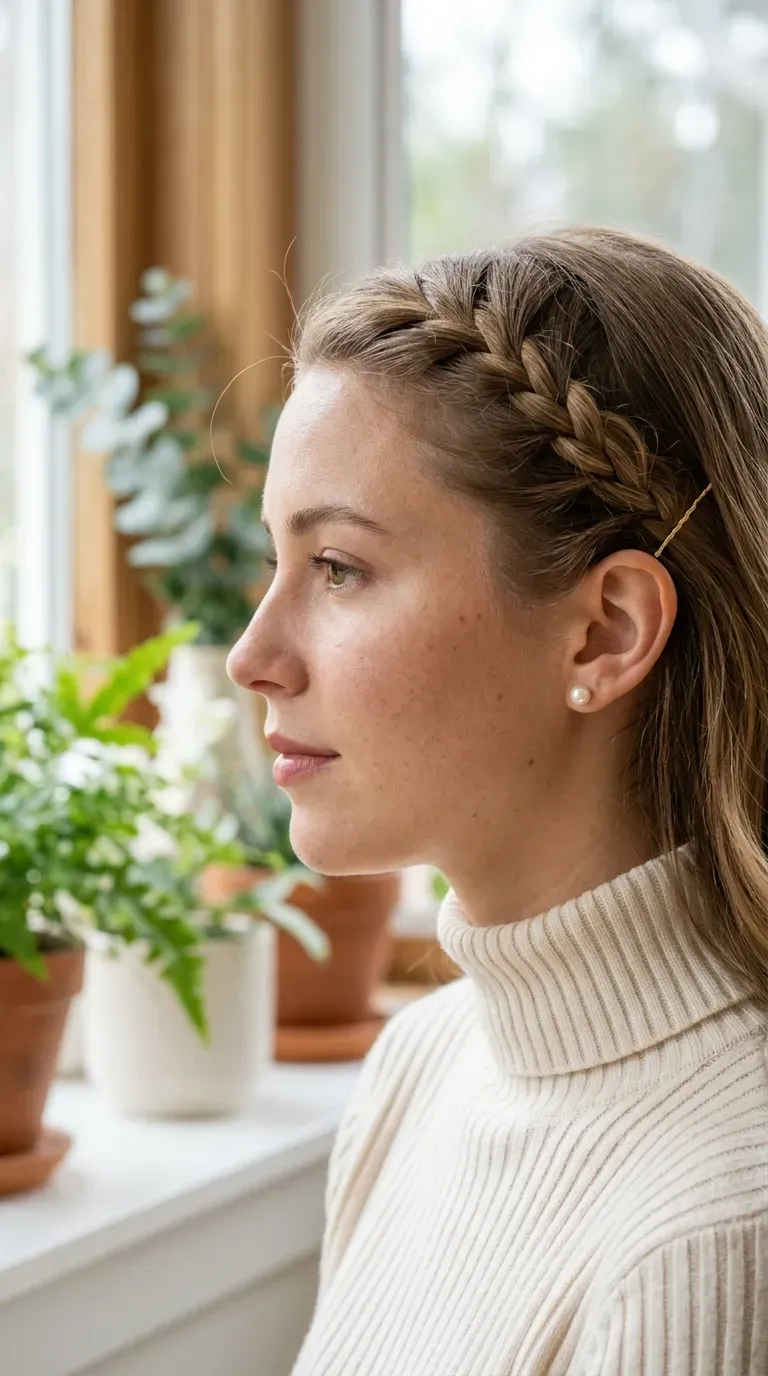
Grown out bangs stop being annoying the moment they turn into a detail instead of a problem.
Take just the bang section and braid it sideways, following your hairline back toward one ear. Keep the braid small and loose. When you reach the end of the bangs, pin it behind your ear with a pin that matches your hair, then let the rest of your hair fall over it.
- Braid them dry, not damp, so they don’t dry in a kink.
- Loosen the front of the braid slightly so it looks soft rather than stiff.
Short bangs work too, since the braid only needs a few inches.
Bangs stuck at eyebrow length, tucked behind the ear and falling out every ten minutes.
A slim braid pinned behind the ear that keeps them off your face and looks intentional.
12. Ribbon Tied Low Braided Pigtails
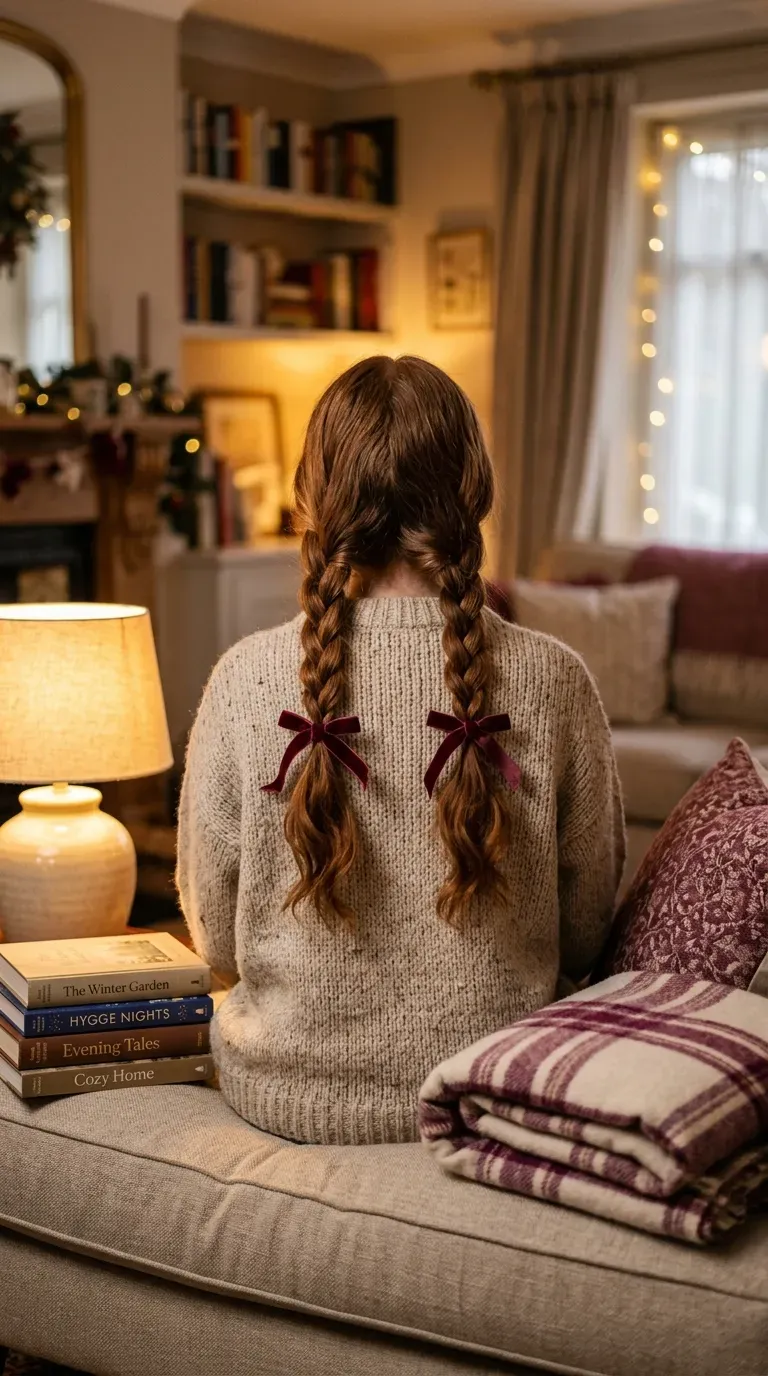
Two low braids look sporty with plain elastics and grown up with ribbon. The braids stay the same. The finish changes the whole feel.
Part down the middle, braid each side loosely behind your ears, and tie them off with clear elastics. Tie a length of ribbon over each elastic in a small bow, and cut the tails at an angle so they don’t fray.
For a softer shape:
- Start the braids just below the ears, not up near the crown.
- Pancake only the top half of each braid.
Velvet ribbon in winter, thin satin in summer.
What to grab first
13. Overnight Braids for Heatless Waves by Morning

Beachy waves do not need a curling wand. They need two braids and a pillow.
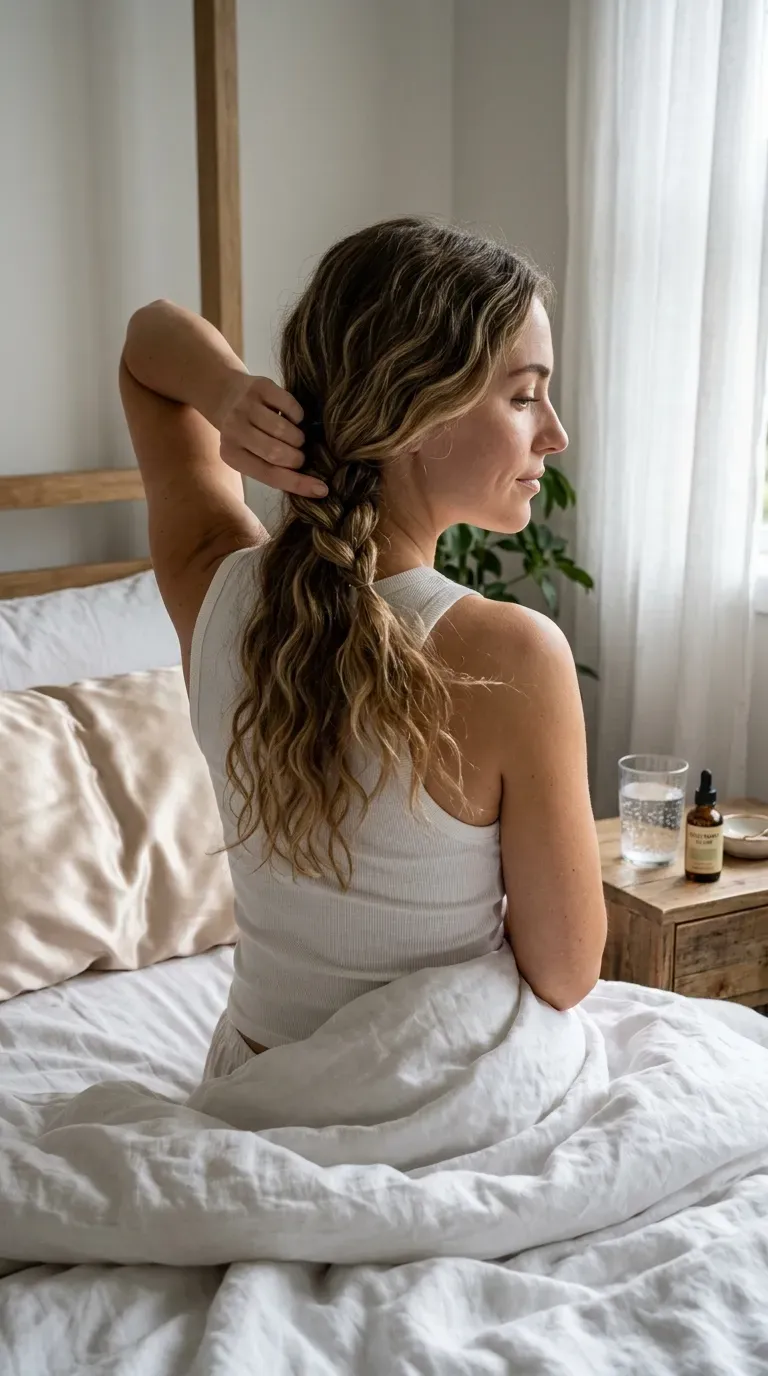
On slightly damp hair, braid two braids, or one if you sleep on your back. The smaller and tighter the braid, the tighter the wave. Sleep on them, then take them out in the morning by unraveling from the bottom with your fingers.
What to expect:
- Big, loose braids give soft bends.
- Several small braids give crimpy texture.
The ends often stay straight. Twist them around a finger with a dab of cream to blend them in.
Braid when hair is mostly dry, with just a little dampness left.
Sleep on a satin or silk pillowcase, which can cut down on morning frizz.
Braiding soaking wet hair. It may still be damp and limp by morning.
Brushing through the waves, which turns them into fuzz.
14. Half Up Top Knot With a Twisted Base

Grab the section of hair above your temples and split it into three pieces: left, center, and right.
Twist the left piece back toward the crown and hold it. Do the same with the right piece. Gather both twists and the center section into a small ponytail at the crown, then wrap that ponytail into a knot and pin it.
The side twists are what make this look styled instead of rushed. Without them, it’s just a half up bun.
Good days for it:
- Day three hair, when the roots have gone a little flat
- Any day you want your face clear but the length down
📌 Good To Know
A tiny knot means the section was too small. Start over with a wider top section instead of teasing the knot bigger. Teased knots flatten by afternoon.
15. Milkmaid Braids Made From Two Simple Pigtails
It looks like one continuous braid wrapped around your head. Really, it is two regular pigtail braids pinned over the top.
Make two low braids behind your ears and pancake them well. Lift the left braid up and over the top of your head toward the right, pinning as you go. Bring the right braid over toward the left, tucking its end under the first braid. Pin every few inches.
The pinning is the only tricky part:
- Slide each pin into the braid first, then into the hair underneath.
- Hide both ends under the opposite braid.
Done well, it lasts through a long day out.
16. Small Braid Wrapped Around Your Ponytail Elastic
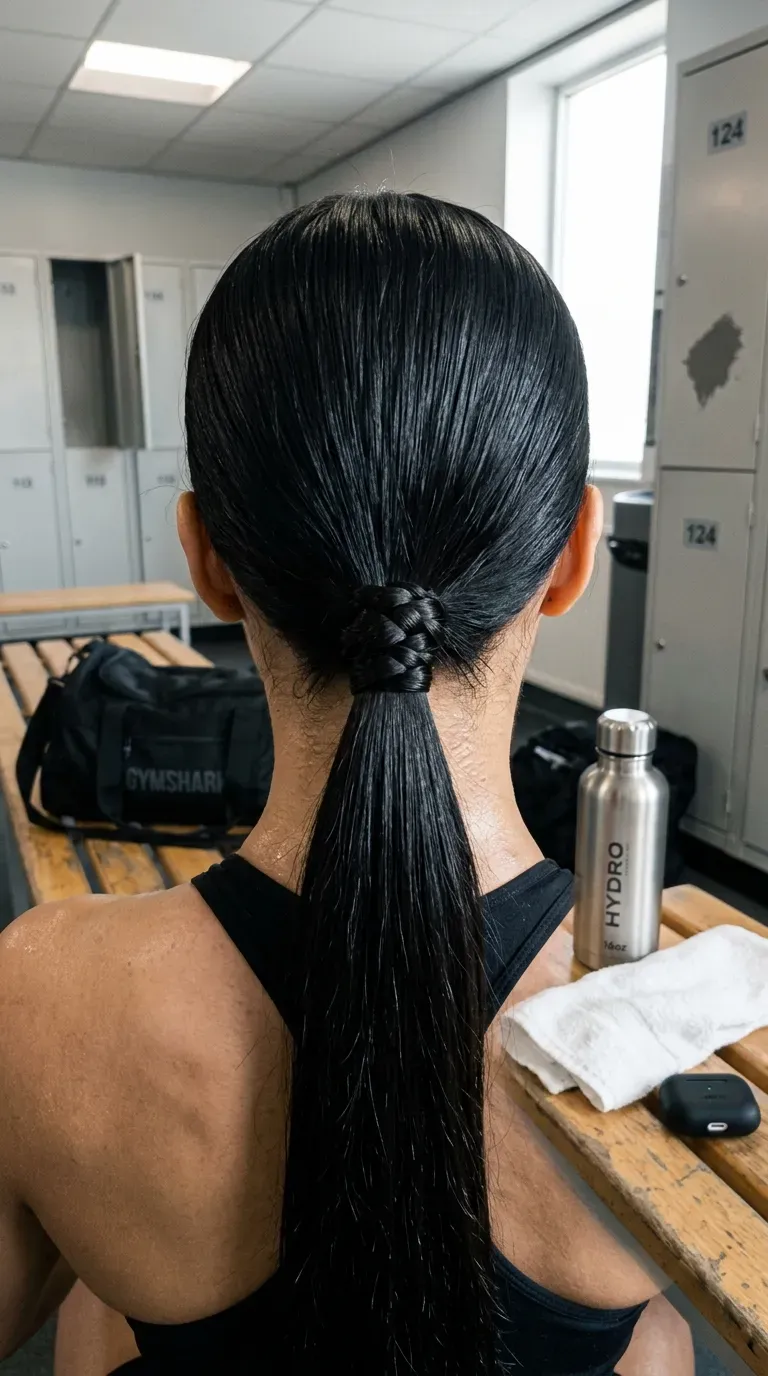
Always take the braid from the underside of the ponytail, never the top. That’s how it hides.
A regular ponytail looks plain because the elastic shows. Wrapping a thin braid around it covers the elastic and makes the whole thing look styled, for maybe two extra minutes of work.
It pairs well with:
- High ponytails for the gym
- Sleek low ponytails for work, with the braid kept tight and neat
- The rope twist ponytail from earlier on this list
Long hair makes this easiest. On shoulder length hair, the braid runs out before it gets all the way around.
Make your ponytail, then pull out a finger width strand from underneath.
Braid that strand to the end and tie it with a tiny elastic.
Wrap it around the base and push one bobby pin through the end, angled into the elastic.
17. Claw Clip Twist With a Braided Tail
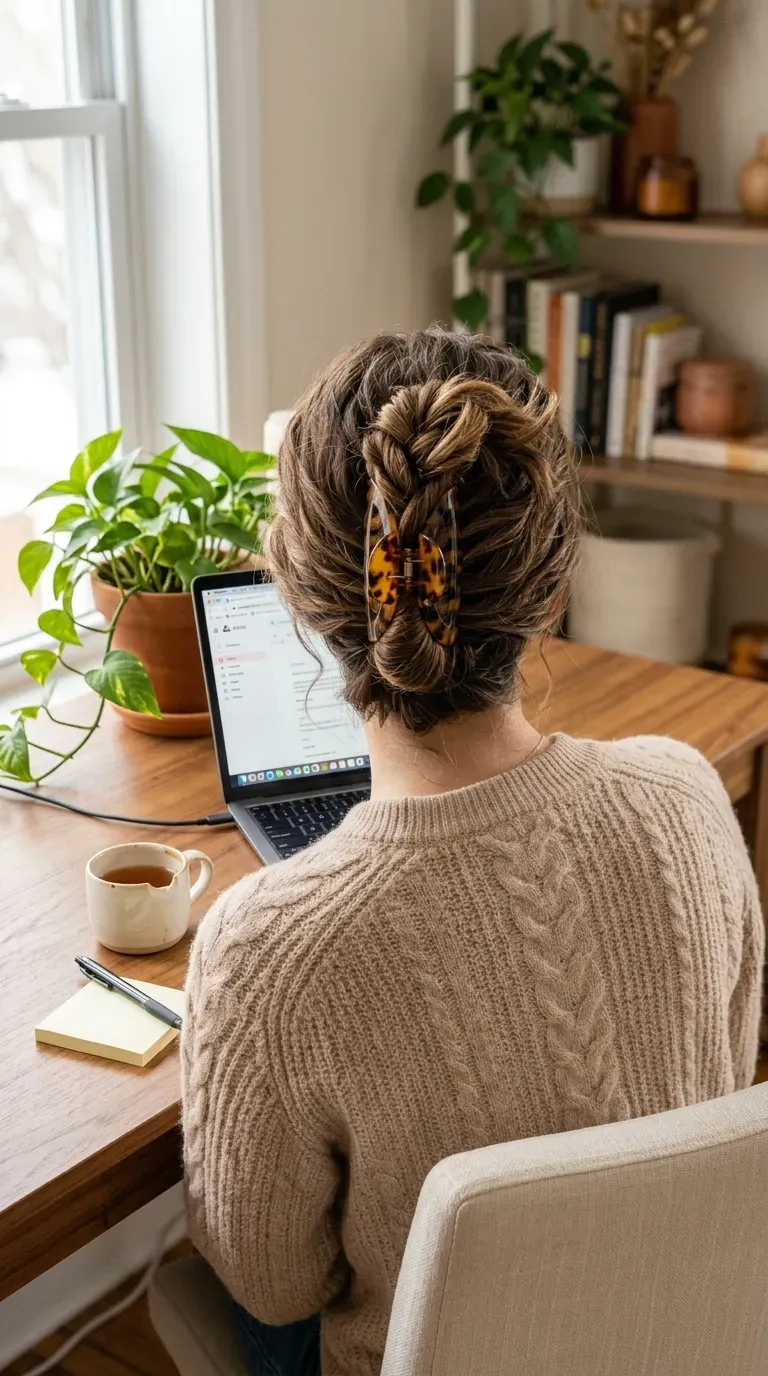
The ends sticking out the top of a claw clip always look a little unfinished, especially on long hair. Braid them first and the problem goes away.
Start a loose braid halfway down your hair and take it to the ends. Then twist the whole length upward against the back of your head, fold the braided end over the top, and close a medium claw clip across the twist. The braid peeks out above the clip like a tidy little fan.
It works especially well for:
- Thick hair that swallows small clips
- Work from home days when you want it off your neck
Size up your clip. If it strains to close over the twist, it will pop open before lunch.
18. Tiny Side Braids for Short Hair and Bobs
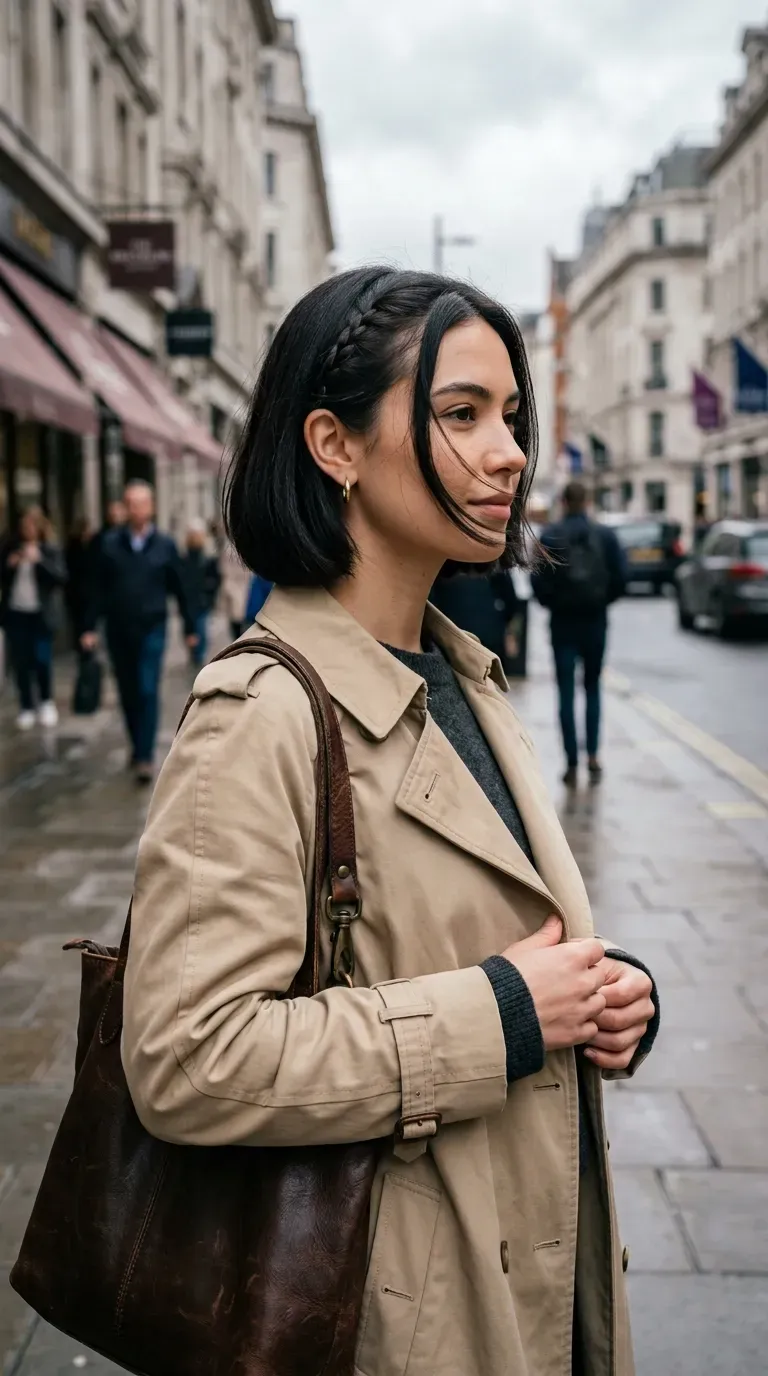
Short hair can braid. It just needs smaller sections and a better anchor.
On a bob, take a thin section just above one ear and braid it straight back, two or three inches long. Pin the end flat behind the ear, under the top layer, so it disappears. Do one side for an off center look, or both sides for a sweeter one.
A few short hair adjustments:
- Work a little paste into the section so short pieces stay in.
- Keep the braids tiny. Big sections poke out.
Chin length works best. Pixie cuts can manage one small braid along the part.
| Chin Length Bob | Shoulder Length Lob |
|---|---|
| Sections about pencil width. | Sections about finger width. |
| Anchor with a small pin under the top layer. | Tie with a tiny clear elastic, then pin. |
| One side only keeps it balanced. | Both sides can meet at the back. |
19. One Skinny Braid Finished With Hair Cuffs
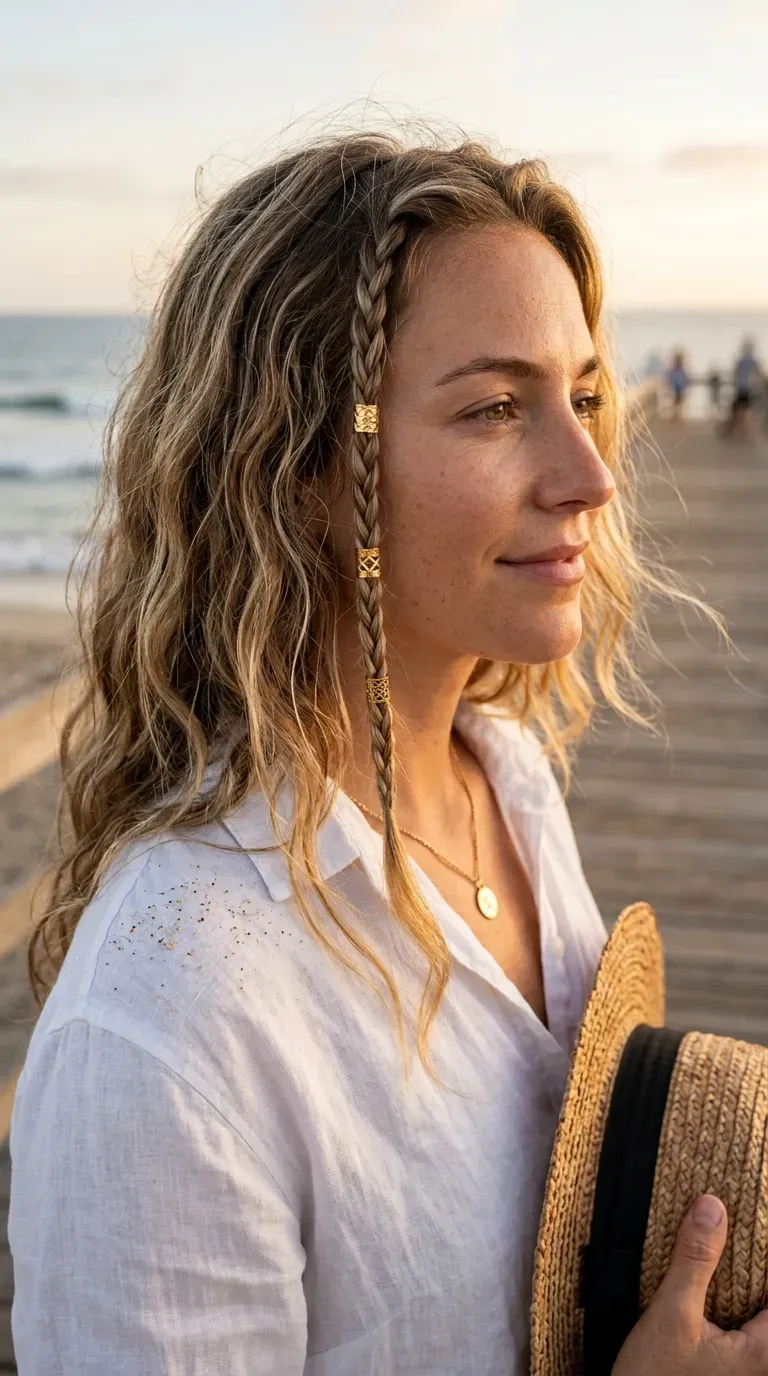
One tiny braid is the lowest effort way to make loose hair look styled on purpose.
Pick a pencil width strand near your face, just behind the front layer. Braid it all the way down, tie it with a tiny elastic, then slide on two or three hair cuffs, spaced apart. Leave the rest of your hair down, wavy or straight.
- Cuffs slide off silky hair. Braid a little tighter at the bottom to give them grip.
- Gold cuffs stand out on dark hair, silver on light hair.
It is an easy way to wear hair jewelry without committing to a full braided look.
20. Clip In Braid Headband for Zero Effort Days
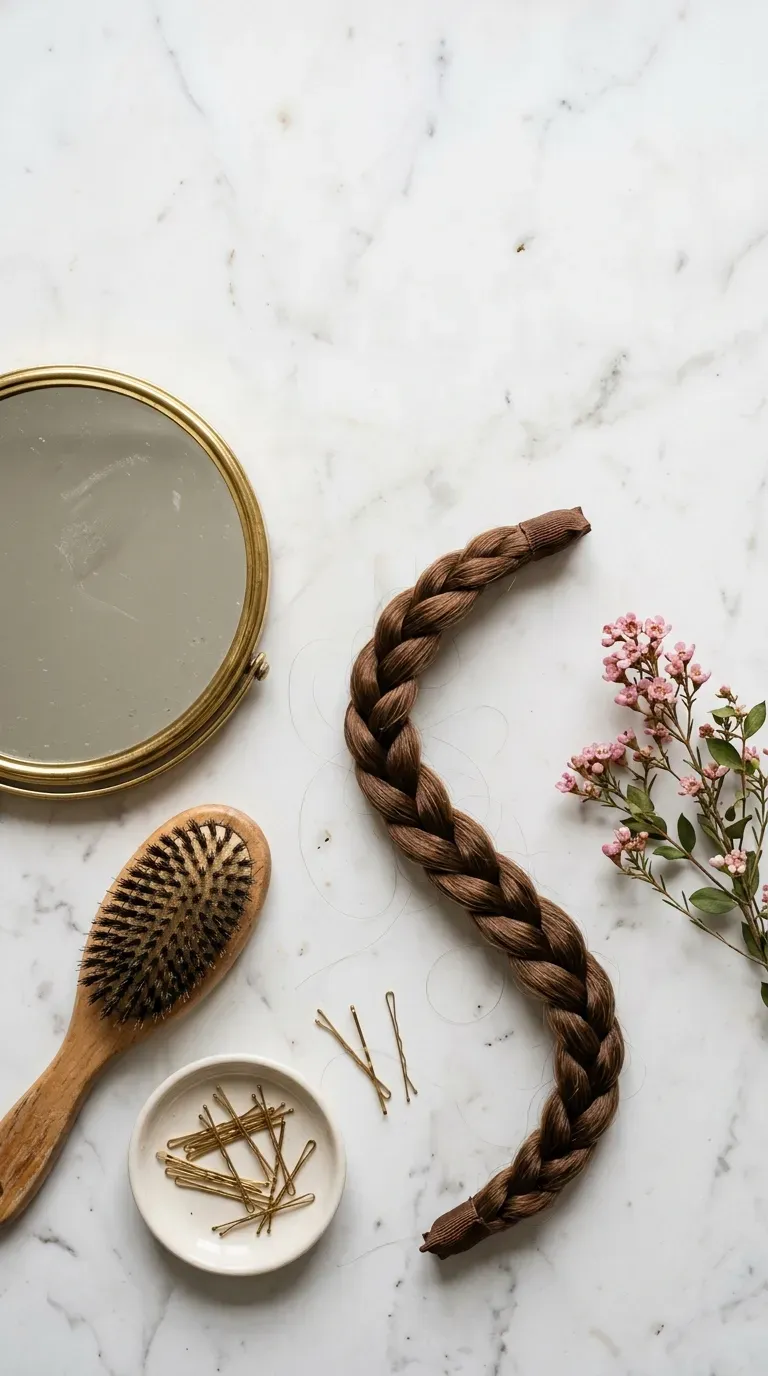
Some mornings, the best braid is one you bought. A clip in braided headband sits across your head like a regular headband, and the rest of your hair hides the ends.
Brush your hair back, set the braid an inch or two behind your hairline, and clip each end in behind your ears. Fluff the hair in front a little so the edge blends.
- Synthetic braids cost less but can look shiny under bright light.
- Human hair versions can be heat styled along with your own hair.
Keep it in its box between wears so it doesn’t tangle.
Before you buy one
21. Knotted Ponytail Tied Down the Length

A knot braid takes about as long as a regular braid, but you only keep track of two pieces instead of three. And you’ve been tying knots since you were five.
Make a low ponytail and split it into two sections. Tie them in a single loose knot, like the first step of tying a shoe. Pull it snug, not tight. Repeat every couple of inches until you run out of length, then tie off the end.
The result is a chunky, bumpy ponytail with real texture.
- Long hair gets four to six knots.
- Shoulder length hair gets two or three, with the ends left loose.
Tie each knot loose first, then snug it gently into place.
Mist silky hair with texture spray first so the knots don’t slip.
Knotting wet hair. It tangles and is hard to separate later.
Pulling knots tight. You will be picking them apart at bedtime.
Braids feel a lot less intimidating once you notice how many of them are really elastics, twists, knots, and pins. Start with the bubble ponytail or the rope twist this week. Then give the basic three strand braid a few practice runs on a slow Sunday. Once that rhythm clicks, most styles here take ten minutes or less.
Keep a small kit by your mirror: clear elastics, bobby pins that match your hair, and one ribbon or scarf you love. That’s all these easy braided hairstyles for beginners ask for.
Save this list to your hair board, so the next time your hair won’t cooperate, you have 21 ideas ready.