

Nobody warns you about the month your bob stops being a bob. The ends hit your shoulders and flip in three directions. The back looks shaggy while the front still looks fine. And every single morning, the kitchen scissors start to look tempting.
Most advice says to just be patient. That is easy to say when your hair is not poking out of your collar like a duck tail.
Here is the honest part. Getting through this stage is less about patience and more about small tricks. A part on the other side, two bobby pins, a quick bend with a flat iron, or a trim on only the back can make in between hair look like you planned it. Most of these work on hair that is still too short for a real ponytail.
Below are 20 hairstyles for growing out a bob that real women lean on during the worst months. Some are two minute fixes for rushed mornings. A few are simple salon requests that keep the shape even while the length catches up.
1. Switch to a Deep Side Part

Your part has probably lived in the same spot since the bob was fresh. That is part of the problem.
Move it to a deep side part, roughly over the arch of one eyebrow. The heavier side falls forward and hides the uneven pieces near your jaw. The lighter side tucks behind your ear without any help.
- Wet just the roots with a spray bottle.
- Draw the new part with the tail of a rat tail comb.
- Blow dry the roots across in the new direction for about 30 seconds.
Quick tip: Hair fights a new part for a few days. Clip the heavy side flat while you do your makeup and it settles much faster.
2. Flip the Ends Out Instead of Under

Shoulder length hair hits your collarbones and flips out anyway. So stop fighting it and make the flip look like the plan.
A clean outward flip reads as a retro nod instead of an accident. Here is the routine:
- Grab a round brush about 1.5 inches wide.
- Roll each section up and away from your face, not under.
- Heat it for a few seconds, then hit the cool shot button.
- Rub a pea sized dab of light styling cream into the ends only.
The flip holds best on second day hair, when there is a little grip. Freshly washed, silky hair tends to drop flat by lunch.
3. Half Up Mini Top Knot
A small knot on the crown, about the size of a walnut, with the rest of the hair loose underneath. That is the whole look.
It works because it pulls up the top layer, which is usually the longest and most uneven part of a growing bob. What hangs below is the tidier bottom section.
Gather the hair from temple to temple and back to the crown. Twist it, wrap it around itself, and secure it with a small clear elastic plus two bobby pins.
Leave a couple of short pieces out near your temples. A very tight knot on short hair can end up looking like a sprout.
4. Ask for a Back Only Trim Every Eight Weeks
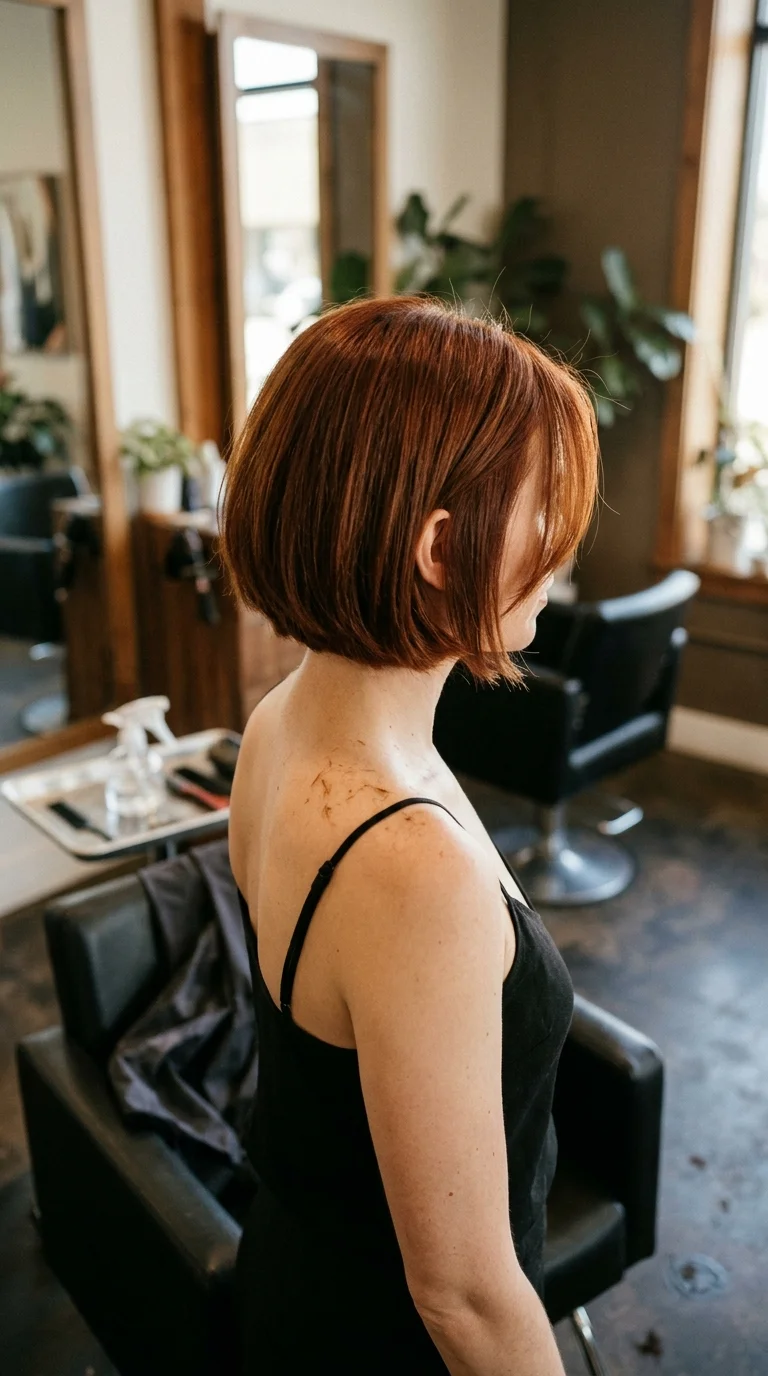
Skipping the salon will not make your hair grow out faster. It only makes the shape go wrong faster.
The back is usually the first part to slide off track. Hair at the nape lies flat against your neck and starts to look shaggy and mullet like, while the sides still look fine.
Say this in the chair: “Please trim only the back so it catches up with the front. Leave the sides and front alone.”
That one request keeps everything moving toward one even length instead of growing into three different lengths at once.
5. Twist One Side Back With Two Pins
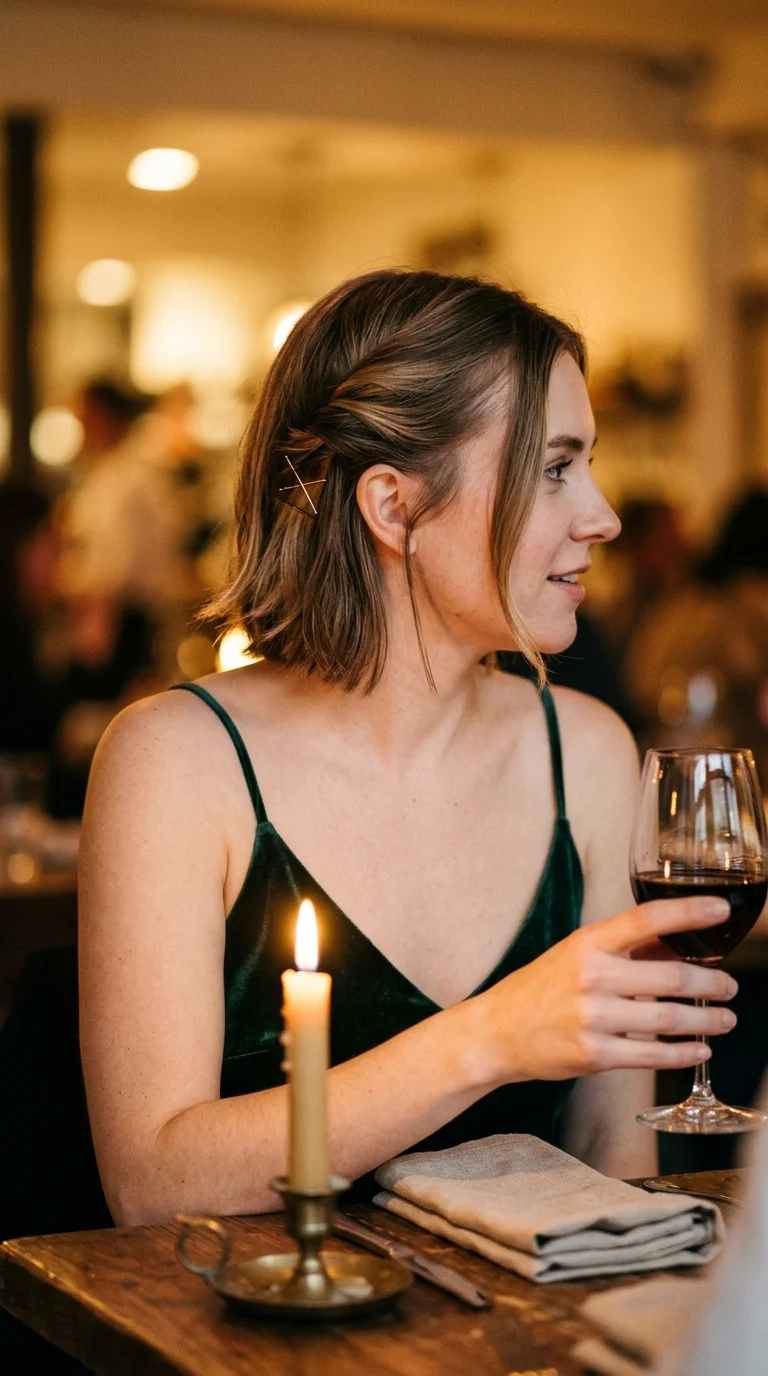
Dinner reservation in ten minutes, and one side keeps falling into your eye. That is exactly when this one earns its place.
Take a two inch section above your ear on the heavier side. Twist it back, away from your face, three or four turns. Then cross two bobby pins in an X just behind your ear.
- Match the pins to your hair color. Black pins on blonde hair stand out.
- Slide the first pin in pointing up, the second pointing down.
- Gently tug the twist to loosen it a little.
The other side stays down. That uneven look reads as styled, not lopsided.
6. Flat Iron Bent Waves

Curling iron curls bounce up and make in between hair look shorter than it is. Flat iron bends do the opposite. They add texture but keep your length.
- Take a section about one inch wide.
- Clamp the flat iron halfway down and turn it half a turn.
- Slide it down slowly, then let go before the last inch.
- Switch the direction on the next section.
Once it cools, shake it out with your fingers and add a light mist of texture spray.
Those straight ends are the secret. They make the bottom look soft and lived in, so nobody notices it is still uneven.
7. Stacked Barrettes Above One Ear

Three clips look intentional. One clip looks like you lost the other two.
Comb one side straight back behind your ear. Then slide in three barrettes stacked in a loose diagonal line above it, each one slightly angled.
Good combos to keep in a drawer:
- Small pearl barrettes for work and dinners
- Tortoiseshell snap clips for weekends
- Plain gold bobby pins when you want it quieter
This is the go to for the chin length phase, when hair is too short for a ponytail and too long to sit flat. It also stops that one piece from creeping into your eye while you read.
8. Dutch Braid Along the Hairline

Start at your part and braid toward your ear, crossing each strand under instead of over. That is what makes it a Dutch braid, raised and easy to see.
The key is to add hair only from the face side. Leave the back alone, so the braid stays thin and hugs your hairline.
When you reach behind your ear, finish with a tiny elastic and tuck the tail under the loose hair with a bobby pin.
Short layers will poke out. Smooth them with a clean toothbrush and a little gel.
It keeps the most annoying front pieces in place all day, workout included.
9. Silk Scarf Tied as a Headband

A folded silk scarf hides more than you would think. The ridge from a bad part, flat roots, and that one piece at the crown that stands straight up.
- Fold a square scarf into a band about two inches wide.
- Slide it under your hair at the nape.
- Bring both ends up and tie a small knot on top, a little off center.
- Tuck the loose tails under the band, or let them hang if they are short.
For a more retro look, flip it around and tie the knot at the nape instead.
Small prints usually look neater than big bold ones on short hair.
10. Two Mini Buns Half Up

Fun, fast, and it works on hair that only just reaches your jaw.
Part your hair down the middle. On each side, take a small section from the top and twist it into a tiny bun, then wrap a clear elastic around it. Leave the rest down.
Keep them high and small. Low mini buns on short hair tend to slip loose by the afternoon, and big ones pull out the shorter layers.
A few pins tucked into each bun help a lot if your hair is slippery or freshly washed.
This is a weekend look. It suits errands, concerts, and days when you would rather not think about your hair at all.
11. Sleek Low Bun With the Short Pieces Pinned
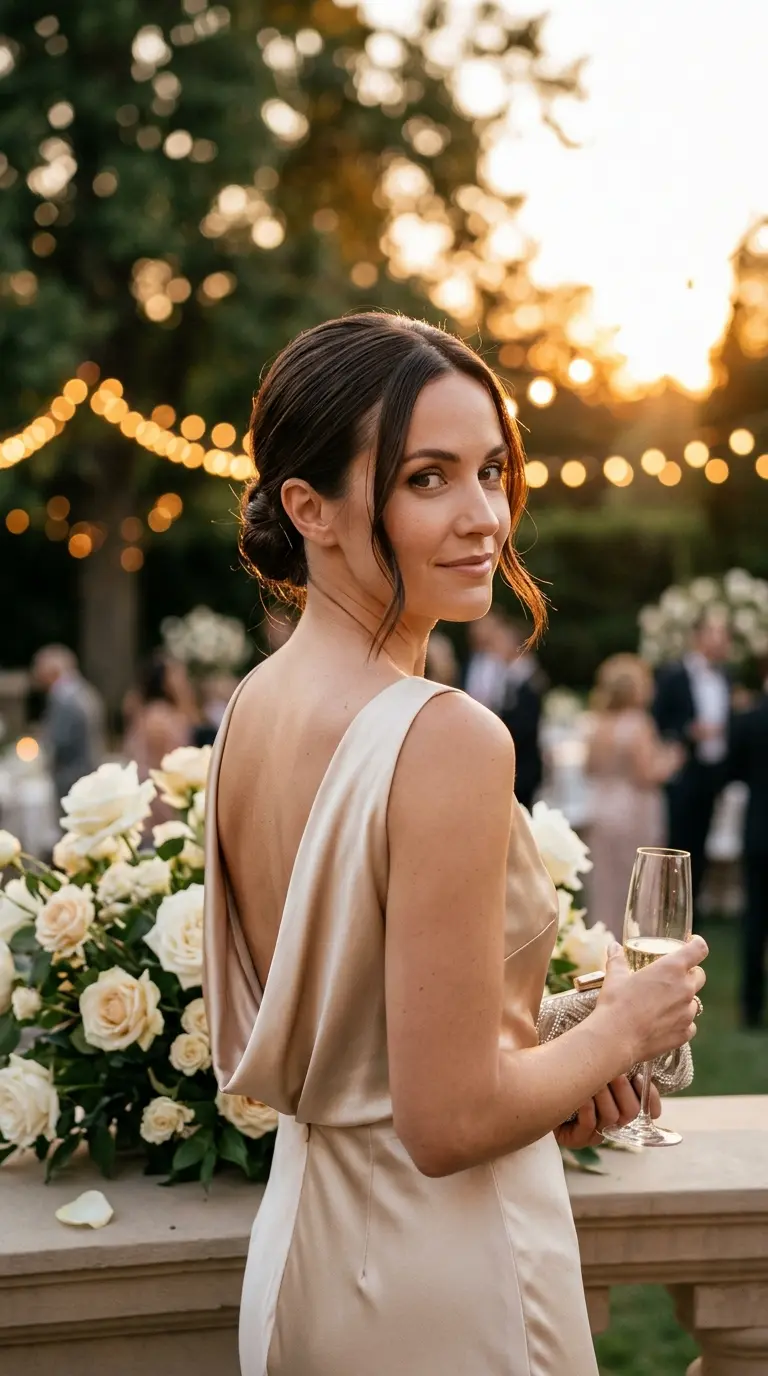
The usual mistake is trying to force every single strand into the elastic. Shoulder length hair will not cooperate, and the bun ends up tight and lumpy.
Work on damp hair with a strong hold gel. Brush it back into a low ponytail at the nape, twist it, wrap it around the base, and pin it.
Now deal with the short pieces at the back separately. Push each one upward into the bun with a U shaped pin. They are less likely to fall out than with flat bobby pins.
Start with damp hair and a strong gel so the short layers stay put.
Place the bun right at the nape, where the hair is longest.
Pin stray back pieces upward into the bun with U pins.
Brushing it back bone dry, which leaves bumps and frizz.
Placing the bun mid head, where shorter layers slide right out.
A bun donut, which needs more length than you have right now.
12. Curtain Bangs to Pull Focus Forward

Soft bangs, split down the middle and swept out toward your cheekbones.
They help because the eye goes straight to the front. Uneven ends at the back suddenly matter a lot less when the front of your hair looks freshly done.
Ask your stylist for curtain bangs that start around the cheekbone and blend into the side pieces. Longer is safer, since bangs that are too short need trims every few weeks.
Here is the honest limit. This adds one more thing to grow out later. If that thought makes you tired, skip this one and come back to it next year.
13. Stubby Low Ponytail With a Wrapped Base

A short ponytail can look like a paintbrush sticking out of your neck. The wrapped base fixes that.
- Gather your hair low, right at the nape, and secure it with a small elastic.
- Pull out a thin strand from underneath the ponytail.
- Wrap it around the elastic until it is hidden.
- Pin the end underneath with one bobby pin.
The short pieces that fall out near your ears are fine. Leave them. They soften the shape and make it look less like a gym ponytail.
A second elastic halfway down the tail keeps very short ends from splaying out.
14. Wide Padded Headband With Crown Lift

Fine hair goes flat on top during the grow out, and a flat crown makes the uneven ends more obvious.
Here is the fix:
- Tease a small section at the crown with a fine comb, just at the roots.
- Smooth the top layer over it.
- Slide a padded headband on about two inches behind your hairline.
- Push the band forward a tiny bit so the crown pops up.
Tuck the ends behind your ears for a cleaner shape.
This one suits fine or thin hair most of all. Thick hair usually has enough lift already, and a padded band can make it look a little helmet like.
15. Tucked Behind the Ears Wet Look
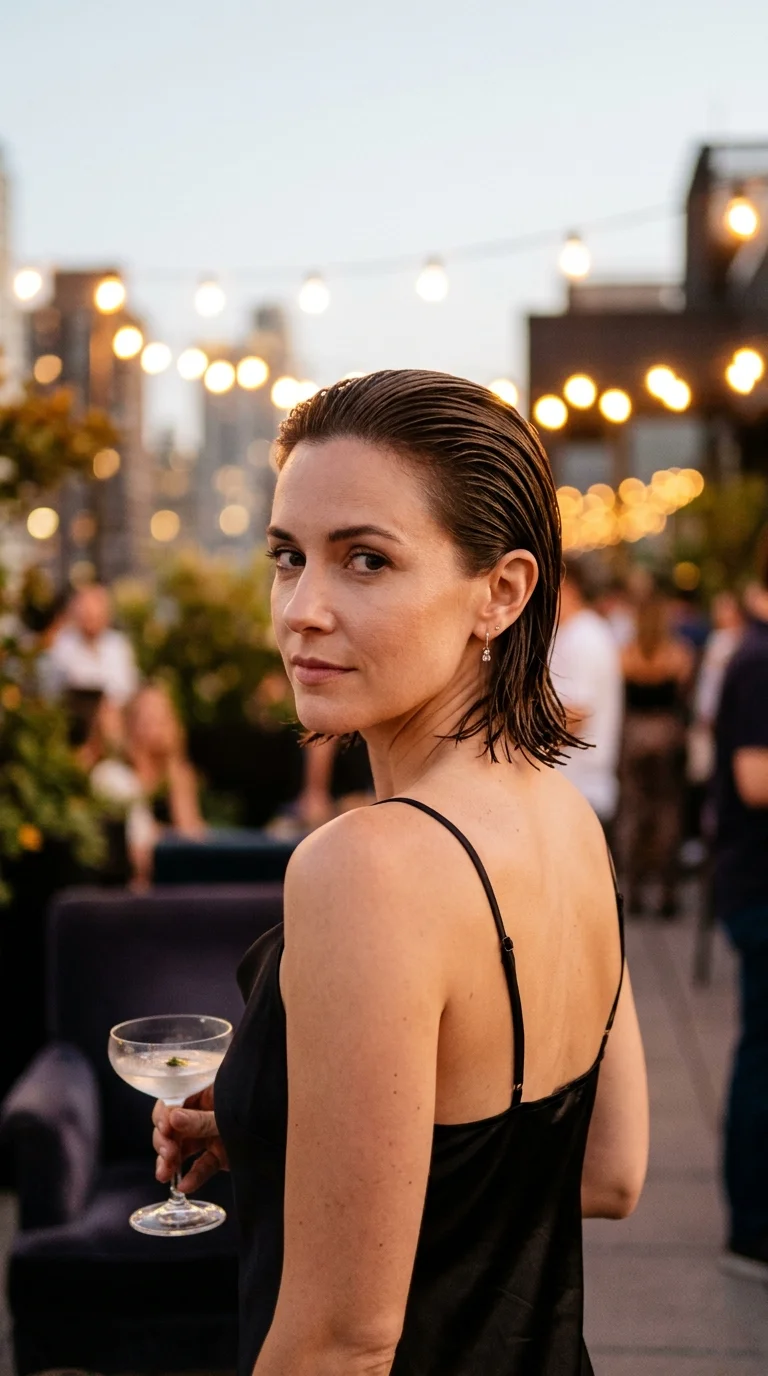
Messy in between hair looks messy. Polished in between hair looks like a choice.
Rake a shiny gel or a gel cream through damp hair, roots to ends. Comb it straight back and tuck it firmly behind both ears. Then leave it alone until it dries completely.
Touching it while it sets is what makes it go fuzzy.
Best moments for it:
- Hot, humid days when nothing else holds
- Nights out with big earrings
- The day before wash day, when roots look a bit greasy anyway
Wash it out the same night. Heavy gel left in overnight can make the next morning harder.
16. Small Claw Clip Half Up Twist

Monday morning, three video calls, and the hair is doing that halfway flip again. A small claw clip handles it in about twenty seconds.
Gather the top half of your hair. Twist it once, lay it flat against the back of your head, and clamp it with a claw clip.
Size matters here. A clip around two inches long grips short hair well. The big clips from your long hair days slide right down because there is not enough hair to fill the teeth.
Pull one face framing piece out on each side if the front looks too stiff on camera.
17. Scrunched Texture With Mousse

Uneven ends disappear inside texture. That is the whole idea behind this one.
- Start with soaking wet hair.
- Flip your head over and scrunch in a golf ball sized amount of mousse.
- Squeeze out water with an old cotton T shirt instead of a towel.
- Diffuse on low, or let it air dry without touching it.
When it is fully dry, scrunch once more to break up any crunch.
Naturally wavy hair gets the most out of this. Straight hair can still get some bend, but a salt spray on top usually helps it hold past noon.
18. Velcro Rollers for Crown Volume
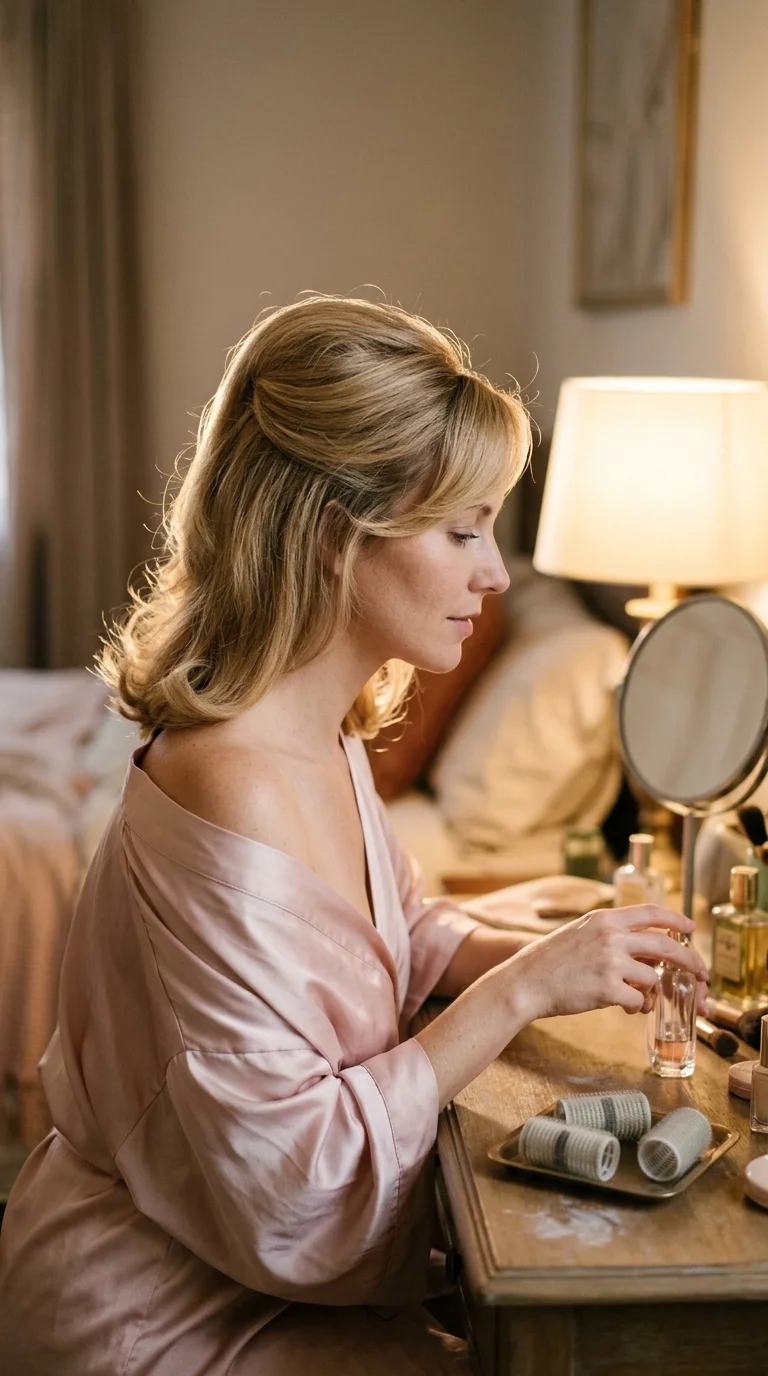
I hold a soft spot for velcro rollers. They do quietly what a round brush needs two hands and a lot of practice to do.
Roll three or four large rollers into the top and crown while your hair is about 80 percent dry. Blast each one with heat, let them cool while you get dressed, then pull them out gently.
Quick tip: Roll the crown pieces backward, away from your face, for the most lift.
Flat roots, a dented crown, and ends grazing your shoulders at three different lengths. The unevenness is the first thing anyone sees.
A rounded, lifted crown that draws the eye up, with ends that curve softly inward. Same length, but it reads as a finished, deliberate shape.
19. Knotted Half Up

Two pieces of hair tied together in a simple knot, the same way you would start tying a shoelace. It looks more complicated than it is.
What you need:
- Hair at least long enough to meet at the back of your head
- Two bobby pins
- A small clear elastic, only if your hair is slippery
Take a one inch section from each temple. Bring them to the back, tie one knot, and pin each tail flat underneath.
It hides the uneven top layer and shows off the length you have managed to keep. This one usually starts working once your hair reaches your shoulders.
20. Ask for Long Face Framing Layers

Once your hair passes your shoulders, the last awkward bit is usually the front. The old bob line still shows near your chin.
Long face framing layers fold that line into the new shape.
Ask for layers that start at the chin or just below it and blend into the length. Be clear that you want the overall length kept. Something like “keep my length, just shape the front” works.
What this does:
- Hides the last trace of the old bob line
- Adds movement without cutting length off the back
- Makes ponytails and buns look softer around your face
This is the cut that finally makes it feel like you made it.
Growing out a bob is mostly a waiting game, but it does not have to be an ugly one. A new part, a few pins, a well placed clip, and one or two smart trims can carry you through the months when your hair is neither short nor long.
Pick two or three of these and rotate them. Keep one quick style for busy mornings, one nicer one for evenings, and a trim on the calendar.
Keep this list of hairstyles for growing out a bob handy for the mornings when the scissors start calling your name.
Save this pin to your hair board so it is ready the next time your ends start flipping in every direction.