
Flat hair at the crown is the quickest way to make a good outfit look tired. You wash it, you dry it, and twenty minutes later it hangs there like it gave up. Meanwhile every old runway photo you saved shows hair that seems to float off the scalp and land in soft, heavy swoops.
That look was never magic. It came from big round brushes, Velcro rollers, a lot of heat aimed in the right direction, and patience at the roots. The good news is that medium length hair holds it better than long hair does. There is less weight pulling the volume down, so the bounce lasts.
This list of 90s blowout medium hair looks covers the classics and a few easier versions for busy mornings. Some need a round brush and twenty minutes. Others lean on hot rollers or a hot air brush. Each one comes with the steps, the small tricks that keep it from falling flat by lunch, and who it suits best.
Start with the classic bouncy blowout. It is the base for almost everything else here.
1. The Classic Bouncy Round Brush Blowout
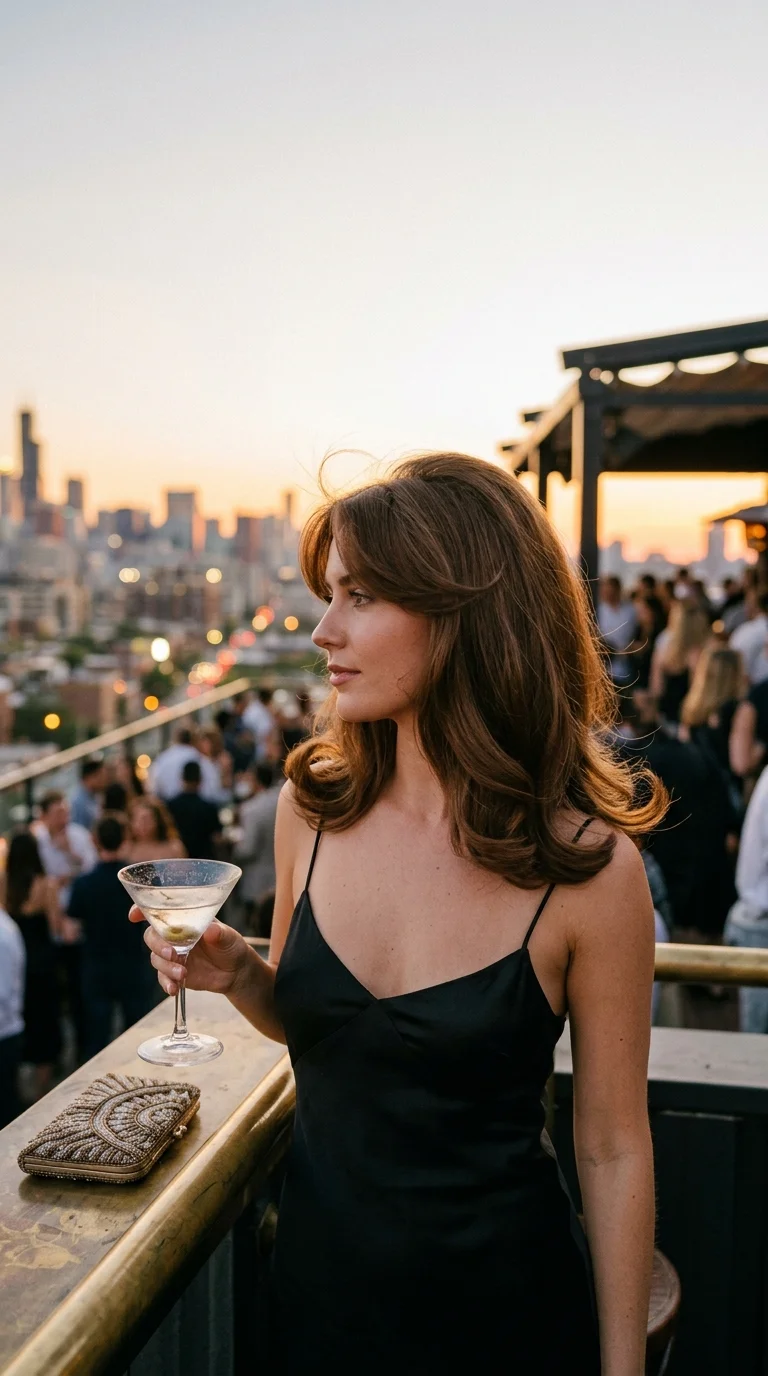
Volume starts at the roots, not the ends. Most people spend all their time curling the bottom inch and wonder why the top looks flat.
- Rough dry your hair until it is about 80 percent dry, with a root lift spray at the scalp.
- Clip it into four sections: top, two sides, and back.
- Take 2 inch pieces, wrap them around a large round brush, and dry them pulled straight up.
- Roll the brush under at the ends and blast with cool air before you let go.
Quick tip: Over directing the top section backward is what gives that tall, airy crown.
This is the look to master first. Everything else on the list builds on it.
2. Flipped Out Ends With a Middle Part
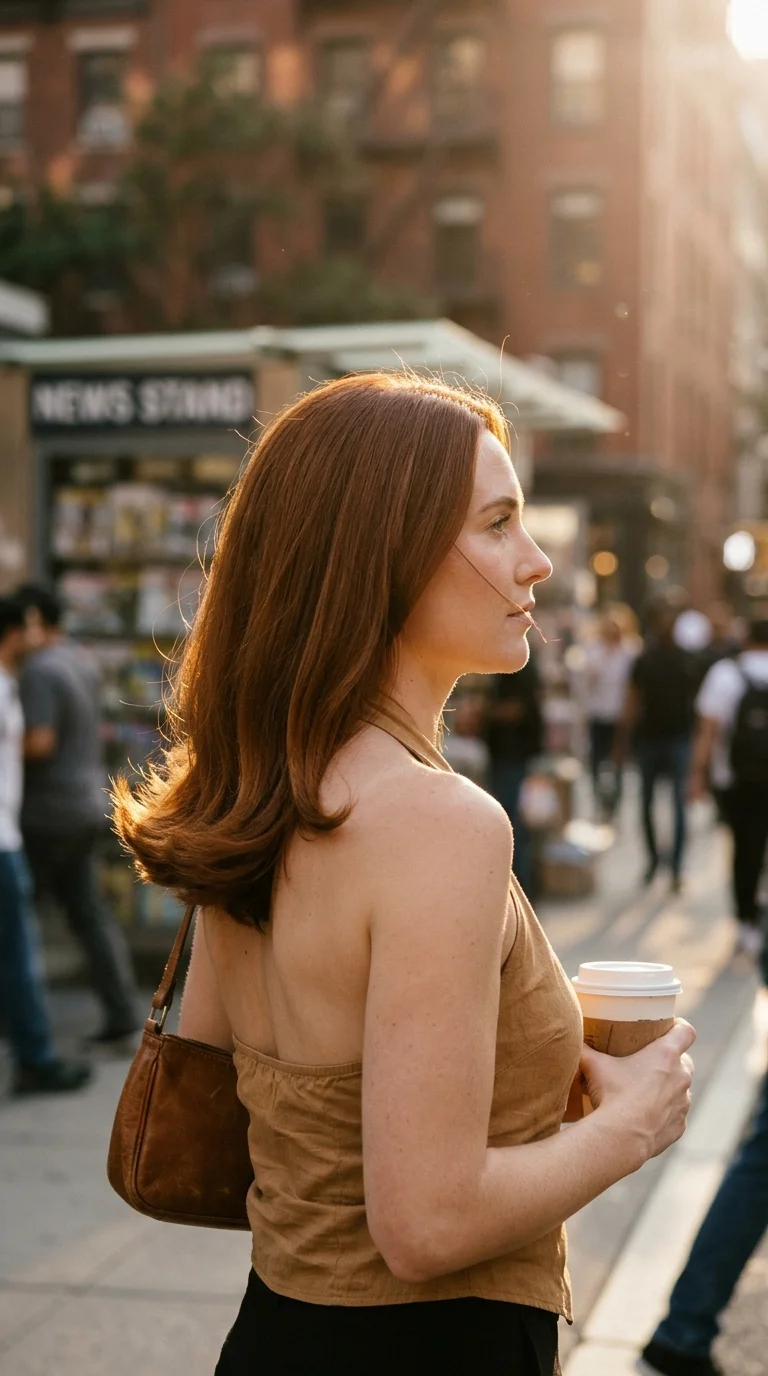
Flicked ends feel more playful than the classic curl under. Think late 90s magazine covers and sitcom best friends.
The trick is reversing the brush at the very end. Dry each section smooth and straight, then roll the brush outward for the last two inches and hold the heat there for a few seconds.
- Keep the middle part sharp with the tail of a comb.
- Mist the ends with a light hairspray before flipping.
- Work on lobs that hit right at the shoulders, where the flip has room to kick.
Hair that sits on your collar every day will push the flip out anyway. Use that.
3. Long Curtain Bangs With a Full Blowout
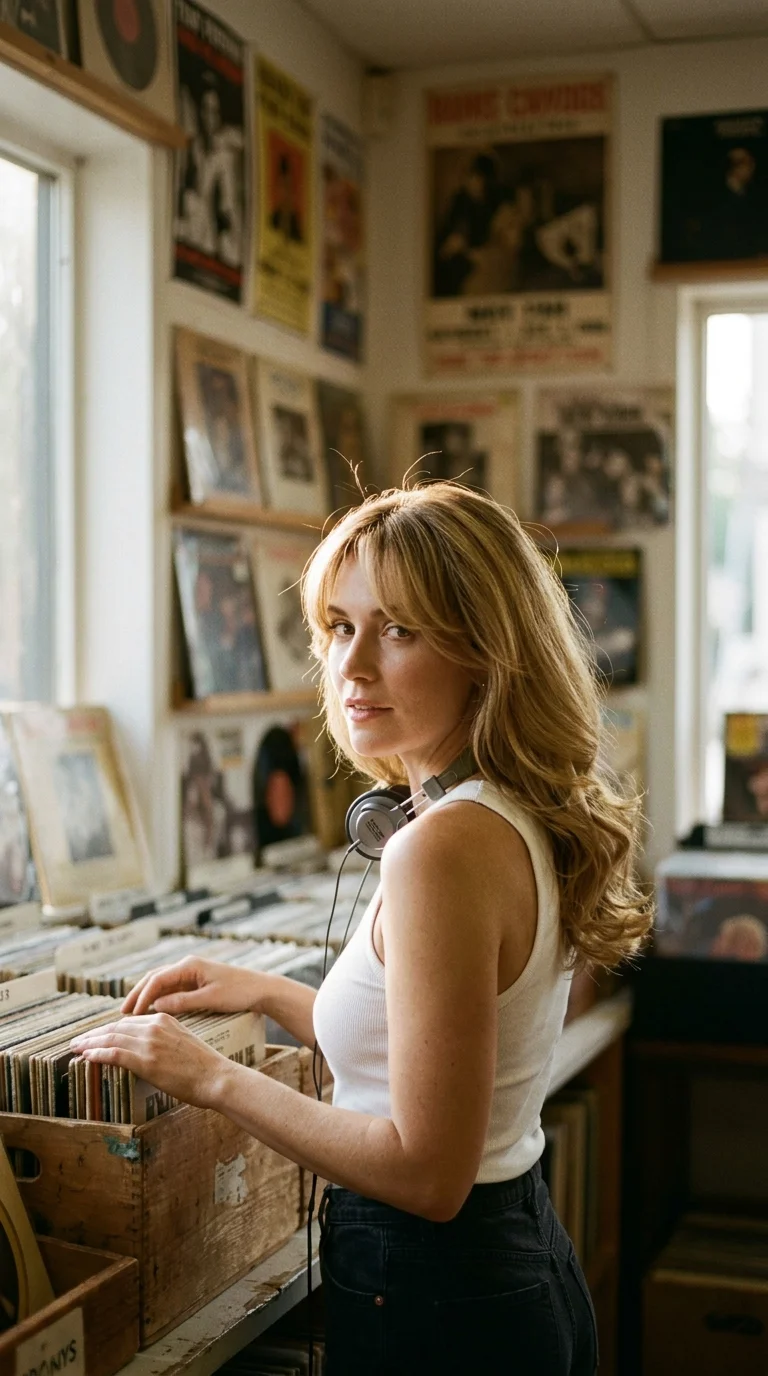
Curtain bangs and a big blowout belong together. The bangs frame the face, and the volume behind them keeps the whole thing from looking too flat or too modern.
Dry the bangs first, while the rest of your hair is still damp. Split them down the center and roll each side away from your face with a small round brush.
Then blow out the lengths with a larger brush so the curve of the bangs melts into the side pieces.
Bangs that fall in your eyes after an hour usually need one more blast of cool air. Rushing that last step is the most common reason they collapse.
4. Deep Side Part With a Swooping Front
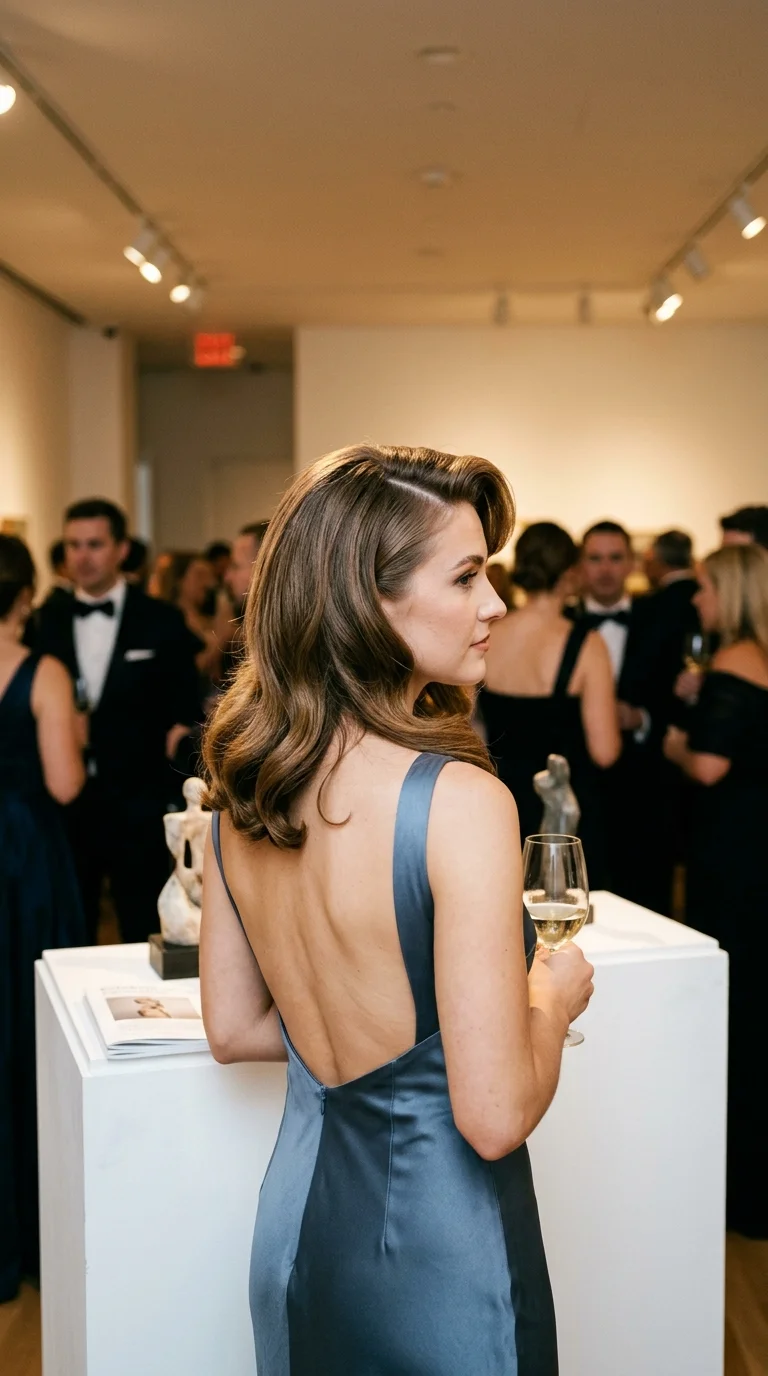
A middle part looks casual. A deep side part looks like you are about to walk a runway in a slip dress.
Flip all your hair to the opposite side before you start drying. Dry the roots that way for a minute, then flip it back. The roots now stand up instead of lying flat, and the heavy side gets a natural swoop.
Small warning: Pin the swoop with a flat clip while it cools. Skip this, and it will drop by the time you find your keys.
It works best on hair that hits just below the collarbone, where the swoop has enough length to fall over one eye.
5. Velcro Roller Set for Heatless Lift
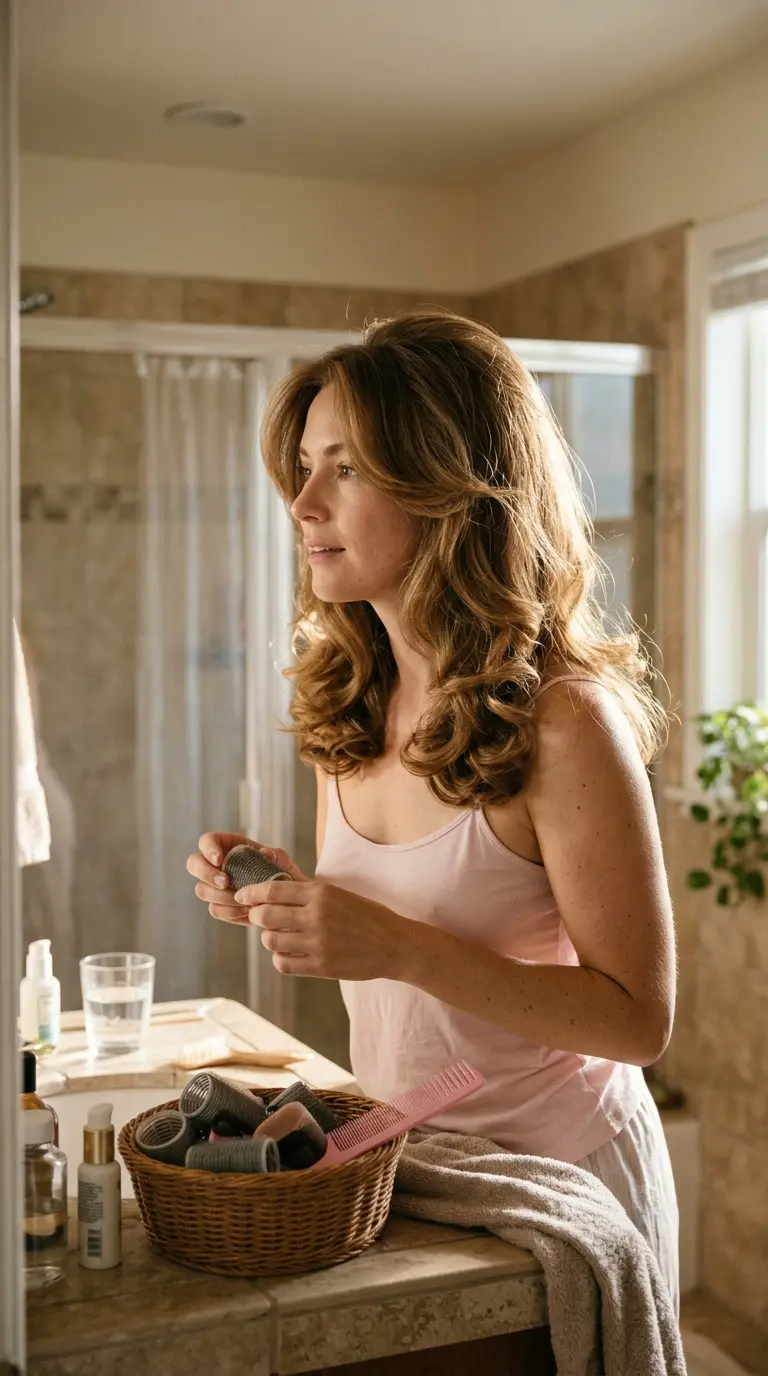
Rollers were the backstage secret. Blow dryers gave the shine, but Velcro rollers gave that lift that stayed put through a whole show.
Here is the easy version:
- Blow dry hair smooth and fully dry.
- Wrap 2 inch sections around large rollers, rolling away from the face.
- Place three along the top, two on each side.
- Leave them in while you do your makeup, about 20 minutes.
- Pull them out gently and rake your fingers through.
The longer they sit, the more the bounce holds. Do this on second day hair if fresh hair is too slippery.
6. Feathered Face Framing Layers

Layers are what make 90s volume possible. Without them, a blowout on medium hair looks like a helmet.
Ask your stylist for long face framing layers that start at the cheekbone and blend into the rest. Then style them this way:
- Dry each front piece with a round brush rolled up and back, away from your face.
- Aim the dryer down the brush so the cuticle lies flat.
- Twist each piece back around a finger and let it cool.
The layers fan out like feathers instead of hanging forward. Fine hair loves this cut because it fakes thickness at the front.
7. Half Up Blowout With a Claw Clip
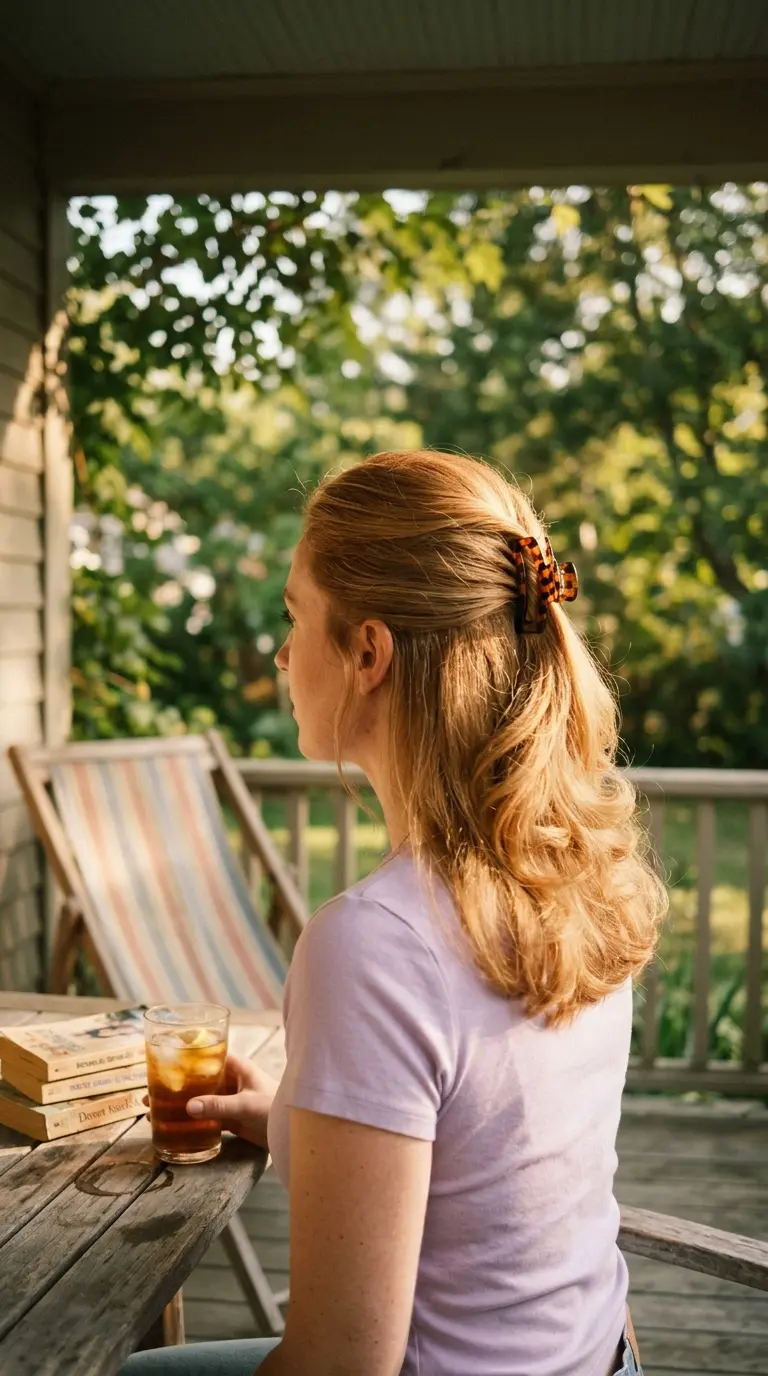
Day two blowouts look their best half up. The crown is still full, and the ends still have bounce, but the sides may have flattened a little.
Gather the top section between your temples. Twist it once and secure it with a medium claw clip at the back of the crown.
The detail that matters: Leave out two thin pieces at the front. They soften the look and hide any part that has gone flat.
A tortoiseshell clip feels very era correct. A matte black one looks a little more modern.
8. Big Hot Roller Curls Brushed Out
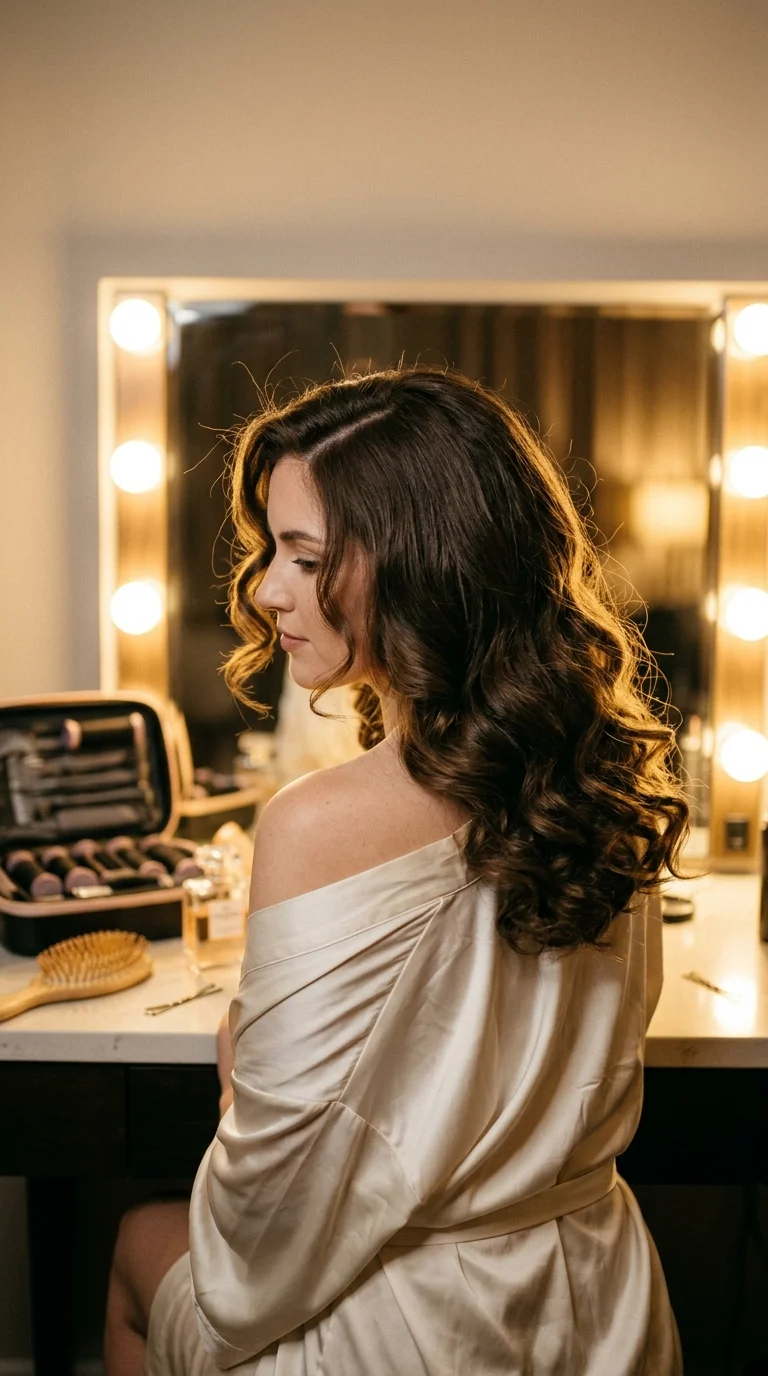
Hot rollers give a bigger, rounder curl than Velcro ones, and they set much faster. This is the closest you will get to that glossy runway bounce at home.
Set the rollers on dry hair, starting at the top and working down. Leave them for 10 to 15 minutes, or until they are completely cool. Pulling them warm is what makes the curls fall.
Then brush out with a paddle brush. The curls break into soft, heavy waves with tons of body.
Heavier or thicker hair holds this set the longest.
9. The Bouncy Middle Part Lob
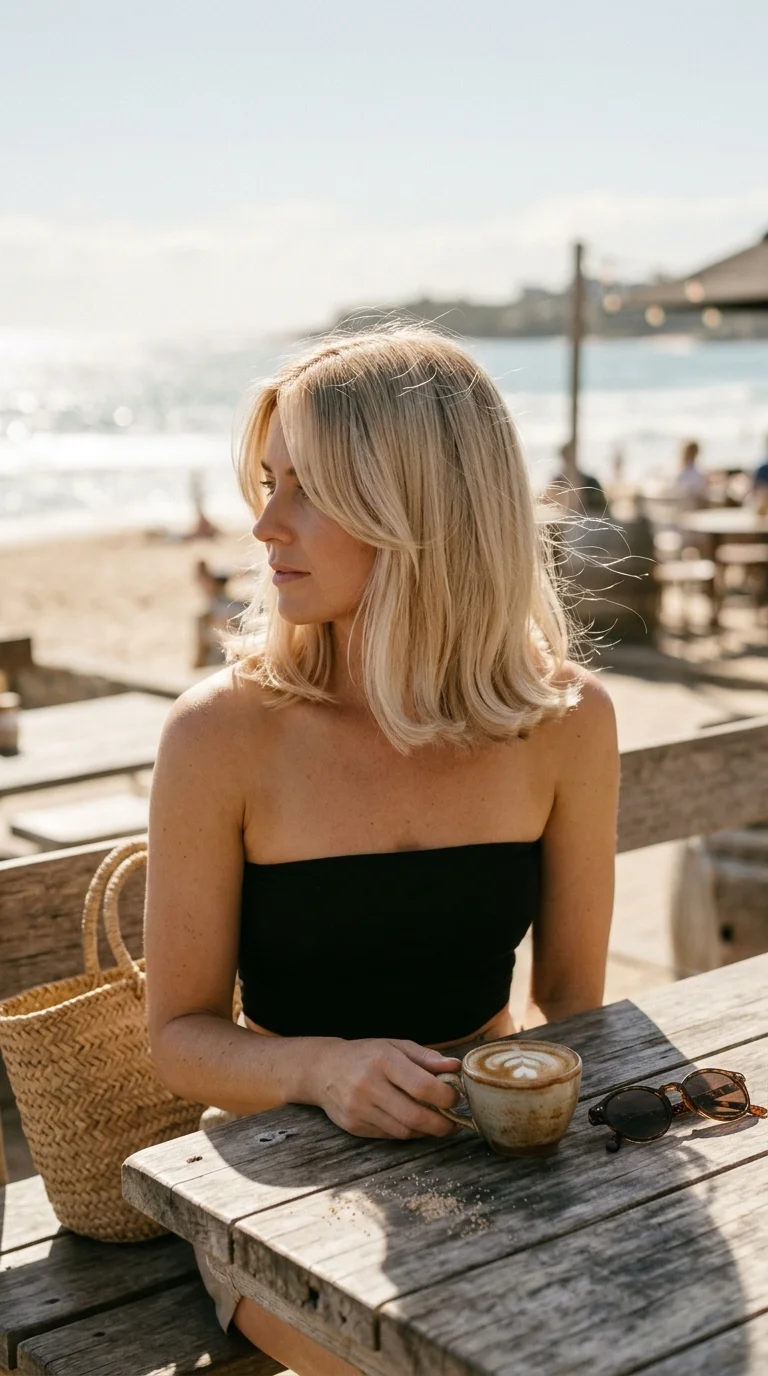
The lob gets overlooked in 90s blowout photos, but it might be the easiest length for big volume. Short enough that gravity barely wins. Long enough to bounce.
A middle part keeps it balanced. Dry each side in two layers, under and over, and roll both under with a medium round brush.
Then shake the roots with your fingers once everything is cool.
Swing your head side to side once, then leave it alone. Touching it too much is how lobs lose their round shape.
10. Blowout With a Slim Velvet Headband

Headbands were everywhere in the 90s, and they still solve one real problem. A blowout looks gorgeous until the front starts falling into your face.
Do it like this: Slide a slim velvet band on from behind the ears, then push it up into place. Use your fingers to tug a little hair forward over the band at the crown so it puffs up.
Thick padded headbands crush volume. Thin ones, about half an inch wide, keep the lift showing. Black, burgundy, or tortoiseshell all look right for the era.
11. Teased Crown for Maximum Height
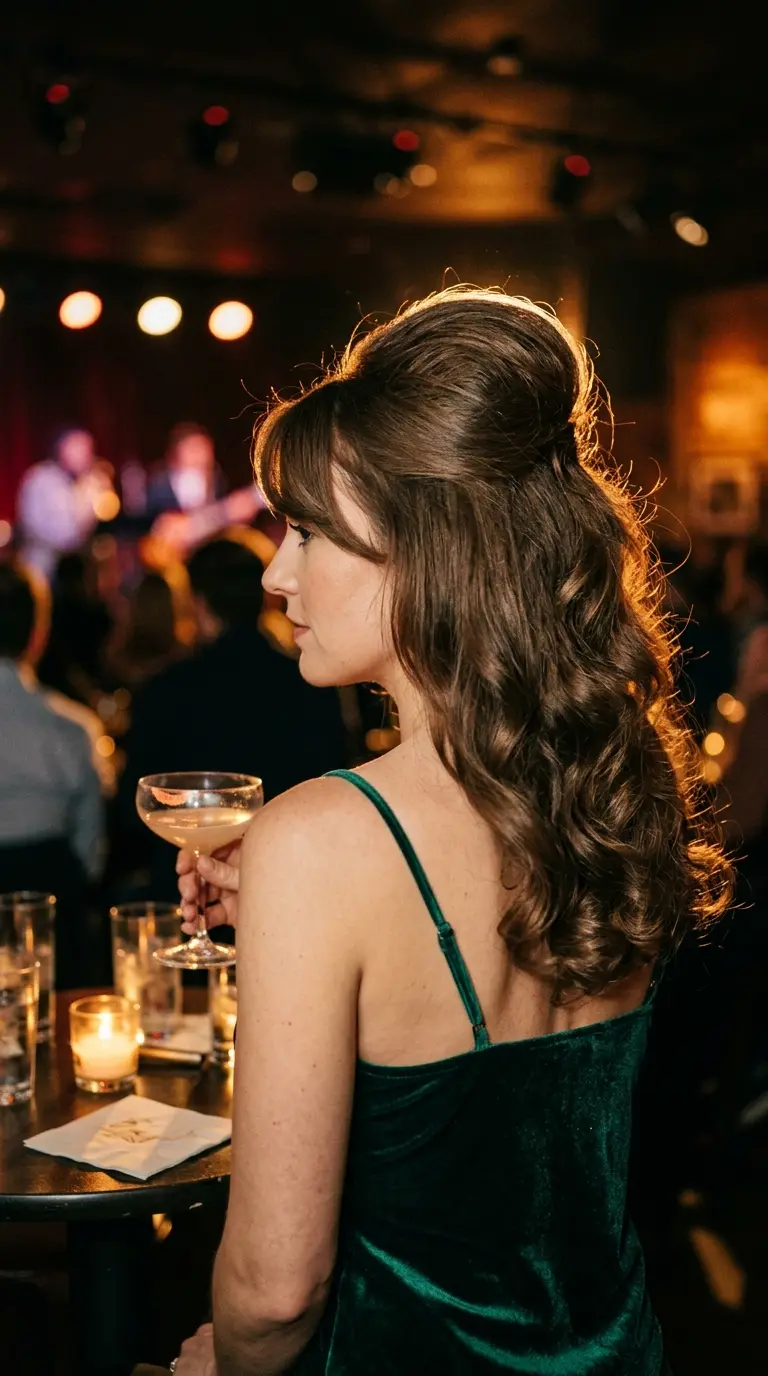
Flat crowns are the one thing a blowout cannot hide. A little teasing fixes it in under two minutes.
- Lift a 1 inch section at the crown and hold it straight up.
- Push a teasing comb down toward the scalp three times, only at the roots.
- Repeat on two more sections just behind it.
- Lay the top layer of hair over the teased part and smooth it with a soft brush.
Teasing only the roots keeps the surface smooth. Teasing the lengths is what creates the frizzy 80s look instead.
12. Brushed Out Curling Iron Bounce
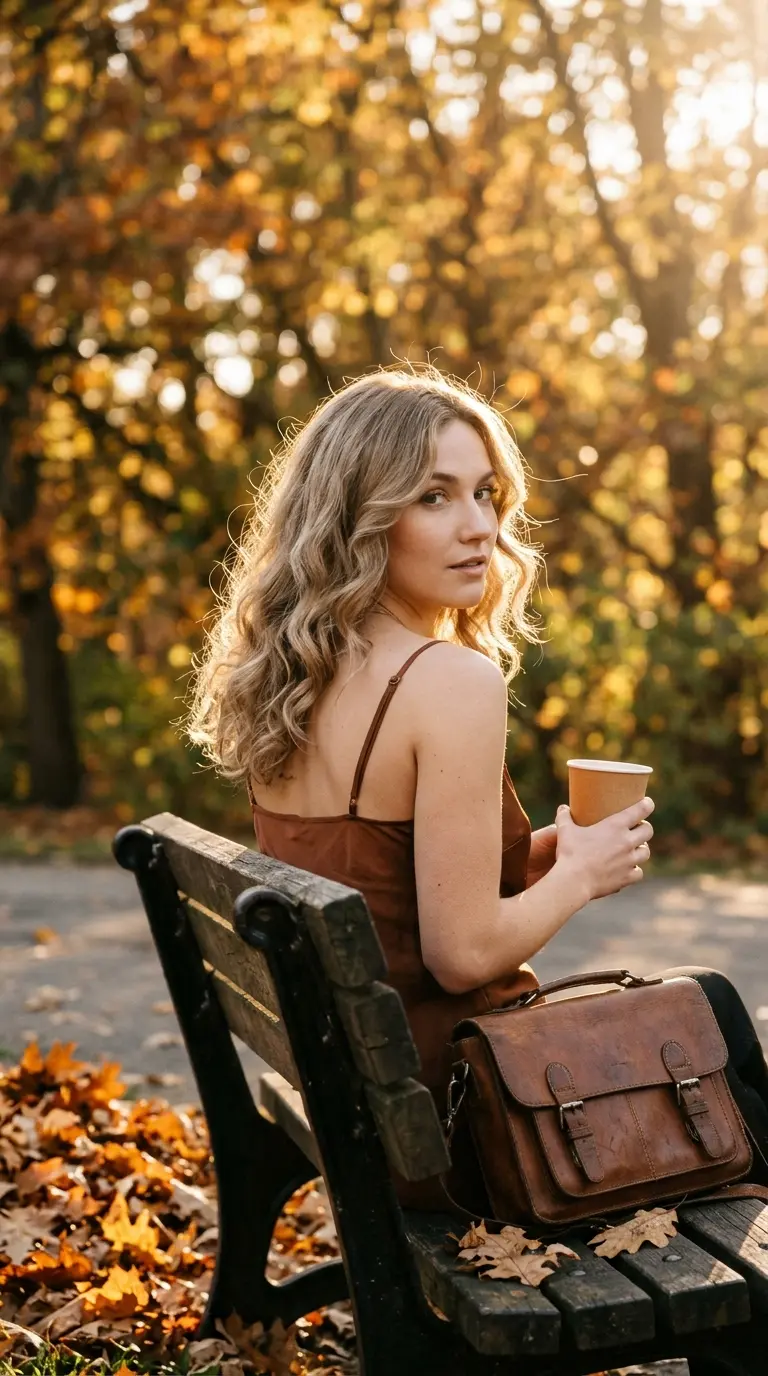
No rollers? A 1.25 inch curling iron gets surprisingly close.
Curl 2 inch sections away from your face, holding each one for about eight seconds. Pin each curl to your head while it cools, rolled up like a little roller.
Once your whole head is pinned, wait ten minutes.
Then take the pins out and run a wide paddle brush through. The tight curls relax into big, smooth bends with real body.
This is the best pick for anyone whose hair falls out of rollers. The pinning does the same job.
13. Soft Shag Blowout With Piecey Ends
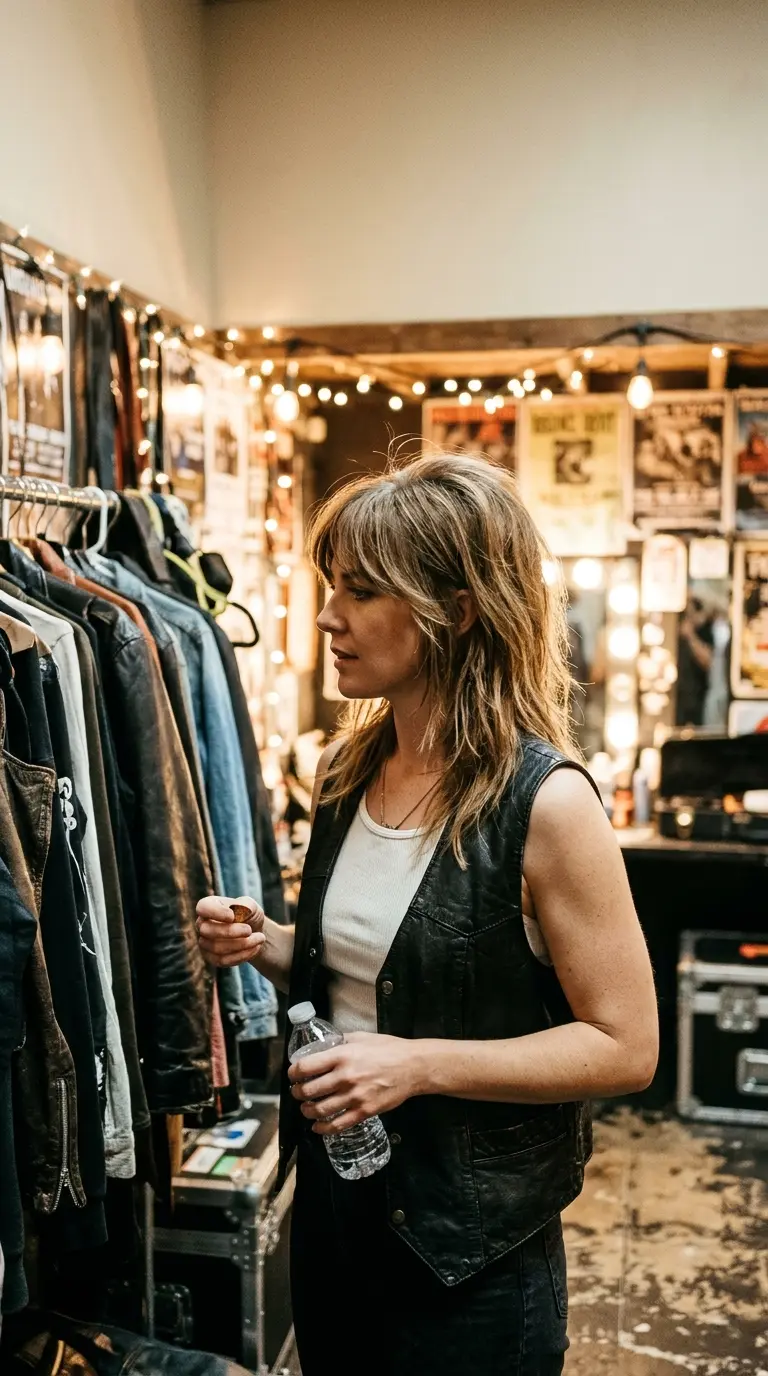
Not every 90s blowout was polished. The grunge side of the decade had volume too, just messier.
Who it suits: Anyone with a layered shag or a lot of choppy layers who finds smooth blowouts too formal.
Blow dry with your fingers instead of a brush, lifting the roots. Then use a round brush only on the top layer and the fringe.
Finish with a pea sized amount of pomade worked into the ends, twisting a few pieces to separate them. The crown stays big while the ends look lived in.
14. Hot Air Brush Blowout for Busy Mornings
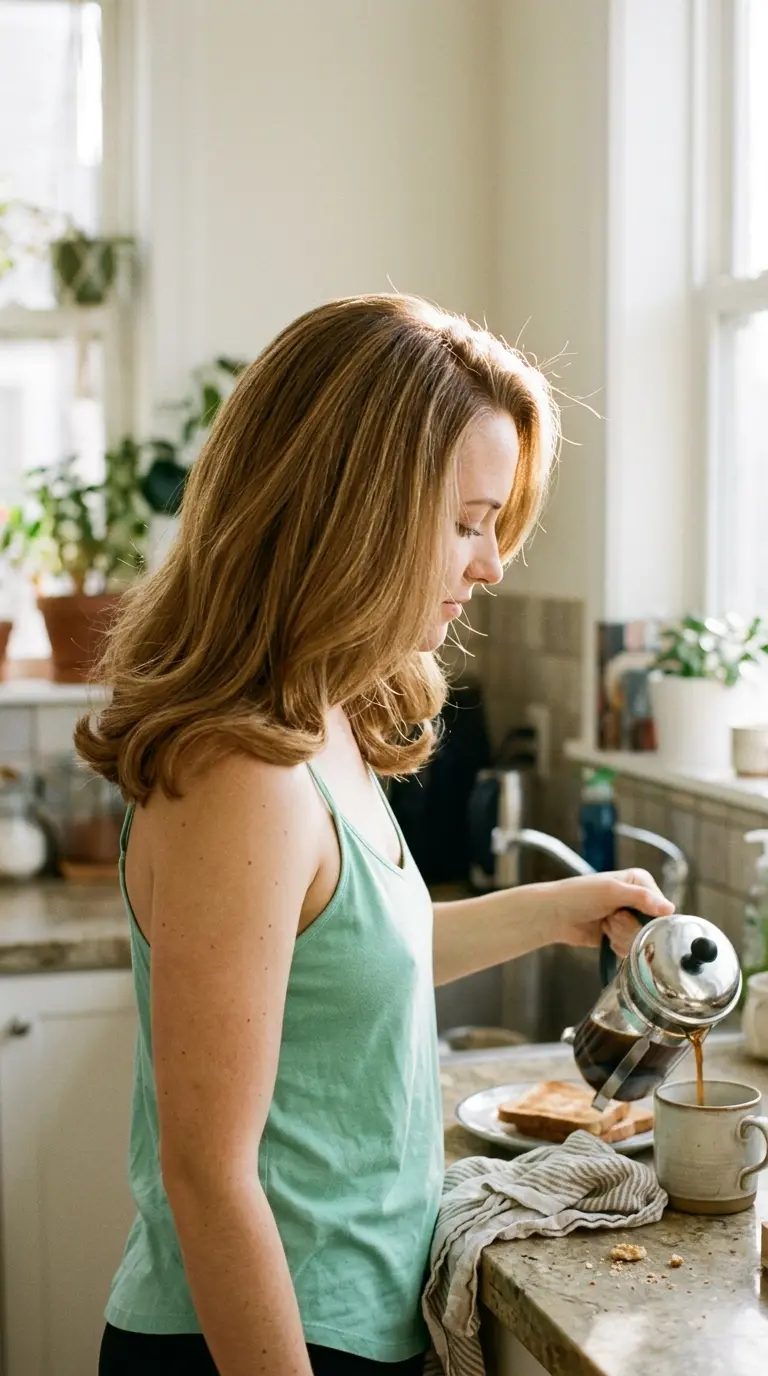
A round brush and a dryer take practice, and two free hands. A hot air brush combines both, which is why it is the shortcut most people actually stick with.
- Start with hair that is mostly dry, not soaking.
- Work in sections no wider than the brush barrel.
- Lift at the roots for three seconds before gliding down.
- Twist the brush under at the ends.
Fifteen minutes is realistic for medium length hair. The result is a little less glossy than a full salon blowout, but the volume is very close.
15. Third Day Blowout Revival
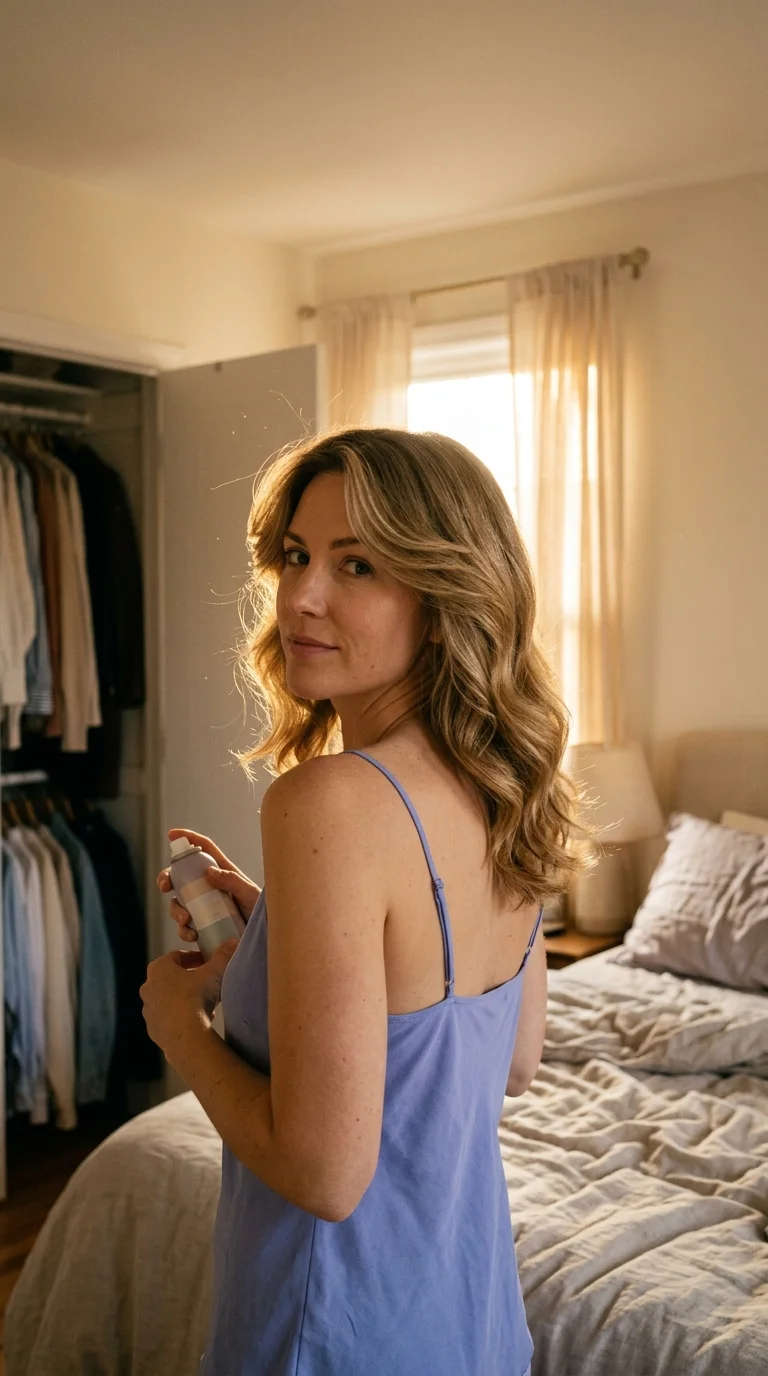
Runway hair was rarely fresh from the shower. Smart touch ups did most of the work.
By day three, roots go flat and ends lose their curve. The fix:
- Spray dry shampoo at the roots and wait two minutes.
- Massage it in with your fingertips, lifting as you go.
- Pop three Velcro rollers on top and blast each one with warm air for 30 seconds.
- Let them cool, pull them out, and flip your part to the other side.
The new part alone gives the roots fresh lift.
Roots lie flat against the scalp, the part looks greasy, and the ends hang straight with only a faint bend left.
Clean looking roots with lift at the crown, a fresh part on the other side, and soft bounce back in the front pieces.
The 90s supermodel look was never about perfect hair. It was about hair that moved, caught the light, and looked like it had somewhere better to be. Medium length makes that easier than most people expect, because the volume holds and the styling time stays short.
Pick one look from this list and practice it twice before a big night. The round brush blowout and the hot roller set are the two worth learning first, since most of the others build on them. Once those feel easy, a 90s blowout medium hair routine turns into a few quiet minutes in front of the mirror, not a project.
Save this list to your hair board so the next time your crown goes flat, you know exactly which look to reach for.