Long hair is a lot to manage before 9 a.m. It gets caught in bag straps, drifts into your coffee, and somehow ends up in the same tired ponytail every day. None of that looks great in a meeting.
Most advice for office hairstyles for long hair comes down to putting it up and hoping for the best. That works until the morning you want to look polished, not rushed. Then you need real details, like where the part sits, how to hide an elastic, and which clip holds thick hair without slipping off fine strands.
This list gives you 20 looks, including ten minute ponytails and braids that last through a full day. Each one has plain steps, a small tip, and a note on what to watch for. A few need a brush and some pins. A few need only your hands.
Pick two or three, practice them over a weekend, and Monday gets a lot easier.
1. Low Sleek Ponytail With A Wrapped Hair Tie
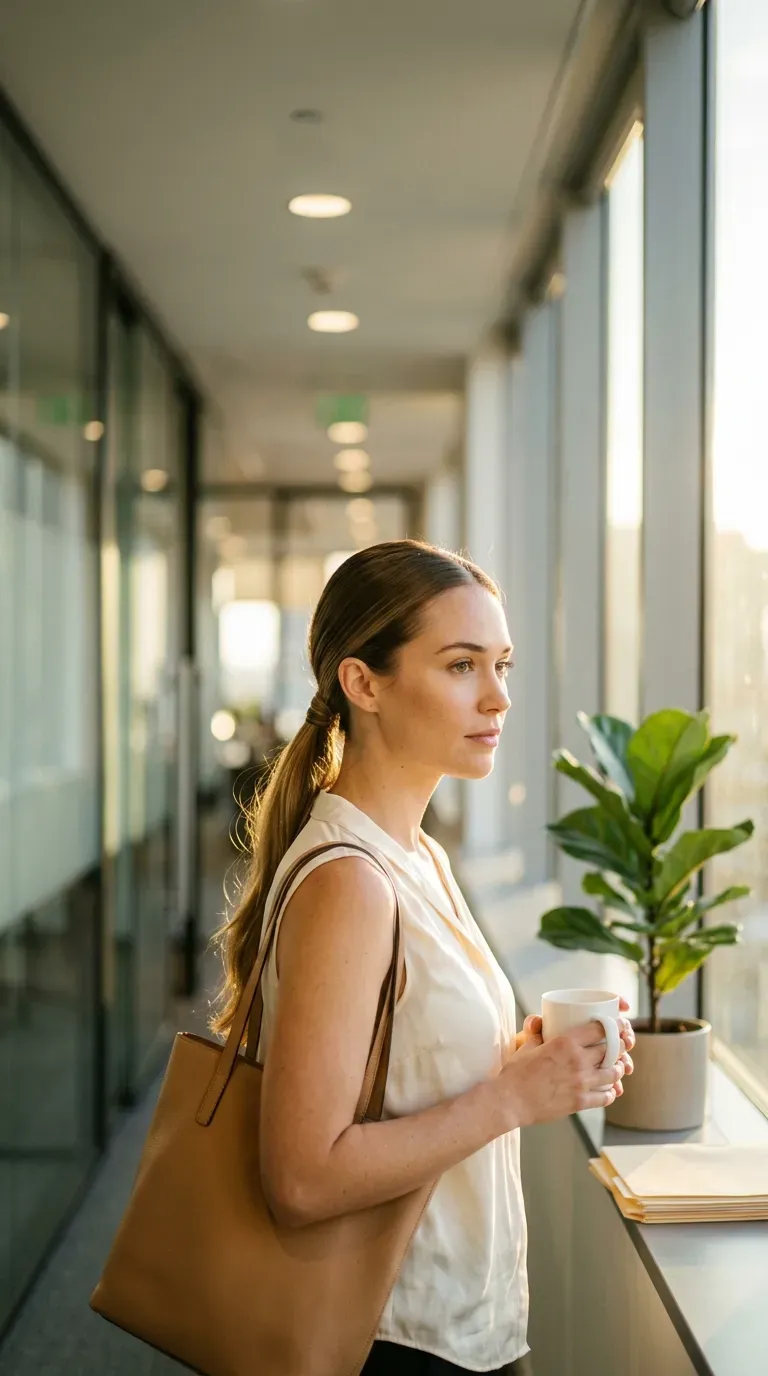
A low ponytail is the fastest way to look put together by 8:45.
- Brush the hair straight back with a little smoothing cream on the brush.
- Gather it at the nape, just below the ears.
- Wrap a thin strand around the elastic and pin the end underneath.
The wrap hides the rubber band, which is the small detail that makes it look finished instead of rushed.
Quick tip: Leave a little give at the temples. A pulled tight front can look stern by noon.
2. Half Up Twist With Loose Lengths
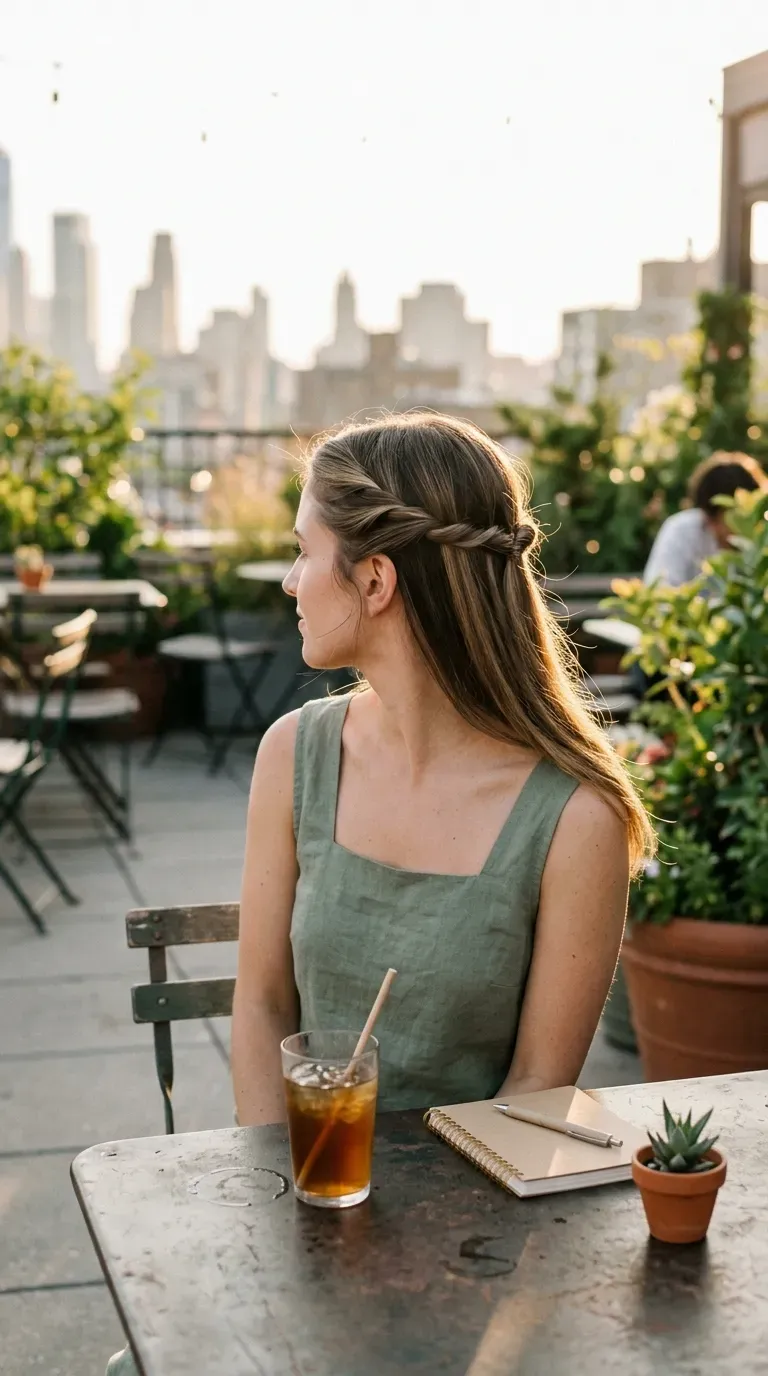
Hair stays out of your eyes during a long meeting, and the rest still looks soft.
Take two small sections from the front, twist each one back, and pin them together at the crown. Leave everything else down.
- Twist away from your face, not toward it
- Use a pin that matches your hair color
- Tug the twists gently so they look fuller
Quick tip: Add a little texture spray to the lengths, since very fine, slippery hair tends to slide out of the pin by lunch.
Works best for people who like their hair down but hate the fidgeting.
3. Twisted Low Chignon
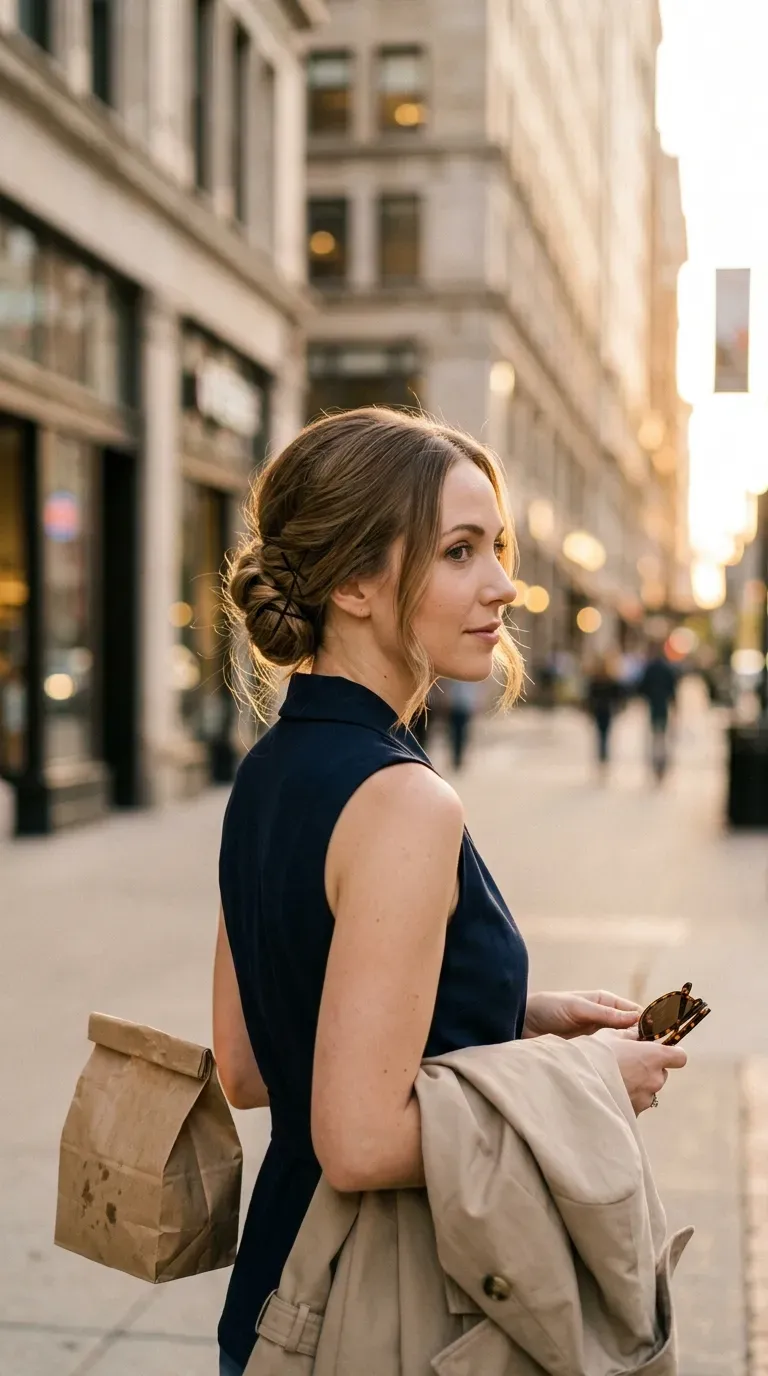
The base of the bun is where the polish lives. A low chignon sits at the nape, not the crown, and it should look like one soft knot instead of a pile.
- Make a low ponytail and twist it into a rope.
- Coil the rope into a flat spiral.
- Pin it in an X shape on both sides.
It stays in place through a commute and a ceiling fan.
Watch for: A bun that sits too low can tug at the nape by afternoon. Give your head a quick nod to test it.
4. Claw Clip French Twist
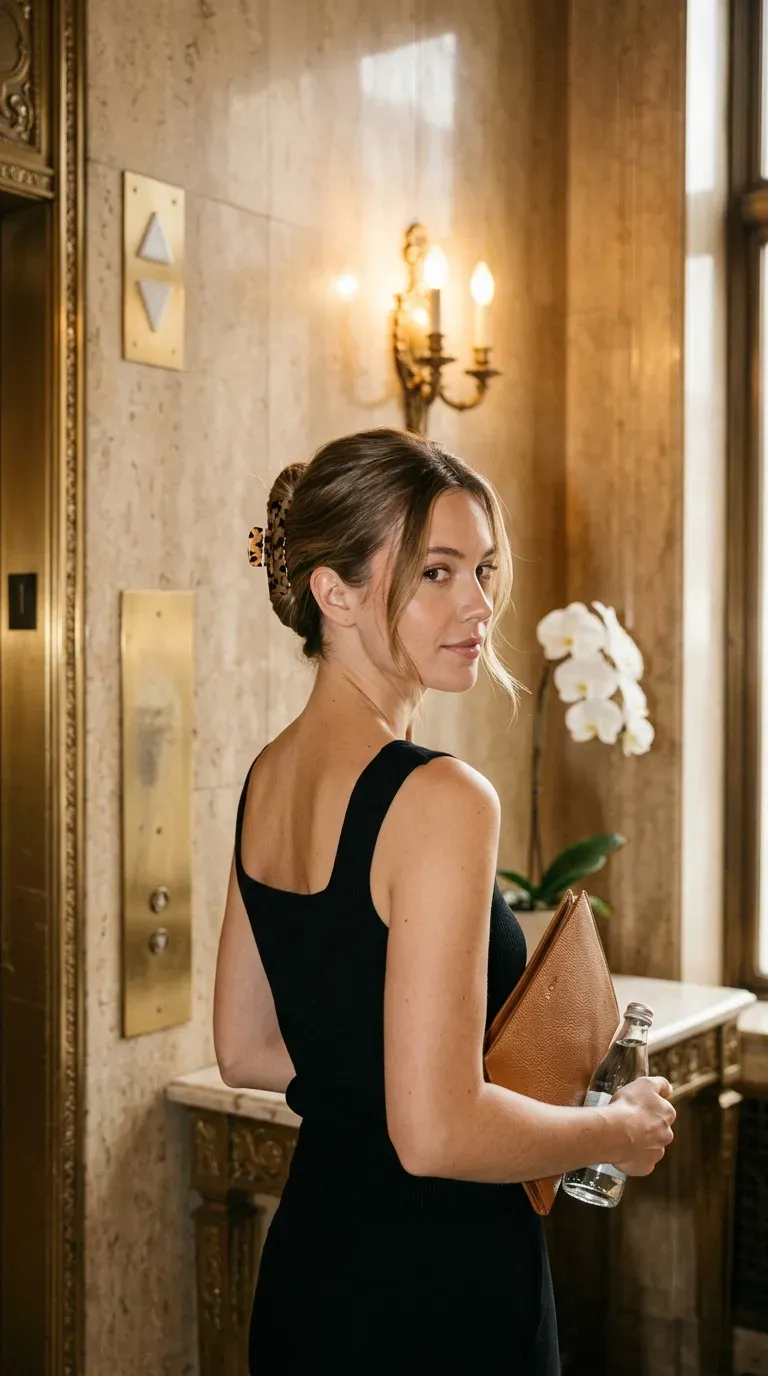
One rule decides whether a claw clip looks polished or messy. The clip must match your hair thickness. Too small and it slips. Too big and it flops.
- Twist the whole length up and in
- Tuck the ends into the twist
- Slide the clip across the twist, not straight down
Pick a matte clip in tortoiseshell, black, or a color close to your hair. Loud plastic reads like weekend hair.
Quick tip: Pull a few strands loose near the ears so the twist looks relaxed, not stiff.
5. Side Swept Braid Over One Shoulder
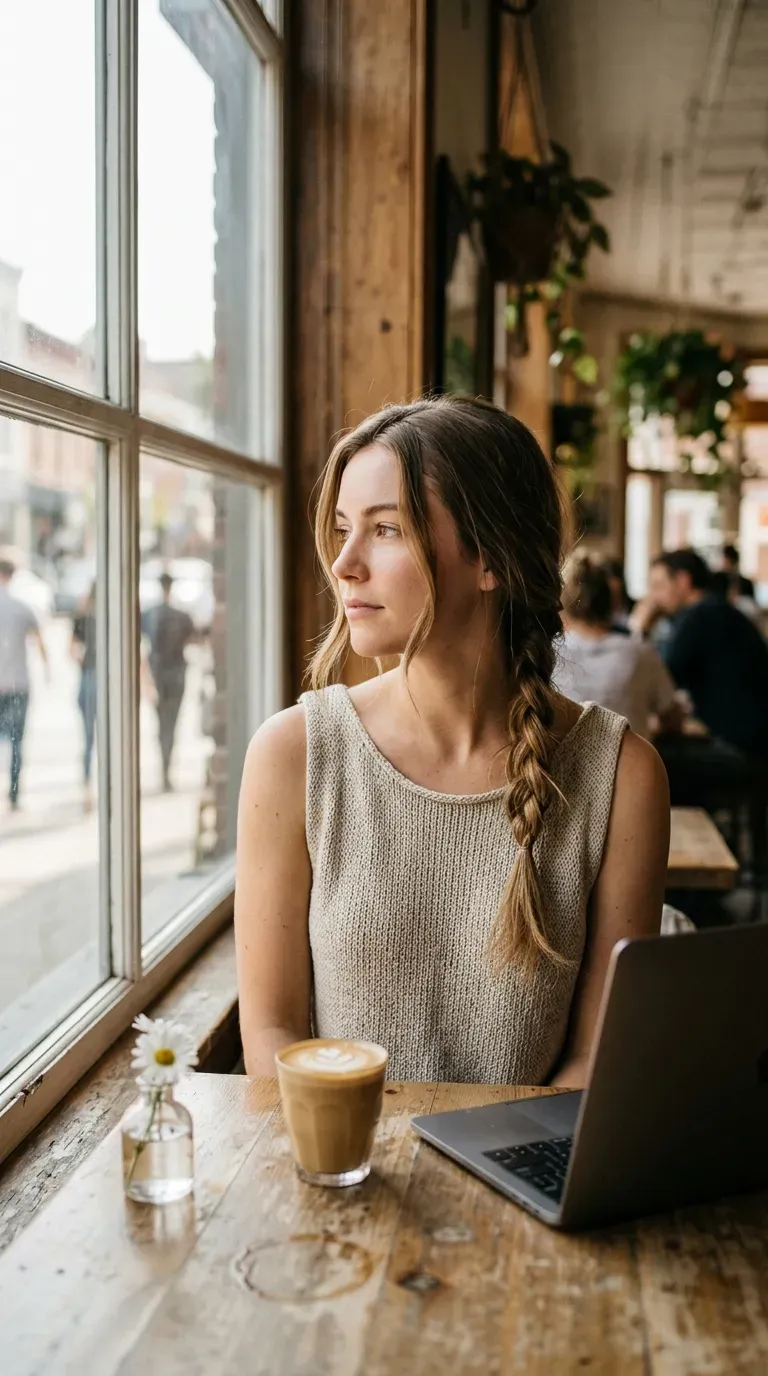
Braids get a bad reputation at work, mostly because they look like school. This version looks grown up because it sits loose at the top and neat at the bottom.
Part your hair deep on one side. Start a three strand braid just under the ear and let it fall over your shoulder.
- Tie the end with a thin black elastic
- Pull the sides slightly apart for width
- Leave two face framing strands out
Humid mornings are kinder to this style than to a straight blowout.
Quick tip: Braid dry hair with a drop of serum for grip.
6. Soft Blowout With A Deep Side Part
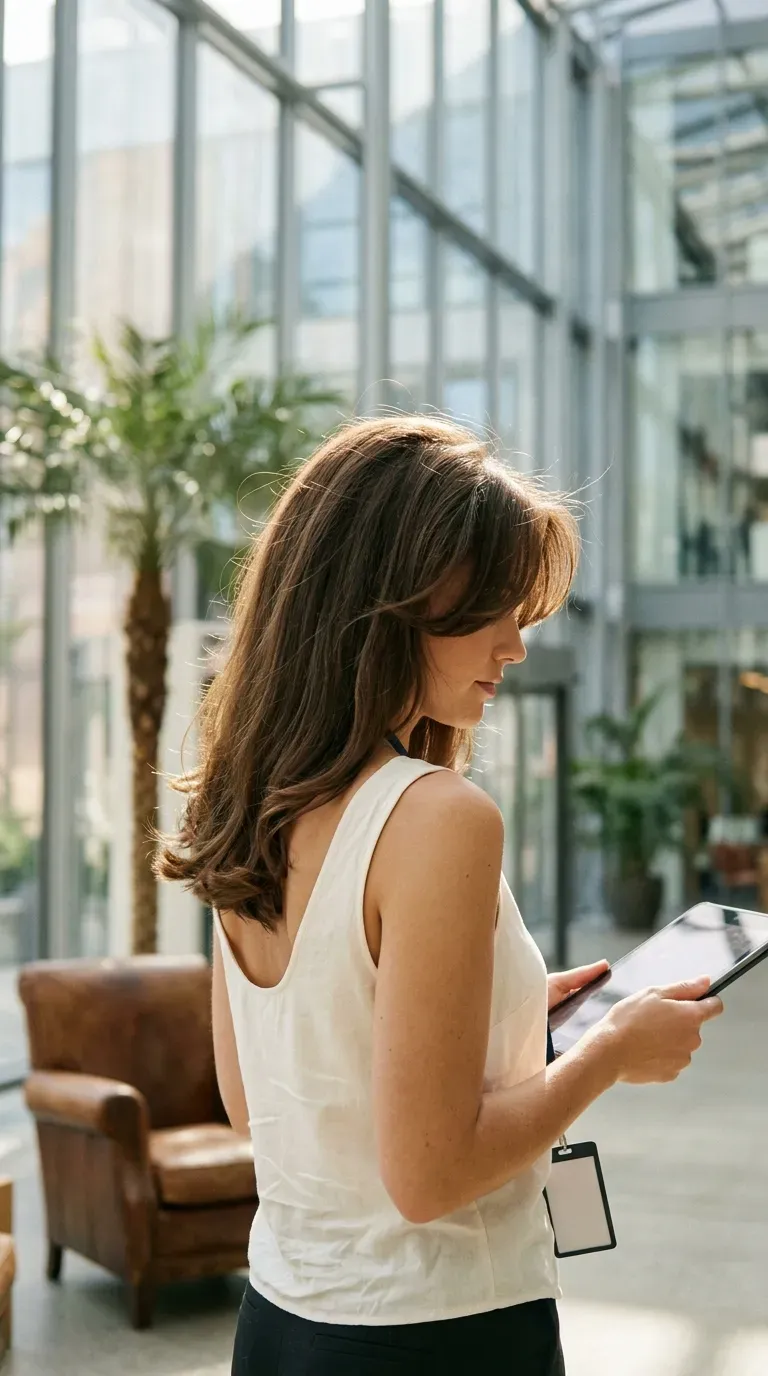
A deep side part adds lift at the root and makes long hair look fuller without a single curl.
- Middle part: sleek, symmetrical, serious
- Deep side part: softer, fuller, easier to fix in a mirror
Blow dry with a round brush, rolling the ends under at the face. Flip the part to the other side if your hair splits there naturally.
Quick tip: Dry the roots first and the lengths second. Roots set the volume, lengths set the shine.
Roots lie flat against the scalp, and long hair hangs straight down, hiding your face by mid afternoon.
Lifted roots, a deep part, and ends curved slightly inward keep the shape soft and your face open.
7. Straight Middle Part Tucked Behind The Ears
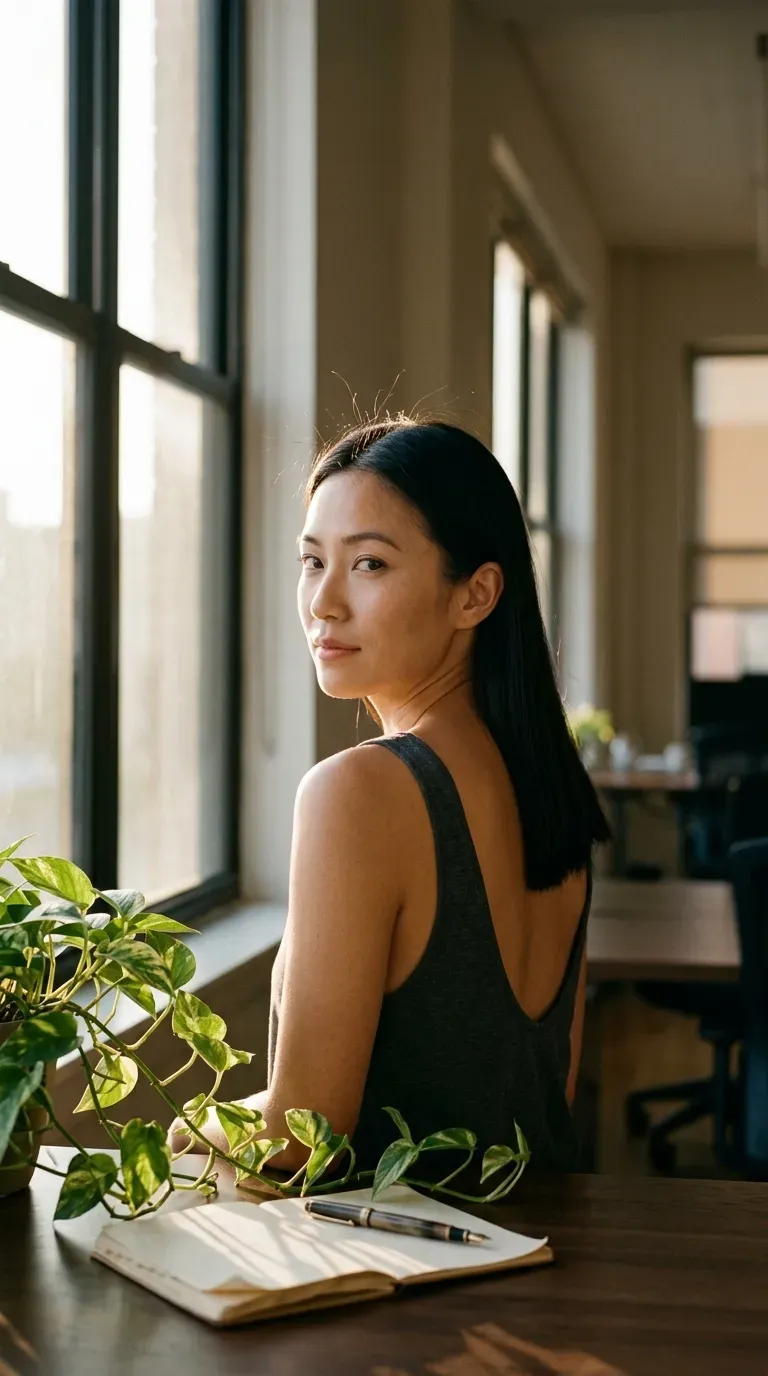
Letting the front sections swing forward all day is the usual mistake. Tucking them behind the ears keeps hair off the keyboard and shows your face.
- Part down the center with a comb.
- Smooth the sides with a flat iron on low heat.
- Tuck both sides behind the ears.
It is a clean, minimal shape that suits blunt ends. It also looks sharp on video calls.
Watch out: Heat adds up fast on fine hair, so use a protectant spray every time.
8. Low Bubble Ponytail With Three Sections
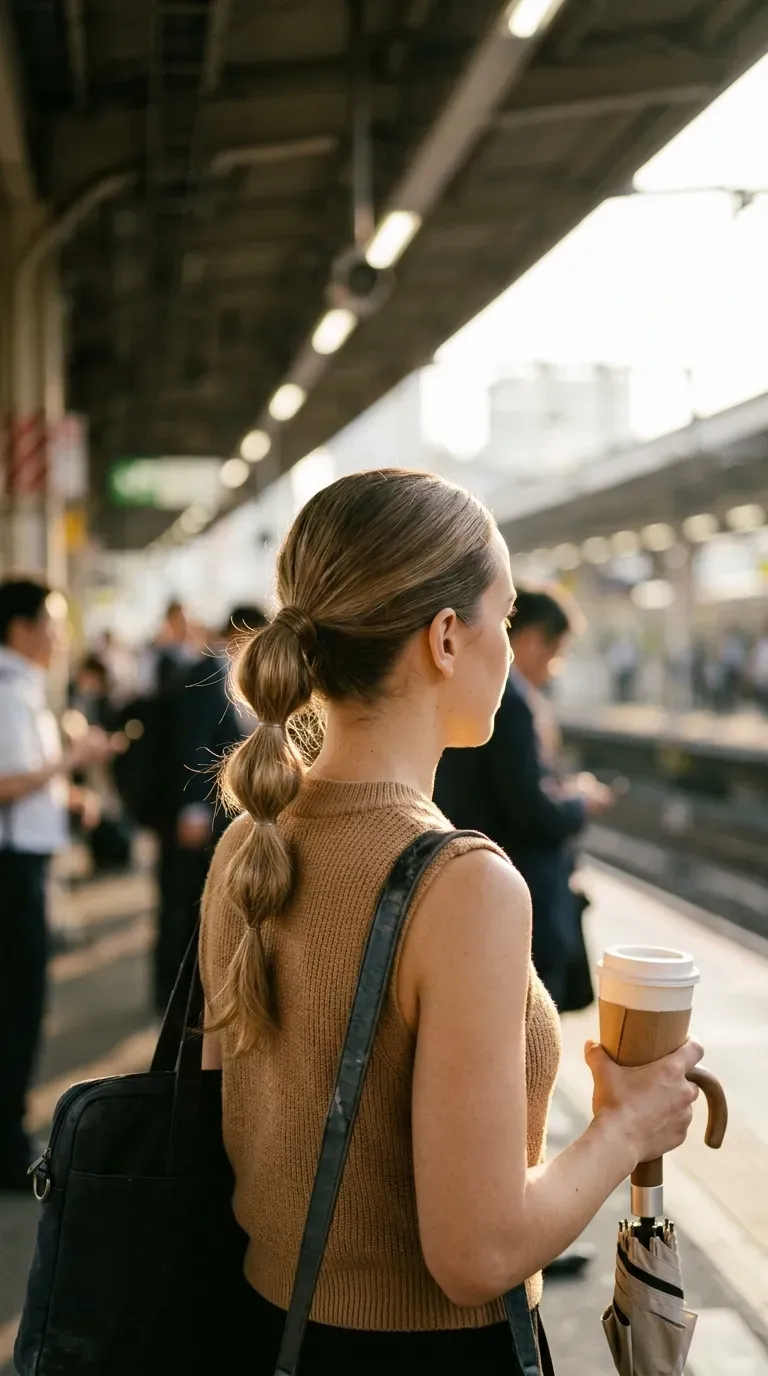
It is 8:50, the elevator is full, and your hair is still in your hands. Bubble ponytails fix that in about five minutes.
Make a low ponytail, then add two more elastics down the length, about three inches apart. Gently pull each section outward to form soft bubbles.
- Use clear elastics, not black
- Pull each bubble out slowly
- Stop at three sections for work
More than three starts to look like a party.
Quick tip: Mist a little spray over each bubble so it holds.
9. Crown French Braid Into A Low Tail
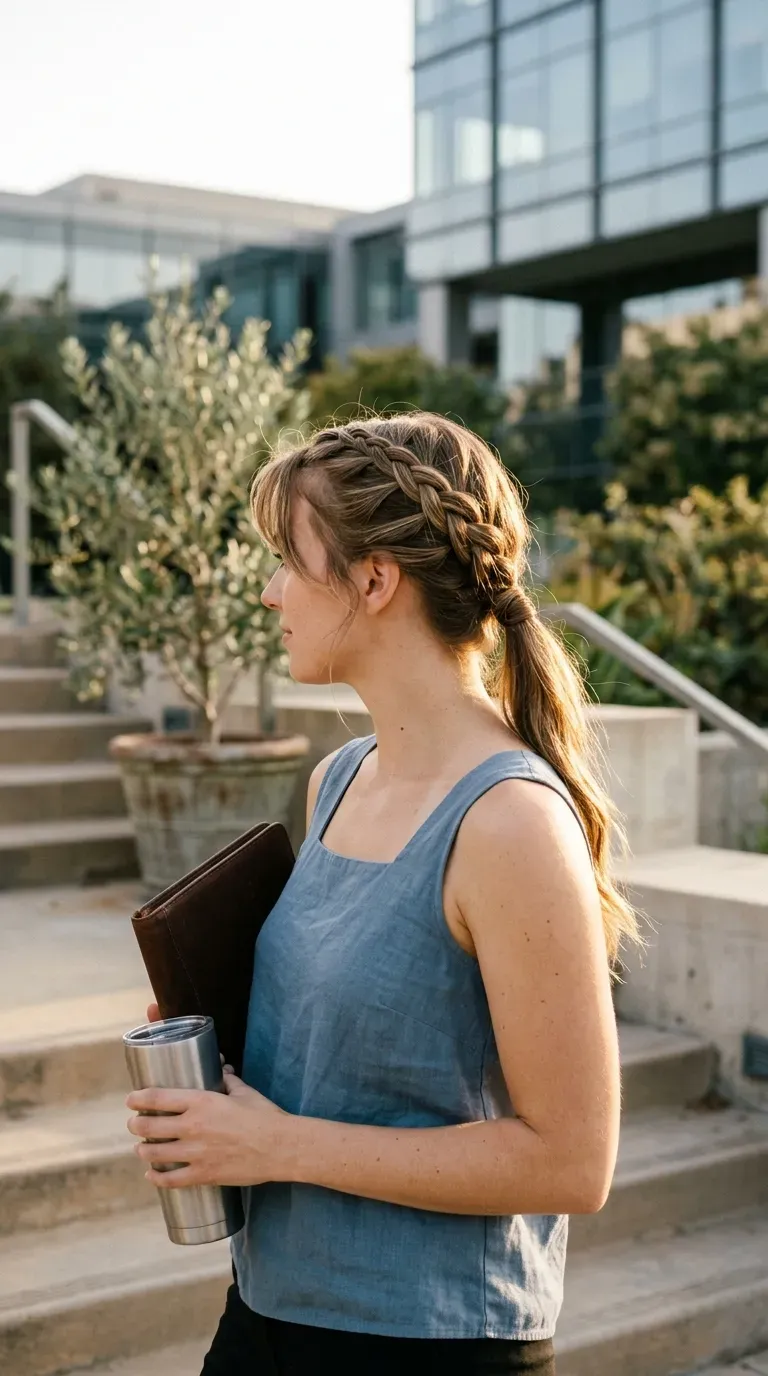
Flyaways at the crown can ruin an otherwise clean ponytail. A small French braid starting there keeps them locked in.
- Start a French braid at the top of your head.
- Braid down to the nape, adding hair from both sides.
- Finish into a regular braid or gather everything into a low tail.
Quick tip: Braid a little tighter than feels comfortable, then loosen the edges with your fingertips.
The braid also hides short layers that refuse to stay in a ponytail.
10. Messy Fishtail Braid With Pulled Out Edges
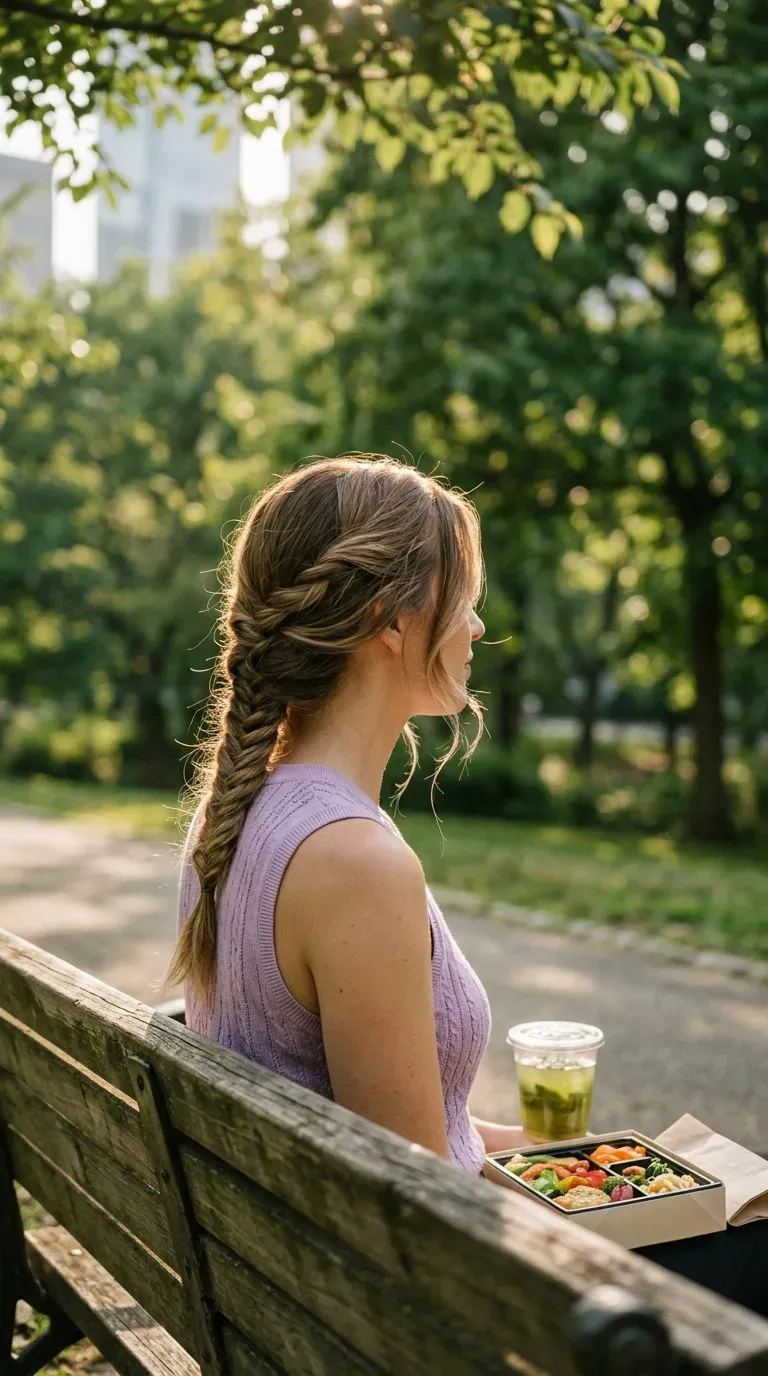
Messy does not mean careless. A fishtail braid that has been gently pulled out looks relaxed but intentional.
Split the hair into two halves. Take a thin strand from the outside of one half and cross it to the inside of the other. Repeat until you reach the ends.
- Keep the strands thin, thinner than you think
- Pull the edges out after the braid is done
- Secure with a small clear elastic
Plenty of people assume fishtails take an hour. After two or three practice rounds, they do not.
11. Curtain Bangs With Long Face Framing Layers
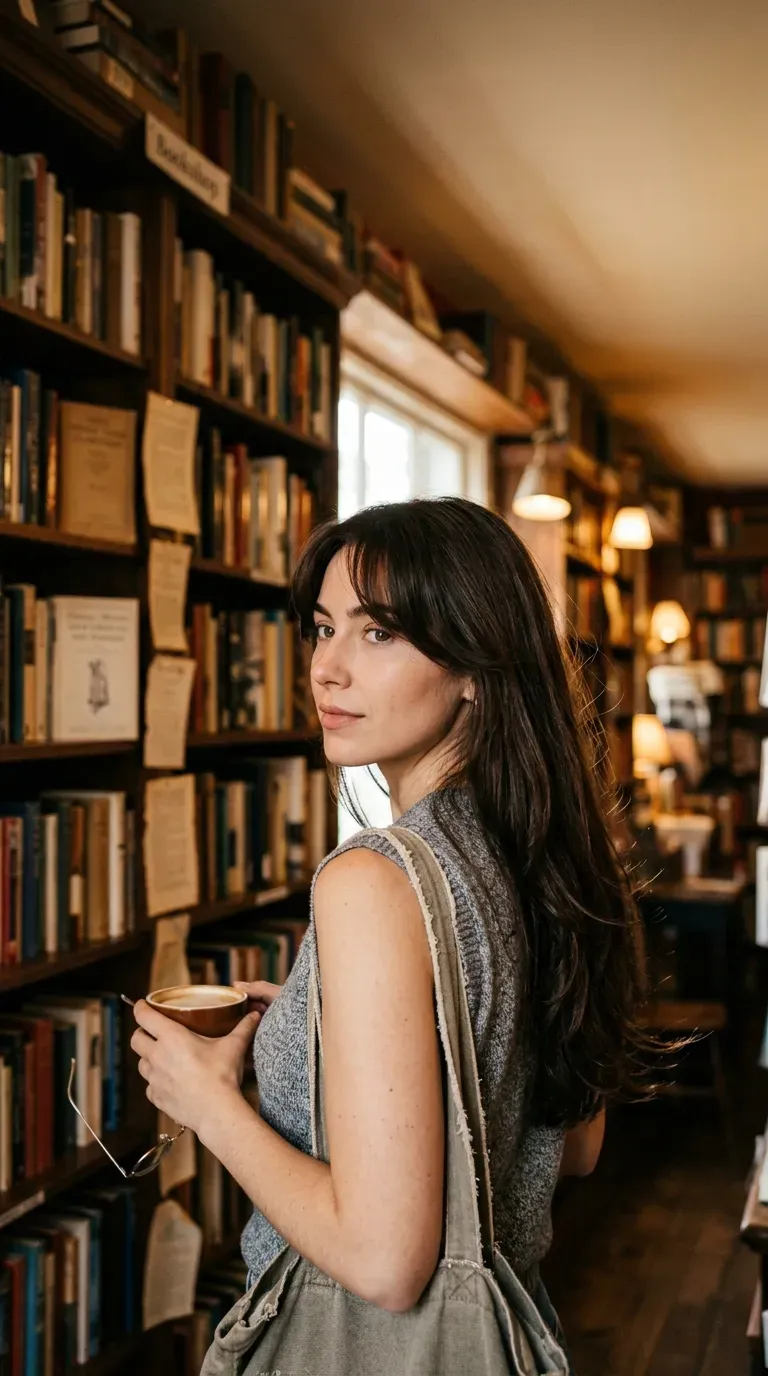
Soft curtain bangs part in the middle and sweep to each side, which keeps hair out of your eyes at a desk.
Ask your stylist for face framing layers that start at the cheekbones and blend into your length. At home:
- Blow dry the bangs with a small round brush, rolling each side outward.
- Hit them with cool air for a few seconds to set.
- Finish with a touch of dry shampoo at the root.
Quick tip: Long layers keep your length, so a ponytail is always still an option.
12. Rolled Low Bun Held By One Hair Stick
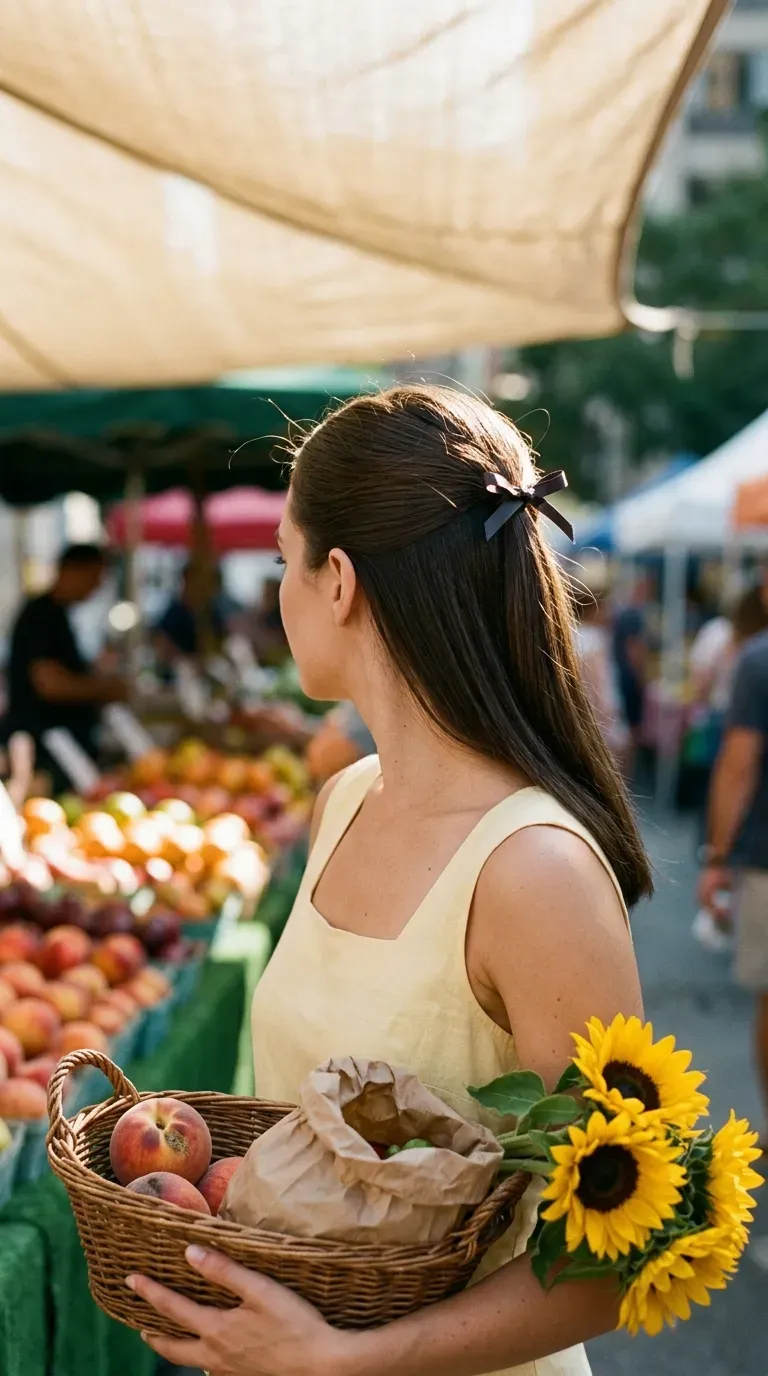
One hair stick can replace a pocketful of pins, and it looks deliberate.
Twist the hair into a loose rope, wrap it around itself at the nape, and slide the stick through the center, catching the roll and a little scalp hair.
- Pick a smooth wooden or metal stick
- Keep the roll flat, not tall
- Shake your head gently to test it
It feels solid after the first try, though very thick hair may need a second pin.
Quick tip: Keep a spare stick in your desk drawer.
13. Half Up Bow Using Your Own Hair
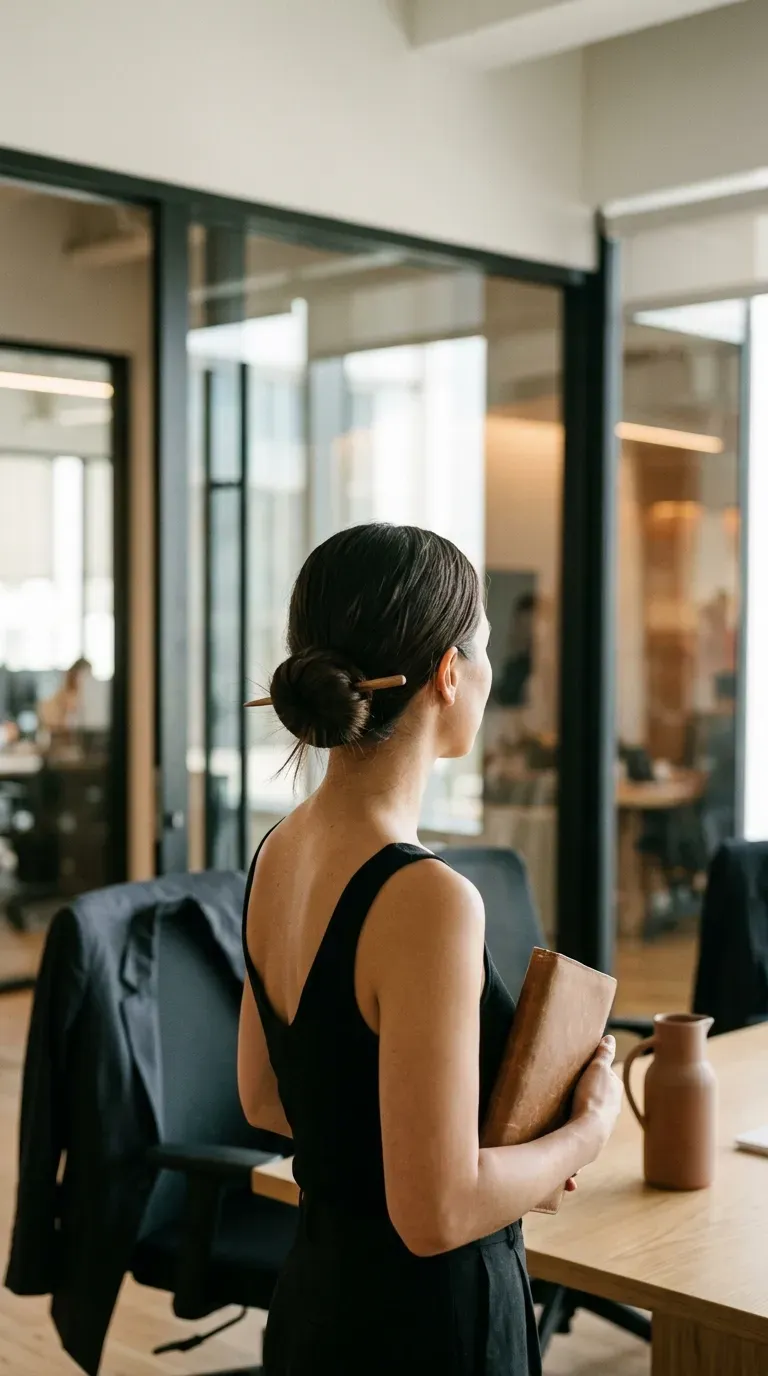
The bow is two loops and a wrapped center, all made from your own hair, so there is nothing to match or lose.
- Pull the top half into a high half ponytail.
- On the last wrap of the elastic, pull only part of the hair through so a loop forms.
- Split the loop into two, wrap the tail across the middle, and pin it underneath.
Quick tip: Small loops look businesslike. Giant bows look like a costume.
Keep the bottom half sleek and straight.
Keep the loops small enough to sit above the ears.
Wrap the center tightly and pin it underneath.
Oversized loops that tip forward while you type.
A frizzy lower half next to a neat bow.
14. Mid Height Ponytail With Soft Curls In The Tail
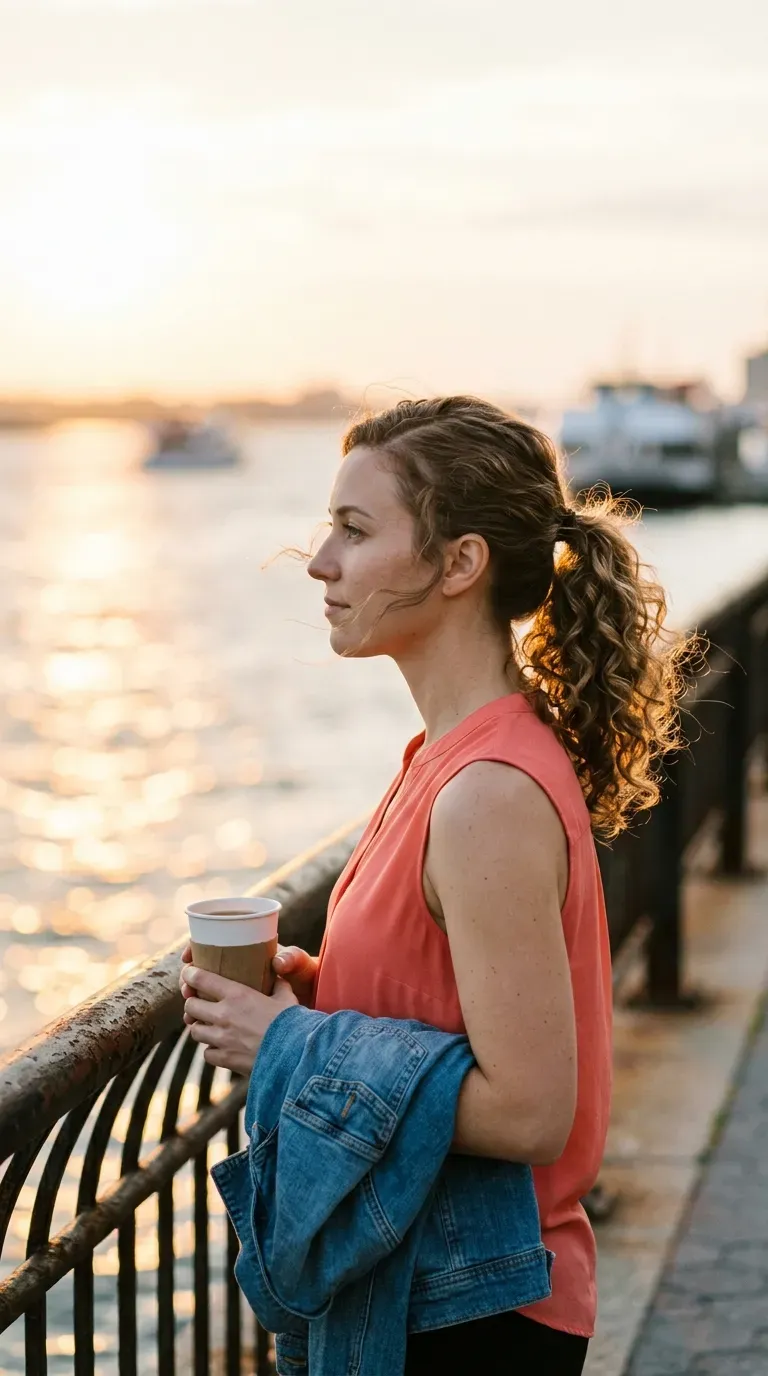
The biggest mistake with curls at work is curling the whole head. Curl only the tail, and the top stays sleek.
- Make a ponytail at ear level.
- Wrap sections of the tail around a medium curling iron, away from your face.
- Let the curls cool, then rake through them with your fingers.
- Skip curls near the root
- Mist lightly with spray before you start
Quick tip: Curl the underside too, so the tail looks full from behind.
15. Two Rope Twists Joined At The Nape
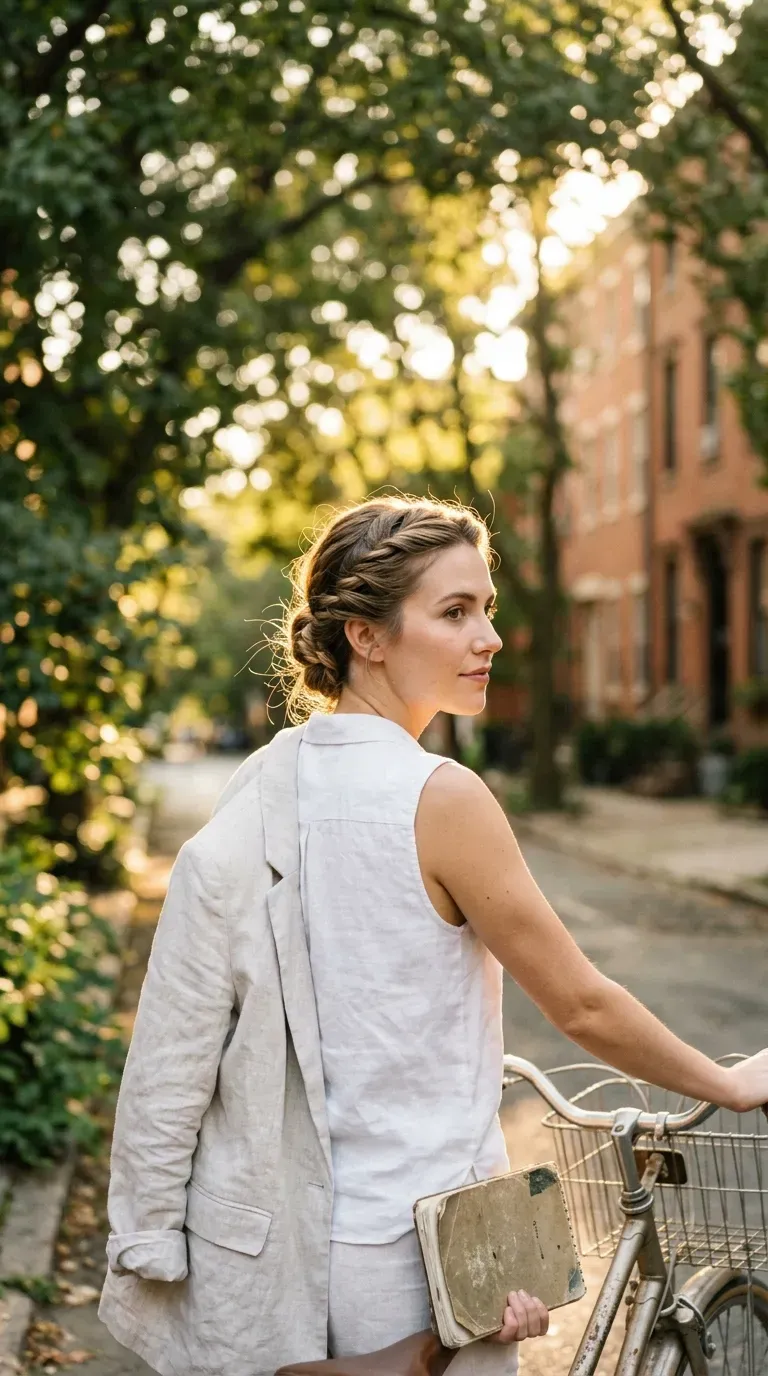
Two rope twists meet at the nape and clip into a low tail or tuck under, depending on your mood.
- Split the hair into two sections at the crown.
- Twist each section away from your face.
- Cross them at the nape and secure with a clear elastic.
- Twist tightly for a sleek finish
- Loosen slightly for texture
- Pin the join with one hidden pin
Quick tip: Twist both sides in the same direction so they sit evenly.
16. Braided Halo Headband With Hair Down
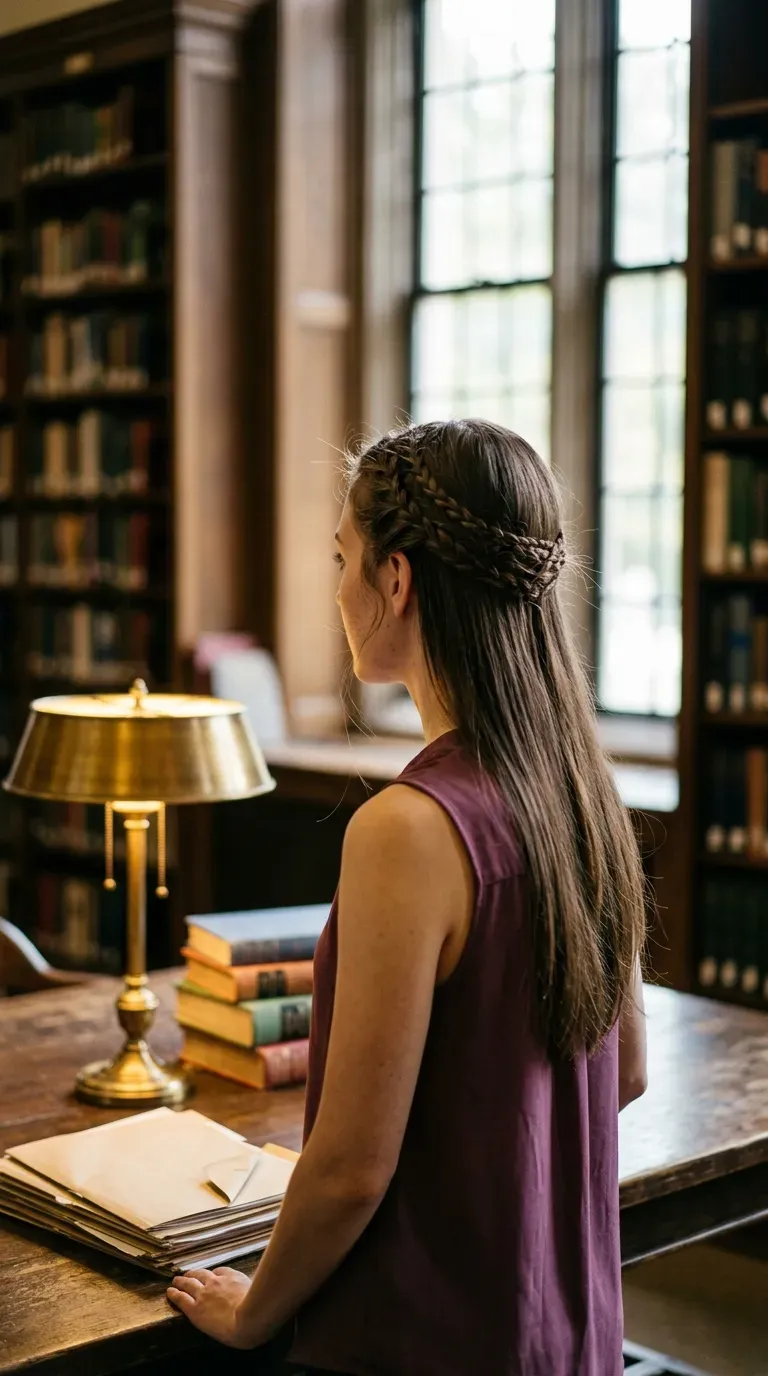
Half up does not have to look casual. A braided halo turns loose hair into something that belongs in a meeting.
- Make a thin braid on each side, starting behind the ears.
- Lay the braids across the crown like a headband.
- Pin the ends underneath and hide them with the top layer.
Quick tip: Keep the braids thin. Thick ones look bulky above a blazer collar.
The lengths stay down, smooth, and out of the way.
Thin braids and a smooth crown keep a halo looking polished, even above a blazer.
17. Tucked Under Faux Bob

Compare a real bob with this tucked version. The cut needs regular trims. The tuck needs a few pins and no scissors.
- Brush the hair smooth and gather it low at the nape.
- Fold the length under, like a short hem.
- Pin the fold flat on both sides.
Quick tip: Smooth the sides first so the lines look crisp.
Works best on straight or lightly waved hair. Thick hair may need four or five pins.
18. Slicked Back Roots With Smooth Hanging Lengths
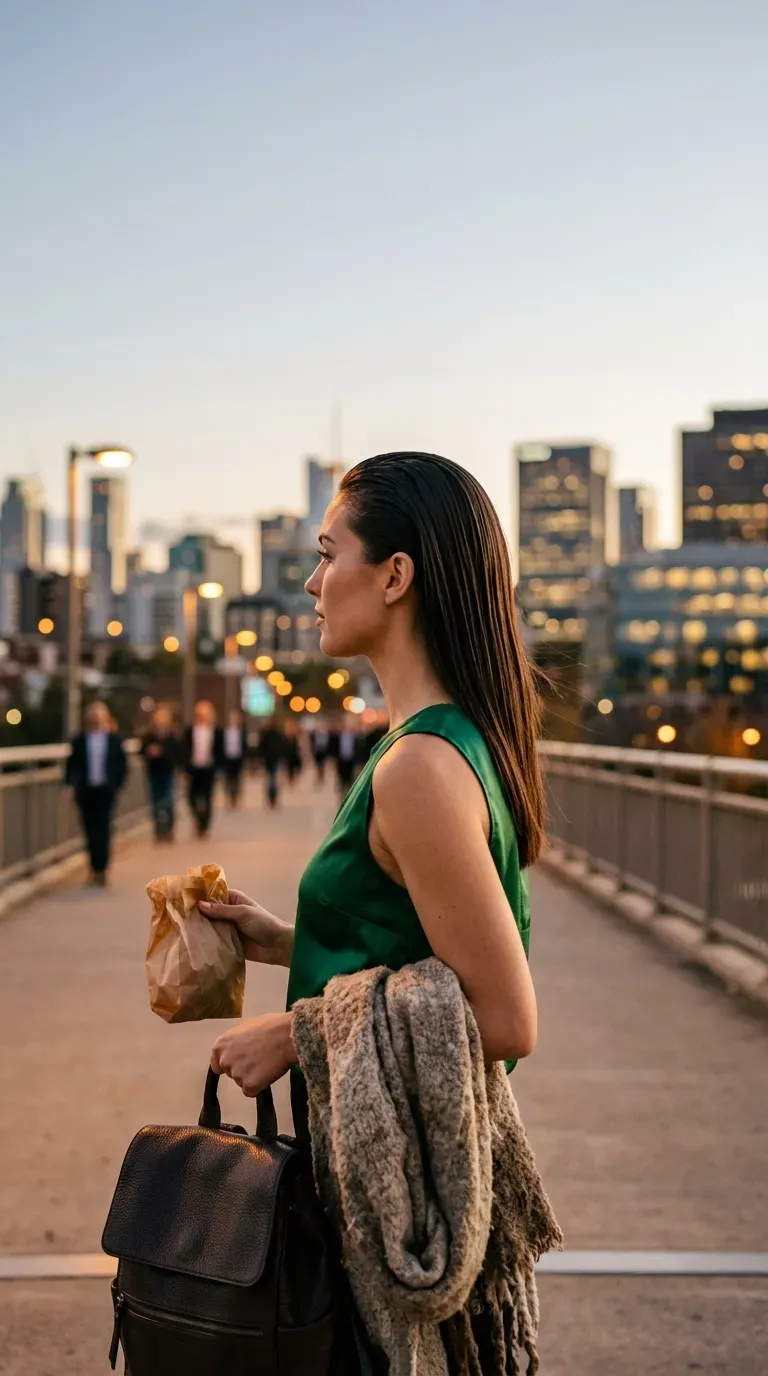
Tiny rule: product goes on the roots, never the ends.
A little smoothing gel or cream, combed from the hairline straight back, makes a clean, sleek top. The lengths stay loose and shiny.
- Comb back with a fine tooth comb
- Keep the ends dry and soft
- Check the sides in a mirror before you leave
It pairs well with a blazer.
Watch for: Too much gel looks wet by noon. Start with a pea sized amount.
19. Barrette Half Up With A Clean Part
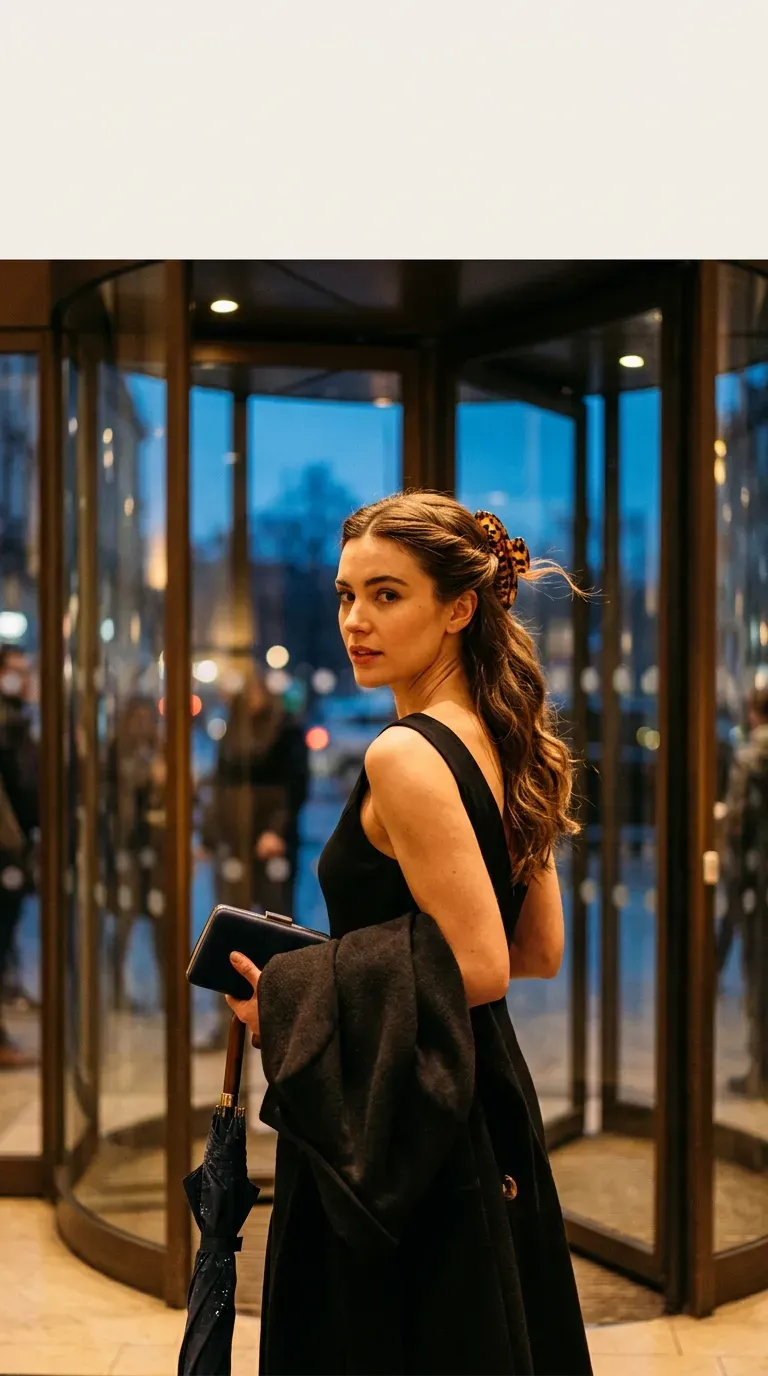
A barrette is the smallest tool in this list and one of the most dependable.
Take two front sections, twist them lightly back, and secure them at the crown with a large barrette, tilted slightly. Leave the rest straight or in loose waves.
- Pick a smooth, plain barrette
- Place it where the head curves, not on top
- Pin a bobby pin under it for thick hair
Quick tip: Keep one in your bag in case a ponytail fails.
Press the barrette flat against your head.
Nod twice to see if it shifts.
If it slides, add one bobby pin underneath.
20. Three Strand Braided Bun At The Nape
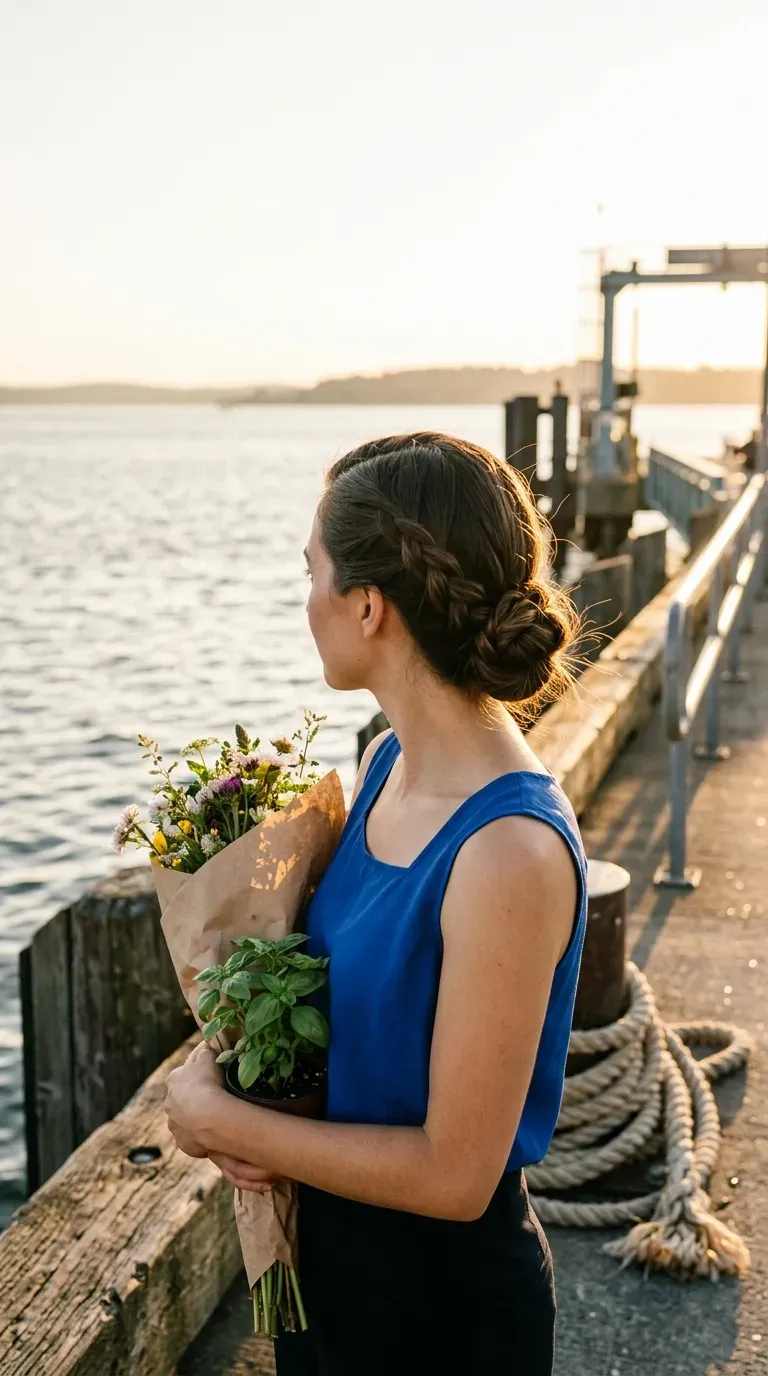
It is Friday, the last meeting starts at 4:30, and your hair has been up since seven. A braided bun survives all of it.
- Make a low ponytail.
- Braid it into a loose three strand braid and tie the end with a thin elastic.
- Coil the braid around the base and pin it flat.
Quick tip: Pull the braid wide before you coil it so the bun looks full.
It holds up better than most buns through the day.
A polished look at work rarely needs a long routine. It needs a clean part, a hidden elastic, and one detail that shows you meant it. Any of these office hairstyles for long hair can be learned in a weekend and repeated on a busy Monday without thinking.
Start with the one that matches how your mornings really go. If you are always late, pick the ponytail or the claw clip. If you have a few extra minutes, try the braided bun or the fishtail. Keep a few pins and one good clip in your bag for the days that fall apart by lunch.
Save this list to your hair board so the next rushed morning already has a plan.
Meta Title: Office Hairstyles for Long Hair: 20 Polished Looks to Copy
Meta Description: Find office hairstyles for long hair that stay neat all day. These 20 polished looks are easy to copy, quick to style, and work for any office dress code.
Slug: office-hairstyles-long-hair
Article Featured Image Prompt: Create a simple, clean aspect ratio 16:9 Pinterest blog featured image for an article about office hairstyles for long hair. The image is a full bleed 4 photo collage with no text. COLLAGE LAYOUT: Four vertical editorial photographs fill the entire canvas in a clean 2 by 2 grid (top left, top right, bottom left, bottom right), separated by thin straight white dividers. No badge, no title, no graphics, no shapes, and no decorative elements. Only the four photographs and the thin white dividers. PHOTOS: Every photograph follows the same signature editorial front and back view style: the subject is seen in a three quarter or side angle with her head turned so that both the front of the hairstyle (the front hairline, the part, and the face framing pieces) and the back of the hairstyle (the length and back sections) are clearly visible, her face only softly visible and never the focus, the hairstyle is the hero of every shot and sits in the upper center of each photo. Top left photo shows a long chestnut brown crown French braid that starts at the front hairline with a soft side part and a few face framing wisps, runs back along the crown, and continues into a low tail that falls past the shoulder blades, in an outdoor office park staircase seen in a three quarter front side view, she wears a dusty blue sleeveless blouse with a square neckline, glances toward the building while carrying a leather folder, with a potted olive tree softly blurred behind her, lit by warm afternoon sun from behind and the side rim lighting the hair. Top right photo shows long honey blonde hair in a soft blowout with a deep side part, lifted roots, face framing layers at the front, and smooth lengths curved slightly inward at the ends along the back, in a bright glass atrium seen in a side profile view, she wears an ivory sleeveless blouse with a scooped back and looks toward a tall window while holding a tablet, with a large palm softly blurred behind her, lit by soft window light from the side and behind rim lighting the hair. Bottom left photo shows long jet black hair in a smooth French twist held by a tortoiseshell claw clip, with a clean front hairline, a center part, and loose face framing strands, the twist rising from the nape up the back of the head with the ends tucked in, in a brass and marble elevator lobby seen in an over the shoulder look back, she wears a black sleeveless knit top with a square neckline and holds a leather portfolio, with a white orchid softly blurred on a console behind her, lit by warm wall sconce light from behind rim lighting the hair. Bottom right photo shows long auburn hair in a low bubble ponytail with three soft rounded sections held by clear elastics, a smooth front hairline with a side part, and the bubbles running down the back to the shoulder blades, on a train platform seen in a three quarter back view with her head turned, she wears a camel sleeveless knit top and holds a takeaway coffee cup and a folded umbrella, with blurred platform lights behind her, lit by early morning sun from behind and the side rim lighting the hair. In all four photos, keep every braid, twist, loop, section, layer, and curl crisp and clearly readable from the front and the back, with real hair texture, natural shine, and a few soft flyaways catching the light. Use a shallow depth of field so each background melts into warm, dreamy bokeh. Shot in the style of a Canon EOS R5 with an 85mm lens at f/1.8, candid natural moments rather than stiff poses, cohesive warm golden tones across all four photos with subtle film grain. There is no text, no logos, no lettering, and no watermark anywhere in the image. The final composition must be landscape 16:9, polished magazine look, suitable for a Pinterest blog featured image. Photorealistic photos, ultra-detailed, editorial quality, 4K resolution.