
Short hair is supposed to be the easy option. Then Monday comes, one side sticks up, the back is flat, and the front keeps falling into your eyes. Most advice for office hairstyles for short hair says to add product and go, but that skips the real issue. Short cuts show every mistake, so the fix has to be small and fast.
The 15 looks below are built for tired mornings. Each one needs a few basic tools, a mirror, and a few minutes. Some use pins, some use a headband, and some just need a smarter way to dry your hair. None need a salon trip or a curling iron the size of a baseball bat.
You will also see what each style looks like from the front and the back, since short hair gets judged from every direction in a meeting room. Pick two or three that match your cut, practice them on a weekend, and keep the easiest one for your busiest mornings.
1. Slicked Back Pixie With A Side Part
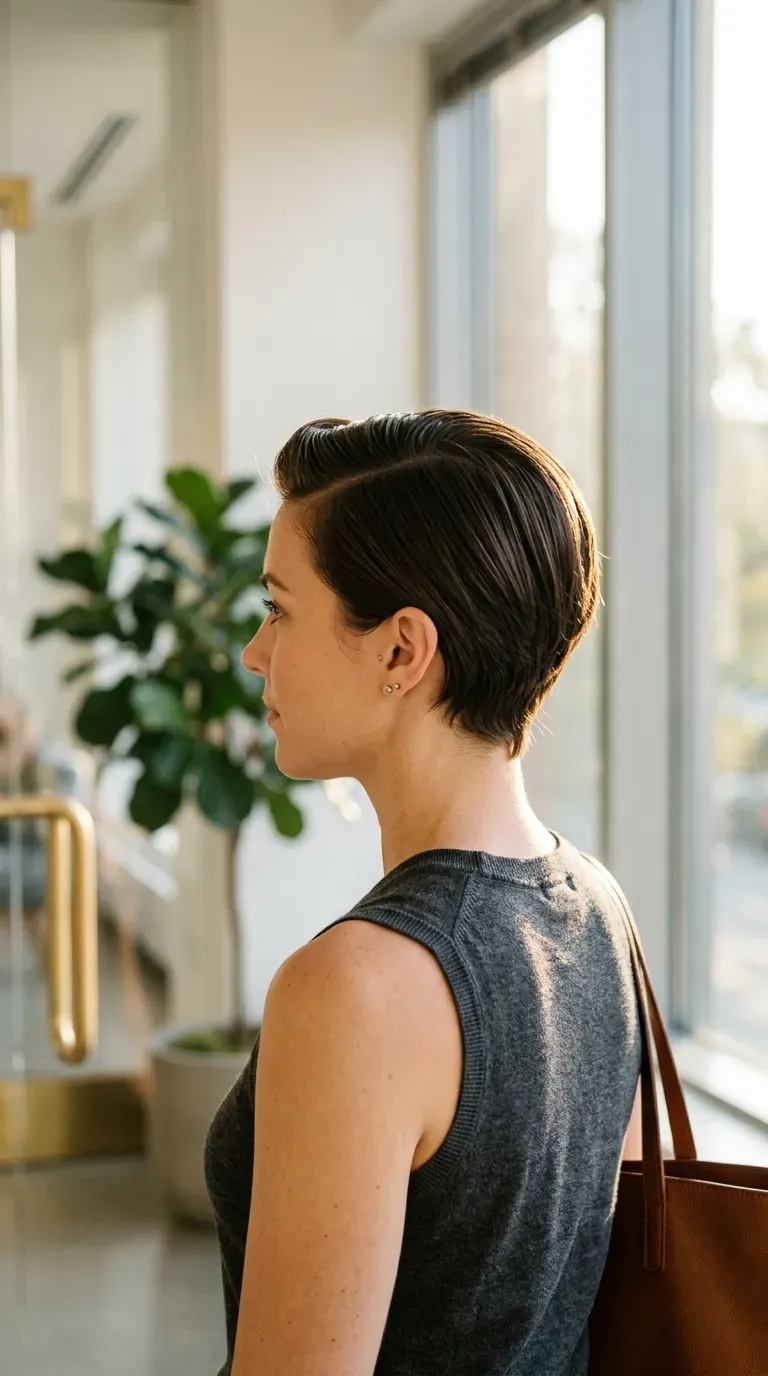
Wet look hair never needs a lot of product. The trick is using less than you think.
- Start with towel dried hair.
- Rub a pea sized scoop of light gel between your palms.
- Comb it back, starting at the front hairline.
- Draw the part about an inch off center and press the sides flat.
The back matters as much as the front. Run the comb down the nape twice so the short hairs lie flat and the neckline looks clean.
Quick tip: Pomade is too heavy for this look. It shines like a grease spot under office lights.
2. Deep Side Part Bob Tucked Behind One Ear
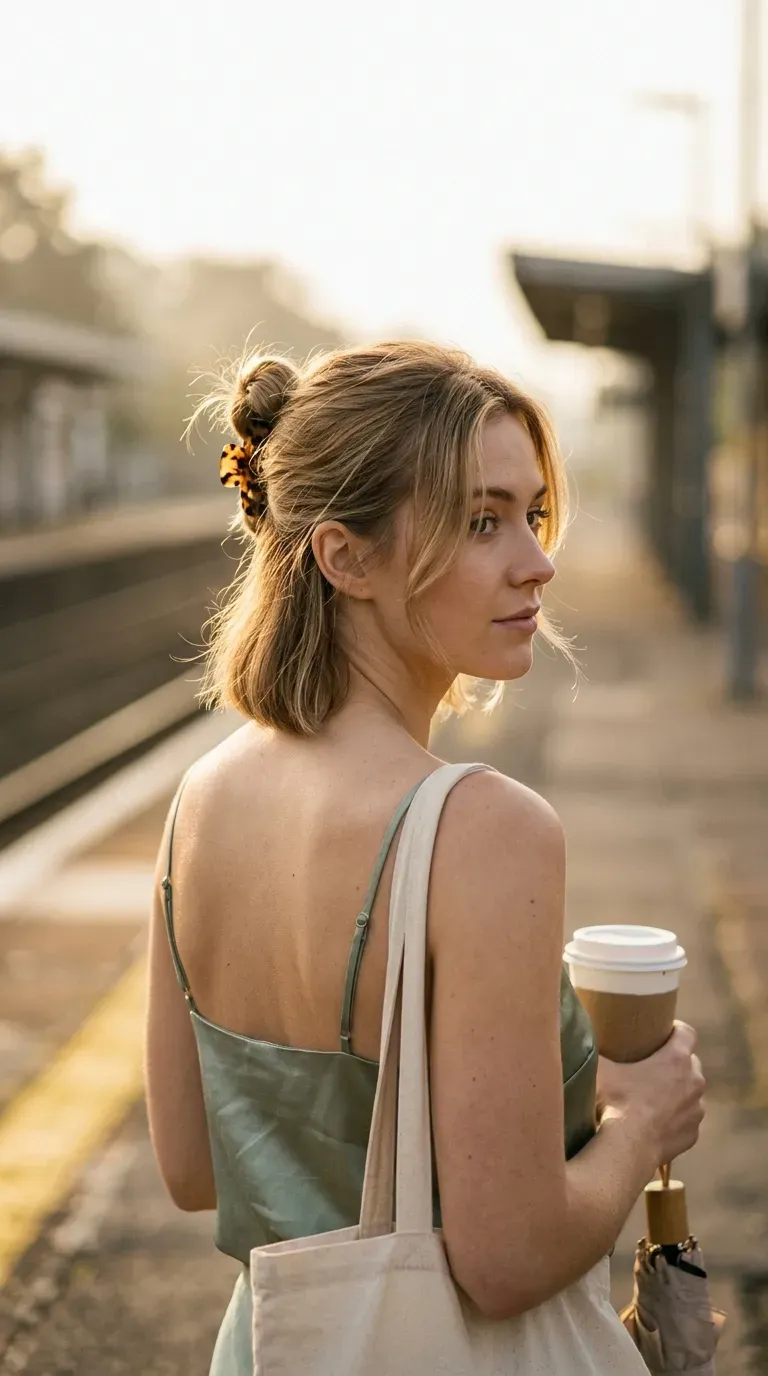
A deep side part gives a bob shape before you do anything else. Tucking one side keeps hair off your keyboard and out of your coffee.
- Part the hair where it naturally falls, then push the part deeper.
- Tuck the lighter side behind your ear.
- Leave the heavy side loose so it swings.
Short bobs go flat by lunch, so check the tuck after a meeting and press it back in. One flat clip hidden behind the ear can rescue it, though most days it holds on its own with a light mist of hairspray.
3. Half Up Mini Bun On A Chin Length Bob
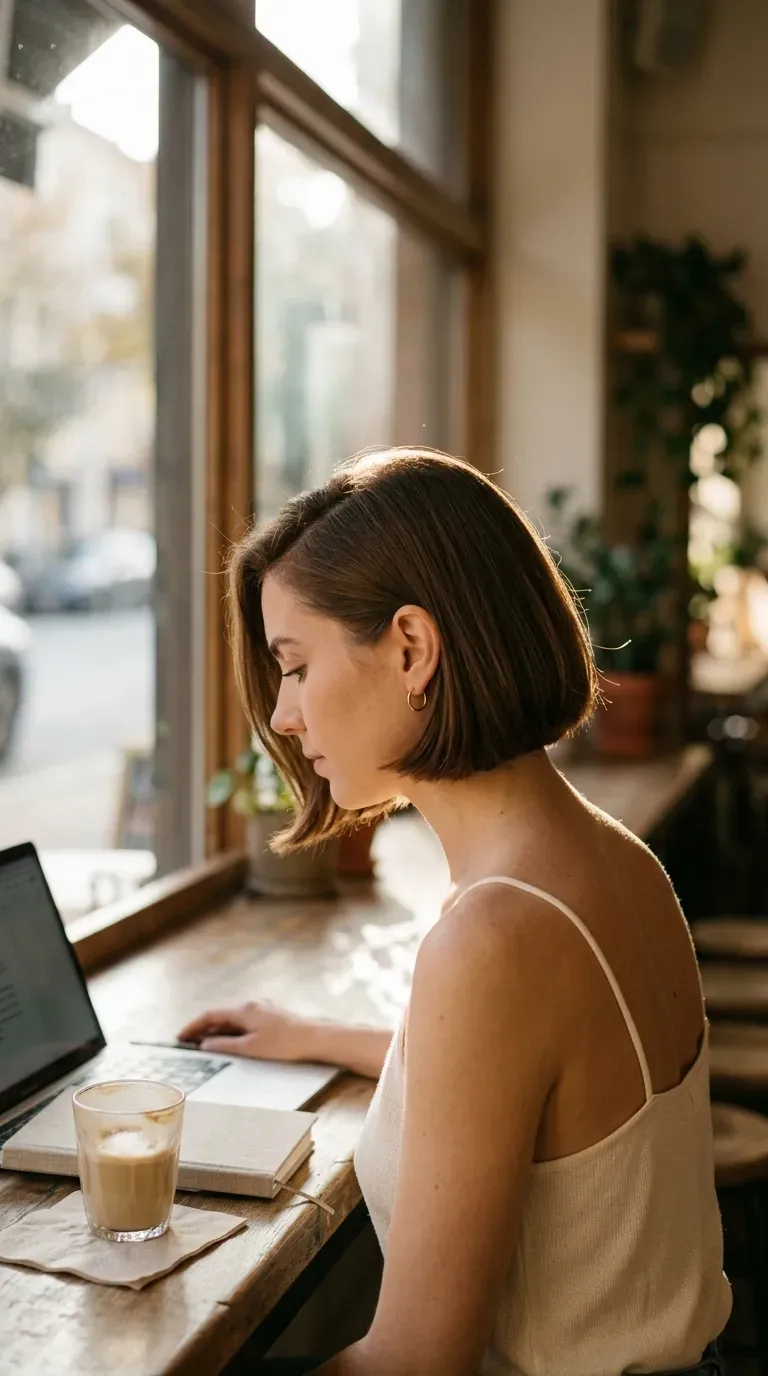
Chin length hair loves to fall forward when you look down at a screen. A mini bun on top solves that without pulling everything back.
Gather only the crown section, about the size of your palm. Twist it once, wrap it into a small knot, and pin it with a claw clip or two bobby pins. Leave the front pieces and everything below the crown loose.
Keep the knot a little messy. A tight, neat bun on a short bob can look like a doorknob.
Best for: video call days, since the front stays clear and the ends stay soft.
4. Messy Textured Crop With Matte Paste
Tiny rule: add product only after your hair is fully dry. Wet hair soaks up paste and turns it into a flat, heavy mess.
Warm a rice grain sized dab of matte paste between your fingers, then rake it through the crown from back to front. Push the top forward and a little sideways. Pinch two or three pieces at the front to separate them.
The look should seem lived in, not drawn with a ruler. If one side sits too tall, press it down with a damp hand.
Quick tip: Use your fingers, not a brush, for pieces that look natural.
Flat crown, limp ends, and one cowlick that points the wrong way.
Lifted crown, loose pieces on top, and hair that keeps its shape through the afternoon.
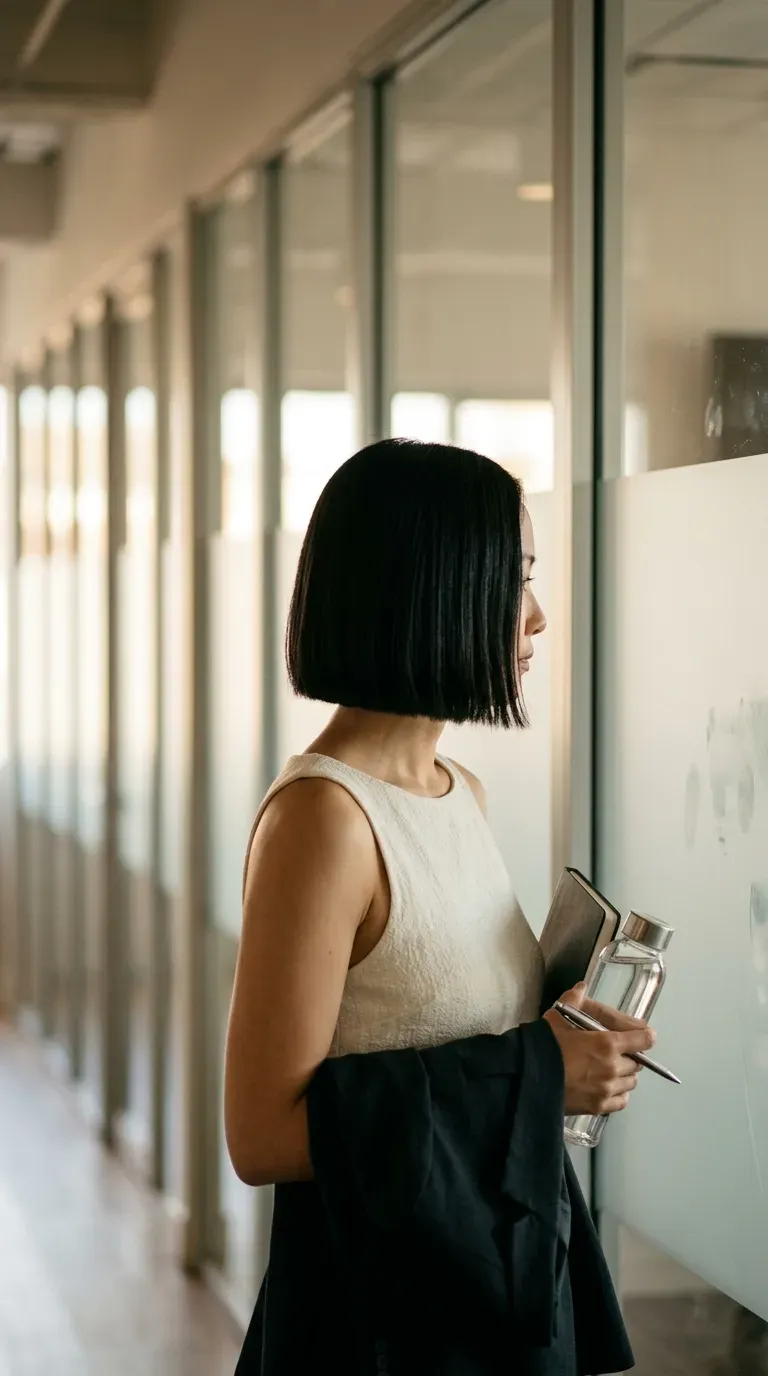
5. Sleek Blunt Bob With A Middle Part

Blunt bobs reward patience, but only for a few minutes.
Blow dry with a flat brush, pulling each section straight down. Finish with a flat iron, one pass per section, and turn the ends slightly under. Line the part up with the center of your nose.
Two small notes:
- Use heat protectant. A blunt edge shows every split end.
- Skip serum on the roots. It makes the part look greasy.
Who it suits: straight or slightly wavy hair, and anyone who likes a polished look without accessories.
6. Wide Headband Over A Soft Wave Bob
A wide fabric headband sits like a frame around the face and hides a flat or growing out crown.
Make the waves first. Wrap two inch sections around a medium curling wand, then brush them out with your fingers so they blend. Slide the headband on from the front and sit it about two fingers behind the hairline. Pull a few strands forward at the temples.
Quick tip: Choose a band that matches your hair or your blazer. A bright one pulls attention to the band instead of the waves.
Tiny warning: a tight band can cause a headache by afternoon, so size up.
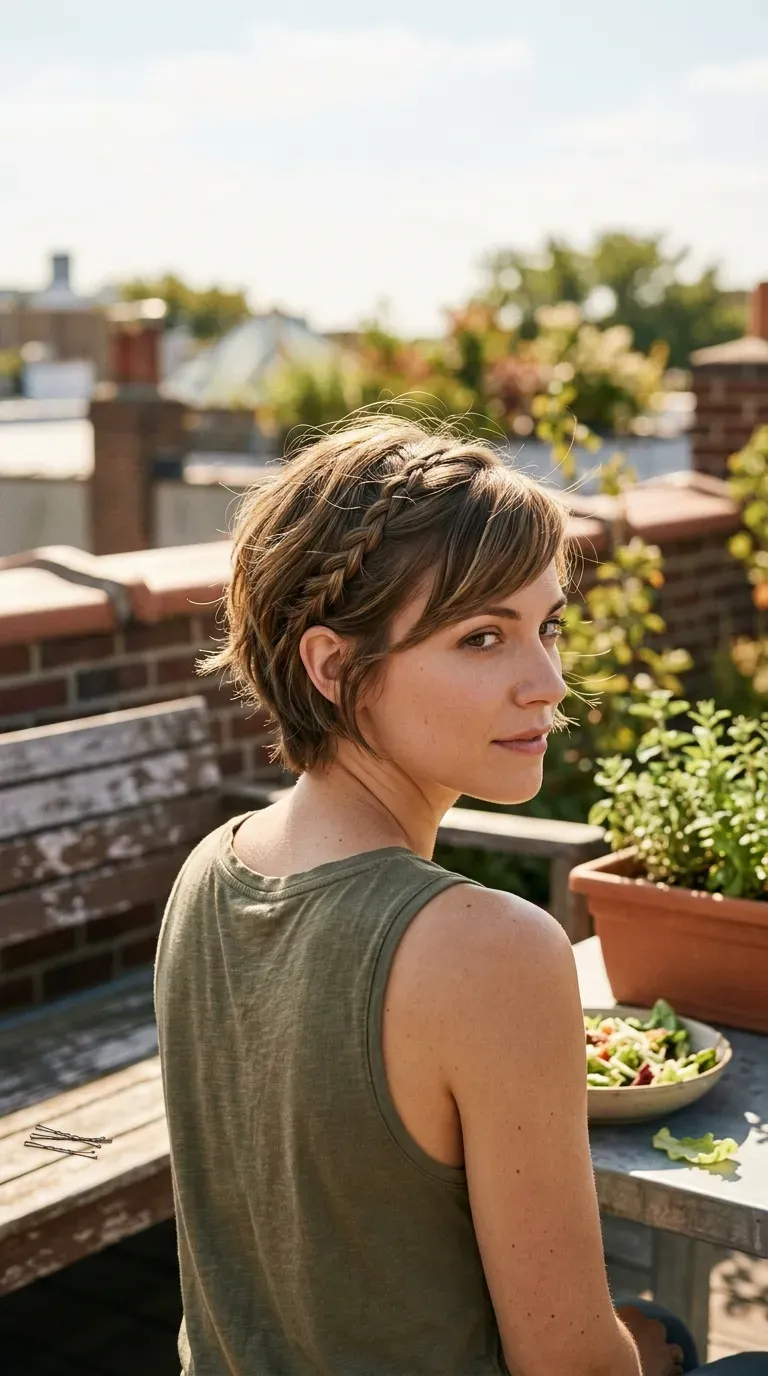
7. Side Swept Bangs Pinned With A Tiny Braid

Bangs stuck at an in between length are annoying, and this fixes them in about two minutes.
Take a thin section of the bangs, about a pencil width. Braid it down to the end, tuck the tip under, and pin the braid flat above your ear. Leave a few wisps at the hairline so it does not look strict.
Use one or two bobby pins in the same color as your hair. They should disappear, not decorate.
Best for: grown out fringe, desk days, and long phone calls where you keep pushing hair back.
8. Two Barrette Clips For Grown Out Layers
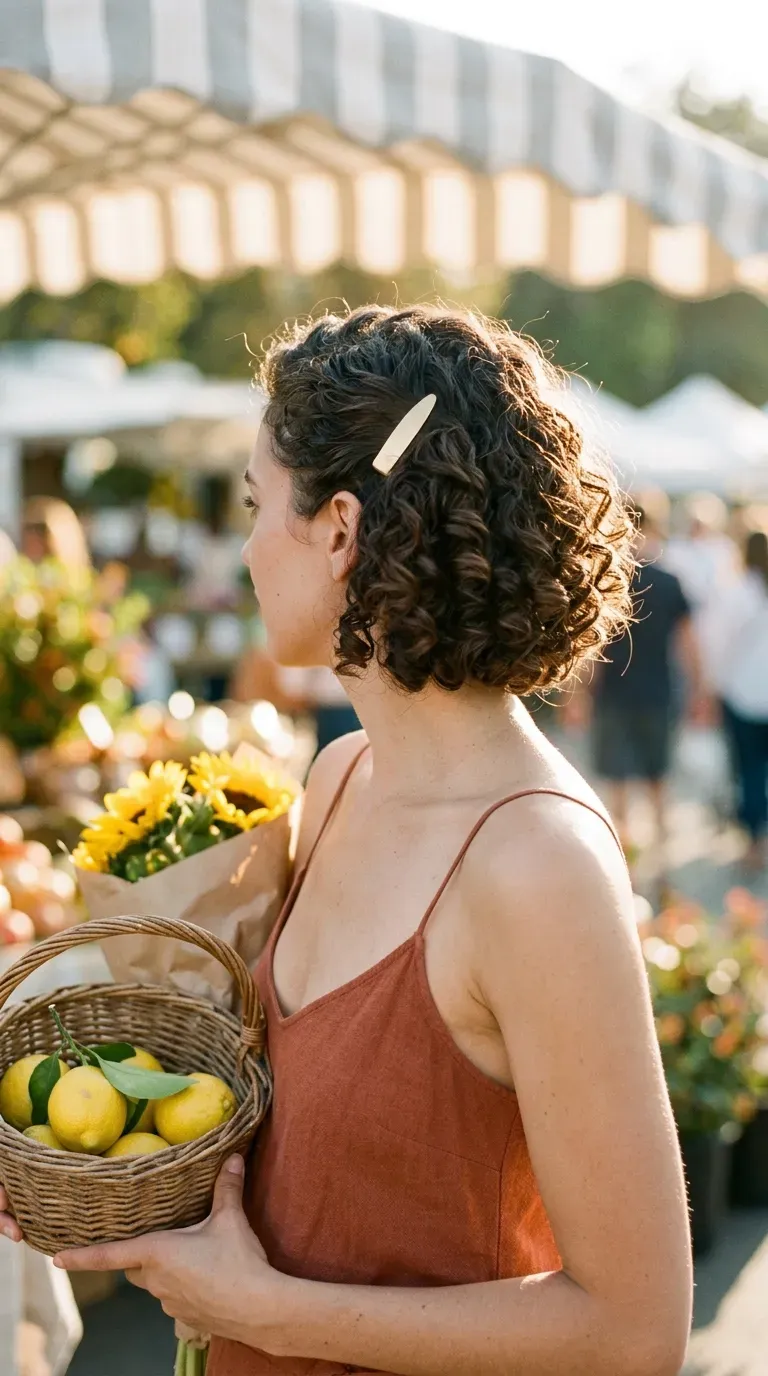
Layers grow out in strange directions. A pair of barrettes gives each side somewhere to go.
- Sweep the front side sections back and clip each one just above the ear.
- Keep the clips mirrored, or leave them slightly uneven for a looser feel.
- Leave the crown unclipped so it keeps height.
Metal barrettes look sharper at work than plastic ones. Slide them in at an angle instead of straight down, because the grip is stronger and the hair does not slip.
The payoff is a tidy face and a hairstyle that took less time than finding your keys.
9. Curly Bob With One Side Pinned Back

Curls shrink as they dry, which is why a pinned side looks so good on a short cut.
Scrunch in a curl cream while your hair is soaking wet, then air dry or diffuse on low. Do not touch it while it dries. Once dry, gently shake out the roots, sweep one side behind the ear, and pin it with a flat gold clip.
One side open and one side pinned gives the cut shape without flattening the curls.
Quick mistake: brushing dry curls. It turns spirals into a fluffy cloud, and the clip will not fix that.
10. Tiny Nape Ponytail On A Long Bob
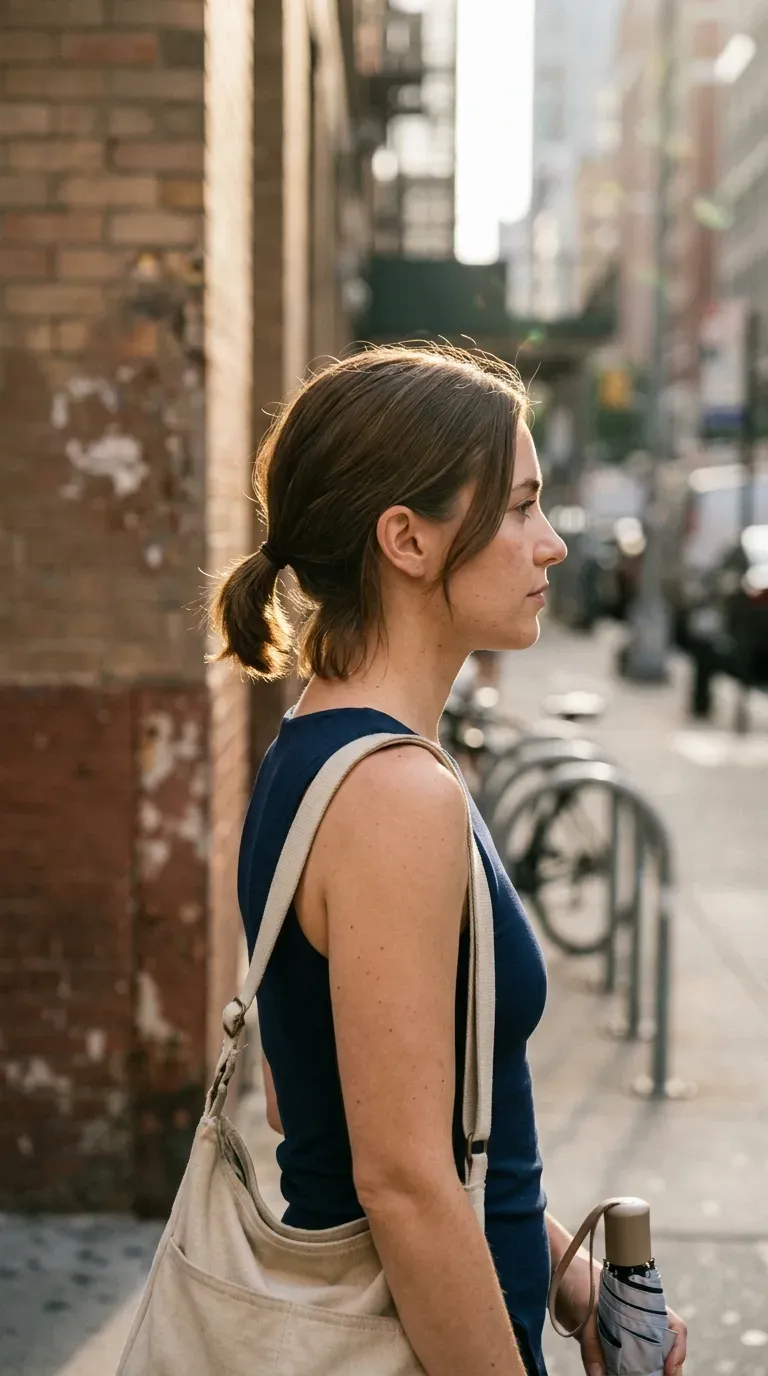
Few people think a bob can hold a ponytail, but a long one can.
Brush everything back and hold it low at the nape. Twist an elastic around it once, pull the ends through, and tug the front pieces loose. The ponytail will be stubby, about a fist in length, and that is fine.
Wrap a small strand around the elastic if you want it to look finished, then secure it with one bobby pin underneath.
Who it works best for: bobs that sit at or below the chin and hair thick enough to hold an elastic.
Tie it low at the nape, near the base of the skull.
Pull out two face framing pieces so it looks soft.
Pulling it tight. It tugs short hairs and pops loose by noon.
Placing it high, where short ends stick out like a brush.
11. Choppy Shag Air Dried With Sea Salt Spray

The shag does most of the work for you, as long as you stop fighting it.
Mist sea salt spray on the mid lengths and ends, scrunch upward, then leave it alone. Air dry while you get dressed. If the roots need help, hit them with a dryer for twenty seconds.
Keep the product light so it looks relaxed instead of beachy:
- Two or three sprays are enough.
- Skip a second layer if the hair feels crunchy.
Comparison: a shag is more forgiving than a bob. If you oversleep, it still looks planned.
12. Silk Scarf Headband On A Flipped Bob
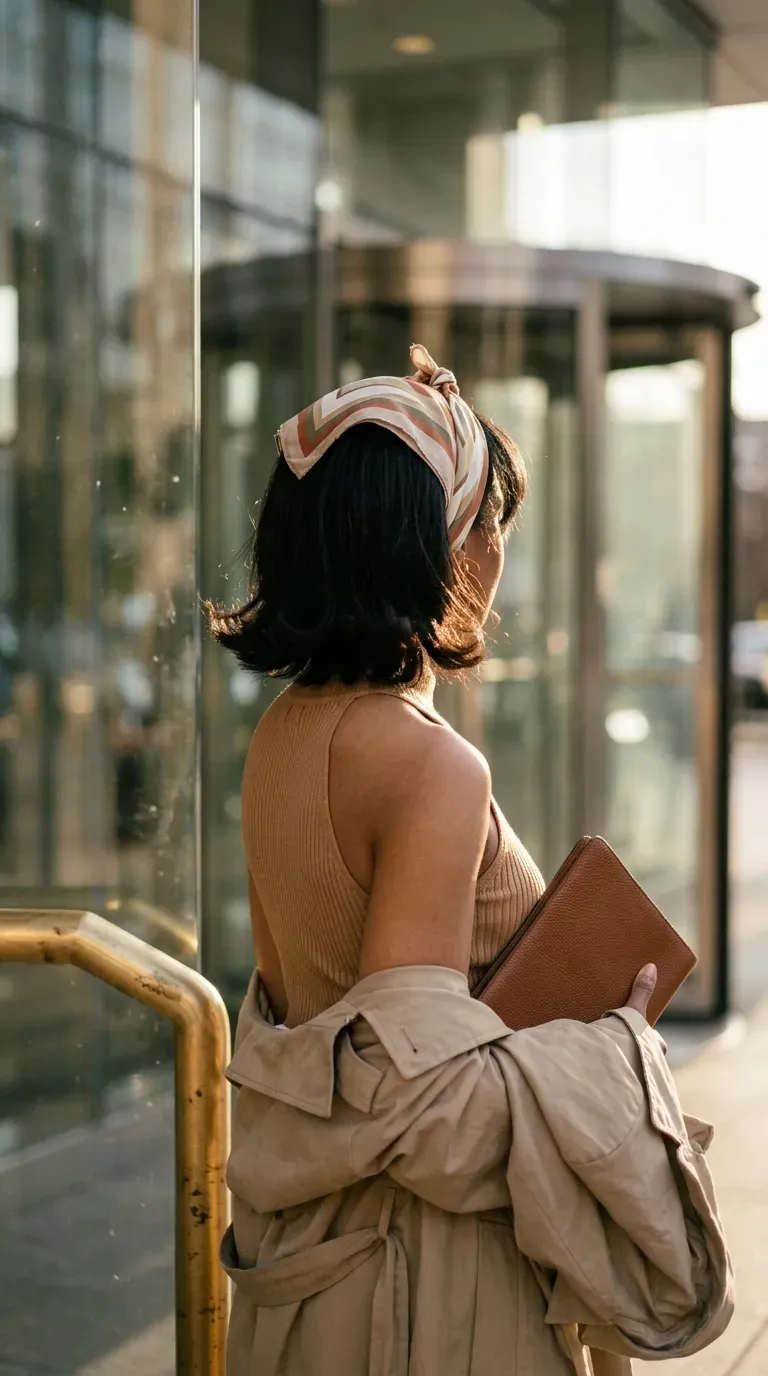
A scarf is the easiest way to make an ordinary bob look planned.
Fold a small square scarf into a long strip. Place the middle at your nape, bring the ends up over your ears, and tie them on top with a small knot. Let the tails hang or tuck them under.
Flip the ends outward with a round brush first, so the bob keeps its bounce under the scarf.
Choose a calm color or a small pattern. A busy print can feel loud next to a blazer.
Quick tip: tie it over dry hair. Silk slides right off damp strands.
Dry the bob fully before you tie the scarf. Damp hair under silk loses its flip fast.
13. Twisted Front Section Pinned Back On A Bob
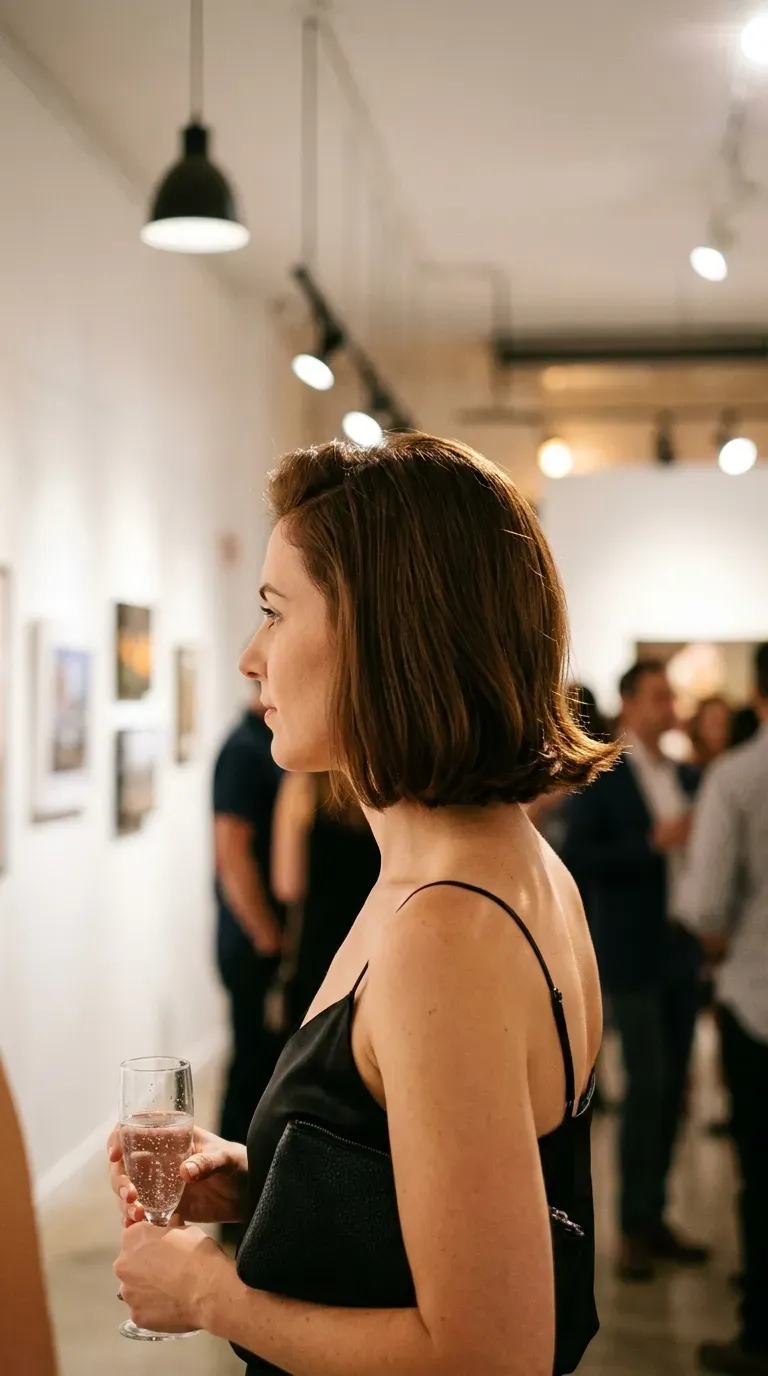
Think of it as a pinned back bang that does not look like a school photo.
Take a two inch section from the front on one side. Twist it away from your face, rolling it toward the back, then pin it behind the ear with two crossed bobby pins. Repeat on the other side if you like symmetry.
Crossed pins grip better than one, and they hide inside the twist. Run your hand over the back of the bob once after pinning so it stays smooth.
Good for: long meetings when the front of your hair has a mind of its own.
14. Flipped Out Ends With A Small Curling Iron
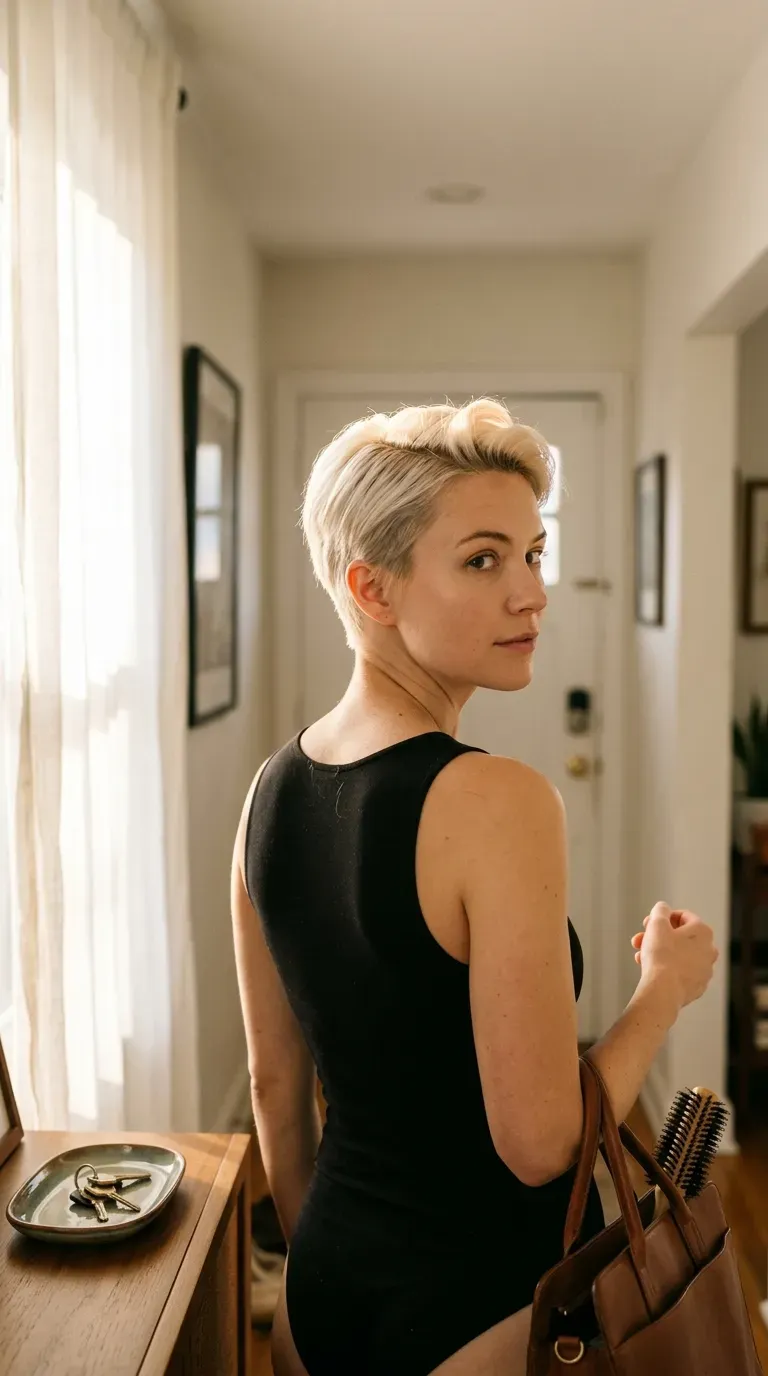
Flipped ends make a short cut look finished, and the whole look takes only a few minutes.
Use a small barrel, around one inch. Hold each section from underneath, wrap the ends away from your face, and hold for a few seconds. Do the back first, then the sides, then the front. Brush through lightly with a paddle brush so the flips blend.
Curl the bottom layer only. Curling the whole head makes a short bob puff out sideways.
Quick tip: let each section cool in your hand before releasing it. The flip lasts much longer.
15. Soft Quiff Lifted With A Round Brush
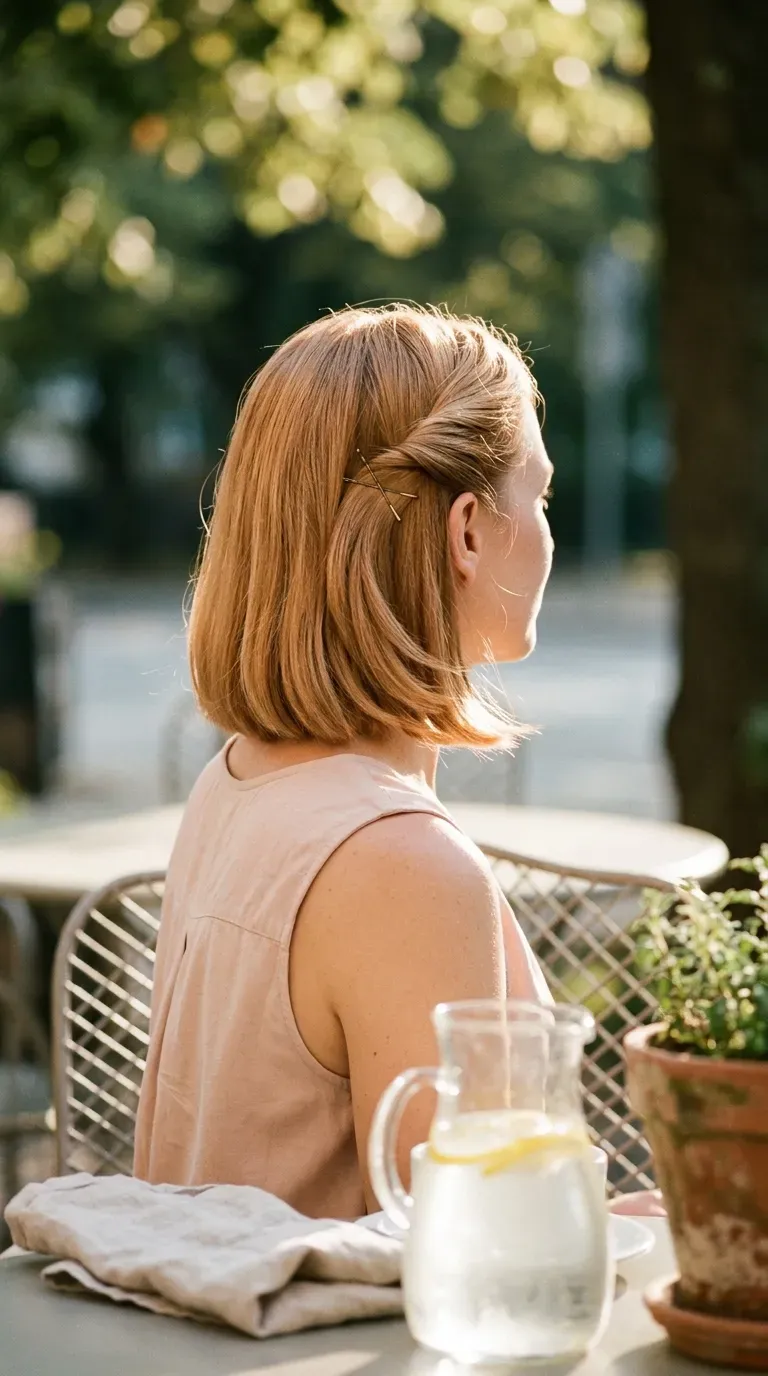
A quiff sounds dramatic, but on a pixie it is just extra height at the front.
Keep the sides close to the head. That contrast is what makes the lift look planned instead of accidental. Finish with a fingertip of paste to separate the top, and leave the back flat and neat.
Quick tip: brush upward at the roots only. Pulling the brush through to the ends flattens the lift.
Rough dry the roots with your fingers until your hair is mostly dry.
Lift the front section straight up with a round brush and aim the dryer down the barrel.
Hit it with the cool shot for a slow count of ten before you pull the brush out.
Final Thoughts
Short hair only gives you fewer options if you think of styling as length. These office hairstyles for short hair rely on parts, pins, texture, and one good accessory instead. Pick the two that suit your cut, rehearse them once on a quiet Sunday, and you will have a reliable answer for every morning.
The sleek styles suit meetings. The textured ones suit casual Fridays. The pinned ones save you when your hair refuses to cooperate at all. Treat this list as a menu, not a checklist. Start small, adjust the amount of product, and notice which look still holds after lunch.
Save this list to your hair board so the next rushed Monday already has a plan.