
Most sleek buns look sharp at 8 a.m. and tired by lunch. The cause is usually the prep, not your hair. A bump at the crown, a band that slides, and flyaways around the ears all start with a rushed base.
A sleek bun for work comes down to a few small moves in the right order. Smooth the hair first, set the base with the right tool, then shape the bun on top. Pins go in last, and they do more of the holding than most people expect.
Here are 16 buns that suit short, long, fine, thick, and curly hair. Some take three minutes. A few work better with a little prep the night before. Each one comes with a clear step and a small tip you can follow at the mirror.
Pick two that fit your dress code and your mornings. Use them on repeat, and getting ready gets one decision easier. A neat bun should not cost you a whole morning, and none of these will.
1. Low Sleek Bun With a Center Part and Gel Finish
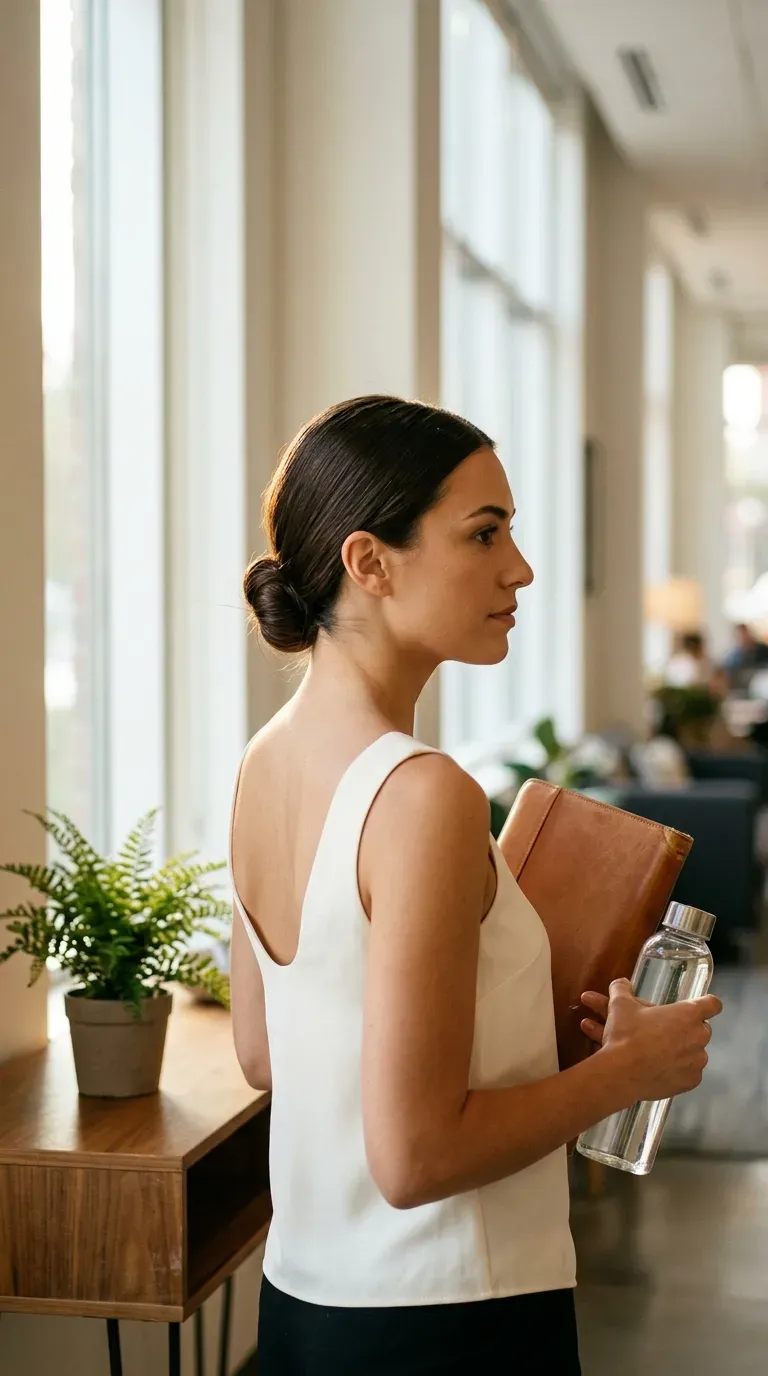
A low bun gives you the cleanest line in the shortest time, which is why it shows up in so many offices. Part your hair down the center, then work a pea size amount of gel through the roots and smooth it back with a boar bristle brush.
- Gather the hair at the nape, below your ears
- Twist it once, then wrap it around the base
- Pin in an X shape on both sides
Check the back with a hand mirror before you leave. The bun should sit flat, not tilt up. Quick tip: run a clean toothbrush with a little hairspray along the part to catch tiny flyaways.
2. High Sleek Bun Built From an Upside Down Brush

The bump at the crown is what ruins most high buns, and it usually comes from a loose first elastic. Flip your head upside down, brush everything up, and secure it high with a strong elastic before you do anything else.
- Add a second elastic over the first for grip.
- Twist the tail and wrap it flat around the base.
- Pin it in four spots, like the points of a compass.
Then lift your head and smooth the sides with your palm. A high bun keeps hair off your collar and gives a plain blazer outfit some height. It holds well on thick hair, but fine hair may need an extra pin or two.
3. Sleek Chignon Pinned Low and Slightly Off Center
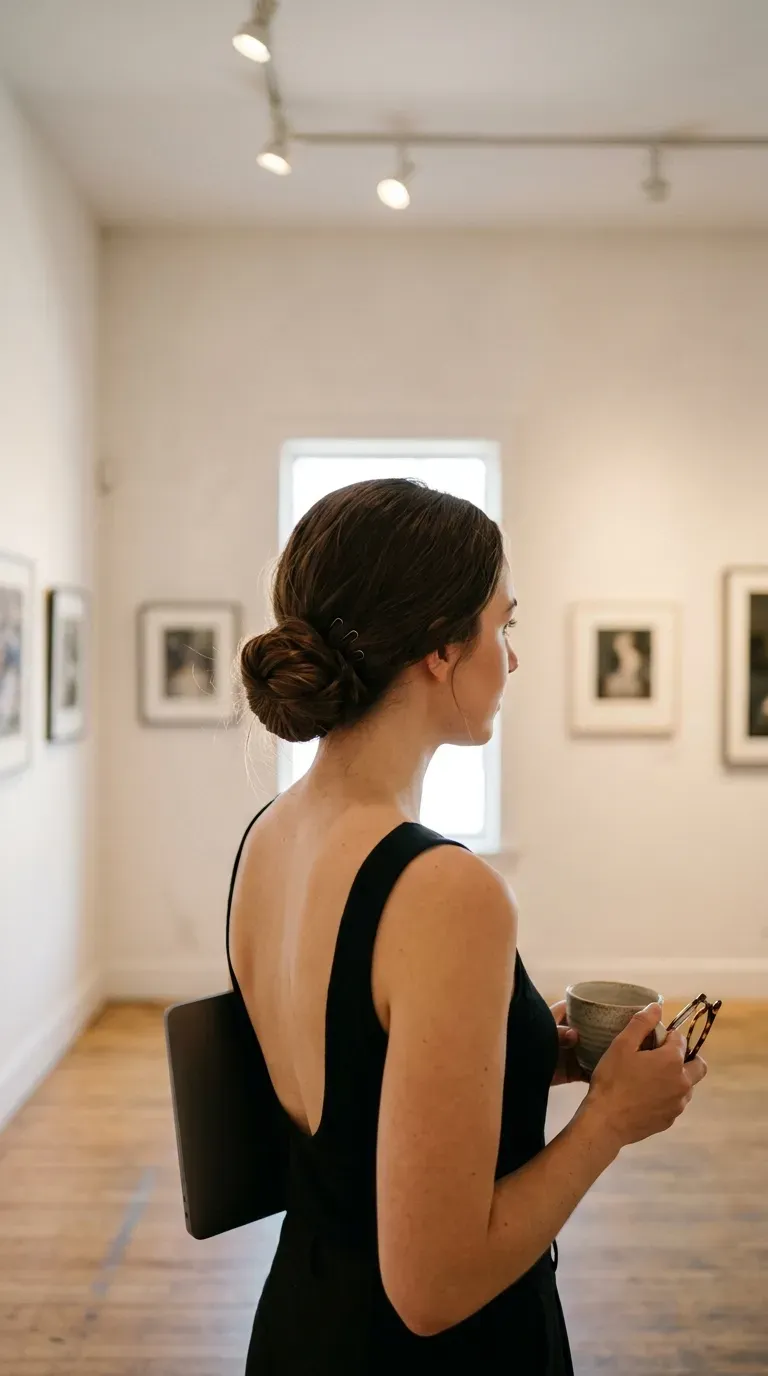
An off center chignon looks softer than a centered one, and the slight tilt hides small bumps. Place it about an inch to the left or right of your spine, low at the nape.
Make a low ponytail, twist it into a rope, and coil it into a flat spiral. Tuck the end under, then push U shaped pins in at an angle and slide them back toward the scalp so they grip.
- Mist your palm with hairspray and smooth the surface
- Keep the coil flat, not tall
- Check both sides in a mirror
It sits well above blazers and collared shirts.
4. Ballerina Bun With a Water Misted Brush Sweep
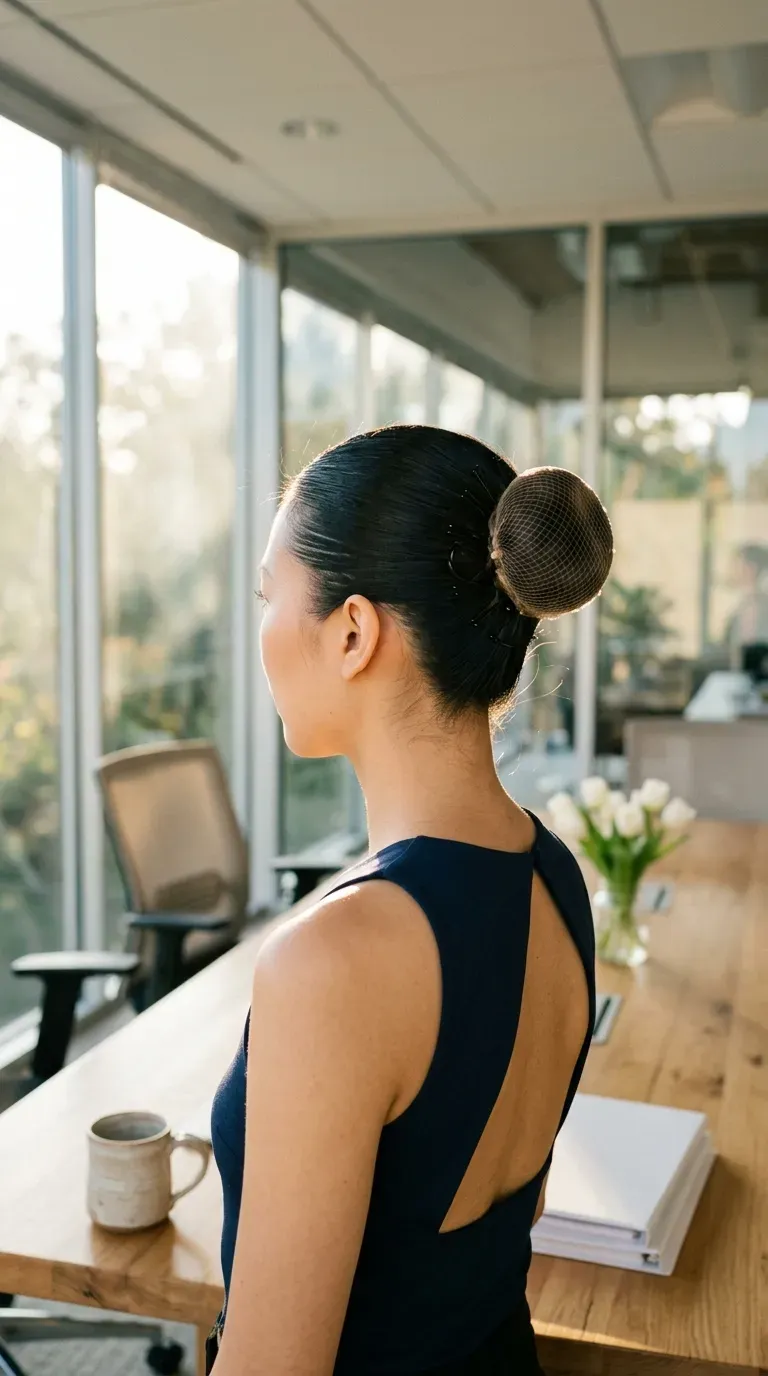
Ballerina buns need a ponytail that is truly tight and truly smooth, so spend your time there. Mist the brush with water, not just the hair, and sweep upward in long strokes.
- Set the ponytail at the crown or just below it
- Twist and wrap into a round bun, not a flat one
- Cover the base with a fine hair net if flyaways keep escaping
Pin in a full circle and finish with a light spray. Watch out: a very tight bun worn for hours can strain your scalp, so loosen it if it aches.
5. Sleek Bun With a Deep Side Part and a Tucked Ear

Center parts read formal, while a deep side part reads relaxed and suits more face shapes. Use the side you naturally part on, since the hair lies flatter there.
Sweep the long side behind your ear, then gather everything into a low bun on the opposite side of the nape. The lopsided shape looks planned, not messy.
- Draw the part with a fine tooth comb
- Lock the swept side with two flat pins
- Smooth the top with a drop of serum
It works best on medium to long hair.
6. Twisted Sleek Bun Done in Under Three Minutes
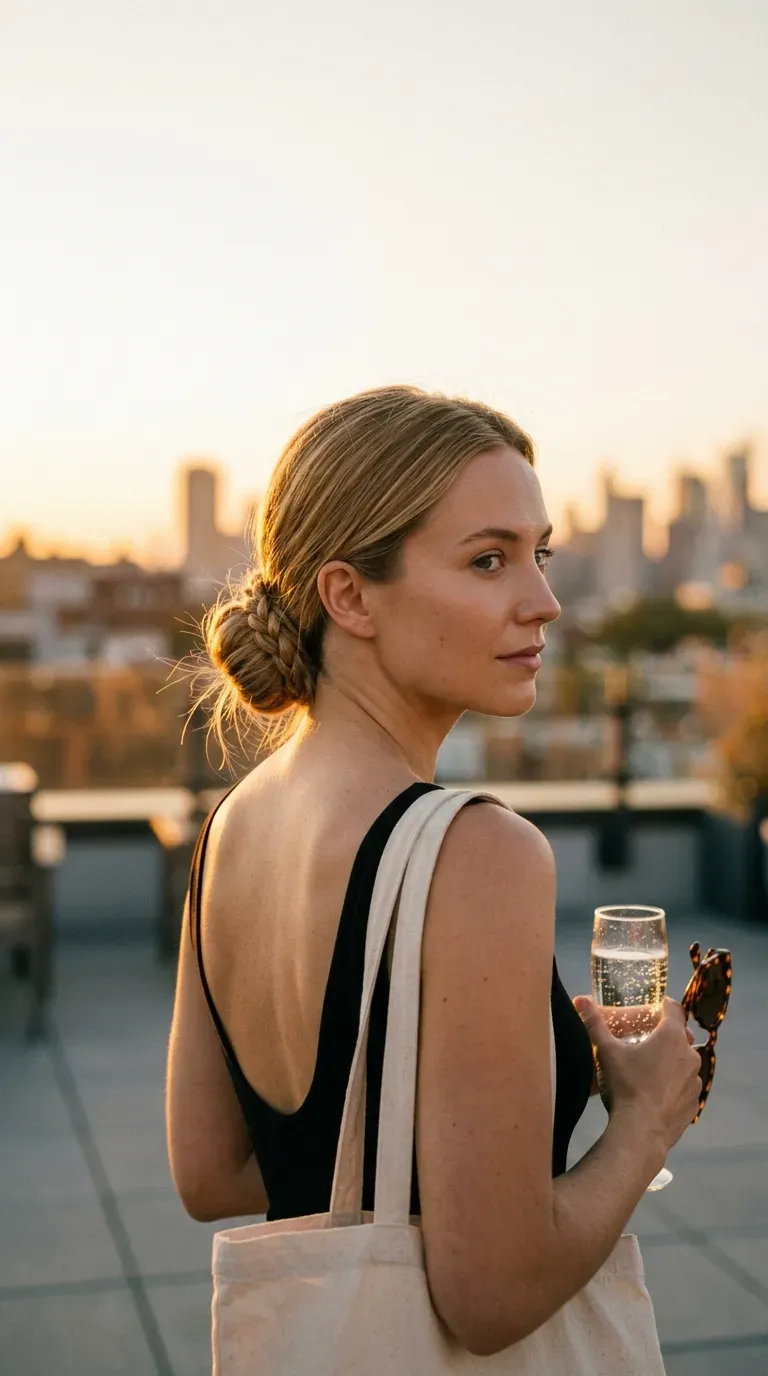
Twist once, wrap once, pin once. That is the rule that keeps this bun under three minutes. Start with a smooth low ponytail, then twist the tail tightly like a rope.
Wrap it around the base in one full circle and push the end underneath. Slide one pin through from each side so they cross.
This one is a good fit for rushed mornings and for the day after a wash, when hair is easy to handle. Quick tip: if the end sticks out, pin it down instead of re-wrapping the whole bun.
7. Braid Wrapped Bun That Hides the Elastic
A bare elastic is the first thing people notice on a bun. A thin braid hides it for free and adds a detail that looks planned.
- Make a low ponytail and set the elastic.
- Take one thin section from the tail and braid it loosely.
- Wrap the braid around the base and pin the end.
Wind the rest of the tail into a bun on top of the wrapped braid. Swipe a little gel over the braid to flatten stray hairs. The look stays polished on open neck tops and collared shirts alike.
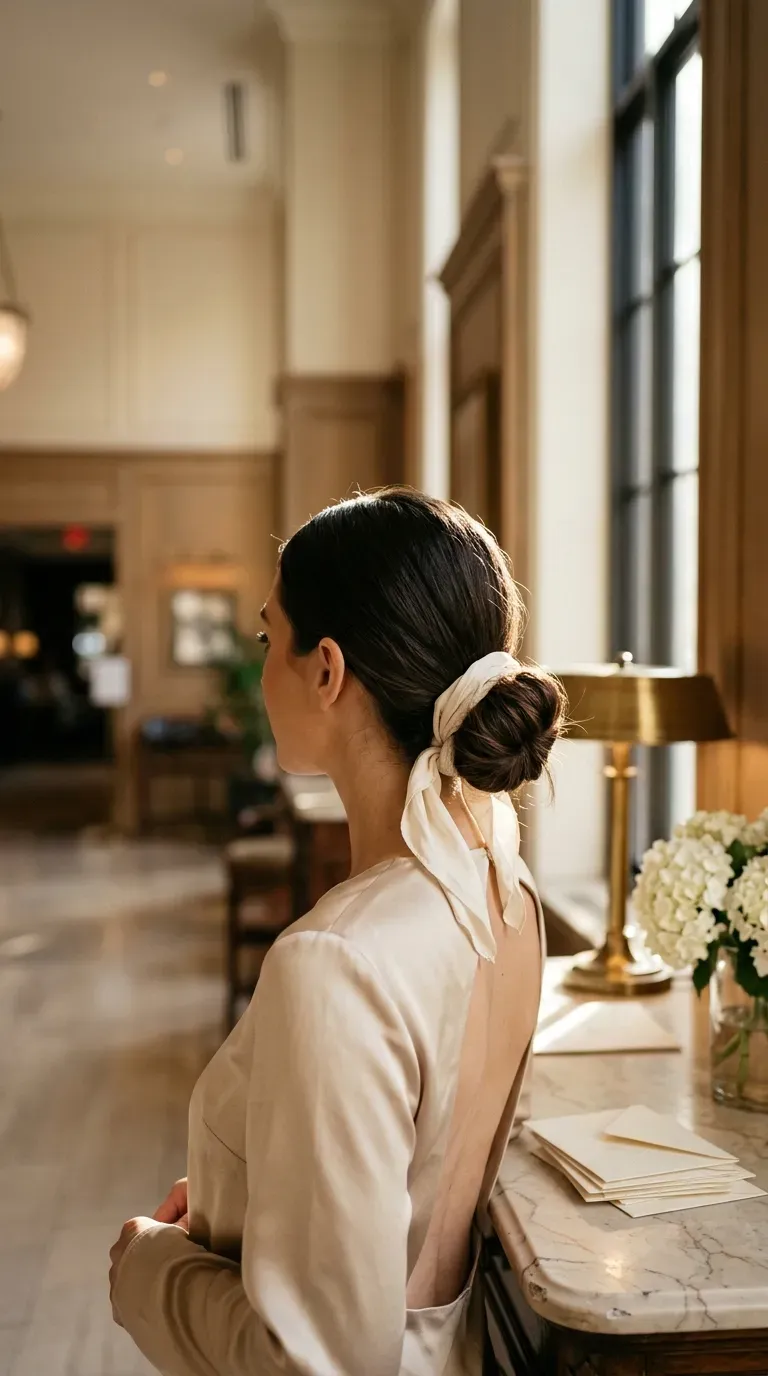
8. Low Bun Tied With a Narrow Silk Scarf

Scarves are not only for casual days. A narrow silk scarf in a solid color looks as formal as a good pin.
Fold it into a thin strip and tie it around the base of your low bun, with a small knot at the side. Let the tails hang or tuck them into the bun.
- Choose a solid color or a very small print
- Match one color in your outfit
- Pin the bun first, then add the scarf
Quick tip: knot it off center so it looks styled, not tied on.
9. Mini Sleek Bun for Short Hair With Flat Pins

The usual mistake with short hair is pulling it high and hoping it stays. Short layers escape from a high base within an hour. Go low, gather what you can, and secure it with pins, not just a band.
- Use a mini elastic for a short ponytail
- Pin the shorter pieces flat with small pins
- Dab a bit of styling paste on the nape
Leave a few tiny pieces at the nape, since they look intentional. Chin length hair works best, and even shorter cuts can manage a mini bun.
A high bun with short layers popping out by mid morning and pins showing through.
A small low bun with short pieces pinned flat and a clean nape that holds through the day.
10. Double Elastic Bun for Fine Silky Hair
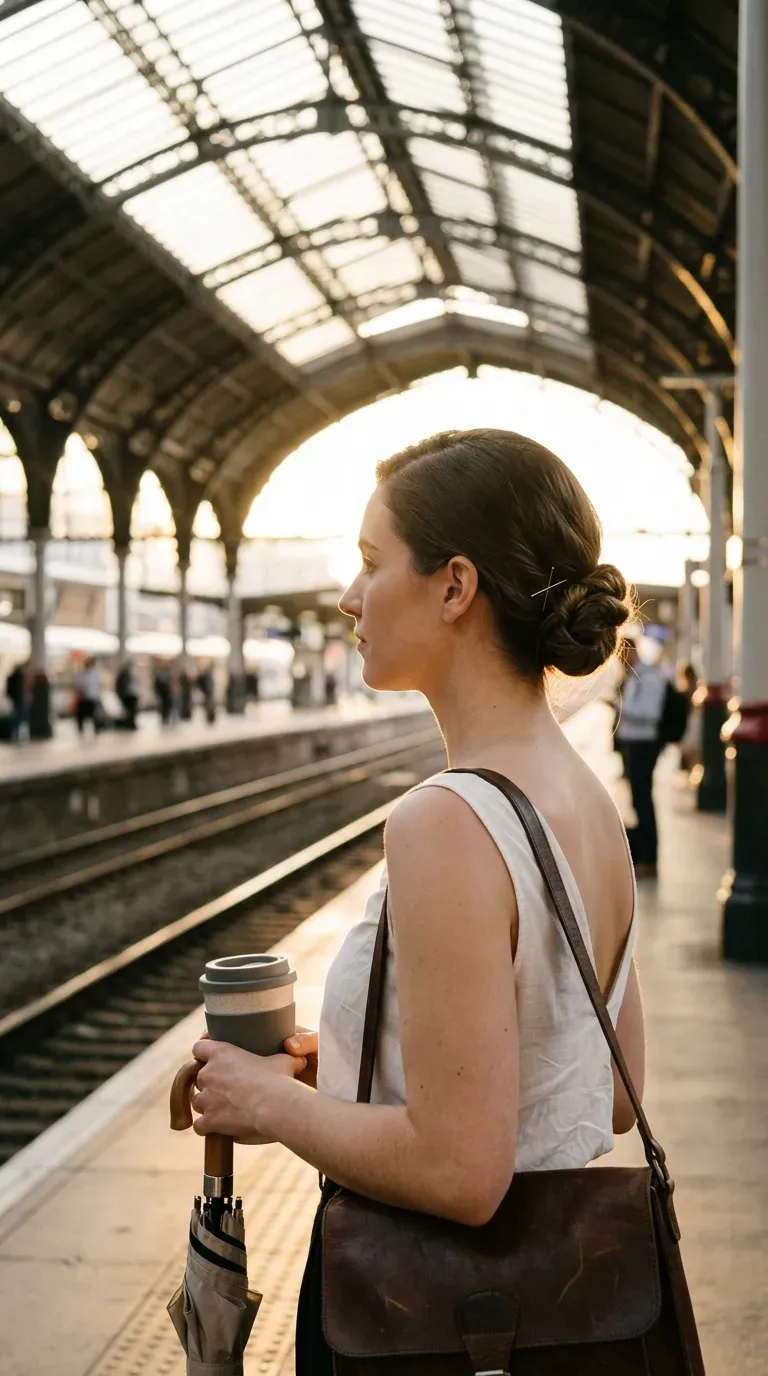
Fine, silky hair slides out of a single elastic by noon. Two elastics fix that. The first sits at the base of the ponytail, and the second secures a folded loop, which makes a base that grips itself.
- Add texture spray to the roots before you start.
- Make the ponytail, then fold it once.
- Wrap the loop with the second elastic and pin around it.
Pick snag free elastics in a shade close to your hair, since thin rubber bands can pull on fine strands. Best for hair that feels too silky to hold anything.
11. Low Bun With Two Thin Strands Left Out

It is 4 p.m., the last meeting starts at five, and the front of your hair looks flat. Two thin strands left out near the ears give the face a soft frame without losing the clean line.
Before you secure the bun, pull a thin piece from each side, about as wide as a pencil. Curl each one lightly with a wand or leave them straight.
- Keep them thin, not chunky
- Tuck them behind the ears for a stricter look
- Skip them on rainy days, since damp air frizzes them first
12. Mid Height Bun Set Just Above the Nape

A bun sits best where the back of your head curves in, just above the nape. Set it too high and it looks like workout hair. Set it too low and it rubs your collar.
Find the spot by tilting your chin down and pressing a finger where the curve begins. Gather the ponytail there, twist, and wrap into a medium bun.
Set it with a light spray and a few pins. This height also reads well on video calls, since the shape stays tidy from the front and the side.
Gather the ponytail where the head curves in.
Pin in a ring around the base.
Setting it so high it looks like gym hair.
Letting it hang so low it rubs your collar.
13. Slicked Back Bun on Natural Curls With a Gel Cast

Natural curls make a great sleek bun, and the secret is working wet. Start with soaked hair, add a firm gel, and brush it flat toward the back with a soft bristle brush.
- Section off a smooth front, then gather the rest at the nape.
- Wrap a stretchy band twice.
- Coil the curls into a bun and pin.
Let the gel dry before you touch it. A silk scarf over the edges while it sets gives a cleaner finish. Skip heavy waxes, since they can leave flakes on dark hair.
14. Matte Claw Clip Twist That Looks Like a Bun
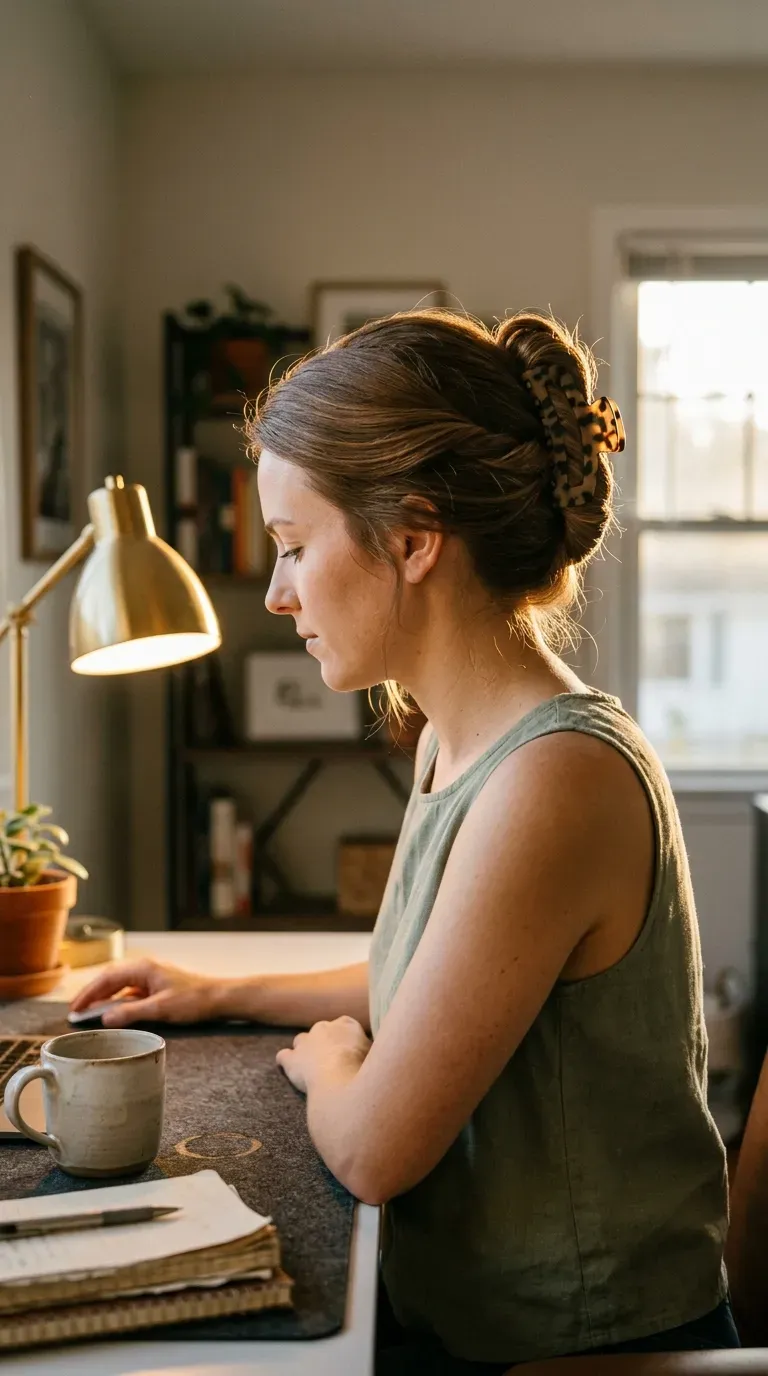
Glossy claw clips look like weekend gear. A matte one in black, tortoiseshell, or a neutral shade looks like part of the outfit. Pick a clip big enough to grip all your hair.
Twist the hair up and back into a roll, fold the ends in, and clamp the clip across the top.
- Smooth the sides before you clamp
- Hold the clip level, not tilted
- Check the back with your phone camera
It is the fastest style on this list and needs no pins. Best for medium to long hair.
15. Finished Low Bun Covered With a Wide Barrette
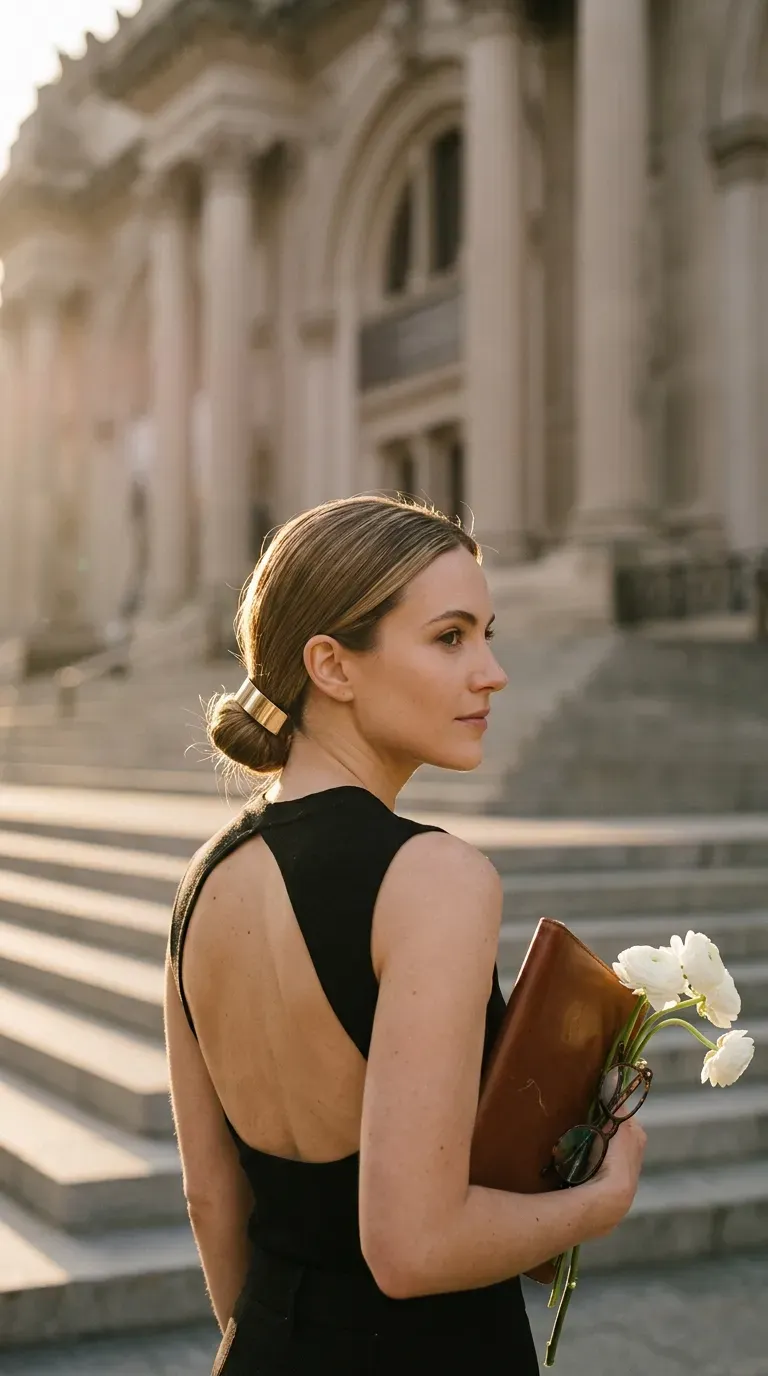
Barrettes slip when they sit on loose hair, so grip the bun, not the strands. Finish a sleek low bun first, then slide a large barrette across the base so it covers the band and the pins.
- Pick one wide enough to cover the whole base
- Metal or acetate in a neutral shade suits most offices
- Clip it over the bun, not under it
It also hides the spot where pins tend to show. Quick tip: if the barrette tilts, add a bobby pin through its loop.
A sleek bun lasts when the base is secure first and the polish comes last.
16. Two Minute Bun Reset at Your Desk
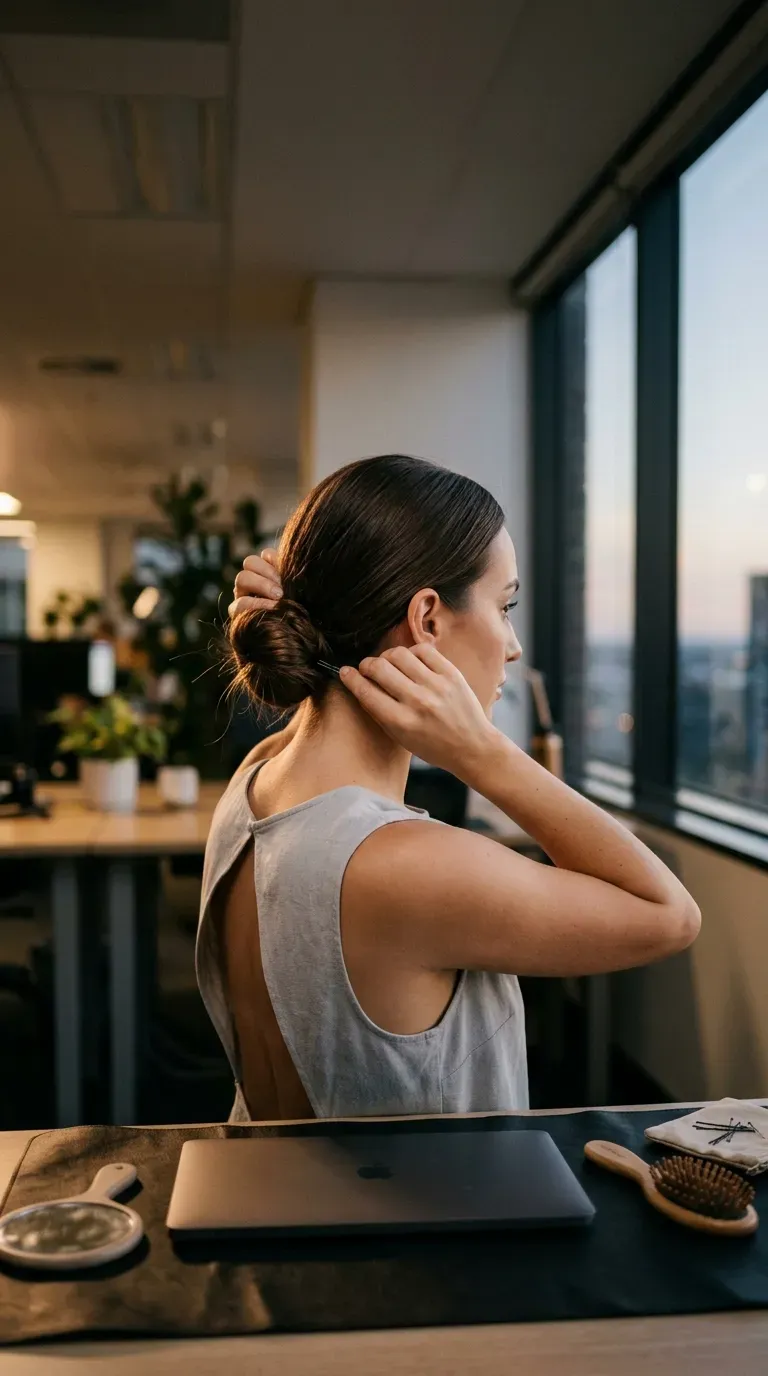
By 3 p.m., a bun may have dipped or loosened. A two minute reset keeps you from starting over.
- Press the bun back up and check the base in a hand mirror.
- Add two fresh pins where it slid.
- Mist your palm with hairspray and pat down any flyaways.
Keep a mini kit in your desk drawer with spare pins, a small brush, and a travel size hairspray. Tilt your head down while pinning so the angle holds. Best for long days that run into the evening.
Keep It Simple
A neat bun is mostly about the base. Smooth the hair, set it firmly, and let the pins do the quiet work. Once you find a sleek bun for work that suits your hair and your dress code, getting ready gets faster and the result gets more consistent. Start with one style from this list and give it a full week. If it holds up, add a second one for days when you have more time or a bigger meeting. Keep a few pins, a small brush, and a clear elastic in your bag, and you can fix it anywhere.
Save this list for the next time you need a quick answer to what to do with your hair before work.