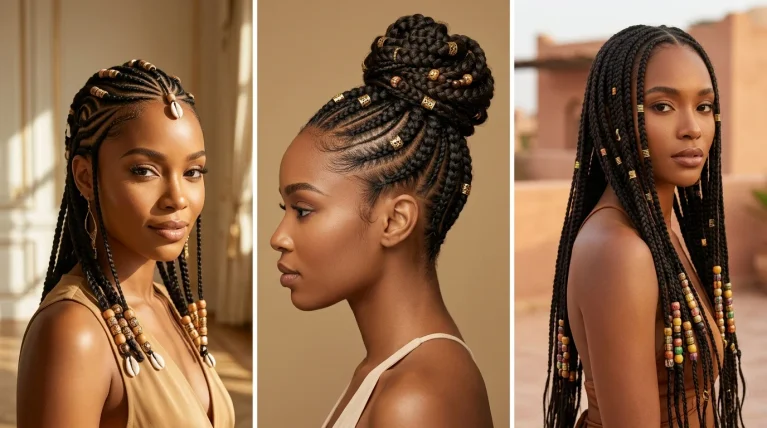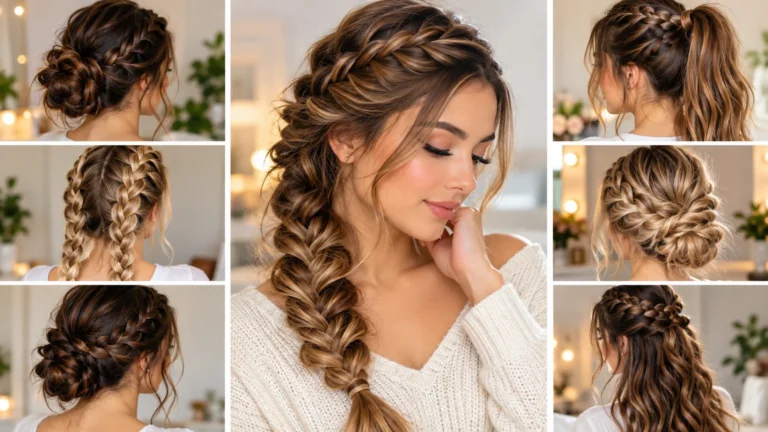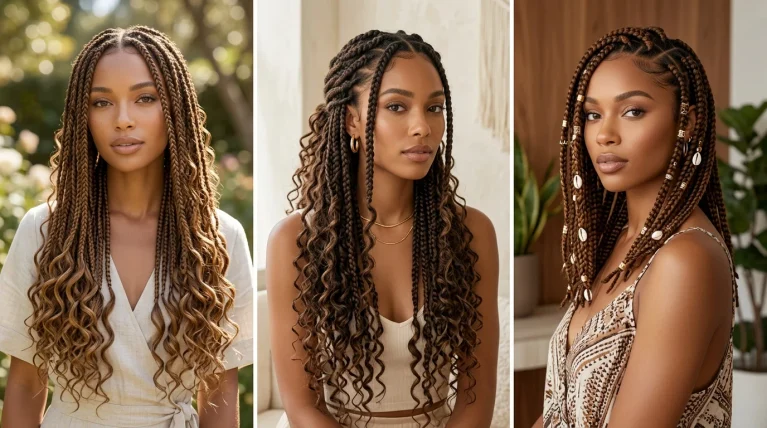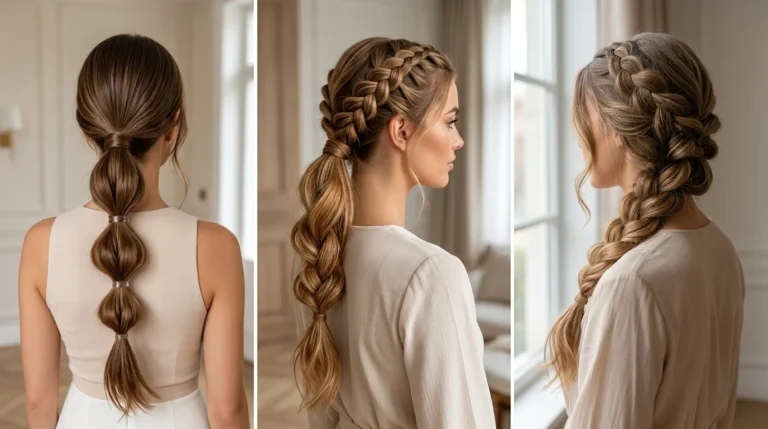
18 Dutch Braid Hairstyles That Stay Put All Day Long
You finish braiding, check the mirror, and feel great about it. Then you go for a run, and by mile two there’s a loose piece slapping your cheek and the whole braid has slid an inch down your head.
That slow slide is the real problem. Most braids fail at the roots, not the ends. They start too far back, they’re done on slippery clean hair, or they’re tied off with one elastic and hope.
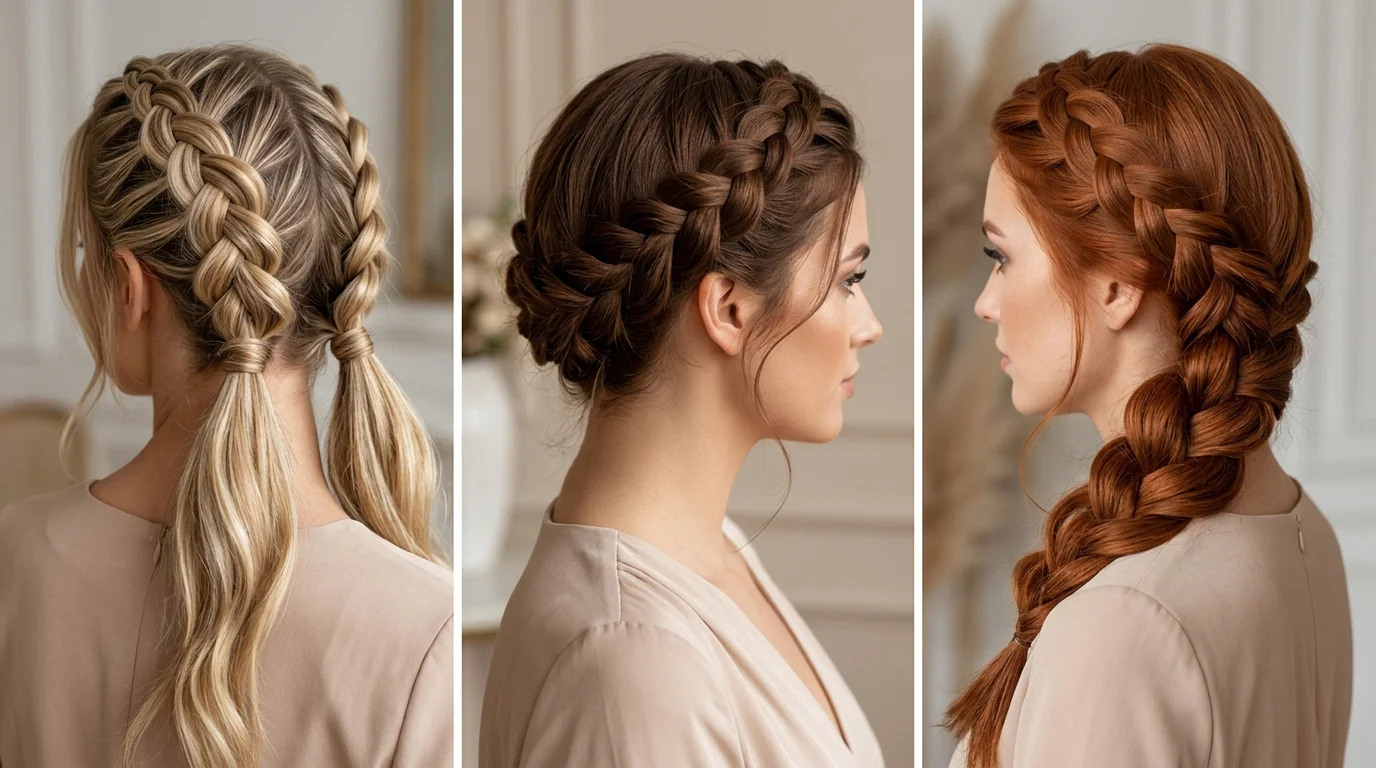
These dutch braid hairstyles are built for grip. A Dutch braid crosses strands under instead of over, so the braid sits on top of your hair and hugs the scalp. That tight anchor is what keeps it in place through workouts, helmets, pool days, and long shifts on your feet.
Below you’ll find 18 styles, each with the small trick that makes it hold. Some take five minutes. A few need a little practice. All of them are made for women who actually move during the day.
1. Snug Double Dutch Braids Started Right At The Hairline

The first cross decides everything.
Most double braids loosen because they start an inch behind the hairline, where there’s nothing to grab. Start right at the front instead.
- Part down the middle with the tail of a comb and clip one side away.
- Take a small section right at the hairline, no wider than two fingers. That front section is the one that escapes first when you sweat, so catch it early.
- Cross strands under, and pull each one down and slightly back as you add hair.
- Keep your hands close to your head until you pass the nape.
Quick tip: Tie off with a small snag free elastic, then wrap a second one just above it. Two elastics grip better than one tight one.
2. Dutch Braid Into A Flat Low Bun That Fits Under A Bike Helmet

A high bun and a bike helmet do not get along. The helmet shoves the bun down, the straps tug, and by the time you lock up your bike, half your hair is out.
The fix is to keep everything flat and low:
- Braid one Dutch braid down the center, stopping at the nape.
- Keep braiding the length in a regular three strand braid.
- Coil the tail into a flat spiral right at the nape, not above it.
- Pin it with four U pins pushed in toward the center of the coil.
Check the fit by putting the helmet on before you leave. If the back cradle presses on the bun, drop it half an inch lower.
3. Single Center Dutch Braid With A Second Elastic Hidden Midway

Pulling the braid tighter won’t stop it from loosening. It mostly gives you a headache by noon.
Braids loosen from the bottom up. Every time you swing a racket or turn your head, the tail moves, and that motion works its way up the braid. A hidden elastic halfway down stops the chain reaction.
Here’s where it goes:
- Braid until the Dutch section ends at the nape.
- Wrap a tiny clear elastic around the braid right there.
- Keep braiding over it so the next cross hides it.
It works best on long hair that reaches past the shoulder blades, where the tail has the most room to swing.
4. Top Dutch Braid Feeding Into A High Gym Ponytail

Plain high ponytails swing, and every swing pulls the hair at your crown loose.
Braiding only the top section fixes that. Dutch braid from the hairline back to the crown, taking hair from the top of your head only. Leave the sides and back loose. Then gather everything, braid tail included, into a high ponytail right where the braid ends.
The braid acts like a seatbelt for the front. Squats, burpees, and upside down stretches won’t drag that top section into your face.
Watch out: Place the ponytail at the crown, not above it. Too high, and it rests on the bench when you lie back for presses.
5. Dutch Crown Braid Locked In With U Pins Instead Of Bobby Pins

Bobby pins are the reason most crown braids droop by afternoon.
They grip only the hair they slide over, so the weight of the braid slowly pulls them out. A U pin works differently. You push it in, then turn it and weave it back through the braid and the hair underneath, so it holds from two directions.
For a crown that stays up:
- Braid two Dutch braids, one behind each ear.
- Lift each braid over the top of the head.
- Tuck the ends under the opposite braid.
- Anchor each one with three U pins along its length.
Gold toned pins disappear in blonde hair. Brown ones vanish in darker shades.
Push each U pin in, turn it, and slide it back toward the braid.
Pin where the two braids overlap, since that spot carries the most weight.
Lining up a row of bobby pins along the outside of the braid.
Leaving the braid ends on top, where they add bulk and slip loose.
Detailing a candlelit patio half-up braid entry.
6. Side Dutch Braid That Tucks Short Layers Behind The Ear
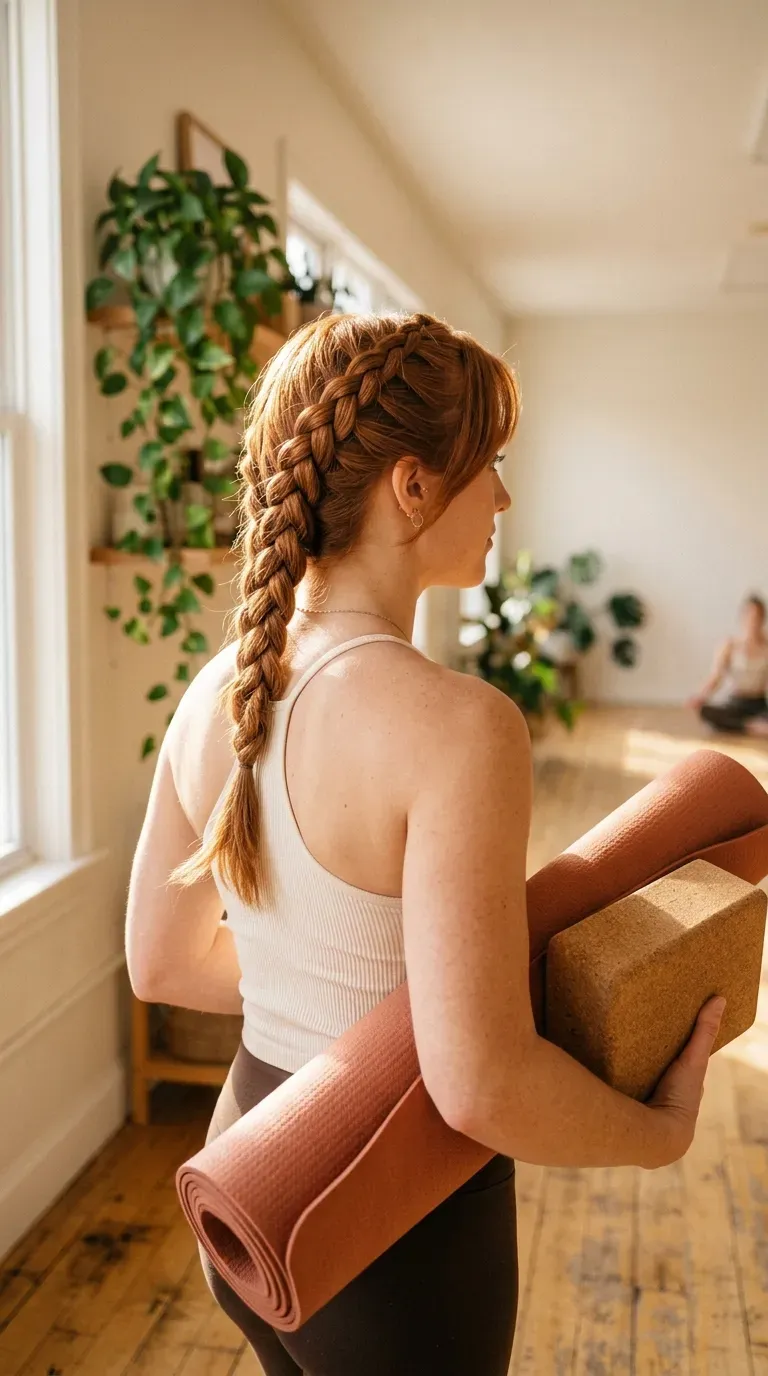
You fold into downward dog, and the short layers around your face drop straight onto the mat. Tucking them behind your ear lasts about one breath.
A side Dutch braid catches those layers before they fall. Part your hair deep on one side. Start the braid at the part and angle it across toward the opposite ear, picking up the face framing pieces as you go. Once you pass the ear, finish with a regular braid over the shoulder.
Quick tip: Mist each small section with a little water before you add it to the braid. Damp layers bend into place and stay there instead of springing back out.
7. Dutch Braid Headband For Growing Out Bangs
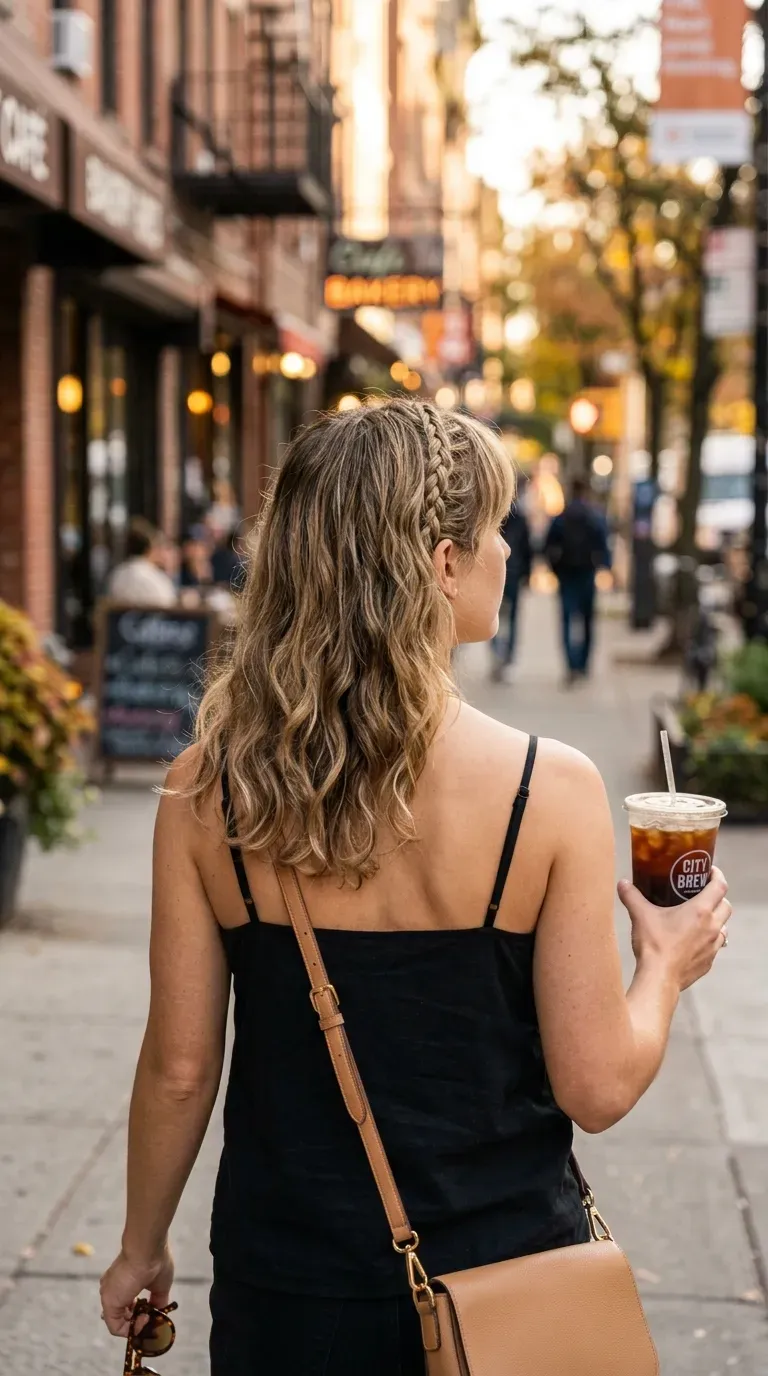
Growing out bangs has an awkward middle stage where they’re too short to tuck and too long to leave alone.
A braided headband handles it:
- Section off the front two inches of hair, ear to ear.
- Start a Dutch braid behind one ear and work toward the other, pulling bangs into each cross.
- Stop behind the far ear and pin the tail flat under the rest of your hair.
Keep the band narrow. A thin braid grips short pieces better than a chunky one, and it hides under loose hair when you only want the front held back.
8. Second Day Dutch Braids Prepped With Dry Texture Spray
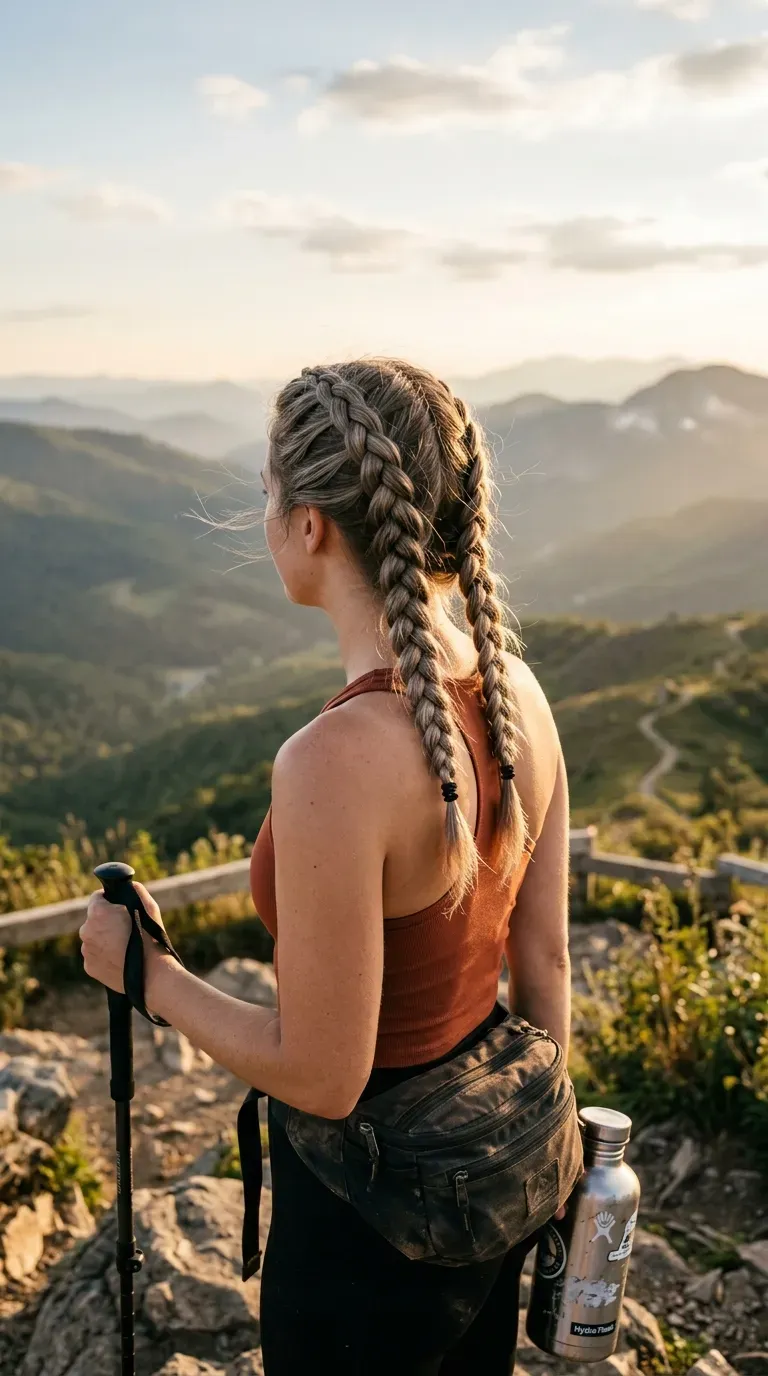
Freshly washed hair looks great and braids terribly. It’s too smooth, so every cross slides against the one before it.
Hair from yesterday has more grip, and a dry texture spray adds even more. Here’s the prep:
- Brush out any knots while your hair is dry.
- Spray at the roots and midlengths, holding the can about a hand’s width away.
- Rough it up with your fingers for a few seconds.
- Braid as usual.
The braid comes out a little fuller, and the crosses stay locked on a steep uphill climb. On wash day, a dusting of dry shampoo at the roots gives a similar grip.
Braided on squeaky clean hair. It looks neat at breakfast, then small gaps open near the crown and the ends thin out as the elastic creeps down.
Braided on prepped second day hair. The crown keeps its shape, the crosses sit close together, and one elastic holds without wrapping it three times.
9. Dutch Fishtail Braid For Hair That Slips Out Of Regular Braids

Three strand braids and slippery hair are a bad match. The sections are big, so they slide right past each other.
A Dutch fishtail uses two sections and crosses tiny pieces, which gives the hair far more contact points to grip.
- Split the top of your head into two sections.
- Take a thin piece from the outside of the left section, cross it under, and add it to the right.
- Repeat on the other side, adding a little new hair each time.
It takes longer than a regular Dutch braid. The payoff is a braid that still looks tidy after a windy walk along the water.
10. Two Dutch Braids Twisted Into Space Buns

Space buns tend to droop when they’re only twisted ponytails. Braiding the base first gives each bun a solid anchor.
- Part your hair down the middle.
- Dutch braid each side back from the hairline, stopping where you want the bun to sit.
- Secure each braid with an elastic, then braid the rest of the length.
- Wrap each tail around its elastic and pin it with two or three U pins.
Pull at the edges of the buns for volume, but leave the braids alone. They’re the reason this style survives hours of jumping and dancing in a crowd.
11. Pool Proof Dutch Braids Sealed With Leave In Conditioner
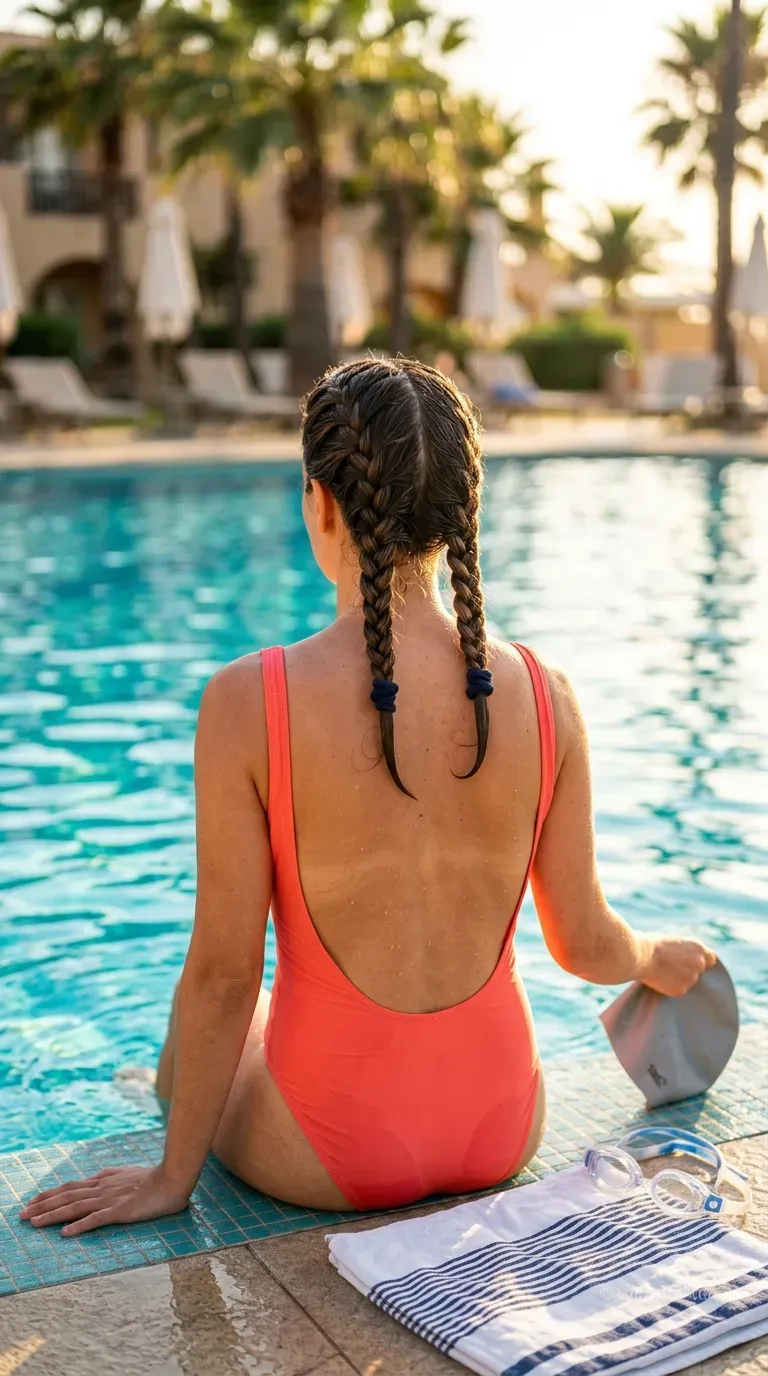
Pool days are where braids show their weak spots. Chlorine dries hair out, and dry strands get fluffy and slip out of the braid by the second swim.
A little prep changes that. Before braiding, wet your hair with clean water in the shower, then work a leave in conditioner through the lengths. Hair that’s already wet and coated tends to soak up less pool water. Braid two snug Dutch braids and tie each off with a fabric covered elastic, which grips wet hair better than rubber.
Rinse the braids with clean water as soon as you’re out, even if you keep them in for the rest of the day.
12. Tiny Dutch Braids Along The Hairline To Trap Baby Hairs
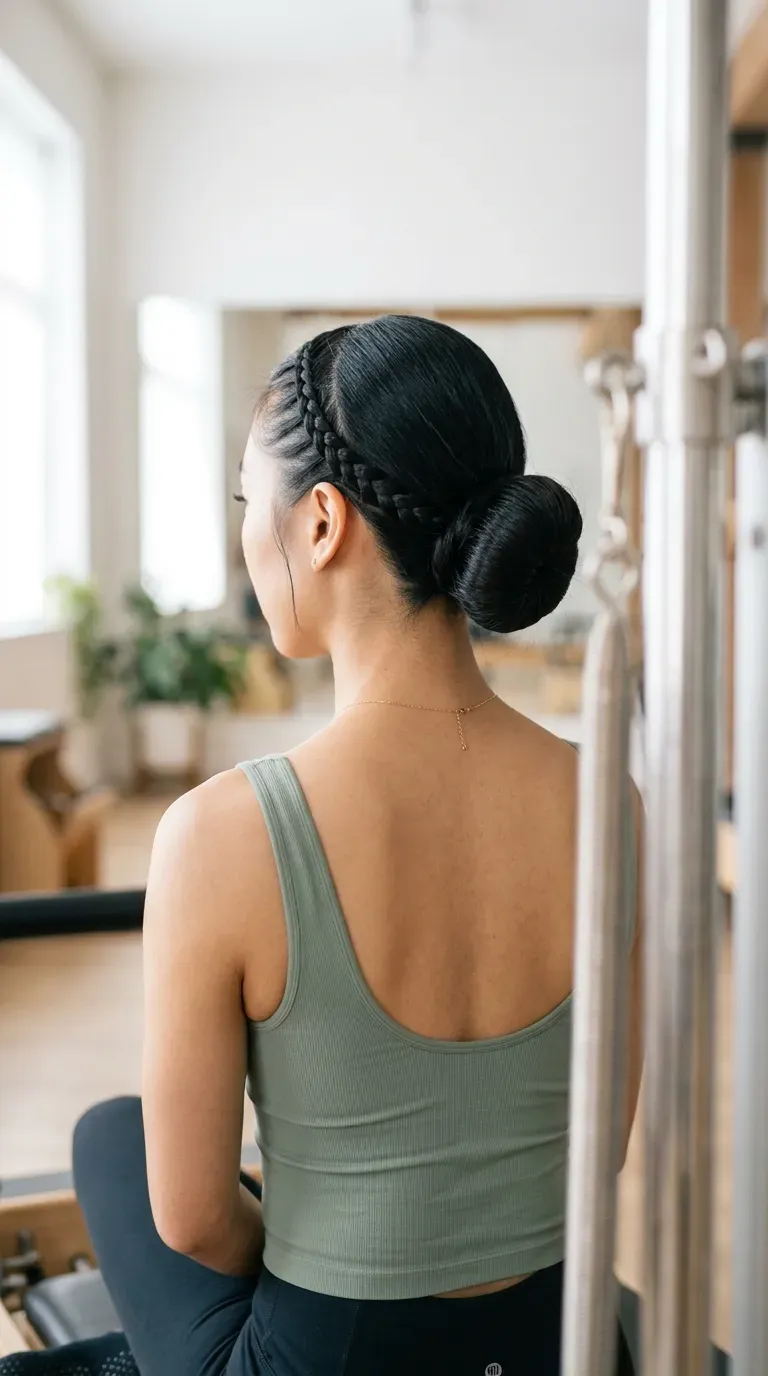
Look closely at the edges of any sleek style and you’ll spot them: short baby hairs that pop up the moment you start moving.
Micro braids along the hairline pin them down. Take a very thin strip of hair at your temple, no thicker than a pencil, and Dutch braid it back toward your ear. Do the same on the other side. Then pull the rest of your hair into a low bun or ponytail, catching the tiny braid tails inside it.
These feel fiddly the first time. After a few tries, each side goes fast.
Best for: pilates, barre, and any workout with a lot of lying down and rolling over.
13. Three Dutch Braids Meeting In A Mohawk Ponytail

Three braids hold more hair tight to the head than one, which is why this style lasts through a full game.
- Center braid: from the hairline straight back to the crown.
- Side braids: one above each ear, angled up and back toward the crown.
- Finish: gather all three at the crown into one high ponytail.
The side braids do the heavy lifting. They lock down the hair above your ears, the spot that usually slips when you head a ball or pull a shirt over your head.
It looks bold on the field and still reads neat enough for the team dinner afterward.
14. Pancaked Dutch Braid With Pins Hidden Under The Loops

Pancaking makes a braid look fuller, but it also loosens it. The usual mistake is pulling the loops wide first and hoping pins will fix the slack later.
Flip the order. Pin the braid while it’s still tight, hiding each pin under a loop. Then pancake around the pins, so they hold the core in place while the outside gets softer.
Good to know: Pull only from the outer edge of each loop. Tugging from the center shifts the whole section and undoes the grip.
Braid snug to the scalp and tie off the end before touching a single loop.
Slide a pin under every second loop, pointing up toward the crown so it catches the hair underneath.
Pancake with your fingertips, working a little at a time from the nape back up to the top.
15. Overnight Dutch Braids That Turn Into Morning Run Waves

Early runs leave no time to style anything. By the time you’ve found your other sock, the plan to do your hair is gone.
Braid the night before instead. Do two Dutch braids on slightly damp hair and tie them with soft scrunchies so they don’t dent the ends. A silk or satin pillowcase helps keep frizz down.
In the morning, you get two options:
- Keep the braids in for the run. They’ll still be neat after a night’s sleep.
- Take them out for loose waves, then clip the top half back.
Either way, your hair is done before your coffee is.
16. Damp Dutch Braids On Curly Hair With A Curl Cream Grip
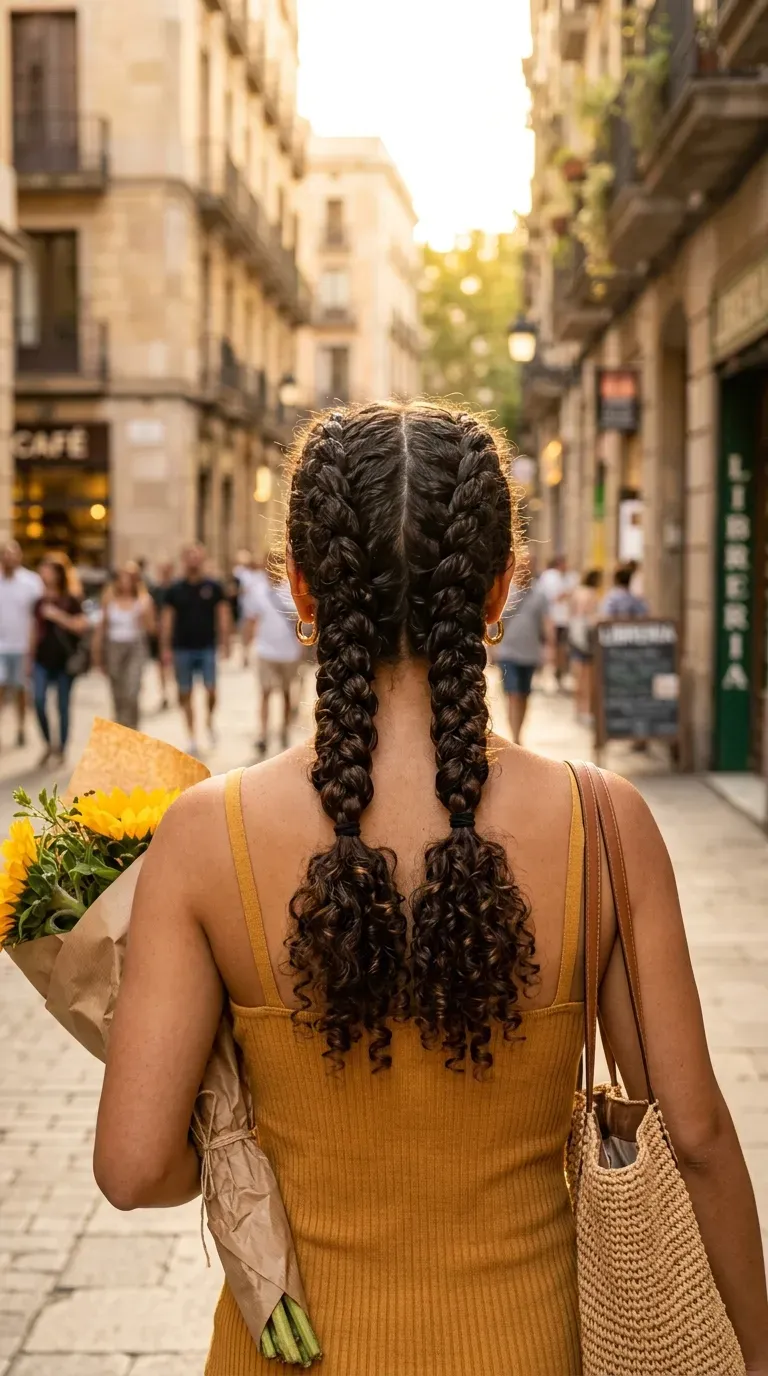
Curly hair can hold a Dutch braid for days. The trick is braiding it damp, not dry.
Dry curls tangle and frizz as you cross them. Damp curls stay clumped, and a curl cream gives them slip while you braid and hold once they dry.
Work in small sections. Rake the cream through each one with your fingers right before you add it to the braid. Skip the brush, since it breaks up the curl pattern.
Heads up: Thick curly braids can take hours to dry all the way through. Braid in the morning and let them air dry, or do them the night before.
17. Four Stacked Dutch Braids For Thick Hair That Fights Back
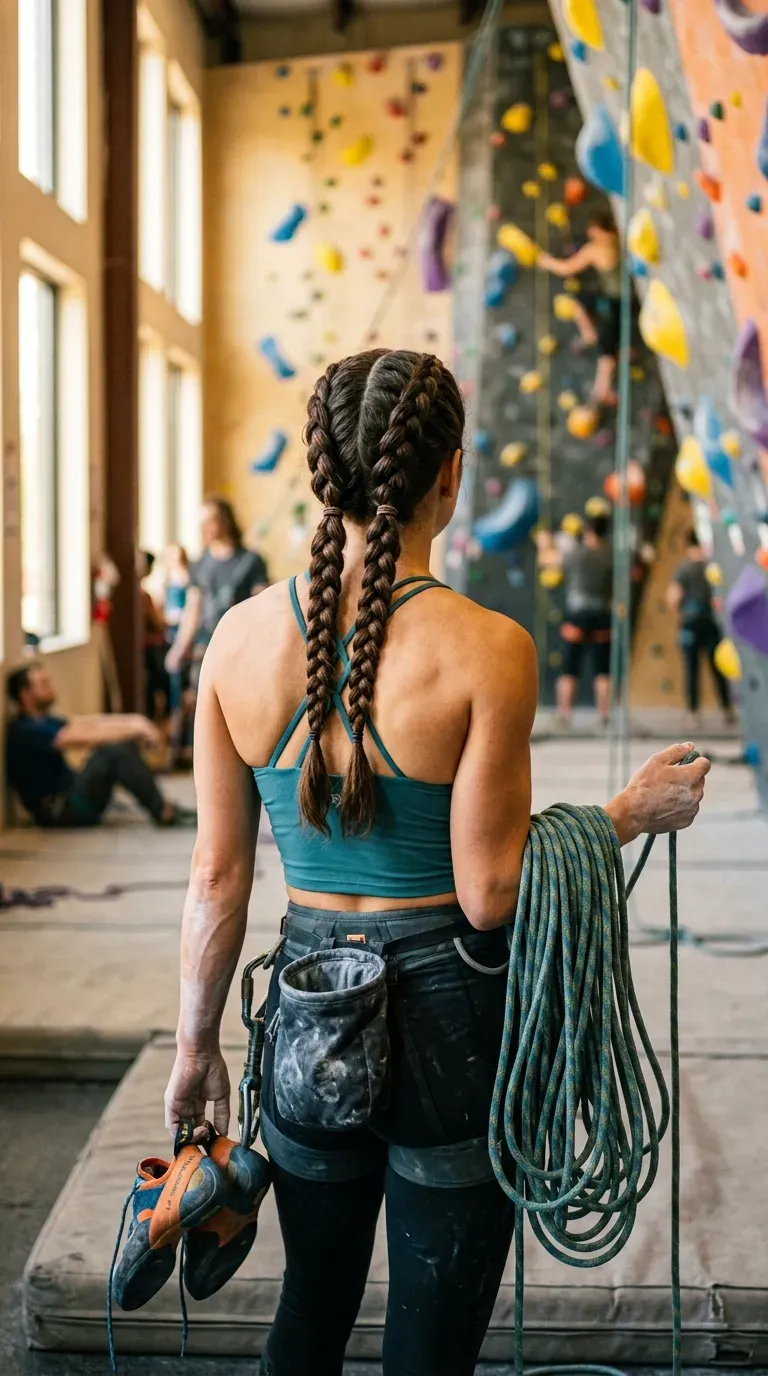
More hair needs more braids.
Thick hair is heavy, and two braids can’t carry all of it. The weight drags on the roots, and the braids sag by afternoon. Four braids split that load.
- Part down the middle, then split each side into a top and bottom section.
- Braid the two top sections first, then the two bottom ones.
- Tie the top pair together at the nape.
- Tie the bottom pair together just below them.
Everything moves as one piece, so a climb, a run, or a heavy lift won’t shift it.
Make your sections smaller than feels necessary. If a section feels heavy in your hand while you braid it, split it again.
18. Half Dutch Braid Finished With A Flat Claw Clip For Desk To Dinner

Some days need one hairstyle that handles a morning meeting, a lunchtime walk, and dinner with friends.
A half Dutch braid covers all of it. Braid the top section back to the crown, then twist the tail and the hair under it into a small flat claw clip. The braid keeps the front off your face all day, without a tight ponytail pulling on your head for eight hours at a desk.
Clip tip: A flat claw clip sits close to the head, so you can lean back in a chair without it digging in.
At dinner, open the clip, shake out the ends, and leave the braid in.
Wrapping Up
A braid that stays put comes down to a few small habits. Start close to the hairline, give your hair something to grip, and lock the tail so it can’t swing loose. Once those click, every style on this list gets easier.
Pick one or two to learn first. The double braids and the helmet bun are easy starters. The fishtail and the stacked braids are worth the extra practice once your hands know the moves.
The best dutch braid hairstyles are the ones you stop thinking about after you walk out the door.
Save this list for the next time your hair needs to keep up with a long, busy day.