
18 Bubble Braid Hairstyles That Look Fancy but Take 10 Minutes
You watched the tutorial twice. You crossed the strands, lost track of which one went where, and ended up with something that looked more like a knot than a braid.
Most tutorials skip one fact. You don’t need to braid at all to get a braided look. A bubble braid is just a ponytail with elastics spaced down the length. You pull each section gently wider so it puffs into a little bubble. If you can make a ponytail, you already have the only skill it takes.
That’s why bubble braid hairstyles are such a good place for new braiders to start. They forgive uneven sections. They hold up on fine, thick, and curly hair. And a crooked bubble still looks like you meant it, which is more than a messy French braid can say.
The 18 styles below start with the easiest high pony and build up to dressy looks for weddings. Grab a pack of clear elastics and a comb. Most of these take less time than your coffee takes to cool.
1. The High Ponytail Bubble Braid Every Beginner Should Learn First
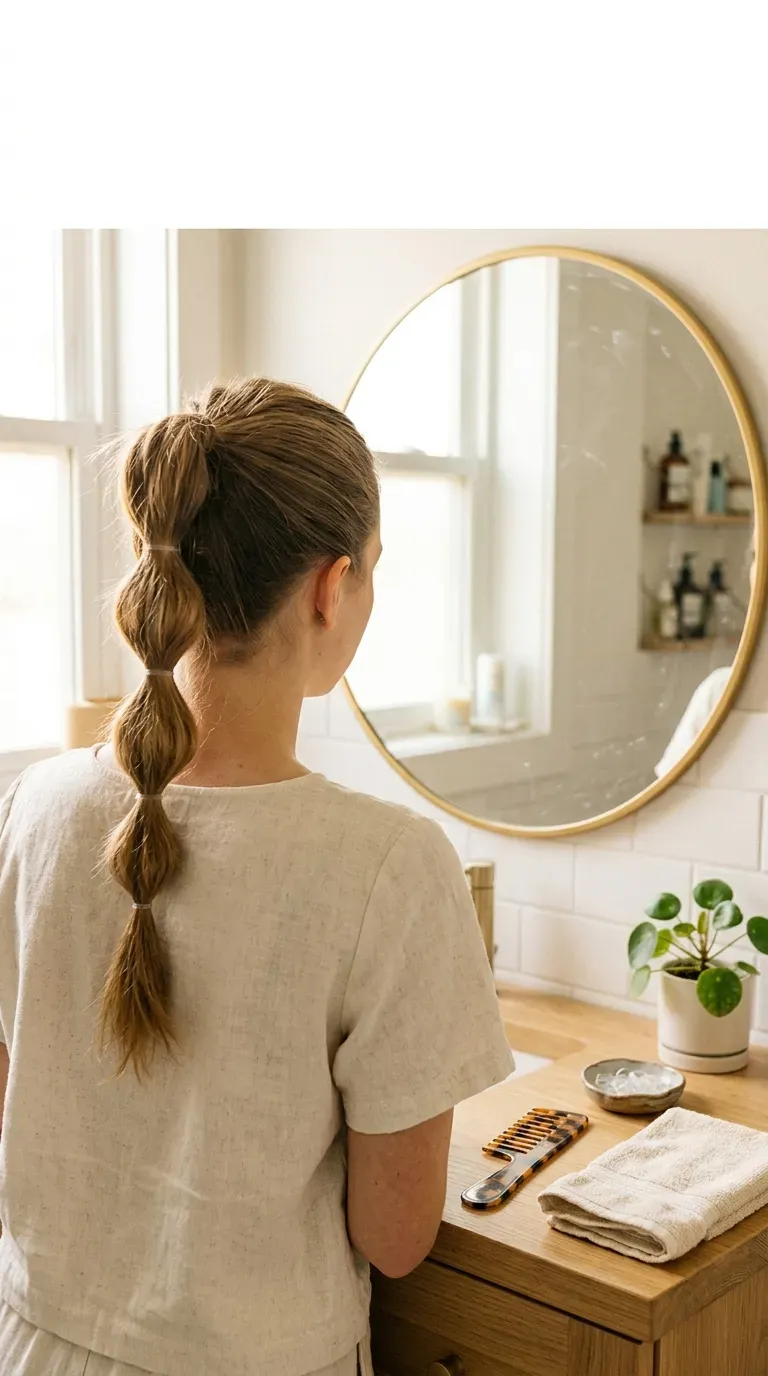
Every other style on this list is a version of this one, so it’s worth ten slow minutes.
- Brush your hair into a high ponytail and secure it with a sturdy hair tie.
- Slide a clear elastic about two inches down the tail.
- Place the next elastic two inches below that. Keep going until you run out of hair.
- Pinch each section and gently pull the hair outward on both sides to puff it.
Quick tip: pull from the edges of each bubble, not the center. The center is where hair splits apart and starts to look thin.
2. Low Bubble Pigtails That Rescue Second Day Hair
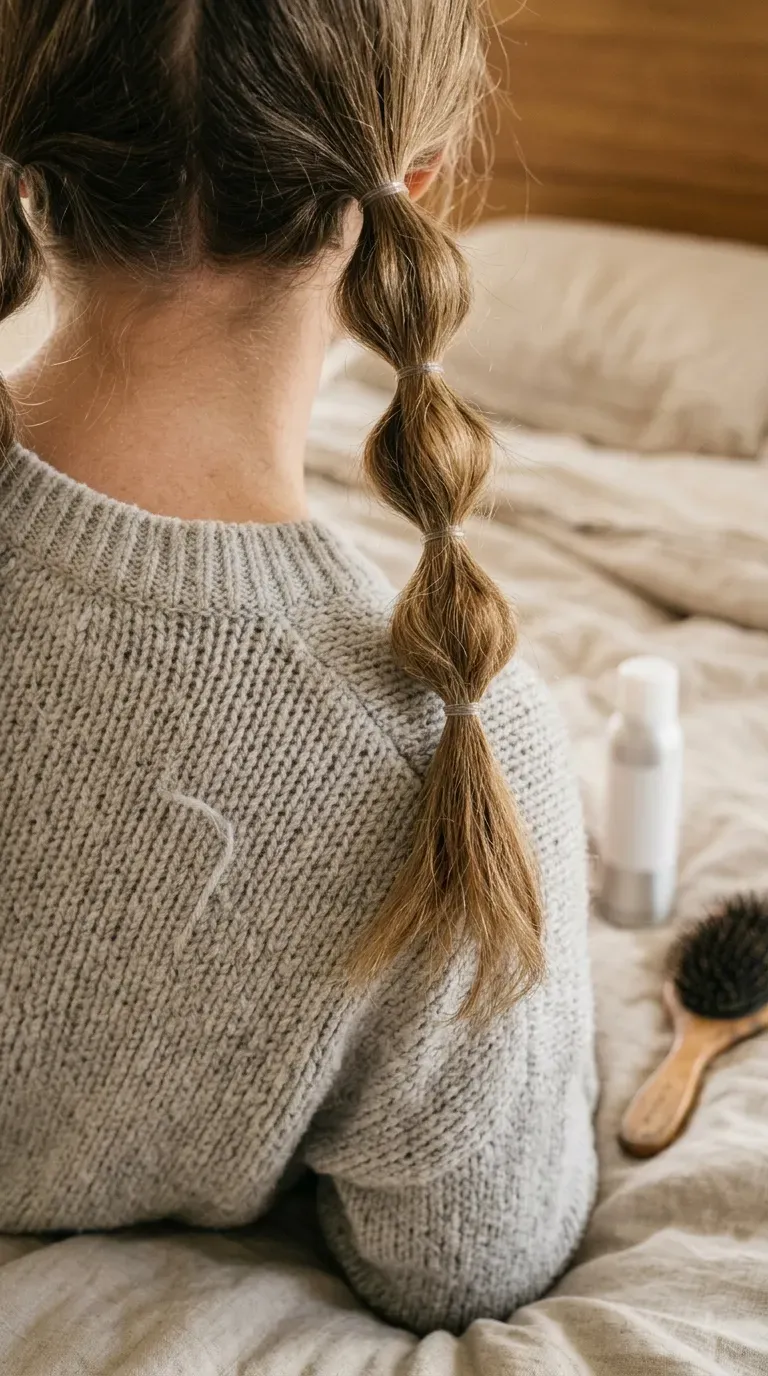
Day two hair usually comes with a flat crown and a few pieces that won’t lie right. Low bubble pigtails hide both, because the bubbles pull the eye down and away from the roots.
Part down the middle and tie two low ponytails just behind your ears. Space the elastics closer than usual, about an inch and a half apart. Smaller bubbles look neater on hair that has lost its bounce.
What helps second day hair here:
- A little dry shampoo at the part before you start
- A slight zigzag part, which hides an oily line
- Relaxed bubbles instead of tight, perfect ones
Best for slow weekends and quick errands.
3. A Half Up Bubble Braid That Hides Awkward Growing Out Layers
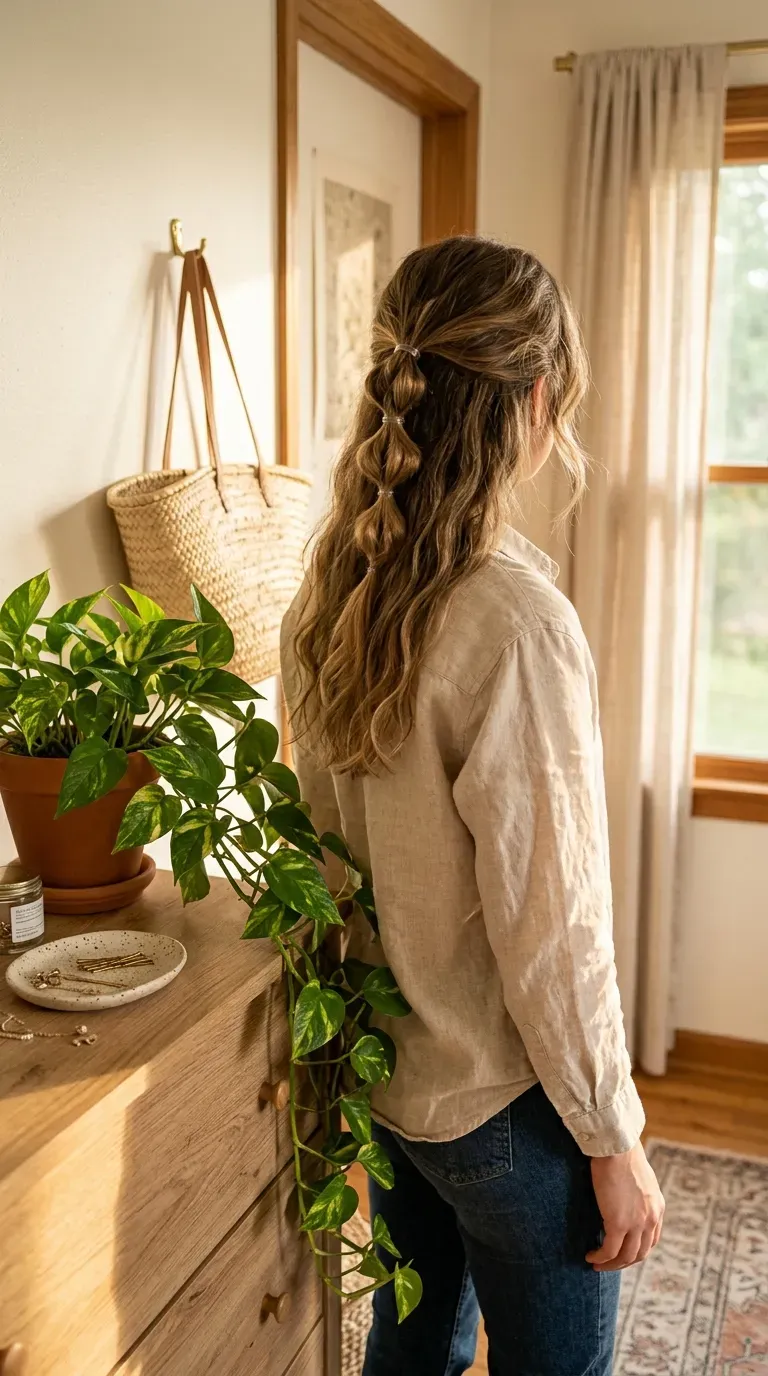
Growing out layers means a few short pieces always stick out at the back of your head, right where you can’t see them.
Gather the top third of your hair, from temple to temple, into a half ponytail at the crown. Bubble it down with three or four elastics and leave the rest of your hair down.
The short layers get tucked into that top section, and the bubbles sit right over the choppy spot. The hair underneath stays smooth, so the whole look reads as a choice.
Quick tip: twist the two front pieces back before tying them. They’ll stay put until well past lunch.
4. One Side Swept Bubble Braid Draped Over the Shoulder
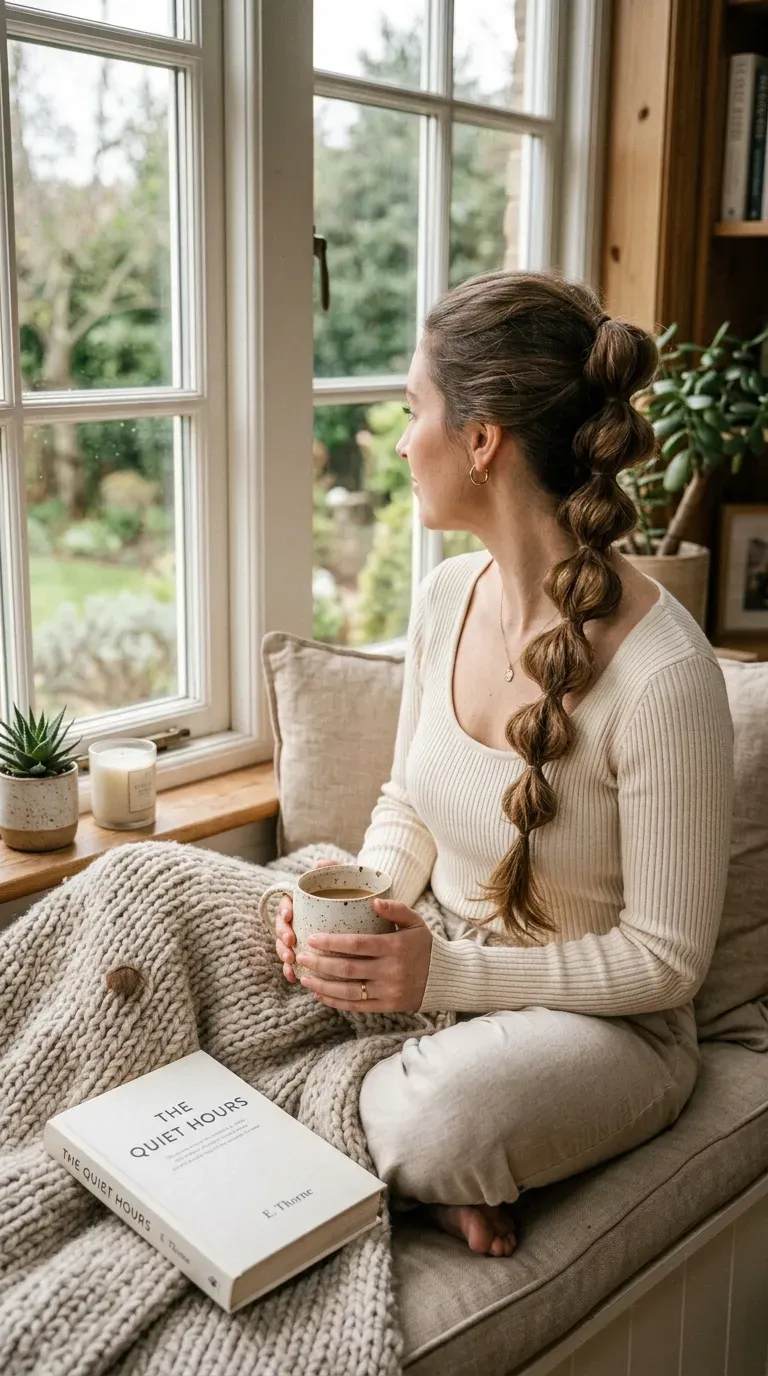
The bubbles look best where people actually see them, and on a side braid that’s right next to your face.
Brush all your hair toward one side and tie a low ponytail just under your ear. Leave a little slack at the nape so it doesn’t pull. Then work down:
- Place elastics every two inches.
- Puff each section a bit more than you would on a back braid.
- Loosen the top bubble last so it sits softly against your neck.
Wear it with a scoop or V neckline. A crew neck hides half the bubbles.
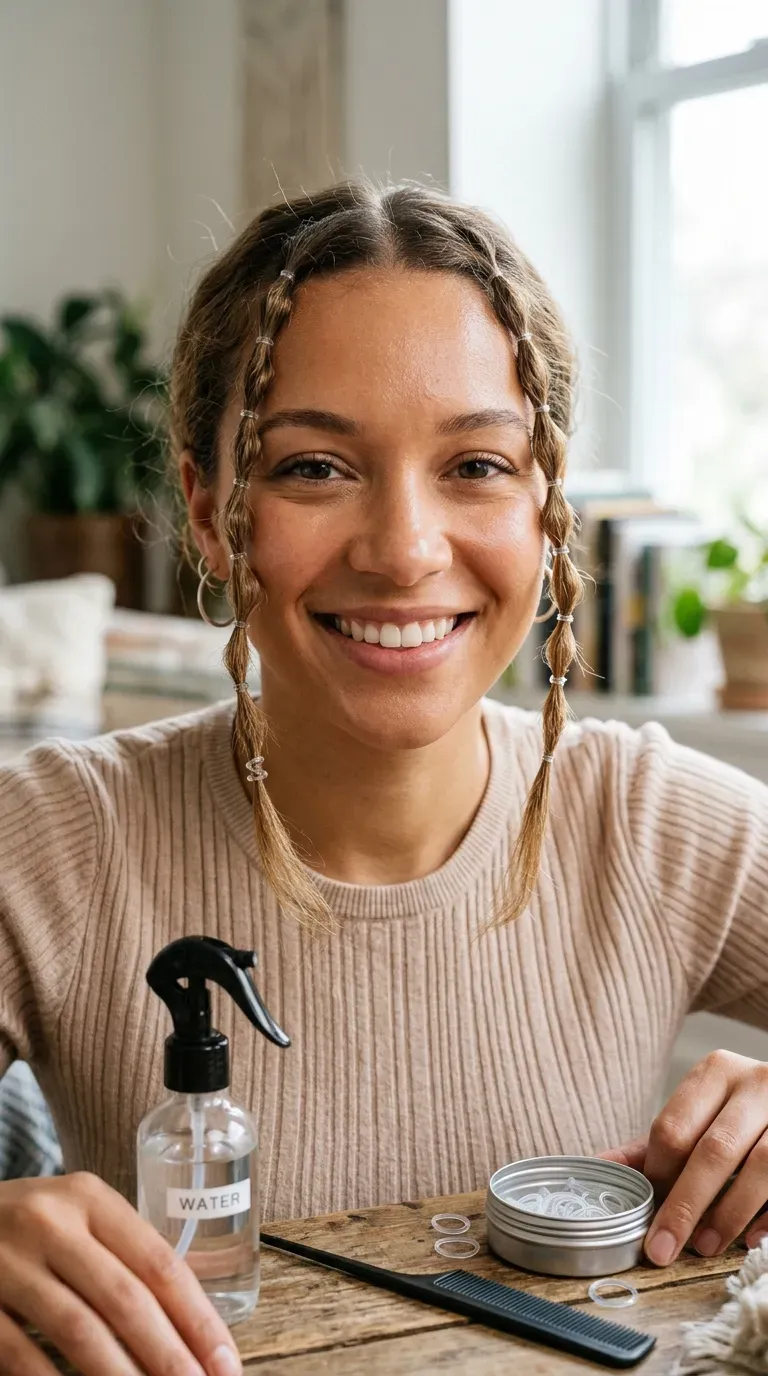
5. Skinny Face Framing Bubble Braids Pulled From the Front Strands

Most beginners grab too much hair here. A face framing braid should be about the width of your pinky, no wider.
Take a thin strand from each side of your part, right at the hairline. Tie the top with a tiny clear elastic, then add one every inch until you reach your chin. Puff each section with a fingernail, not your whole fingers, since there isn’t much hair to work with.
The rest of your hair can stay down or go back in a clip.
Go thinner than you think you need. Thin braids look delicate. Thick ones look like they’re dragging your hair off your face.
Hold both tails together at your chin before adding elastics so the sides match.
Mist the strands with a little water first so short flyaways stay tucked in.
Snugging the first elastic tight against your scalp. It tugs at the hairline all day.
Pulling bubbles into big round shapes. On thin strands they split open and look patchy.
6. A Bubble Ponytail Folded Into a Low Bun for Work Days
A low bun looks polished in a meeting, and the bubbles underneath keep it from looking plain.
Make a low bubble ponytail with four or five sections. Then:
- Fold the tail up toward your nape so the bubbles stack.
- Wrap the end around the base and pin it with bobby pins crossed in an X.
- Loosen the outer bubbles so they curve around the bun like petals.
It sits flat against a chair back, which matters when you’re at a desk all day.
Quick tip: leave the bottom elastic slightly loose. The tail folds much more easily that way.
7. A Two Section Crown Bubble Braid That Looks Like a Halo
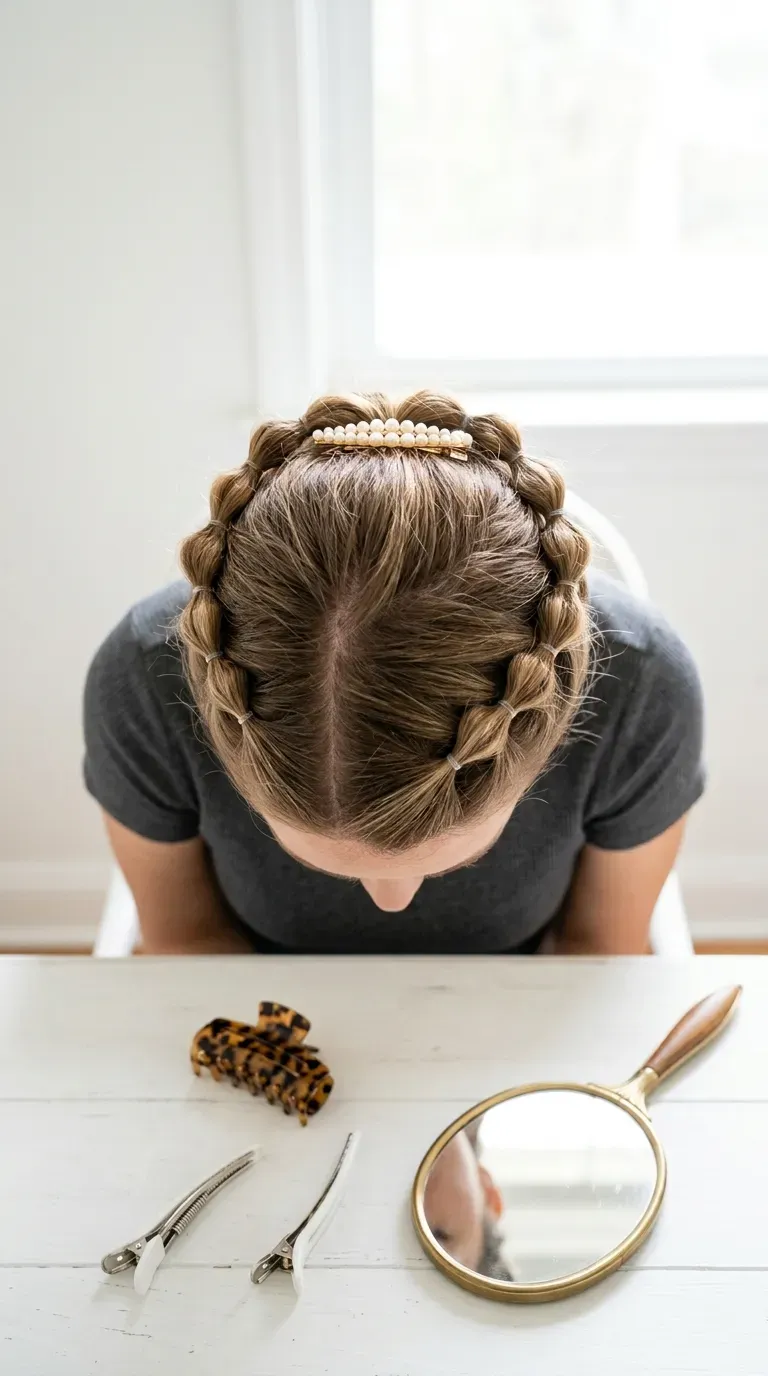
Work in two halves. Going around your whole head in one pass is where beginners get lost.
- Part your hair from ear to ear over the top of your head.
- Starting at the left temple, tie a small section with an elastic.
- Add hair from the hairline as you move back, tying a new bubble every inch and a half.
- Clip the tail at the back and repeat on the right side.
- Tie both tails together at the back of your head.
Cover the spot where the two sides meet with a small claw clip or a flat barrette.
This one works best on medium to long hair. Short hair won’t reach far enough to meet in the back.
8. Mini Bubbles Hidden in a Sleek Low Ponytail

A plain low pony and this one take almost the same effort. Only one of them gets noticed.
Pull your hair into a sleek low ponytail and smooth it with a little cream. Take a thin strand from the underside of the tail, about as wide as a pencil. Bubble that strand with tiny elastics every inch, then let it fall back into the ponytail.
From the front, it looks sleek. From behind, a neat row of bubbles peeks through the smooth hair.
Finishing touch: wrap one piece of hair around the base to hide the hair tie, then pin it underneath.
A plain low ponytail with the hair tie showing. Neat enough, but it looks exactly like every other weekday.
The same sleek ponytail with a thin line of tiny bubbles through the center and the tie wrapped in hair. It takes about three extra minutes.
9. Scrunchie Bubble Braids for Thick Hair That Snaps Thin Elastics
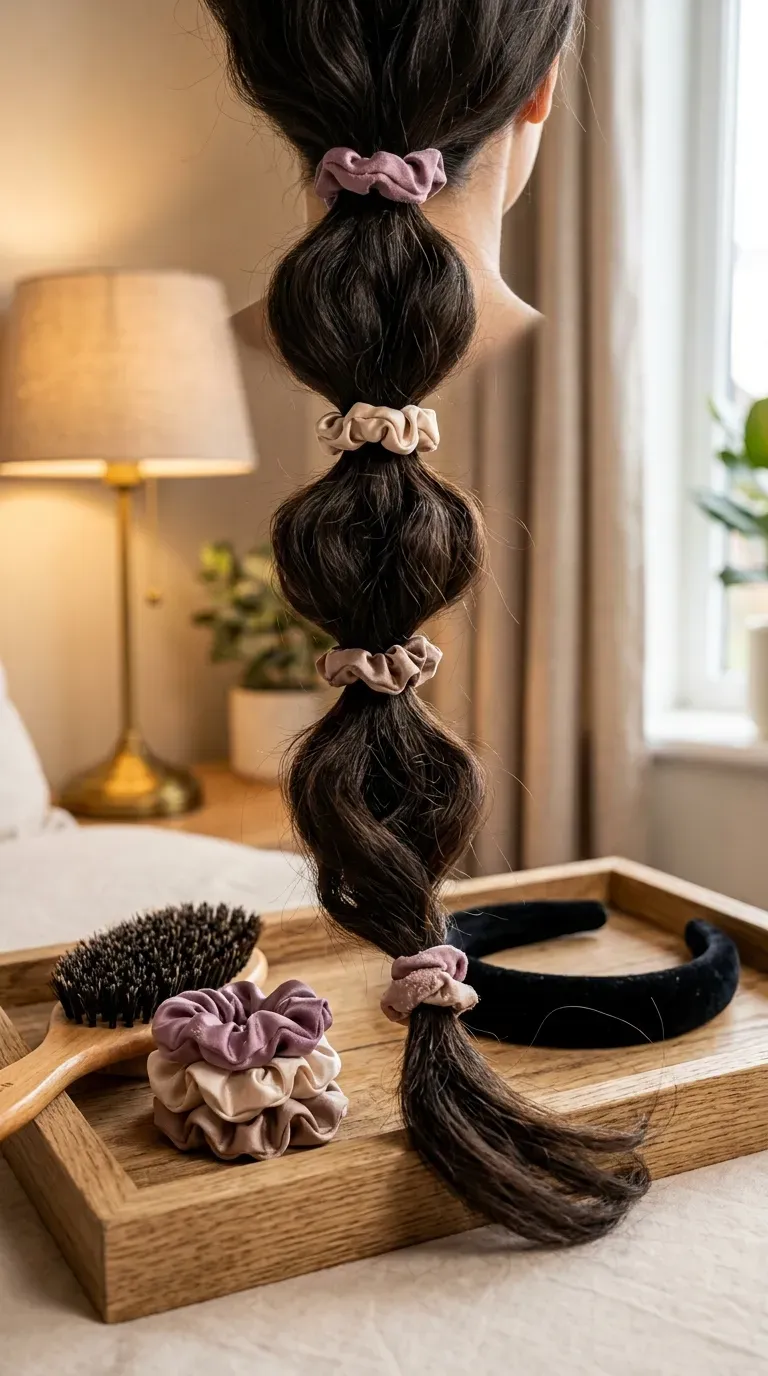
Thick hair goes through tiny elastics fast. They snap mid wrap, roll up the hair, or leave a dent you can see from across the room.
Swap them for small silk or satin scrunchies. They grip without cutting in, and they fill the gaps between bubbles so the braid looks fuller.
A few things that help:
- Keep every scrunchie the same size, or the braid looks lopsided.
- Stop at three or four bubbles. Thick hair makes big bubbles on its own.
- Pick a shade close to your hair color, or one bold color if you want them to show.
Pulling them out at night is a lot kinder to your hair, too.
10. Stacked Elastic Pigtails That Fake the Look of Dutch Braids
Dutch braids look like they need years of practice. From a few feet away, this version fools almost everyone.
- Part down the middle and clip one side out of the way.
- Tie a small ponytail right at the front hairline.
- Just behind it, gather a new section, drop the first tail into it, and tie again.
- Keep stacking toward your nape, then bubble whatever length is left.
Repeat on the other side.
Each tie sits flat in a line close to the scalp, and that line is what your eye reads as a braid. It holds up well on windy days, too.
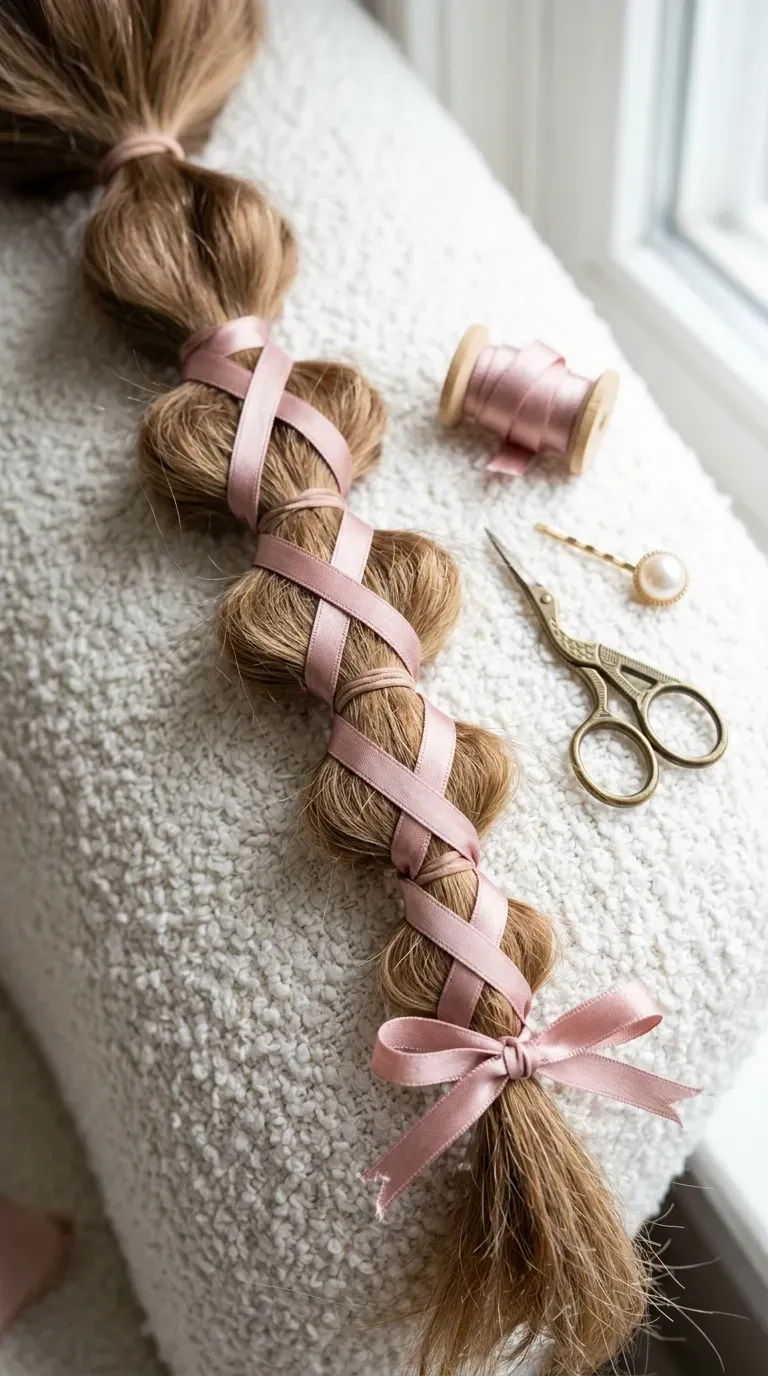
11. A Bubble Braid With Ribbon Woven Through Every Section
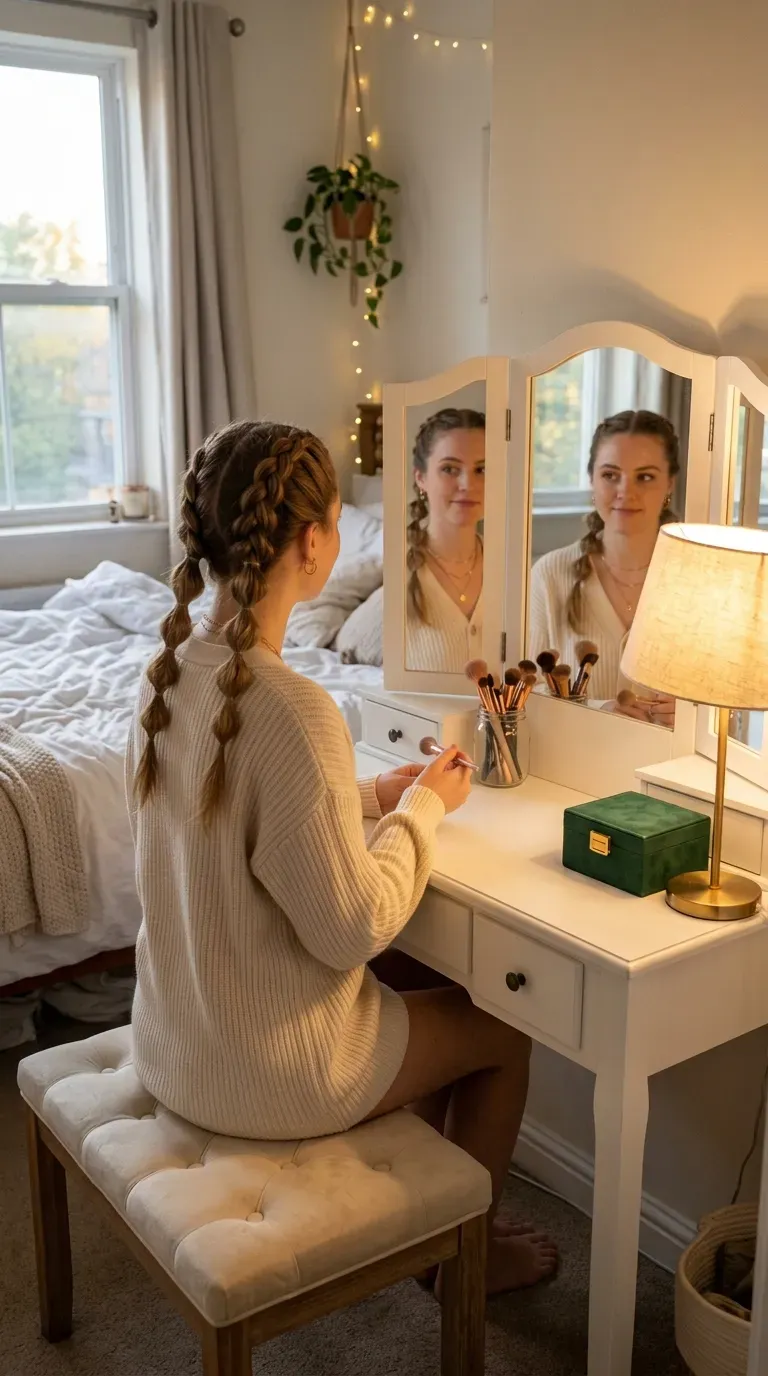
A thin ribbon turns the most basic bubble braid into something you’d wear to a birthday dinner.
Tie your ponytail, then knot a ribbon around the base and leave two long tails. Hold both tails along the ponytail as you add each elastic, so every elastic traps the ribbon against the hair. Cross the tails between bubbles for an X pattern.
Tie a small bow at the bottom and trim the ends at an angle so they don’t fray.
Quick tip: choose ribbon a quarter inch wide or thinner. Wider ribbon covers the bubbles instead of framing them.
12. A Bubble Braid Headband That Keeps Growing Out Bangs Off Your Face

Bangs in the in between stage are too short to tuck behind your ears and too long to leave alone.
Take a two inch section right behind your hairline, ear to ear. Starting above one ear, bubble it across the top of your head with an elastic every inch, sweeping the bangs into each section as you go. Pin the end behind the opposite ear.
The rest of your hair stays down.
Small bubbles work better here than big ones:
- They lie flat, so the band reads as a headband.
- They grip short pieces that slip out of wide sections.
13. A Tiny Nape Bubble Braid for Short or Bob Length Hair
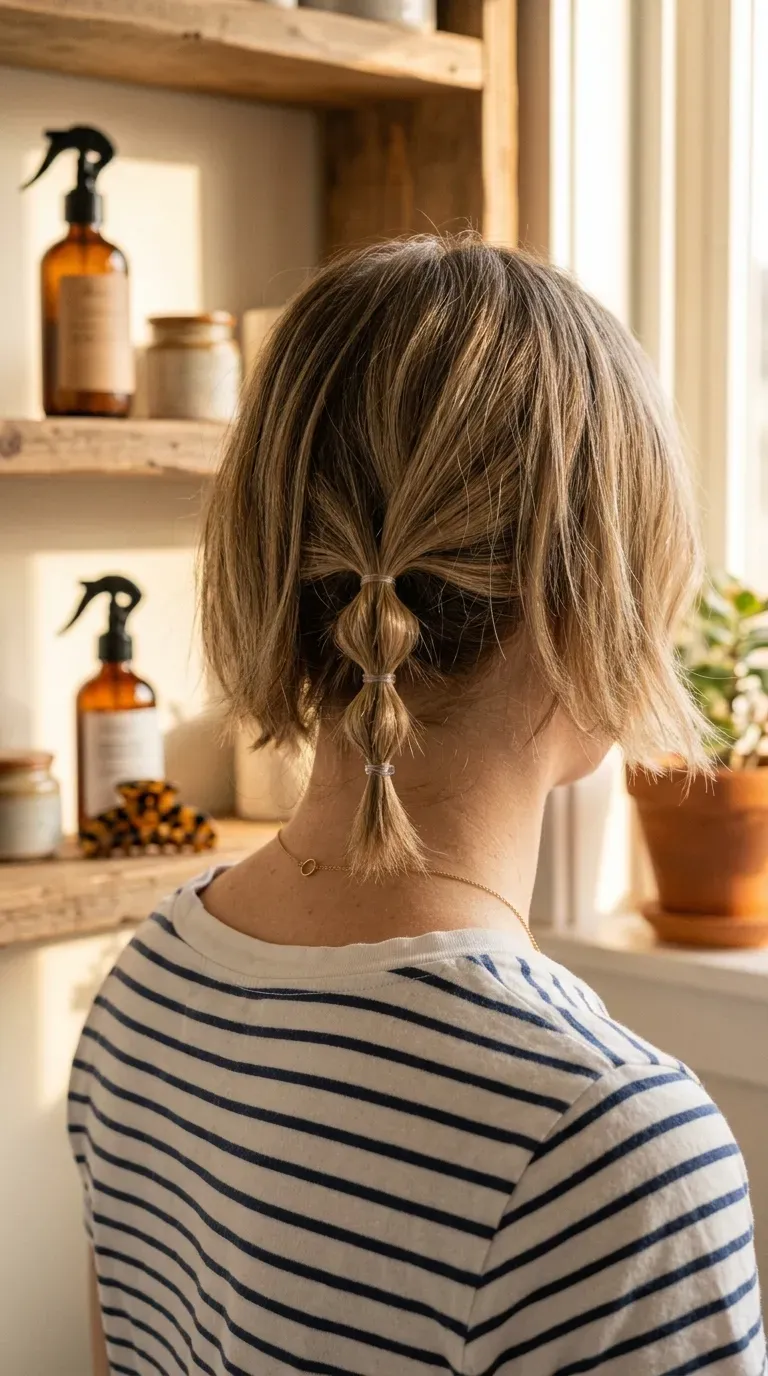
Short hair can still wear a bubble braid. It just sits lower on your head.
Gather only the bottom inch or two of hair at your nape into a tiny ponytail. You’ll get two or three bubbles at most, and that’s plenty. The top layer of your bob falls over it, so the bubbles peek out when you turn your head or tuck your hair behind an ear.
Quick tip: mist a little texture spray on the ends first. Short, slippery hair grips mini elastics much better with some grit.
This works best on chin to shoulder length hair.
14. A Workout Bubble Braid That Stays Tight Through a Whole Gym Session
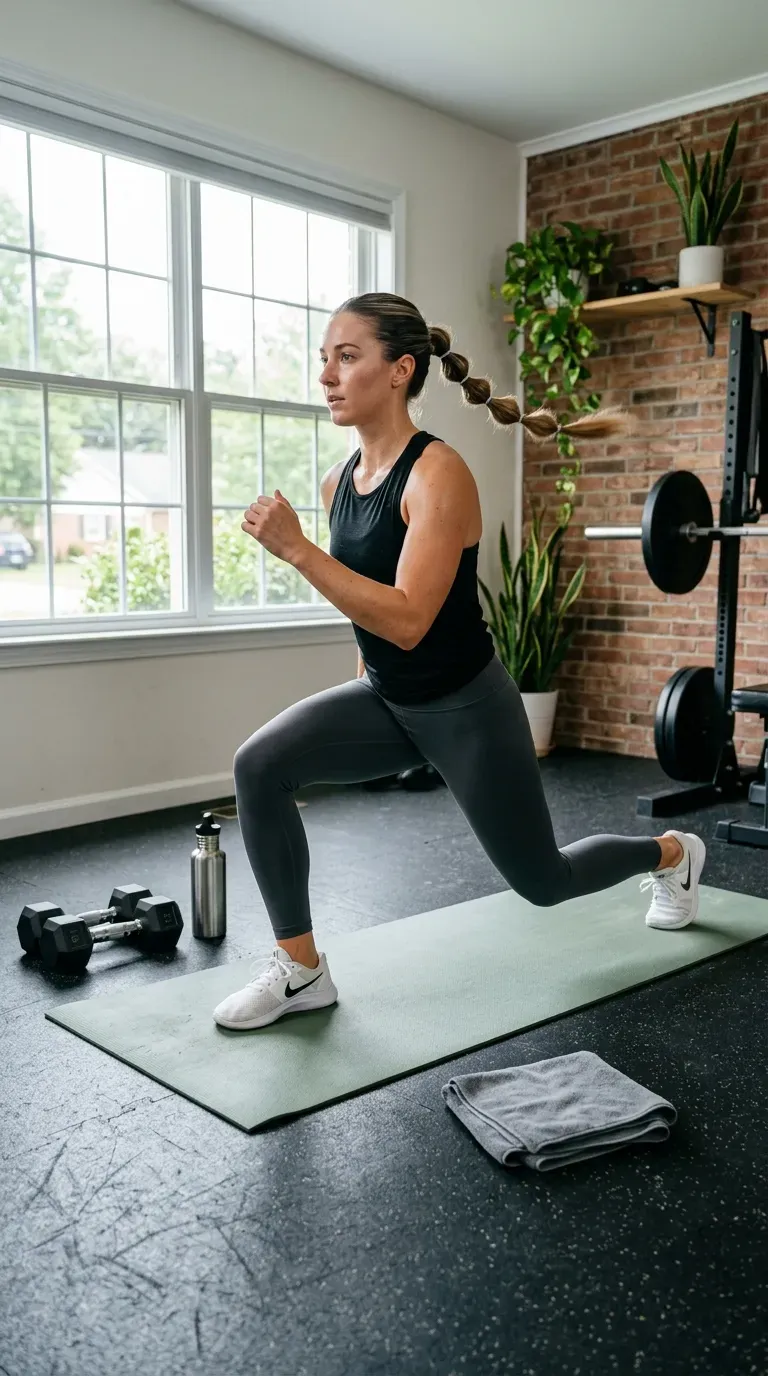
Loose, puffy bubbles look sweet at brunch and slide apart by your second set.
For the gym, keep the bubbles smaller and the elastics closer, about an inch apart. Skip puffing the top two sections so the braid stays anchored. Coated rubber elastics hold better than clear ones, which tend to loosen once your hair gets damp.
A compact braid also stays off your neck during floor work and won’t smack your face on jumping jacks.
Watch out: don’t sleep in a tight gym braid. It creases your hair and keeps pulling at your scalp all night.
Tie the base ponytail high and firm, then wrap a second hair tie over the first for backup.
Slide a bobby pin through the base hair tie and into the hair beneath it so the ponytail can’t drift.
Rub a pea sized bit of gel between your palms and smooth it over the braid to catch flyaways before you start.
15. A Curly Hair Bubble Braid That Keeps Your Curl Pattern Intact

By day four after wash day, the crown gets frizzy while the ends still look great. This style shows off the ends and hides the crown.
Work on damp or lightly misted hair, never fully dry. Gather a loose ponytail with a spiral hair tie or silk scrunchie, then space the bubbles wide, about three inches apart.
Don’t puff by pulling. Scrunch each section upward in your palm instead. The curls spring out on their own and keep their shape.
Two small things that help:
- A bit of curl cream on your palms before you start
- Wide spacing, since tight sections squash the curls flat
16. A Messy Top Knot Wrapped in a Bubble Braid
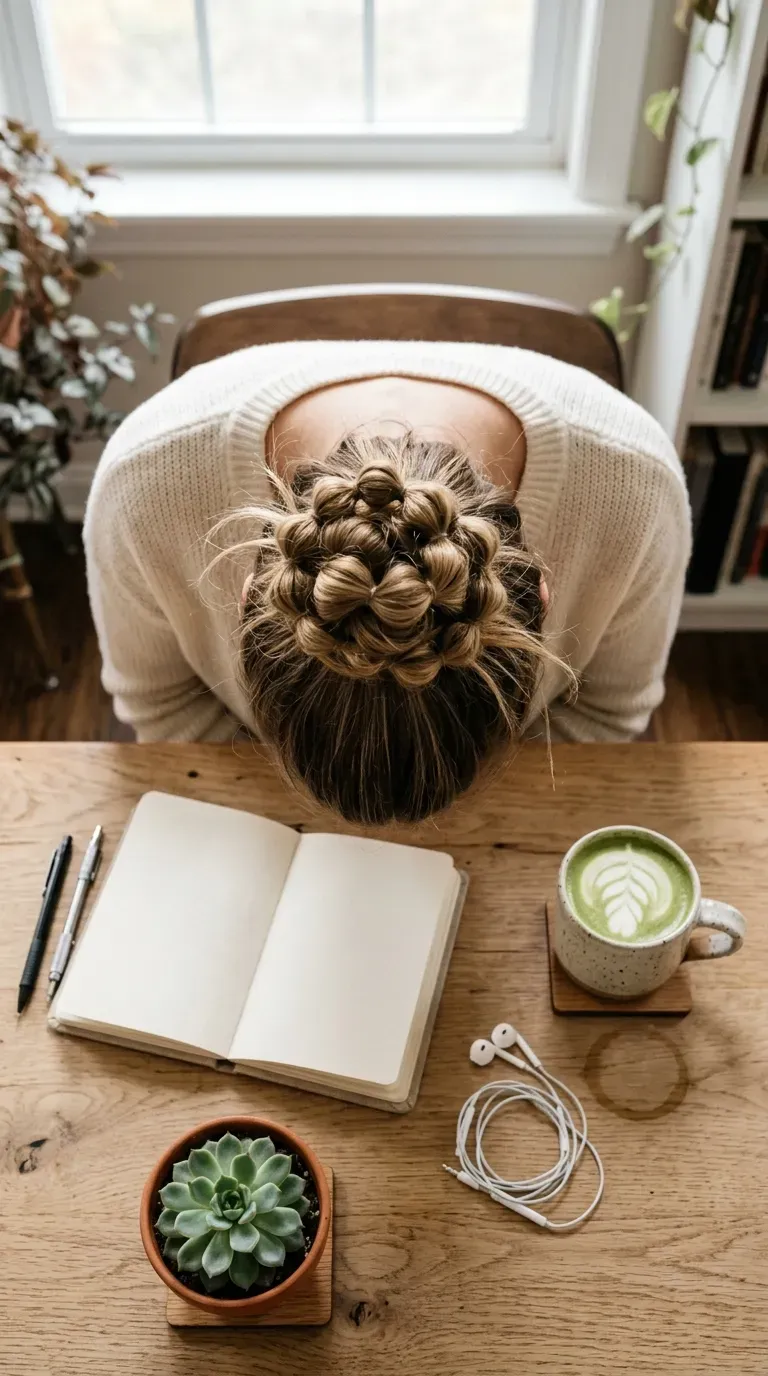
Bubble first, bun second. Doing it the other way around means stuffing elastics into a knot, and that never ends well.
- Tie a high ponytail right at the top of your head.
- Bubble the whole tail, keeping the sections loose.
- Twist the bubbled tail around the base in a loose coil.
- Secure it with a big hair tie or four bobby pins.
The bubbles show up as little ridges around the bun, so it looks braided without any braiding.
Save this one for hair that’s due for a wash. The height hides flat roots.
17. Bubble Pigtails for Kids That Survive School Drop Off
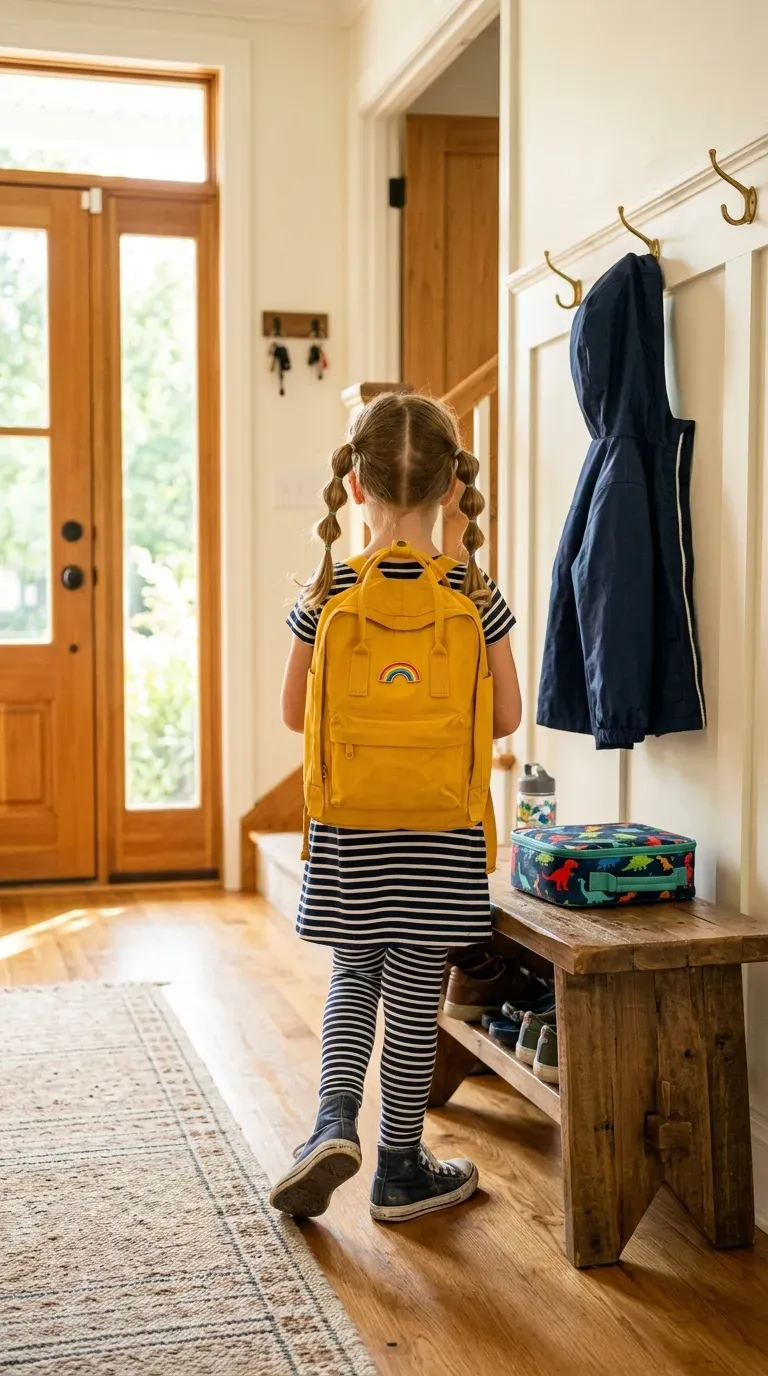
Seven thirty, shoes half on, and a kid who won’t sit still for more than a minute. Real braids aren’t happening.
Bubble pigtails are fast enough to finish while they eat breakfast. Two low ponytails, three or four elastics each, done.
What keeps them in until pickup:
- Snag free elastics, not rubber bands, which tangle and hurt coming out
- A light mist of water and a smoothing brush before you tie
- Small bubbles, so backpack straps and hoodies don’t crush them
At bedtime, snip the elastics with small scissors instead of tugging them out.
Snug, never tight. Ponytails pulled hard day after day can strain a child’s hairline. If your kid winces or keeps rubbing their head, loosen the base right away.
18. A Smooth, Dressy Bubble Braid for Weddings and Events
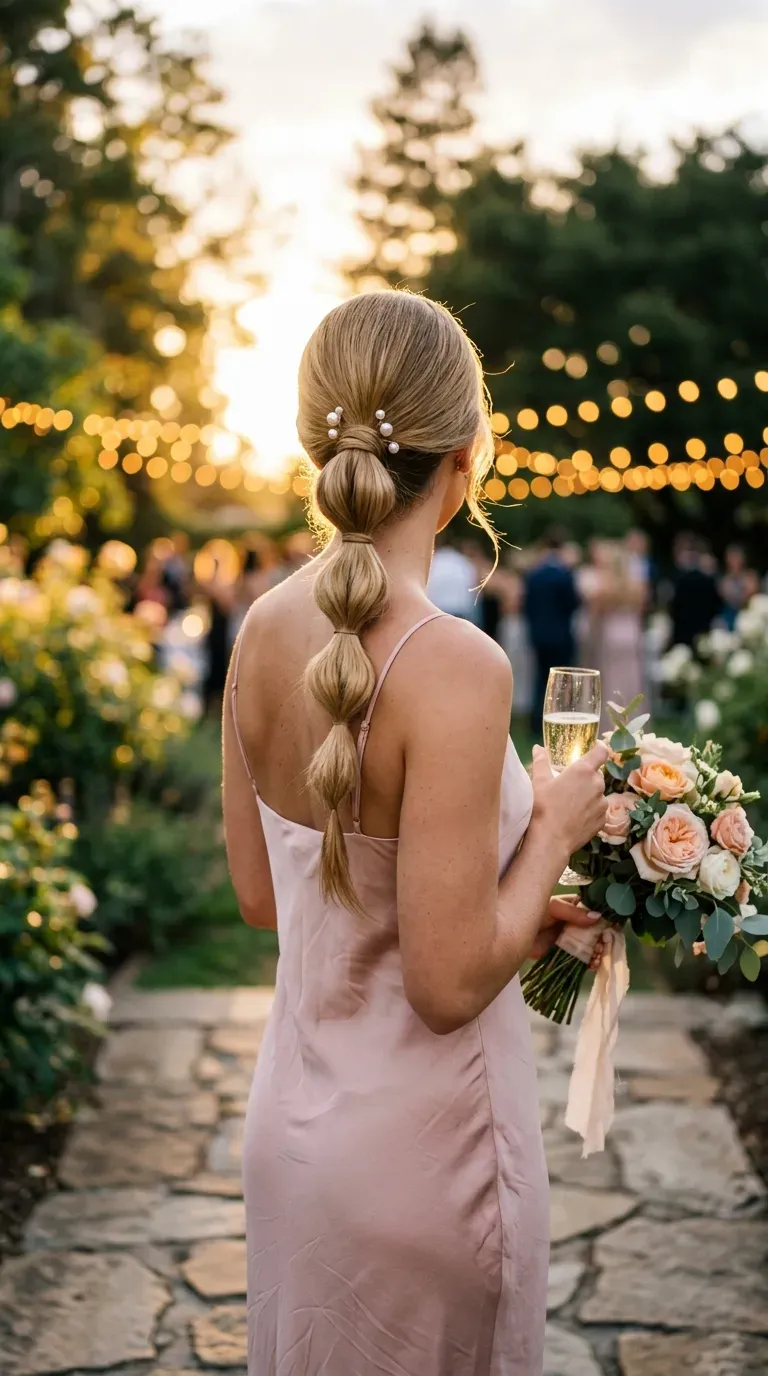
Event hair usually means booking a stylist or losing an hour to a curling iron. This takes about ten minutes and still looks finished in photos.
The difference from an everyday bubble braid is all in the finish:
- Smooth the base with a little serum so no bumps show.
- Space the elastics evenly, measuring with two fingers each time.
- Puff each bubble into a matching oval, checking from behind with a hand mirror.
- Slide a small pearl or crystal pin into the top two bubbles.
Finish with a light mist of flexible hairspray.
Quick tip: do one practice run the week before. Your second attempt will be faster.
Your Hands Already Know More Than You Think
Once the high ponytail version clicks, every style here is a small twist on the same move. It’s just a different spot on your head, a ribbon, a scrunchie, or a few bobby pins. None of it asks you to cross three strands or remember which one goes over.
Pick one or two to try this week and keep a pack of clear elastics in your bag. By the third try your hands move faster, and the bubbles come out even without checking the mirror.
Bubble braid hairstyles are a friendly way to build confidence before real braids. Some days you might not want to switch at all.
Save this list for the next morning you want your hair to look like you tried a lot harder than you did.