
The invitation comes in the mail, and before you even check the date, you think about your hair. Everyone else will turn up with a soft low bun. You will turn up with the same bob you wear to the grocery store.
Here is the truth most stylists know and most tutorials skip. Short hair can go up. It just goes up differently. Long hair gets wrapped and twisted around itself. Short hair gets pinned, tucked, braided flat, and rolled into small shapes that sit close to the head. The goal is not a giant bun. The goal is a neat back and a soft front that looks finished from every side of the room.
The short hair updos below work on chin length bobs, shoulder grazing lobs, and a few even work on pixies. Each one comes with the pinning trick that holds it, plus a note on the hair length it needs.
Grab a box of bobby pins, a bit of texture spray, and a hand mirror for the back. Your next wedding photo is about to look very different.
1. Low Twisted Chignon for Chin Length Bobs
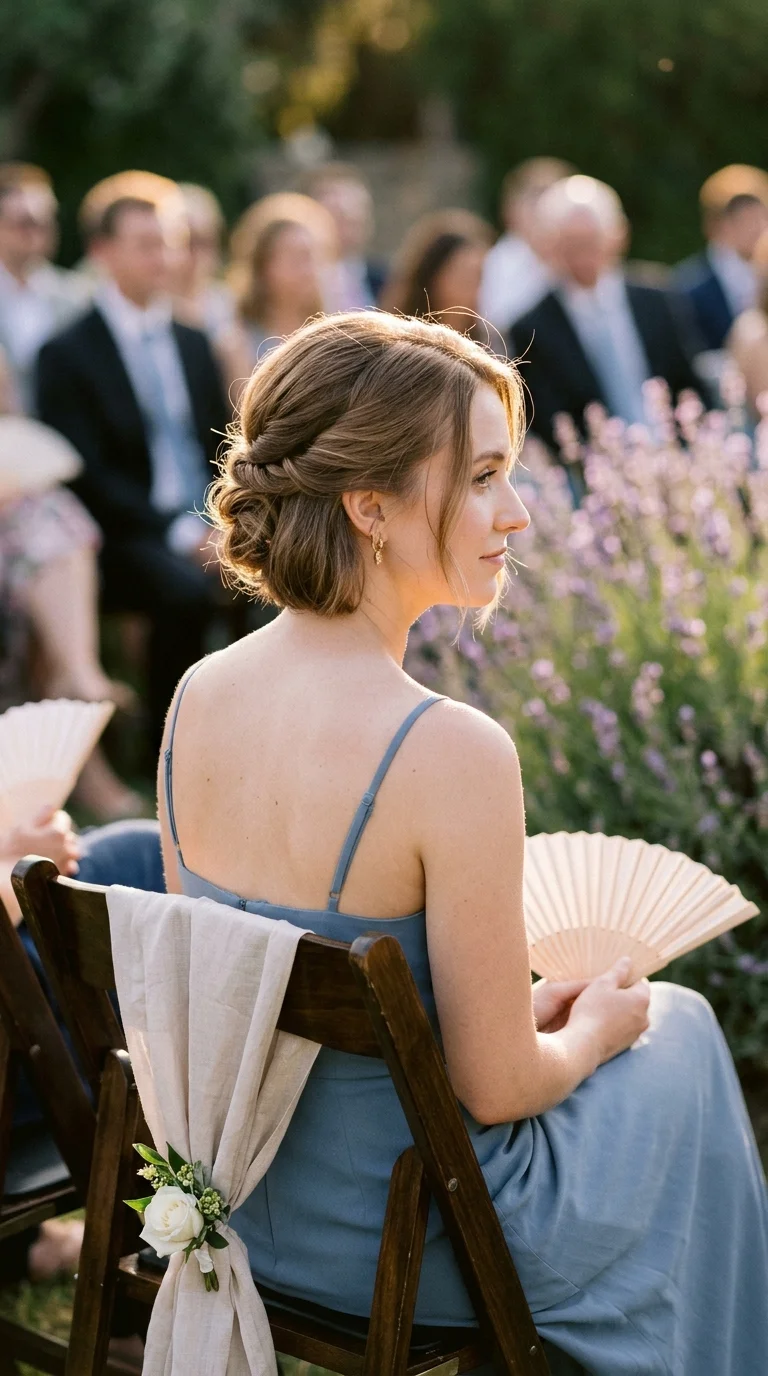
Chin length hair is too short to wrap into a bun. It is not too short to twist.
Here is how it goes:
- Make a side part and split the hair into a left and right section.
- Roll each side backward toward the nape, adding hair as you go, the same way you would roll a towel.
- Bring the two twists together at the nape and cross them over each other.
- Pin the crossed ends flat with bobby pins pushed in toward the center.
The short ends will poke out a little. Leave them. A light mist of hairspray turns them into soft texture.
Quick tip: Spray the pins themselves with dry shampoo before you use them. They grip slippery bob hair much better.
2. Sleek Low Knot With a Deep Side Part
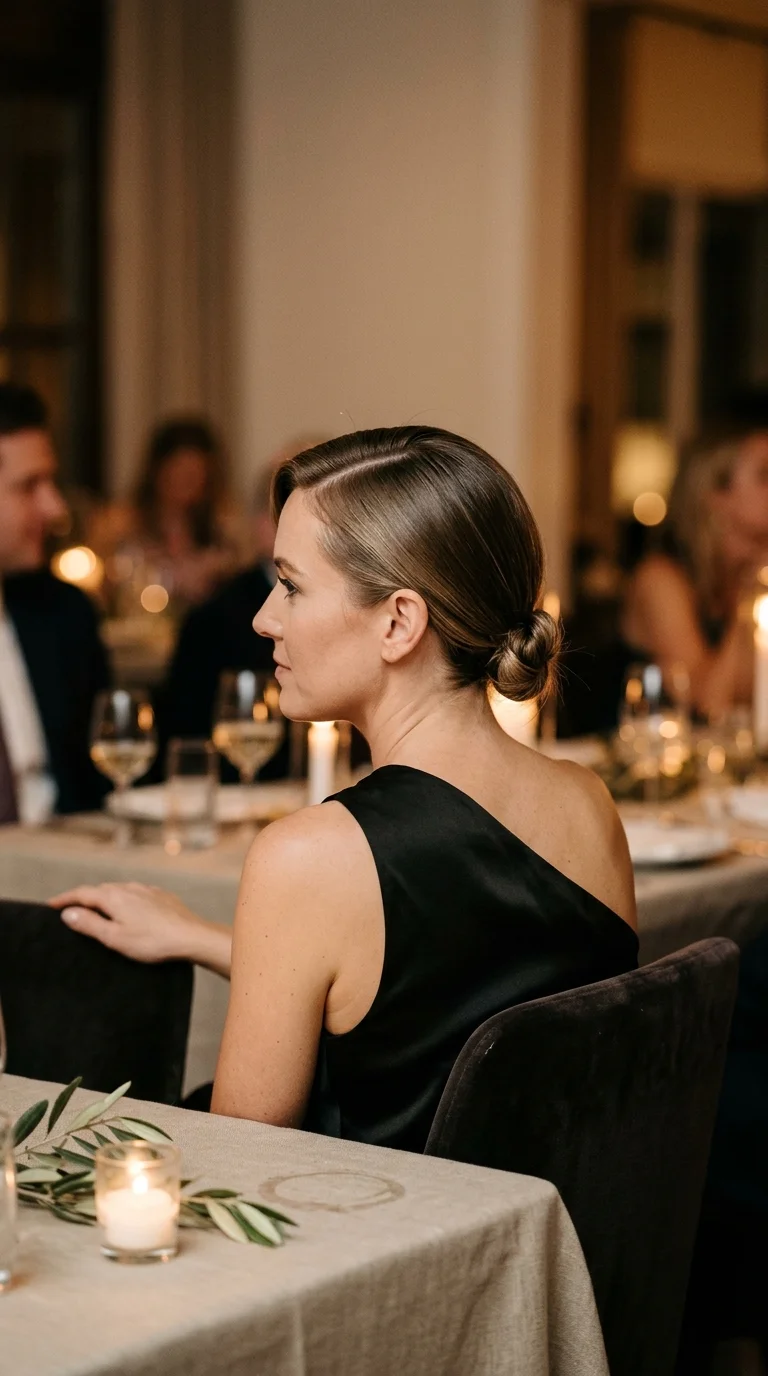
A deep side part does most of the work in this one. It throws the front into a soft swoop, so the knot at the back can stay small and tidy.
Shoulder length hair is enough. Comb everything back into a low ponytail, wrap the tail around the elastic once, and pin the end underneath. The shorter layers at the sides will try to escape. Smooth them down with a little cream on your palms before you tie anything.
It looks sharp with a blazer at a dinner and just as good with a slip dress at a reception. The knot is small enough that it never fights with a high collar or a veil comb.
3. Braided Crown That Starts at the Temples
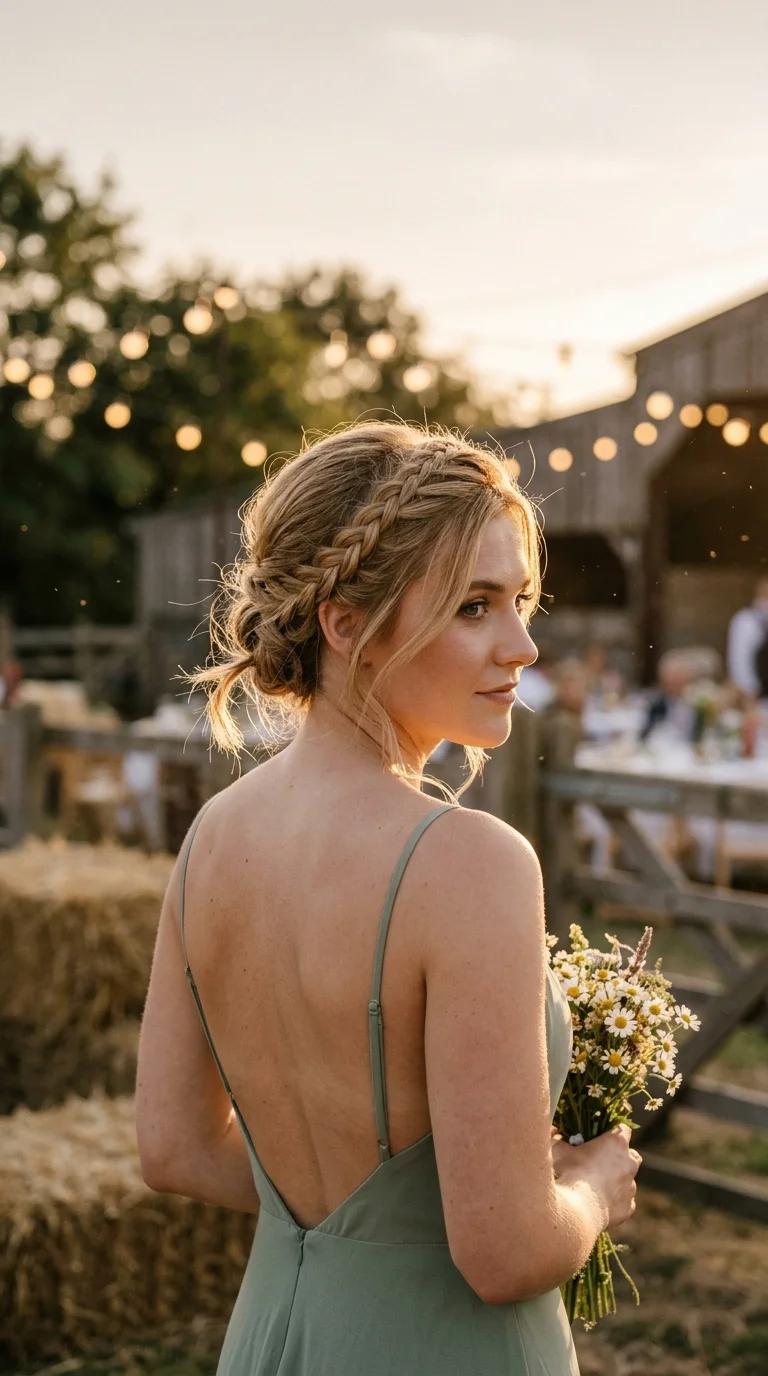
Braids grip short hair better than any twist. Each crossover holds the layers in place so they cannot slide out.
Start a thin Dutch braid at one temple and work it back along the hairline toward the nape. Do the same on the other side. Cross the two braids at the back and pin each one under the opposite braid.
Any hair left loose at the nape gets tucked up under the braids and pinned. Once it is all in, gently pull the braid loops wider so they look fuller.
Best for hair that reaches the chin or longer. Shorter than that, and the braids run out before they meet.
Braid on second day hair, or mist clean hair with texture spray first so the layers grab.
Keep each braid thin, about a finger wide, so the short pieces stay inside it.
Cross bobby pins in an X where the two braids meet.
Braiding freshly washed silky hair. The layers slip out within an hour.
Pulling the braids loose before they are pinned. Pin first, fluff second.
Heavy gel on the hairline. It flakes in photos.
4. Messy Low Bun With Loose Face Framing Pieces
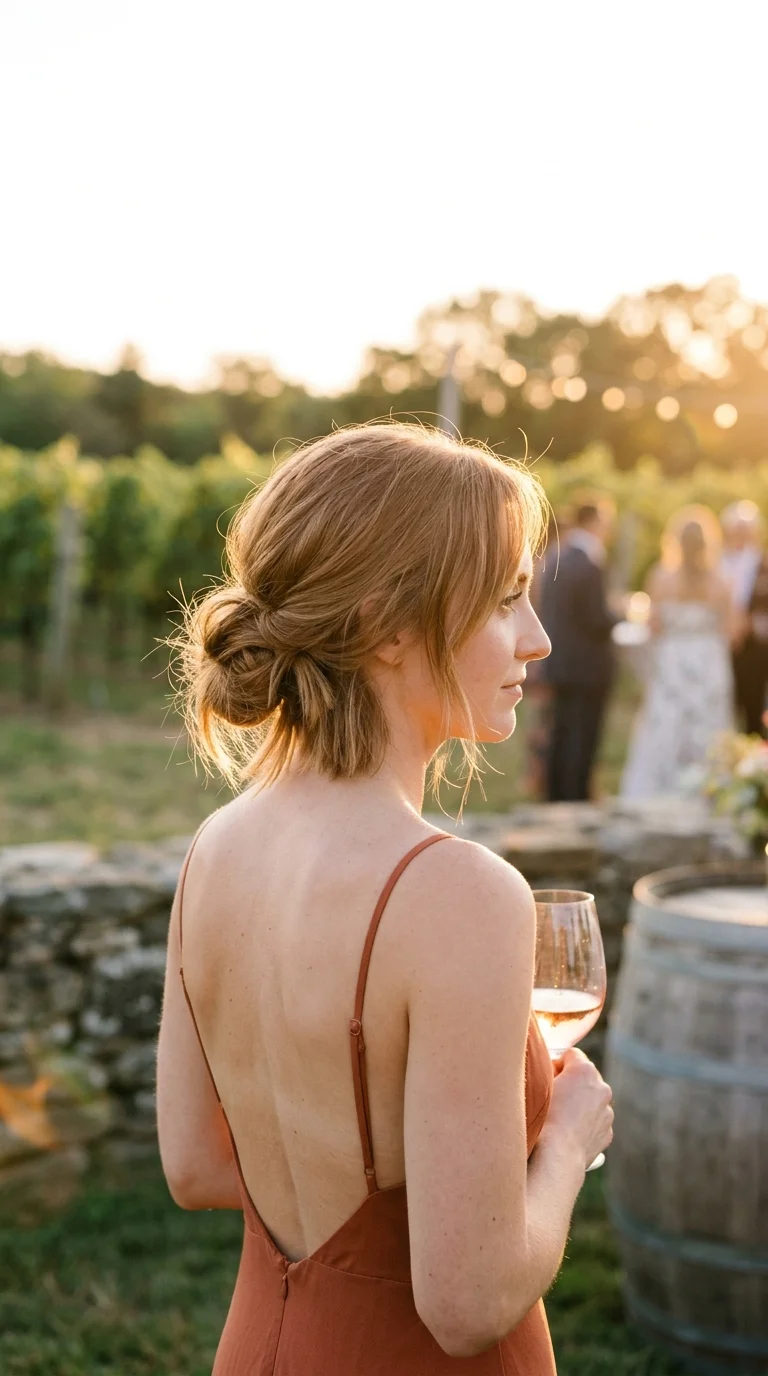
Most messy buns fail on short hair because people try to make them big. Keep this one small and let the mess happen around it.
Pull out two pieces at the front first, before you gather anything. Then:
- Tie the rest into a low ponytail, even if it is a stubby one.
- Pull it halfway through the elastic on the last loop to make a little nub.
- Pin any short layers that fell out straight into the bun, not flat against your head.
Curl the two front pieces with a wand away from your face. That bit of curl makes the whole look feel planned, even when your bun has a mind of its own.
5. Gibson Roll Tucked Around a Headband
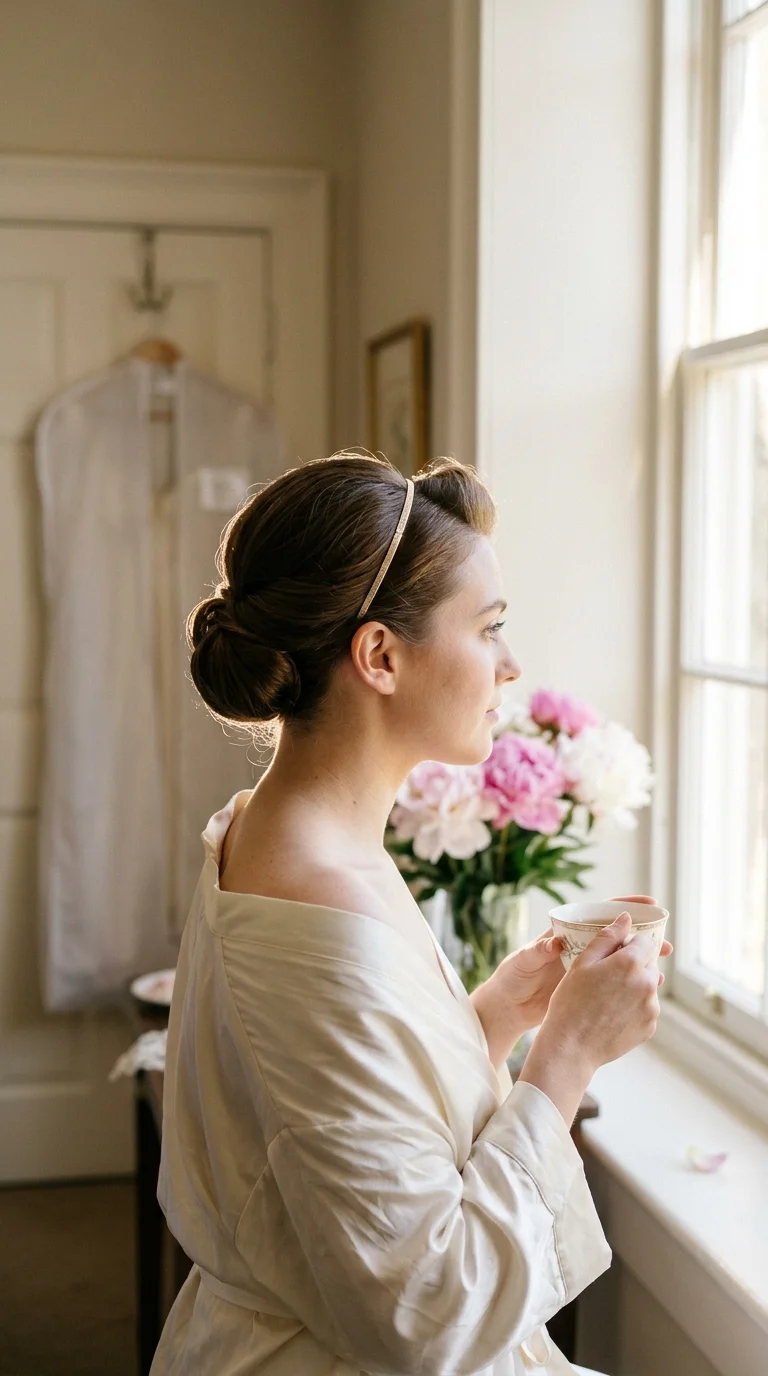
You do not need a single skill for this one. The headband does the holding.
Slip a thin stretch headband over your head so it sits around the crown and down at the nape. Take small sections at the back and tuck them up and over the band, working around your head ear to ear.
The trick most people miss is the order. Start at the sides, not the middle. If you tuck the center first, the side pieces have nowhere to go.
A gold or pearl band makes it wedding ready. A black elastic band hidden under the roll makes it work for a dinner date.
6. Double Dutch Braids Pinned at the Nape
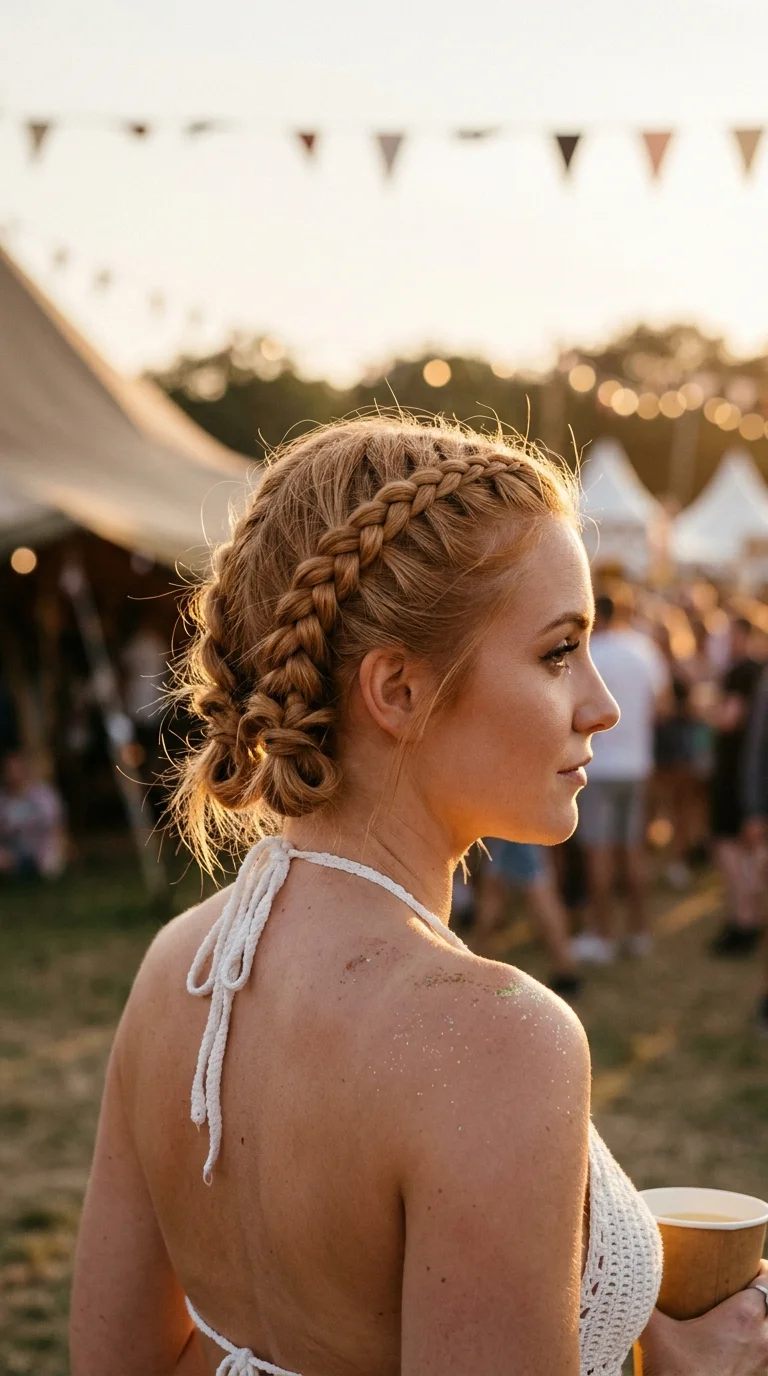
Sport style braids feel casual, until you fold the ends up instead of letting them hang. Then they turn into an updo that survives a full night of dancing.
Braid each side tight along the scalp, all the way down. Fold each braid’s tail up under itself so it makes a small loop at the nape. Pin the loop in place with two pins in an X.
Lobs and long bobs suit this best. Hair that only reaches the jaw will give you very short tails, but tiny loops still look sweet.
Watch out: The front sections often loosen first. Use a dab of edge cream on the hairline before you start.
7. Swept Back Pixie With Jeweled Side Pins
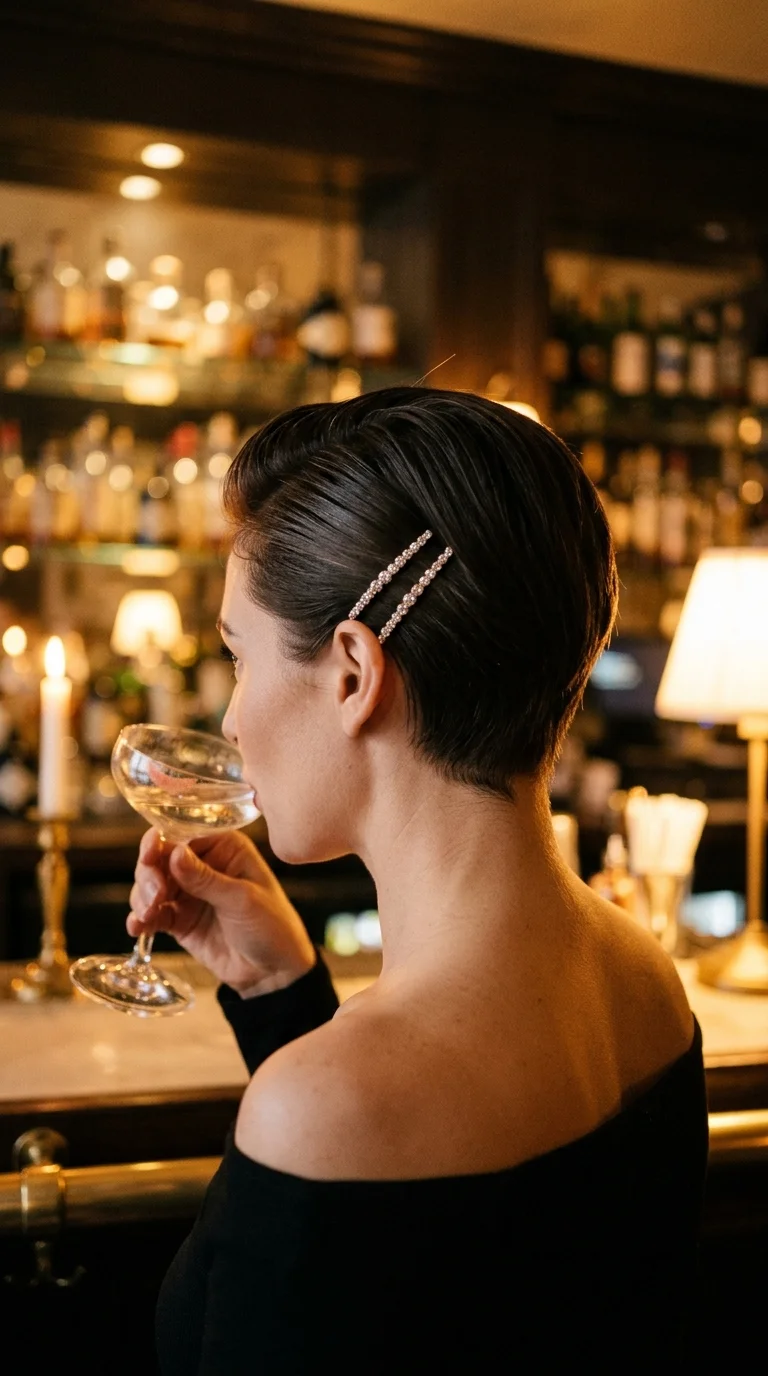
A pixie cannot go into a bun. It can still look like it went up for the night.
Work a pea sized amount of pomade through damp hair. Brush the top straight back and the sides back over the ears. Blow dry with a flat brush in the same direction, so the hair sets smooth.
Then add the jewelry. Two or three crystal slides above one ear give the same dressed up feel as a full updo, with none of the pins. Slide them in at a slight angle, pointing toward the crown.
It looks great in photos, because nothing falls into your face all night.
8. Mini French Twist for Bob Length Hair
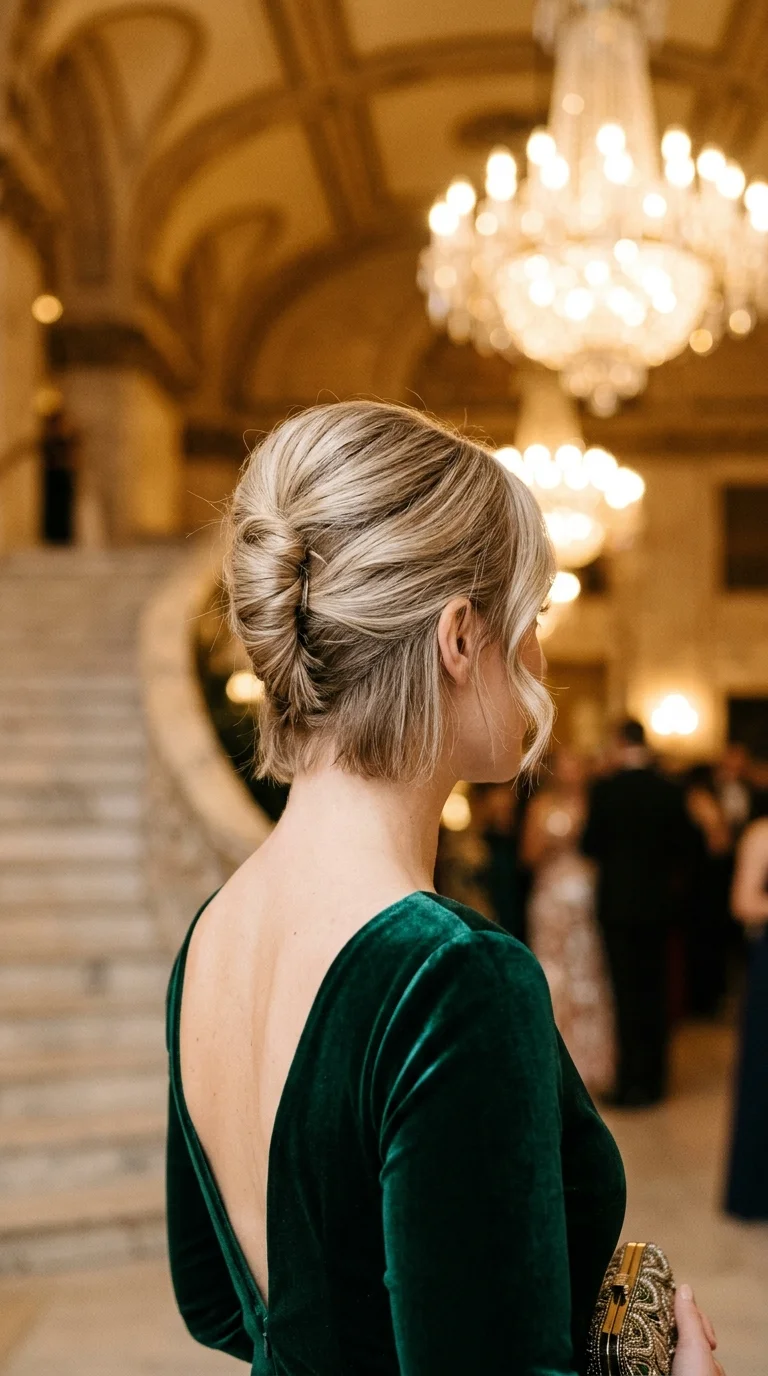
The classic French twist needs long hair to wrap. The mini version just folds.
- Tease the crown lightly for grip.
- Gather all the hair at the back into one hand, as if making a low ponytail.
- Twist it upward once and press it flat against the back of your head.
- Slide pins down into the fold from the top, hiding them inside the twist.
- Tuck the short ends into the top of the fold and spray.
Shorter layers at the nape will drop. A pair of small snap clips under the twist catches them.
A blunt bob that swings onto your neck, gets caught in your collar, and looks the same as it did on Monday morning.
A clean vertical fold up the back, a bare neck for earrings and a necklace, and a side swept front that frames your face in every photo.
9. Twisted Side Updo for Asymmetric Bobs
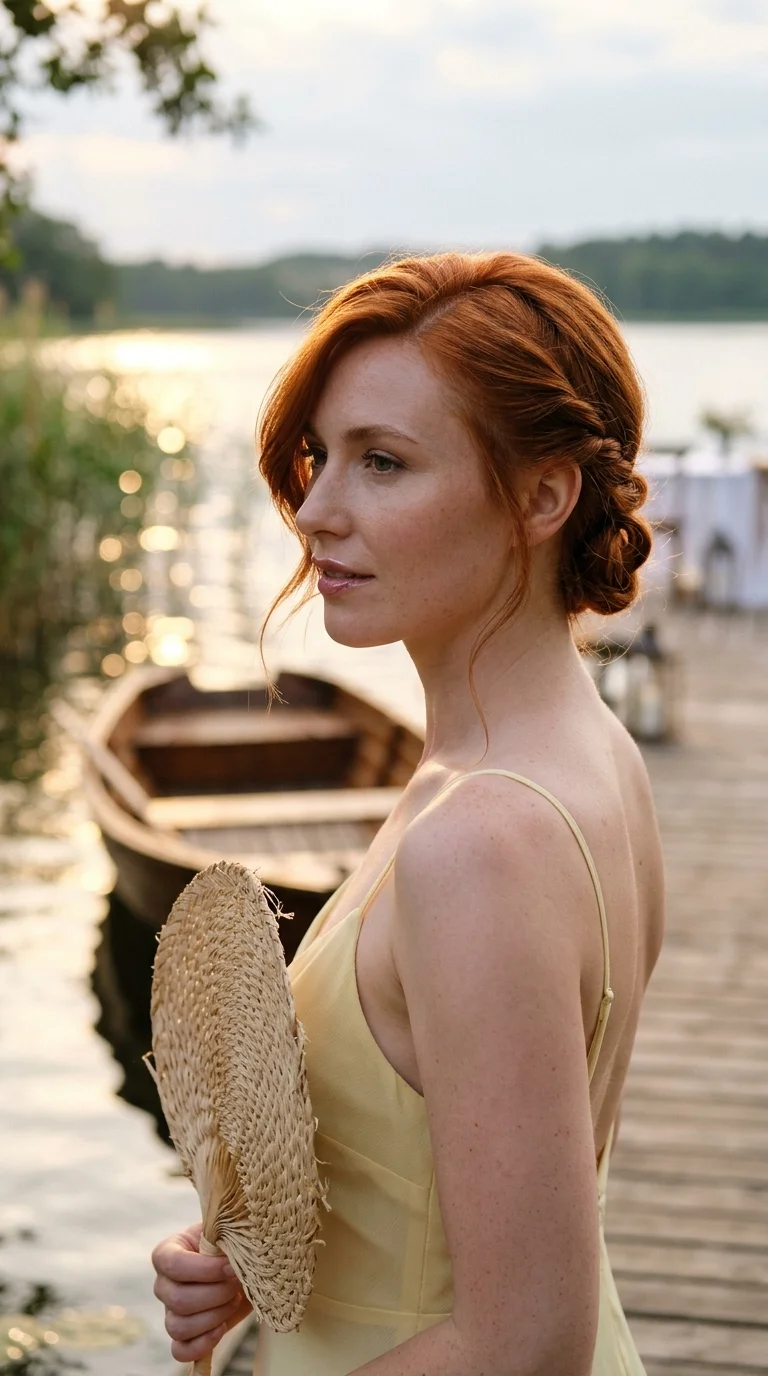
Uneven bobs make most updos look lopsided. So lean into it.
The short side gets a rope twist. Start at the temple, twist small sections back toward the nape, and pin the end behind your ear. The long side stays swept forward over the brow, then the ends get coiled and pinned low on the opposite side.
What you end up with is a soft, uneven shape that clearly belongs to your cut. Nobody will guess you had to plan around it.
Quick tip: Use pins that match your hair color. On red hair, a gold pin disappears far better than a black one.
10. Two Low Knots Side by Side at the Nape
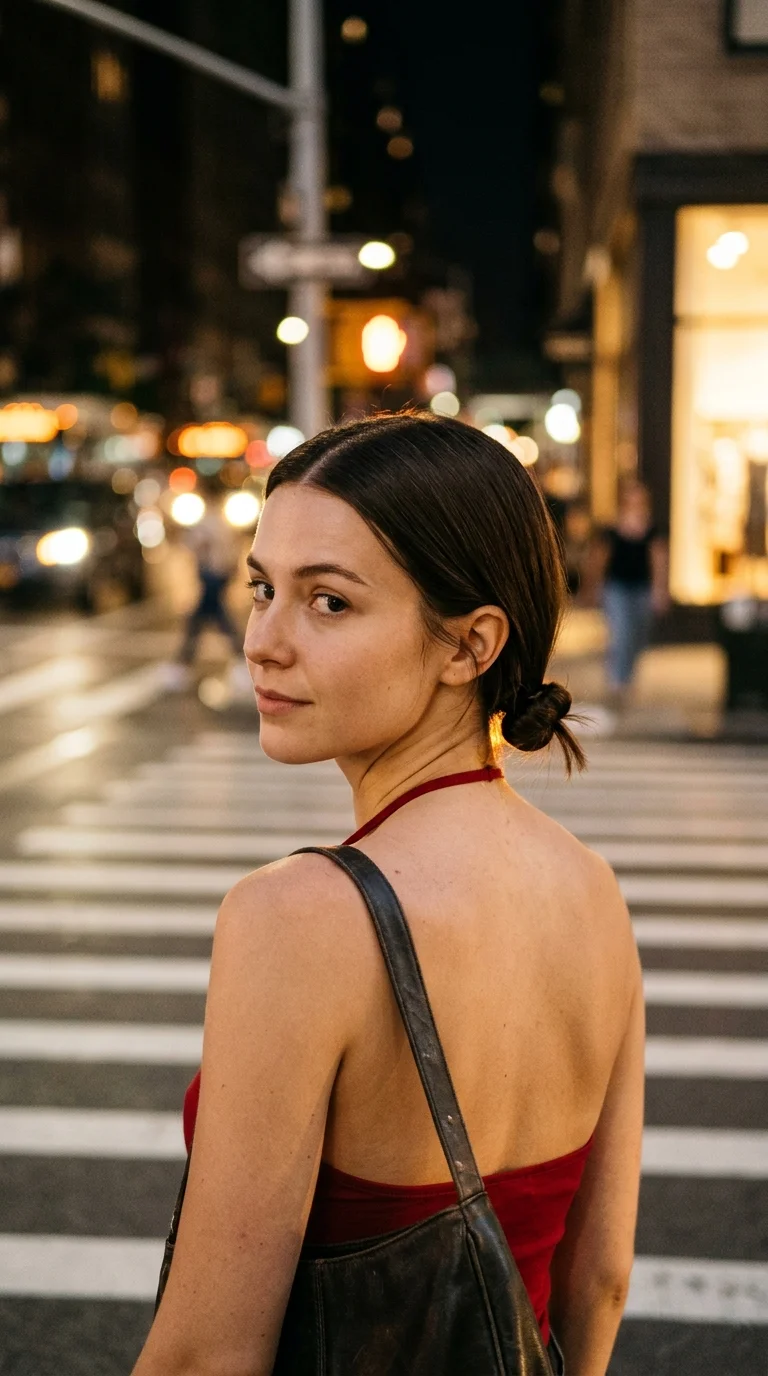
Can’t gather your whole bob into one ponytail at the back? Split it.
Two smaller sections are much easier to reach the middle than one big one. Make a clean center part all the way down to the nape. Tie each half into a low stubby ponytail just behind each ear. Twist each tail and wrap it around its elastic, then pin.
The center part matters here. A wobbly part shows right through to the back of your head, so take your time with a tail comb.
It reads a little playful and a little modern, which makes it great for a gallery opening or a friend’s birthday dinner.
11. Pinned Curl Updo for Curly Bobs

Curls already have volume and grip, so they are the easiest short hair to pin up. The hard part is keeping the curl pattern from getting crushed.
Never brush them. Instead:
- Scrunch in a curl cream, then let your hair dry fully.
- Lift sections of curls up from the nape with your fingers and pin each one where it lands.
- Leave two or three curls loose around your face.
Pin the curls at the root, not through the curl itself. That keeps each ringlet round instead of flat.
Done this way, it looks full and soft, and you only need about ten pins.
12. Wet Look Low Bun for a Night Out
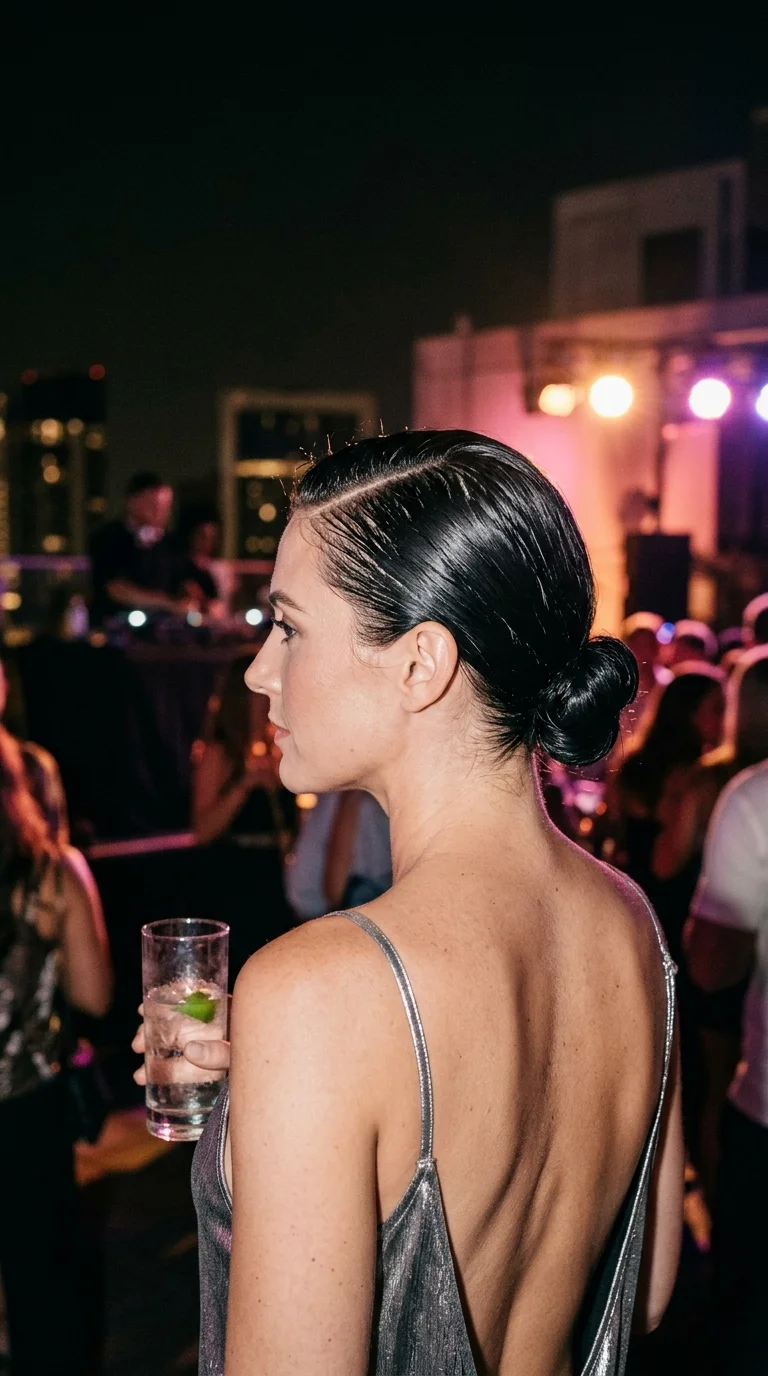
Short layers falling out of a sleek bun all night is the classic short hair problem. Gel solves it.
Comb a strong hold gel through damp hair, starting at the roots. Use a fine tooth comb to rake everything back into a low ponytail, then twist it into a tight knot and pin. The gel glues every short piece in place while it dries.
It looks bold and glossy, and it needs zero touch ups. It does feel stiff, so this one suits a club, a concert, or a late dinner more than a long daytime wedding.
13. Faux Victory Rolls for a Retro Night Out
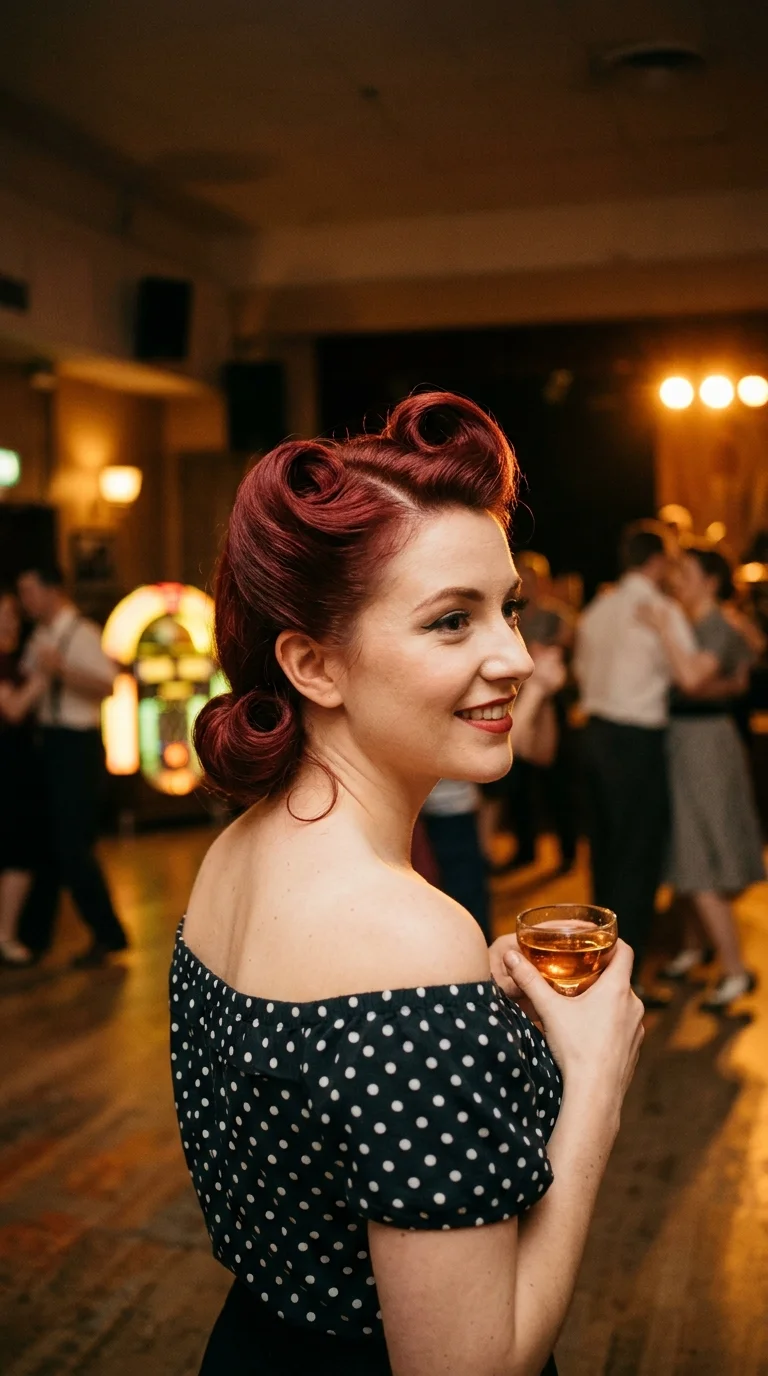
Victory rolls were made for shorter hair. The 1940s version often started at chin length.
Set your hair with a curling iron the night before, or at least an hour ahead, and let the curls cool completely. Then roll a section at each temple back over two fingers and pin it from underneath. The back gets rolled under in one long curve along the nape.
It takes practice. Plan for two runs before the actual night.
14. Low Bun Wrapped With a Velvet Ribbon
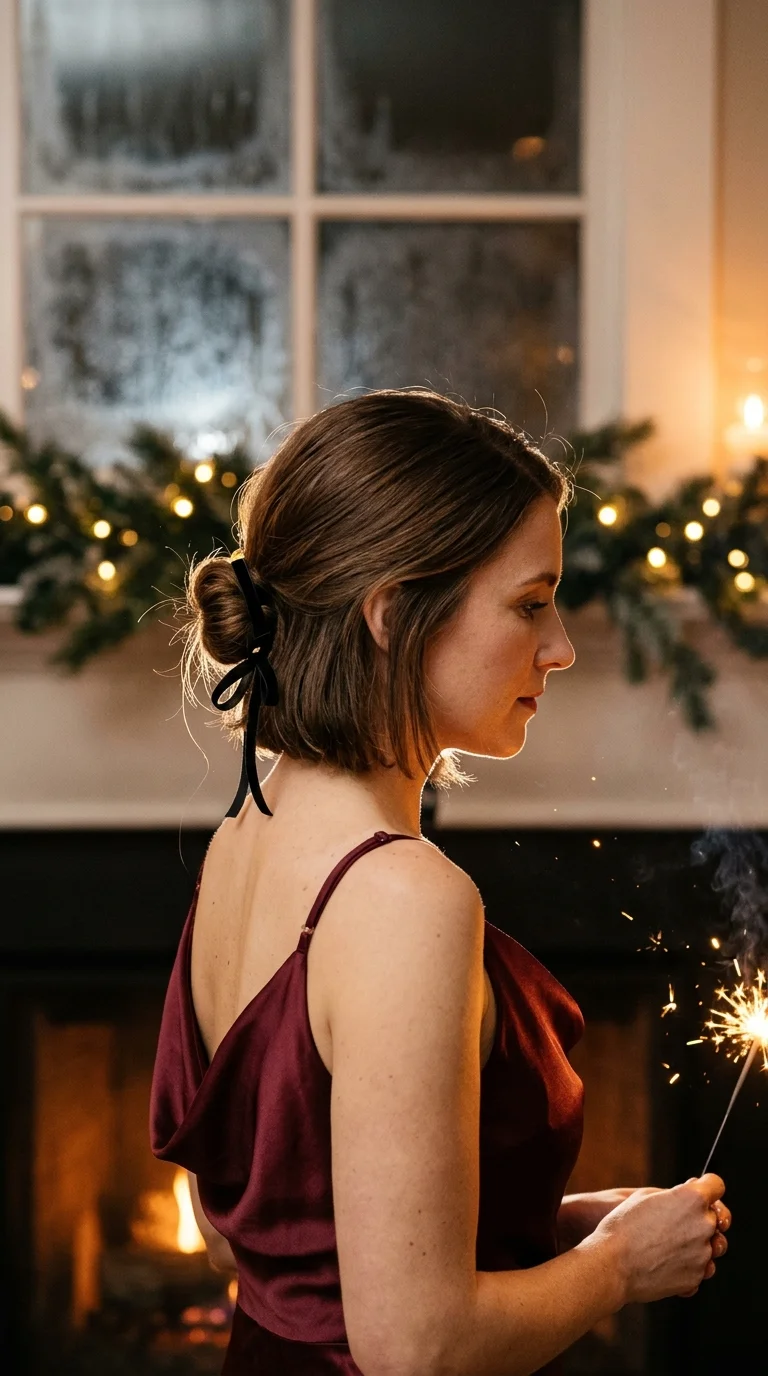
Small buns can look a bit bare. A ribbon fixes that and hides the messy bits at the same time.
Make the smallest low bun your hair allows and pin it firmly. Wrap a thin velvet ribbon twice around the base, cover any short ends poking out, and tie a little bow underneath. Trim the tails to about a hand’s length.
Black velvet suits winter weddings. Silk ribbon in a pastel or a color that matches the bridesmaids works for spring and summer.
Small warning: Pin through the ribbon too. A ribbon on its own will slide down the bun within an hour of dancing.
15. Bridal Short Hair Updo With a Hidden Mini Donut
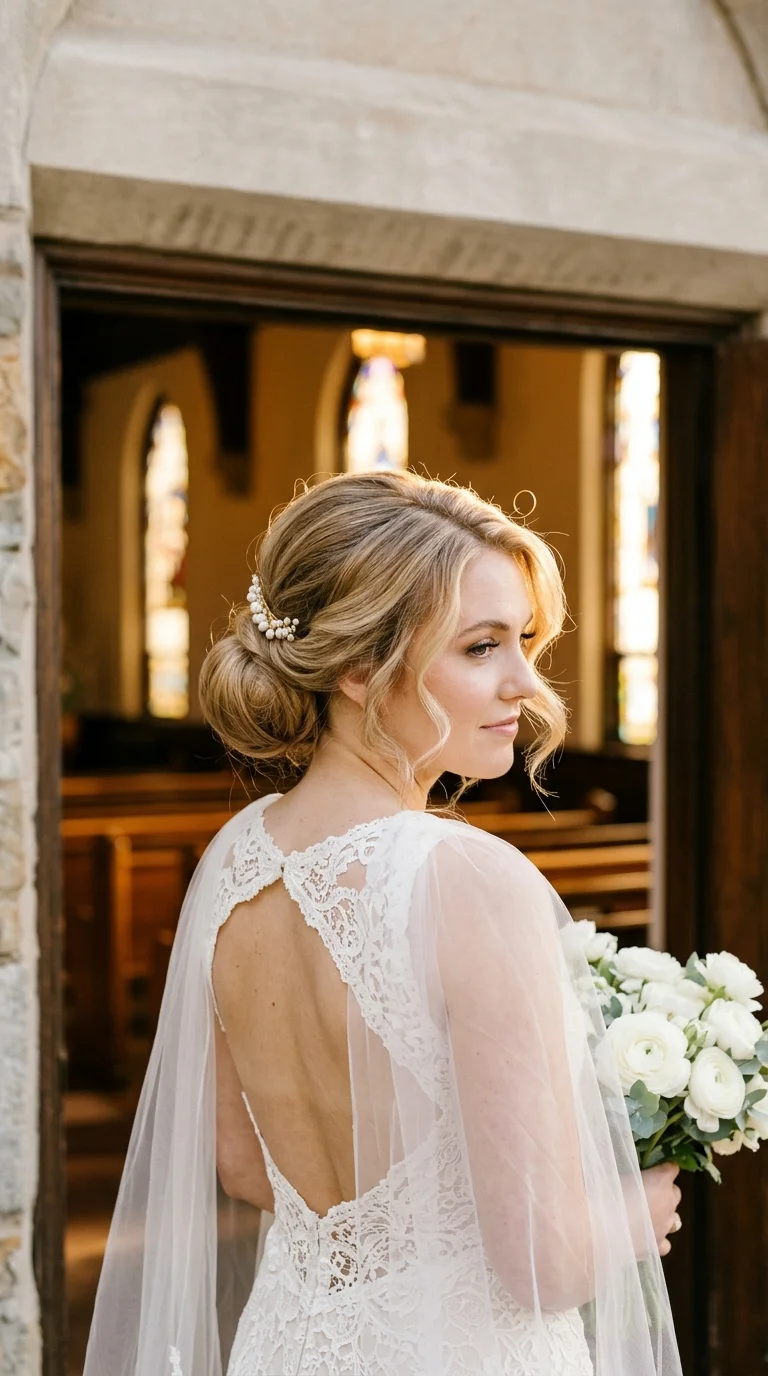
Brides with lobs often get told to grow it out or buy extensions. There is a simpler middle ground.
A mini hair donut, the small kind made for kids’ buns, gives short hair something to wrap around. Pull your hair into a low ponytail, slide the donut on, then spread the hair evenly over it and pin the ends underneath.
The bun looks full, rounded, and much longer than your hair really is.
Match the donut to your hair color, not darker. Then tuck a pearl comb above it and let your stylist curl a few face framing wisps. Bring a photo of this to your trial so you are both picturing the same shape.
Short hair was never the problem. The problem was trying to copy updos made for hair three times as long. Once you switch to pinning, braiding flat, and rolling small shapes close to your head, your bob or pixie has plenty to work with.
Practice one look a week before your event, not the morning of. Most feel clumsy the first time and easy by the third. On the night, keep a few pins and a mini hairspray in your bag.
Short hair updos are mostly about knowing which trick holds which length, and now you have fifteen of them.
Save this list to your wedding hair board so it is ready when the next invitation lands.