
Short hair has one annoying habit. It looks great for about two days after a cut, and then it just sits there. You cannot braid it into a crown or twist it into a big bun, so most mornings end with the same tuck behind the ear.
The fix is sitting in a little dish on most bathroom counters. A few bobby pins, one small claw clip, or a single pretty barrette can change the whole shape of a bob or pixie in less time than it takes to make coffee. Short hair actually holds a clip better than long hair, because there is less weight pulling it loose by lunch.
These clip hairstyles for short hair cover pixies, chin length bobs, and lobs that stop at the collarbone. Some are so quick they barely count as styling. Others take a few more minutes and look like you planned your outfit around them.
Each one comes with the exact clip to grab, where it goes, and the small trick that keeps it from sliding out. Grab your pins and pick a favorite.
1. Crossed Bobby Pins Above One Ear
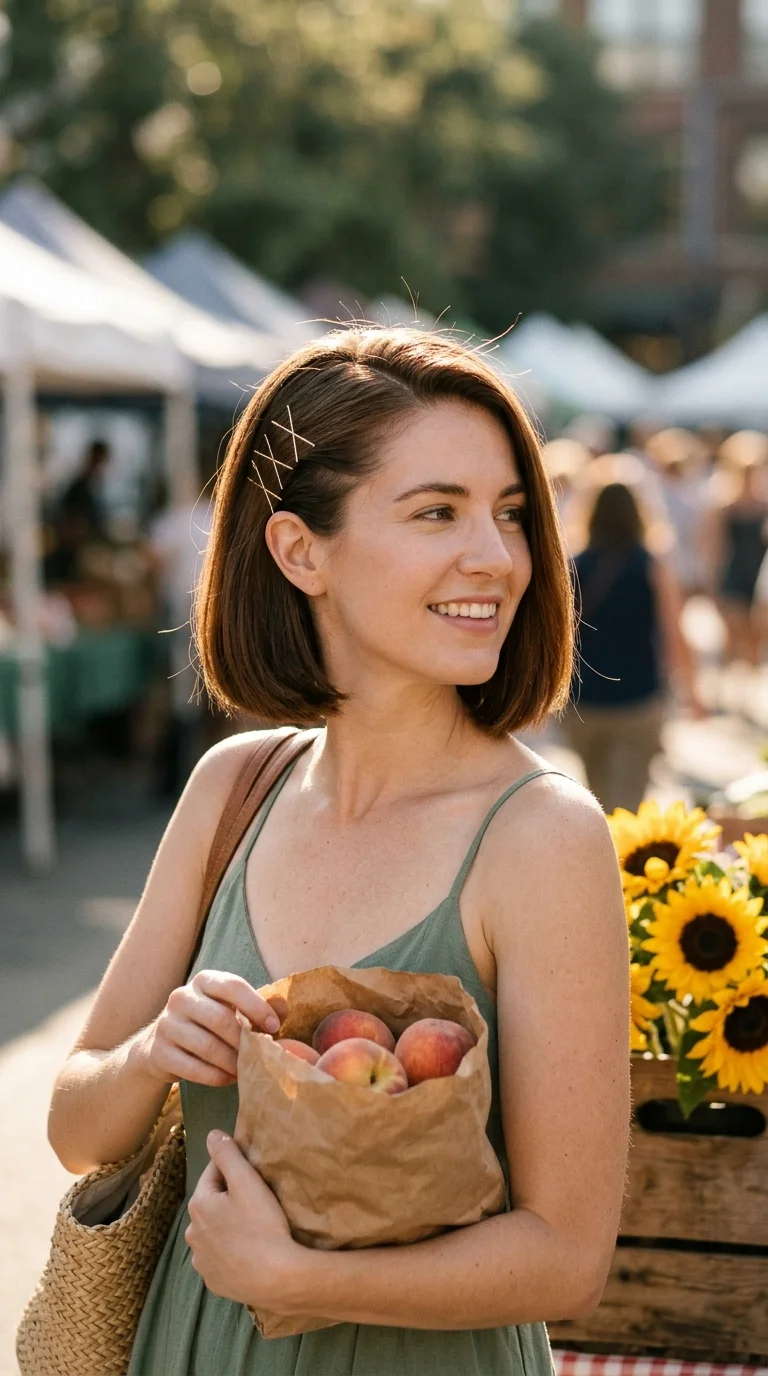
Two bobby pins crossed into an X hold far better than one pin sitting alone. That is the whole trick here, and it happens to look cute too.
- Make a deep side part.
- Sweep the heavy side back over your ear.
- Slide in one pin pointing up, then cross a second pin over it.
- Repeat two or three times in a short row.
Gold or pearl topped pins show off the pattern. Plain brown pins disappear into darker hair, which is handy on days you only want the hold.
Quick tip: push the wavy side of each pin against your scalp. It grips instead of sliding.
2. Pearl Barrette Sweep on a Chin Length Bob
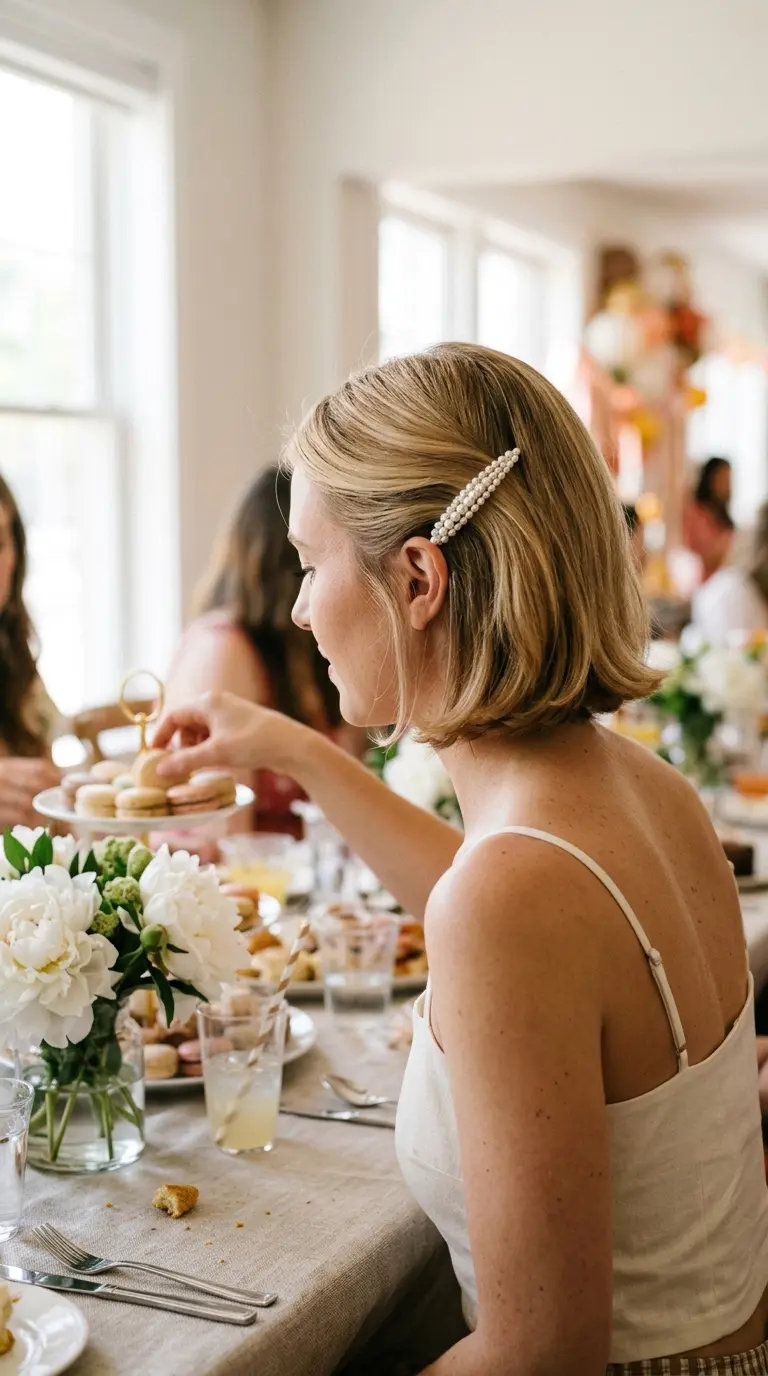
A pearl barrette does all the work on a bob that already looks good. You are not building a style, only moving one section out of the way.
Take a two inch wide section from the front of your heavier side. Brush it back and slightly up, then clip it just above the top of your ear. Angle the barrette so it points toward the back of your head, not straight across.
That small angle matters. A clip that sits flat and level looks like a school photo. A clip on a slight slant looks relaxed.
Best for brunches, showers, and offices where you still want to look a little dressed up.
3. Mini Claw Clip Half Up Twist
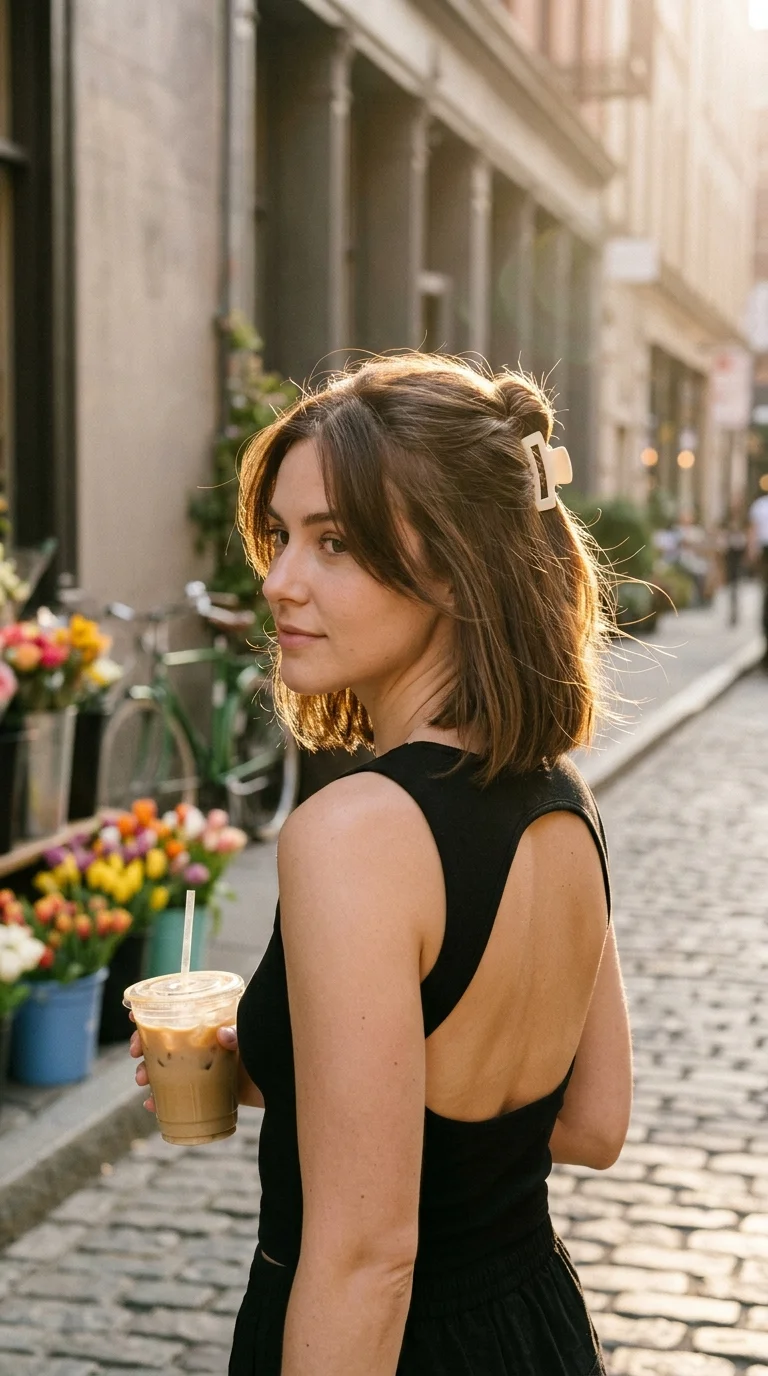
A big claw clip on short hair often looks like it is about to fall off. A mini one, around two inches wide, fits the amount of hair you actually have.
Gather the top third of your hair, the part that sits between your temples. Twist it once, not tightly, and fold the twist flat against your head. Then clamp the clip over the fold with its teeth pointing down.
- Leave two face framing pieces out.
- Pull the twist slightly loose so it looks soft.
- Skip hairspray on the twist itself so it can move.
Works on bobs and lobs. Pixies are a little too short for this one.
4. Twisted Bangs Held Back With Snap Clips
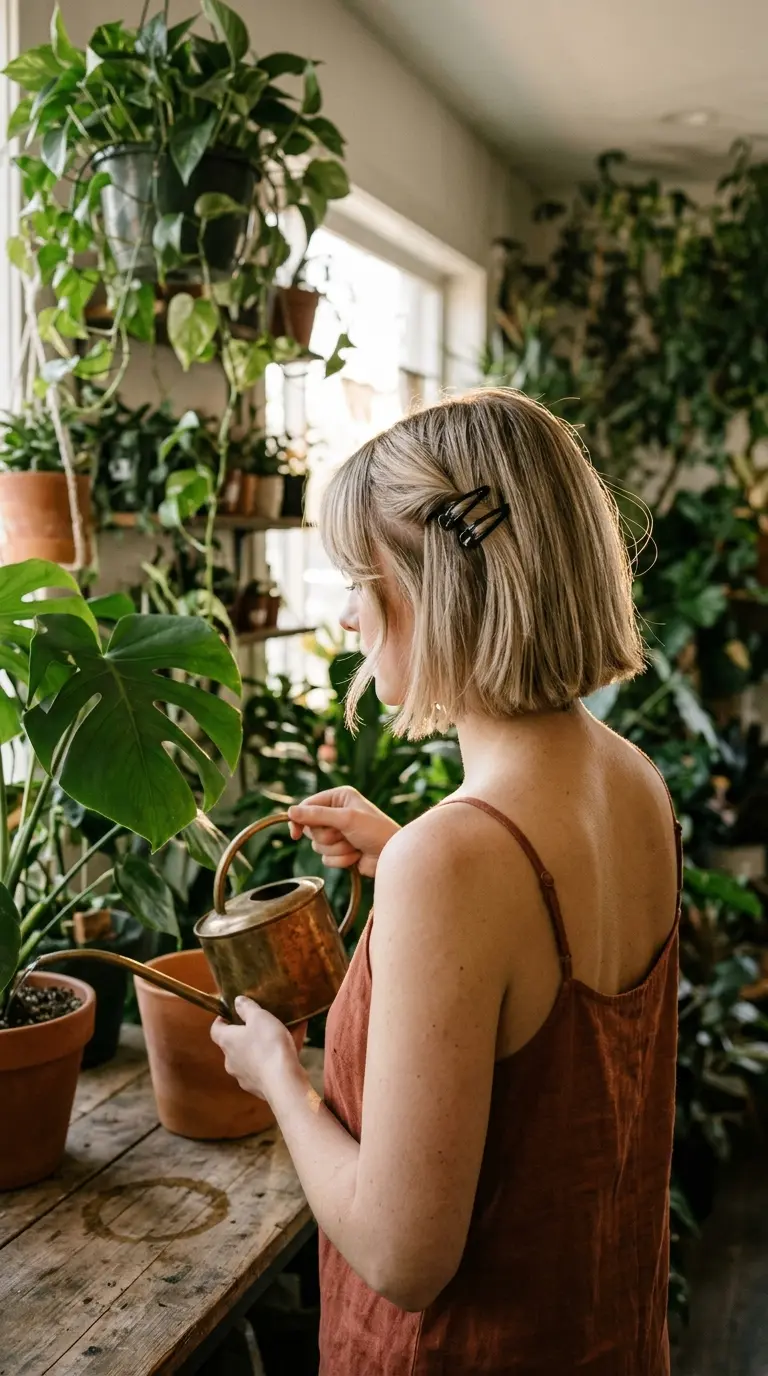
Growing out bangs is the stage everyone hates. They are too long to sit nicely and too short to tuck behind your ear.
Split the bangs down the middle. Twist each half back and away from your face, rolling toward the top of your ear. Clip each twist with a snap clip, then add a second clip just behind it, slightly higher.
The second clip is the secret. One snap clip on a twist slowly lets go. Two clips spaced half an inch apart lock it in.
Twist away from your face so the roll sits flat against your head.
Spray a little dry shampoo on the bangs first for grip.
Close each snap clip from behind so it pulls the twist back.
Twisting freshly washed, silky bangs. They will slide out in an hour.
Snap clips longer than your bangs. The ends poke out past the twist.
Pulling the twist tight at the hairline. It looks harsh and can tug.
5. Stacked Gold Bar Clips on a Deep Side Part
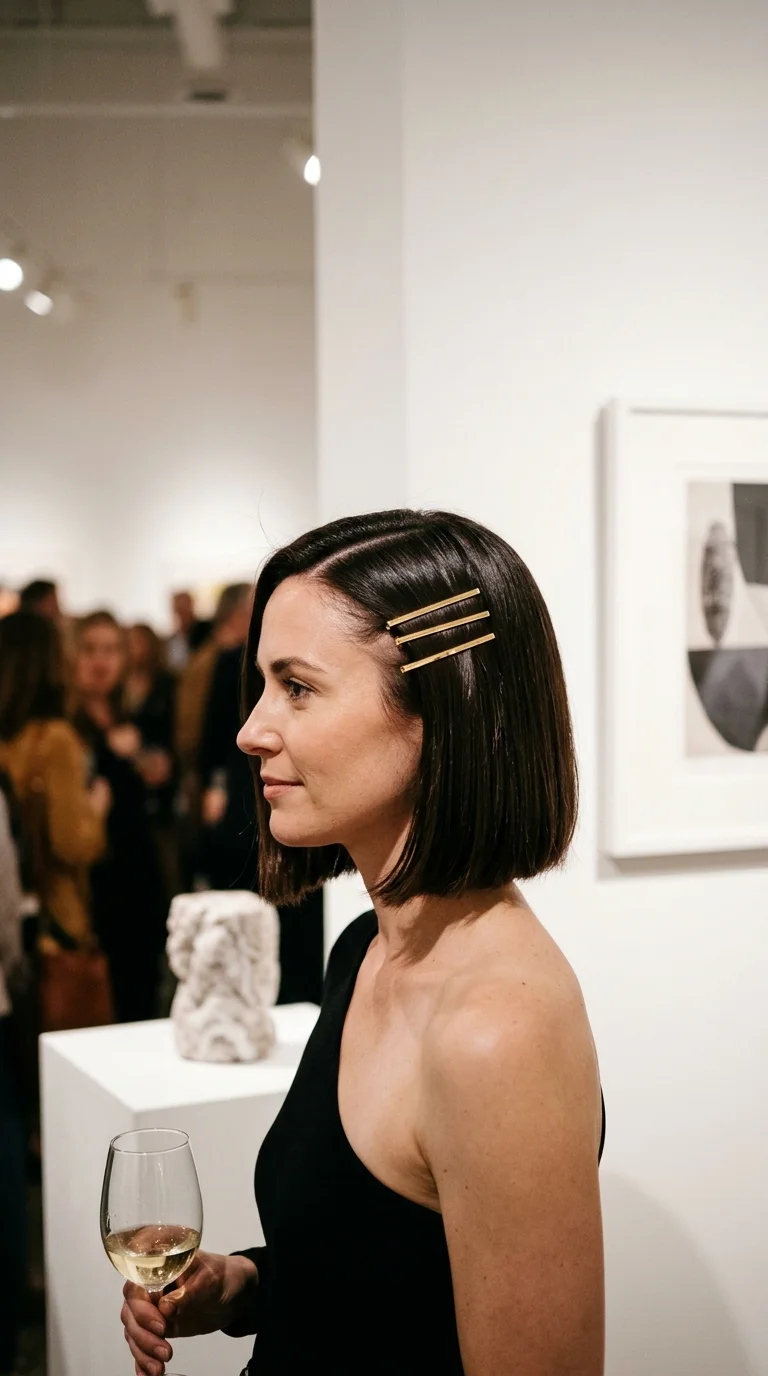
Three thin clips in a row look more intentional than one big clip. On a sleek bob, they also catch the light every time you turn your head.
Here is how to space them:
- First clip about one inch from the front hairline.
- Second clip half an inch behind it.
- Third clip half an inch behind that.
Keep all three parallel. If one tilts, the stack looks messy instead of neat.
Smooth hair shows this best, so a quick pass with a flat iron helps. On wavy hair, pick slightly wider bar clips so they do not get lost in the texture.
6. Velvet Bow Barrette on a Half Up Lob
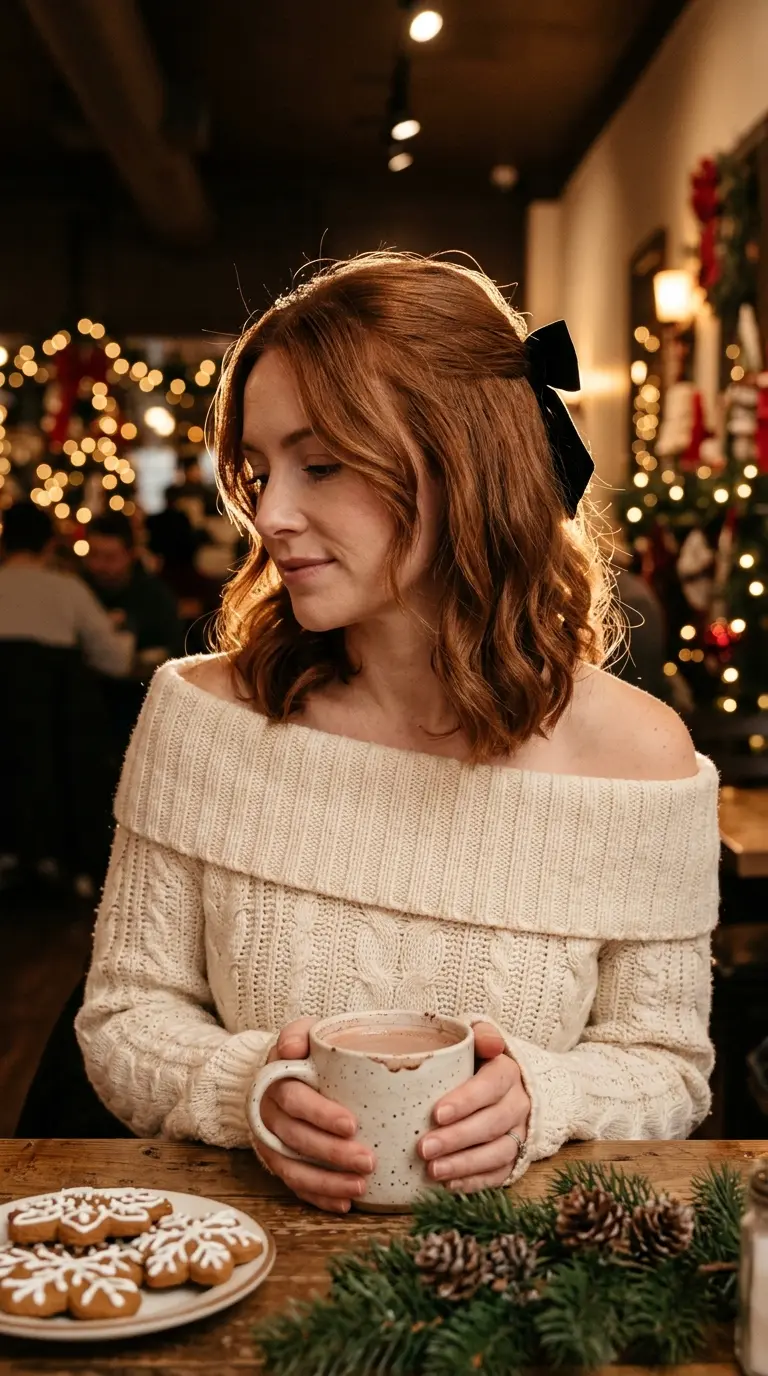
Fun fact about bows on short hair. They look sweeter on a lob than on long hair, because the bow sits closer to your shoulders and frames everything.
Bend the lob with a flat iron first. Then pull back the top section, just above the eyebrows, and secure it with a small clear elastic. Slide the velvet bow barrette over the elastic so it hides completely.
Black velvet works year round. In spring, swap it for a cream satin bow.
Small warning: heavy bows droop on fine hair. Look for a barrette under three inches wide.
7. Tiny Butterfly Clips Along a Zigzag Part
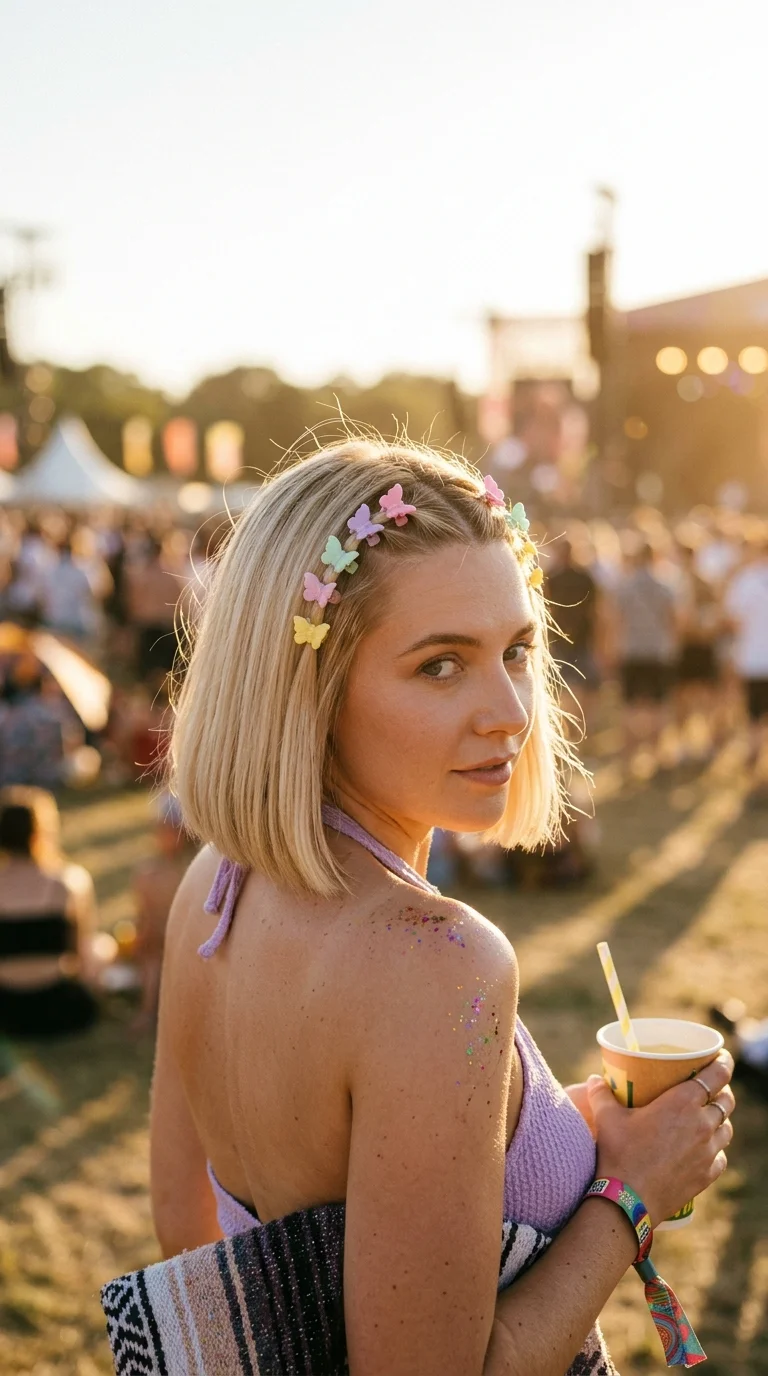
Ever notice how a zigzag part makes short hair look thicker at the root? Add tiny clips along the points and it turns into a whole look.
Use the tail of a rat tail comb to draw the zigzag back toward the crown, starting at your hairline. Keep each zag about an inch long. Then place one butterfly clip at every outer point, alternating sides.
Pastel clips feel playful. Matte black ones look a bit more grown up for city days.
It takes about five minutes the first time and two minutes once your hand knows the pattern.
8. Rhinestone Pins Tucked Behind the Ear on a Pixie
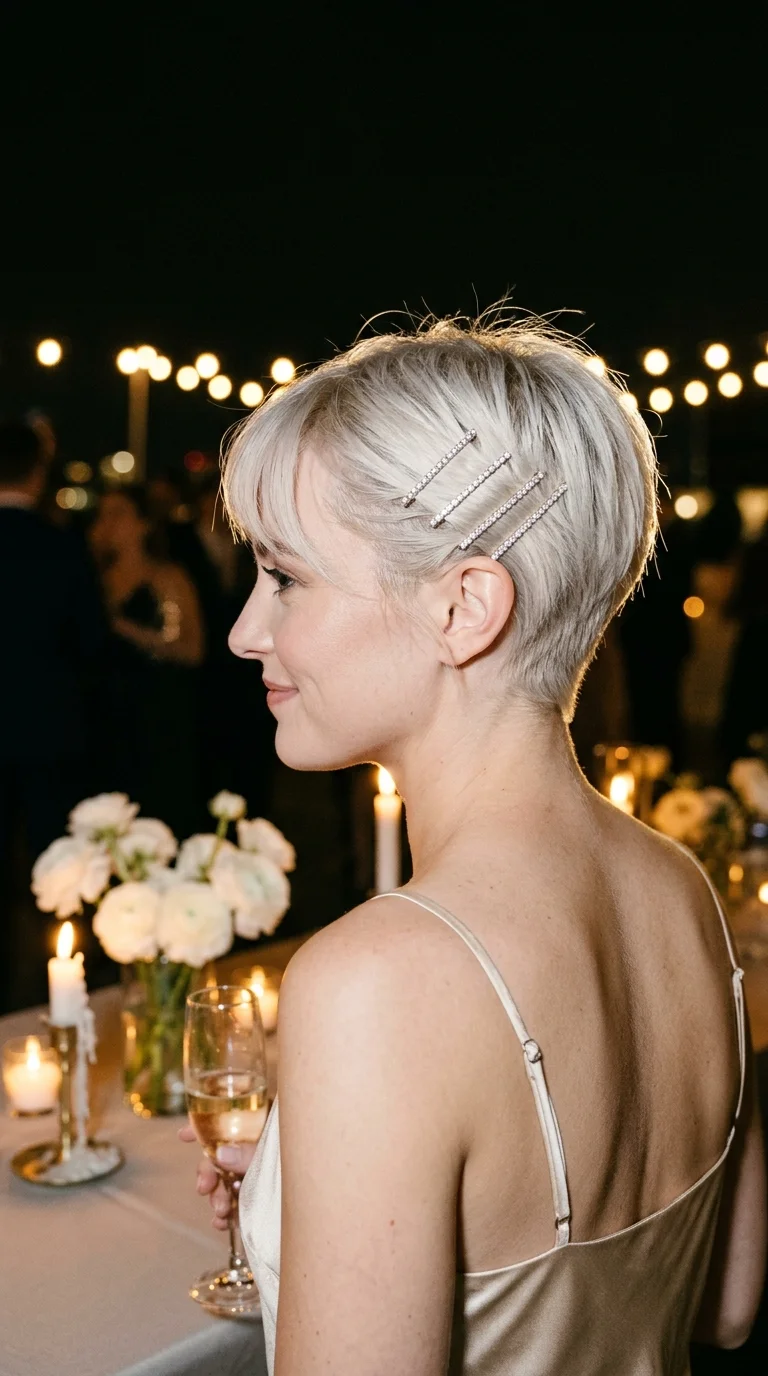
Pixie owners usually get left out of clip lists. Rhinestone bobby pins fix that, since they grip even very short hair.
Smooth a pea sized drop of styling cream over the side above your ear. Comb it straight back. Then slide in three pins at a slight slant, each one a little higher than the last.
A slanted line looks lighter. Pins set straight up and down can look stiff on a pixie.
Wear this to weddings, holiday parties, or any night you want a little sparkle without changing your cut.
9. Two Mini Claw Clips on Twisted Side Sections
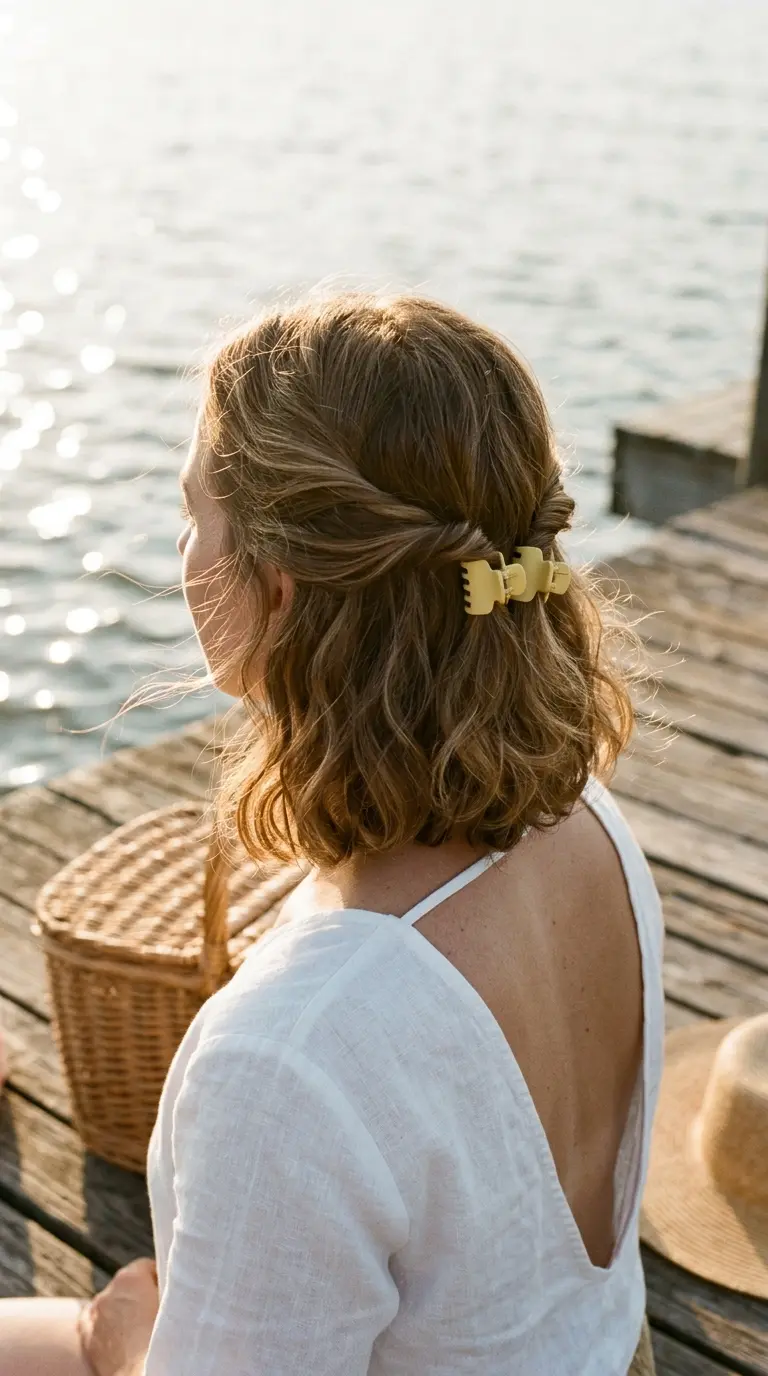
Wavy bobs tend to puff out at the sides by midday. Twisting those sides back keeps the shape close to your head.
- Take a section from each temple.
- Twist each one back toward the middle of your head.
- Clip each twist with a mini claw clip, about two inches apart.
Leave the clips slightly angled toward each other so they look like a matching pair. Butter yellow, sage, and cream claw clips look sweet on warm hair colors.
This one survives wind, boat rides, and humidity better than most.
10. Bobby Pin Pompadour on a Long Pixie
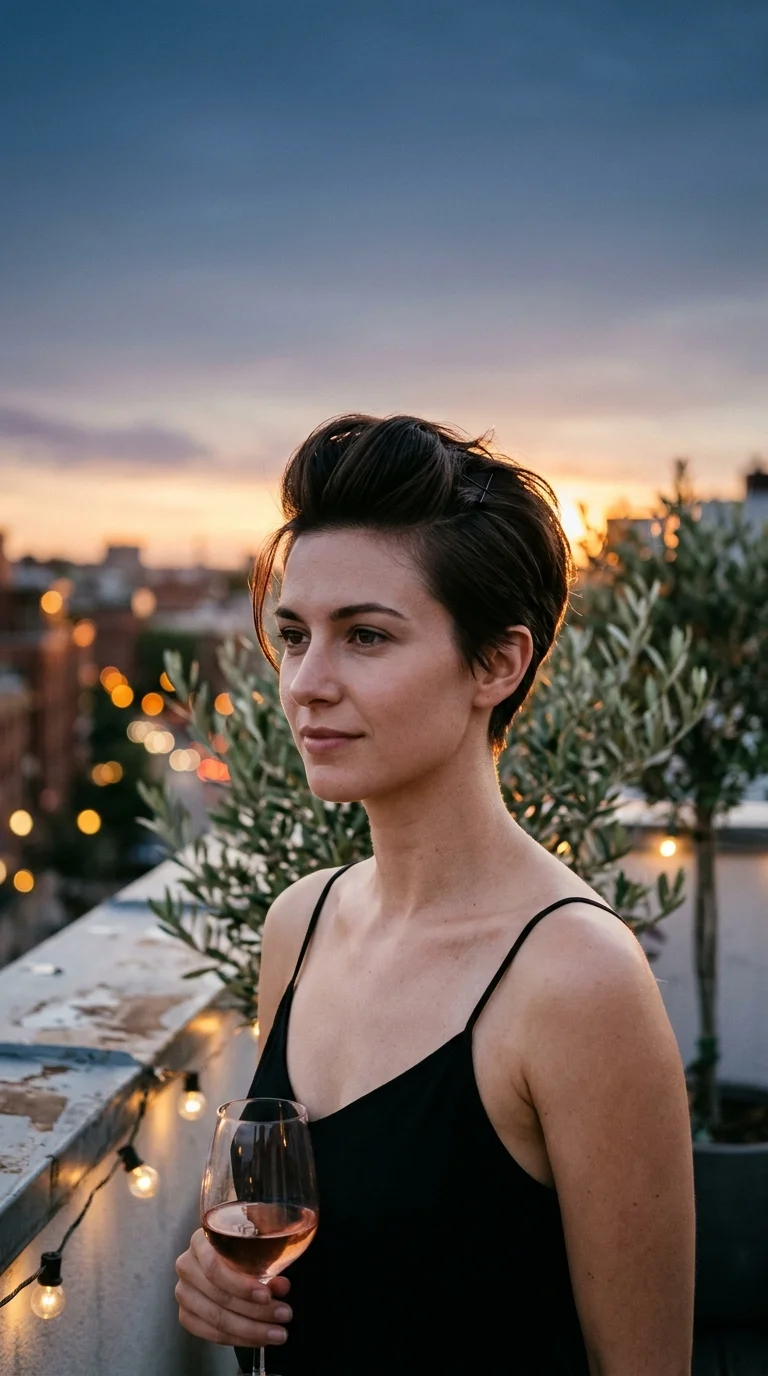
The pins here do a hidden job. Nobody sees them, but they are the reason the height lasts all night.
Blow dry the front section up and back with a round brush. Twist the top gently once, push it forward a little to create a bump, then lock it with two crossed bobby pins at the crown. Spray only the pins and the area right around them.
A long pixie that falls flat over the forehead and reads as a grown out cut by noon.
Soft lift at the front, a clean taper at the back, and two hidden pins holding the shape until bedtime.
Quick tip: matte pins that match your hair color hide much better than shiny ones.
11. Tortoiseshell Alligator Clip Crown Pouf

Flat crowns are a common short hair complaint. A little tease and one clip gives you height that looks a bit retro in the best way.
Lift a two inch section at the crown and backcomb the underside three or four times. Smooth the top layer over it with your fingers. Push it forward slightly, then slide the alligator clip in sideways underneath the pouf.
- Tortoiseshell blends with brown and caramel shades.
- Clear acrylic works on blonde hair.
The pouf should be about the size of a small egg. Bigger than that starts to look like a costume.
12. Hair Comb Tucked Into a Side Swept Bob
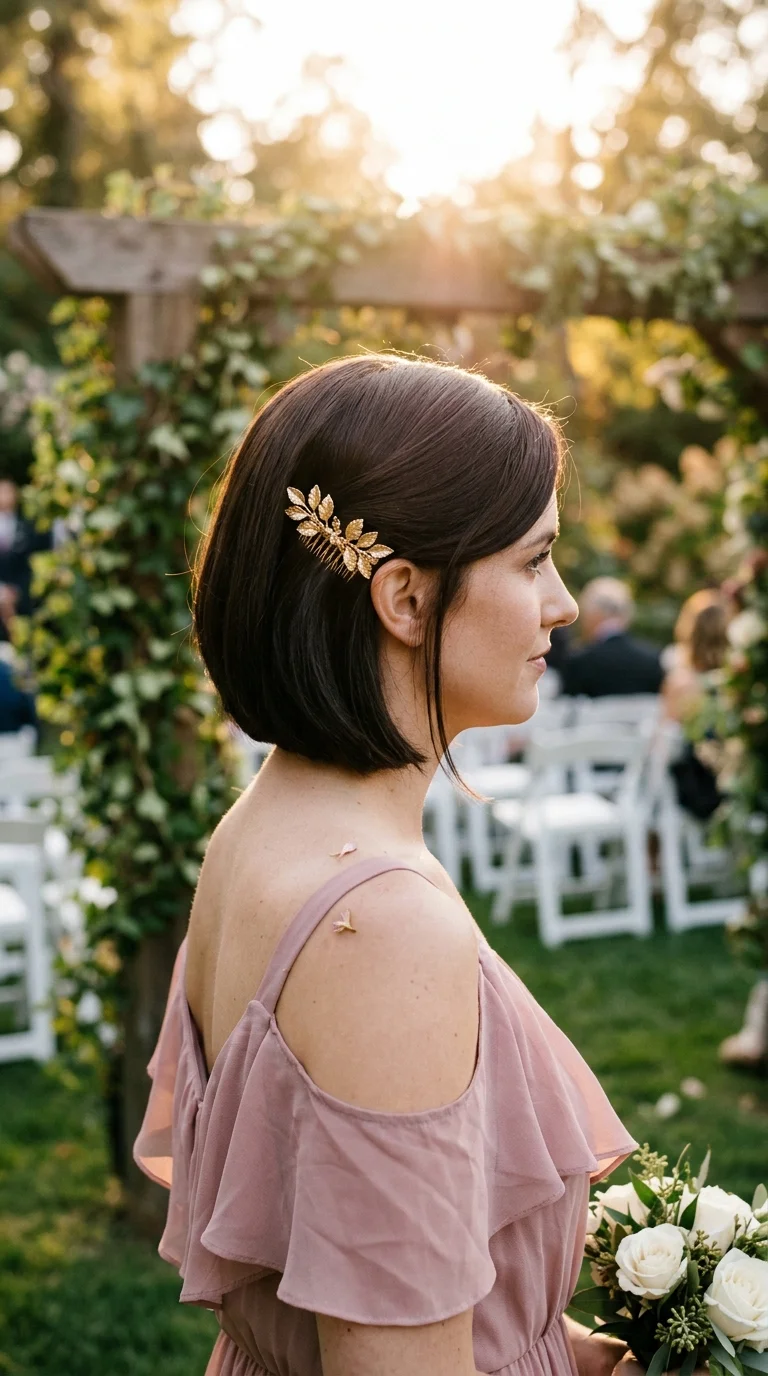
Wedding guest with a bob? A decorative comb is the simplest dressy option out there.
Here is the part most people get wrong. They push the comb straight into the hair, and it slides right out. Instead, tilt the teeth toward your face, slide them in against the direction you want the hair to go, then flip the comb back and press down. The teeth hook under the hair and stay.
Sweep everything toward one side first, tuck it behind the ear, and place the comb just behind that ear.
Gold leaf combs suit warm tones. Silver suits ash blonde and grey.
13. Rainbow Snap Clip Row Above the Ear
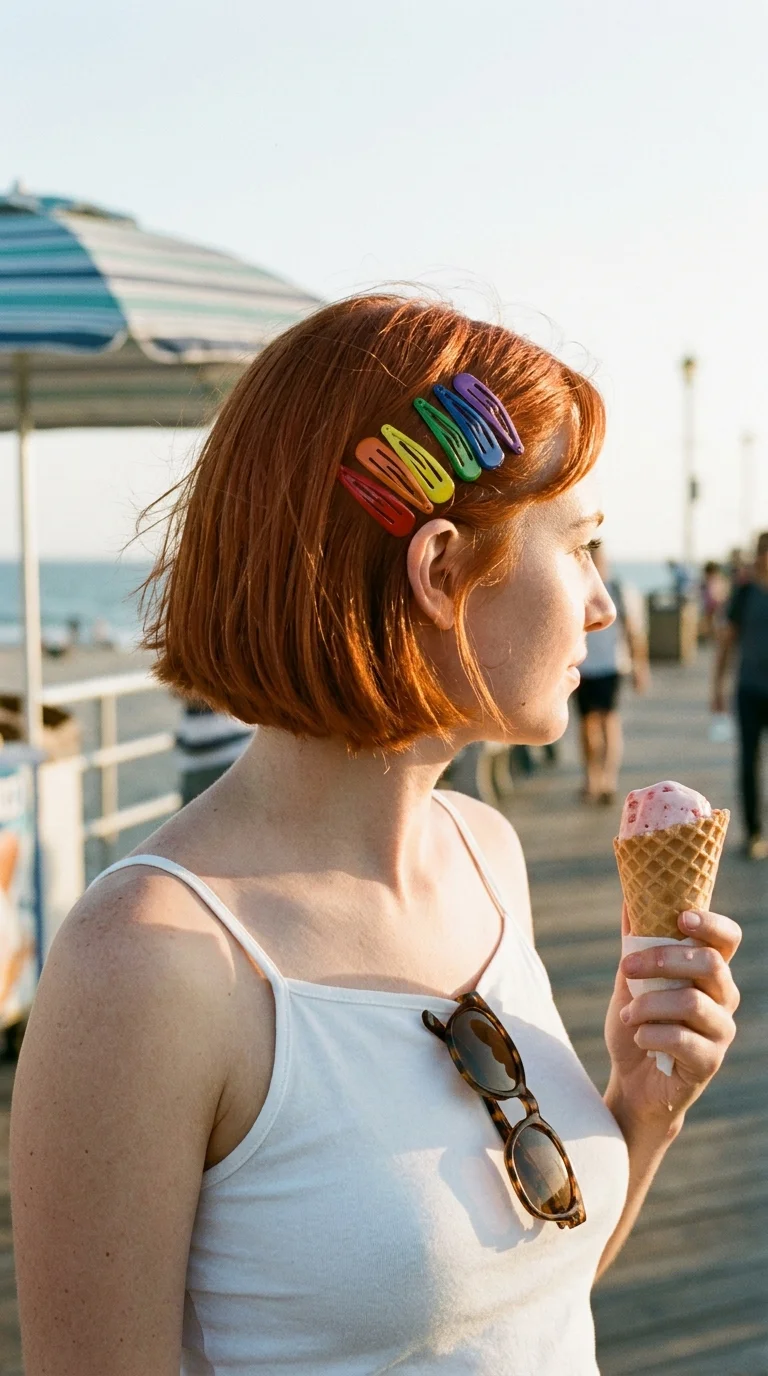
Bright snap clips feel like summer camp, and that is exactly why they look good on a grown up bob.
- Comb the hair above one ear smooth and back.
- Start the first clip near the front hairline.
- Add clips in rainbow order, each one touching the last.
- Stop when you reach the curve behind your ear.
Seven clips usually fit on a chin length bob. Fewer if you have a lot of layers.
Keep the rest of the outfit simple. The clips are already doing plenty.
14. Twisted Rope Headband Pinned Behind the Ears
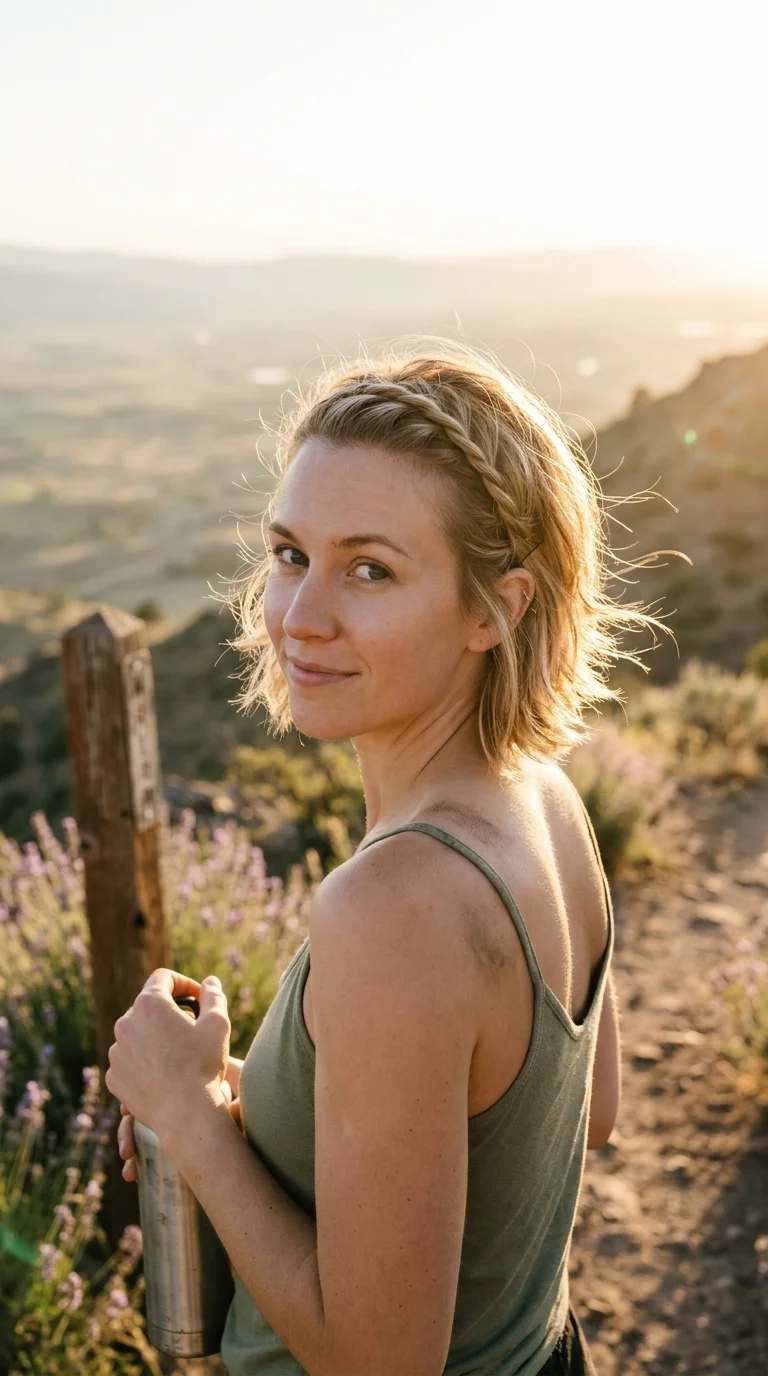
No headband in the drawer? Build one out of your own hair.
Take a one inch section just behind your hairline on one side. Twist it tightly toward the other ear, adding a little hair as you go, the same way you would for a twist braid. When you reach the far ear, tuck the end under and cross two bobby pins over it.
It keeps hair off your face on windy walks or workout days.
Watch out: very layered bobs may need one extra pin halfway across, where short layers try to escape.
15. Flower Pins in a Low Tucked Nape Roll
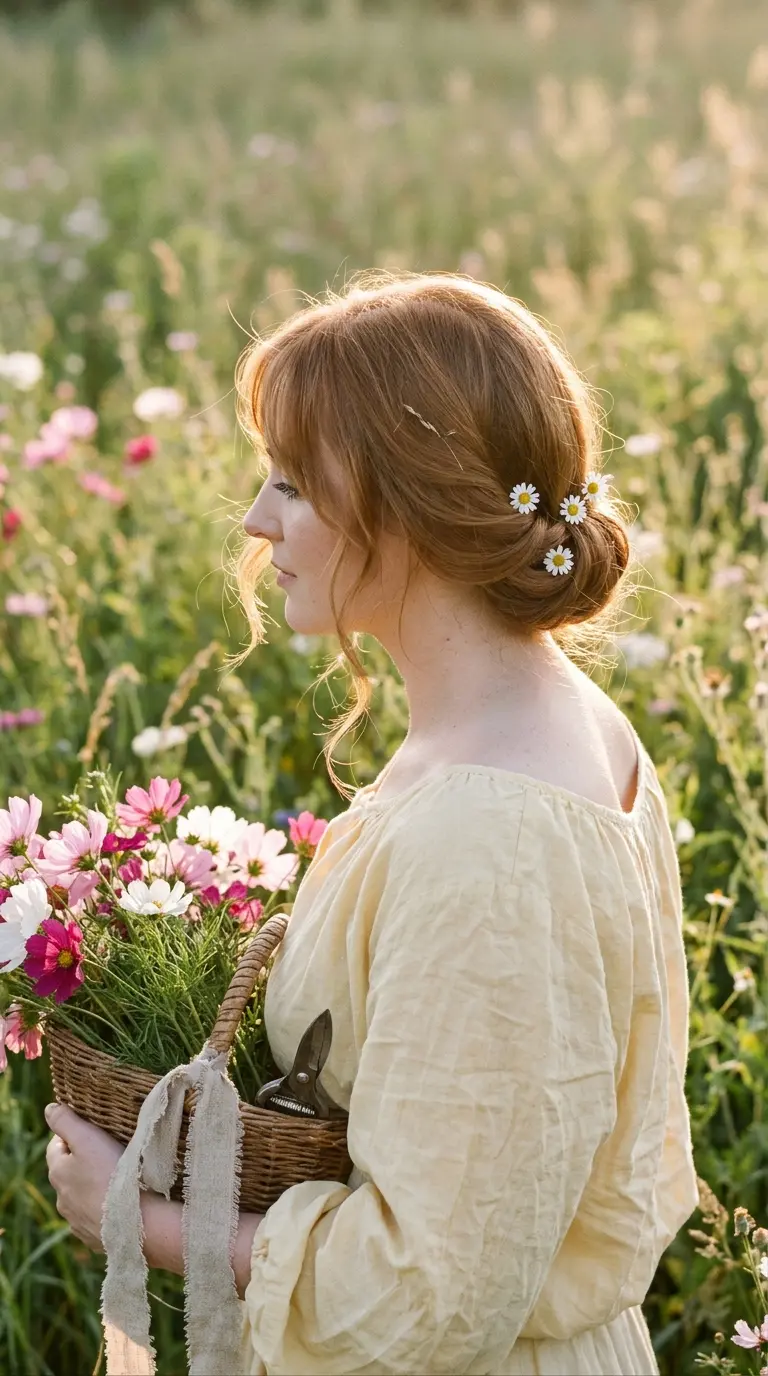
Lobs are long enough to roll, but only just. The flower pins pull double duty here, holding the roll and decorating it.
Gather your hair loosely at the nape, like a low ponytail without an elastic. Roll the ends under and up toward your head. Pin the roll in place with plain bobby pins first. Then push four small flower pins along the top edge.
The plain pins hold. The flower pins are mostly for looks.
Leave two tendrils loose at the front so the roll feels soft instead of strict.
16. Slick Side Tuck With One Long Barrette
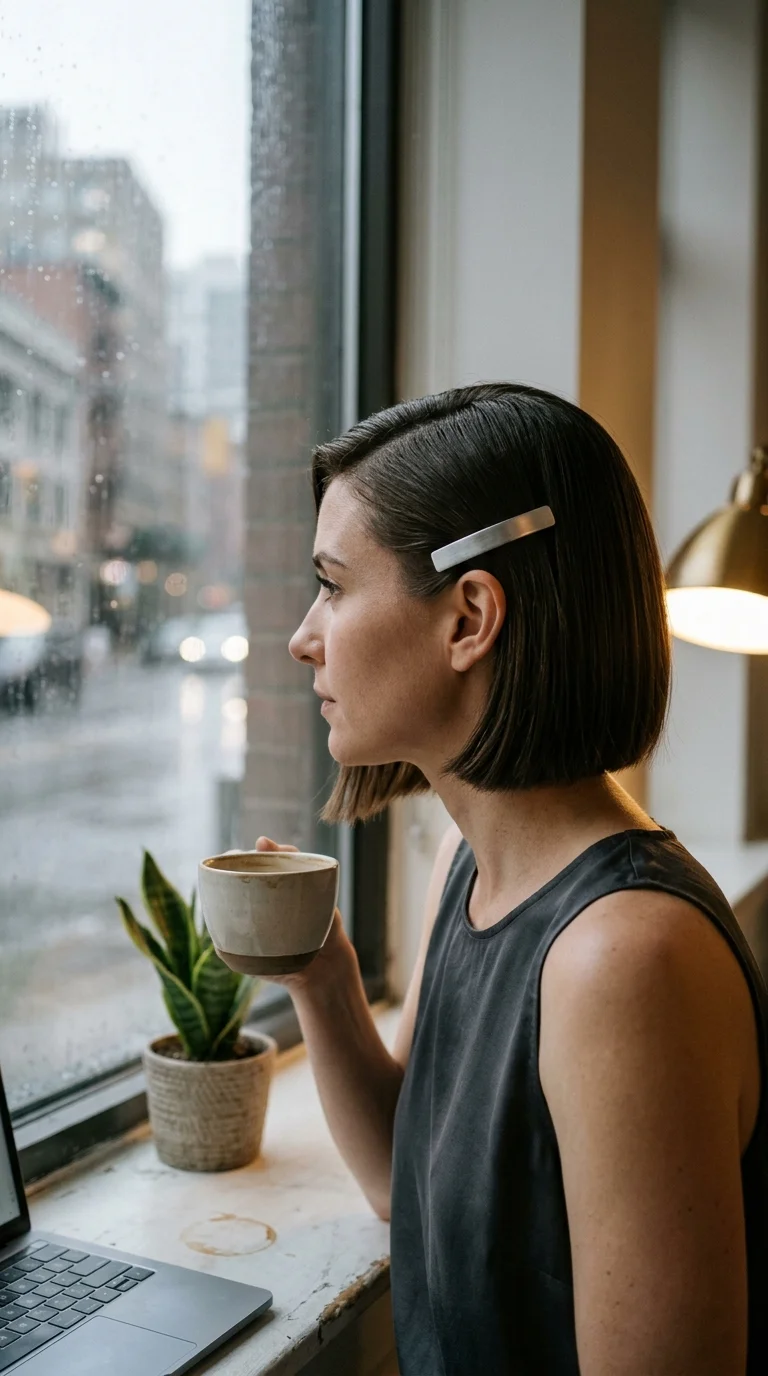
Polished and done in three minutes. This is the one for interview mornings and big meetings.
Work a small amount of gel or styling cream into the shorter side of a deep part. Comb it flat behind your ear with a fine tooth comb. Clip a long barrette right above the ear, parallel to the floor.
Brushed metal looks quieter than shiny gold, which helps at work. Pick a barrette that clicks shut firmly, because a weak spring lets slick hair slip loose by lunch.
17. Tiny Low Bun Ringed With Pearl Pins
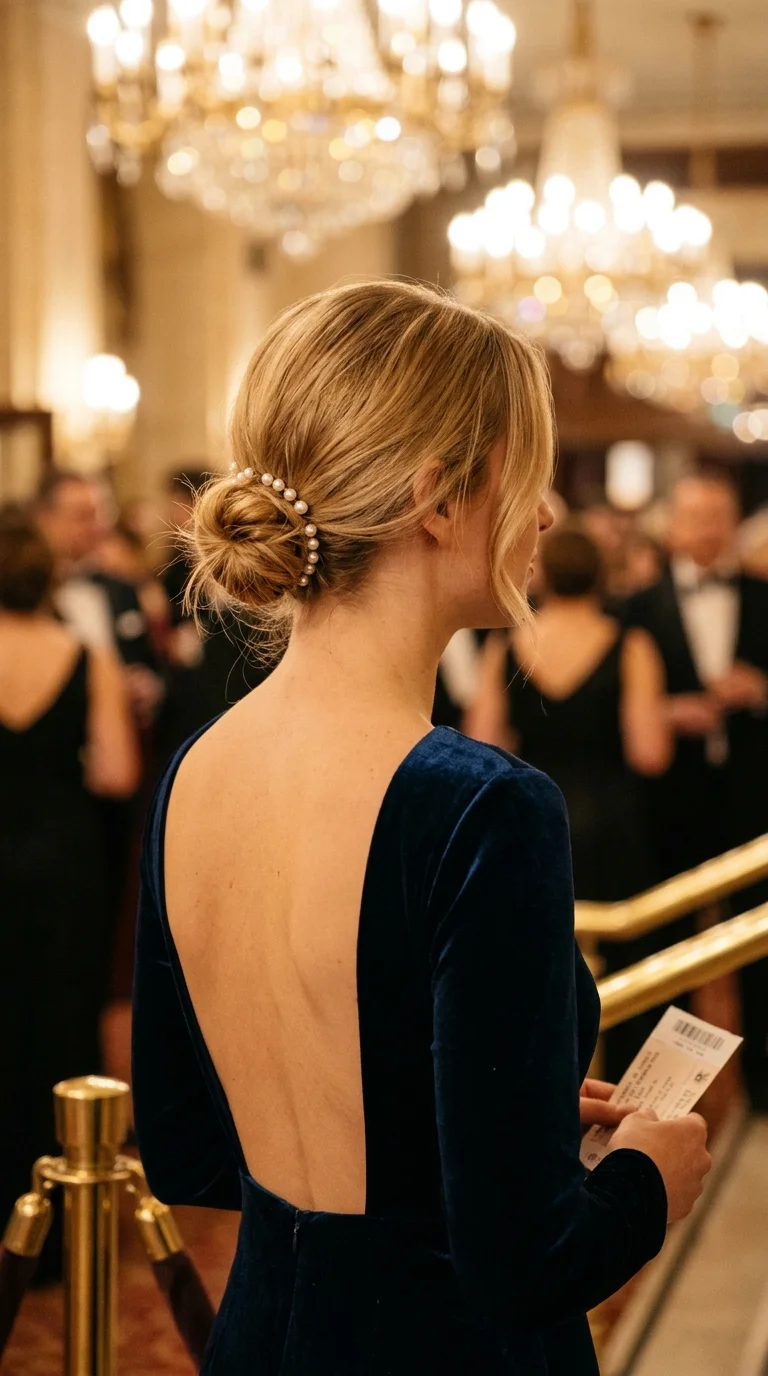
Short hair makes a small bun, and that is fine. The pearl pins make a small bun look finished.
Pull your hair into the lowest ponytail you can manage. Twist it and wrap it around the elastic. Short layers will pop out, which is normal. Pin them flat with plain pins.
Then circle the bun with six to eight pearl pins, all pointing in toward the center like spokes on a wheel.
That ring hides the stray layers and turns a basic stub bun into something you would wear to the theater.
18. Medium Claw Clip French Twist on a Lob
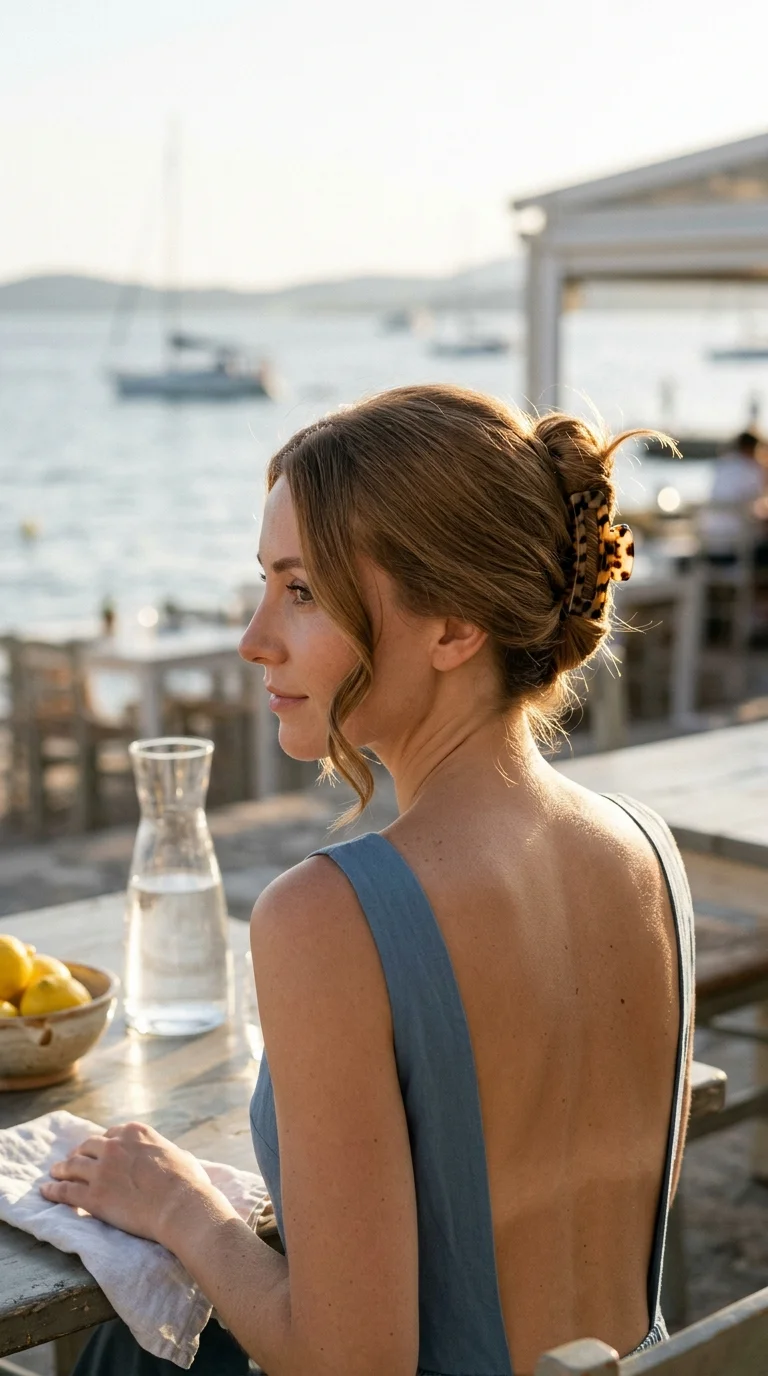
French twists usually need long hair. A lob can pull it off if you pick a claw clip with long teeth that reach the top of the twist.
- Gather your hair at the back like a low ponytail.
- Twist it upward while folding it against your head.
- Tuck the ends into the fold as far as they go.
- Clamp the claw clip vertically over the whole twist.
A few ends will stick out of the top. Leave them. They make it look easy, not stiff.
Good for hot days, long dinners, and any time your neck needs some air.
Short hair does not need a lot of length to look styled. It needs the right clip in the right spot, placed at a slight angle, with a little grip product underneath.
Start with the easy ones, like the crossed pins or the pearl barrette sweep. Then move on to the pompadour or the French twist. Your hands learn the moves faster than you expect.
Keep a small tray near your mirror with bobby pins, two mini claw clips, and one barrette you love. That tiny kit covers most of these clip hairstyles for short hair on any busy morning.
Save this list to your hair board so your next cute clip style is always one tap away.