
Maybe your own hair is straight, and you have never owned a wide tooth comb. Maybe you grew up with curls but your child’s hair is a different texture from yours or from your partner’s. Either way, one morning you look at that head of curls and realize nobody handed you the manual.
Here is the good news. Curly hair is not difficult hair. It just plays by different rules. It needs more moisture than straight hair, it tangles less when it is wet, and it looks best when you touch it less. Once those three rules click, the styling part gets a lot easier.
Mixed kids often have more than one curl pattern on the same head. You might see loose waves at the nape, springy spirals on top, and tighter coils around the crown. That is completely normal. The styles in this list work across that range, from soft 2C waves to tight 4A coils, and the tips tell you how to adjust for your child’s texture.
These hairstyles for mixed kids with curly hair start with the basics, like a simple wash and go and a headband with the curls out, then move into buns, braids, Bantu knots, cuts for boys, and a few picture day looks. Each one comes with the hair length it needs, how long it takes, and a tip that keeps the curls healthy.
Before you start, it helps to know what a curly hair routine actually looks like. Most curly kids only need a full shampoo once a week, or even every ten days. On the days in between, a spritz of water and a little leave in conditioner wakes the curls back up. Detangle only when the hair is wet and slippery with conditioner, start at the ends, and work up toward the roots in small sections. Never brush curly hair when it is dry. It breaks the curl pattern, makes a cloud of frizz, and hurts.
1. Simple Wash and Go With Defined Curls
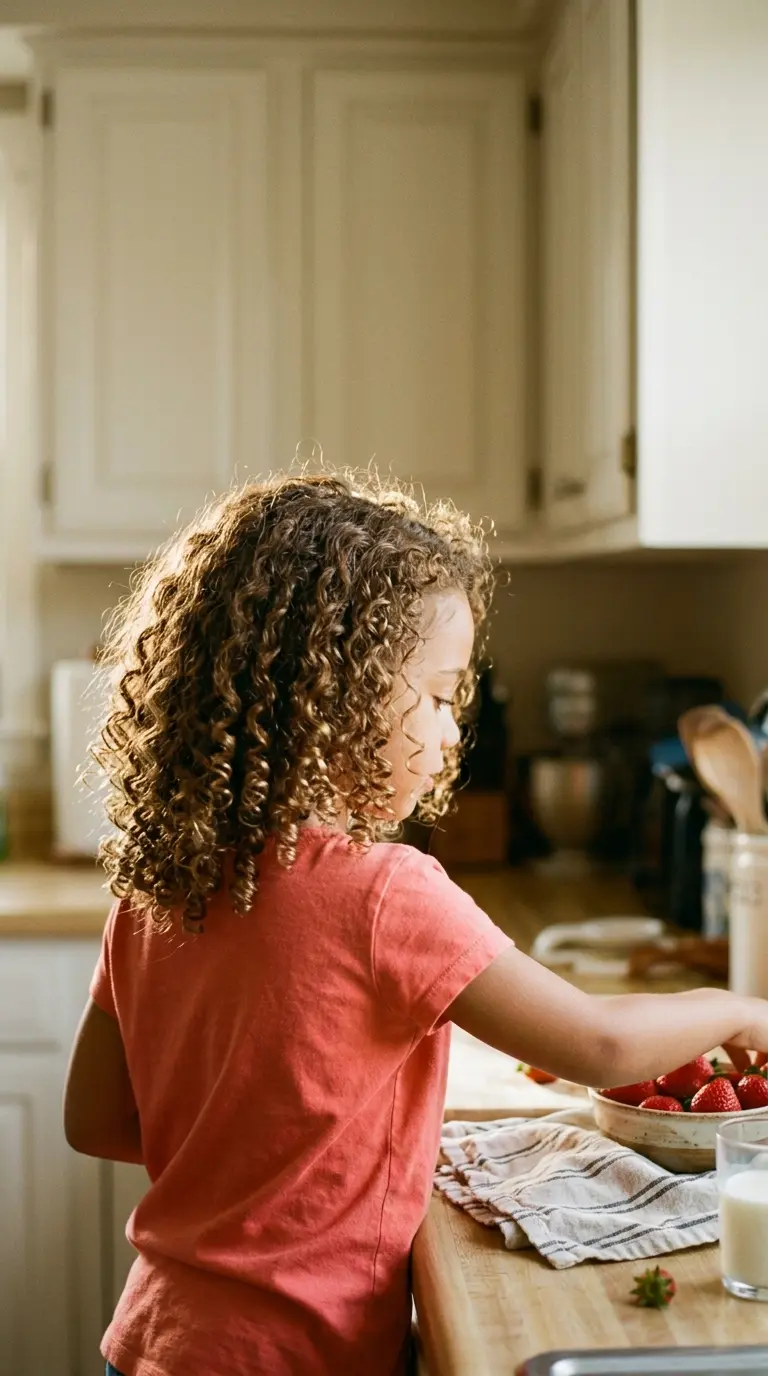
A wash and go is just clean curls, styled while wet and left to dry on their own. It sounds too simple to count as a style, but it is the foundation for almost everything else on this list. Get this right, and every other look gets easier.
- Wash with a gentle, sulfate free shampoo, then fill the hair with conditioner.
- Detangle in four sections with your fingers or a wide tooth comb while the conditioner is still in. Rinse.
- While the hair is soaking wet, smooth a leave in conditioner through each section.
- Follow with a curl cream or a light gel, then scrunch the curls up toward the scalp with your palms.
- Let it air dry and keep hands off until it is completely dry.
Apply products while the hair is dripping wet. Curly hair starts to frizz the moment it begins to dry, so this step cannot wait.
Quick tip: dry the hair with an old cotton t shirt instead of a bath towel. Terry cloth roughs up the curls and makes them puffy.
2. Toddler Palm Tree Ponytail With Baby Curls
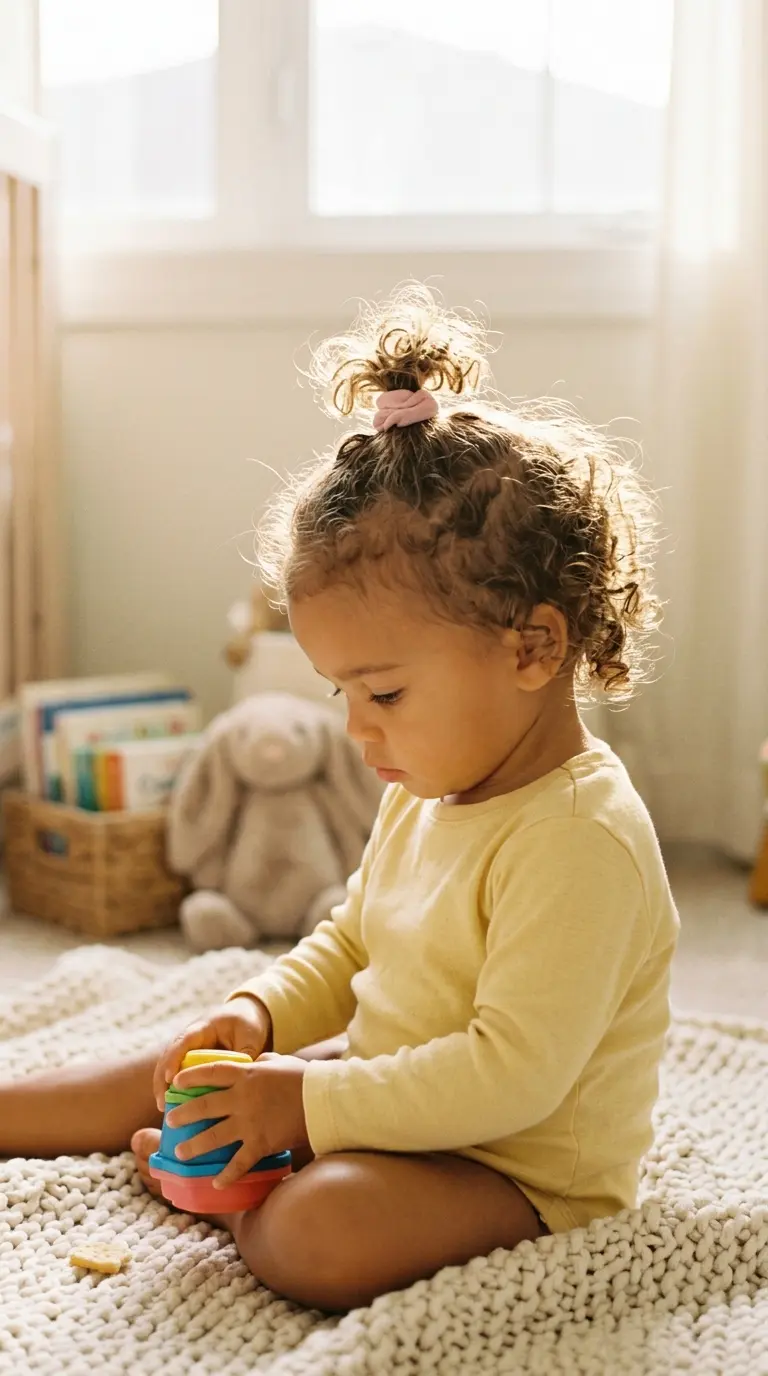
Baby curls are usually soft and loose, and they love to fall into little eyes. The palm tree ponytail fixes that in under a minute.
Mist the front of the hair with water. Gather a small section from the top of the head, roughly the size of your palm, and slip a soft fabric band around it. That is the whole style. The curls spray out the top like a little palm tree, and everything else stays down.
Use the softest bands you can find. Baby hair is fine, and plain rubber elastics can snap it or pull at the scalp.
Good to know: toddler curls often look straighter or looser than they will later. Many mixed kids see their curl pattern change, tighten, or loosen through about age five, so do not worry if the texture keeps surprising you.
3. Wide Headband With Curls Out
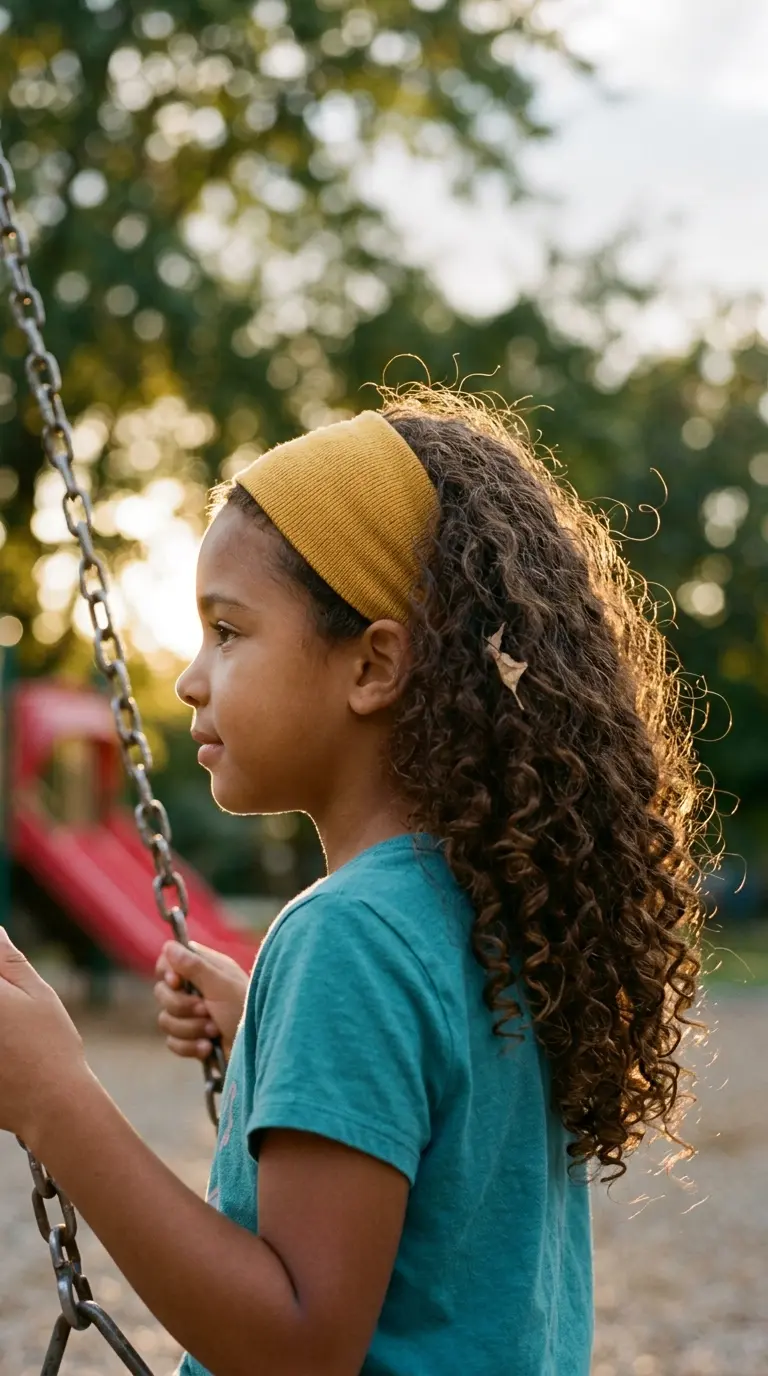
This is the style for mornings when you have thirty seconds and the curls are a little flat from sleep.
Spritz the hair with water until it is damp, then scrunch a small amount of leave in conditioner through the ends. Slide a wide stretchy headband over the head like a necklace, then pull it up and back so it sits about an inch behind the hairline. Fluff the curls behind it with your fingers.
The headband keeps hair out of her eyes at school, hides second day frizz at the front, and puts zero tension on the scalp.
Quick tip: pick a fabric headband, not a plastic one with teeth. Plastic combs snag curls and leave a dent across the top of the head.
4. Pineapple High Ponytail for School Mornings
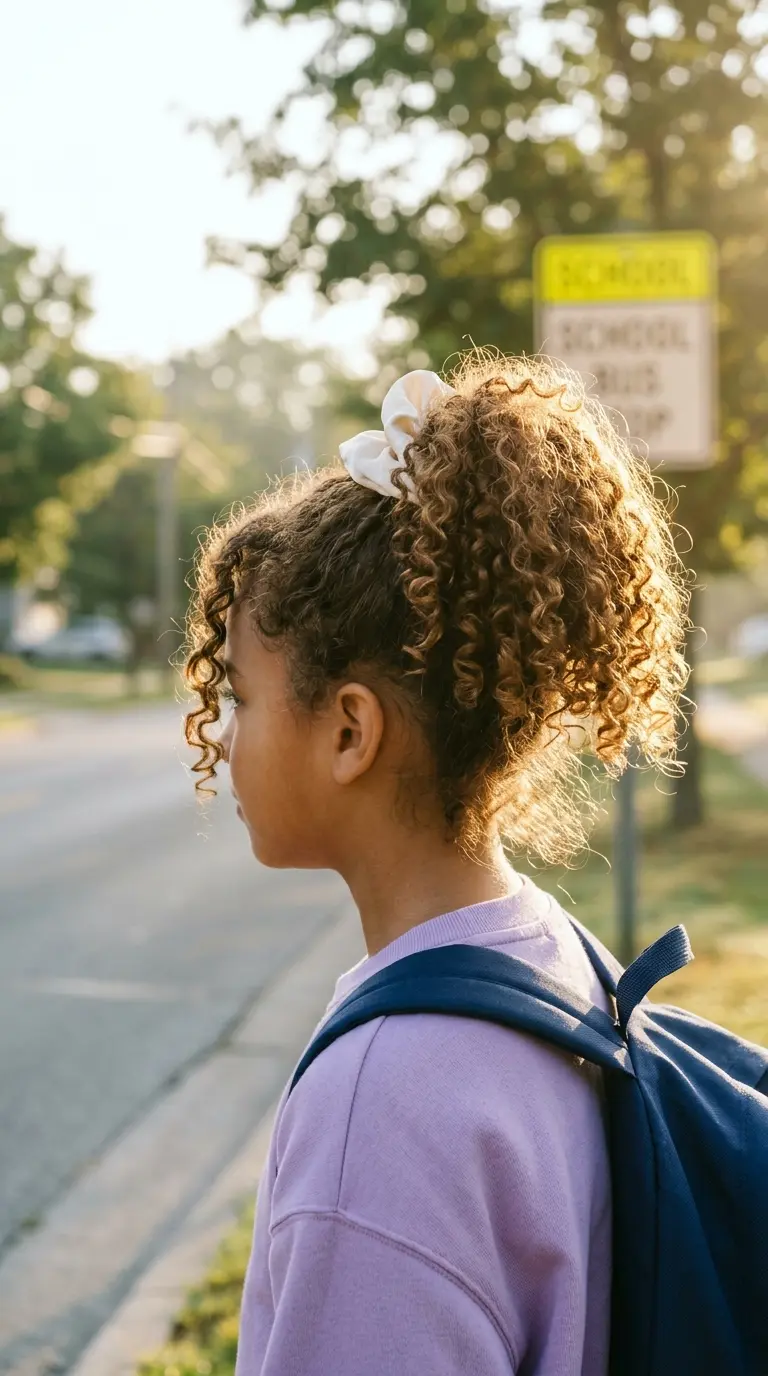
Pineappling is a trick curly families use at bedtime to protect curls overnight. It also happens to make a cute, easy style for the next morning.
Flip her head forward and gather all the curls loosely at the very top of the head, right above the forehead. Slip a satin scrunchie around them once or twice. Do not pull it tight, and do not smooth the sides down with a brush. The curls should fall forward over the scrunchie.
In the morning, take the scrunchie out for loose curls, or move it back a little and wear it as a high ponytail to school.
Good to know: this style works best on curls that reach at least the shoulders. Shorter curls will not stay in the scrunchie, so try the satin bonnet in style 13 instead.
Shampoo about once a week and condition every time you wash.
Detangle wet hair from the ends up, in small sections.
Refresh curls with water and leave in conditioner between wash days.
Brushing dry curls, which breaks the pattern into frizz.
Daily shampoo, which strips the oils curly hair needs.
Tight elastics at the hairline, which can thin the edges over time.
5. Half Up Curly Top Knot
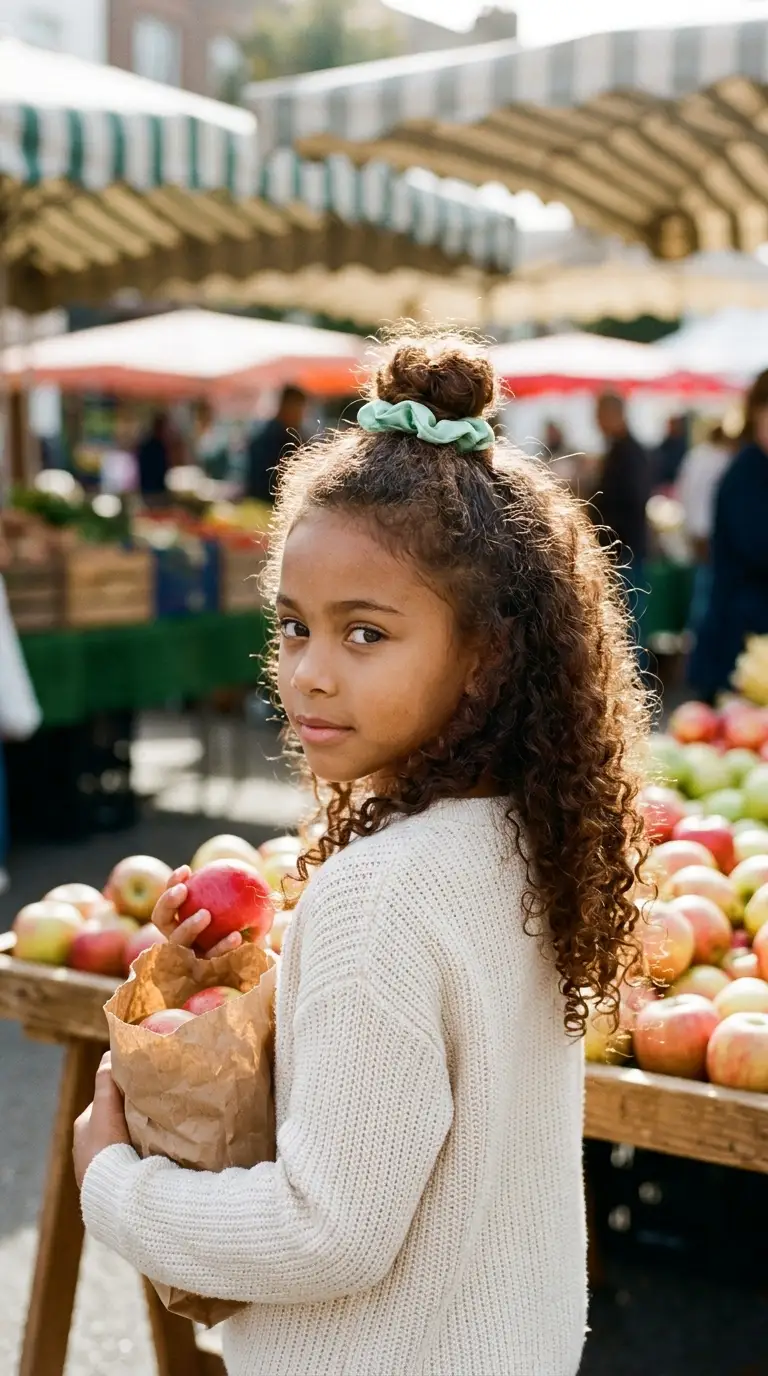
The half up top knot shows off the curls while keeping the front out of the way. It is the one many parents end up doing three times a week.
Spritz the hair. Using your fingers instead of a comb, gather the top half of the hair from temple to temple and pull it up to the crown. Loop a satin scrunchie around it, and on the last loop pull the curls only halfway through to make a small knot. Spread the loop out and let the ends stick up.
Leave the bottom half loose. If a few front curls escape, leave them. They frame the face nicely.
Quick tip: sectioning with fingers keeps curl clumps together. A comb splits them apart and creates frizz you cannot easily undo.
6. Deep Side Part With a Pinned Front Twist
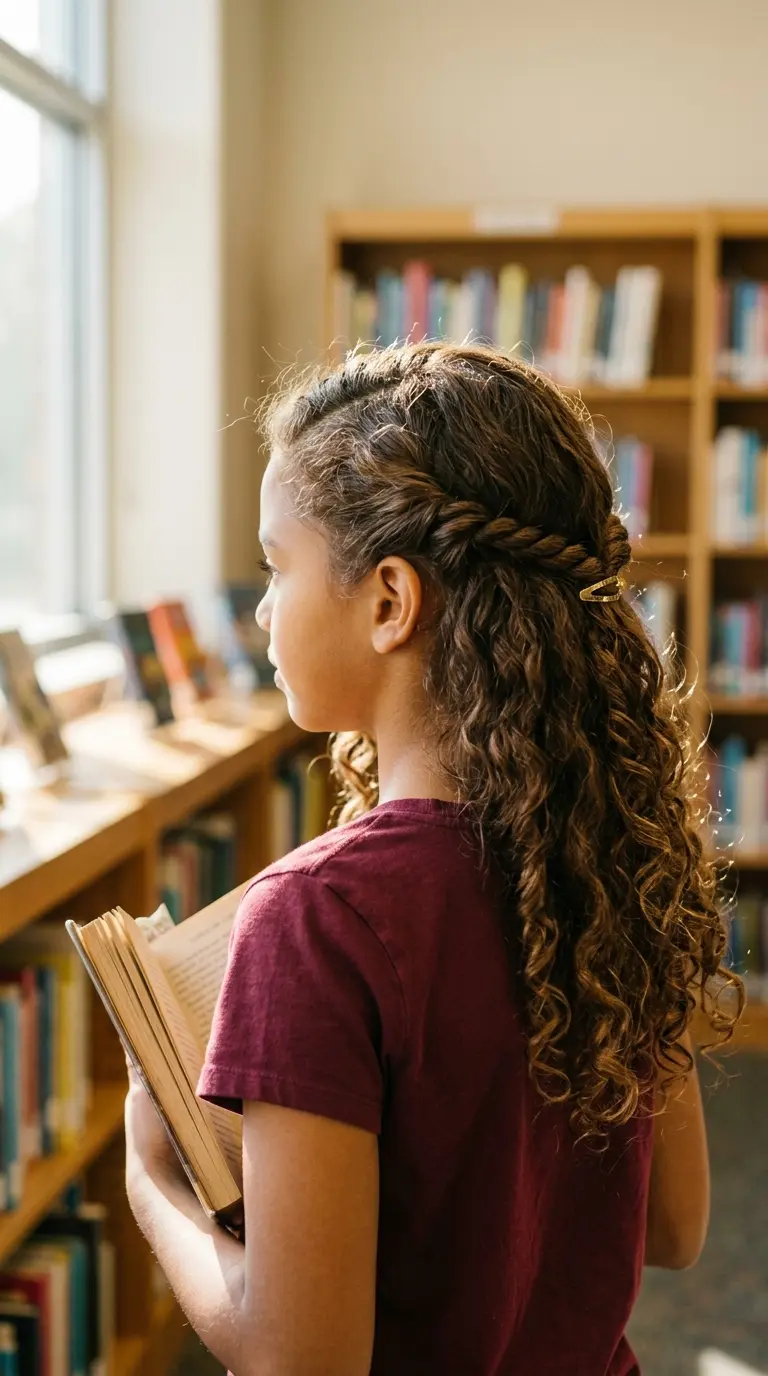
A deep side part makes curly hair look polished without changing its shape. Adding one twist on the heavy side keeps the curls from flopping into her eye during class.
Wet the front of the hair and use the tail of a rat tail comb to draw a part about an inch above the outer corner of one eyebrow. Take a two inch section from the front of the heavy side, split it into two pieces, and twist them around each other back toward the ear. Pin the end with a snap clip or two bobby pins.
This one looks great on looser curls, which often lie flatter at the roots and can hide a part.
Good to know: move the part every few days. Wearing it in the same spot for months can leave a thin line where the hair separates.
7. Rubber Band Grid Into Two Curly Ponytails
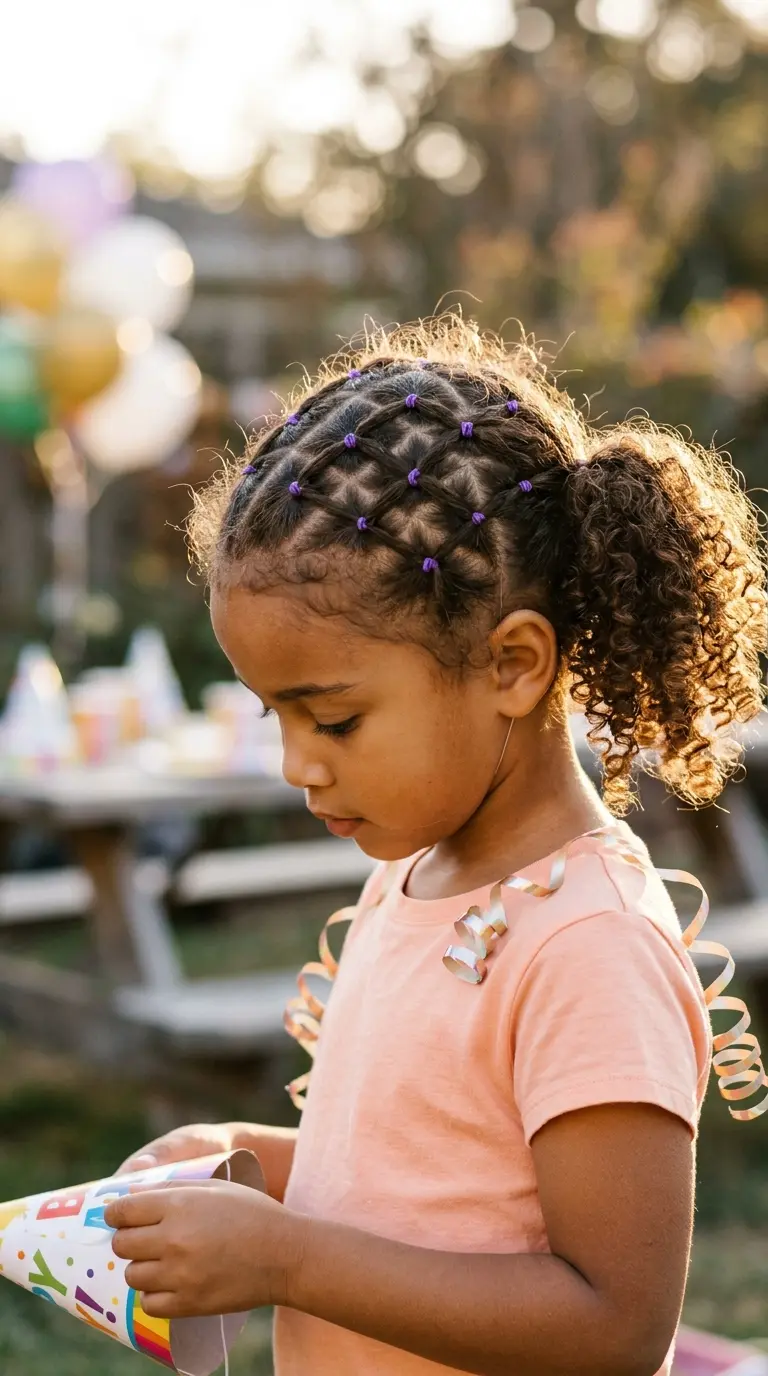
The rubber band method looks like a braid pattern, but it uses only small elastics. It is a great first fancy style for parents who cannot braid yet.
Start with damp, detangled hair and a center part from forehead to nape. Along the front hairline, section three small boxes on each side and tie each one into a tiny ponytail. Split each little tail in half. Join one half with a half from the box next to it, add a little new hair from the next row back, and tie them together. Repeat row by row until the sections meet two ponytails at the back.
It stays neat for three to five days with a satin bonnet at night.
Quick tip: use small soft elastics made for curly hair, not the thin silicone kind. When it is time to take the style out, snip the elastics with small scissors instead of pulling them.
Try the wash and go, deep side part, side Dutch braid, or curly bob with bangs. Use lighter products like a curl foam or a light gel, since heavy butters weigh looser curls down.
Try the Bantu knots, braid out, rubber band grid, or finger coils. Use a creamy leave in and seal it with a light oil, because tighter curls lose moisture faster.
8. Curly Bob With Soft Curly Bangs

Sometimes the best style is a good haircut. A rounded curly bob gives you a cute shape every single day with almost no styling at all.
Look for a stylist who cuts curly hair dry, curl by curl. Curly hair shrinks as it dries, sometimes by half its length, so a cut done on wet, stretched hair can end up much shorter than you expected. Curly bangs should be cut long, at least to the eyebrows when wet, because they bounce up as they dry.
On busy mornings, mist with water, scrunch in a little leave in conditioner, and she is ready.
Good to know: ask the stylist how much your child’s curls shrink before the cut. Knowing that one number will save a lot of surprise and tears.
9. Bantu Knots for a Weekend Set
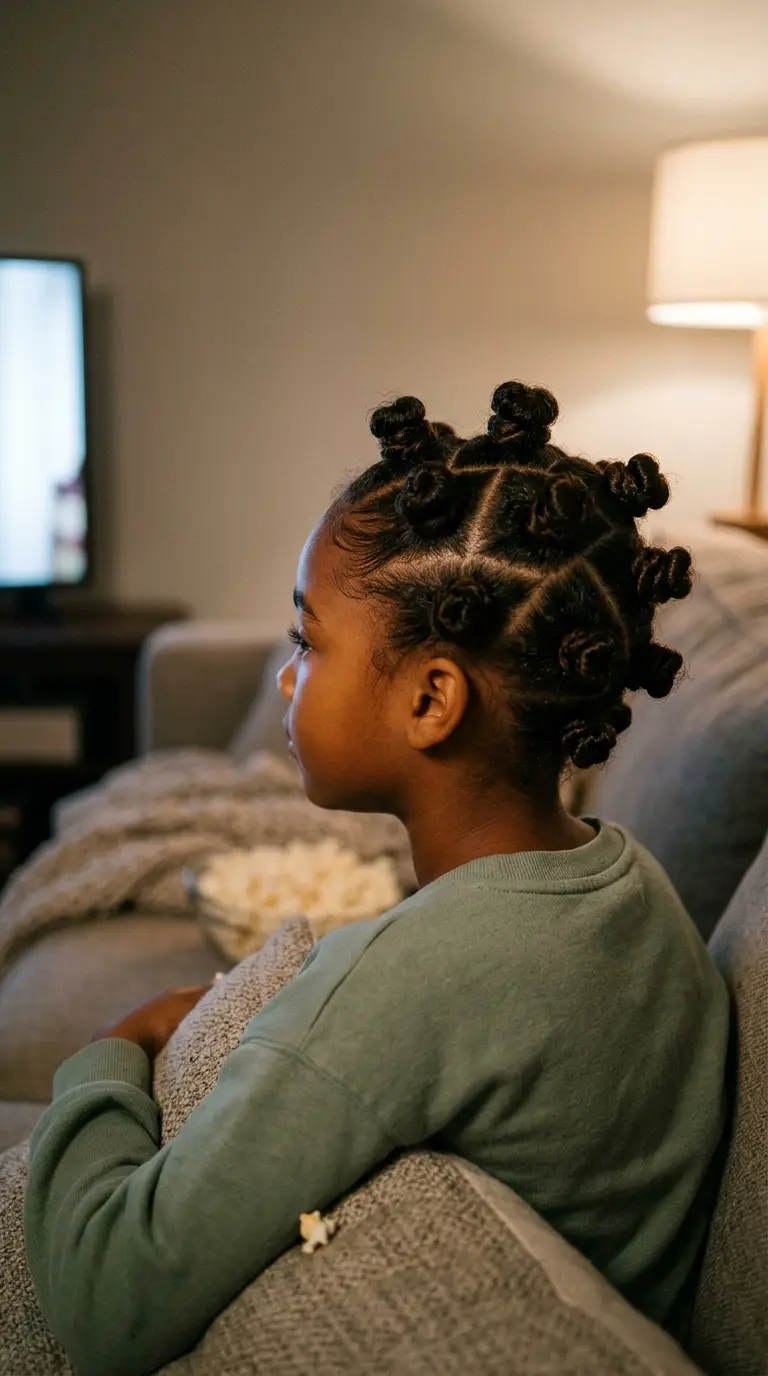
Bantu knots are small coiled buns that sit all over the head. They are a style on their own, and when you take them out they leave behind big, bouncy spirals.
- Start with damp, detangled hair and a leave in conditioner.
- Part a small square or triangle, about the size of a large coin.
- Smooth a little styling cream down the section and twist it until it starts to coil on itself.
- Wrap the twisted hair around its own base, like a snail shell, and tuck the end underneath.
- Repeat across the whole head. Most kids need ten to sixteen knots.
On tight curls, the ends usually stay tucked without help. On looser curls, secure each knot with a small soft elastic or a bobby pin.
Quick tip: do not twist so hard that the scalp pulls. If she winces or you see a bump at the root, unwind that knot and redo it more loosely.
10. Bantu Knot Out With Bouncy Spirals
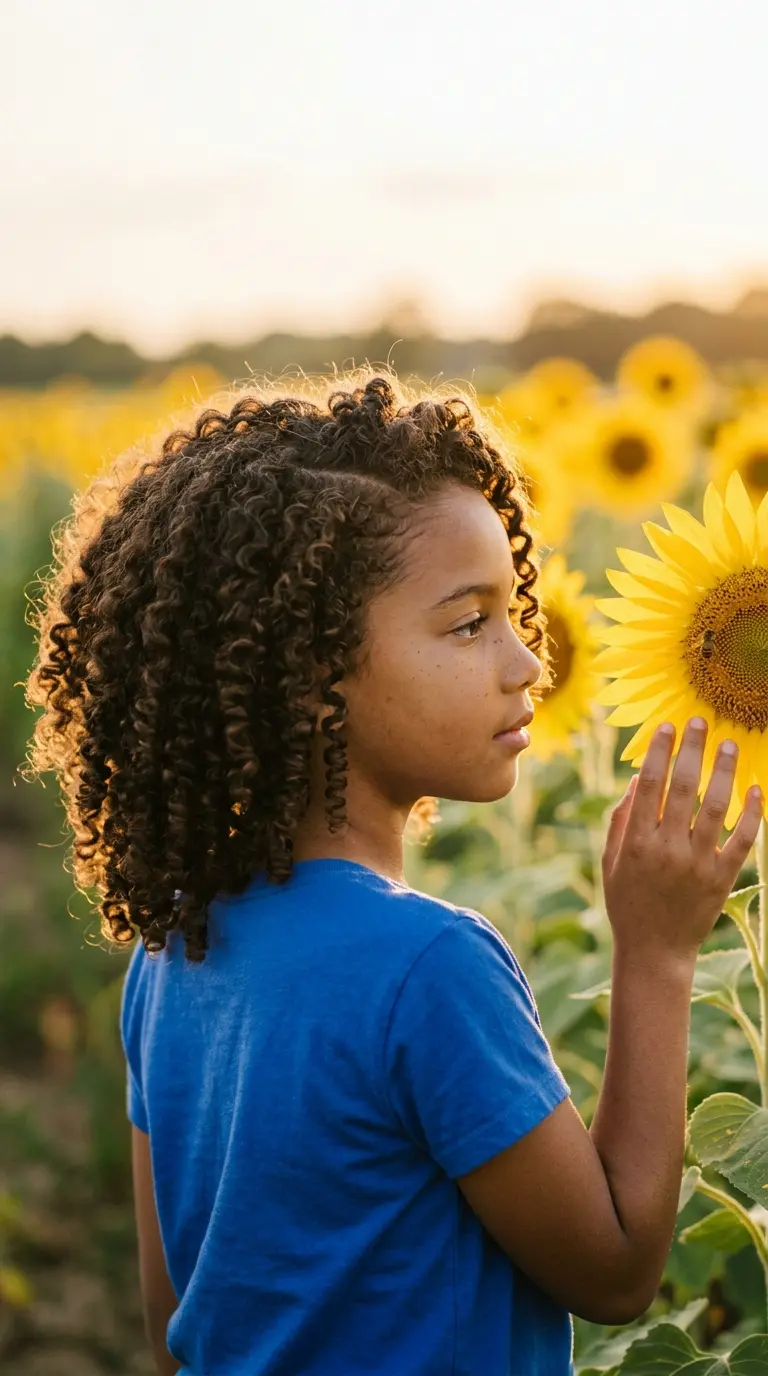
After a few days of Bantu knots, take them down for a second style that looks completely different.
Make sure the knots are completely dry. If they are even a little damp, the curls will turn into frizz. Rub a drop of light oil on your fingertips, then unwind each knot in the opposite direction you wrapped it. Gently separate each spiral into two or three smaller pieces. Fluff the roots with your fingers, not a pick, and shape the curls with your palms.
The result is a full head of soft, even spirals that lasts another two to four days.
Good to know: if her curls are looser, set the knots on hair that is only damp, not soaking. Soaking wet hair can take more than a day to dry inside a knot.
11. Braid Out From Two Chunky Plaits
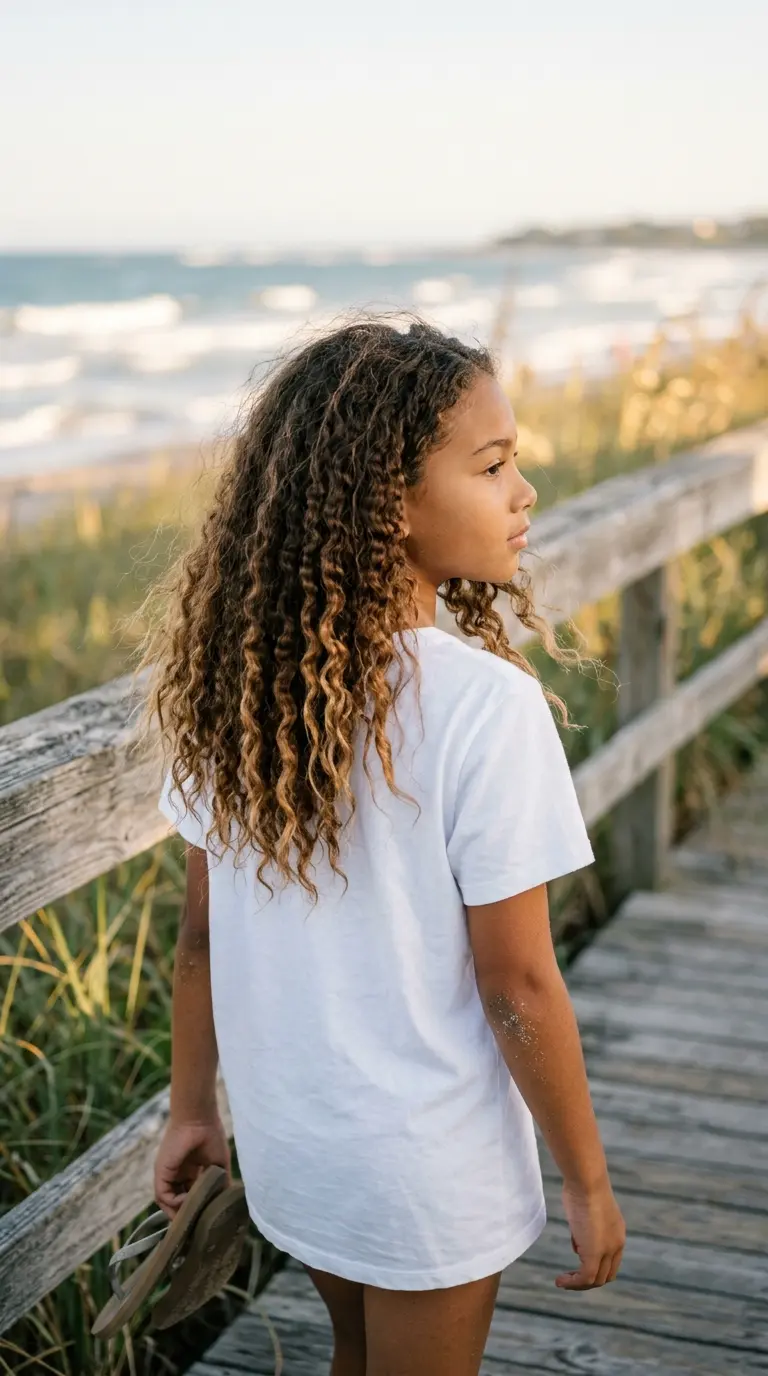
Curly hair can shrink so much that you cannot see how long it really is. A braid out stretches it and gives soft, wavy texture instead of tight curls.
At bedtime, spritz the hair, smooth in a leave in conditioner, and make a center part. Braid each side into one chunky three strand braid and tie the ends. Cover with a satin bonnet. In the morning, take the braids out once they are fully dry, separate the waves gently with oiled fingertips, and shake the roots loose.
Two braids give big, loose waves. Four or six braids give tighter, more defined ripples.
Quick tip: if the ends come out straight and flat, twist each end around your finger before tying the braid. It gives the tips a little curl that matches the rest.
12. Side Dutch Braid With Loose Curls on the Other Side
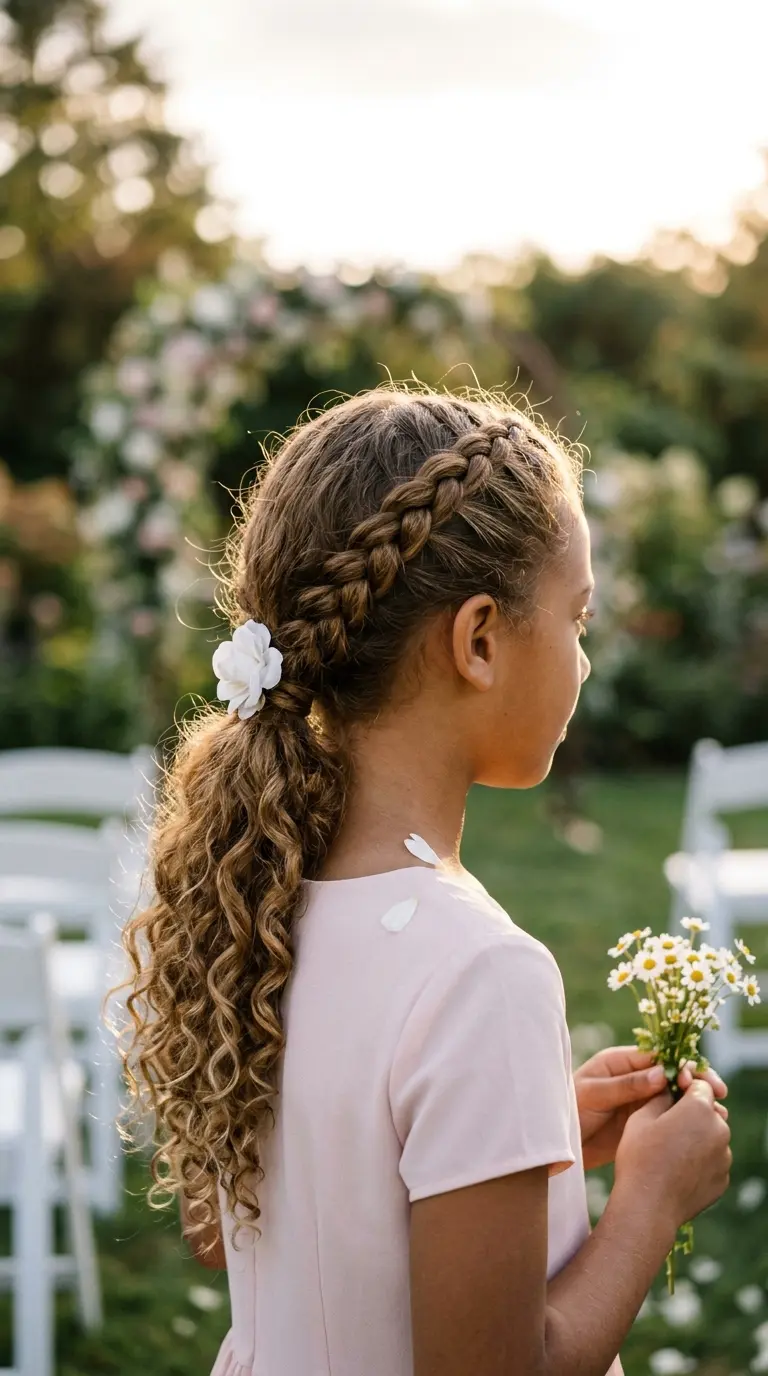
This one shows off both sides of curly hair at once: a neat braid on one side and loose curls on the other. It works well for weddings, holidays, and picture day.
Make a deep side part. On the heavy side, start a Dutch braid at the front hairline by crossing the strands under instead of over, adding hair as you go. Braid along the side of the head, over the ear, and down toward the nape. Tie it with a small band and let the rest of the curls fall over the opposite shoulder. Pin a flower or a clip at the end of the braid.
Braid on damp hair with a little cream on your fingers. Dry curly hair tangles inside the braid and puffs up.
Good to know: if your child’s curls are very tight, the braid will look fuller and fluffier than the photos you see online. That is the texture, not a mistake.
13. Low Curly Bun With a Silk Scarf
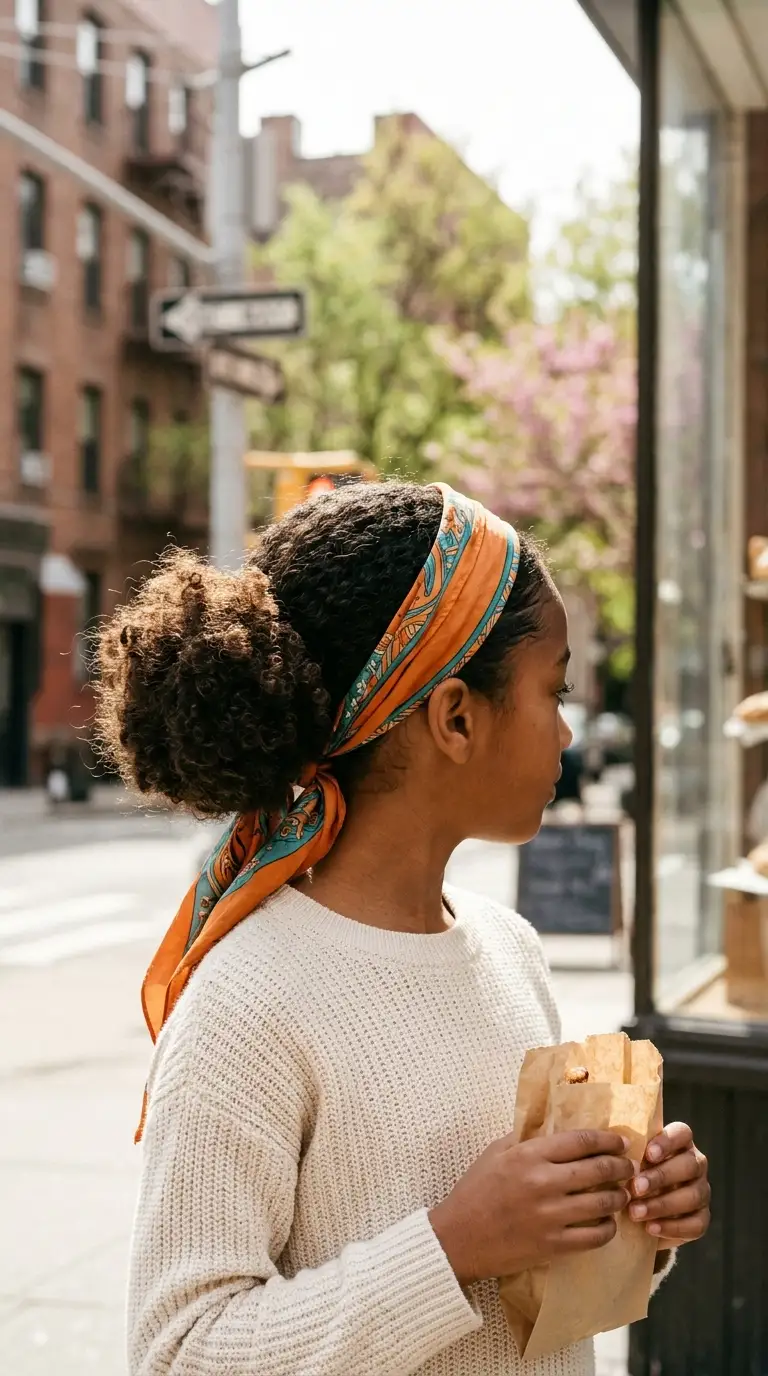
Silk and satin are the best friends of curly hair. A scarf tied around a low bun looks stylish, and it protects the hairline from rubbing against hoods and car seats all day.
Gather the curls into a low ponytail at the nape with a satin scrunchie. Twist the ponytail loosely and wind it around itself into a fluffy bun, then pin it. Fold a square silk scarf into a long band about three inches wide. Lay it over the front of the head, behind the hairline, and tie it at the nape just under the bun.
It is a smart choice for windy days, second or third day curls, and older kids who want something grown up.
Quick tip: the same scarf doubles as a night wrap. Tie it over the whole head before bed, and the curls will look fresher in the morning.
Take out tight elastics, clips, and pins so nothing pulls overnight.
If the ends feel dry, smooth a little leave in conditioner or a drop of oil over them.
Loosely pineapple long curls, or put short curls into two or four chunky braids.
Cover with a satin bonnet or scarf, or use a satin pillowcase for kids who pull bonnets off.
14. Pinned Curly Faux Hawk for Girls
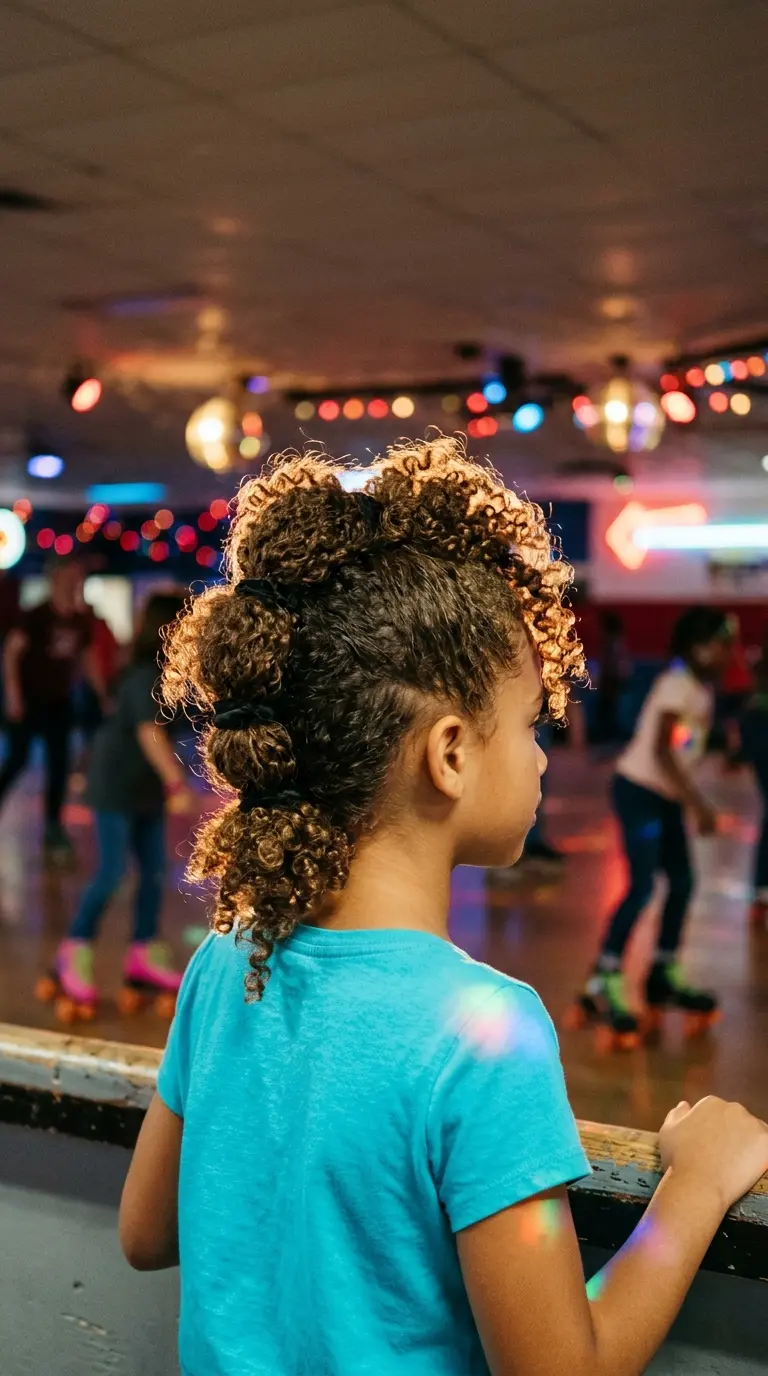
The faux hawk is pure fun, and kids love how bold it looks. No shaving needed. It is all about pinning the sides up toward the middle.
Spritz the hair. Divide the top of the head into three sections in a line from the forehead to the crown, and tie each one into a loose ponytail with a soft band. Take the hair on each side, twist it gently up toward the nearest ponytail, and pin it in place. Fluff the curls from all three ponytails together so they blend into one tall curly ridge.
It takes about ten minutes and lasts all day through skating, gym class, and the playground.
Good to know: pin the sides with the bobby pins crossed in an X. A single pin slides out in curly hair, but crossed pins lock together.
15. Curly Top With a Low Taper for Boys
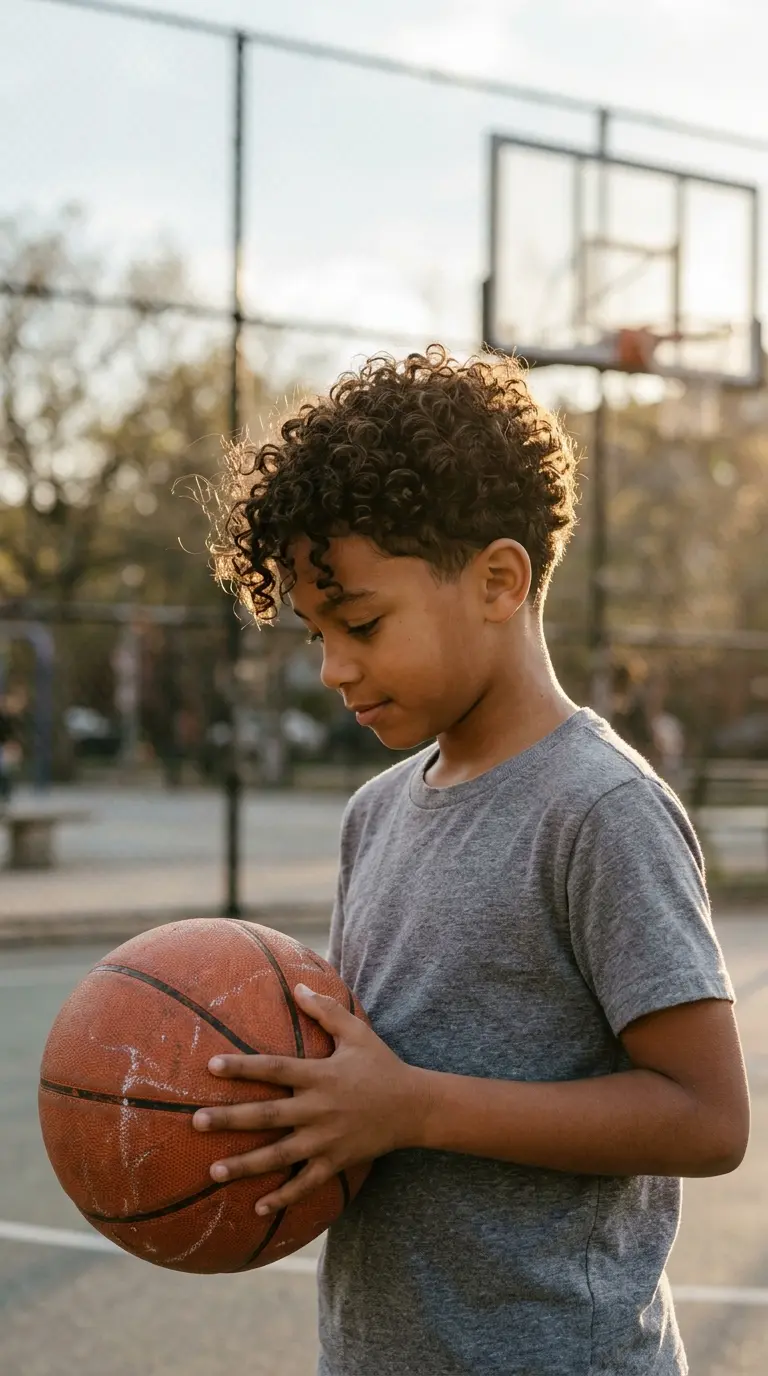
This is the most requested cut for mixed boys right now, and for good reason. The curls get to shine on top, and the short sides keep him cool and tidy.
Ask the barber for two to four inches of length on top and a low taper on the sides and back. A low taper only fades near the ears and neckline, so it grows out gently and looks good for about four weeks.
At home, mist the top with water, rub a pea sized amount of curl cream between your palms, and scrunch it into the curls. Let them fall forward or push them back with your fingers.
Quick tip: find a barber who has worked with curly hair before. Ask to see photos of their curly cuts, or look for a shop with clients who have hair like your son’s.
16. Short Finger Coils for Boys
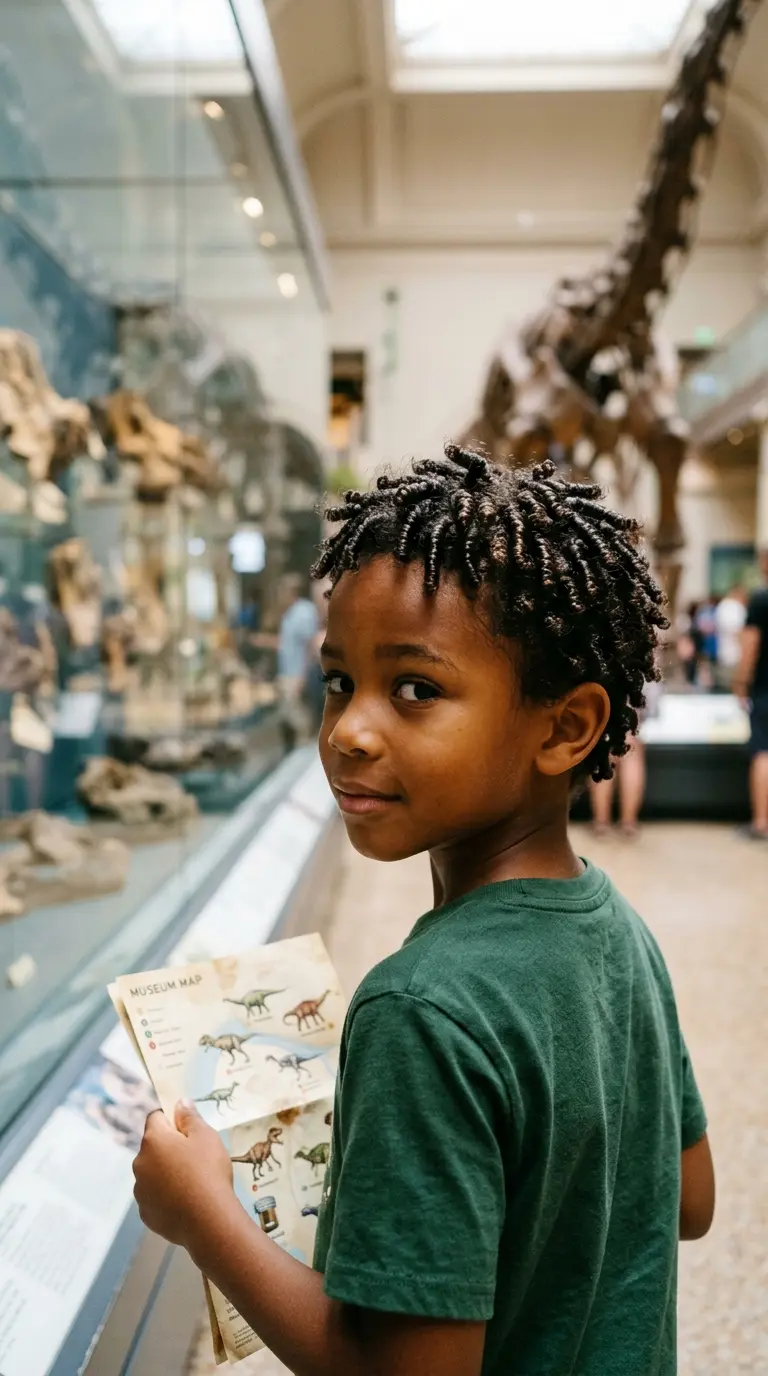
Finger coils take a short curly cut and give every curl a clean, defined shape. They are a nice choice for boys with tighter curls who want to keep their hair short.
Start with soaking wet hair and a leave in conditioner. Take a small section, about the width of a pencil, and smooth a curl gel or cream down it. Wrap the section around your index finger, from root to tip, then slide your finger out. The hair holds a neat little spring. Repeat over the whole head and let it air dry without touching.
The coils last four to seven days, and they get softer and fluffier every day.
Good to know: this works on hair from about one to three inches long. Longer hair gets heavy and the coils stretch out by the second day.
17. Curly Half Up With a Satin Bow for Picture Day
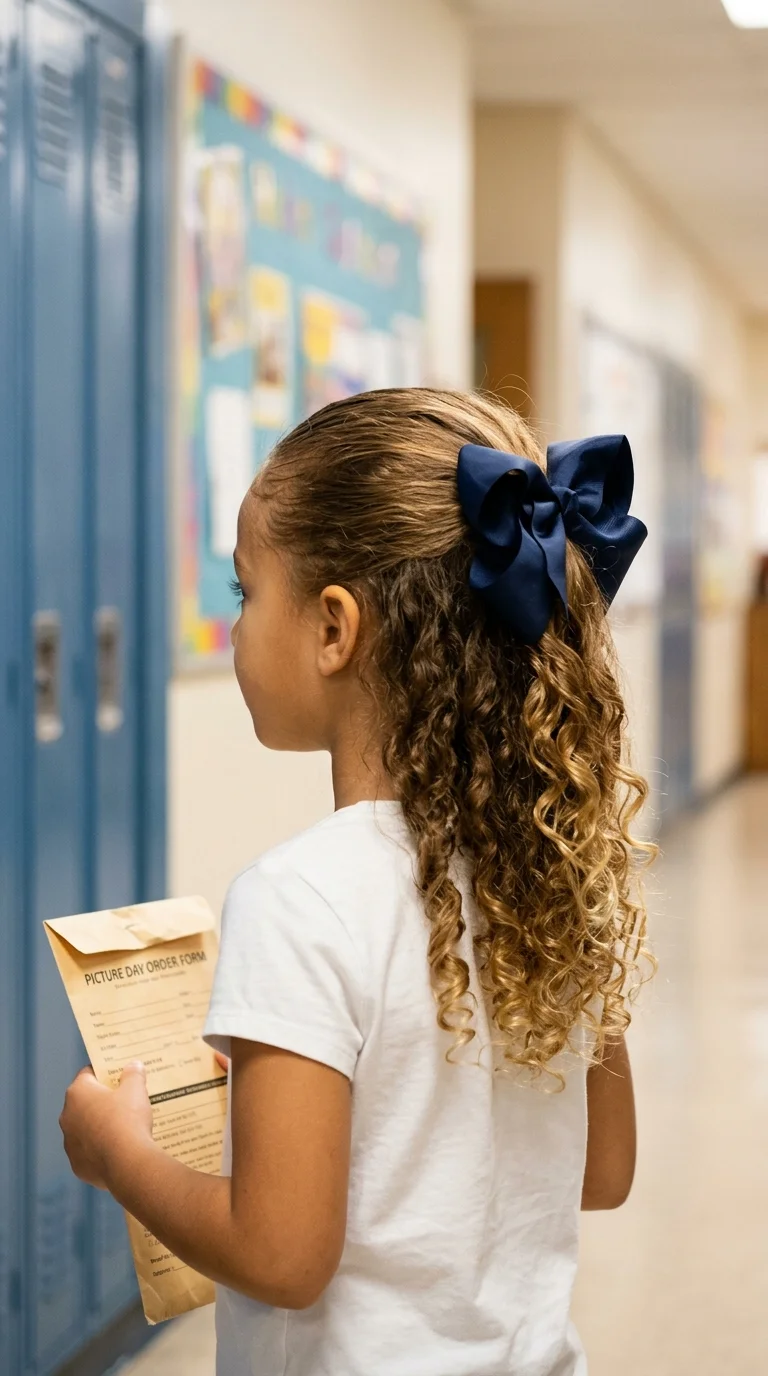
Picture day calls for curls that look fresh and a front that stays out of the face. A big bow handles both.
The night before, put the hair in a loose pineapple or two braids so the curls do not get crushed. In the morning, spritz with water and scrunch in a little curl cream to refresh. Gather the top section from temple to temple, smooth it back with damp hands, and tie it with a soft band at the back of the crown. Clip a satin bow over the band.
Pack a small spray bottle in her backpack. A quick spritz right before the photo brings back the curls.
Quick tip: do not wash the hair the morning of picture day. Curls usually look their best on the second day, once they have settled.
18. Curly Bubble Ponytail
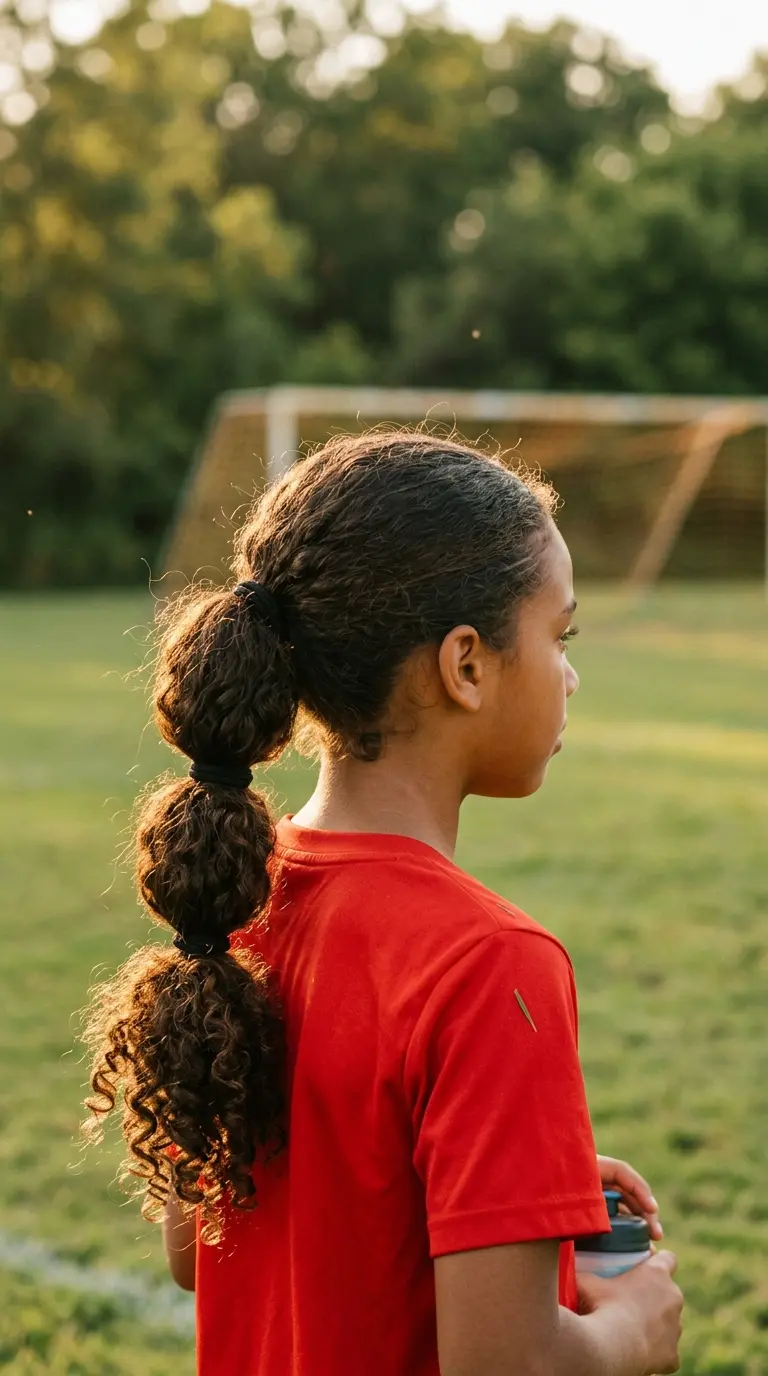
A bubble ponytail keeps long curls in check for sports, and it looks playful instead of strict.
Smooth the front back with damp hands and a little cream. Gather a ponytail at the middle of the back of the head and tie it with a soft band. Add another band about two inches down the ponytail, then another, and keep going until you reach the ends. Gently pull the curls between each band outward to make round bubbles.
Because the length is held in several places, it does not tangle into a knot by the end of practice.
Good to know: leave the first band a little loose at the scalp. A tight sporty ponytail worn day after day is one of the most common causes of thinning edges in curly kids.
Curly hair loves water, conditioner, and gentle hands. Detangle it wet, style it wet, sleep on satin, and never pull tight at the hairline. Do those four things, and almost any style on this list will work for your child.
Loving Your Child’s Curls
Learning curly hair takes a few weeks, not a lifetime. Start with the wash and go and the wide headband until the basic routine feels normal. Then try the half up top knot, the pineapple, and the side part with a pinned twist. When you feel ready, move on to the rubber band grid, Bantu knots, a braid out, or the side Dutch braid. Boys have great options too, from the curly top with a low taper to short finger coils.
Your child is watching how you handle their hair, so keep it gentle and talk kindly about their curls while you work. A child who hears “your curls are beautiful” in the hair chair grows up liking the hair they have.
The best hairstyles for mixed kids with curly hair are the ones that keep the curls moisturized, comfortable, and fun to wear.
Save this list to your hair board so you always have a new idea for the next wash day.