
Your baby has maybe a dozen hairs on top, and every one of them points a different way.
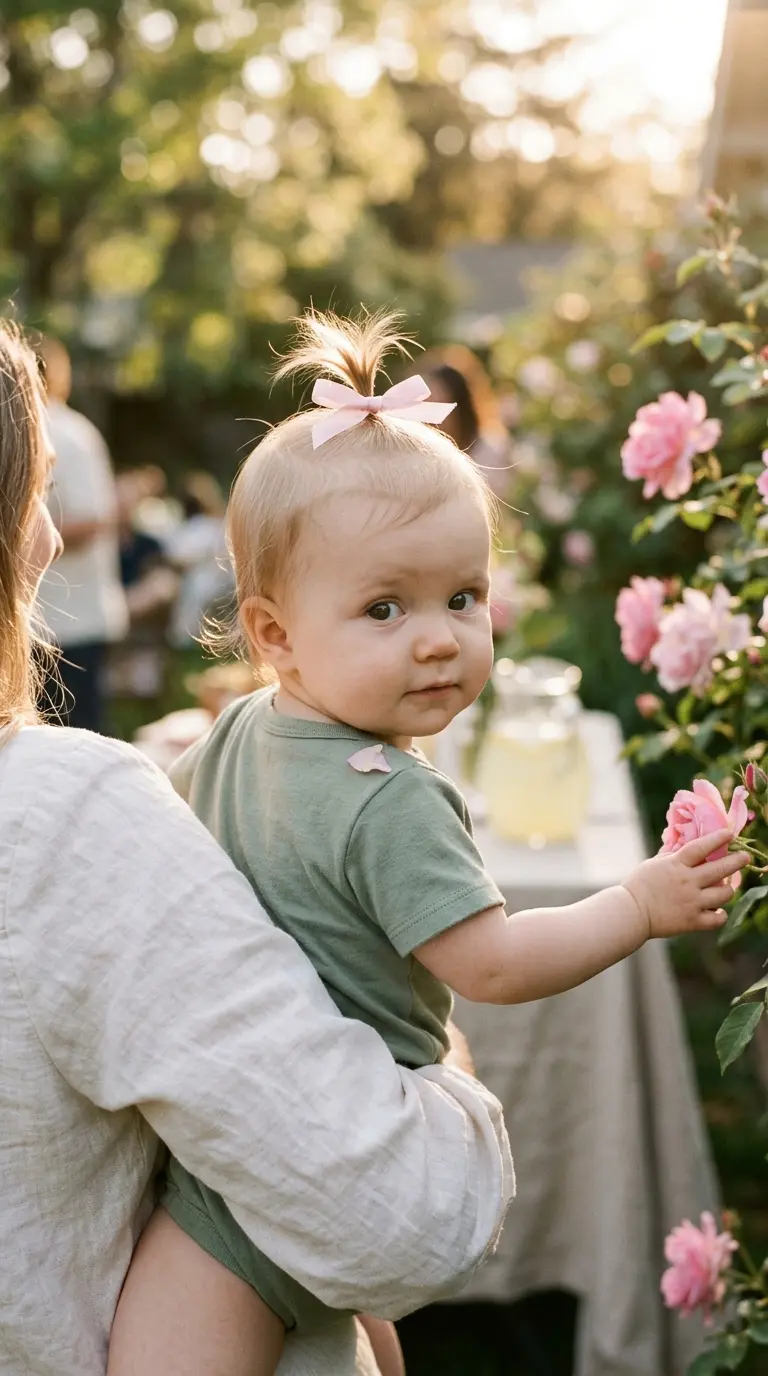
Most hairstyle ideas online assume there’s enough hair for a ponytail. Then you look at your daughter. She has soft fuzz at the front, a thin patch at the back where she lies down, and one long wisp she was born with. Braids are out. Buns are a joke. Even a single elastic slides right off.
So this list starts where your baby actually is. These baby girl hairstyles work with fine, short, barely there hair, and most need only a spray bottle, a soft brush, and a few clear silicone elastics. Some need no hair at all. A few are saved for the stage when the front finally reaches her eyebrows.
One rule runs through every idea here. Keep it soft and keep it loose. No tiny clips, no beads, nothing that pulls, and everything comes off before naps and bedtime. Hand her a teether to keep her fingers busy, and let’s start with the easiest one.
1. One Tiny Sprout on Top, the Classic for Barely There Hair
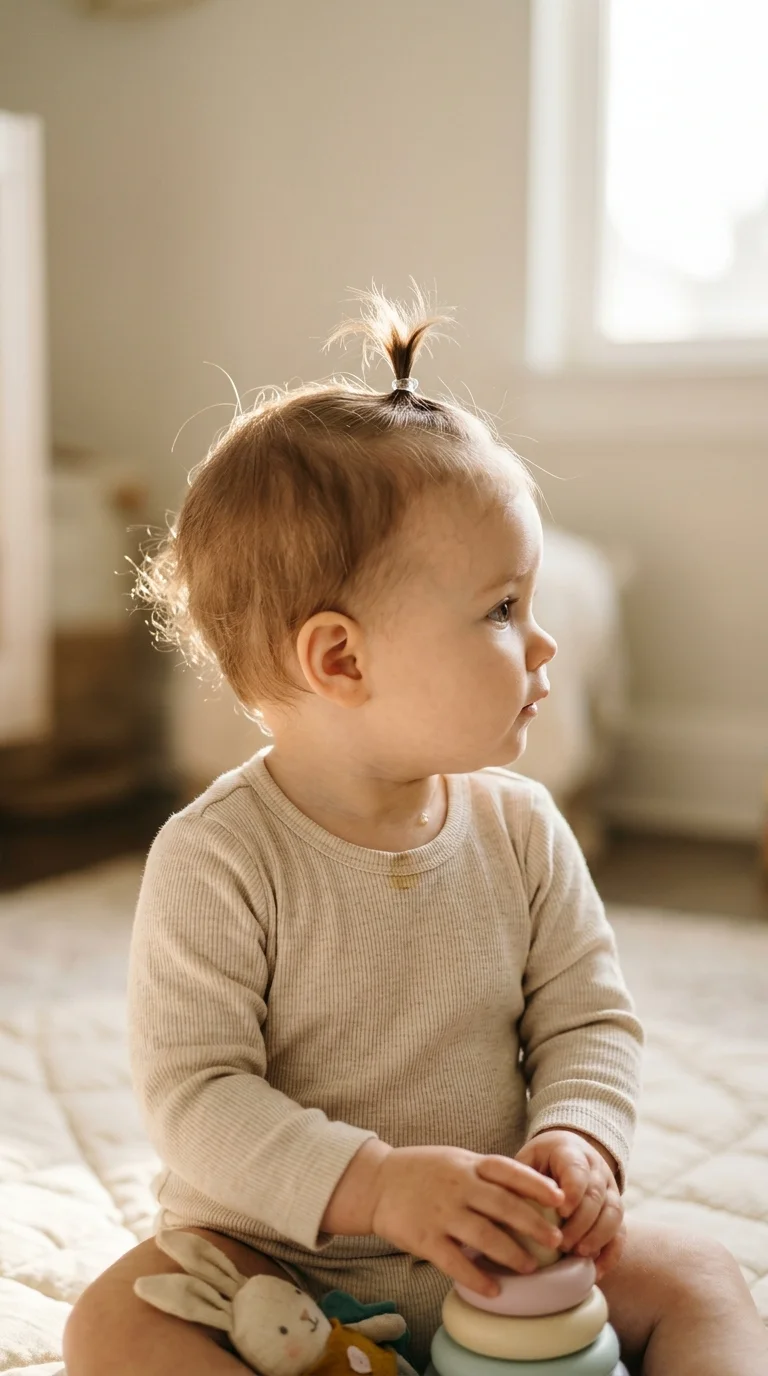
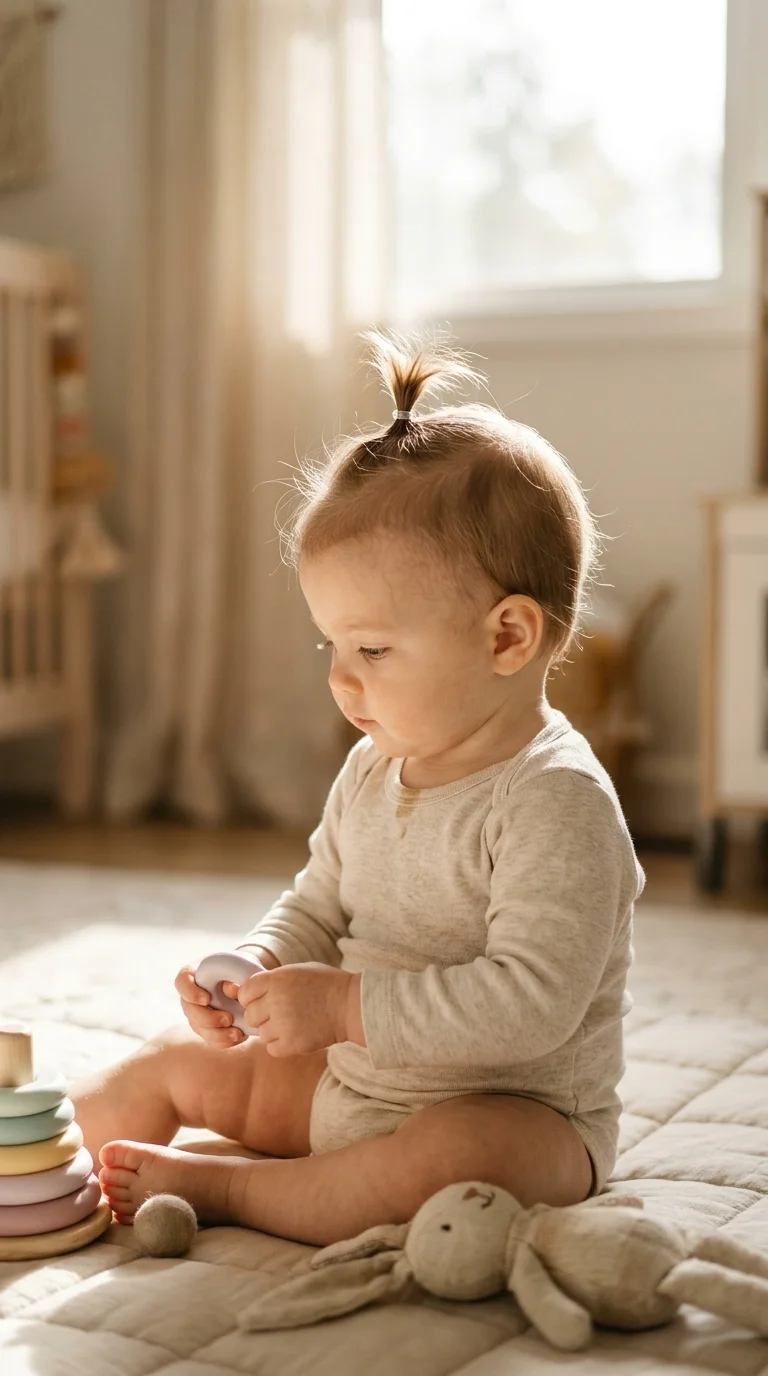
The top sprout is where most parents start, because it only needs the hair that grows right above the forehead.
- Mist the front inch of hair with water.
- Gather it with your fingertips, not a comb, and twist it once.
- Wrap one clear silicone elastic around it two or three times.
That’s the whole style. It sticks straight up like a little fountain and keeps the wisps out of her eyes during tummy time.
Quick tip: get the smallest clear silicone elastics you can find. Fabric ones are too heavy for fine baby hair and slip off before you’ve even put the spray bottle down.
2. Stretchy Nylon Headband With a Soft Fabric Bow
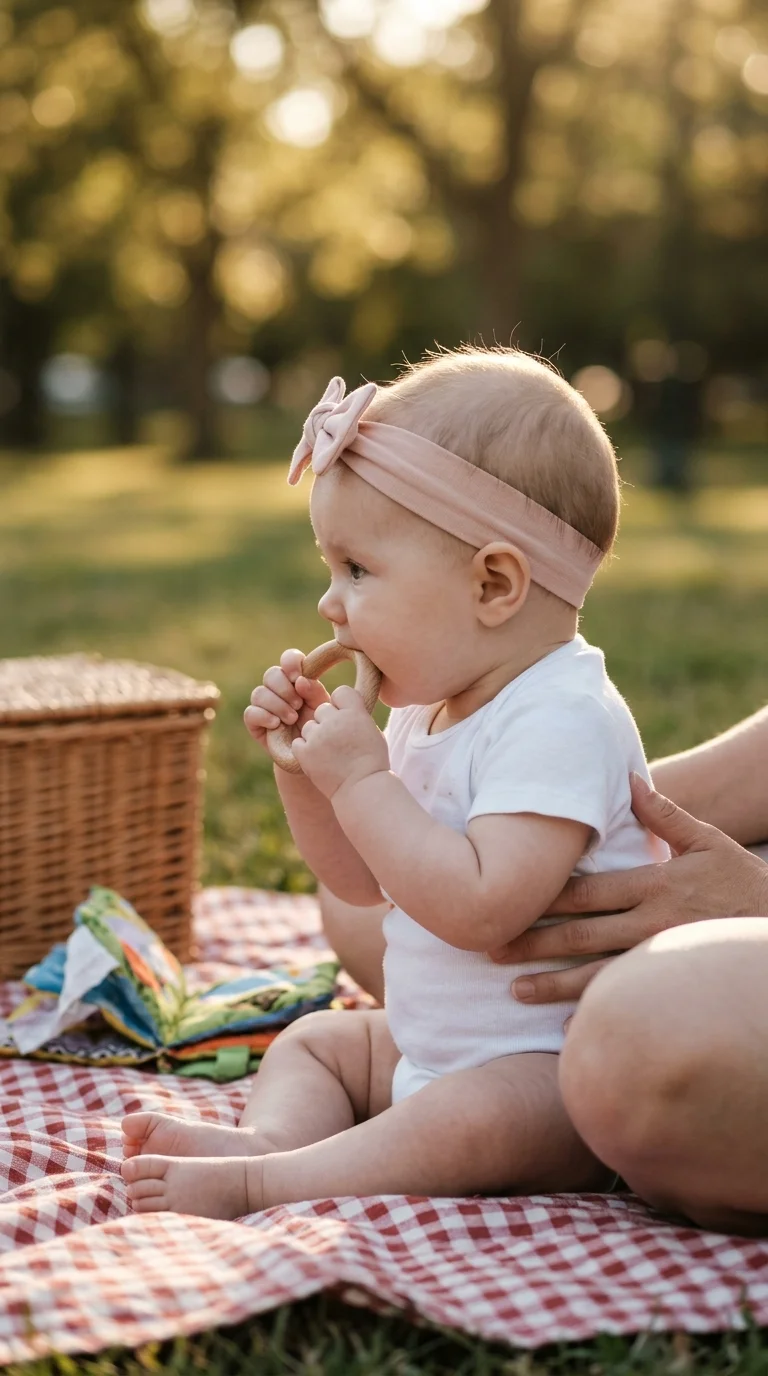
No hair yet? A headband still gives her something sweet for photos, and it needs nothing from her scalp.
Look for the wide, very stretchy nylon kind that feels like tights. Thin elastic bands and hard plastic headbands press into a baby’s head fast.
Slide it on so it sits just above her eyebrows in front and low at the back, under the curve of her head. Then run one finger under it all the way around. If your finger doesn’t slip in easily, it’s too tight.
Check her forehead after fifteen minutes. A red line means size up or take it off.
Pick wide, soft nylon that stretches with almost no effort.
Fit one finger under the band all the way around her head.
Take it off for naps, bedtime, and any time you step away.
Thin elastic bands that leave a red line on her forehead.
Bows with glued on beads, gems, buttons, or pom poms.
Leaving it on when you can’t see her.
3. Damp Comb Side Part With a Little Swoop
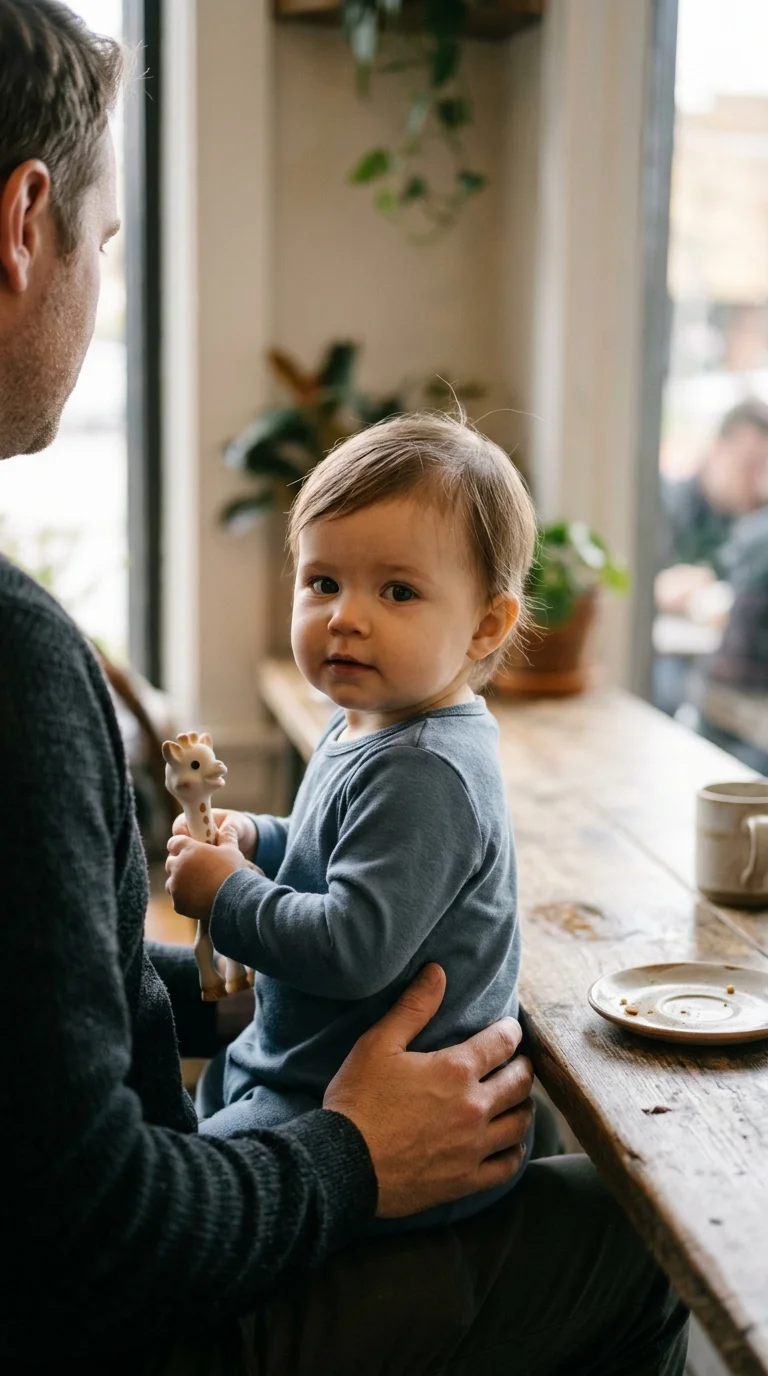
A side part is the quickest way to make a sparse head of hair look combed on purpose.
Wet a soft baby comb under the tap and shake it off. Find where her hair naturally falls, usually a little off center near a cowlick, and draw a short part there. Sweep the front wisps across her forehead toward the other side so they curve into a small swoop.
- Part on the side her hair already leans toward.
- Keep the part short, about two inches.
- Let it air dry. No hair dryer.
Nothing to tie and nothing to remove at nap time. Save this one for grandma’s house and video calls.
4. Two Bunny Ear Sprouts Close to the Hairline
The usual mistake with two sprouts is placing them too far apart. On short hair, they end up over her ears with almost nothing in them.
Keep both close to the front hairline, about two fingers apart, right above the outer ends of her eyebrows. That’s where the hair tends to be longest.
- Draw a short center part with a wet comb.
- Gather each side into a small sprout.
- Wrap each one with a clear silicone elastic.
They flop a little, like rabbit ears, which is half the fun.
Safety note: count the elastics going in and count them coming out. A loose elastic in the crib or on the high chair tray is a choking risk.
5. Single Kewpie Curl Twirled With Water
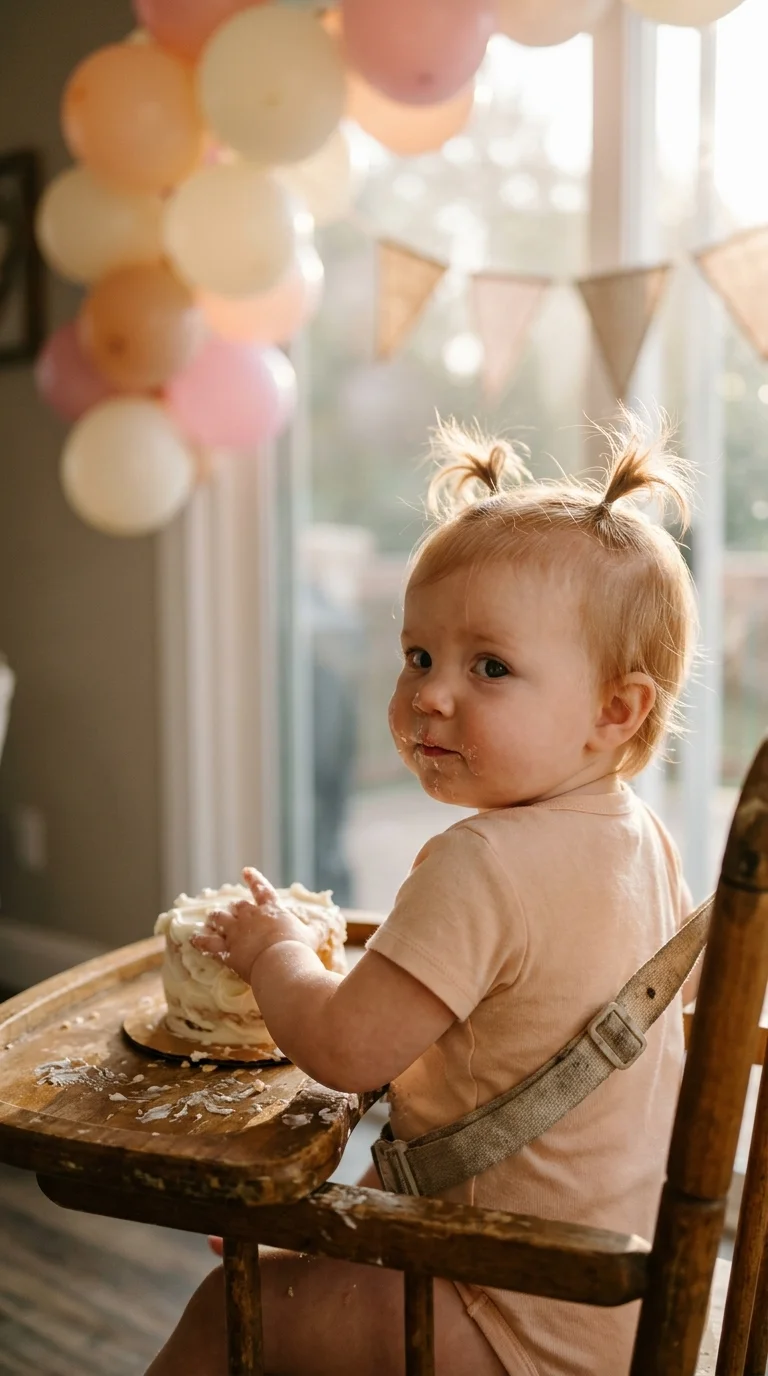
Every baby with fine hair seems to have that one longer wisp right on top. It’s practically asking to be a curl.
Wet the wisp until it’s damp, not dripping. Wrap it around your index finger once, hold it there for a slow count of ten, then slide your finger out. The hair keeps a loose ring for a while, and longer on humid days.
Some parents set it with a tiny dab of the leave in conditioner they already use on their baby. Plain water works too.
It’s an old fashioned look, the kind you find in grandma’s photo albums, and it costs nothing.
6. Knotted Cotton Head Wrap for Days With Almost No Hair
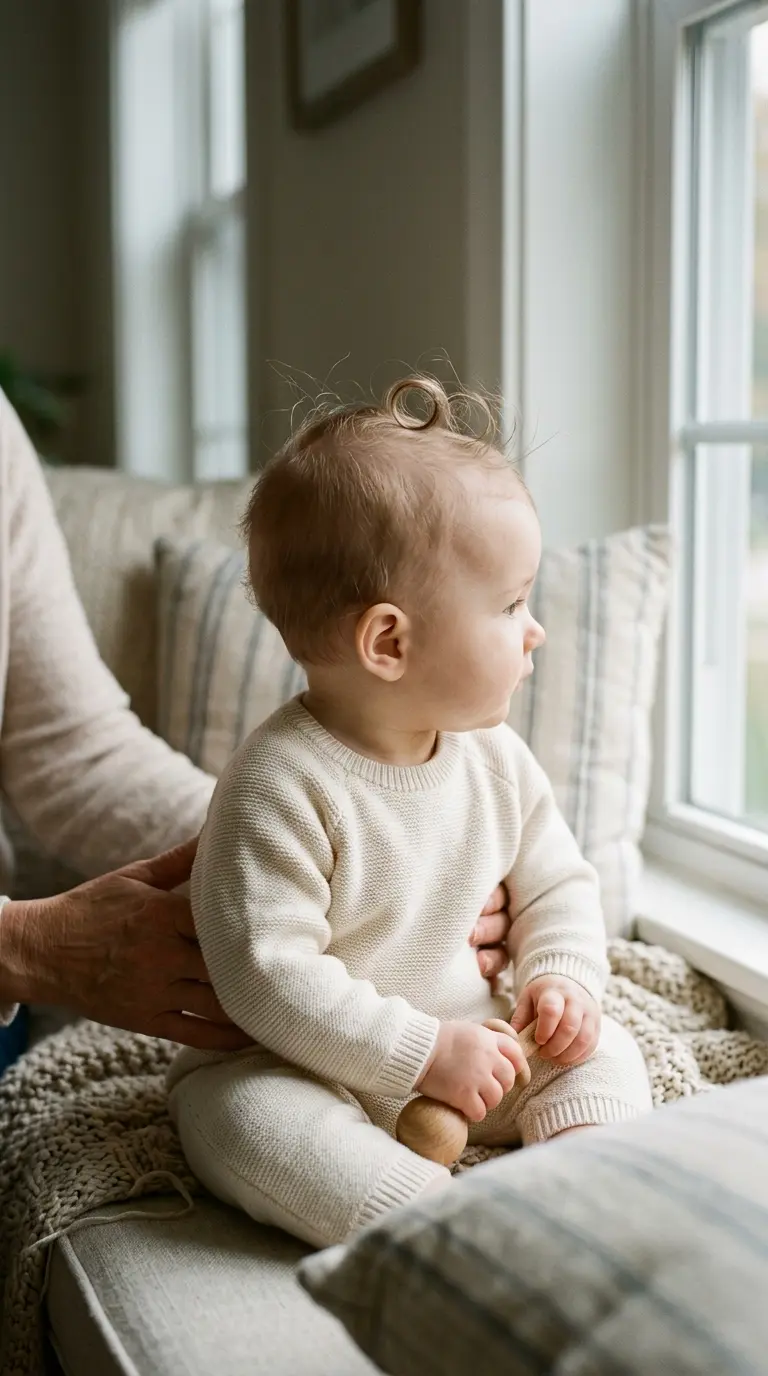
A head wrap and a headband look alike from across the room. They sit very differently on a baby’s head, though.
A headband is a ring. A head wrap is a wide strip of soft cotton jersey tied in a loose knot, so the hold spreads across a bigger area.
- Headband: quicker to put on, nicer for photos.
- Head wrap: covers more of her head on a breezy day and stays put when she rubs her face.
Choose jersey that’s at least three inches wide. Tie the knot loosely on top or at the side, never at the back where she’d lean on it.
And yes, it comes off for sleep too.
7. Three Mini Sprouts in a Row, Front to Crown
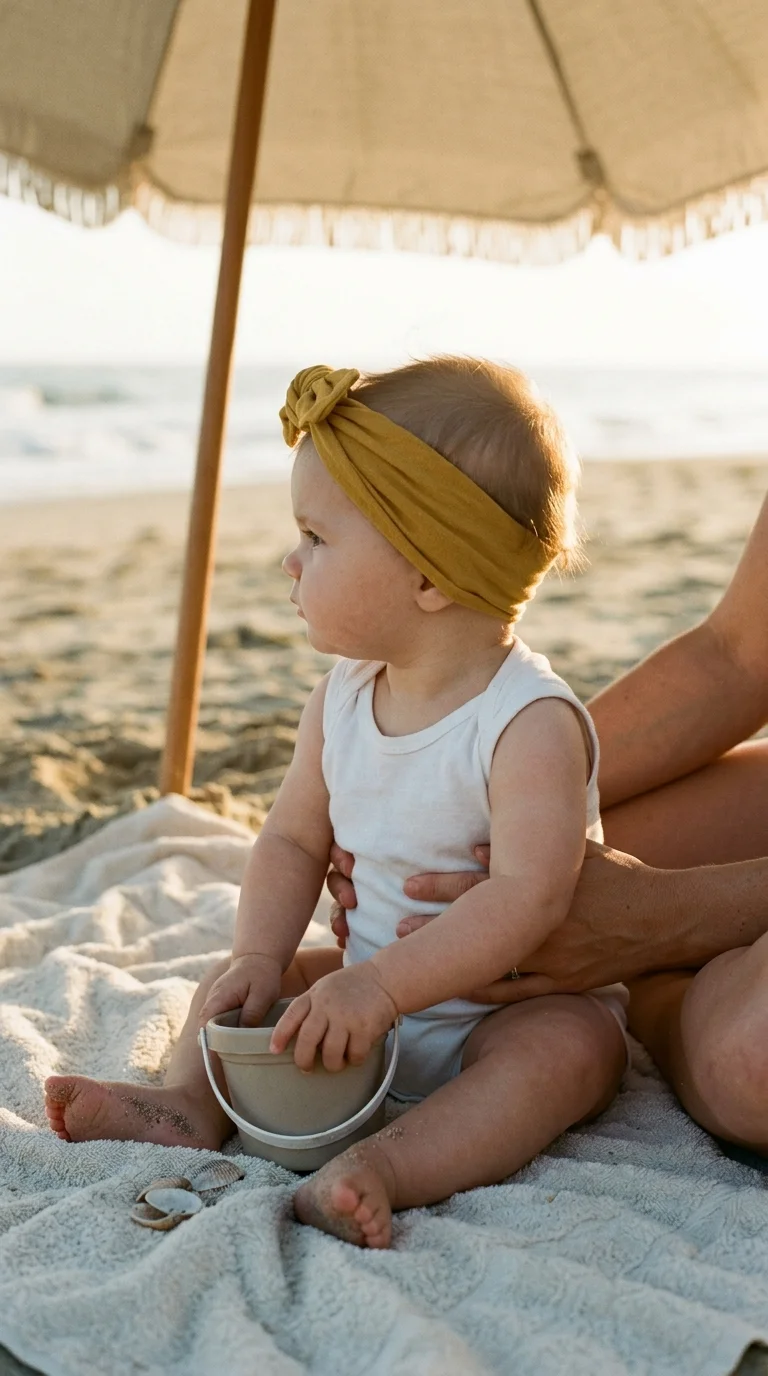
Here’s the rule for this one: each sprout gets about a fingertip of hair. Any more, and the row looks lopsided.
With a wet comb, mark a strip down the middle of her head, starting at the hairline. Split that strip into three small squares for the front, top, and crown. Tie each square with a clear silicone elastic.
The result is a tiny row of tufts. A little punk rock, and very sweet.
It works best once the hair on top is about an inch long. On the back of the head, where hair is often thinner from lying down, stop at two.
8. Short Satin Ribbon Tied Over a Sprout Elastic
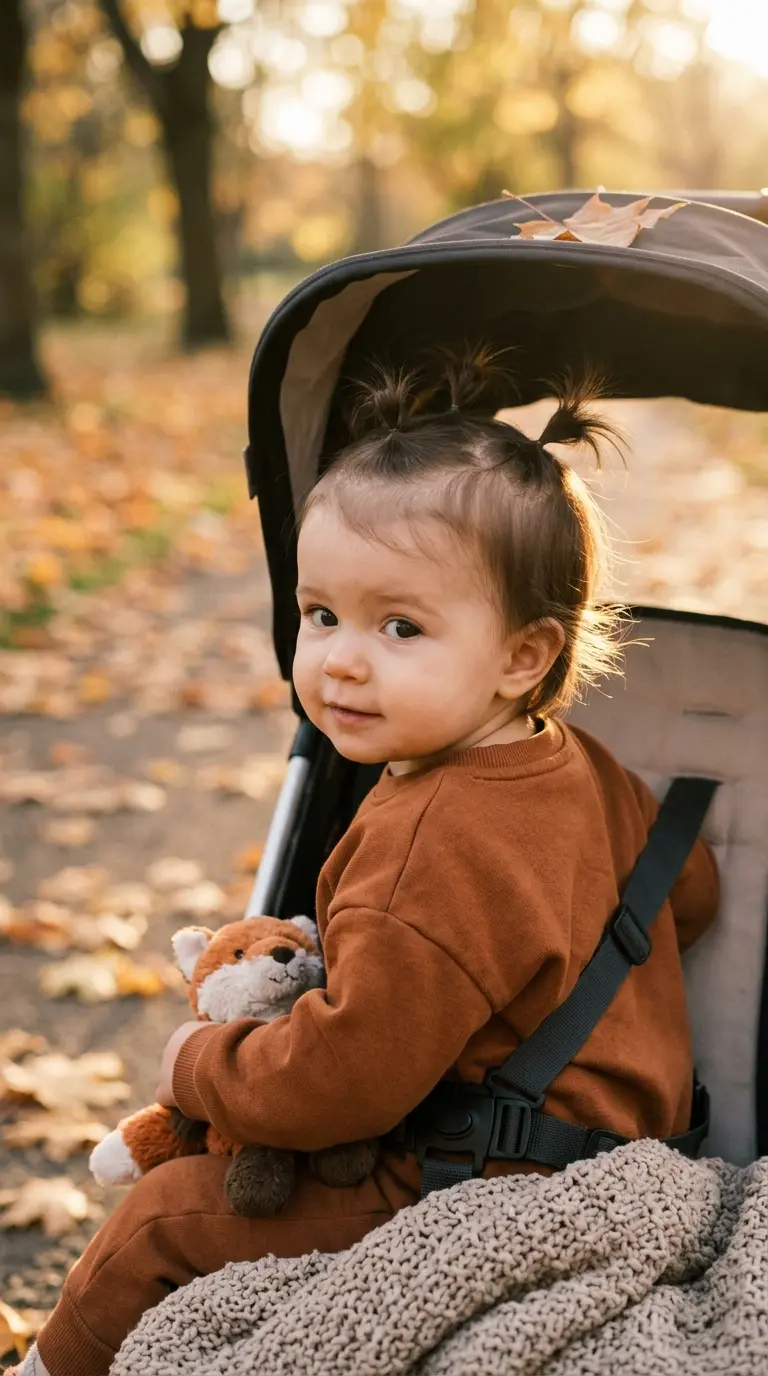
Ribbons look sweet, but a long ribbon near a baby’s face is something she’ll grab, chew, or tangle around her fingers.
The fix is short tails.
- Make a top sprout with a clear silicone elastic first.
- Tie a narrow satin ribbon over the elastic in a small bow.
- Trim the tails so they’re no longer than your thumb.
- Snip the ends at a slant so they fray less.
The elastic does the holding. The ribbon just sits on top and looks pretty, so it doesn’t need to grip her fine hair at all.
Stay close while she wears it.
Every bow, ribbon, headband, and elastic comes off before naps and bedtime. If you can’t see her, she shouldn’t be wearing it.
9. Wet Hand Fluff for Soft Baby Curls
Lots of parents brush baby curls when they’re dry, then wonder why the whole head turns into a cloud of frizz.
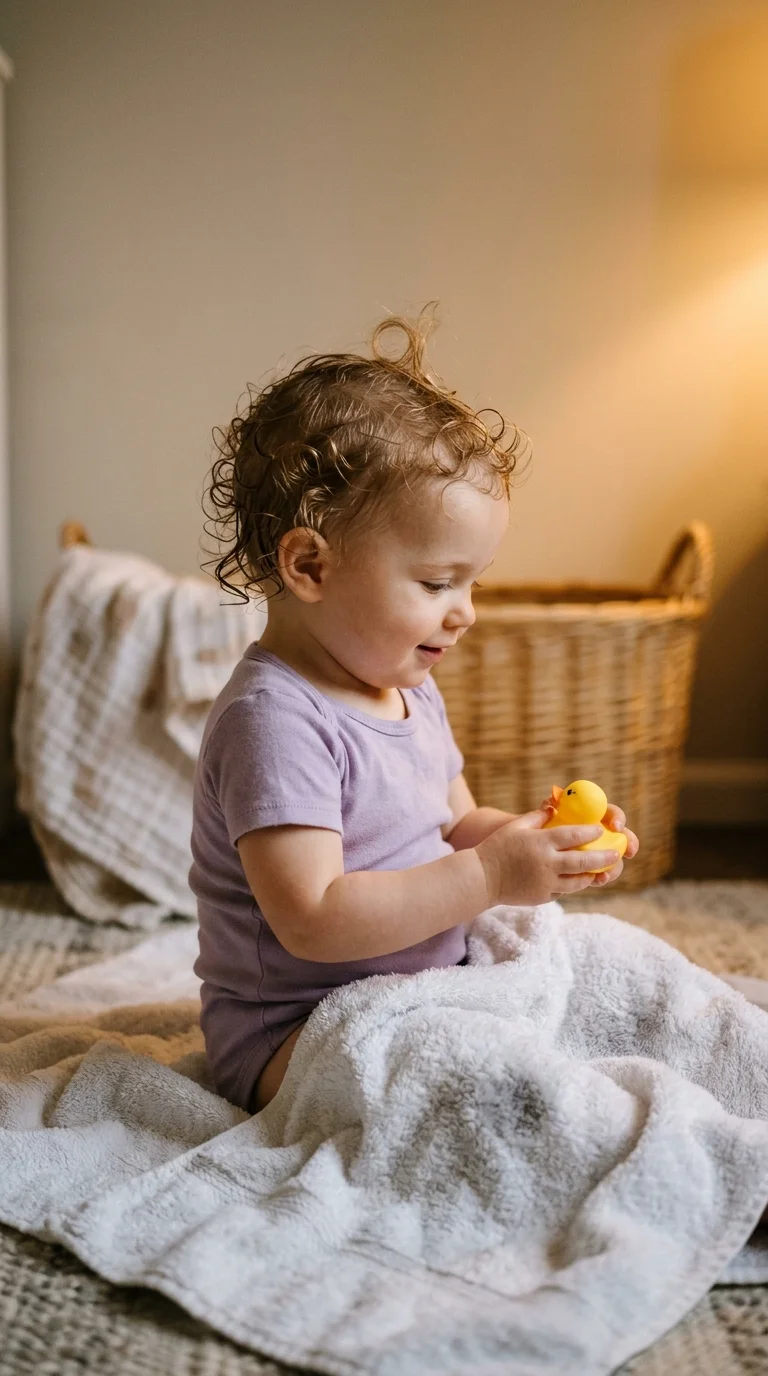
Curly baby hair usually looks best when you barely touch it. Right after bath, while her hair is still wet, rub a little baby leave in conditioner between your palms and press it into her curls. Cup the hair and scrunch gently upward.
Don’t brush. Don’t rub with a towel. Pat with a soft cotton tee or muslin cloth instead.
The curls dry into small springs and show off what her hair is really doing.
Good to know: baby hair often changes texture in the first couple of years, so the fuzz you see now may not be the hair she ends up with.
10. Crown Swirl Shaped Around the Cowlick
You smooth it down. She rolls over. That patch at the crown is sticking straight up again.
That’s the cowlick, and fighting it is a losing game. Work with it instead.
Mist the crown with water. Find the center of the swirl, then trace small circles with your fingertip in the same direction the hair already grows. The hairs settle into a neat little spiral that looks done on purpose.
- Clockwise swirl? Circle clockwise.
- Two swirls? Shape the stronger one and leave the other.
It lasts until her next nap. Ten seconds, no gear.
11. Front Mini Twist Swept to One Side
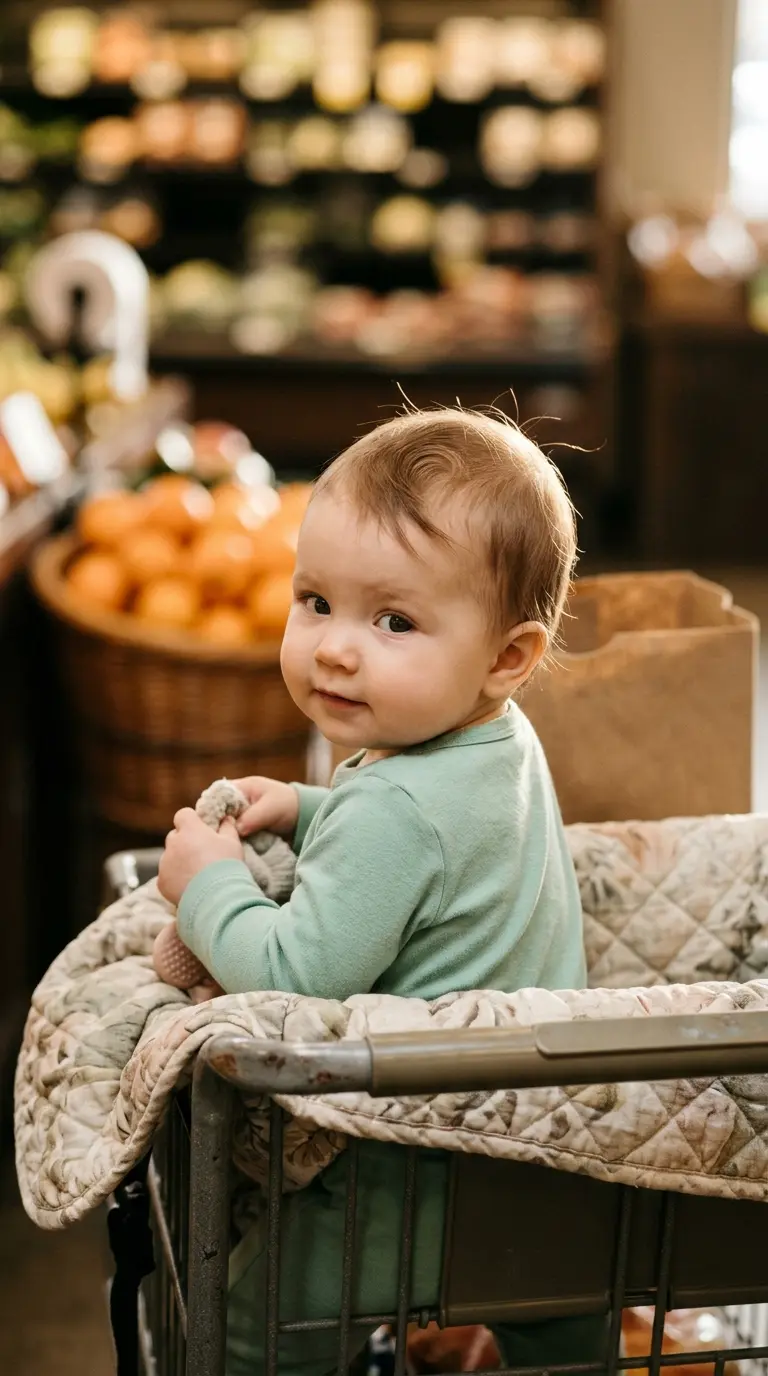
Front hair long enough to touch her eyebrows, but too short for a sprout? A small twist moves it aside without making it stand up.
This is the in between style for that awkward length when bangs get in the way and nothing holds them.
The twist lies flat along her forehead and ends in a tiny elastic above her ear. From the front, it reads as a little rope tucked to the side.
Keep it loose. If her skin puckers at the hairline, start over with less tension.
Best for: straight or wavy hair that’s about two inches long at the front.
Mist the front hair and comb it all toward one ear.
Twist the section away from her face, adding a few hairs from the hairline as you move along.
Stop just above the ear and wrap a clear silicone elastic around the end.
12. Off Center Side Sprout Above One Temple
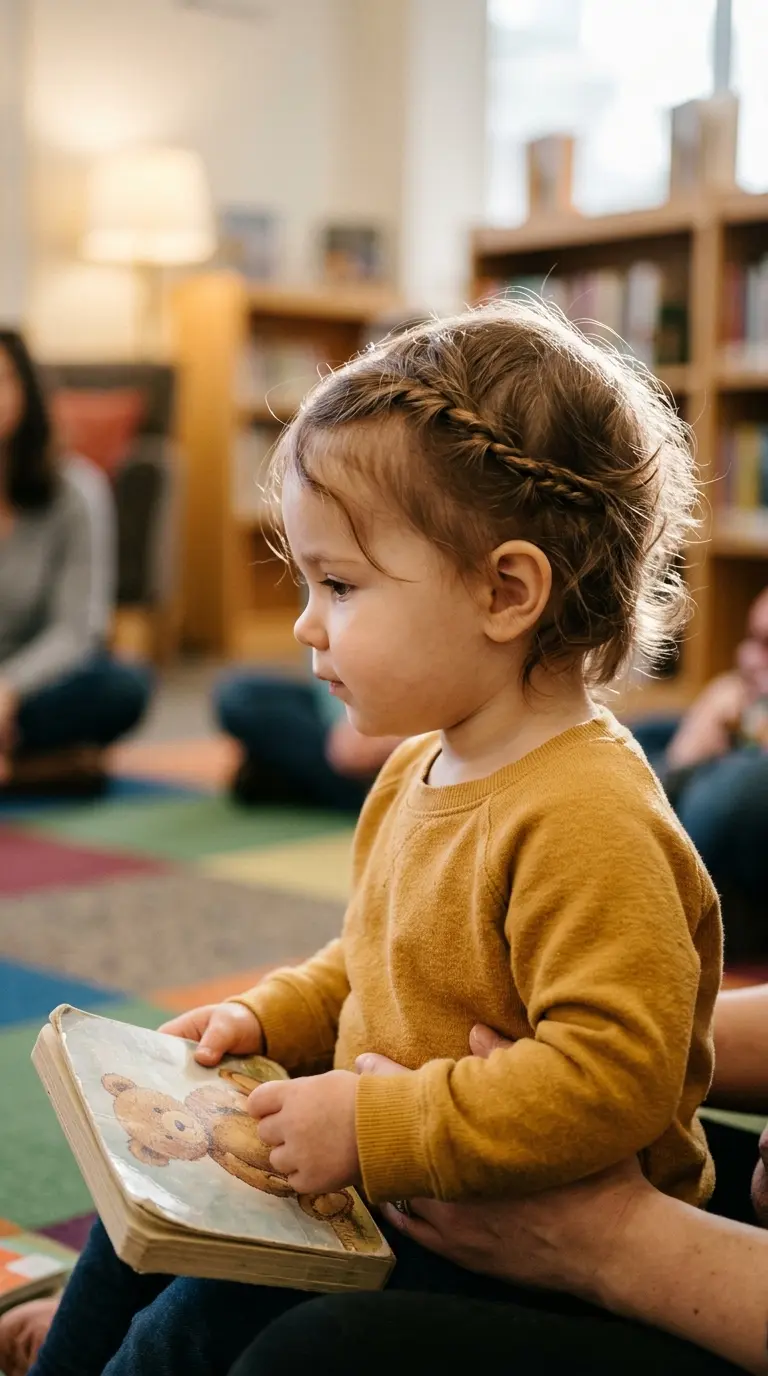
A sprout on the side does two jobs. It looks playful, and it pulls the longest front piece out of her eyes without needing any hair on top.
Gather the hair above one temple, starting at the part and stopping just above the ear. Tie it with a silicone elastic so the end points out and a little back.
Babies with a thin top often have more hair here anyway.
Switch sides each time you do it. Pulling on the same spot every day isn’t kind to fine baby hair, and she doesn’t have much to spare.
13. Little Front Puff for Coily Baby Hair
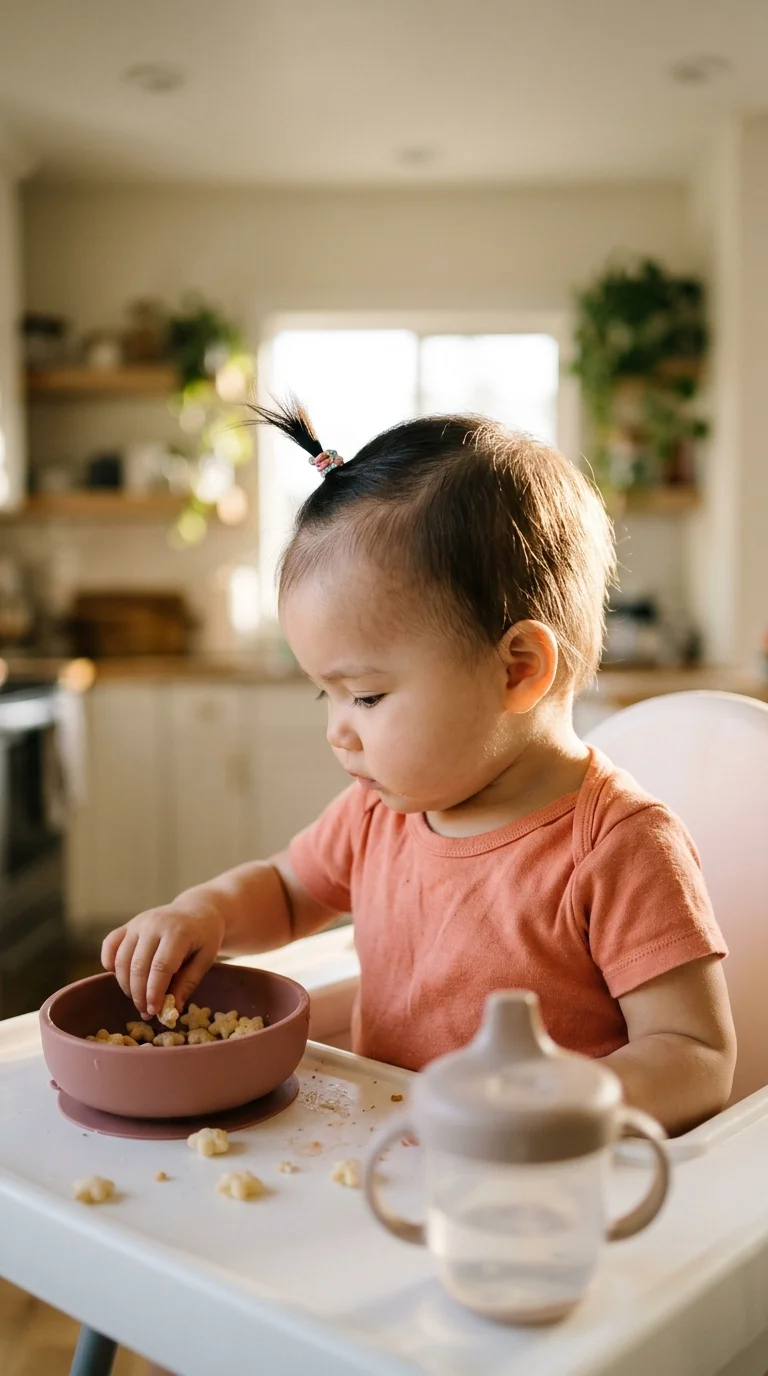
A round puff at the front, soft edges, and the rest of her coils left free. That’s the whole look.
Spritz the front section with water and a little of the leave in conditioner you already use on her. Gather the hair loosely with your hands, no brush, and slip it into a satin scrunchie or a soft cloth covered tie. Two loops at most.
Smooth the edges with your palm instead of a toothbrush or edge brush.
The puff should feel squishy, not tight. If you see the skin lift at the hairline, loosen it.
Pick a scrunchie color that stands out against her hair, so you can always spot it.
14. Duckling Fluff Brushed Up and Left Loose
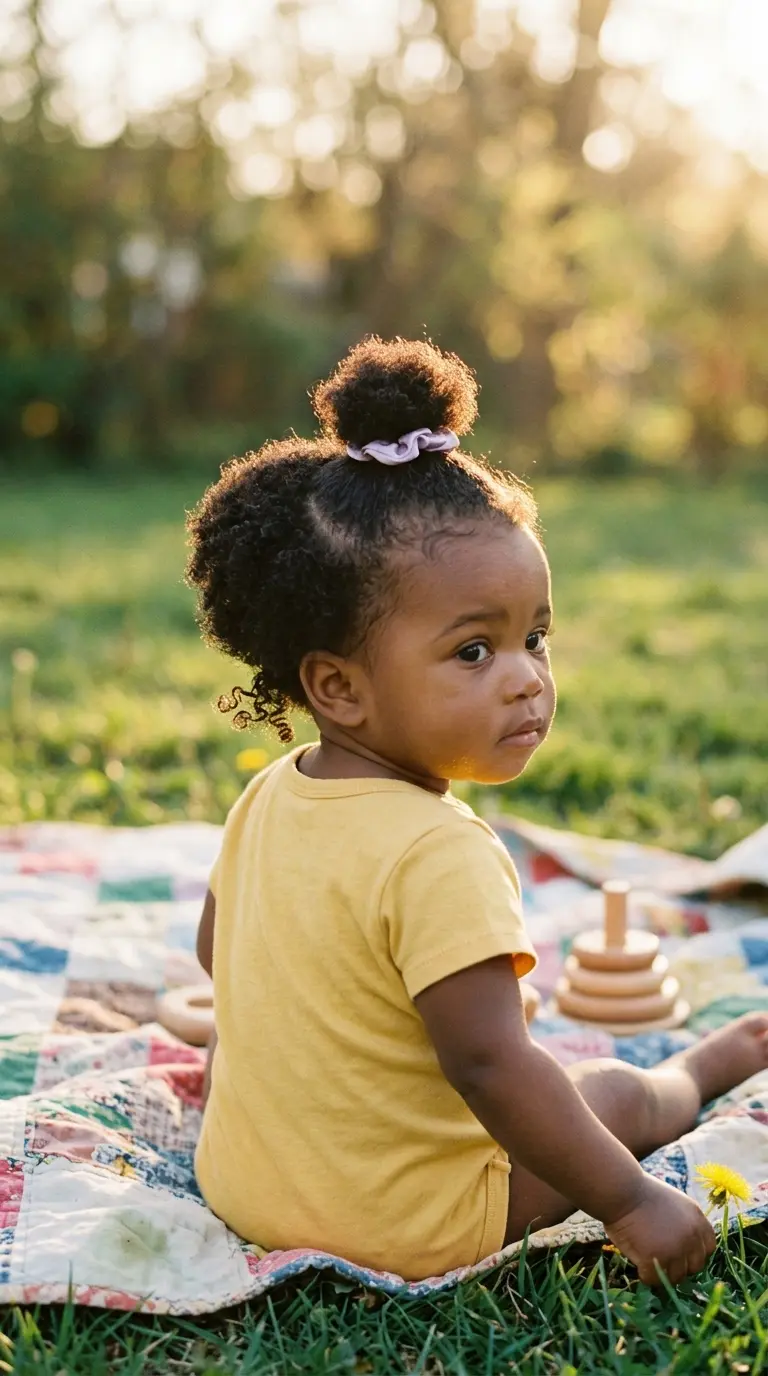
Most parents smooth fuzzy baby hair down flat. On very fine hair, flat tends to look thin.
Go the other way. Take a soft goat hair or natural bristle baby brush and brush the hair up and slightly back, against the way it lies. The fuzz stands up and catches the light, and her whole head looks fuller.
No water. No elastics. Nothing to count or remove later.
Save it for the stage when she has a soft halo all over and nothing long enough to tie. For once, static is on your side.
Fine hair brushed flat against her head, the scalp showing through on top, and a few wisps sticking out at odd angles.
The same hair brushed up and back into an even, soft halo that looks fuller, with nothing to tie and nothing to take out.
15. Two Rope Twists Running Back From the Hairline
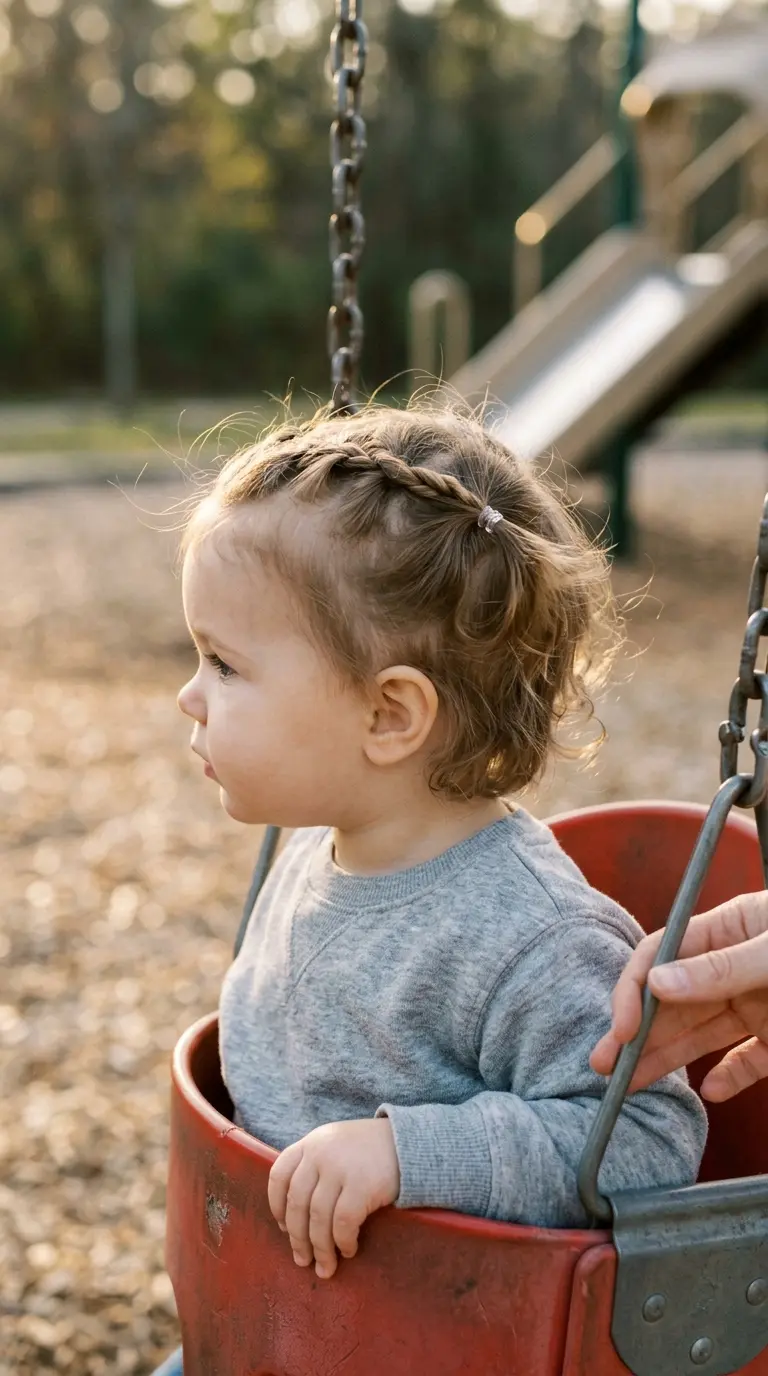
Twists and braids look alike on a tiny head. Twists are faster, though, and much easier on a baby who won’t hold still.
- Part the front hair into two sections with a wet comb.
- Twist each section back toward the crown, feeding in a few hairs as you go.
- Stop where the hair runs out and secure it with a silicone elastic.
Together the two twists frame her face like a headband made of her own hair.
Wavy and curly hair hold twists better than straight, silky hair, which can unwind within the hour. For straight hair, mist it a little more before you start so it grips.
16. Tiny Braid Along the Front for First Bangs

First bangs are the most annoying length. Too short to tuck behind her ear, long enough to poke her eyes.
A tiny three strand braid along the hairline holds them back. It works once the front hair is around three inches long, which for many babies doesn’t happen until closer to the toddler years.
Start at one side of her forehead. Take three skinny pieces and braid toward the opposite ear, picking up a few front hairs with each cross. Finish above the ear with a silicone elastic.
Do this one while she’s busy with a snack. A favorite song buys you about a minute.
Quick tip: go loose. A tight braid tugs at the hairline, and a loose one still holds.
17. Little Nape Tail for the Baby Mullet Stage
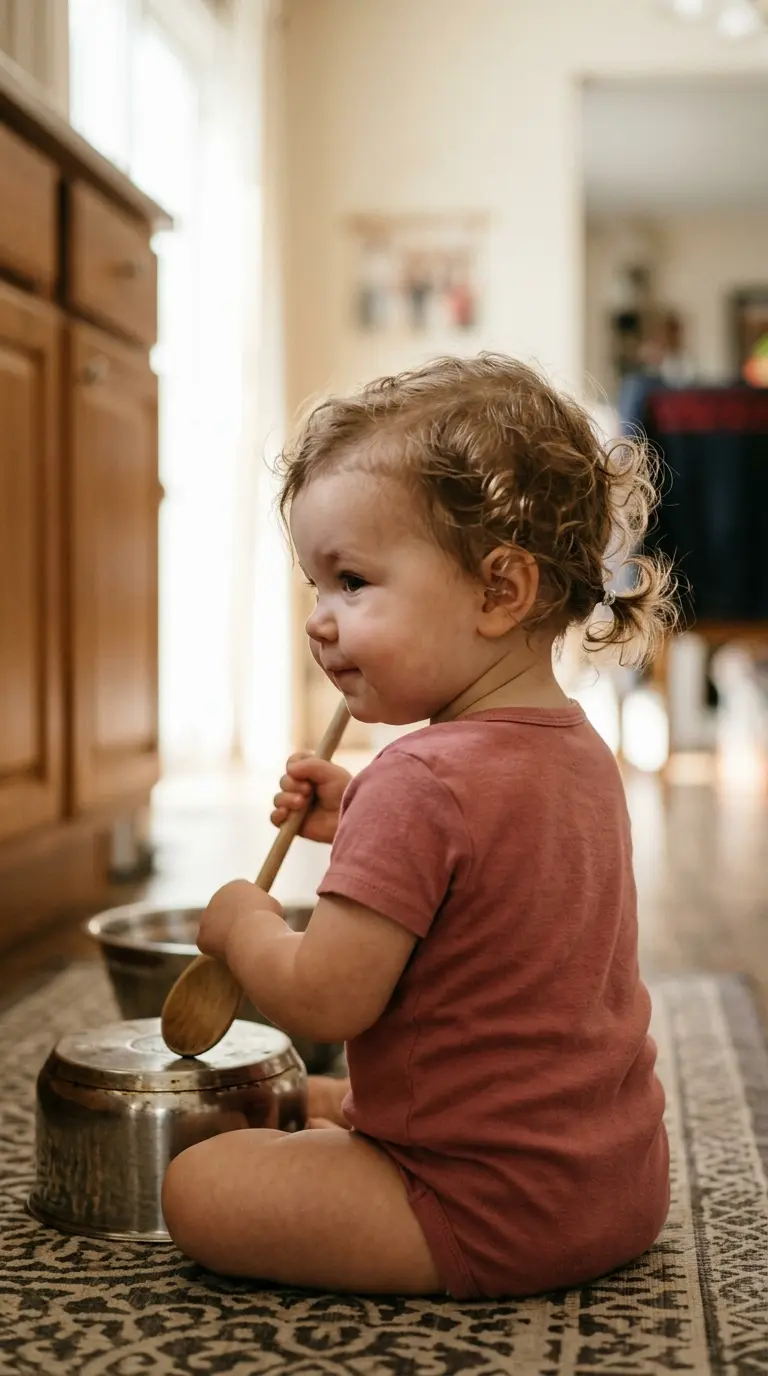
Lots of babies grow hair at the back first. The front stays fuzzy while the nape grows long enough to curl over her collar. Hello, baby mullet.
Lean into it with a tiny low tail.
Gather only the longest hair at the nape, the bit that touches her neck, and tie it with one silicone elastic. Leave everything else loose. From the side, it looks like a little duck tail.
Skip this one on days she’ll spend a lot of time leaning back in a car seat or bouncer, since she’d be resting right on the elastic.
18. Sleek Brushed Back Look for Photo Day
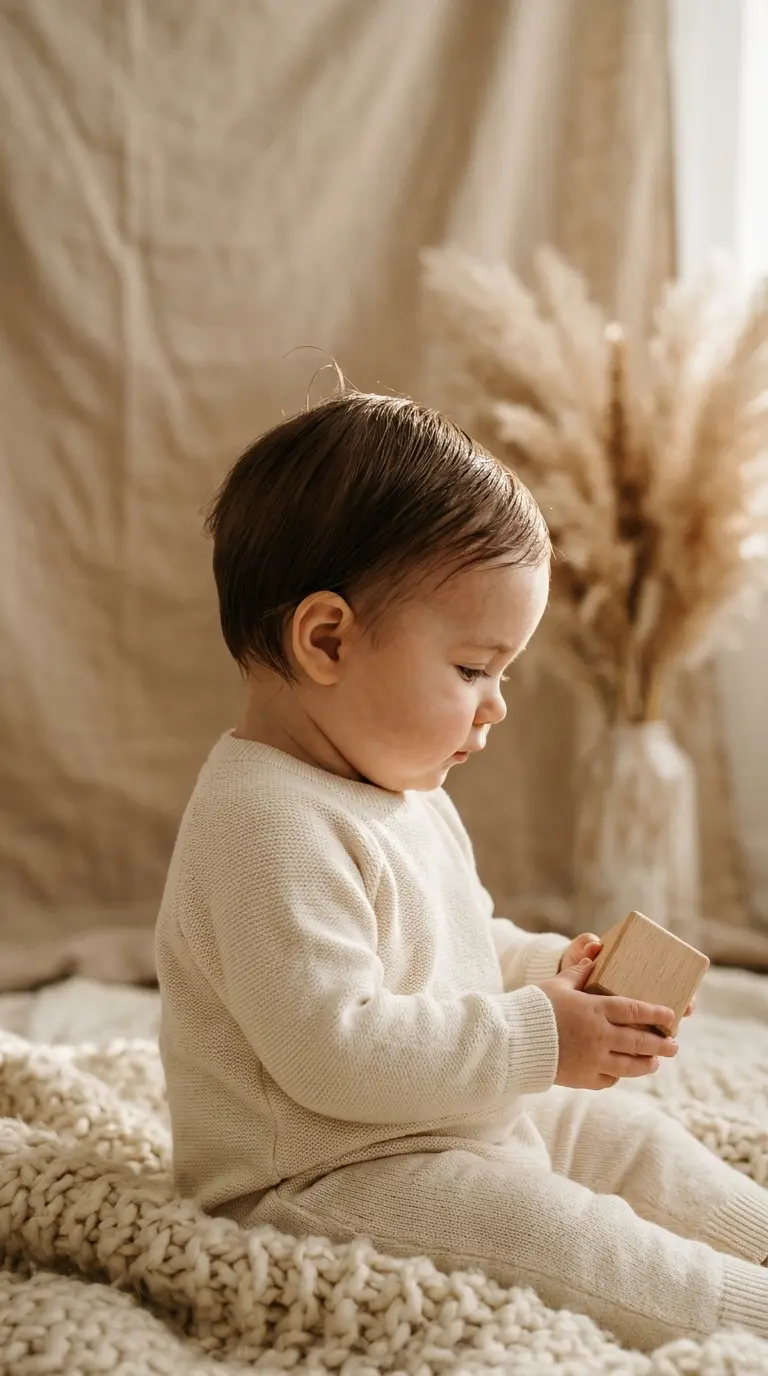
For photos, smooth beats fancy almost every time. The camera catches every stray tuft and every crooked elastic.
Mist her hair until it’s damp all over. Brush everything straight back off her forehead with a soft brush, then press it down with your palm. Do it right before the camera comes out, because baby hair dries fast.
- Skip product. Water is plenty.
- Dab her forehead with a soft cloth, since the water drips.
- Keep the brush in your pocket for touch ups between shots.
Clean and simple, and it won’t look dated when you pull these photos out in twenty years.
Short, fine baby hair isn’t a problem to fix. It’s a stage, and it moves fast. One month you’re swirling a cowlick, and a few months later there’s enough on top for two bunny ears.
Keep a small basket by the changing table with a spray bottle, a soft brush, one wide headband, and a few clear elastics. Count the elastics in and count them out. Keep everything loose, and take it all off before naps and bedtime.
These baby girl hairstyles are meant to be easy enough to do one handed while she’s holding a teether in hers.
Save this list to your baby board on Pinterest so it’s there as her hair grows in.