
Sunday night. A wide tooth comb, a jar of edge gel, a bowl of snacks, and a kid asking “how many more?” for the fourth time. If you braid your child’s hair, you know that scene by heart.
Cornrows are worth the sitting time. A good set can carry a child through a week or more of school, sports, and sleep with only a little touch up at the edges. The hard part is choosing a style that fits your child’s hair length, their patience, and your own braiding skill at the end of a long weekend.
That is why this list of cornrow hairstyles for kids goes past pretty pictures. Each style comes with the part pattern, a sense of how long it takes, and a small tip that makes it easier on a tender head.
You will find quick four braid sets for toddlers, clean straight backs and zigzags for boys, and puffs, buns, and beads for girls who want a little flair. Put on their favorite show, fill the spray bottle, and grab the rat tail comb.
1. Classic Straight Back Cornrows With Clean, Even Parts
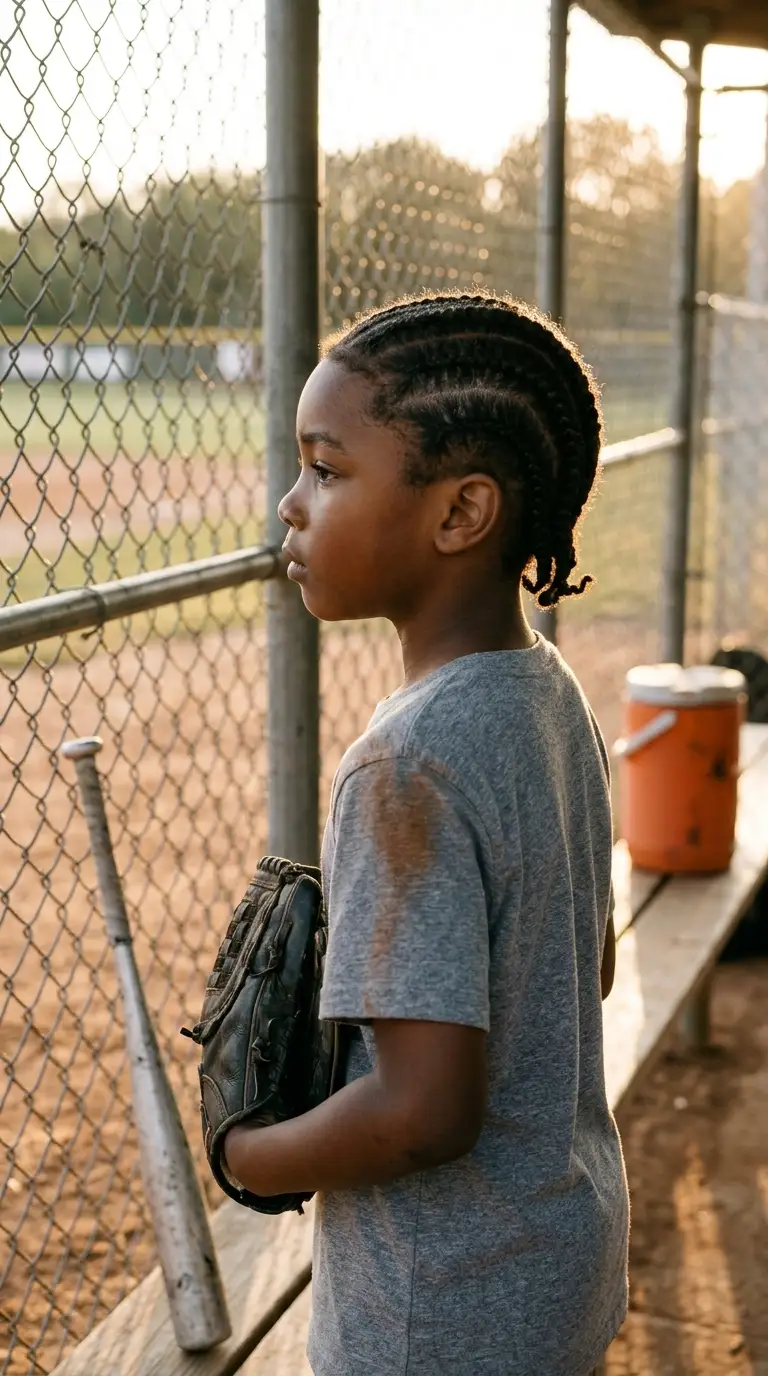
Straight backs are where most parents learn, and they still look sharp on a ten year old heading to practice.
- Detangle damp hair, then stretch it with a blow dryer on low or a few big twists left in overnight.
- Part rows running back toward the nape with the tail of a rat tail comb. Six to ten rows works for most heads.
- Braid each row underhand, picking up a little hair with every pass.
Keep the rows about the same width. Uneven parts are the first thing people notice, long before a fuzzy braid.
Quick tip: run a thin line of edge gel along each part before you braid. The lines stay crisp for days.
2. Two Feed In Cornrows That End in Fluffy Puffs
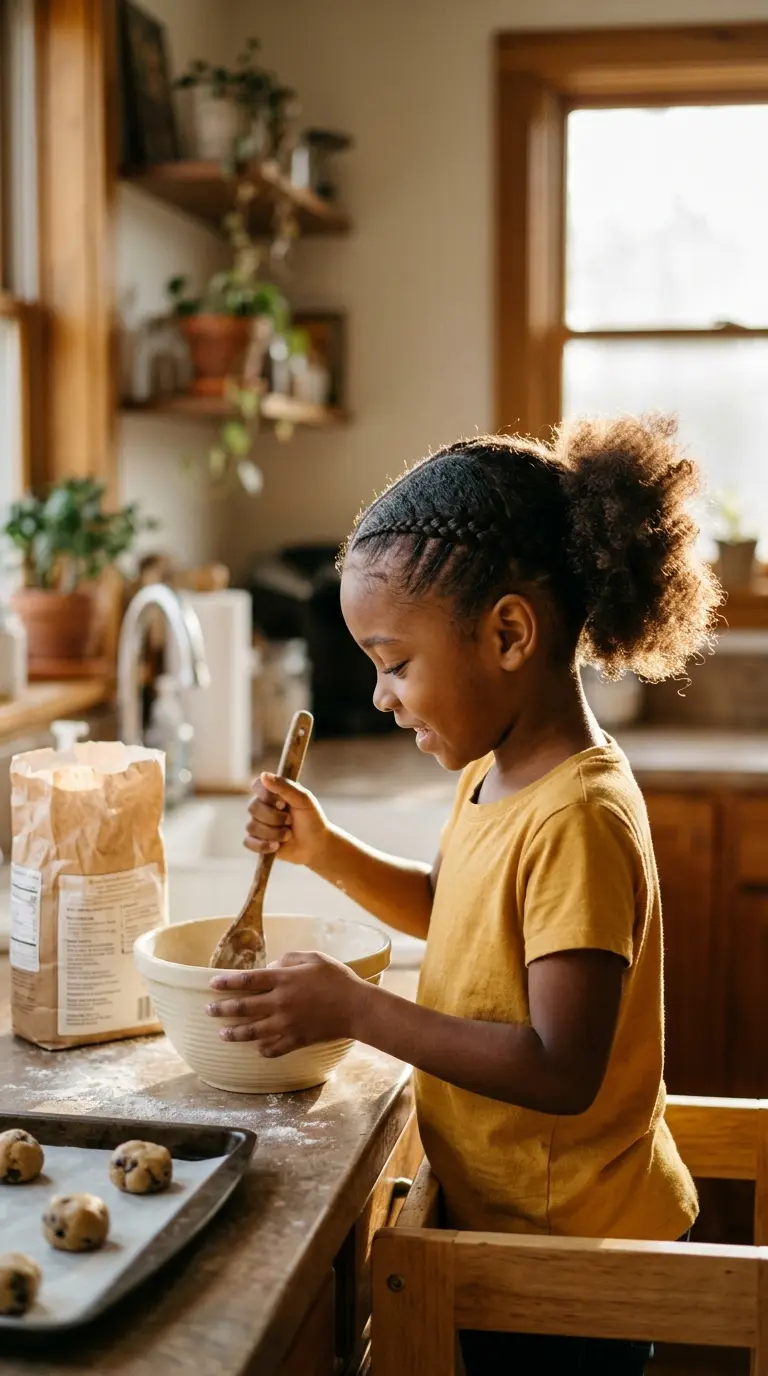
Two braids means one short sitting. That is a big deal for a six year old who already has opinions about the couch.
Part straight down the middle. Start each cornrow with a small section at the hairline and pick up a bit more hair with every pass, so the braid grows fuller toward the back. Stop around the nape and leave the last few inches loose.
Those loose ends become two soft puffs. Fluff them with your fingers and a little leave in cream.
Starting small at the front also means less weight sitting on her edges.
Best for: hair that reaches at least the shoulders when stretched.
3. Zigzag Part Cornrows Drawn With a Comb Tail
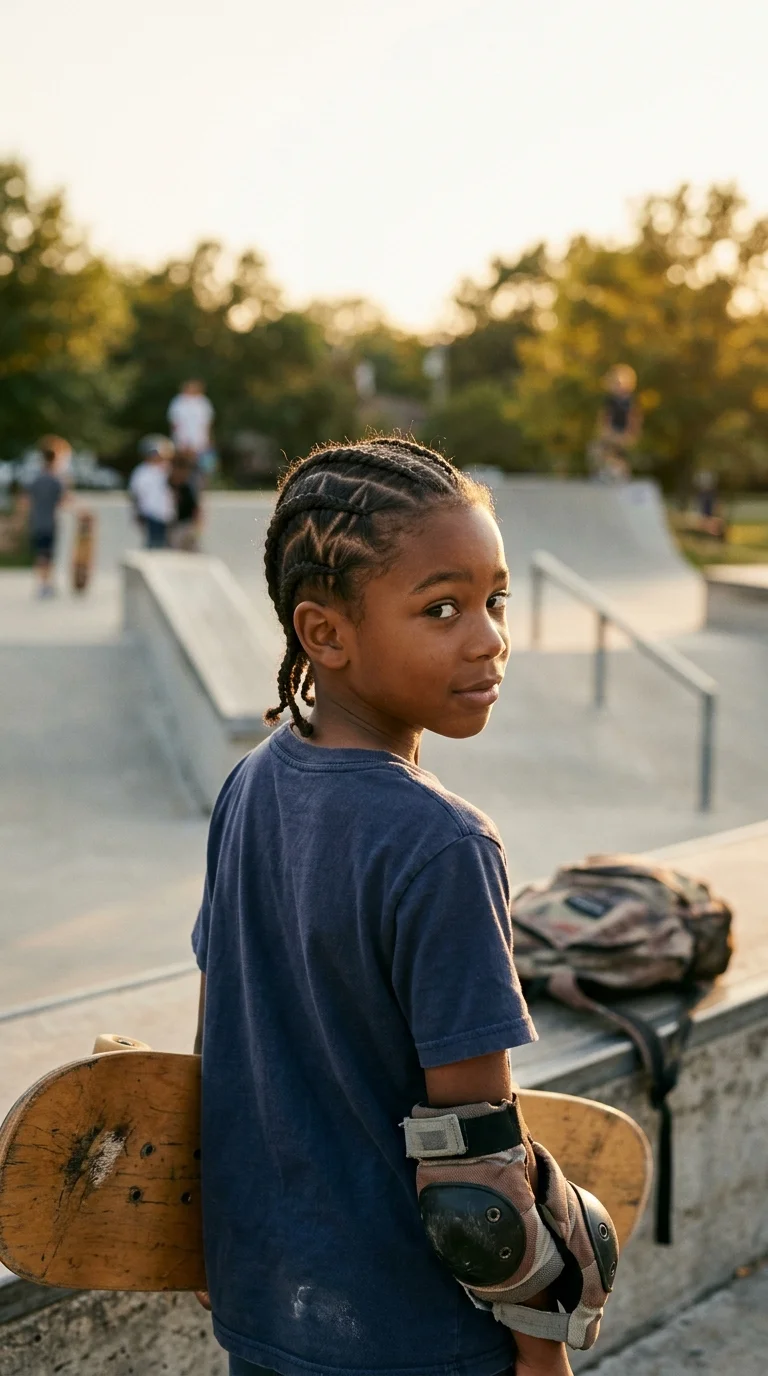
The parts do the talking here, not the braids.
Each row is a regular straight back cornrow. What changes is the line between rows. Draw each part with the tail of your comb in short side to side strokes, like a lightning bolt, then braid as usual.
A few things that help:
- Mist the hair with water so the zigzag lines hold their shape while you work.
- Keep the zigs small near the hairline and a little wider over the crown.
- Clip finished sections away so you never braid across a part.
Boys who think plain rows are boring usually ask for this one again.
4. Heart Shaped Cornrows for Valentine’s Day or Any Day
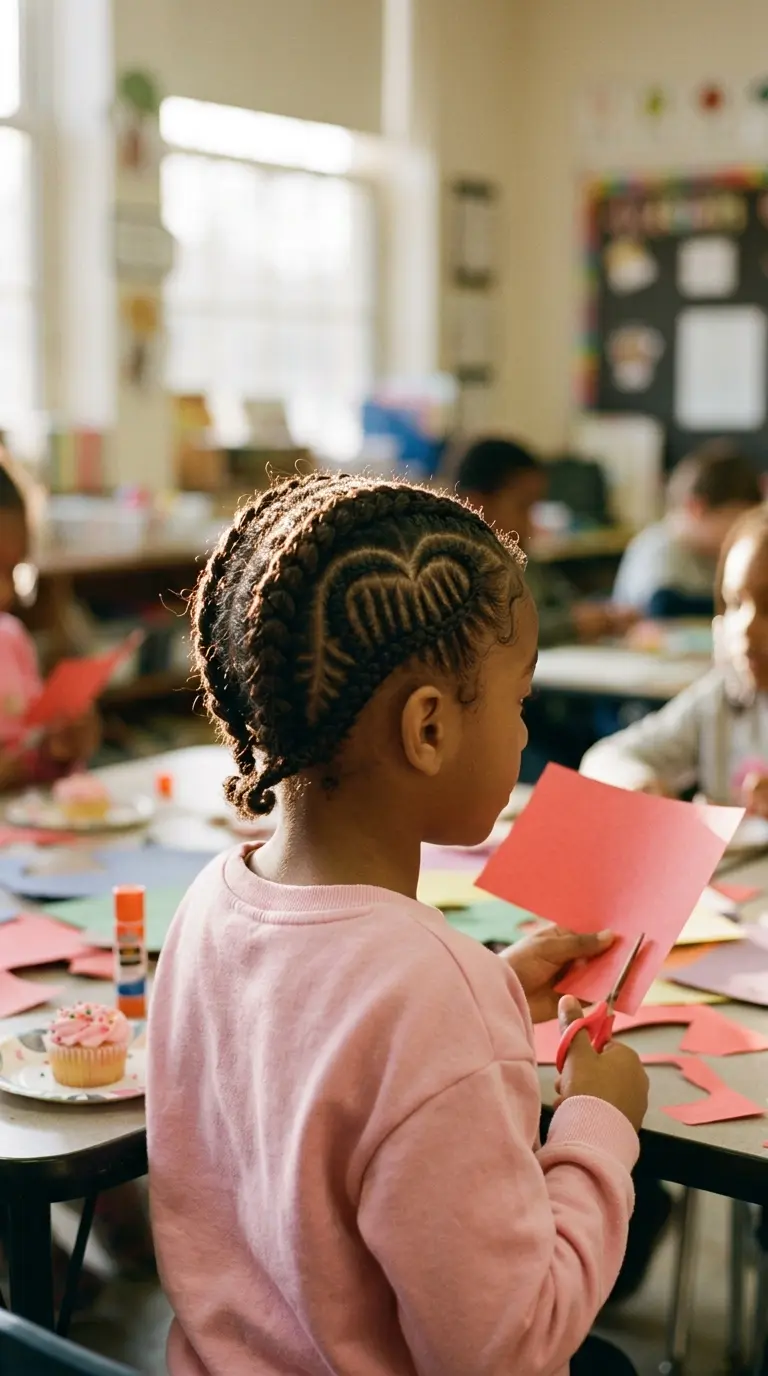
Class party on Friday, and she wants hearts on everything, including her hair.
The heart comes from two curved cornrows. Start both at the center of the front hairline, braid each one out toward its side, then curve them back in so they meet at the nape. Fill the inside of the heart with two or three small straight backs, and braid the outside rows so they follow the curve.
Sketch the heart on her head with the comb tail before you braid. Smooth it out and redraw it until both sides match.
A slightly lopsided heart still reads as a heart. The class photos will come out sweet anyway.
5. Cornrows Swept Up Into a High Puff Ponytail
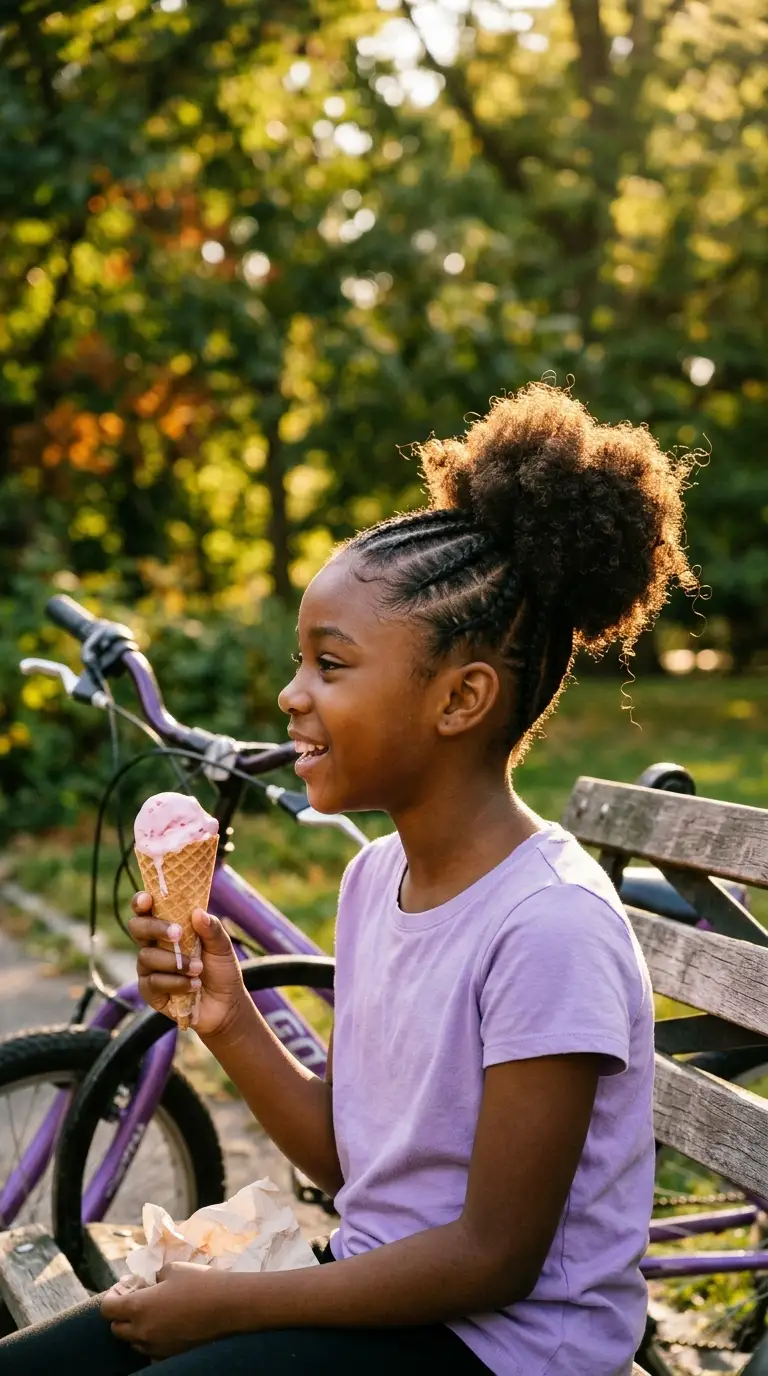
A high puff pulls every row upward, so the front hairline does a lot of work in this style.
Braid all the cornrows toward the crown, ending each one where you want the puff to sit. Gather the loose ends into a soft ponytail holder, never a plain rubber band, and fluff them into a round puff.
Check the front once she stands up. If you see small bumps at the roots, or she keeps rubbing her hairline, that row is too tight. Loosen it now, not next week.
Quick tip: set the puff a little lower than the very top of the head. It feels lighter and still shows off the braids.
Braid the first pass at the hairline gently, with a little slack.
Ask how it feels after each row, not only at the end.
Give her edges a break between up styles with a low or loose style.
Rebraiding the front rows every few days just to keep them neat.
Brushing off soreness, bumps, or a red scalp as normal.
Wrapping a tight elastic around the puff to make it sit higher.
6. Side Swept Cornrows for Boys With Short Hair
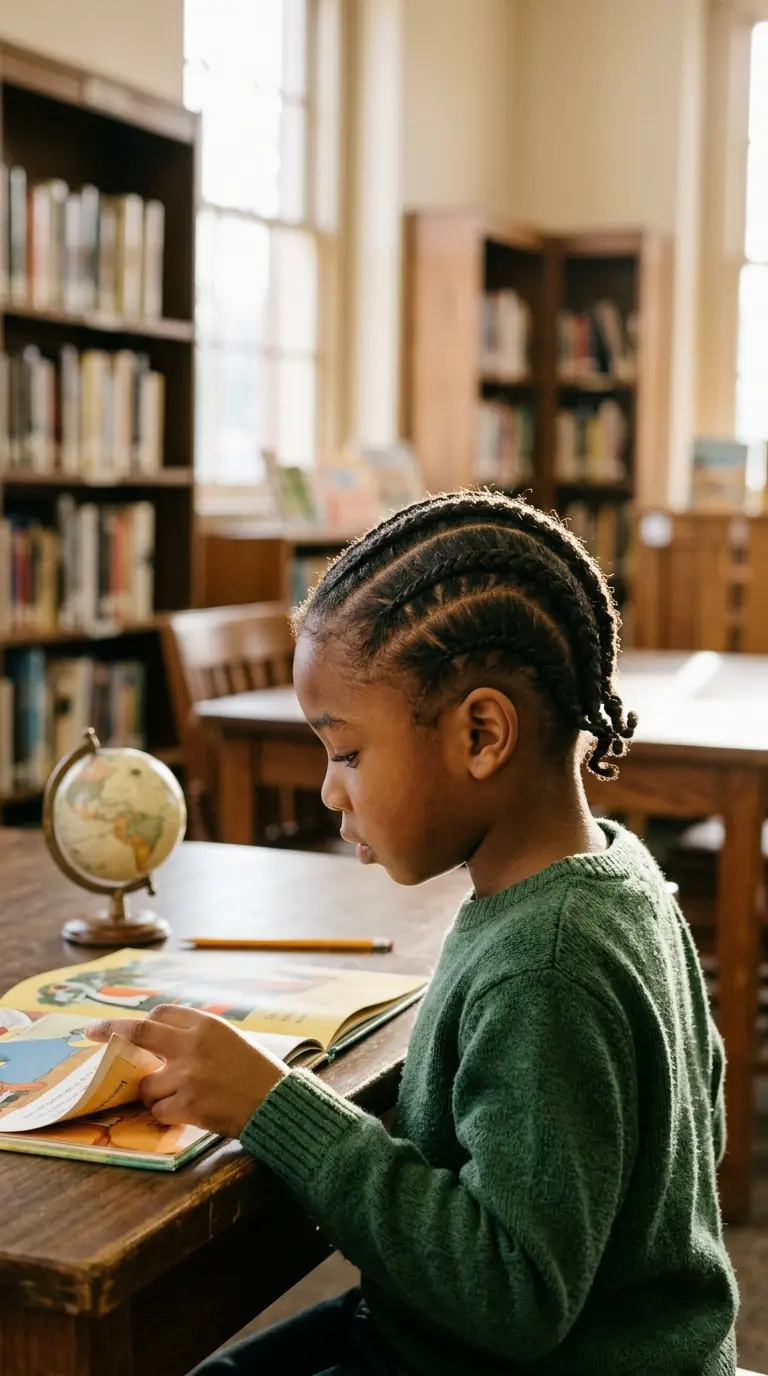
Straight backs need enough length to reach the nape. Side swept rows do not.
Every braid angles across the head toward one ear, so each row is shorter. Hair that is only a couple of inches long can still hold a neat braid this way. Pick the side your child usually parts on, and the braids will lie flatter.
How the two compare on short hair:
- Straight back: longer rows, and the ends can unravel at the nape.
- Side swept: shorter rows, and the ends tuck neatly behind one ear.
Finish each end with a dab of gel and a twist between your fingers. Tiny elastics are hard to hide on short braids.
7. Cornrows With Beads on the Ends
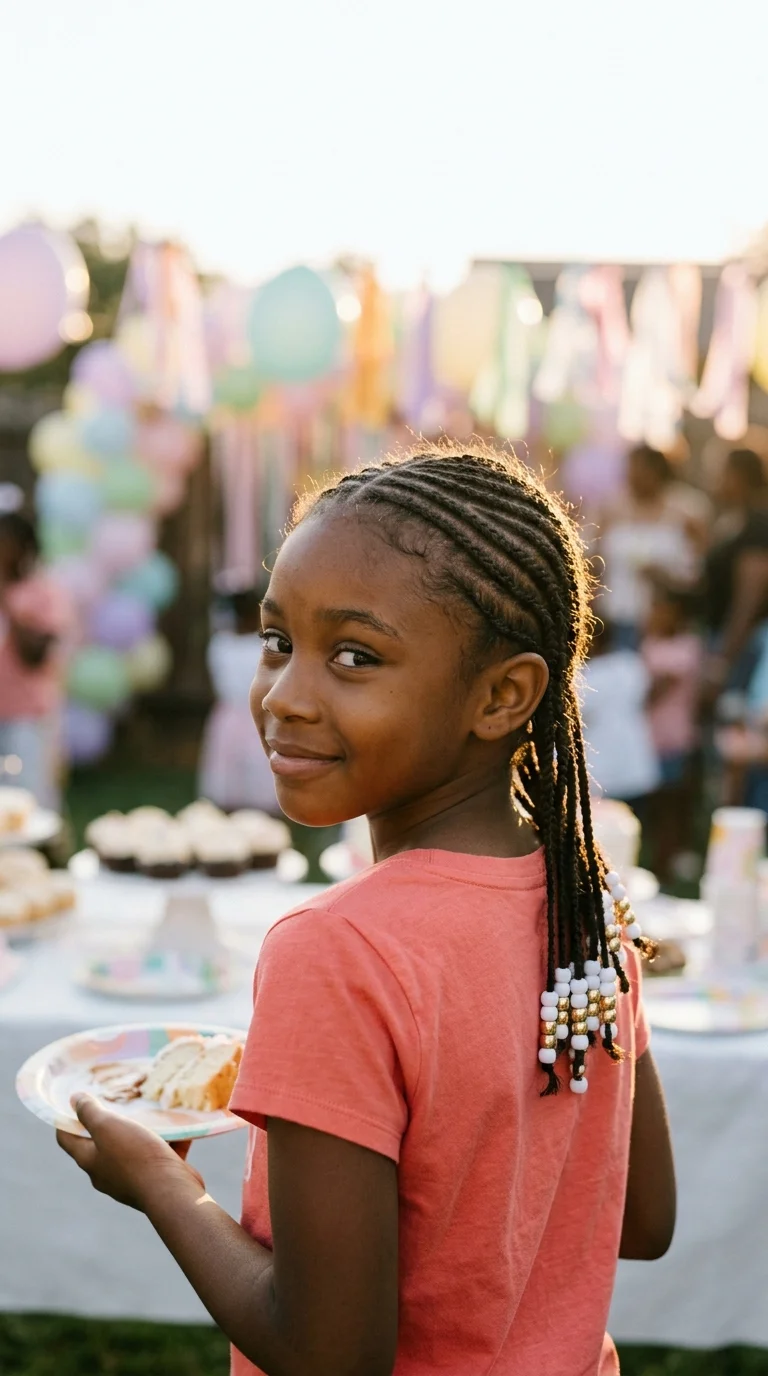
Beads click and swing every time she turns her head, and most kids love that sound.
One rule comes first. Small beads are a choking risk for babies and toddlers, so save this style for older kids who no longer put things in their mouths.
To add them:
- Braid each cornrow past the scalp into a short loose braid.
- Thread two to four beads onto the end with a bead threader or a folded loop of thread.
- Secure the tip with a small rubber band or a snug foil wrap so nothing slides off.
Keep the count low. A long string of beads adds weight that tugs at the roots all day.
8. Half Cornrows in Front With a Loose Twist Out in Back

Some kids mind the sitting more than the braids. This style cuts the time down a lot.
Braid four to six cornrows starting at the front hairline and stop just past the crown. Blend the ends into the loose hair. The back stays out in a twist out you set the night before, or in her wash and go curls.
Her face stays clear for school, and the curls in back still get their moment.
Watch out: loose hair tangles faster than braided hair. Plan to retwist the back every few nights with a little water and cream.
Wash day curls look great on Monday, fall in her eyes by lunch, and knot up at the back by midweek.
The front rows stay neat all week, and only the back needs a quick spritz and retwist before bed.
9. Swirl Cornrows That Circle the Crown
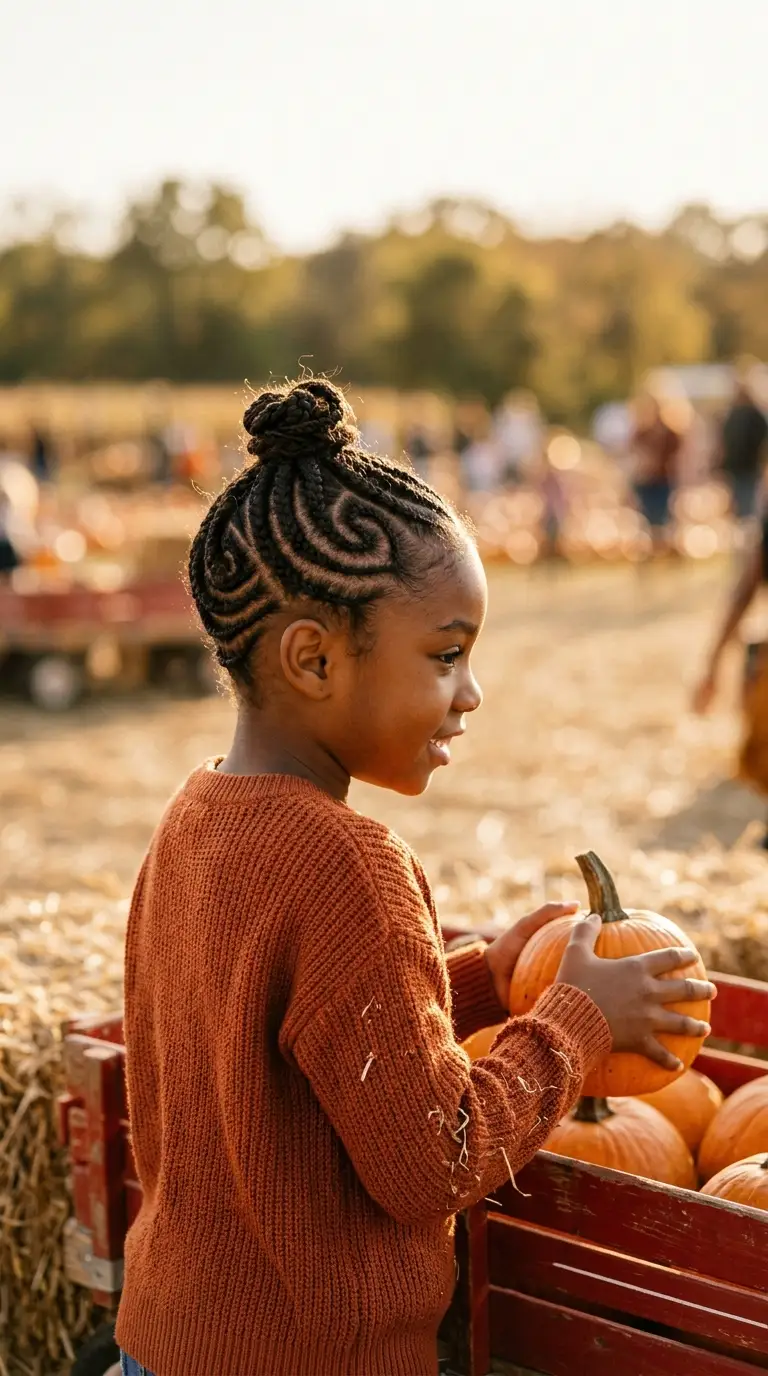
Swirl cornrows look like something only a salon can pull off. They are really curved rows that all head toward one spot.
Mark a small circle at the crown. Every cornrow starts at the hairline and bends around the head as it travels toward that circle, a bit like water going down a drain. Braid the first row slowly and use it as a guide for the rest.
- Turn your child’s chair as you go around, so your wrists stay in a comfortable angle.
- Tuck the ends into a tiny bun at the center, or let them hang as short tails.
Plan on a longer sitting than straight backs. A full movie helps.
10. Cornrows Into Two Space Buns for Hot Days
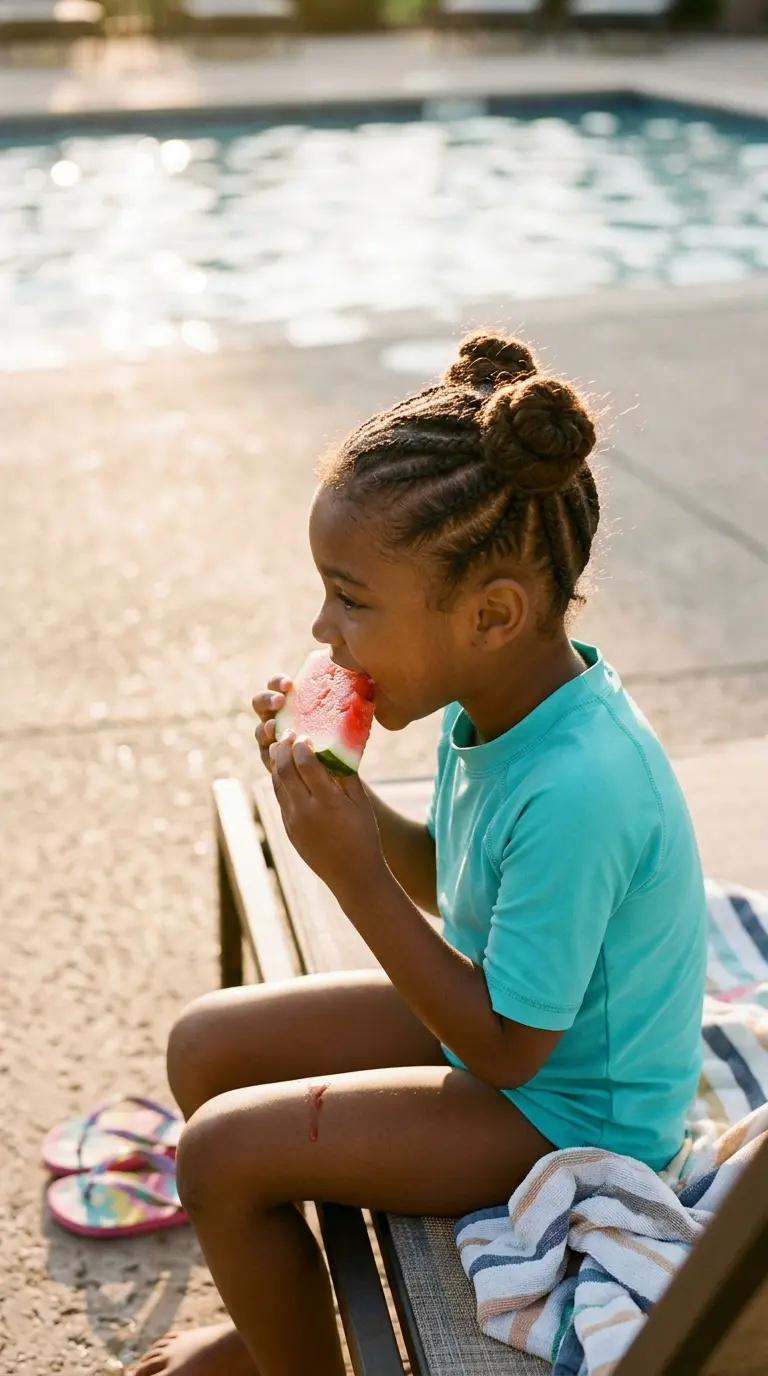
Buns lift the ends off her neck. That helps on sticky summer days and after swim lessons.
The setup is simple. Part down the middle, then braid each half toward a spot just above and behind the ear. Twist the loose ends around themselves and pin them flat.
Small details keep the buns going longer:
- Wrap them in a satin scarf at night so they do not flatten.
- Choose bobby pins with rubber tips and tuck them under the bun so they never poke.
Good to know: the buns should be loose enough to slide a finger under. Tight buns pull on the braids.
Wet the braids with clean tap water before she gets in, so they soak up less pool water.
Add a swim cap if she will wear one. Buns fit under it more easily than loose ends.
Rinse with fresh water right after, then squeeze the braids gently with an old cotton t shirt.
Let the braids dry fully before bed, and smooth a light leave in over the scalp lines.
11. Stitch Braid Cornrows for Older Kids
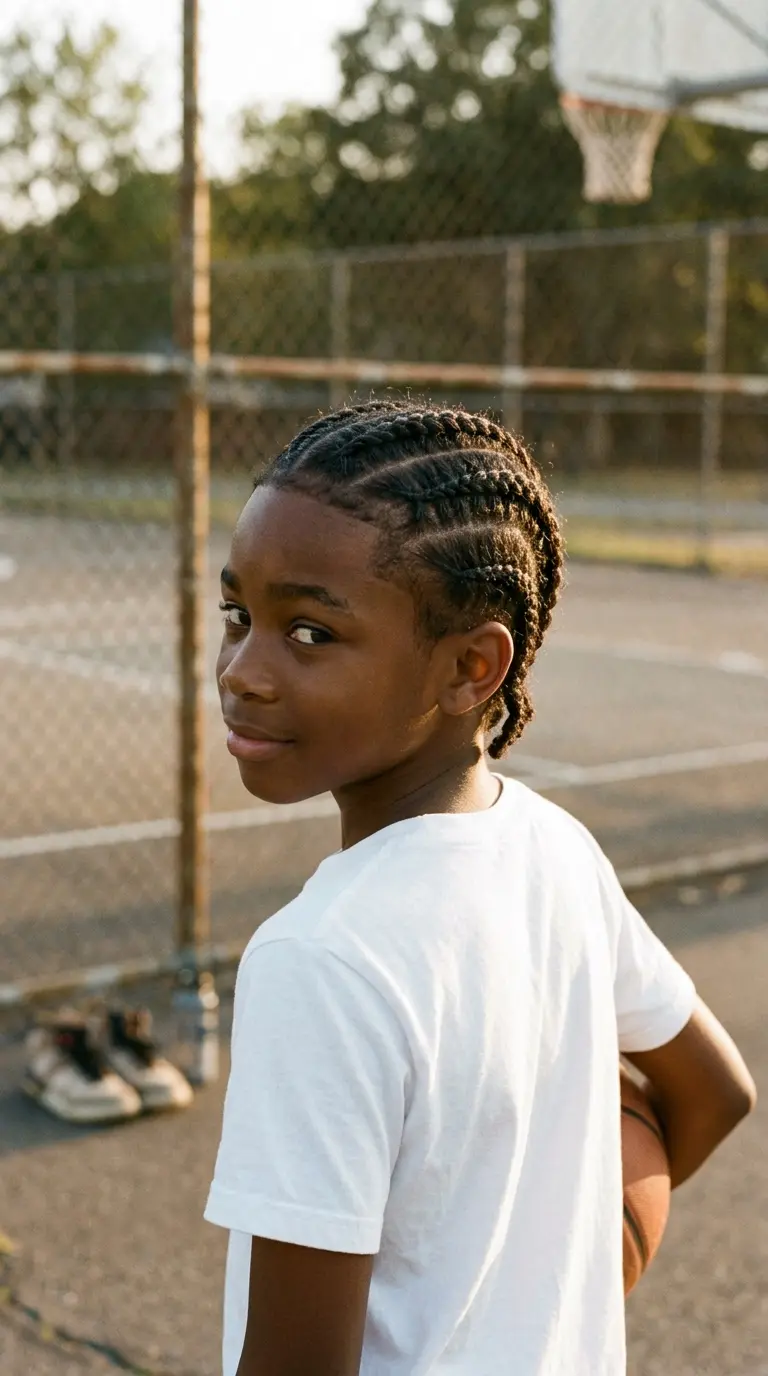
Most first tries at stitch braids go wrong in the same place. The hair gets pulled hard to force those little lines.
The stitches are the short horizontal breaks you see along each braid. You make them by sectioning off small pieces with your fingernail or a comb tail as you feed them in, in a steady rhythm. Clean lines come from neat sectioning, not from tension.
Save this one for older kids who can sit longer and keep their head still. Tweens tend to like how sharp it looks.
Styling detail: four to six thick stitch braids look bolder than lots of thin ones.
12. Cornrows That Flow Into a Two Strand Twist Ponytail
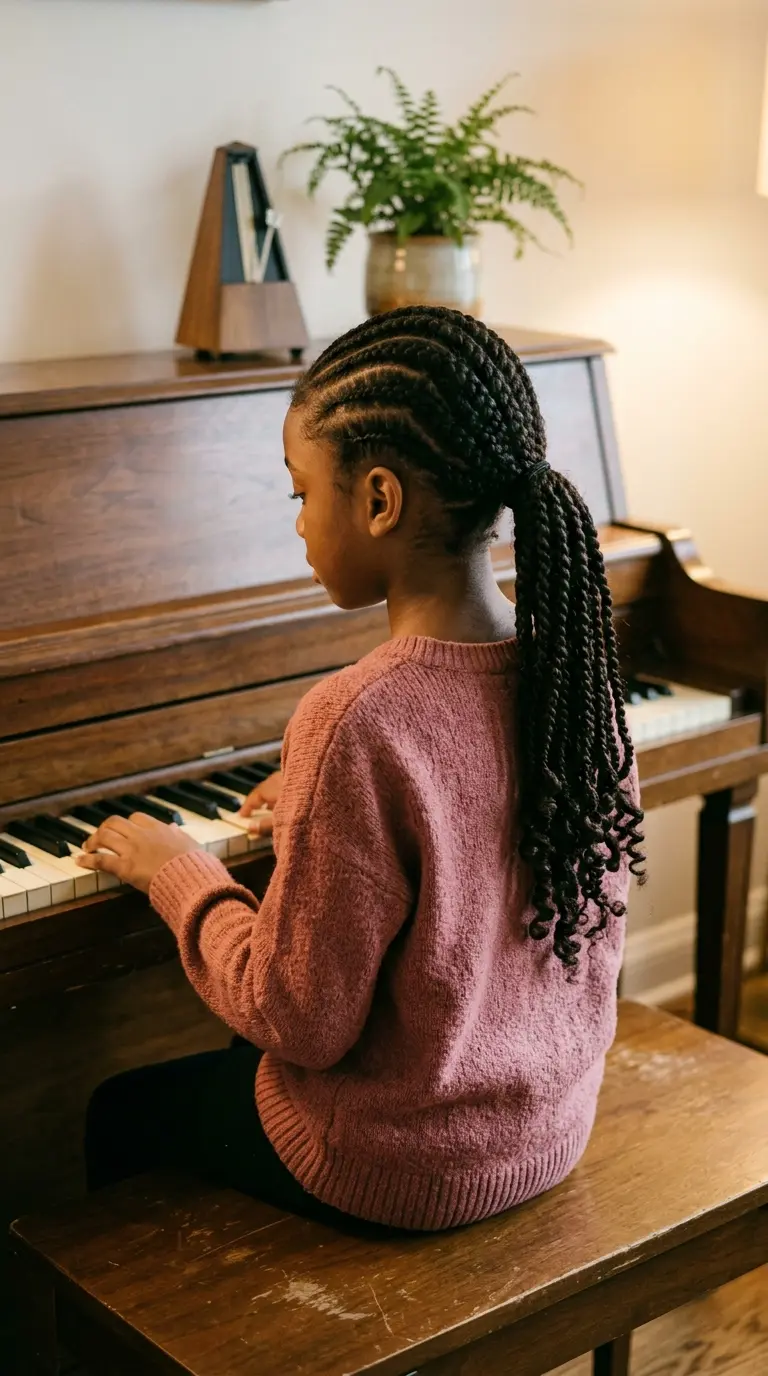
Long hair can feel heavy in a full head of cornrows. This style lets the length hang free.
Braid all the rows toward the back, ending at the nape. Gather the ends into a low ponytail and split it into two strand twists about the width of a pencil. Dip the tips in a little cream and coil each one around your finger so it does not unravel.
The twists are easy to redo on their own. Retwist them midweek without touching a single cornrow.
Kids with long hair who still want something to swing get the most out of this one.
13. Four Chunky Cornrows for Toddlers Who Won’t Sit Long
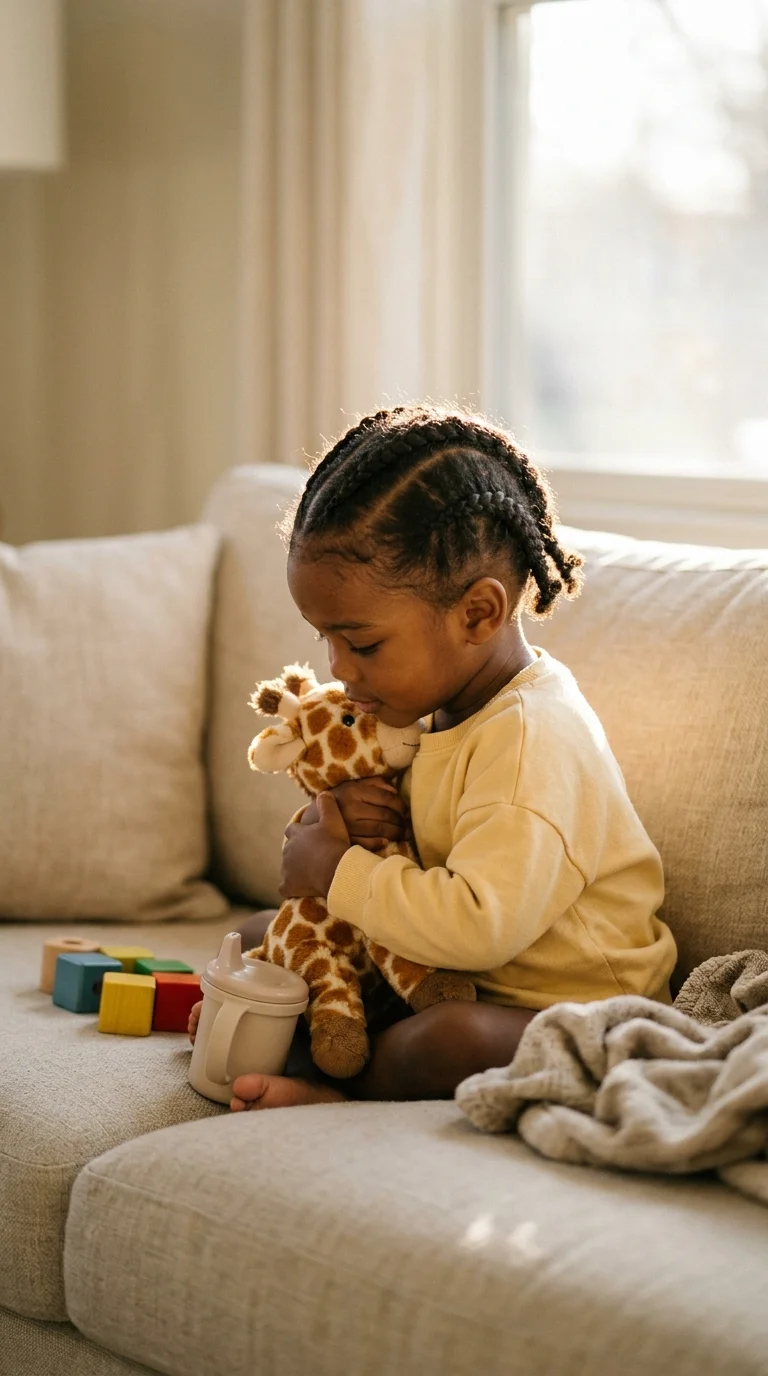
Toddlers give you about one episode of a cartoon before they slide off the couch.
Four big rows fit inside that window. Fewer parts means less pulling on a soft scalp, and the style still keeps hair tidy through a few days of naps and playground slides.
Go loose at the hairline, since toddler edges are fine and easy to stress. Skip beads and small hard clips at this age. Finish the ends with soft elastics or leave them out in little coils.
Expect some fuzz by day three. That is normal for a child who sleeps rolling across the whole bed.
14. Fulani Inspired Cornrows With a Center Braid
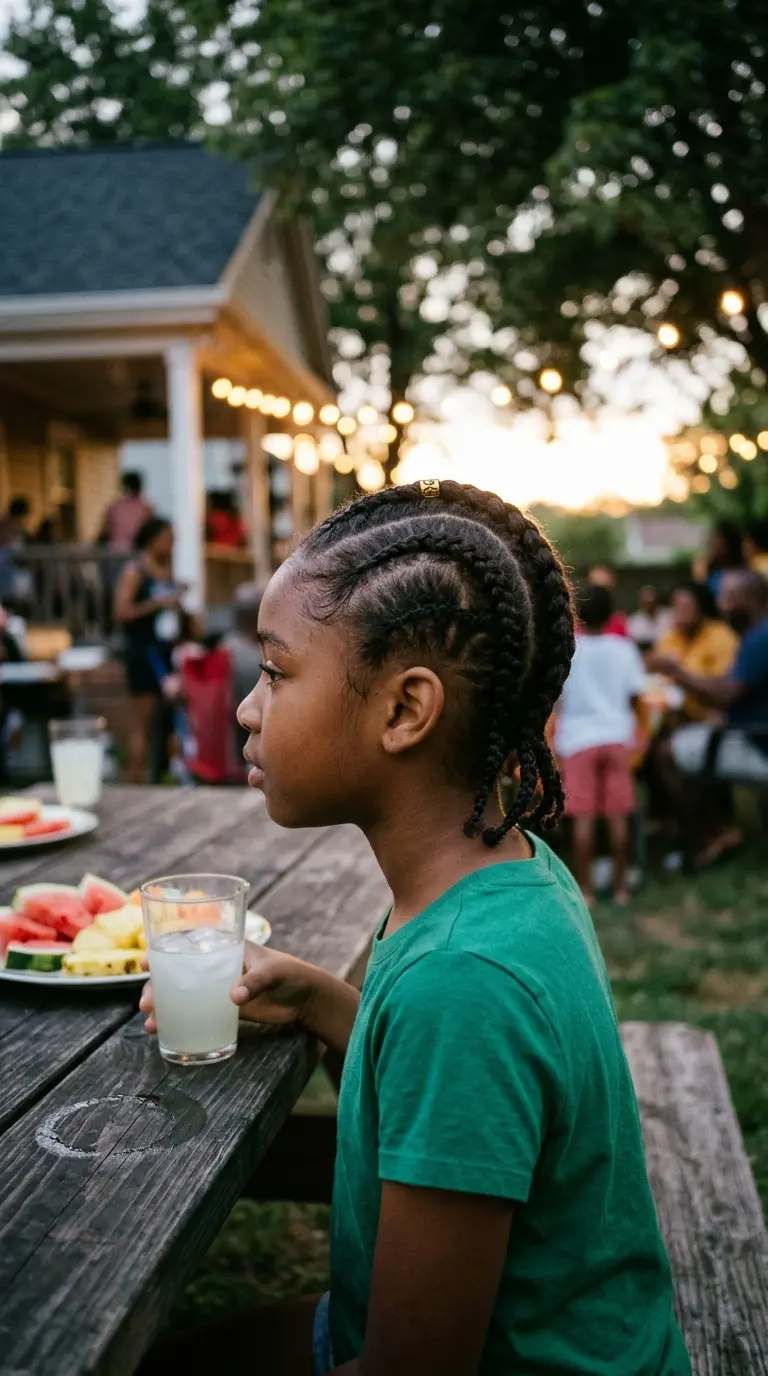
Look for three parts in this style. One braid runs down the center of the head, a row along each side curves forward toward the cheeks, and smaller braids fill in the back.
The pattern takes its name from the Fulani people of West Africa, whose braiding traditions inspired it. That bit of history is a nice thing to share with your child while you work.
Simple accents fit well:
- A single gold cuff on the center braid.
- Wooden or clear beads on the side braids, for older kids only.
The side braids frame the face, so take your time getting them even.
15. Cornrow Frohawk With a Curly Top
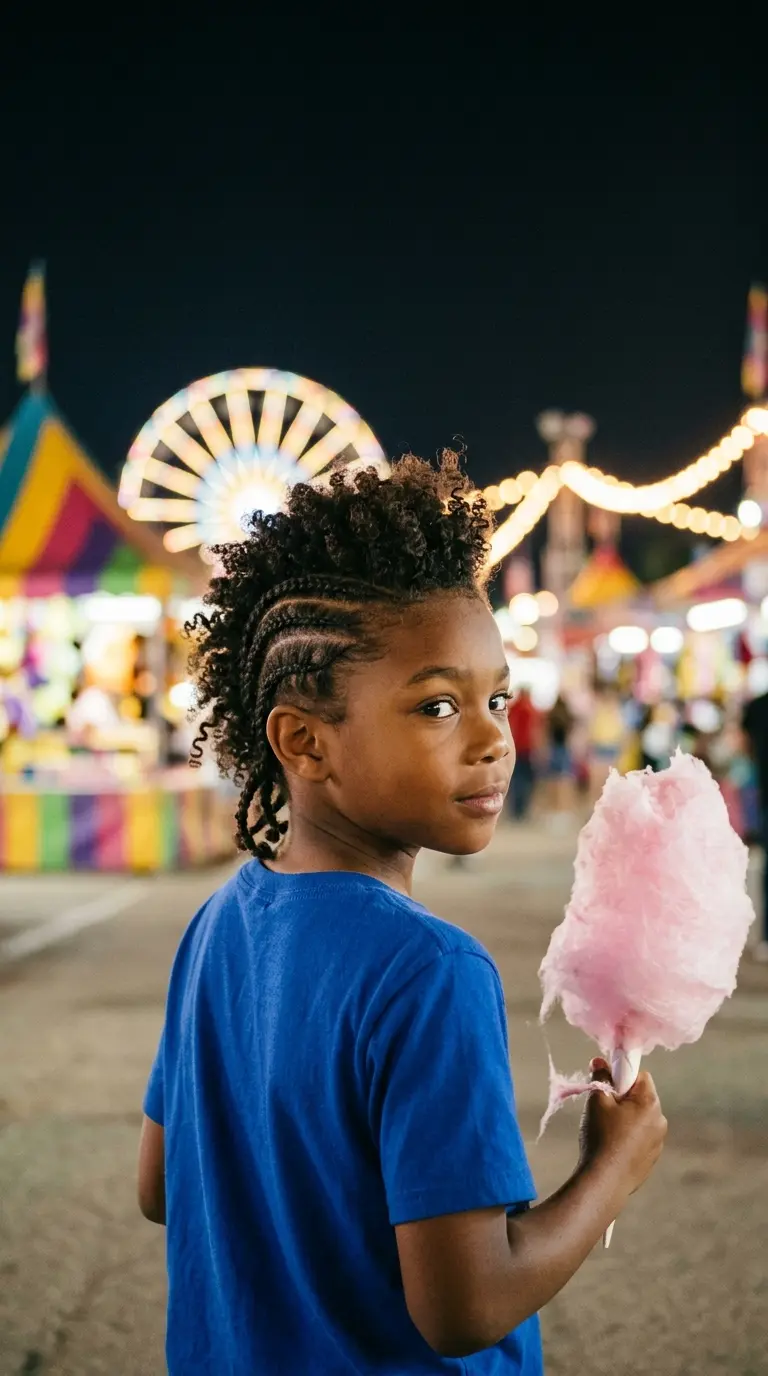
Boys growing out the sides of a cut tend to love this one, and plenty of girls ask for it too.
Braid three or four cornrows on each side, angling them up toward the middle of the head. Leave a strip of loose hair running back over the top. Shape that strip into a curly mohawk with a little curl cream and your fingers.
The loose top is the part that needs daily care. Refresh it each morning with a spray of water and a quick fluff.
Bold enough for a birthday party. Easy enough for a Tuesday.
Every style on this list stays fresh longer when the hair is covered at night. A satin bonnet, scarf, or pillowcase means less rubbing, less fuzz, and fewer touch ups on Sunday.
A good set of braids is more than a hairstyle. It is a week of faster mornings, fewer tangles, and some quiet time together on the couch that your child may remember longer than you expect.
Start with what fits your family right now. Four chunky rows for the toddler, straight backs for the kid who just wants to get to practice, and a heart or a swirl when everyone has the patience for it. Keep the edges loose, cover the hair at night, and take a style down when it starts to look tired.
The best cornrow hairstyles for kids are the ones your child is happy to wear and you are happy to braid.
Save this list to your kids’ hair board so the next braiding night starts with a plan.