
It’s 7:40 in the morning. Her shoes are on the wrong feet, there’s oatmeal on her sleeve, and she just spotted the hairbrush in your hand. By the time you’ve found a comb, she’s off the step stool and halfway down the hall.
If that sounds like your house, a tutorial with eight sections and a fancy French braid won’t help. You need styles that are finished before she finishes a handful of blueberries.
That’s what this list is for. These toddler girl hairstyles were picked for real mornings with a kid who won’t sit still. Most use gear you already have in a drawer, like small elastics, a snap clip, or a scrunchie. They hold up through the playground, the car seat, and at least part of nap time.
You’ll find ideas for fine baby wisps, thick waves, and curly and coily hair, plus small tricks for keeping her busy while you work. Grab a spray bottle and a snack. We’ll start with the fastest one.
1. Palm Tree Sprout on Top for Fine Baby Hair
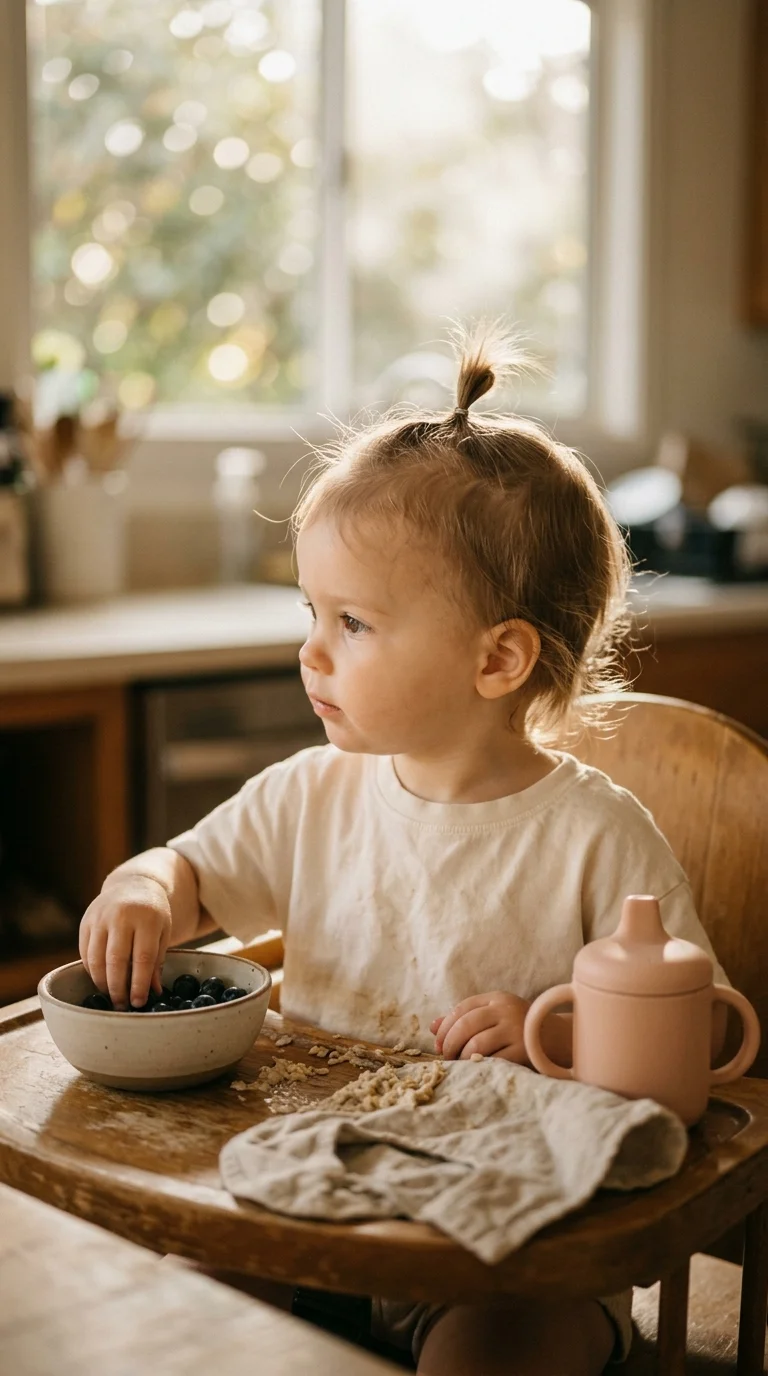
Short, fine hair is the hardest to style and the easiest to fix with one tiny ponytail.
Gather only the hair from the front hairline back to the crown. That’s the part that falls in her eyes anyway. Smooth it up with damp fingers instead of a brush, since a brush on baby fine hair mostly makes static. Wrap one small elastic around it twice.
The little tuft sticks straight up like a palm tree, and it keeps her bangs out of the yogurt.
Quick tip: pick a clear silicone elastic for this one. Fabric elastics slide right off fine hair before snack time.
2. Bubble Pigtails With Three Soft Elastics
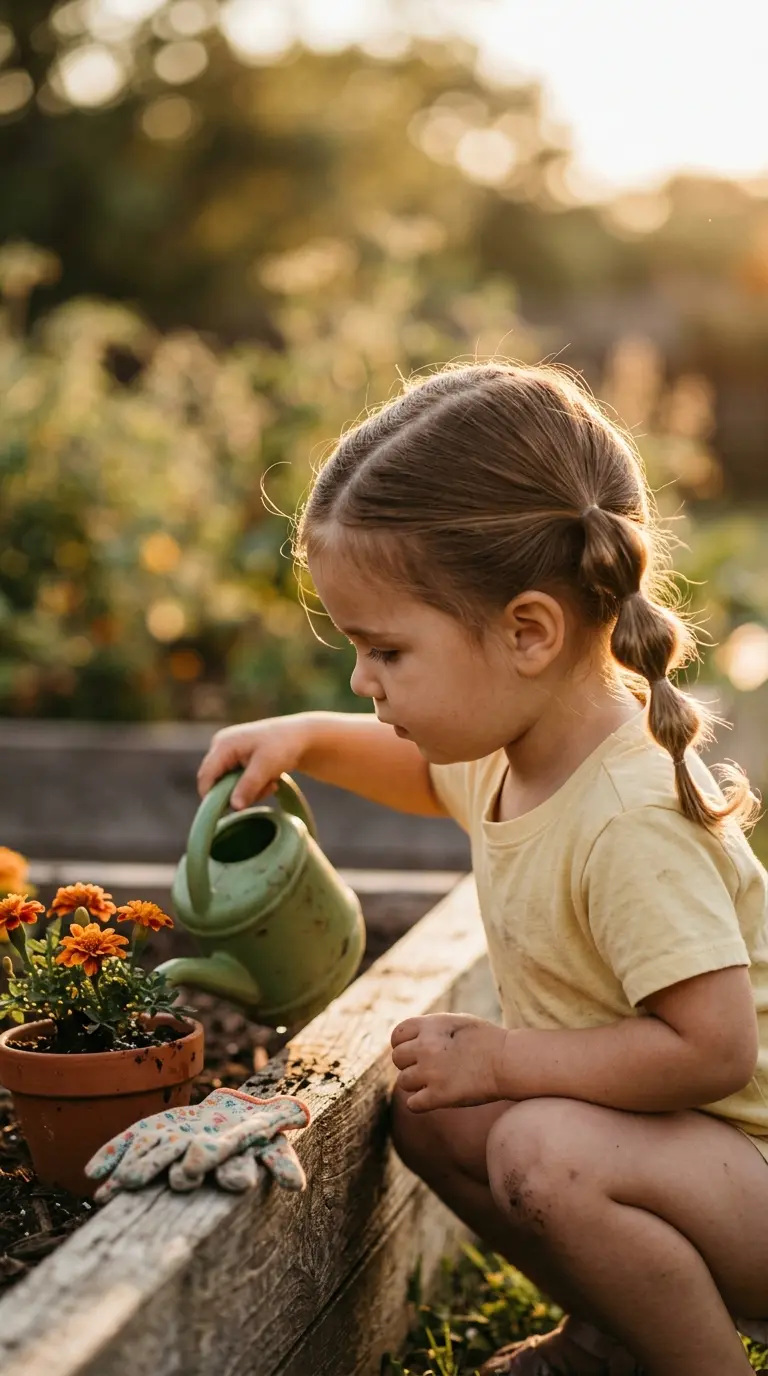
Two pigtails, a few extra elastics, and a quick tug between each one.
- Part down the middle and make two low pigtails.
- Add a second elastic about two fingers below the first.
- Gently pull the hair between them so it puffs into a bubble.
- Repeat once more near the ends.
The bubbles hide bumps. That matters on the days the part came out crooked because she turned around to look at the dog.
Shoulder length hair gets two or three bubbles per side. Chin length hair gets one.
3. Half Up Mini Bun for Hair That Hangs in Her Eyes
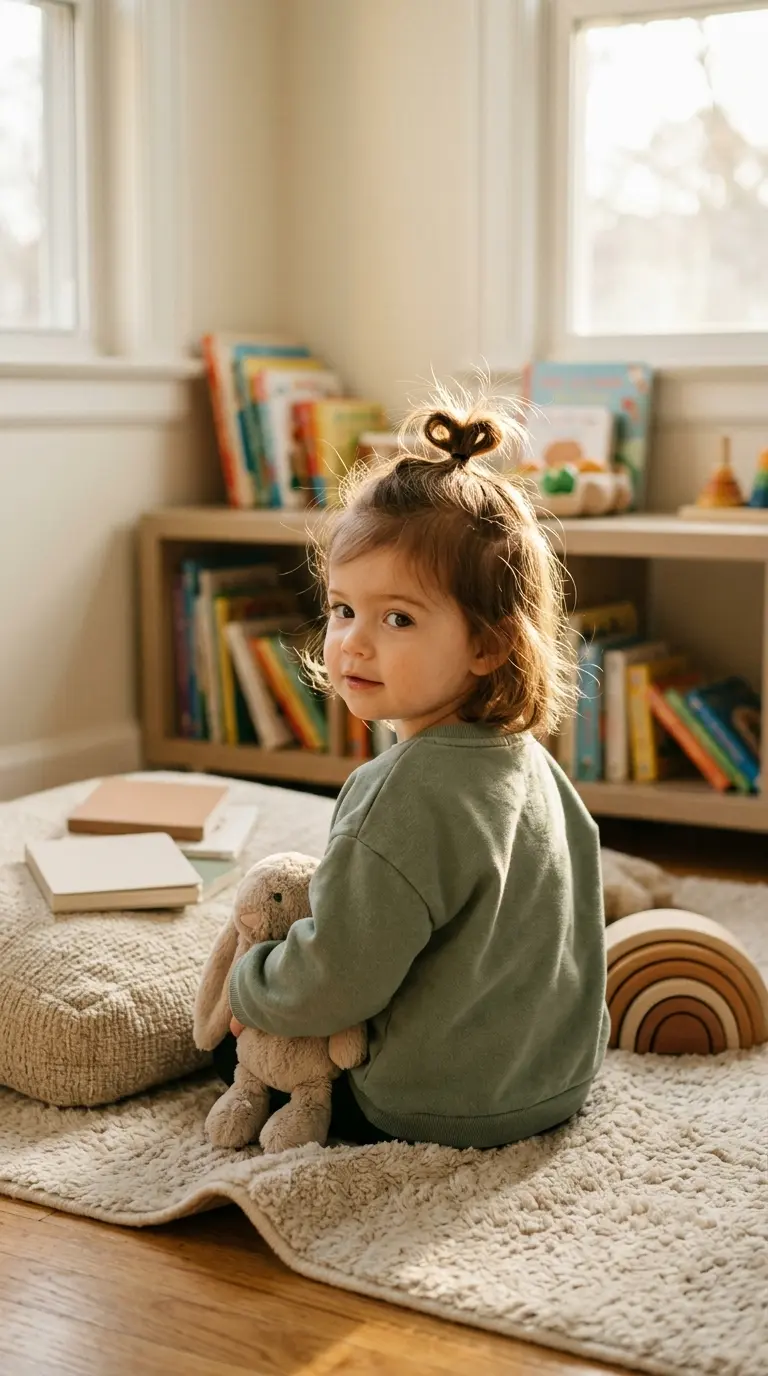
Bangs in her eyes, the rest of her hair loose and tangled by lunch. The half up bun deals with the front and leaves the back alone, so you’re only fighting one section.
Scoop up the hair above her ears into a ponytail at the crown. On the last pass of the elastic, stop halfway so the hair makes a small loop. Wrap the leftover tail around the loop and tuck the end under the elastic.
It takes about as long as a plain ponytail.
Best for: chin length to shoulder length hair, and kids who won’t let you near the back of their neck.
4. Criss Cross Elastic Grid for Growing Out Bangs
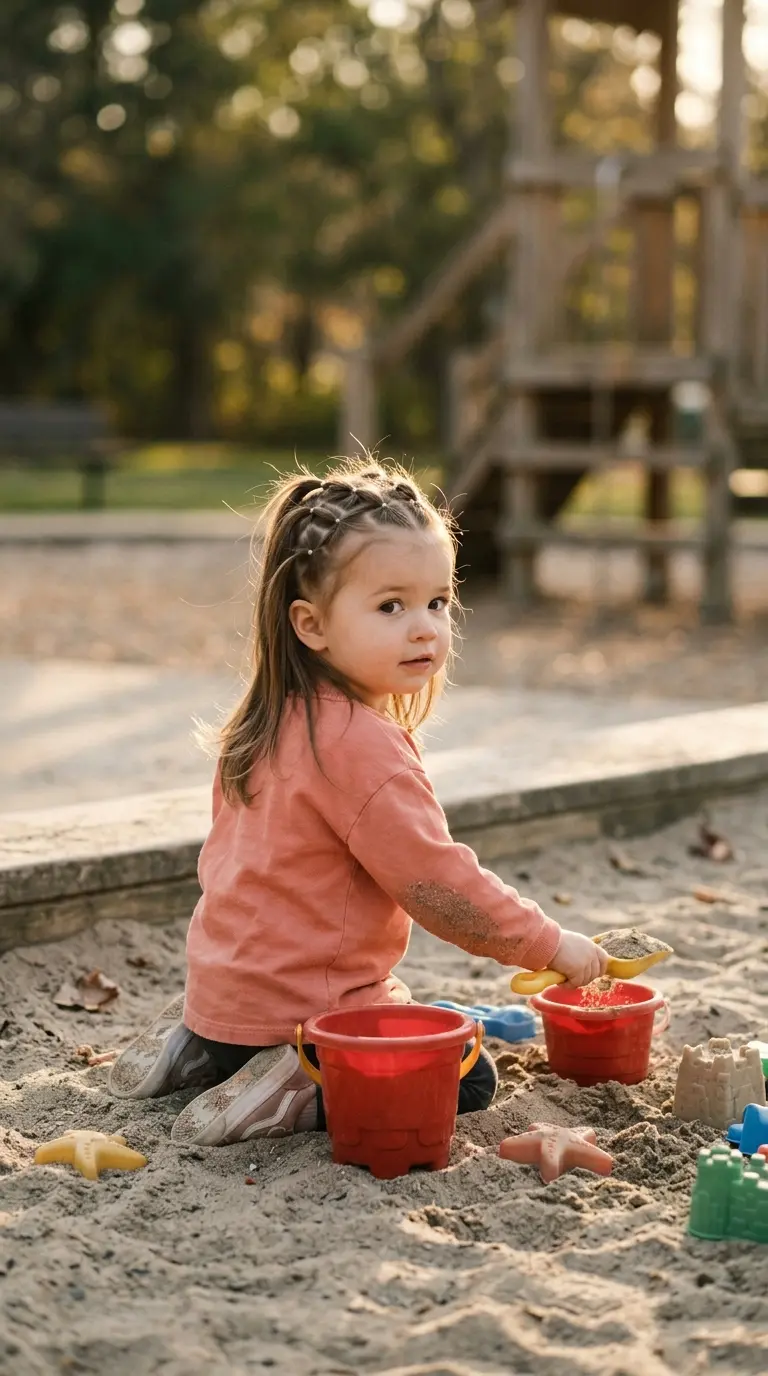
Growing out bangs doesn’t have to mean months of clips falling out. A small elastic grid holds every short piece flat.
Make three tiny ponytails in a row along the front hairline. Split each one in half. Join the right half of one with the left half of its neighbor a little farther back, and band them together. You end up with a diamond pattern that keeps the short bits pinned down.
Leave the back down.
A small warning here. Keep each elastic loose enough that you can slide a fingertip under it. Short hair pulled tight right at the hairline is the spot most likely to feel sore later.
5. Pull Through Braids That Need No Braiding
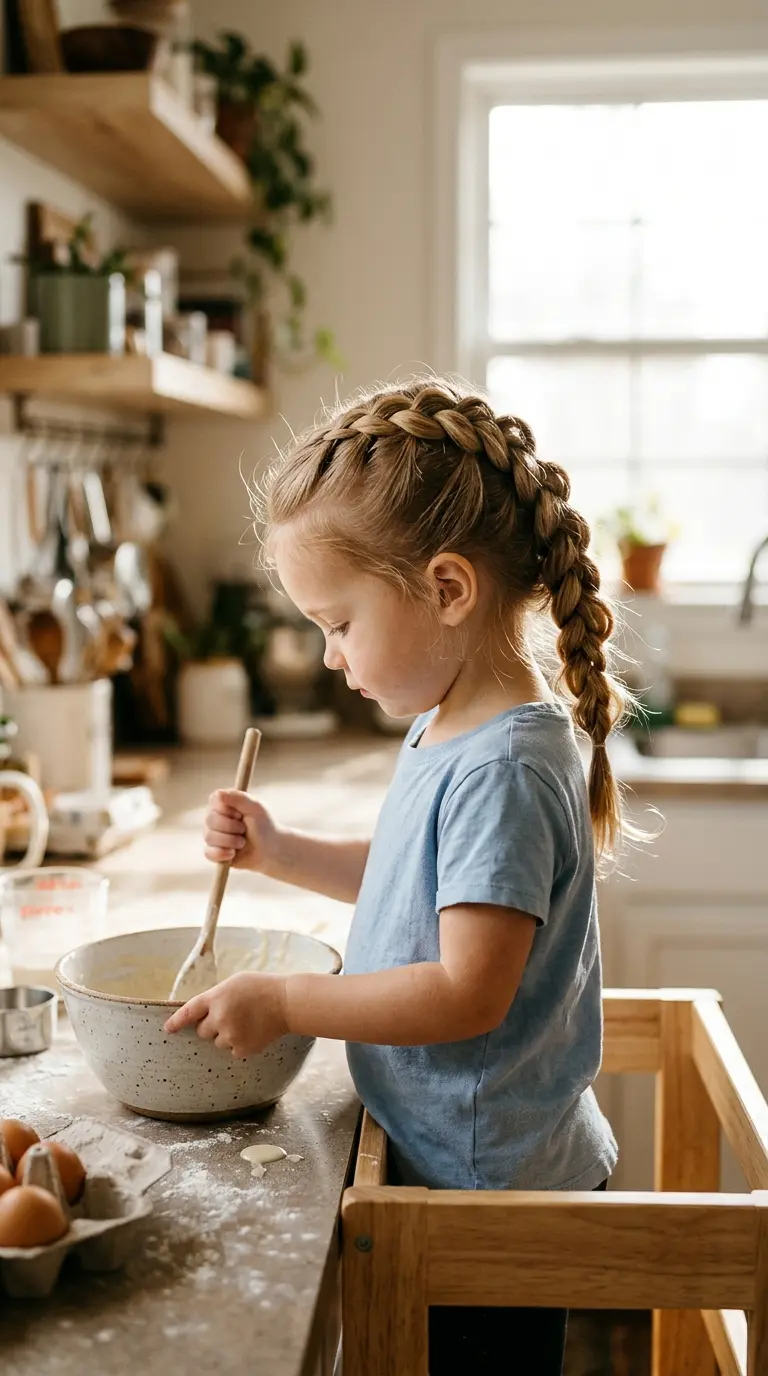
A real three strand braid needs her to hold still for a full minute. A pull through braid needs her to hold still for about ten seconds at a time, with breaks in between.
Make a ponytail at the crown. Make a second ponytail just below it. Split the top tail in two, pass the lower tail up through the gap, and band the split top tail underneath. Keep going down to the ends.
Pull the loops a little wider with your fingers and it reads as a chunky braid from across the room.
Make two side by side for a pigtail version.
6. One Snap Clip Side Sweep for Two Minute Mornings
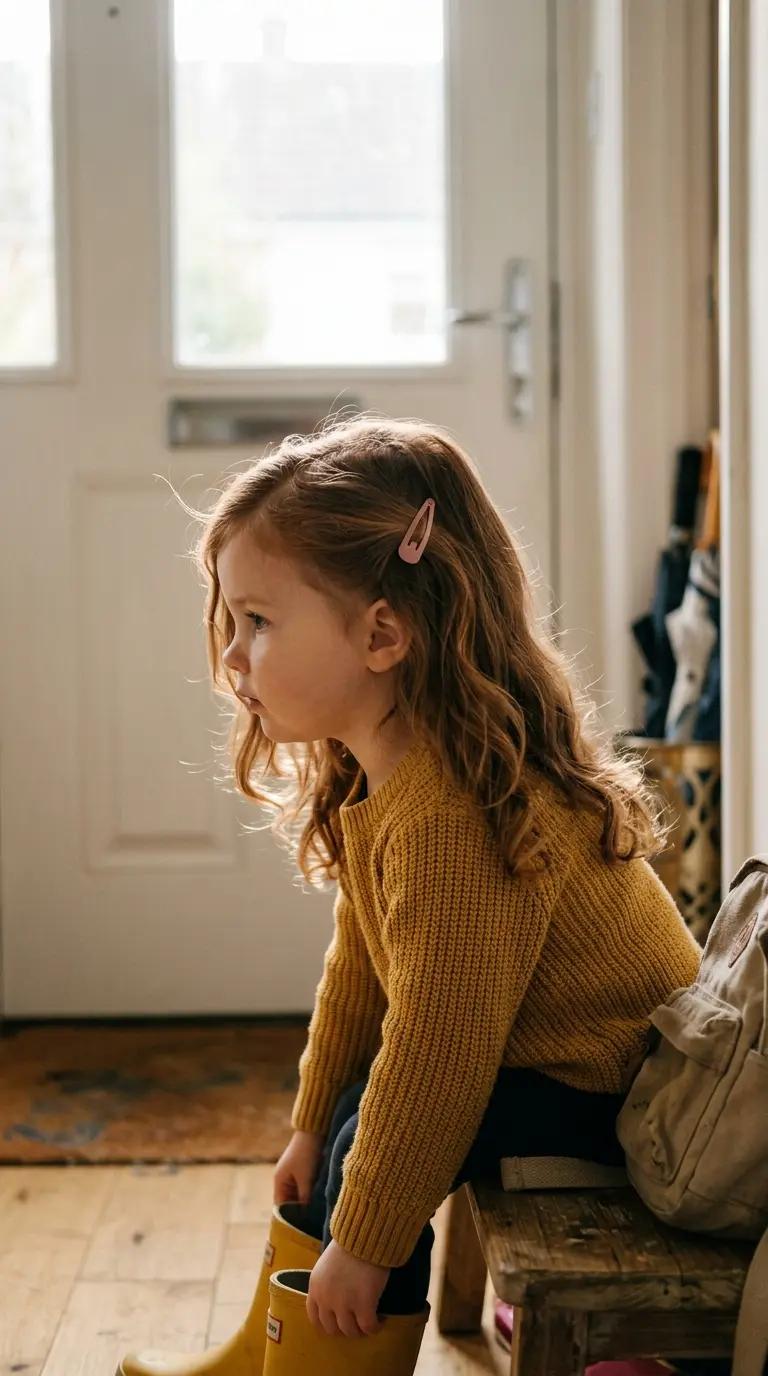
Here’s the rule: if there’s only time for one thing, get the hair off her face.
Make a deep side part with your finger. Sweep the bigger side across her forehead toward her ear. Slide one snap clip in just above and behind the ear, pushing it against the direction the hair falls so it grips.
That’s the whole style. The back stays down and nobody cries.
Snap clips with a thin rubber strip on the inside hold much better on silky hair than plain metal ones.
7. Space Buns With Twisted Bases
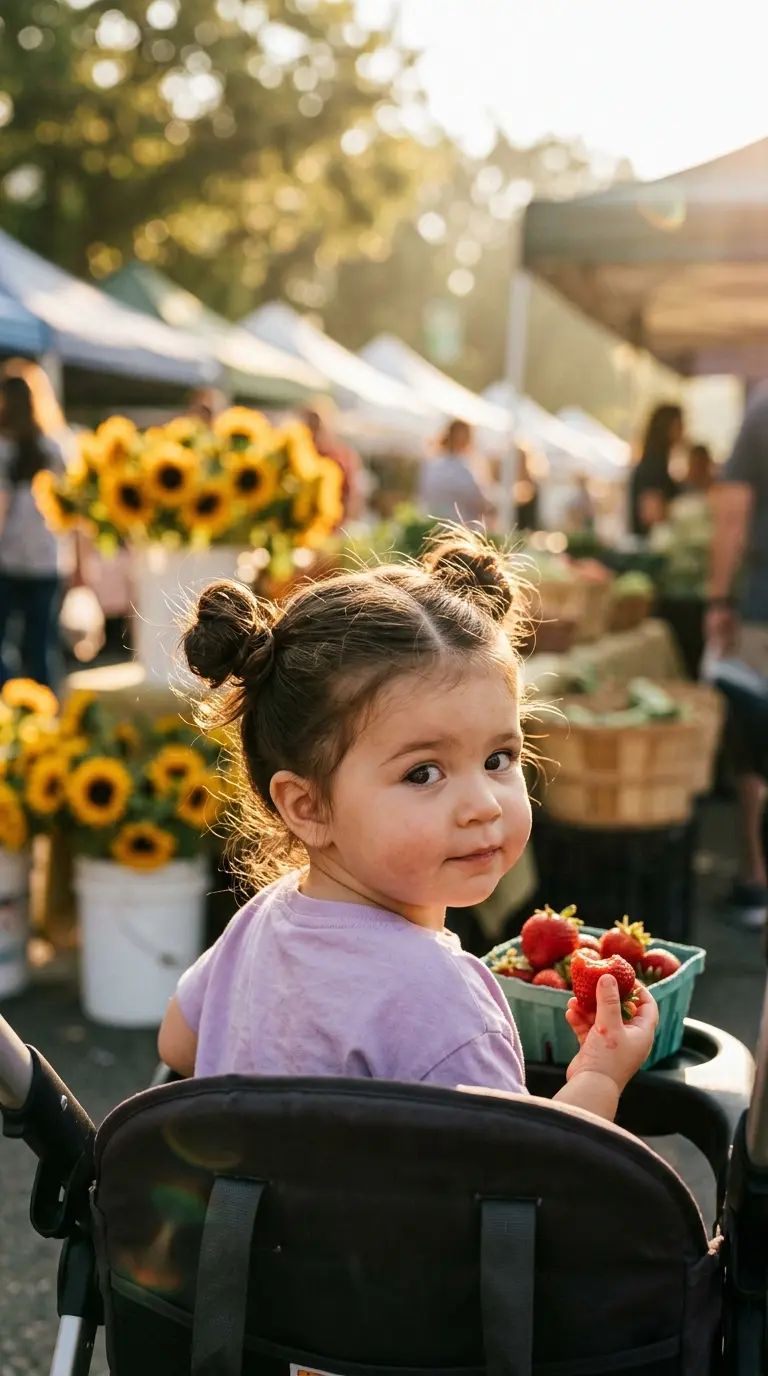
Two round buns sitting high on either side of the part, a few soft wisps poking out at the nape. It’s the style other parents ask about at the park.
The twist is what makes it work. Twisting each pigtail before you wrap it makes the bun sit tighter and rounder, and you only need one elastic per side.
Skip bobby pins for this age. They wiggle loose and end up on the floor, or in a small hand.
Part down the middle and make two high ponytails, just above and behind each ear.
Twist one tail in a single direction until it starts to coil back on itself.
Let the coil wrap around the base, then pull the same elastic over the whole bun one more time.
Repeat on the other side, matching the height by feel rather than by mirror.
8. Soft Headband Pushback for Wispy Short Hair
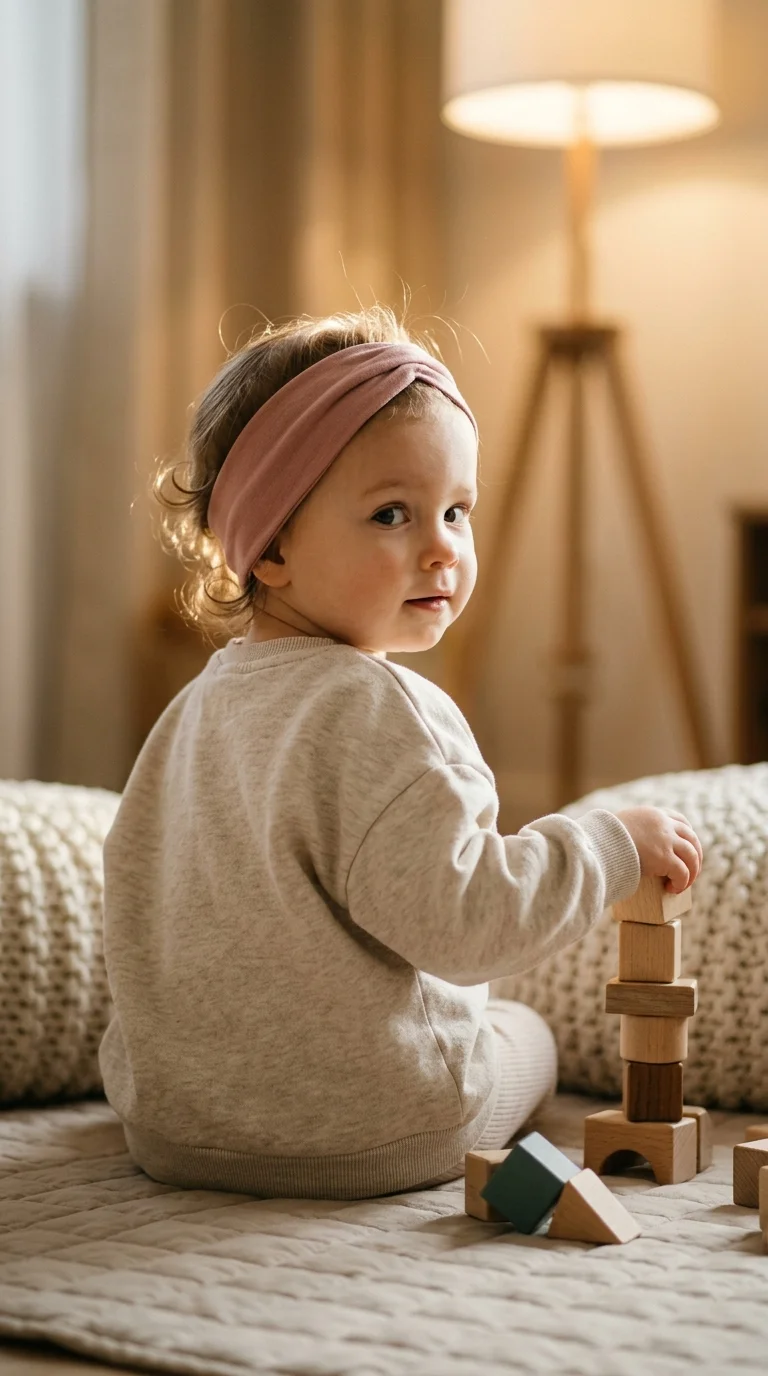
The usual mistake is putting the headband on like a crown, right at the hairline. It creeps forward and ends up around her neck within minutes.
Do it the other way around. Slip a wide, stretchy fabric headband over her head like a necklace. Pull it up from the back so it sits low at the nape and behind her ears, then push the front edge back a little from her hairline.
The band grips the back of the head where it’s widest. The wisps stay pushed back.
Nylon bands feel softer, but cotton jersey ones stay put better on a moving toddler.
9. Twisted Front Rope Pinned Behind One Ear
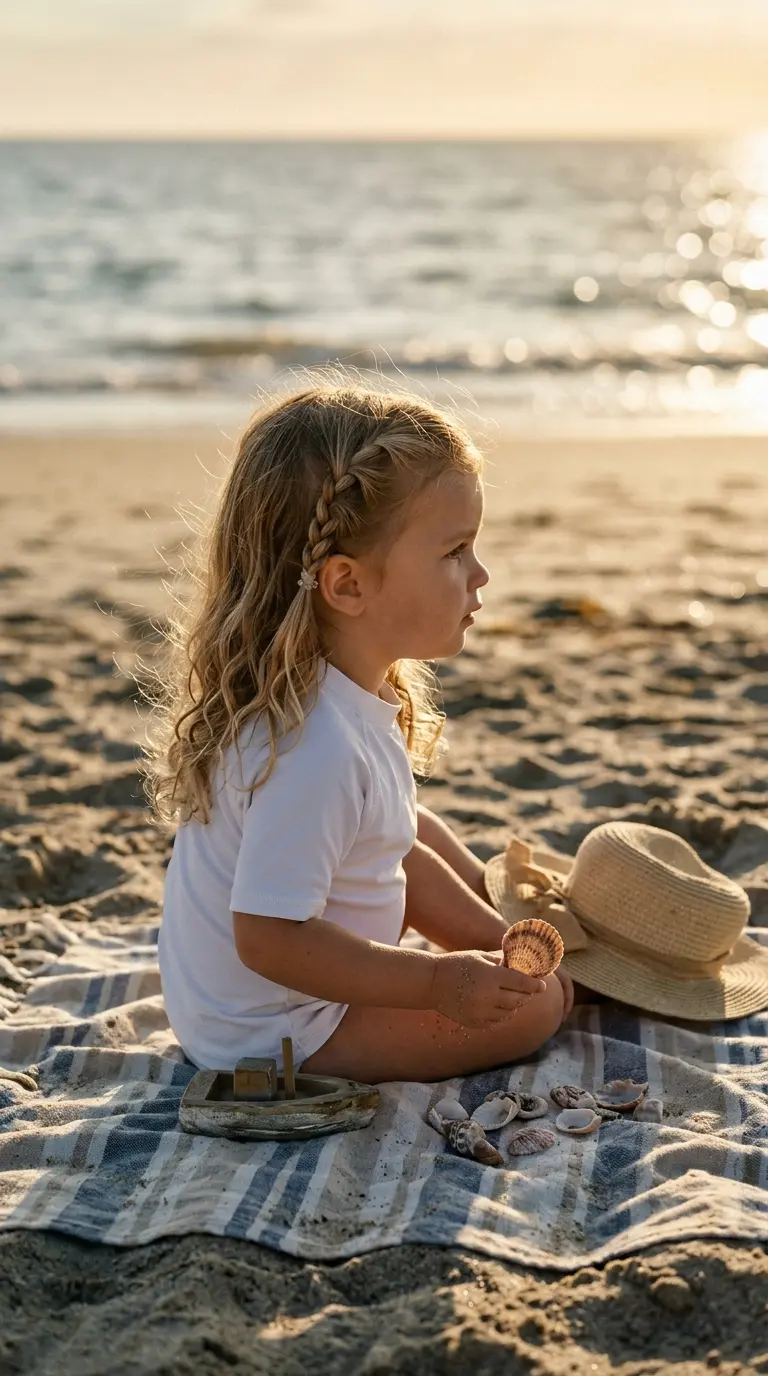
She’s on the towel collecting shells, and you have maybe thirty seconds before she runs for the water. That’s enough for this.
Take a section about two fingers wide from her part. Twist it away from her face, adding a little hair with each turn, until you reach just behind her ear. Hold it with one small elastic around the twist and some of the loose hair under it.
It keeps sea breeze and sunscreen hands away from her eyes.
It also works on hair that’s too short for a ponytail, which is the real reason to learn it.
10. Low Side Ponytail With a Velvet Scrunchie

A ponytail at the back of the head gets squashed every time she leans into the car seat. Move it to the side and that problem mostly goes away.
Brush everything toward one side, just below the ear. Band it with a regular elastic first, then slide a velvet scrunchie over the top. The elastic does the holding. The scrunchie hides it and keeps the hold from slipping.
Good for: road trips, stroller naps, and long hair that knots at the nape.
Switch sides from day to day so one spot isn’t always taking the pull.
11. Mini Ponytail Headband Across the Front
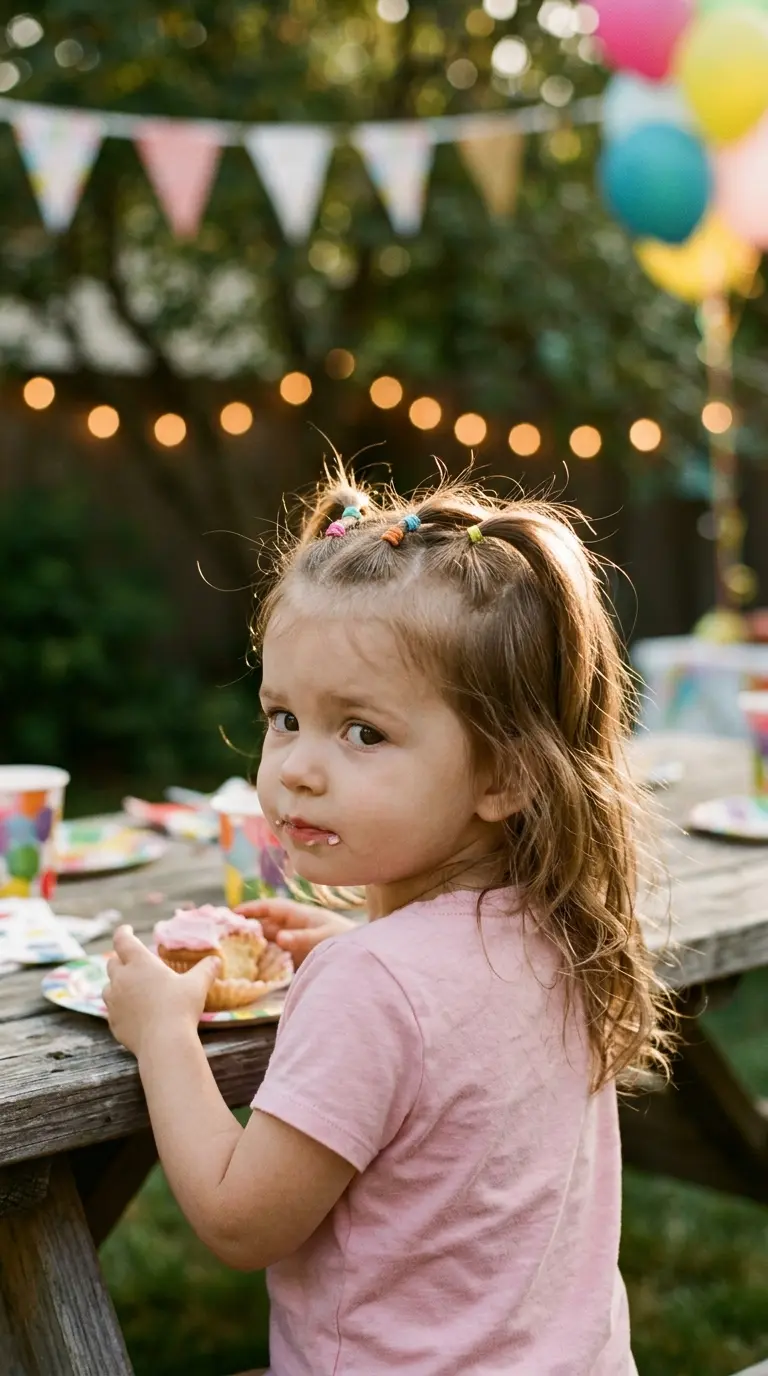
This one looks like a party style, but each piece is just a tiny ponytail.
Make a part from ear to ear across the top of her head. Split the front section into four or five small squares and band each one. Then gather all the little tails into a low ponytail with the rest of her hair, or leave the back down.
Do it while she eats. Cupcake time gives you about one ponytail per bite.
Small elastics in a single color look neater than a rainbow mix.
Leave enough slack to slide a fingertip under every elastic.
Snip tiny silicone bands with blunt scissors instead of pulling them out.
Take every style down before bedtime.
Pulling the hairline tight so it looks extra sleek.
Putting the same tight hairline style in every single day.
Rubber office bands, which grab and break hair.
12. Zigzag Part Pigtails Drawn With a Comb Tail
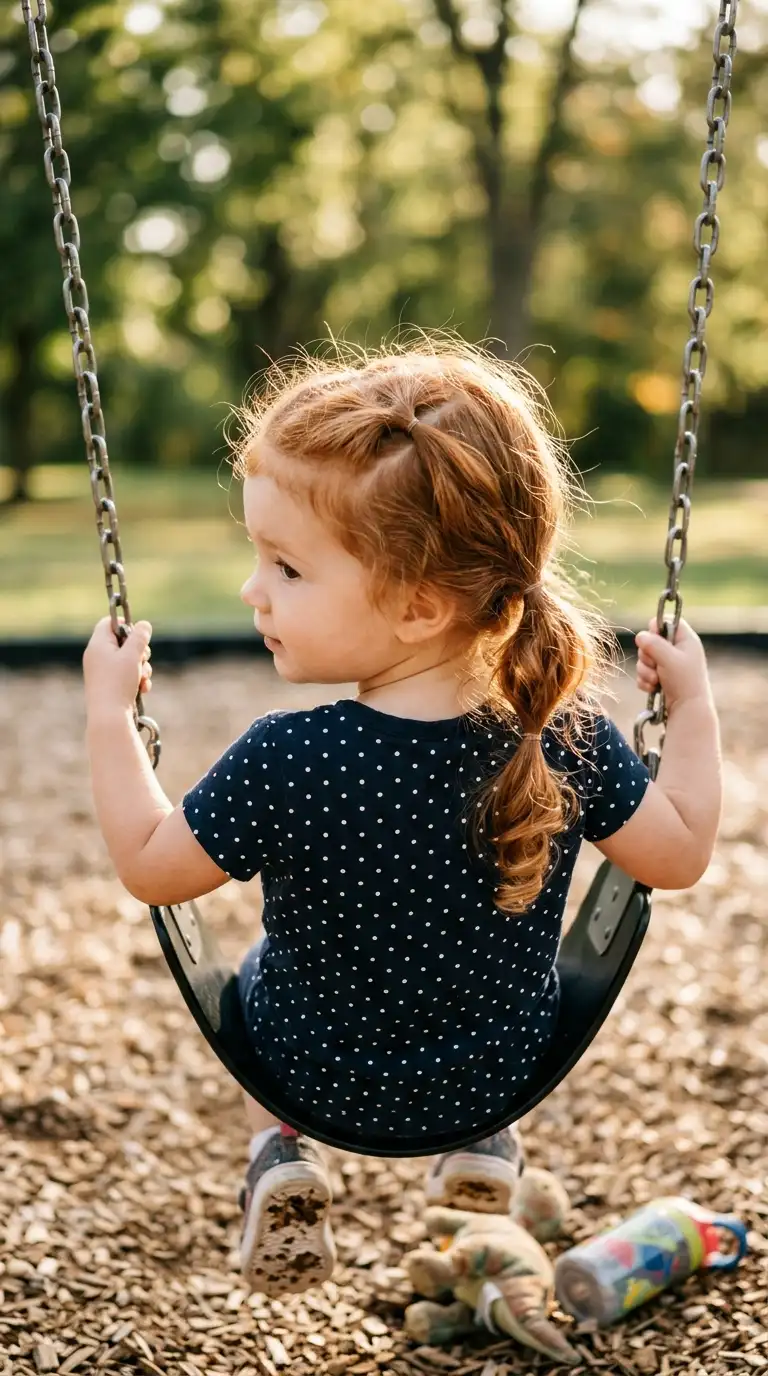
A zigzag part turns plain pigtails into something that looks planned.
- Mist the hair so the part shows clearly.
- Set the tip of a tail comb at her front hairline.
- Move it back a little, then left, back, right, until you reach the crown.
- Flip each side away from the line and make two pigtails.
Don’t aim for sharp points. Toddlers turn their heads mid zag, and a wobbly line still looks cute from three feet away.
A metal tail comb draws a cleaner line than a plastic one.
13. Topsy Tail Flip on a Half Up Ponytail
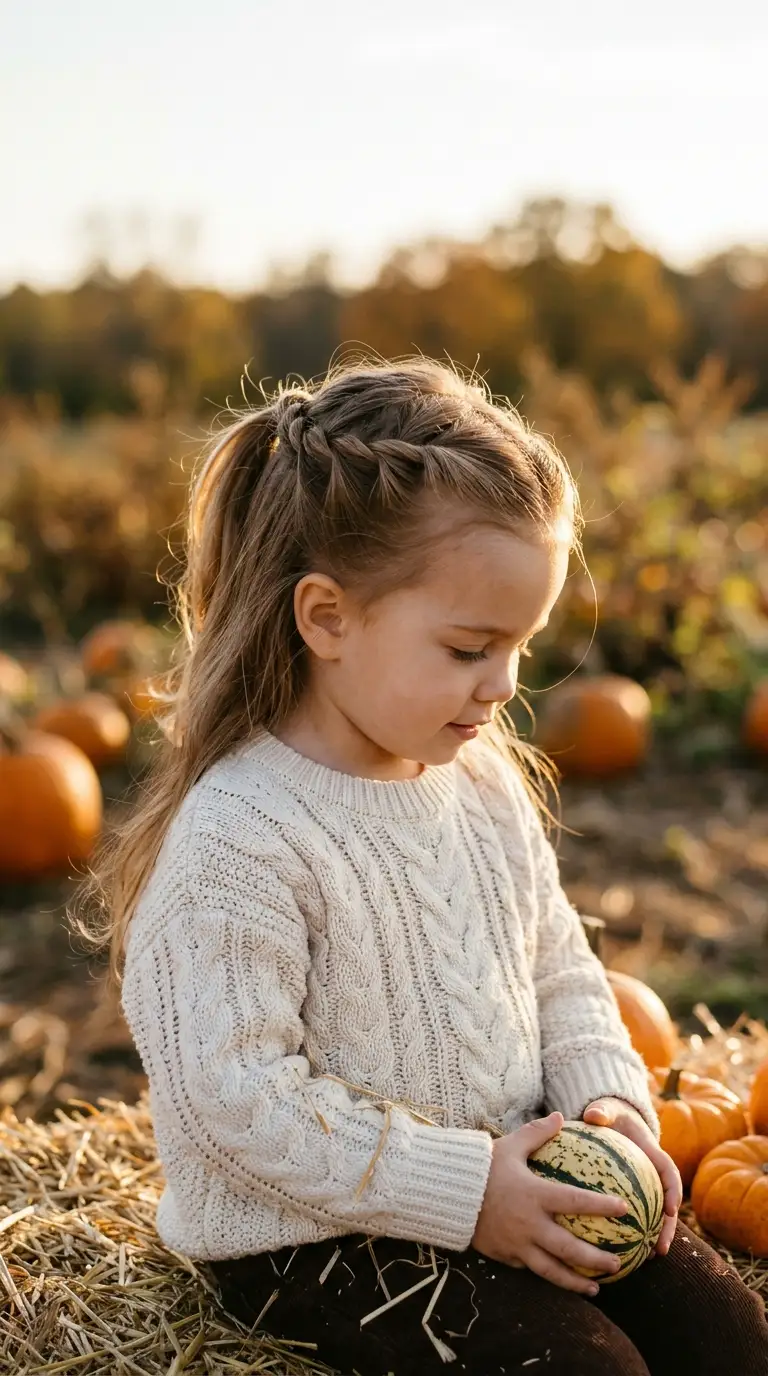
Flipping a ponytail through itself sounds fiddly. It’s actually two moves, and the result looks like a twisted braid.
Make a loose half up ponytail at the back of her head. Push a finger through the hair just above the elastic to open a gap. Pass the tail up and through that gap from underneath. Tug both halves of the tail gently to snug it up.
The flip hides the elastic and twists the sides into neat little ropes.
Keep the elastic slightly loose before you flip, or there won’t be room to pull the tail through.
14. Ribbon Bow Ponytail Tied Over the Elastic
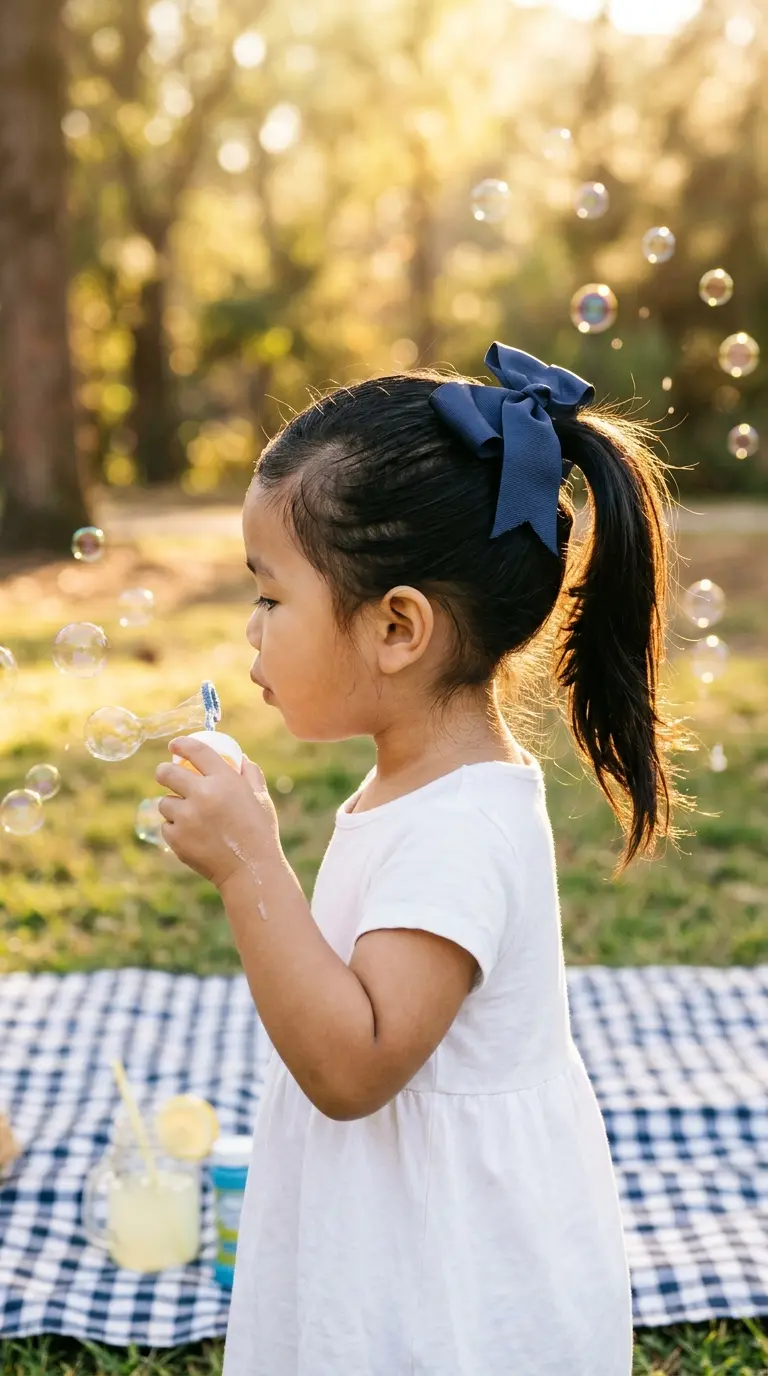
A wide ribbon tied in a floppy bow over a high ponytail. It’s the photo day look, and it’s sturdier than a clip on bow.
Make the ponytail first with a regular elastic. Thread the ribbon under the elastic so it can’t slide off. Tie a double knot, then the bow, then trim the ends on a slant so they don’t fray.
Grosgrain ribbon holds its shape longer than satin. Satin feels softer if she leans her head back on it.
Keep the tails short. Long ribbon ends tend to end up in her mouth.
15. Two Strand Twists Done Over Two Short Sessions
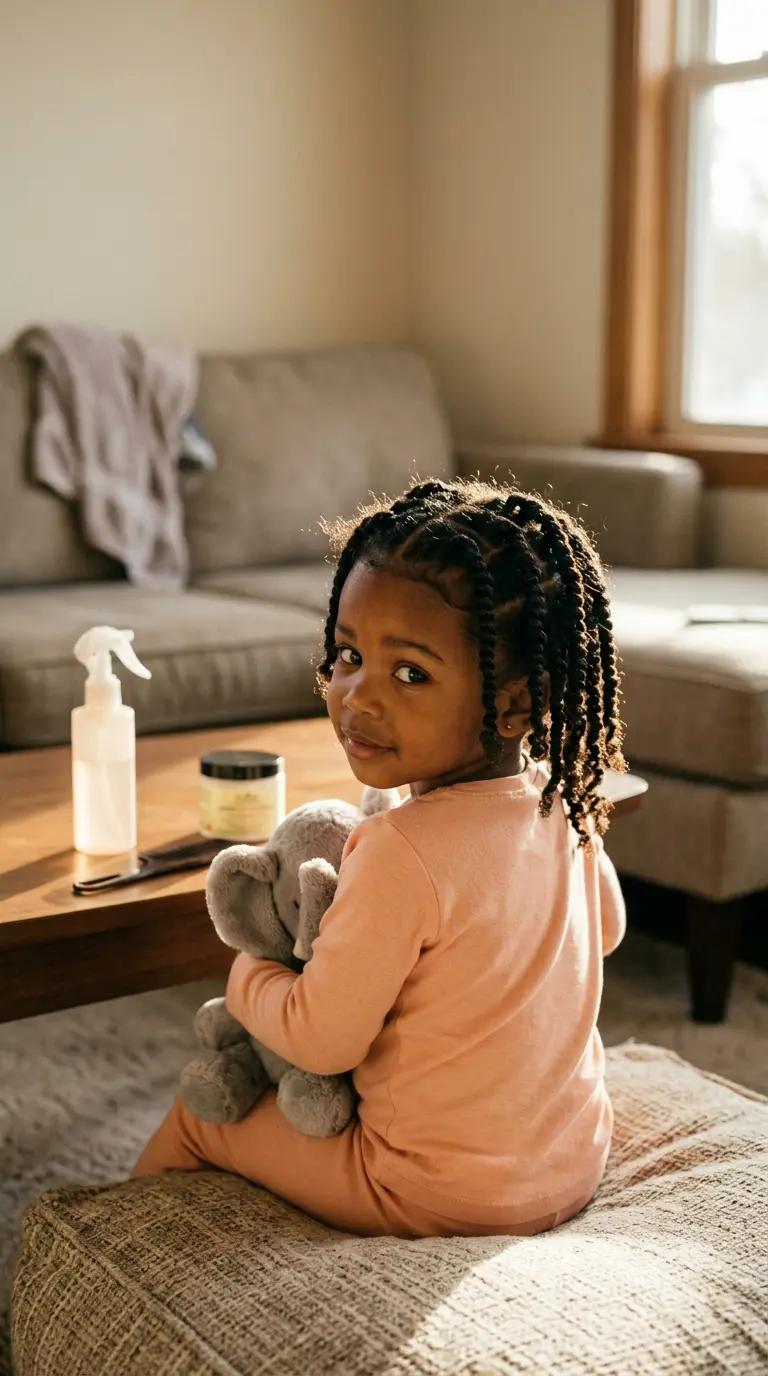
Wash day for curly and coily toddler hair can turn into an hour on the floor with a very unhappy kid. Splitting the job helps a lot.
Do the back half one evening while she watches a show. Do the front half the next morning. Smooth a little leave in conditioner through each section first, then wrap two pieces around each other from root to tip.
Simple twists often last several days with a satin bonnet or satin pillowcase at night. That means fewer styling sessions in the week, which is the point.
Loose curls after wash day knot up by the second afternoon, and every detangle turns into a chase around the couch.
Twists keep the curls grouped, so most mornings are a light spritz of water and a quick check of the edges.
16. Single Puff With a Satin Scrunchie for Coily Hair
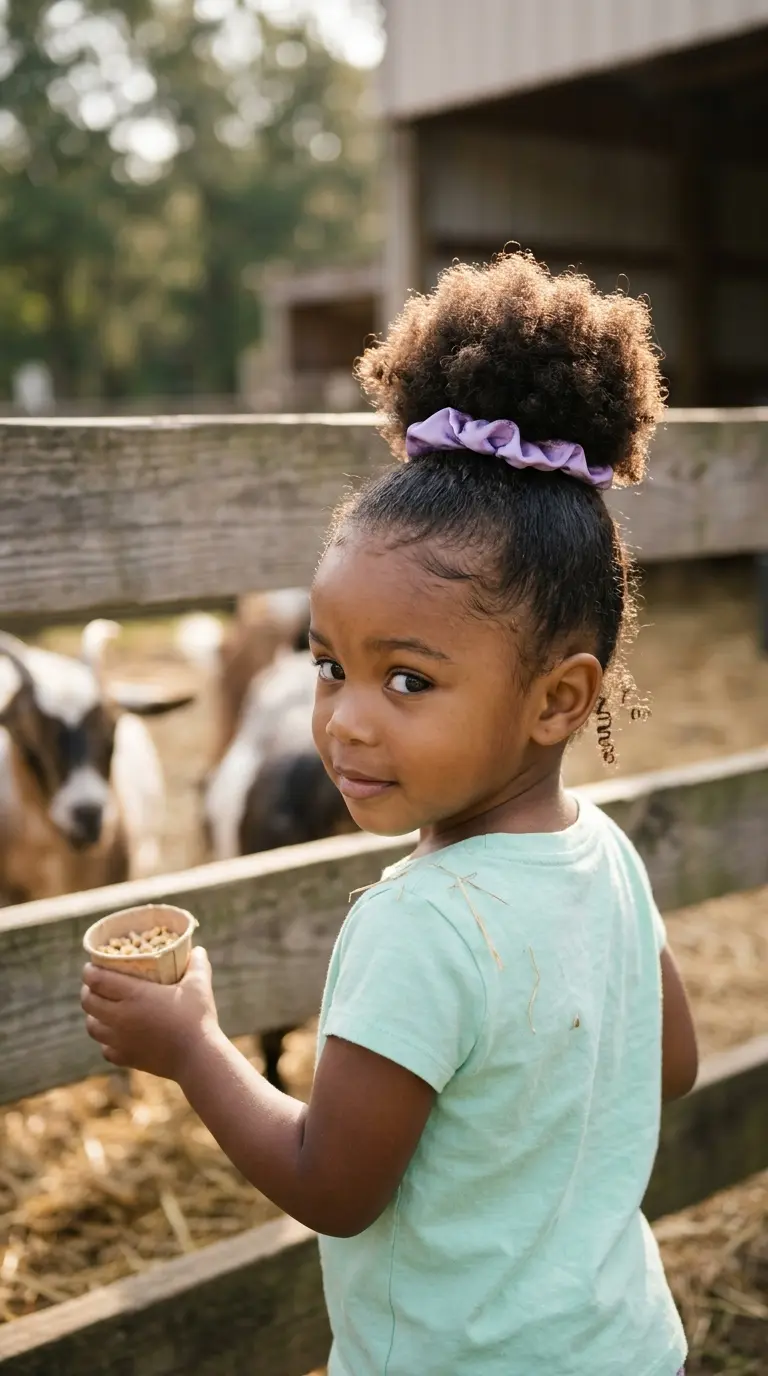
Rule for puffs: smooth with your hands, not a brush, and keep the band loose.
Spritz the hair with water. Gather it up toward the crown with your palms, the same way you’d scoop sand into a pile. Slip a big satin scrunchie over it and stop at two wraps instead of three.
The puff should feel soft and sit a little low. One pulled tight at the edges looks neat for a day, but the hairline pays for it.
Fluff the top with your fingertips. Done.
17. Simple Side Braid Over the Shoulder
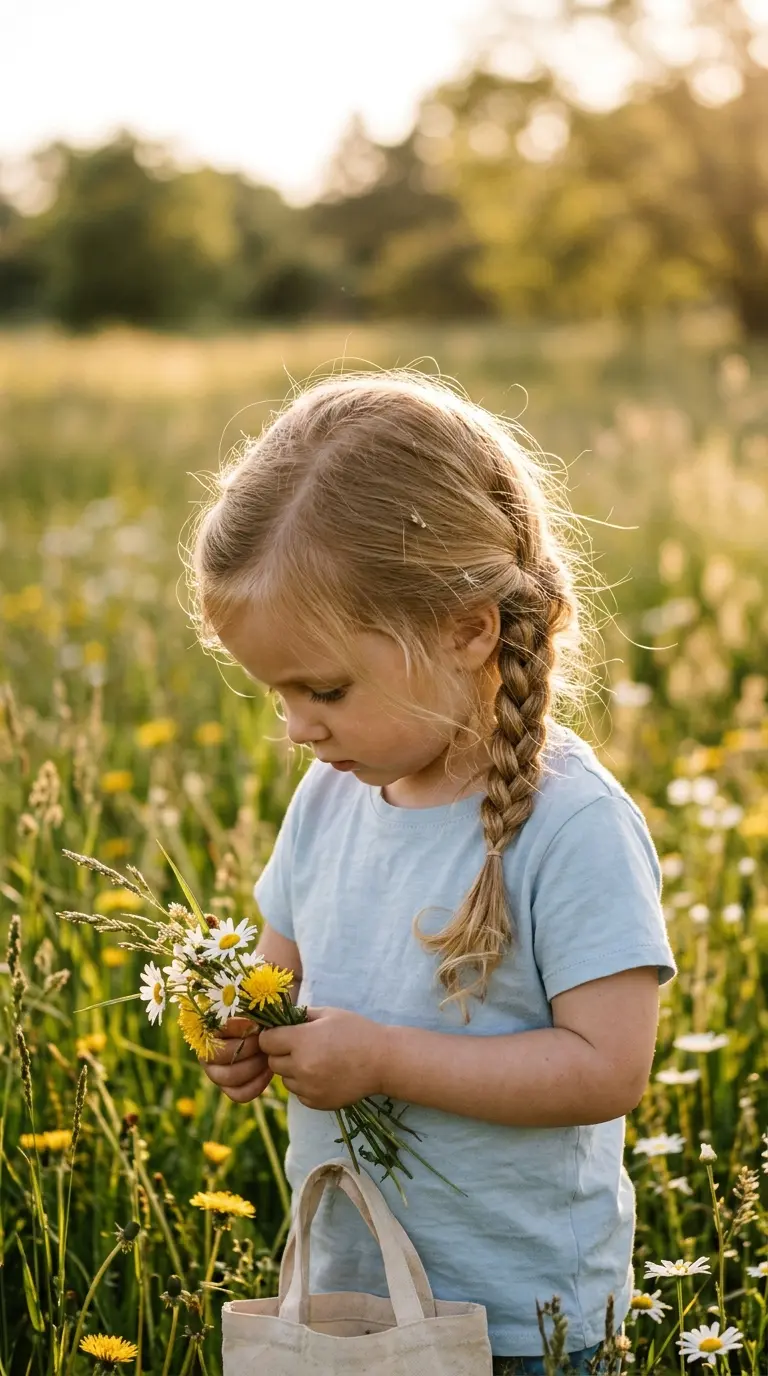
French braids look lovely but need a long sit. A plain side braid gets close to the same look in much less time.
Brush all her hair over one shoulder. Split it into three and braid down, keeping it loose near her neck so she can still turn her head. Tie it off with a small elastic.
The front stays soft and swept to one side.
Braid while she’s buckled into the stroller. She can’t wander off, and the braid lands on the side that isn’t pressed against the seat.
18. Wash Day Curls Held Back With a Satin Headband
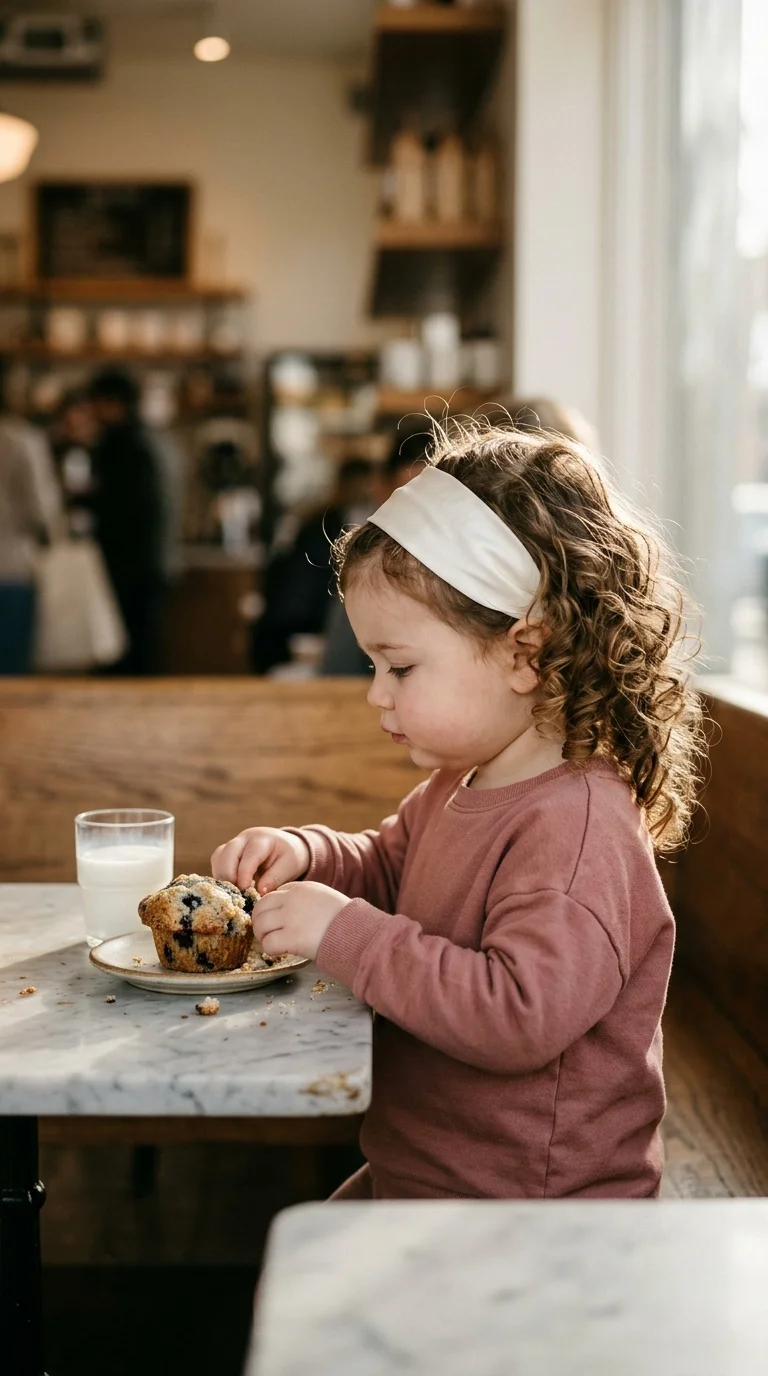
Some days the best style for curly hair barely counts as a style.
After washing, scrunch in curl cream while her hair is still soaking wet. Then leave it alone until it dries completely. That’s the hard part with a toddler who likes to grab. Once it’s dry, slide a wide satin headband back from her forehead so the curls frame her face and spill out behind.
No elastics. No pulling. Nothing to take out at bedtime.
Quick tip: hands off until fully dry. Touching damp curls is what makes them frizz.
19. Mini Bantu Knots for Curly and Coily Hair
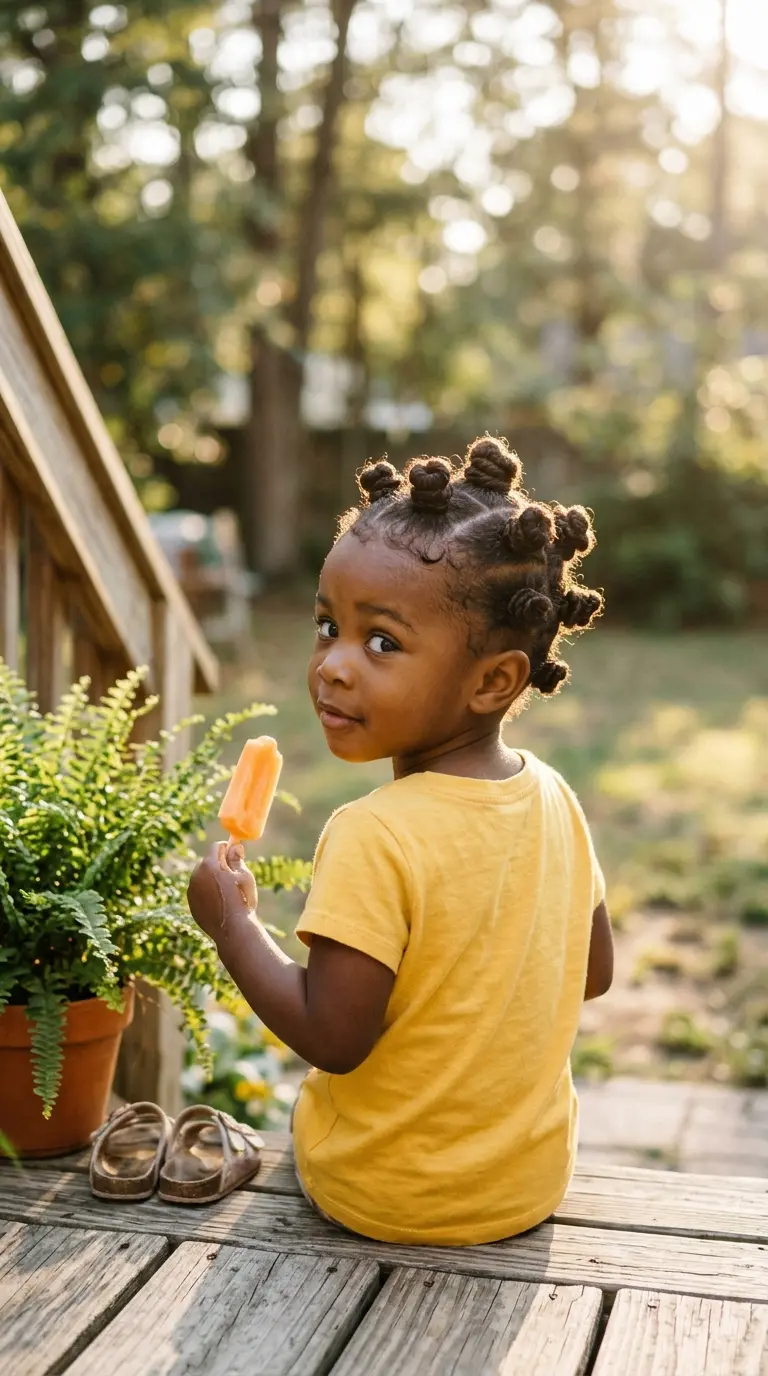
Bantu knots do two jobs. They’re a tidy style for a few days, and when you take them out, you get a bouncy knot out.
Part damp hair into small squares, roughly the size of her palm. Twist each square until it coils, then wrap it around itself into a little knot and tuck the end under. Most curly hair holds the knot on its own. If it doesn’t, add a tiny elastic.
Keep the knots at the hairline small and loose.
Undo them after a few days by unwinding each one in the opposite direction, with a little oil on your fingers.
20. Bedtime Loose Braids for Morning Waves
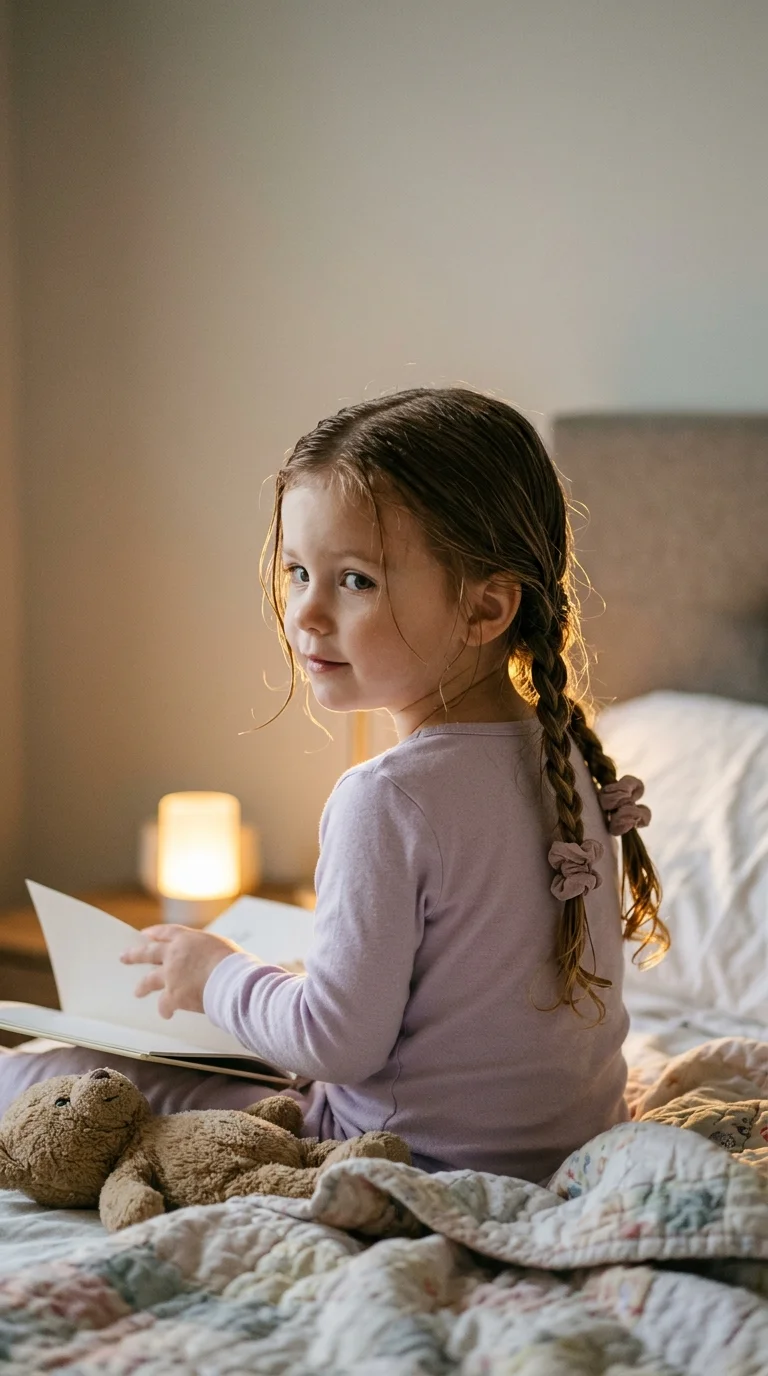
Two loose braids after the bath mean wavy hair in the morning and no styling at all before breakfast.
Comb leave in conditioner through damp hair, not dripping wet. Make two low braids behind her ears, loose enough that they don’t tug when she lies down. Tie the ends with soft fabric scrunchies. No clips or beads in bed.
In the morning, slide the scrunchies off and run your fingers through.
Waves come out looser on fine hair and stronger on thick hair. Either way, there’s nothing to argue about at the table.
21. Stacked Double Ponytail for Thin Hair
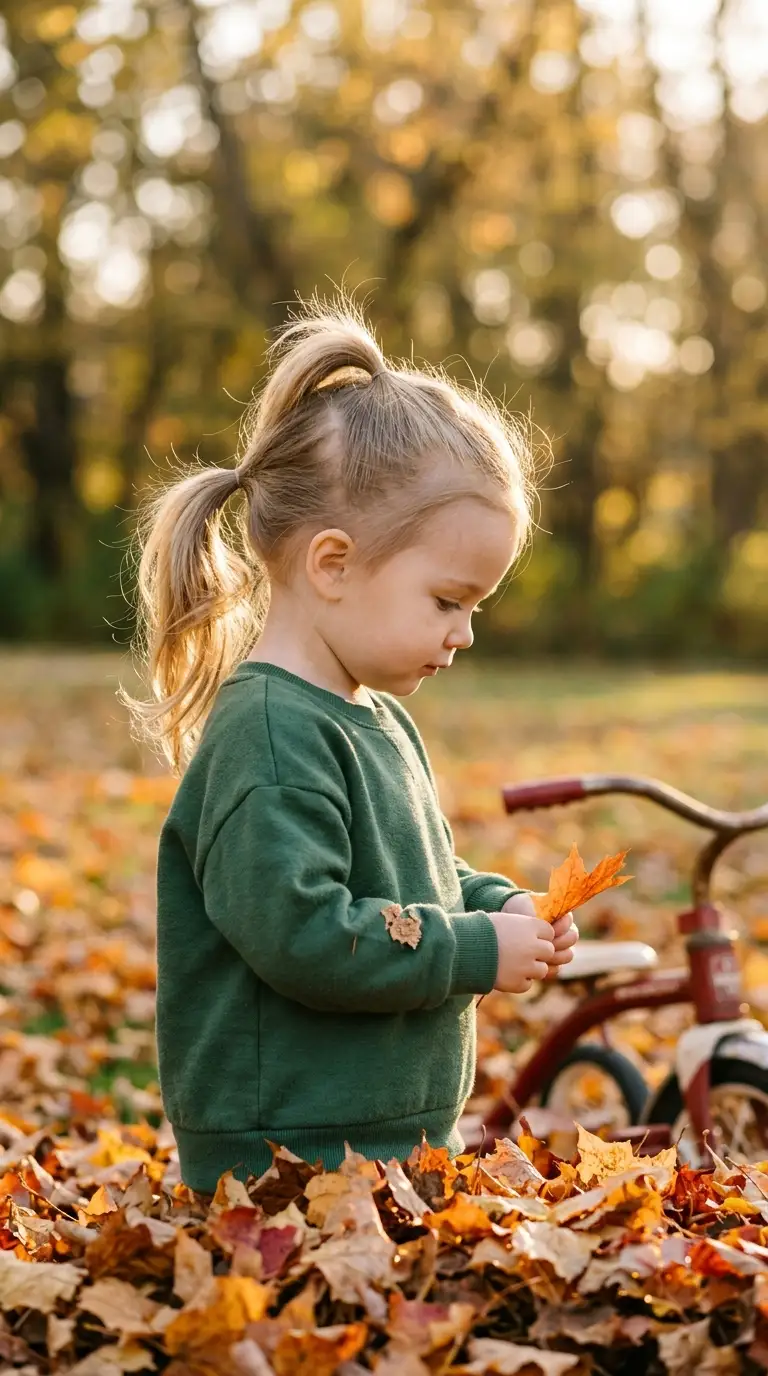
Thin hair in one ponytail can look a little sparse. Stacking two fixes it.
Make a ponytail with the top half of her hair, up at the crown. Make a second one with the bottom half, right underneath. Let the top tail fall down over the lower one.
The top layer covers the lower elastic, and together they look like one thicker ponytail.
The mistake to avoid is spacing them too far apart. Keep the two elastics close, about two fingers apart, or the gap shows.
22. Row of Snap Barrettes Along a Side Part
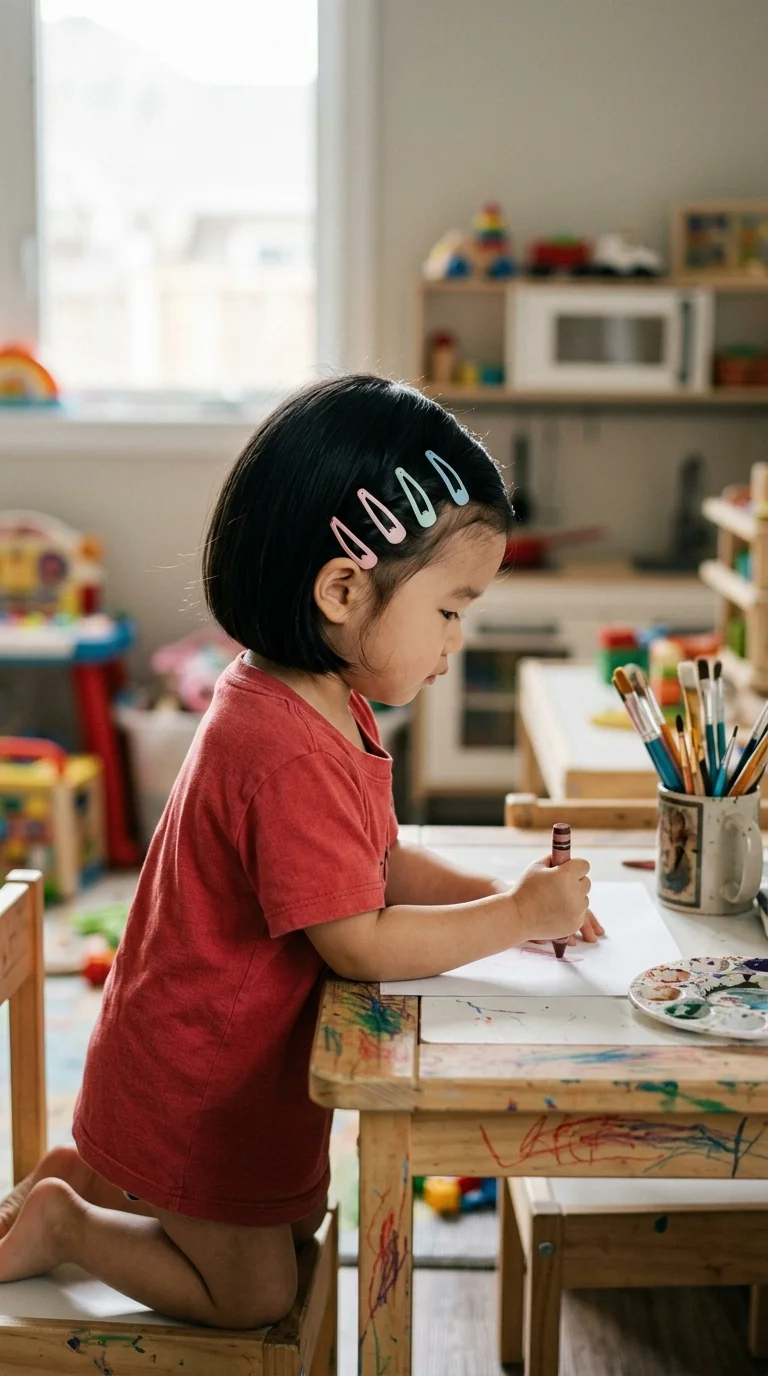
Three or four small barrettes lined up along a deep side part. Simple, and it looks put together in every photo.
Make the part. Starting at the front, take a thin twist of hair about as wide as a pencil and clip it back with a snap barrette. Repeat down the row, each clip a little behind the last.
Count the clips in and count them out. Small clips go missing easily, and you don’t want one ending up somewhere it shouldn’t.
Flat, wide clips are easier for little fingers to leave alone than ones with dangly charms.
23. Mini Claw Clip Half Up for Shoulder Length Hair
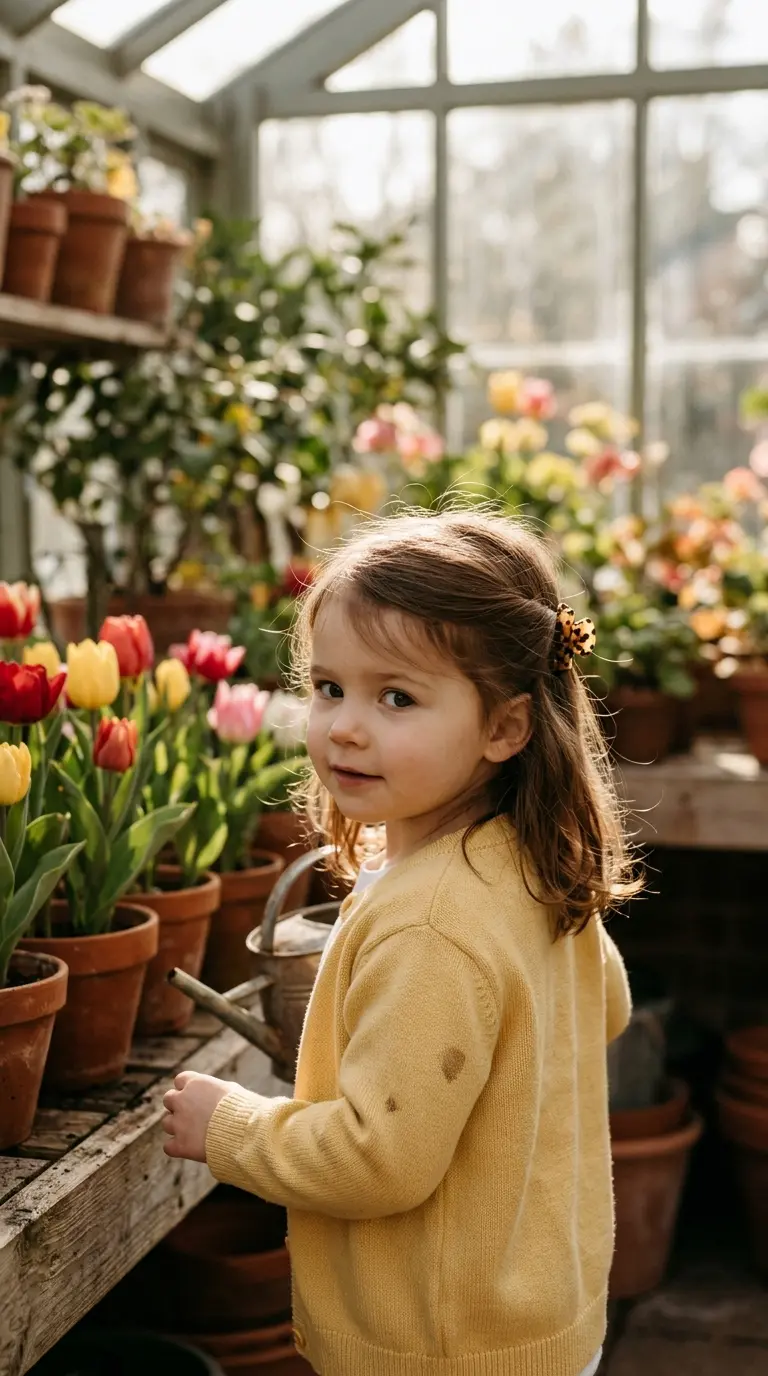
Claw clips aren’t only for grown ups. A small one, about two inches wide, makes a half up style in a single motion.
Gather the hair above her ears. Twist it once, lift it flat against the back of her head, and close the clip over the twist.
That’s it. No elastic to tug out at bedtime, no tears over tangles.
Pick a clip with rounded teeth. Take it out before naps and car rides, since she’ll lean her head right back on it.
A style that comes out without a fight beats a fancy one that lasts an hour. Keep it loose, keep it quick, and keep anything hard away from where her head rests.
24. Cotton Bandana Tie for Bed Head Days
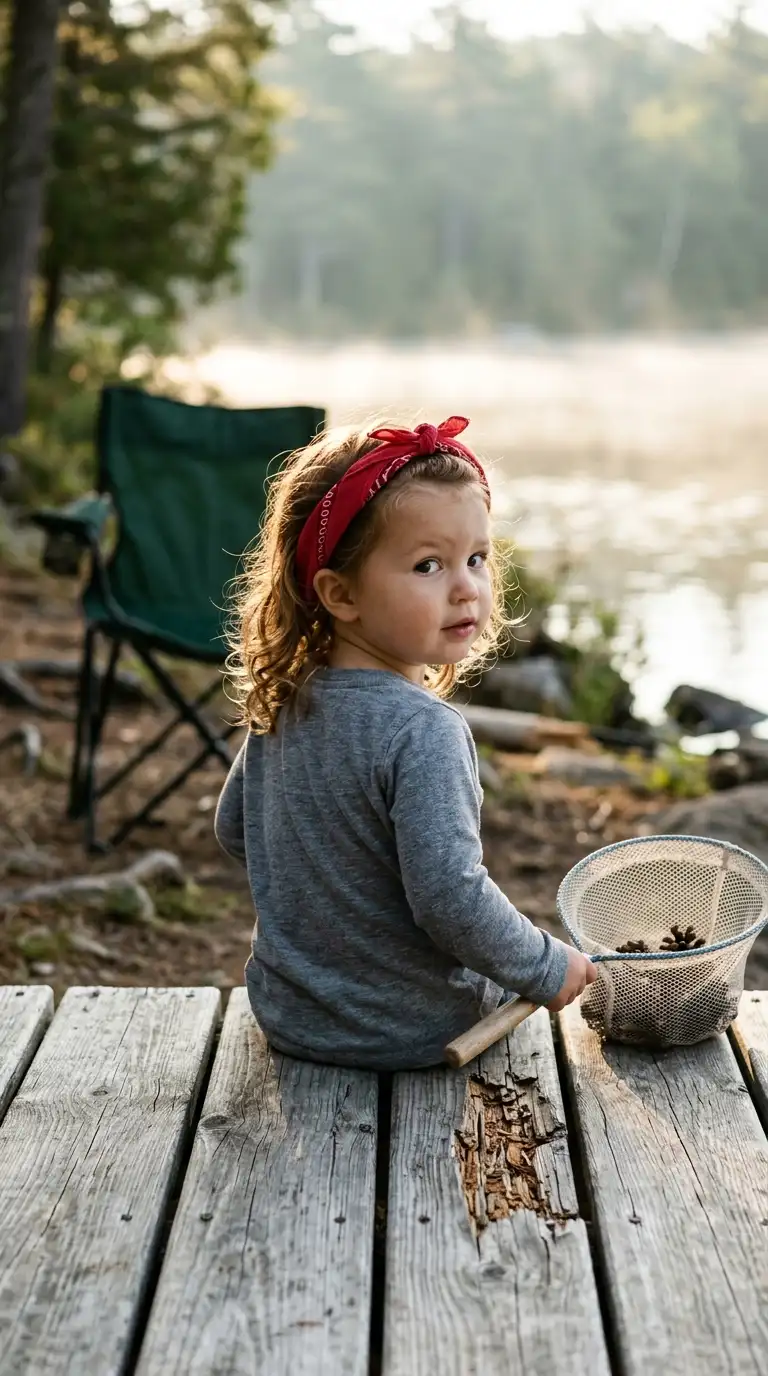
Bed head that won’t brush out and no time to wet it down. Cover it up.
Fold a cotton bandana into a triangle, then roll it into a wide band starting from the long edge. Lay it over the top of her head just behind the hairline. Bring the ends down behind her ears, under her hair, and knot them at the nape.
Fluff whatever sticks out behind it so it looks like you meant it.
Works best for camping, beach mornings, and the day after a sleepover at grandma’s.
25. Linked Ponytail Faux Hawk
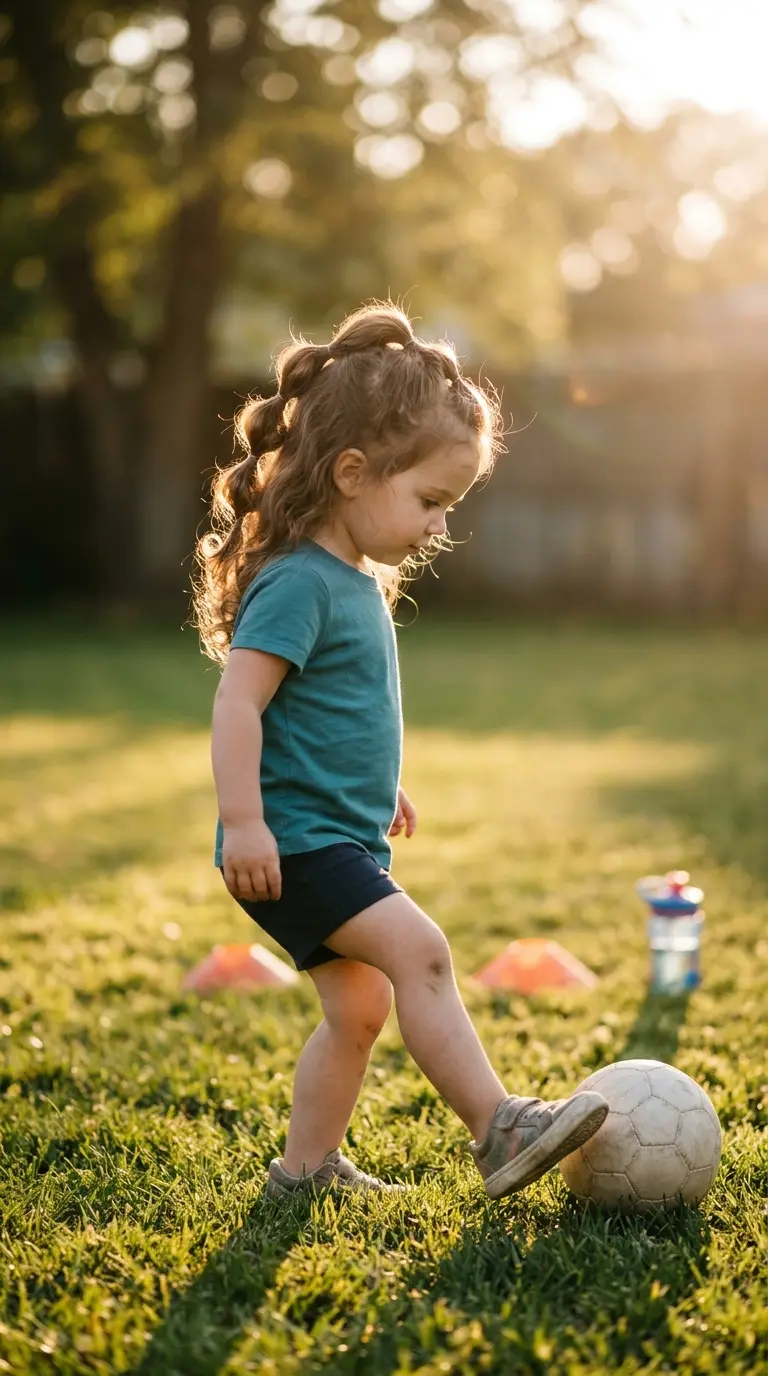
A line of ponytails down the center of her head, each one tucked into the next. It looks sporty, and it keeps every bit of hair off her neck on hot days.
Section off a strip from the forehead to the nape, about as wide as her eyebrows. Make the first ponytail at the front. Make the next one just behind it and pull the first tail in with it. Repeat three or four times, all the way down.
Leave the sides loose, or smooth them up into the strip.
Best on: shoulder length hair and kids who play hard.
Keeping It Simple
Not every morning will go smoothly. Some days she’ll let you finish both space buns, and some days you’ll get one snap clip in before she’s gone. Both count.
The point of these toddler girl hairstyles is having a few you can pull off on the fly, with a snack in one hand and a spray bottle in the other. Pick two or three that suit her hair type and rotate them. Keep everything loose enough that taking it out is as easy as putting it in.
Save this list to your kids’ hair board for the next morning she runs from the brush.