
There is a certain feeling when you walk out of the braider’s chair with fresh goddess braids. Your neck sits a little higher. You catch yourself touching the curls all day.
That feeling fades fast when the curls turn into a frizzy knot by week two, or when the style pulls so hard at your edges that the first night is spent with a headache. Neither has to happen. Most of it comes down to the length you pick, the curl hair you buy, and how you treat those loose curls at night.
These goddess braids hairstyles cover a little of everything: long knotless sets, bobs, Fulani patterns, twists, updos, and color. Each one comes with practical notes you can bring to your braider, plus small habits that keep the curls glossy for longer.
Scroll through, save the ones that make you stop, and show your stylist the back view photos. That is the angle they need most.
1. Waist Length Goddess Box Braids With Curls Throughout
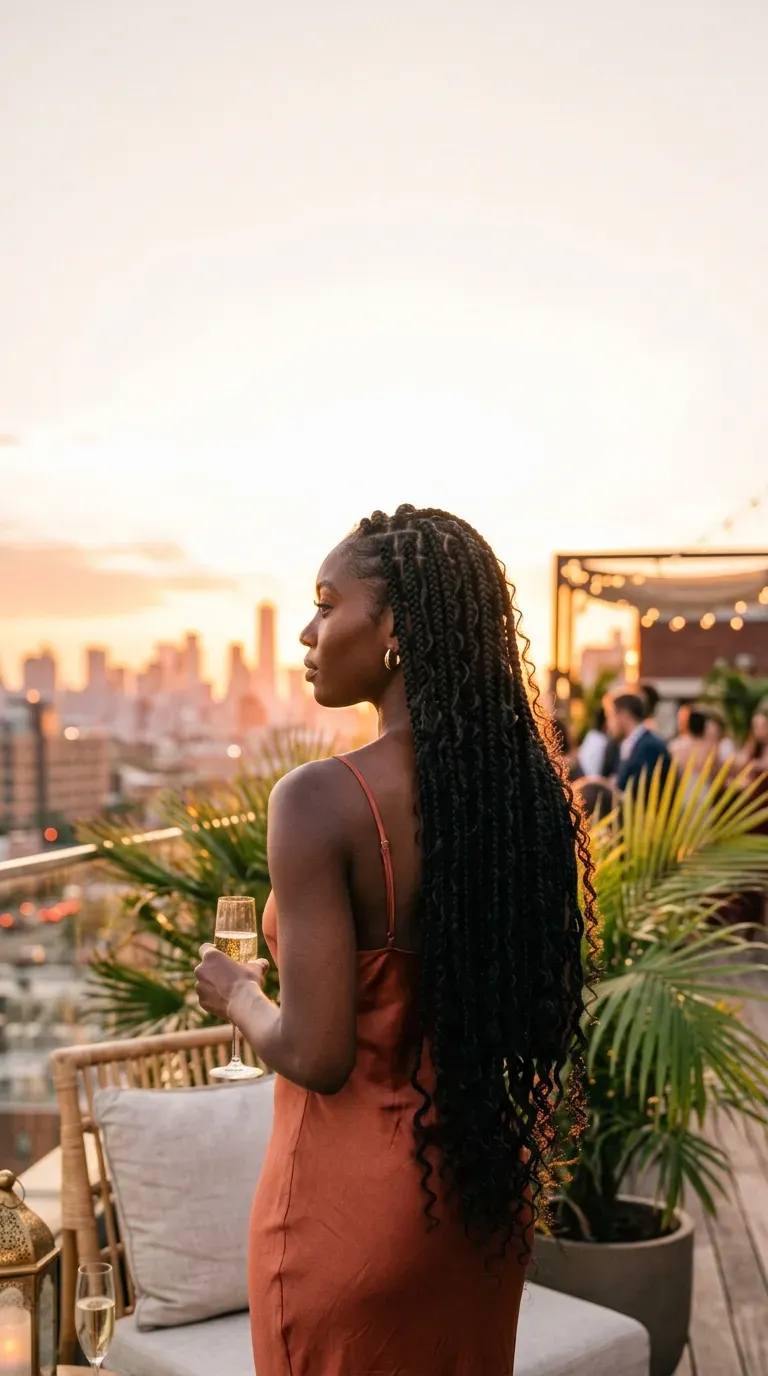
Long goddess braids give you the most drama for the least daily styling. Wear them down or toss them over a shoulder, and they already look finished.
The curls sell the look, so be picky about placement. Ask your braider to leave curly pieces out every few stitches down the full length, not only near the ends. That spreads the volume evenly from roots to tips.
- Ask for medium parts so the weight stays manageable
- Bring one extra pack of curly hair for touch ups
- Separate curls with your fingers only, never a brush
Waist length is heavy, so expect a slight neck ache the first evening.
2. Small Knotless Goddess Braids for a Lighter Feel
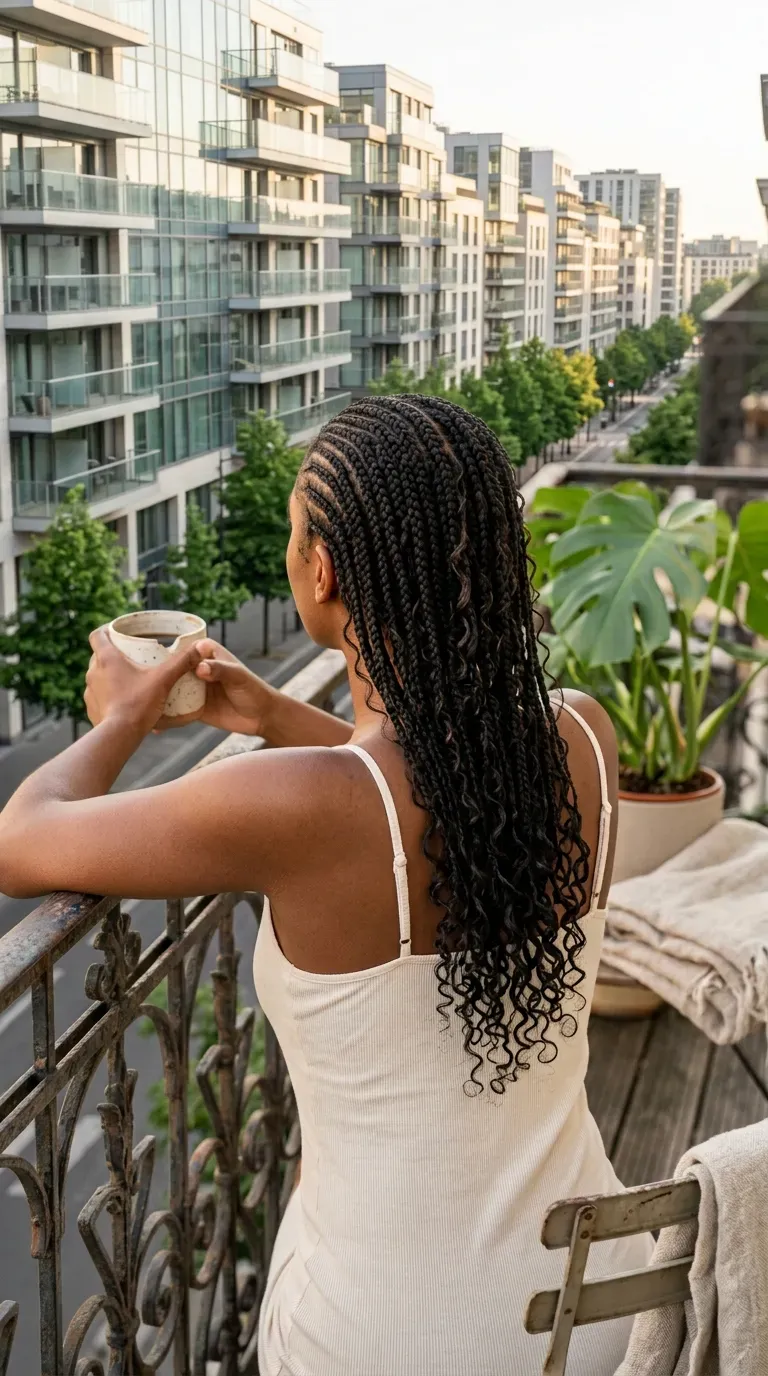
Traditional box braids start with a knot of extension hair at the root. That little knot adds bulk and can tug at your scalp for days.
Knotless braids begin with your own hair and feed the extension in slowly. The root lies flatter, moves more freely, and looks closer to hair growing straight from your scalp.
Quick tip: small knotless braids take longer to install than medium ones. Book an early appointment, pack snacks, and bring a phone charger.
Small parts also let the curls sit closer together, so the finished style looks fuller.
3. Goddess Braids Swept Into a High Ponytail
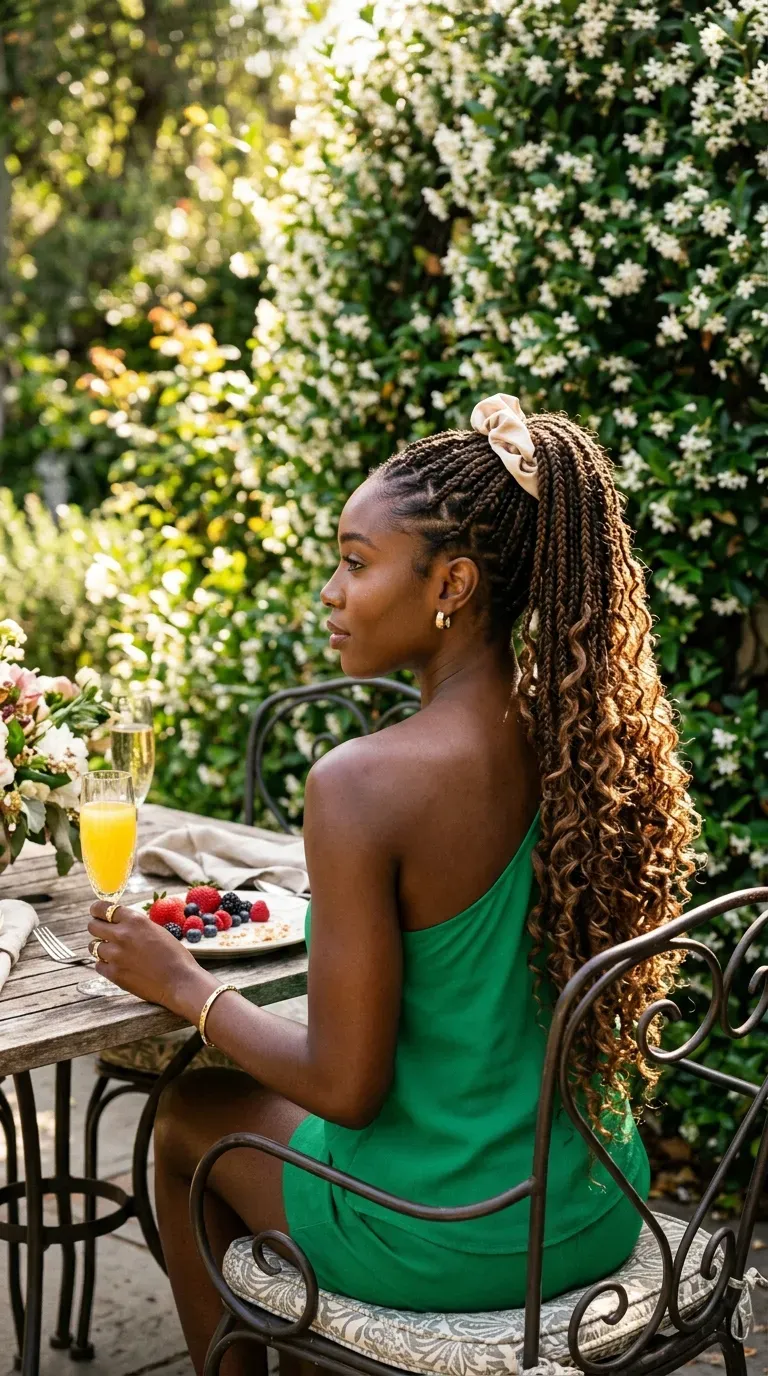
From behind, a high goddess ponytail looks like a fountain of braids and curls spilling down from the crown.
- Gather braids at the crown with a large soft scrunchie, not a thin elastic.
- Wrap one braid around the base and tuck its end underneath.
- Fluff the curls at the ends with your fingers.
Keep the ponytail loose enough that a finger slides under the base. Fresh braids are already tight, and a snug ponytail on top of that stresses the hairline.
Save this one for after the first few days, once the braids have relaxed.
4. Half Up Goddess Braids With a Top Bun
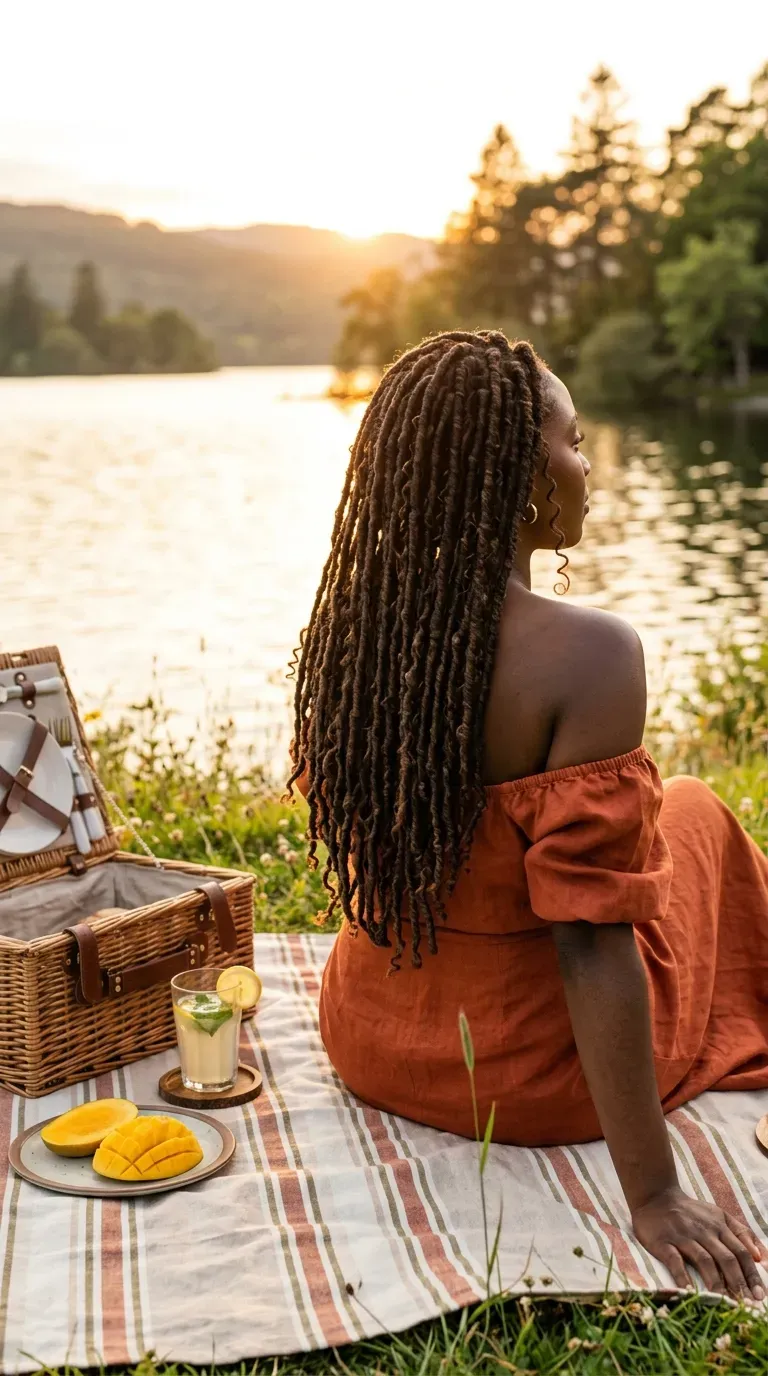
Bending over a sink or a laptop with long braids falling in your face gets old by Tuesday. A half up bun keeps the front clear and leaves the back long.
Section the top braids from ear to ear and twist them into a loose bun at the crown. Push a couple of U pins in toward the center to hold it.
Let a few curly pieces hang near your temples.
The rest of your braids and curls stay down your back, so you still get the full length in every photo.
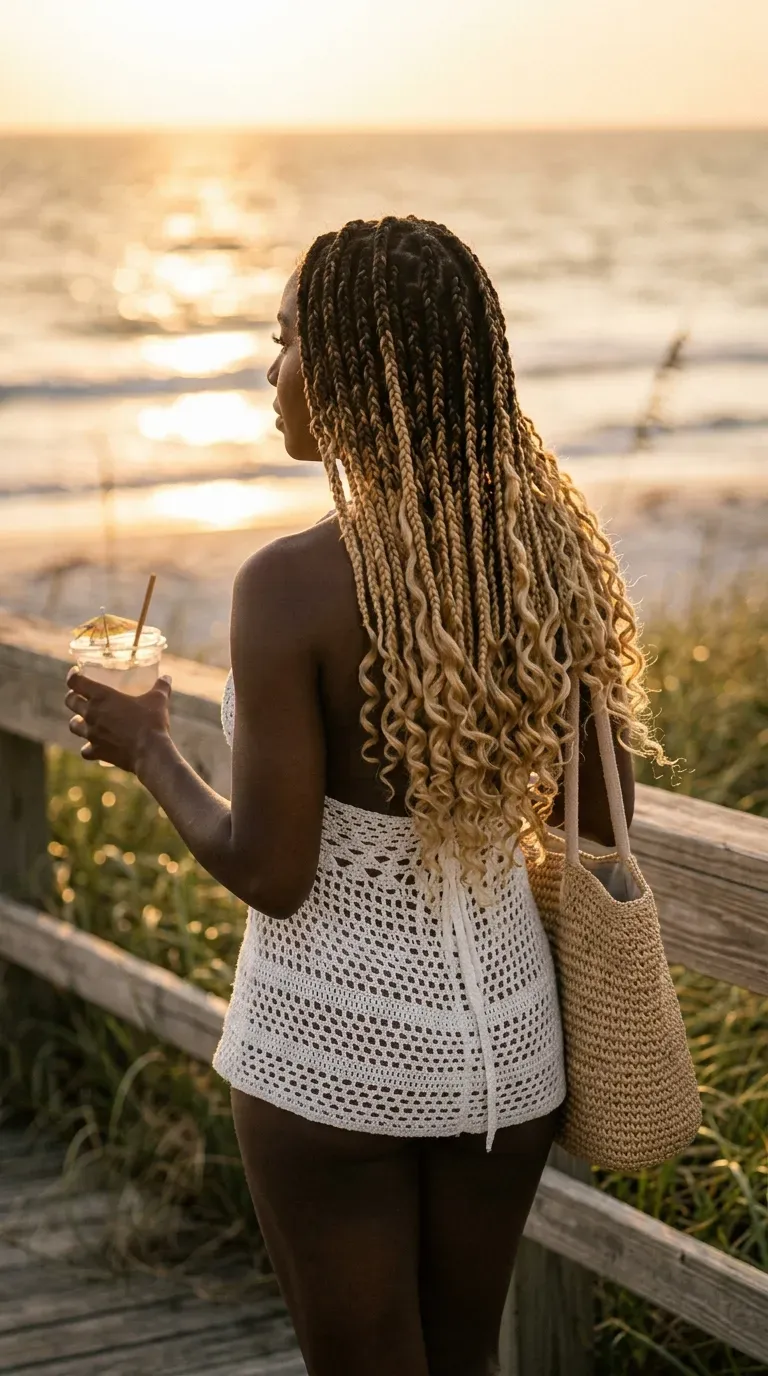
5. Honey Blonde Goddess Braids Over Dark Roots
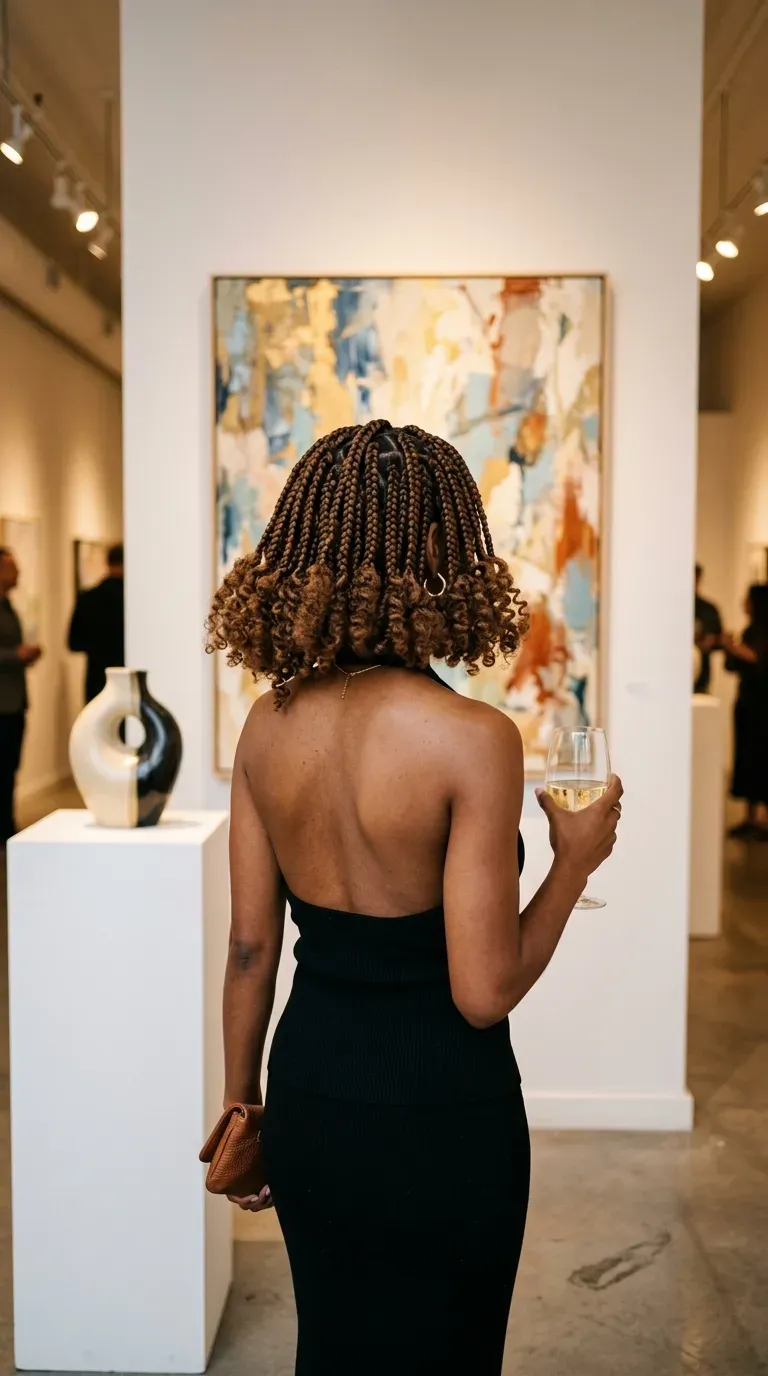
Jet black goddess braids look sleek and classic. Honey blonde reads warmer and catches far more light, especially against darker skin.
What keeps blonde looking rich instead of brassy is the root. Ask for your natural shade, usually 1B or 2, blended in at the start of each braid, then honey blonde through the length.
- Ask for shade 27 or 30 for warm honey tones
- Match the curly pieces to the braid color
- Mix in a few 1B curls if you want more depth
It glows at golden hour.
6. Bob Length Goddess Braids With Curly Ends
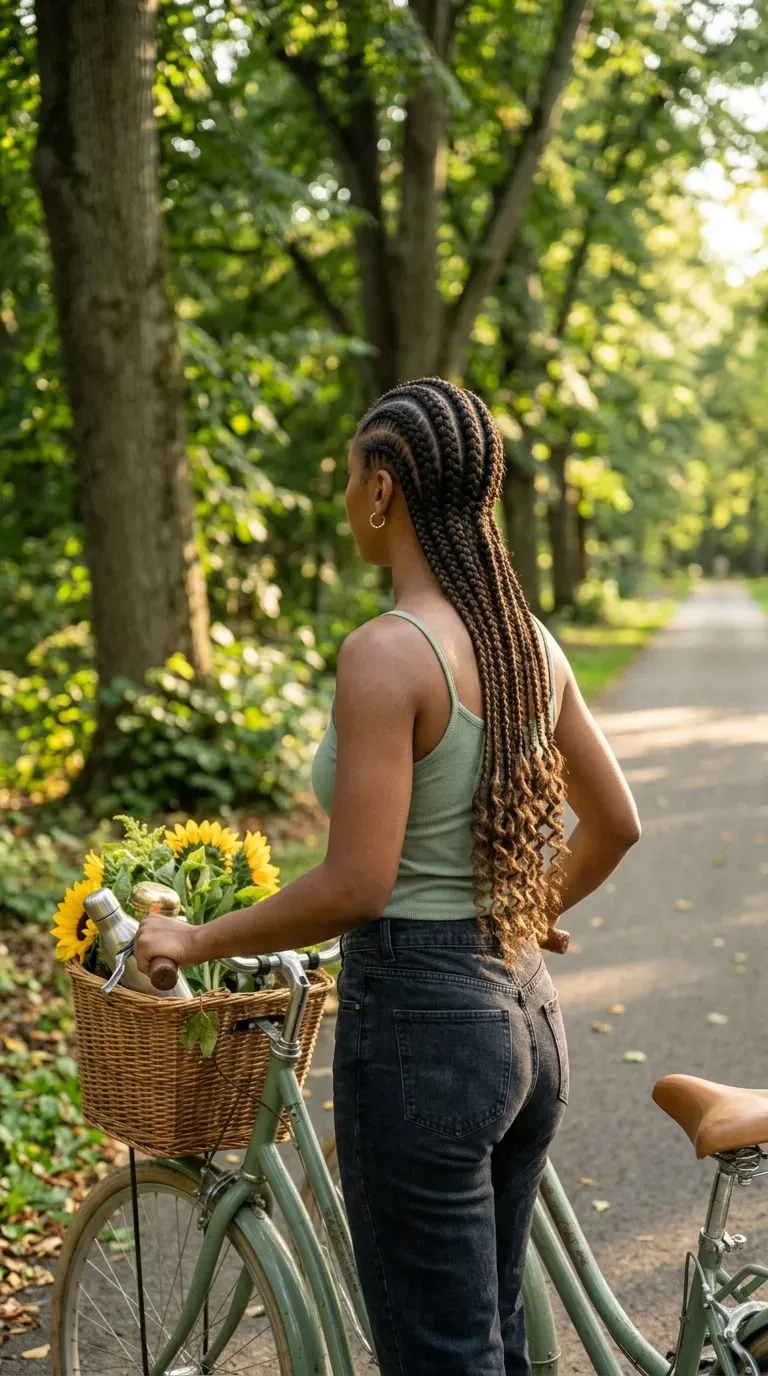
Here is the rule for short goddess braids: the cut matters more than the braids.
A bob only looks sharp if the ends are even. Ask your braider to trim the braids to one length before the curls go in, then check the line from the back with a hand mirror.
Curly ends do a lot of the work here. Fluffy, defined ends make a bob look full. Limp ends make it look unfinished.
Shoulder length braids also weigh far less, which helps if long sets have given you headaches before.
| Human hair curls | Synthetic curls |
|---|---|
| Hold their curl pattern longer | Can frizz and tangle sooner |
| Can be wet and restyled often | Best refreshed lightly, not soaked |
| Soft, moves like your own hair | Shinier, can feel a bit stiff |
| Cost: higher | Cost: lower |
7. Goddess Faux Locs With Curly Strands Peeking Out
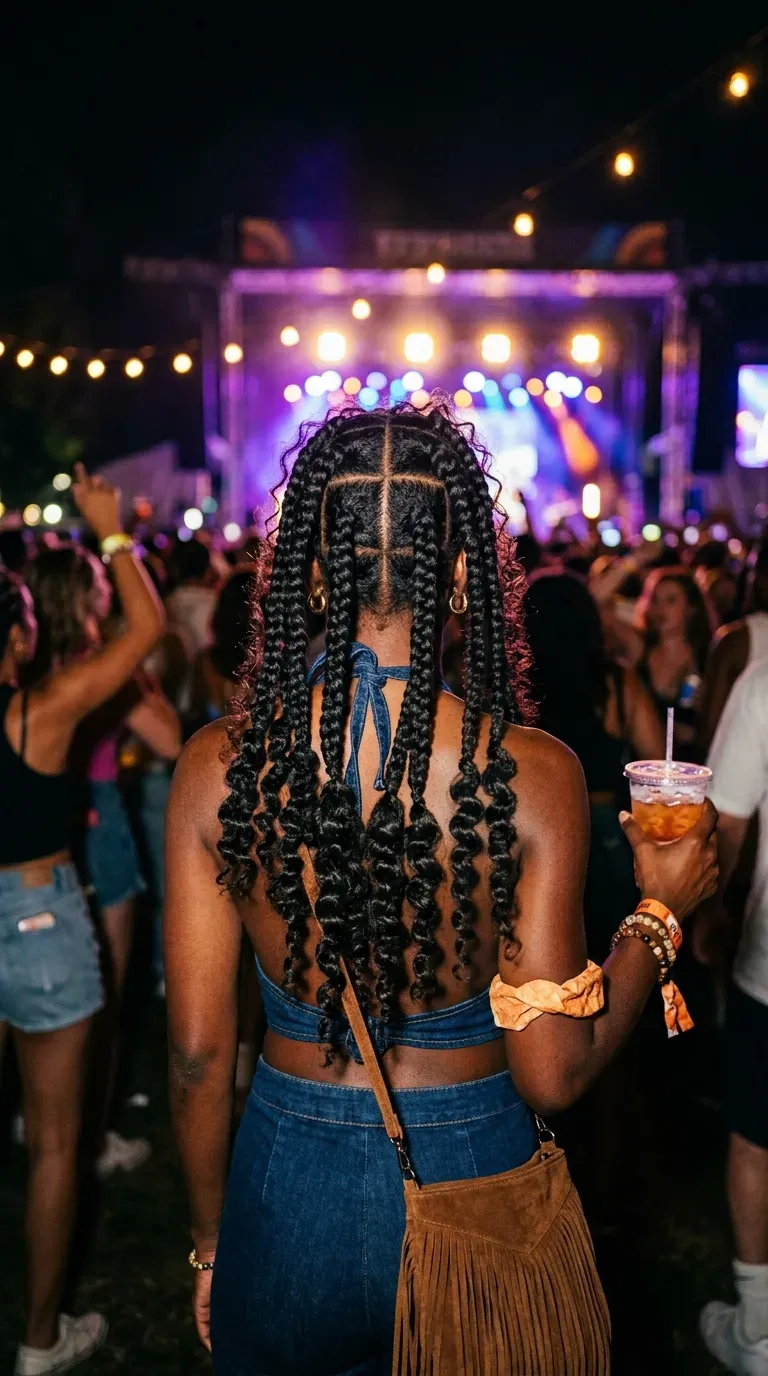
Locs are not only for people ready to commit for years. Goddess faux locs give you the texture for a few weeks, then come out.
They are wrapped instead of braided, so each loc has a slightly bumpy, natural look. Curly strands are left peeking out along the length.
Watch out: wrapping too tight makes the locs look like smooth ropes. A looser wrap gives that soft, lived in finish.
Faux locs feel heavier than braids of the same length, so mid back is a comfortable place to stop.
8. Straight Back Feed In Goddess Cornrows
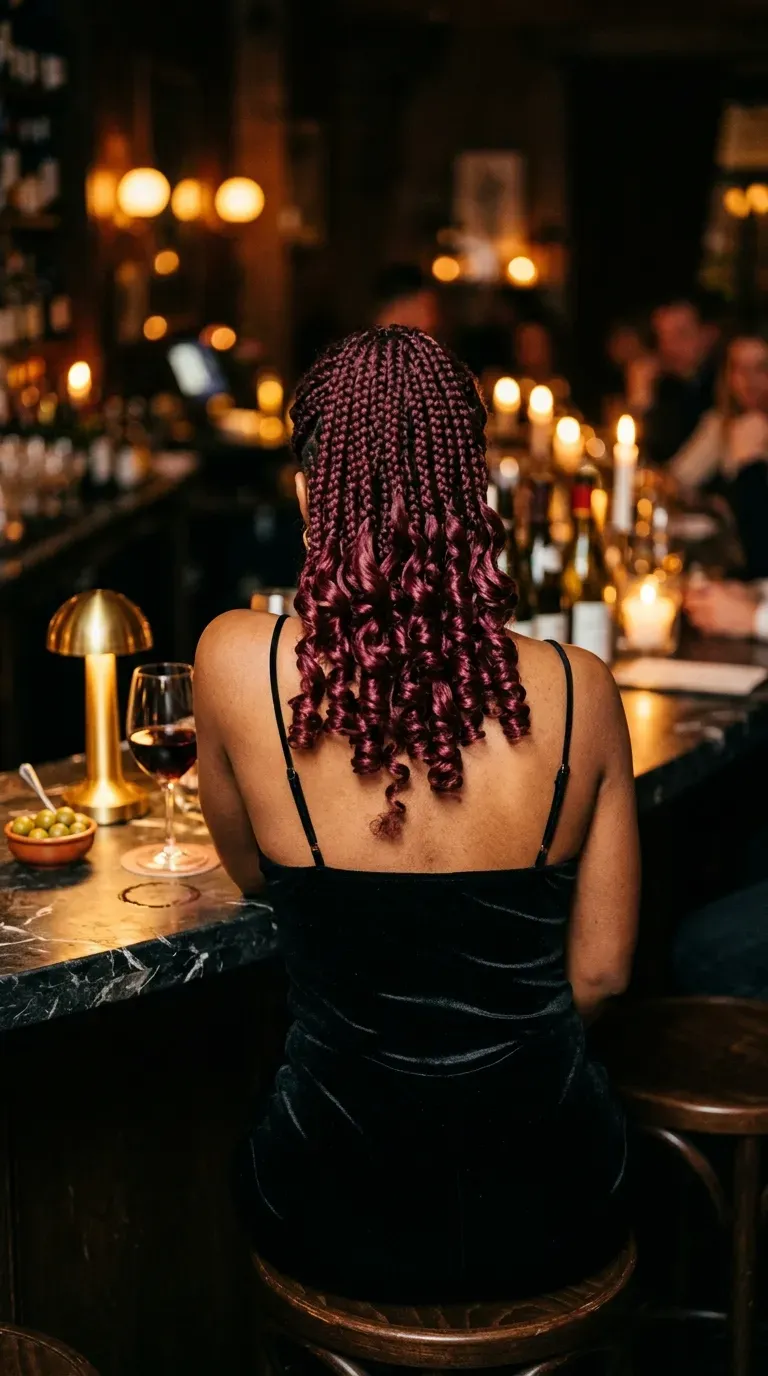
Cornrows tend to get overlooked for goddess styles, but they might be the easiest to live with on busy weeks.
Each feed in cornrow starts thin at the hairline and grows thicker as hair is added toward the nape. Curly extensions finish them off at the back, so the front stays neat while the back gets the volume.
- Ask for six to ten rows for a bold look
- Go with more rows if you like them thinner
- Wrap them in a satin scarf every night
They also fit under a helmet or a cap far better than loose braids.
9. Jumbo Goddess Braids for a Quicker Install
Jumbo parts mean fewer braids, and fewer braids mean a shorter day in the chair.
The look is bold and chunky. The curls also get more room between braids, so each one shows clearly. Large parts can show more scalp from behind, so ask for neat square or triangle parts if that bothers you.
Weight is the catch. Jumbo braids at waist length get heavy quickly, so mid back is a safer length.
Wear them a little shorter than usual and they swing beautifully when you walk.
Mist curls with water and a light leave in, then scrunch gently.
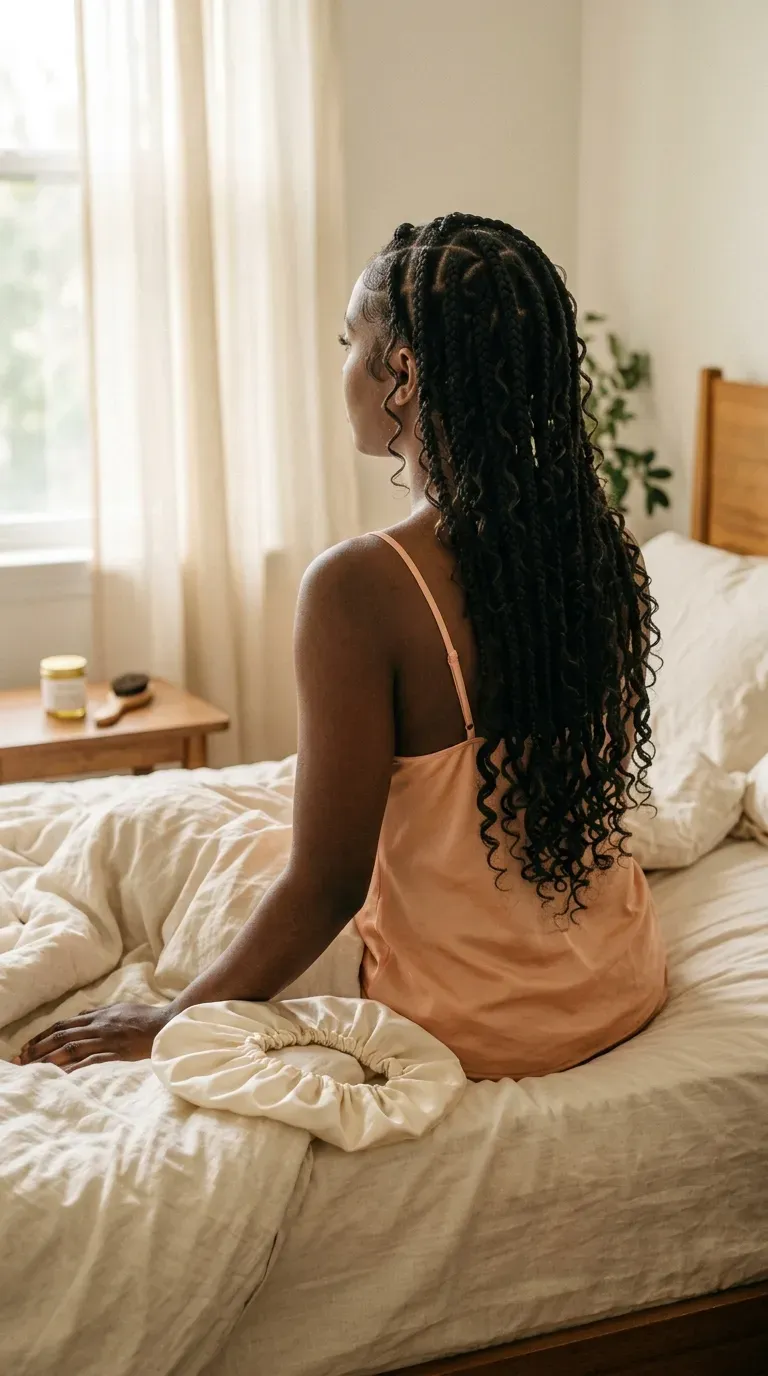
Sleep in a satin bonnet or on a silk pillowcase every night.
Brushing or combing the curls. They puff into frizz fast.
Heavy oils on the curls. They weigh them down and catch lint.
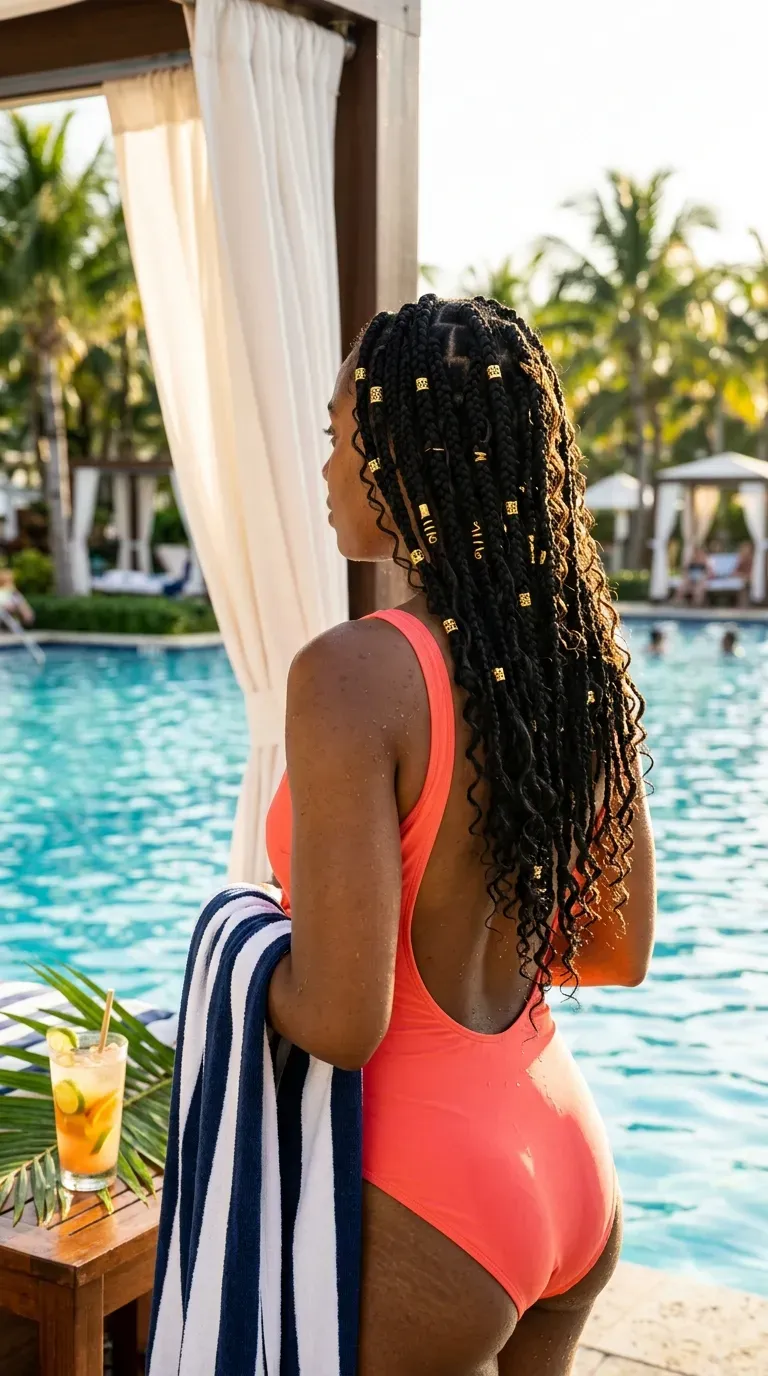
10. Goddess Braids Dressed With Gold Cuffs and Rings
Gold jewelry against dark braids is one of the easiest ways to make a simple install look special.
- Pick six to eight braids spread around your head.
- Slide cuffs on at different heights, some near the root, some lower.
- Squeeze each cuff gently so it grips without crushing the braid.
Spread them unevenly. Matching heights on every braid look stiff and planned.
Open hoops and spiral rings both work, and small gold cuffs usually come in cheap bulk packs, so losing one at the pool is no big deal.
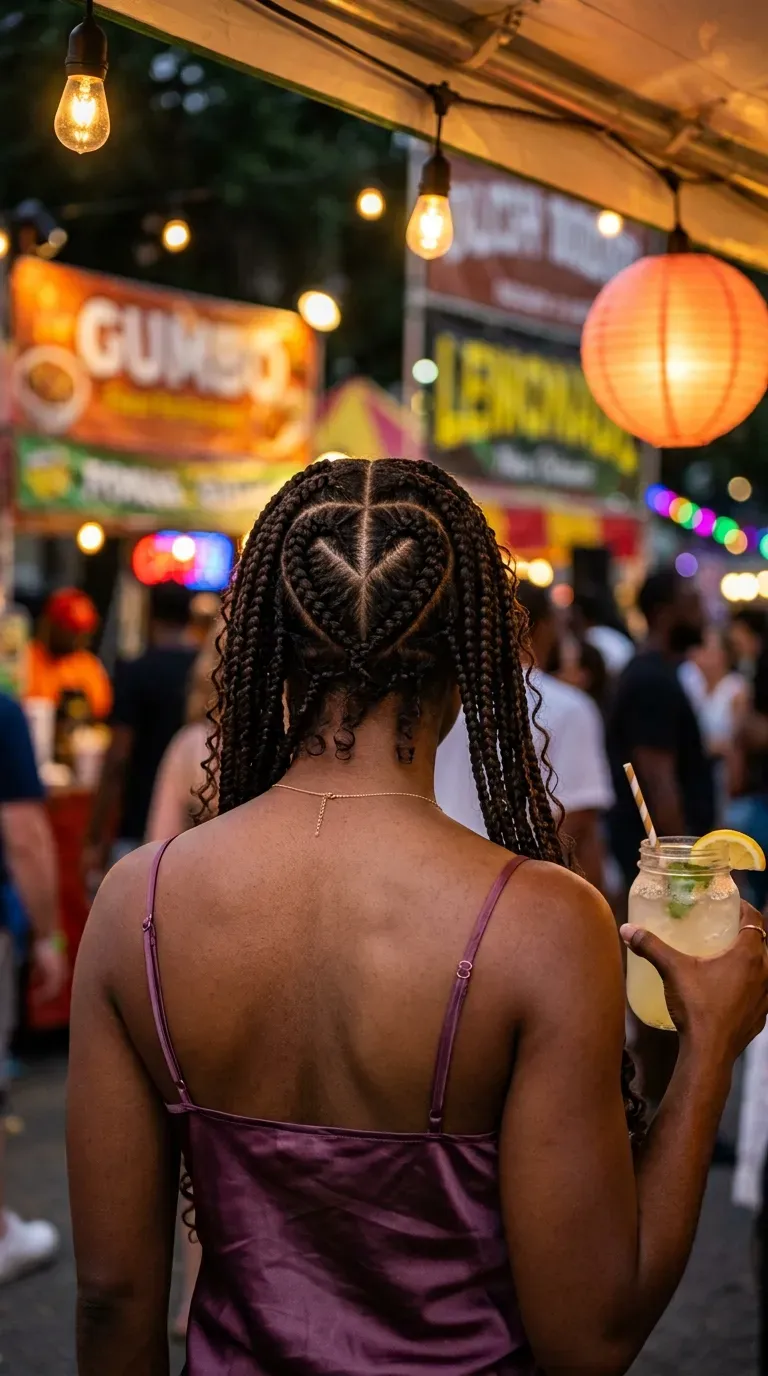
11. Goddess Braids With a Heart Shaped Part at the Back
Turn around in a crowd and someone will notice the small heart drawn into the parts at the back of your head.
Your braider maps the heart with a rat tail comb first, then braids around it so the shape stays clean between the braids. The best spot is the middle of the back, just above the nape, where a ponytail will not cover it.
Styling note: keep this one down or half up. A full updo hides the heart completely.
It is a small detail that makes the whole install feel personal.
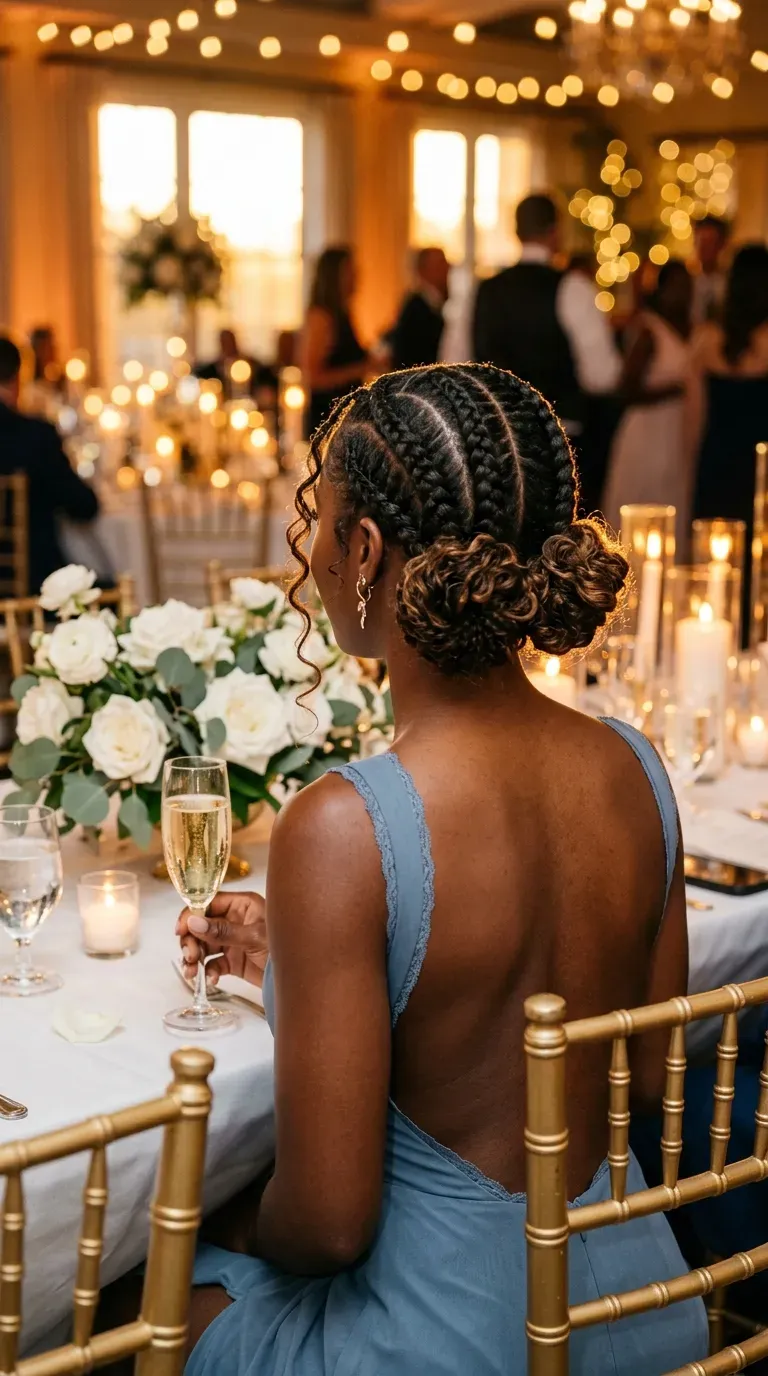
12. Two Low Goddess Braid Buns at the Nape
Thick braids on a hot day stick to your neck and trap heat. Two low buns lift everything off the skin without losing the curly look.
Part the braids down the middle. Twist each side into a loose bun just behind the ear and pin it in place. Pull a few curly pieces out of each bun so it looks soft instead of tight.
- Use large U pins rather than bobby pins
- Keep the buns low so they do not pull at the crown
- Leave the ends of a few braids hanging
Great for long workdays and summer weddings alike.
13. Burgundy Goddess Braids With Glossy Defined Curls
The most common mistake with colored curls is handling them like your own hair. Burgundy curls, especially synthetic ones, frizz when they are touched too often.
A simple weekly refresh fixes most of it. Lightly mist the curls with water, smooth on a little mousse, and wrap small sections around your finger. Let them air dry before touching them again.
Deep wine shades look striking against dark brown skin, and the color stays rich only when the curls stay glossy.
A satin bonnet does half the work while you sleep.
Curls clump at the ends, look matted, and the color reads dull and fuzzy instead of rich.
A mist, a little mousse, and finger coiling separate each curl again so the burgundy shines.
14. Goddess Twists Instead of Braids for a Softer Look
Braids use three strands. Twists use two, and that small change makes the whole style softer and rounder.
Goddess twists, often done as passion or spring twists, have a fluffy texture that looks lighter than braids. Curls tucked in along the twists blend in naturally because the twist itself already looks textured.
Good to know: twists can unravel at the ends sooner than braids. A tiny dab of gel at the tips and a quick finger roll help them hold.
Depending on size and length, twists are often a shorter install too.
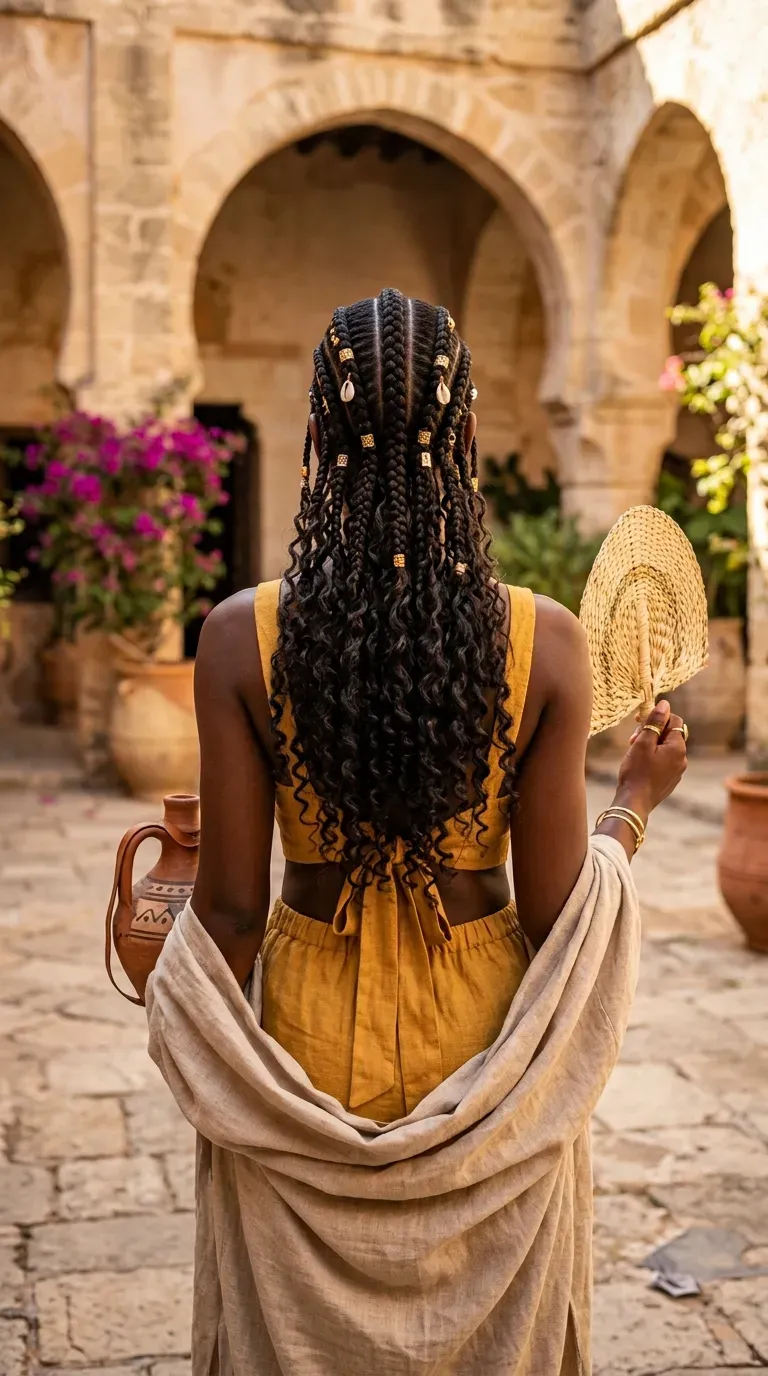
15. Fulani Goddess Braids With a Center Cornrow
Fulani braids mix two patterns in one install, so they look detailed from every side.
Here is how the layout usually works:
- One cornrow runs down the center of the head, front to back
- Side cornrows sweep down toward the face
- Loose braids hang down the back with curls woven through
From behind, the center cornrow lines up with your spine while the curly braids fan out around it.
Ask for small gold beads on the side cornrows if you want a nod to the style’s traditional roots.
16. Goddess Braids Wrapped Into a Crown Updo
Here is the rule for a braid crown: build it in layers, not all at once.
Gather the braids into two halves. Wrap the first half around your head from one side, pinning as you go. Wrap the second half over it from the other side so the ends meet and tuck under.
Curls left out at the ends go on top, near the crown, where they read like a soft halo.
It is heavy, so take it down before bed. Sleeping on a pinned crown leaves your scalp sore by morning.
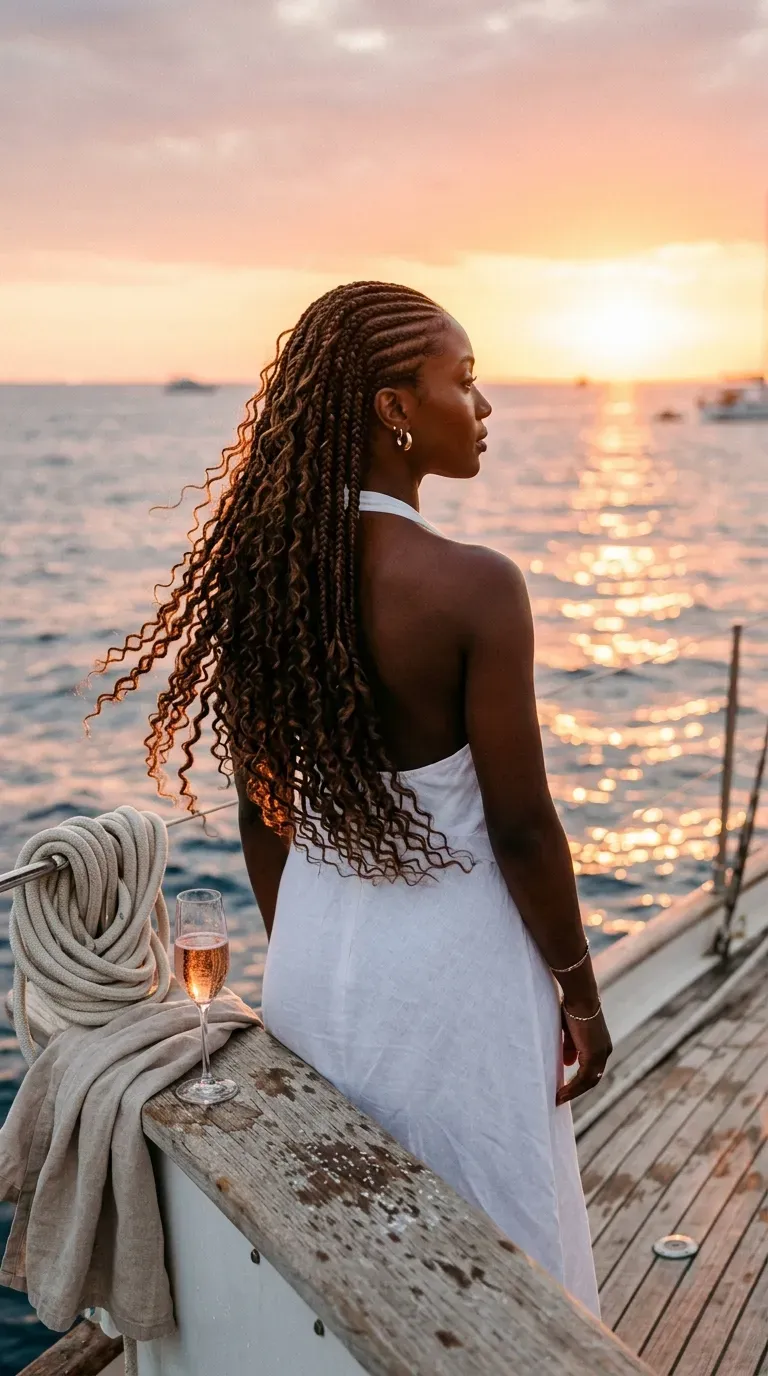
17. Side Swept Lemonade Goddess Braids
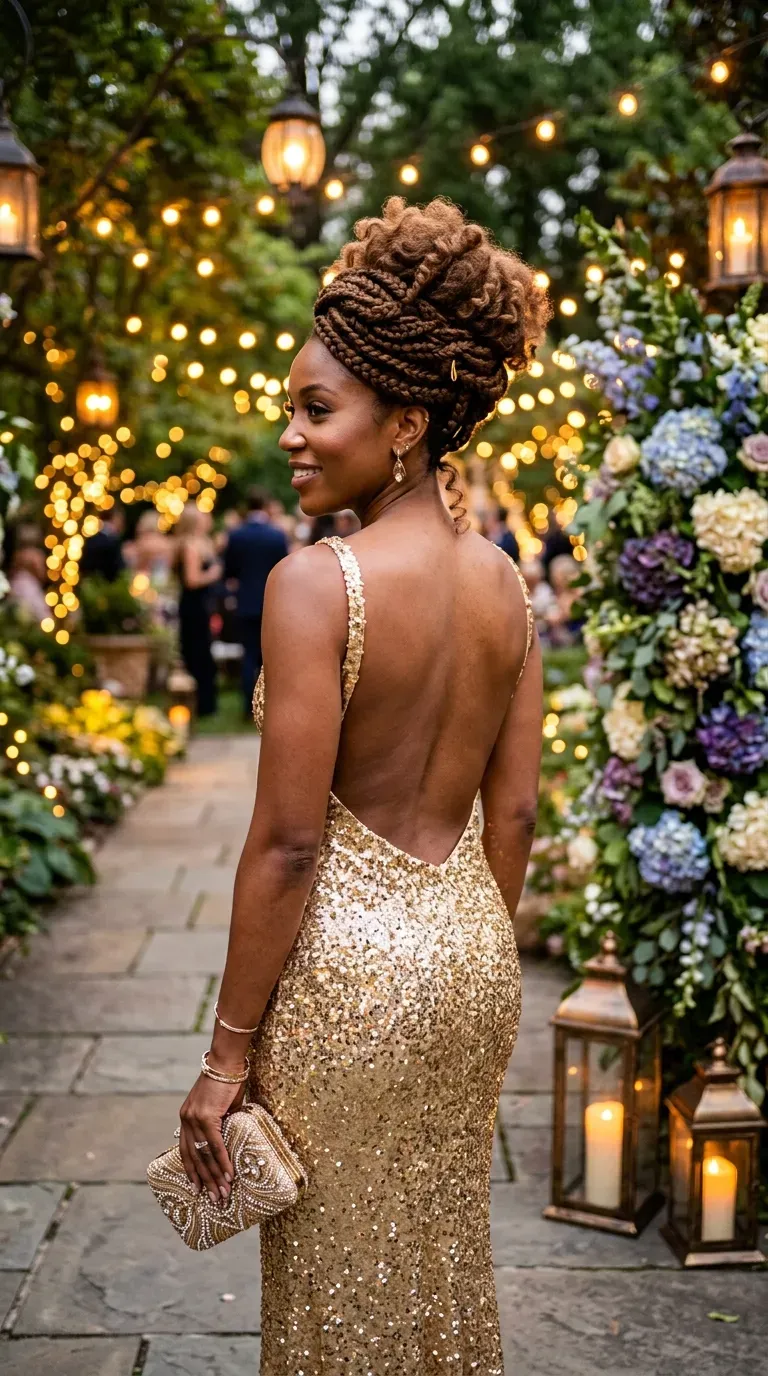
All the cornrows sweep toward one side, so from behind the braids seem to flow over one shoulder in a single direction.
The style takes its name from a famous visual album, and it still feels glamorous years later.
- Decide which side you want the braids to fall on before your appointment.
- Ask for a deep side part on the opposite side.
- Have curls left out along the hanging braids, not on the cornrows.
Sleeping on the same side every night flattens the curls, so switch sides now and then.
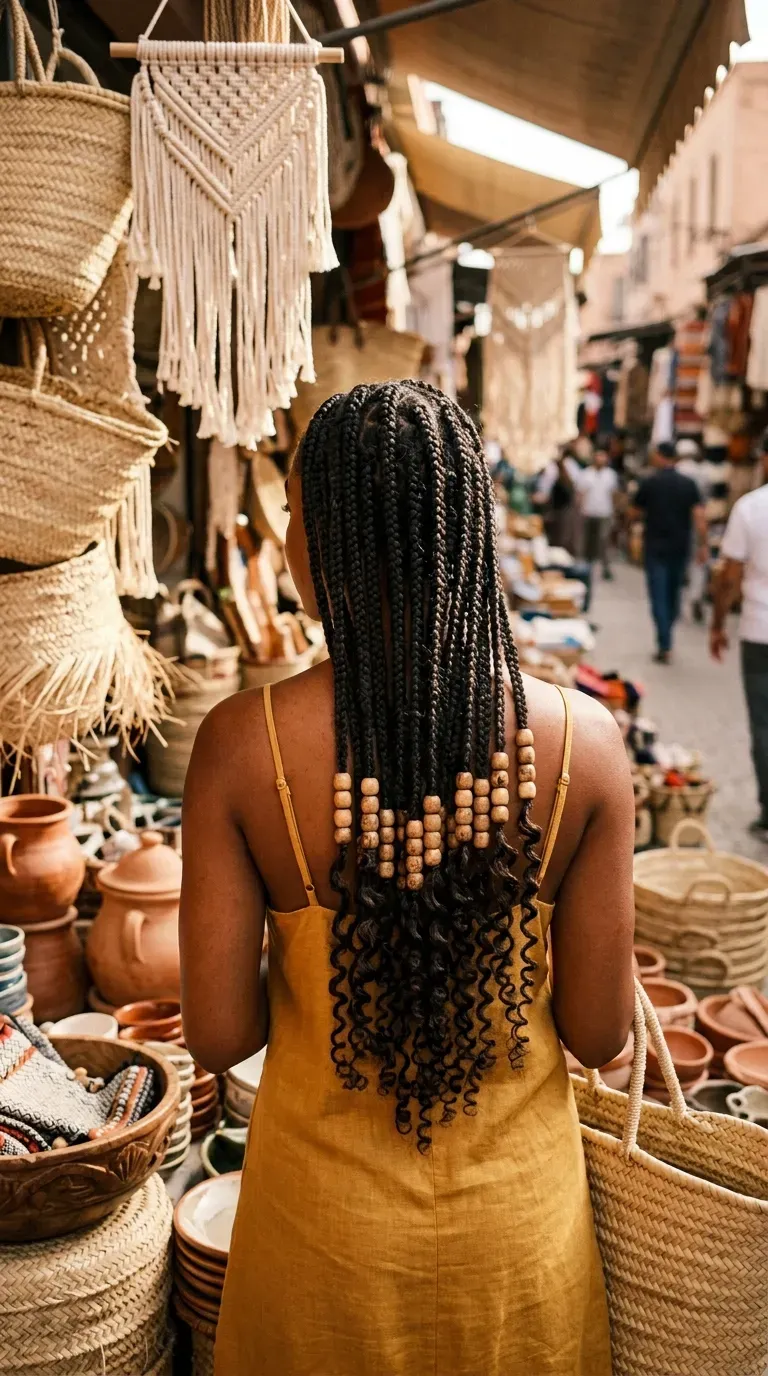
18. Goddess Braids Threaded With Wooden Beads
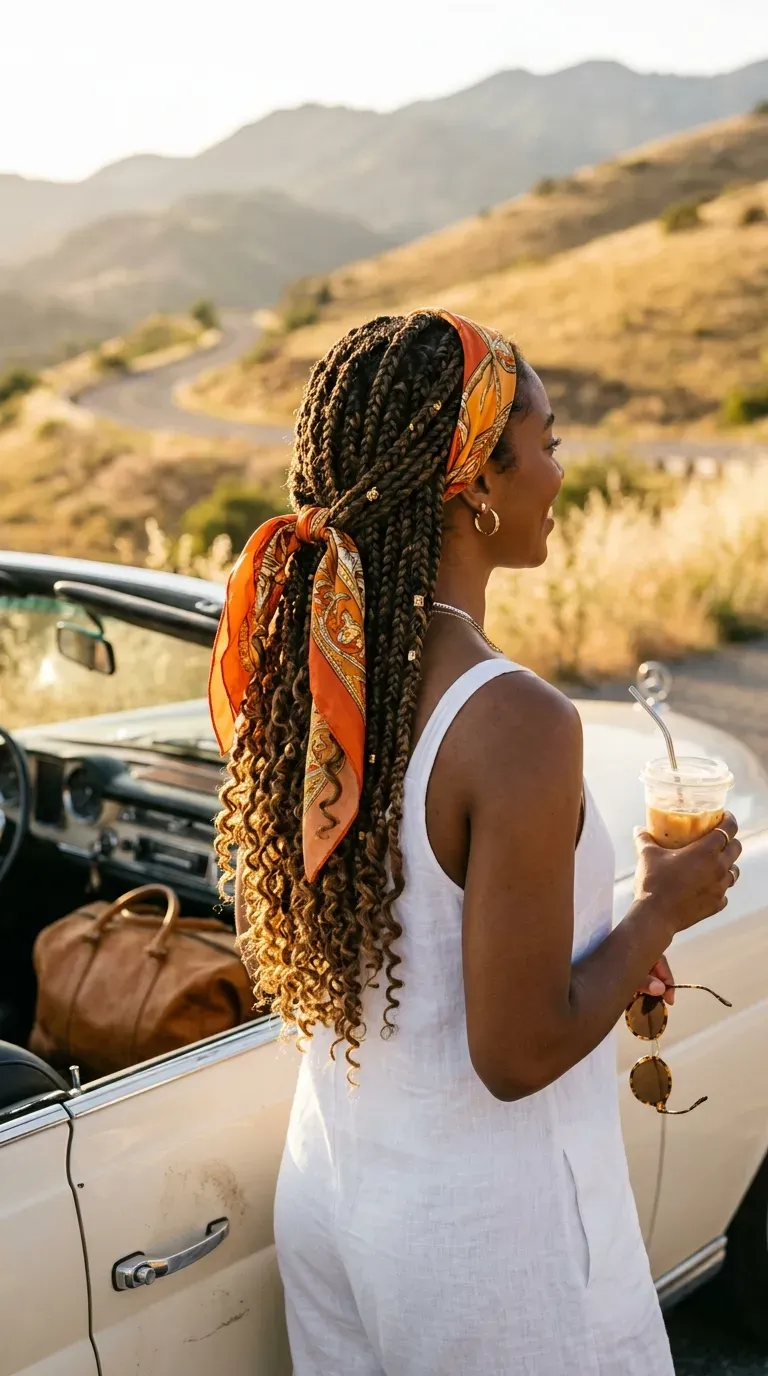
Wooden beads make a soft click when you move, a quieter sound than plastic or glass ever gives you.
They also suit the earthy side of goddess braids. Natural wood, cream, and small gold accents look warm against dark hair.
- Thread beads a few inches from the ends, above the curls
- Use a bead threader or a looped piece of floss
- Secure each with a tiny clear elastic under the bead
Keep the count small, around ten braids. Too many beads add weight and clack against the headboard when you lie down.
19. Soft Edge Goddess Braids That Go Easy on Your Hairline
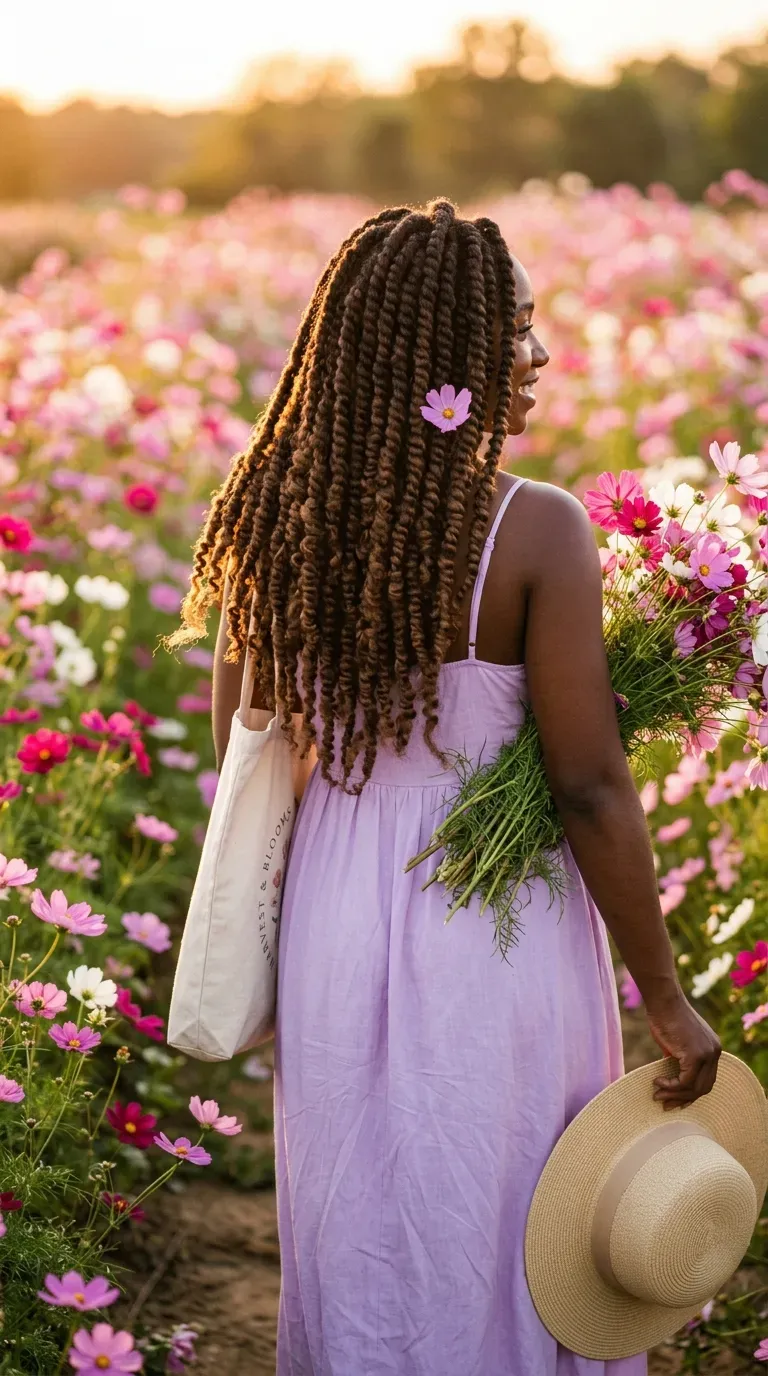
Edges take the most strain during any braid install, and once they thin, they can be slow to come back.
Ask for these changes at your appointment:
- Bigger, looser braids along the hairline
- Knotless starts around the edges
- No extra pulling just to get a razor sharp part
Leave the hairline braids slightly lighter than the rest, with less extension hair added.
If your scalp hurts so much that you cannot sleep the first night, the braids are too tight. Speak up during the install, not after.
A good install feels snug, never painful. Small bumps, soreness that will not settle, or sharp pulling at the edges are worth fixing right away, even if it means redoing a few braids.
20. Goddess Braids Styled With a Silk Scarf Headband

Some mornings the curls look tired, your edges want a break, and you still need to look put together. A silk scarf handles all three.
Fold a square scarf into a long band. Lay it across your hairline, tie it at the nape under the braids, and let the scarf tails hang down with the curls.
Styling tip: pick a print with one color that matches your braid shade or your jewelry.
It also keeps the front braids from rubbing against a car headrest on long drives.
Wearing Your Crown
Goddess braids carry a lot of the look on their own, but small choices make the real difference: a length you can comfortably carry, the right curl hair, and a few minutes each week spent refreshing those curls.
Start with the style that fits your actual routine. A long knotless set for vacation, a bob for busy workdays, a crown updo for a wedding.
Whichever goddess braids hairstyles you choose, protect your edges and wrap your hair at night, and the install will keep looking fresh much longer.
Save this list to your braid board so you have back view photos ready for your next appointment.