
Mid length hair has a sneaky habit. It hits your shoulders, flips the wrong way, and settles into one flat shape that never changes no matter what you do with it in the morning.
Layers fix that, but not the layers you got in 2015. The cuts showing up in salons for 2026 are quieter and smarter. Some layers are hidden inside the hair so you only see the movement. Some sit right at the ends and nowhere else. A few borrow from Japanese and Korean salons, where shoulder length hair has been treated like its own art form for years.
So this list skips the big, teased, everything stacked at the crown look. Each idea here is about shape, swing, and how the hair moves when you turn your head.
Below are medium layers mid length hair can actually wear, with notes on texture, upkeep, and the exact words to say in the salon chair. Screenshot a couple before your next appointment, and bring the one that matches the hair you already have, not the hair you wish you had.
1. Ghost Layers on a Collarbone Cut

Ghost layers are the reason your friend’s hair suddenly moves better and you can’t spot what changed.
The outside stays blunt and full. Underneath, your stylist cuts soft layers that never reach the surface, so the hair swings when you walk but still looks thick at the ends.
Ask for:
- A collarbone length with a blunt perimeter
- Layers cut only in the interior sections
- Point cutting, not thinning shears
It works best on straight to slightly wavy hair that tends to look heavy by afternoon.
Quick tip: Flip your part to the other side after the cut. You should see a little lift and bend that wasn’t there before.
2. Liquid Layers for Sleek Straight Hair
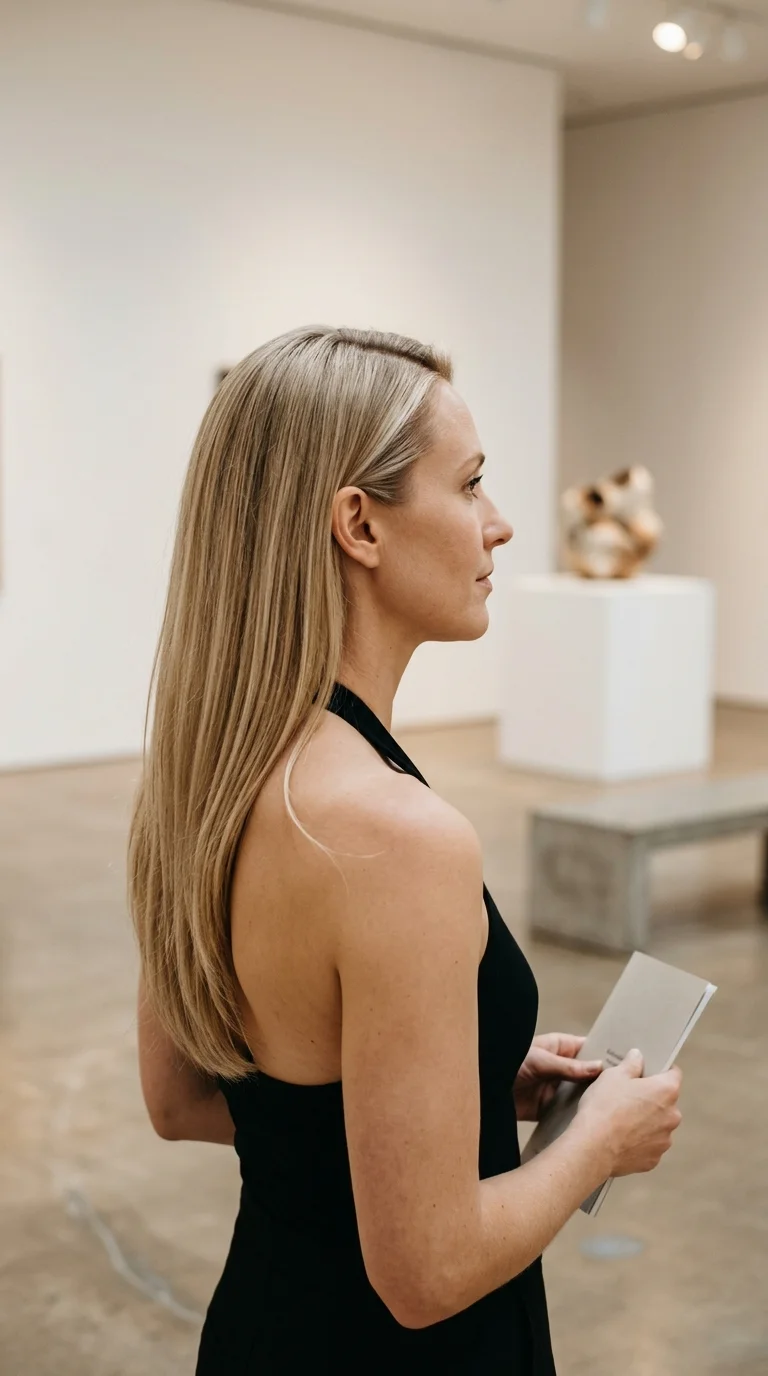
Straight hair shows every line. That’s the problem with old school layers on it, because you can see exactly where each one starts.
Liquid layers fix that by blending so closely that the hair looks like one smooth pour. The ends stay full, but the whole shape moves as one piece when you turn your head.
What to say in the chair:
- “I want layers I can’t see.”
- “Keep the weight at the bottom.”
- “Please slide cut, don’t chop.”
Style with a flat brush and a drop of shine serum on the ends only. Rough drying ruins the glassy finish, so this one asks for five minutes of patience.
3. Hush Cut With Airy Feathered Ends

Korean salons made the hush cut famous, and the name says it all. Nothing about it is loud.
The cut has a soft, wispy outline where the ends look almost see through. Layers start around the cheekbones and keep thinning out as they fall, so the hair has air in it instead of weight.
Good fit:
- Fine to medium straight hair
- People who air dry most days
- Anyone growing out a heavy blunt cut
A heavy hand with texturizing shears turns this into frizz fast, so book someone who knows the cut by name. Finish with a light mist of sea salt spray, then scrunch the ends once and leave them alone.
4. Hime Inspired Sidelocks on Shoulder Length Hair
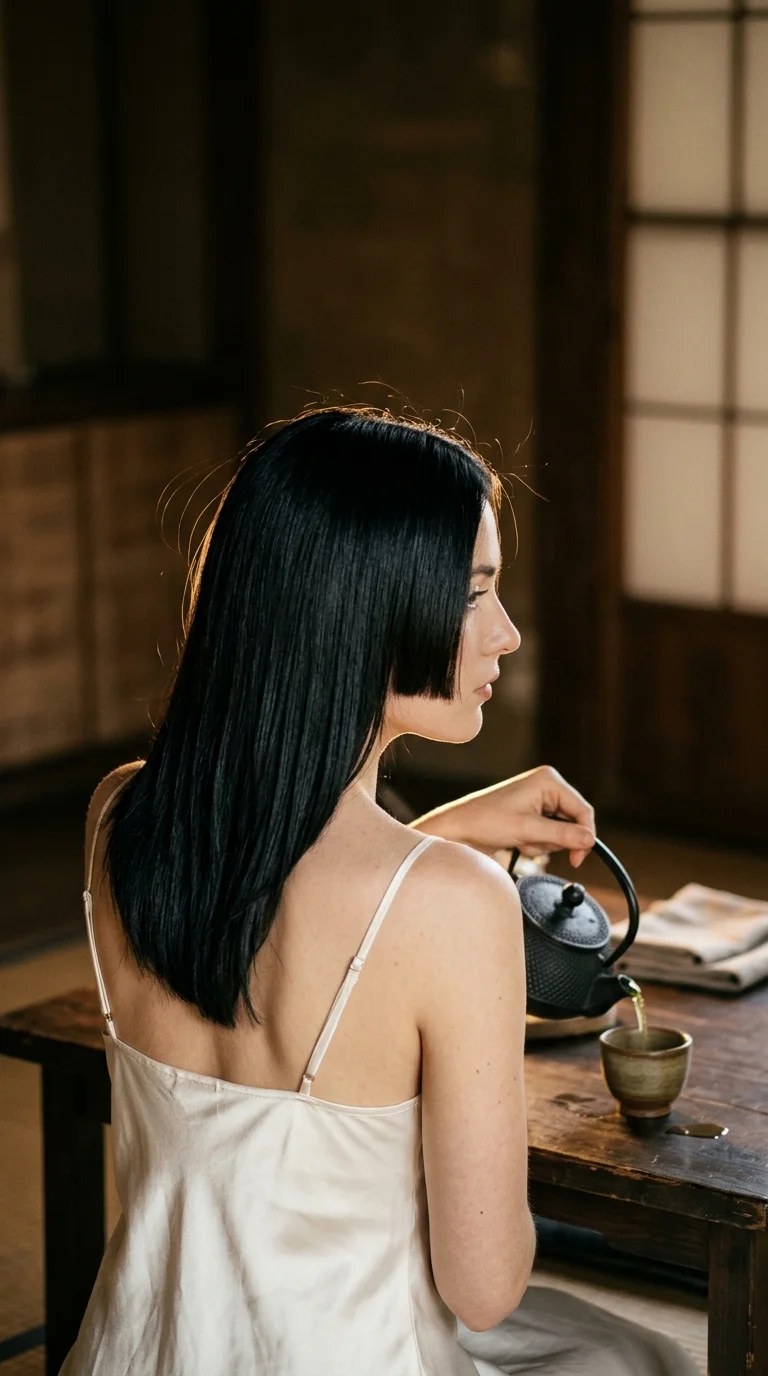
Old Japanese court portraits gave us this one. Two blunt panels at the front, cut level with the cheekbones or jaw, sit over longer hair behind them.
The 2026 version is softer. The sidelocks still have a clean edge, but the back gets gentle tapered layers so it doesn’t look like a costume.
Straight hair holds the line best. Wavy hair works if you flat iron just the front panels.
Here’s the honest part. Those panels grow fast and lose their shape in about six weeks, so plan for quick fringe trims in between full cuts.
5. Bevel Cut Layers That Curve Under

Ever notice how some shoulder length hair tucks under on its own, like it was set with a round brush? That’s bevel cutting.
Your stylist cuts the underneath layers slightly shorter than the top ones, so the ends naturally fold inward. No curling iron needed most mornings.
How to style it:
- Rough dry until your hair is about 80 percent dry.
- Finish with a medium round brush, rolling the ends under.
- Hold for five seconds, then let go.
It looks especially good on thick, straight hair that usually flips out at the shoulders.
Ends hit the shoulders and kick outward. The shape looks flat at the back and the flip changes every time you move. A curling iron feels like the only fix.
Shorter under layers let the top fold over them. The ends roll inward on their own, the back has a soft rounded shape, and a quick round brush finish is enough.
6. Bottleneck Bangs With Soft Shoulder Layers

Think of the shape of a glass bottle. Narrow at the top, wider as it goes down.
Bottleneck bangs start short and thin in the center, then widen and lengthen as they fall past your brows and blend into the side layers. That flow is what makes them work with mid length hair. The fringe and the layers read as one design.
Two things to know:
- They need a bit of forehead height to look balanced.
- A cowlick at the front hairline will fight the narrow center.
Blow dry the bangs first, while everything else is still wet. Bangs set in seconds, and once they dry wrong, you start over.
7. Italian Lob With Rounded Layers
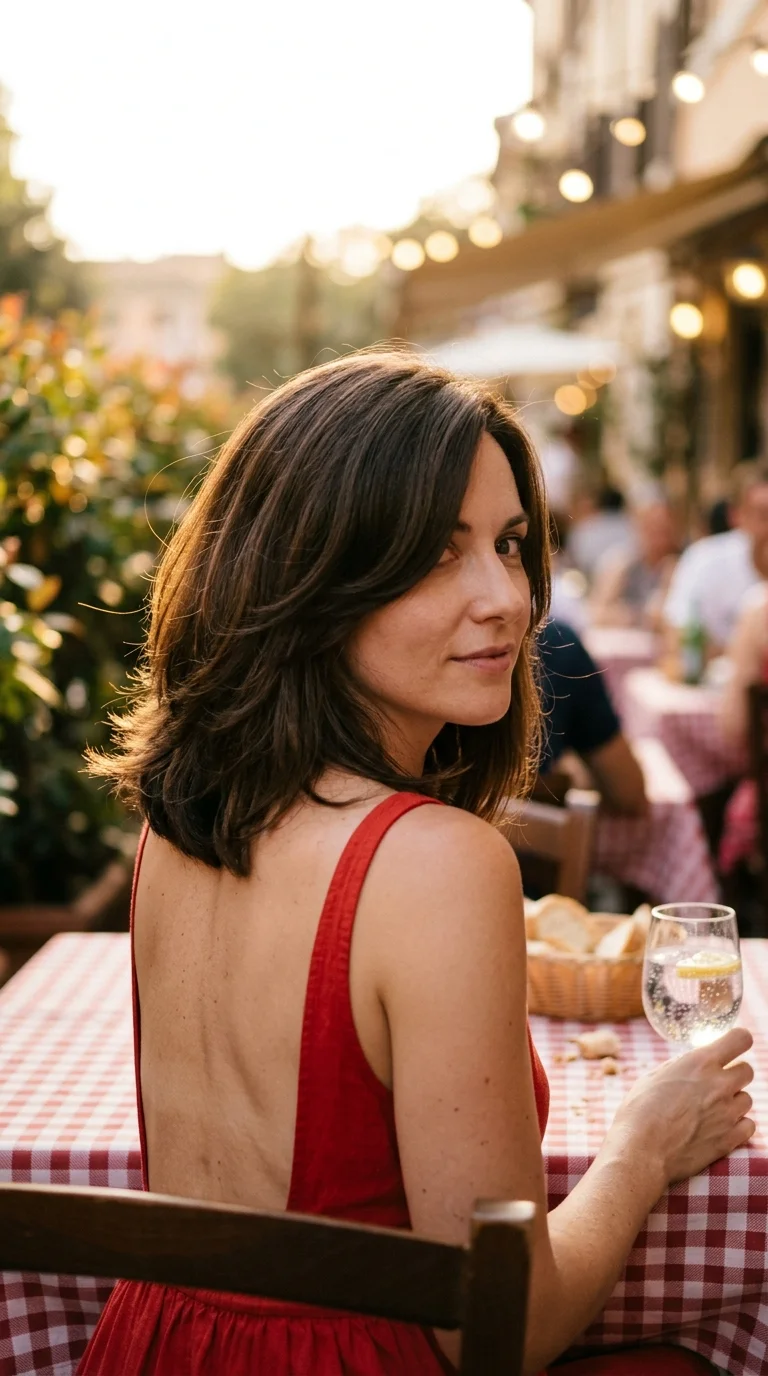
The Italian bob got all the attention, but the longer version is the one most of us can actually live with.
It sits just above the shoulders, full and rounded, with layers that curve toward the face instead of away from it. Pair it with a deep side part for a swingy, grown up shape that looks good even on day three.
What makes it different: the layers are wide and rounded, not choppy. Nothing looks piecey.
It suits medium to thick hair best. Fine hair can wear it too, as long as the stylist keeps most of the weight near the ends.
8. Flicked Out Ends at the Shoulder
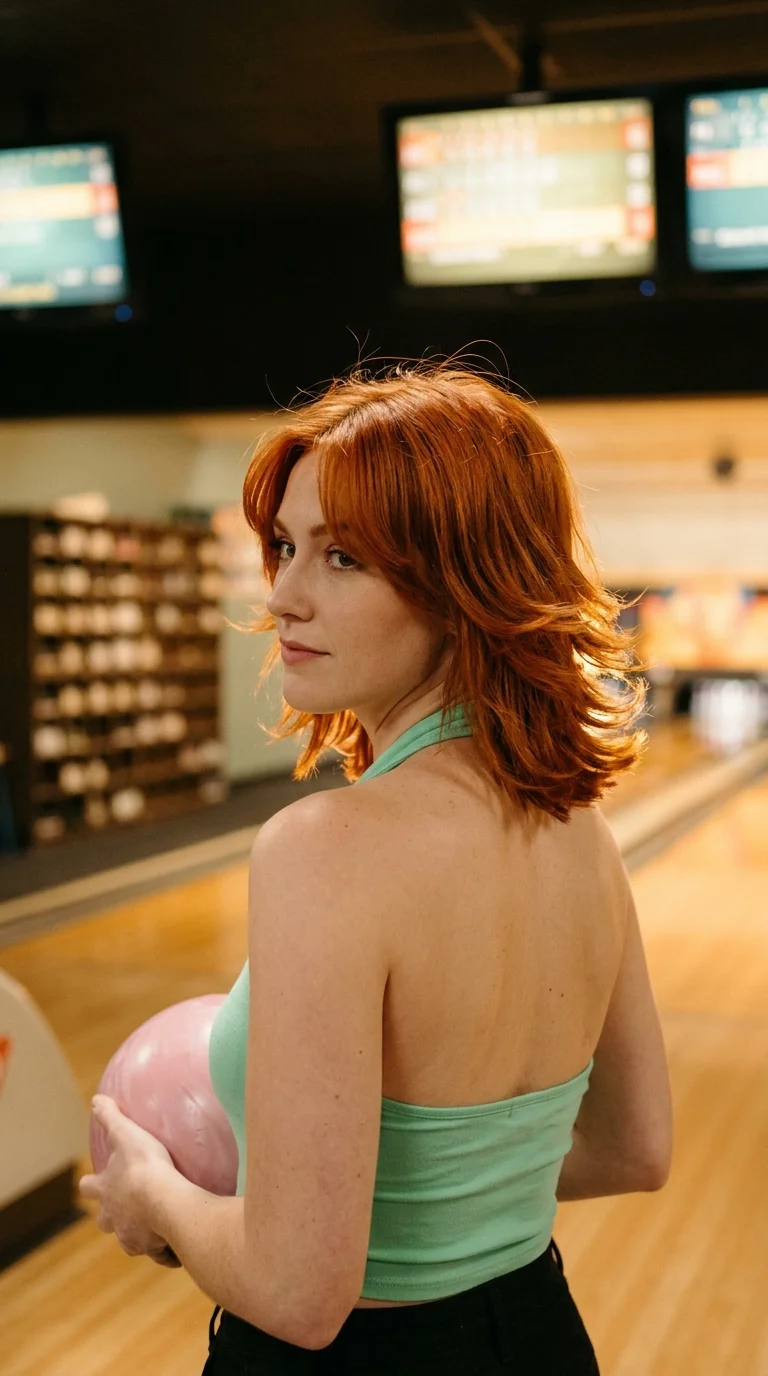
Your hair already flips out at the shoulders. You might as well make it look on purpose.
This cut leans into the flip with short, choppy layers right at the ends, so they kick out evenly instead of in random directions. It has a playful, late 60s feel without looking retro.
Styling takes about three minutes:
- Smooth the top with a flat brush.
- Use a flat iron on the last two inches and turn your wrist outward.
- Shake the ends loose with your fingers.
A small warning. On very fine hair the flip drops by lunch, so finish with a light hold spray.
9. Birkin Bangs With Lived In Layers
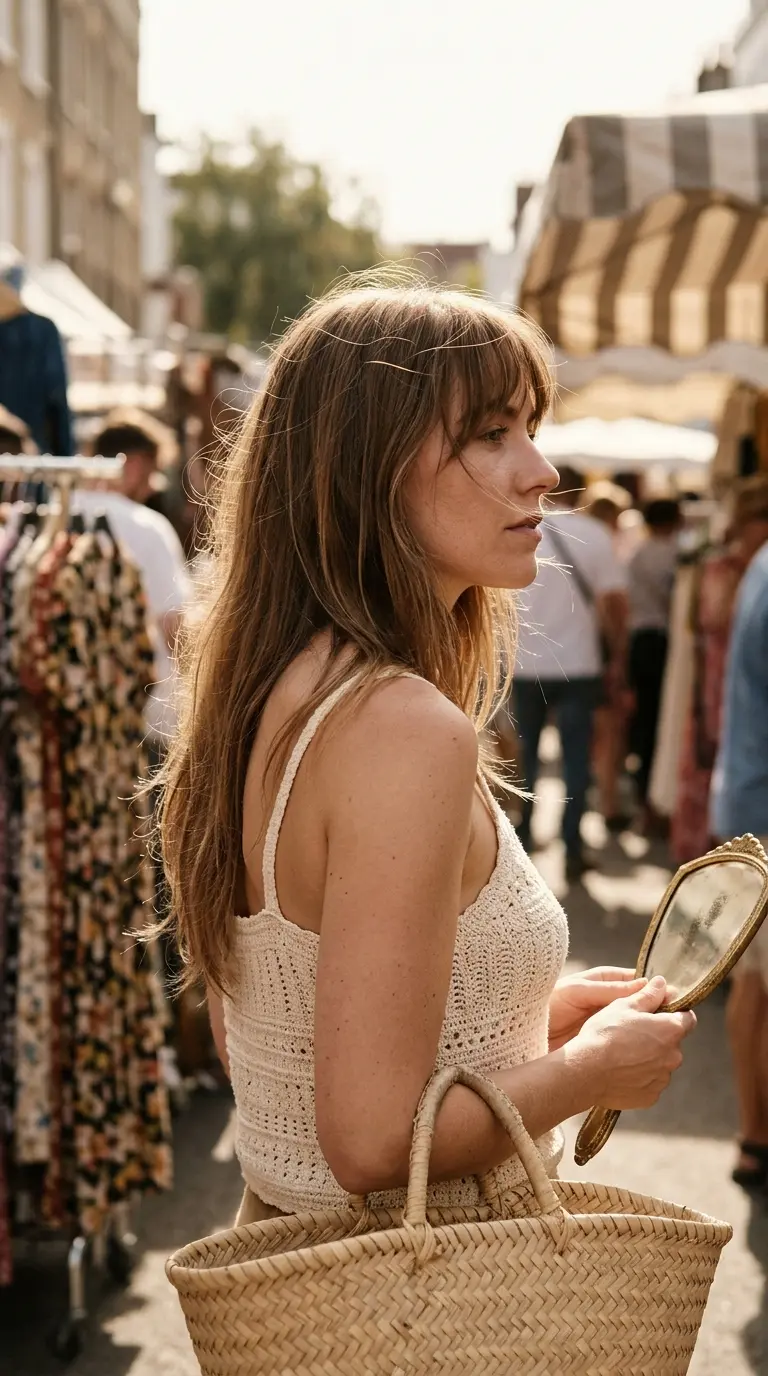
Messy on purpose is still a plan.
Birkin bangs are long, wispy, and slightly uneven, grazing the eyelashes instead of sitting in a neat line. Paired with mid length layers that are cut a bit uneven too, the whole look feels like you just woke up with good hair.
The cut works best when:
- Your hair has a slight natural wave
- You don’t mind bangs that move around
- You can go eight weeks between cuts
Skip the round brush. Dry your bangs with your fingers, side to side, and they’ll fall into place.
10. Soft Jellyfish Cut for Everyday

The original jellyfish cut is bold. A short bob on top, long straight hair underneath, with a sharp line between them.
This everyday version keeps the idea but softens the step. The top tier sits at your chin, the bottom falls past your shoulders, and the meeting point is blended just enough to stop people asking if you cut it yourself.
Who it suits: straight or very lightly wavy hair, and people who enjoy a bit of edge without a full commitment.
Wear it tucked behind your ears on quiet days. Let both tiers swing free when you want people to notice.
11. Ear Tuck Lob With Hidden Under Layers

Some of us tuck our hair behind our ears forty times a day. This cut is designed around that habit.
The stylist cuts a short hidden layer under the side you tuck, so the hair lies flat behind your ear instead of popping back out. The rest stays a smooth long bob.
What to ask for:
- A lob just above the collarbone.
- A shorter under layer on your tucking side.
- A slightly deeper part on that side.
It’s a small change you only notice when you stop fighting your hair at your desk. Glasses wearers like it a lot, since the arms don’t push the hair forward.
12. V Cut Layers That Point Down the Back

Look at the back of a V cut and you’ll see the shape right away. The layers angle down from both sides and meet in a point in the center.
That point makes mid length hair look longer from behind, which helps if you’re growing it out and feel stuck at the shoulders.
The shape you choose changes the whole look:
- V cut: dramatic, best on straight hair
- U cut: softer curve, easier for waves
- Straight line: fullest ends, least movement
Keep the V soft, not sharp. A deep point on fine hair can look stringy at the tip.
13. Micro Bangs With Choppy Shoulder Layers

Micro bangs are short. Really short, sitting well above the eyebrows.
On their own they can feel severe. Add choppy, uneven layers through the rest of the hair and the look turns relaxed and a little punk, which is exactly why it keeps showing up in 2026 mood boards.
Myth to drop: you need a tiny face for micro bangs. You don’t. What you need is a fringe cut a touch wider than your brow arch, so it opens the face instead of shrinking it.
They grow out awkwardly. Go in with a plan for the four week trim, or a few pretty clips.
14. Round Curly Layers for Mid Length Curls

Curly hair hates straight line cutting. Cut wet and pulled straight, the layers shrink at different rates and you end up with a triangle.
Round layering works the other way. The stylist cuts each curl dry, where it naturally sits, building a soft round shape all over the head.
Before you book:
- Arrive with clean, dry curls, no ponytail dent
- Bring the products you actually use
- Ask if they cut curl by curl
The result is shape without bulk. Curls sit together instead of spreading sideways, and the length you see in the mirror is the length you really have.
15. Lived In Layers for 2B Waves
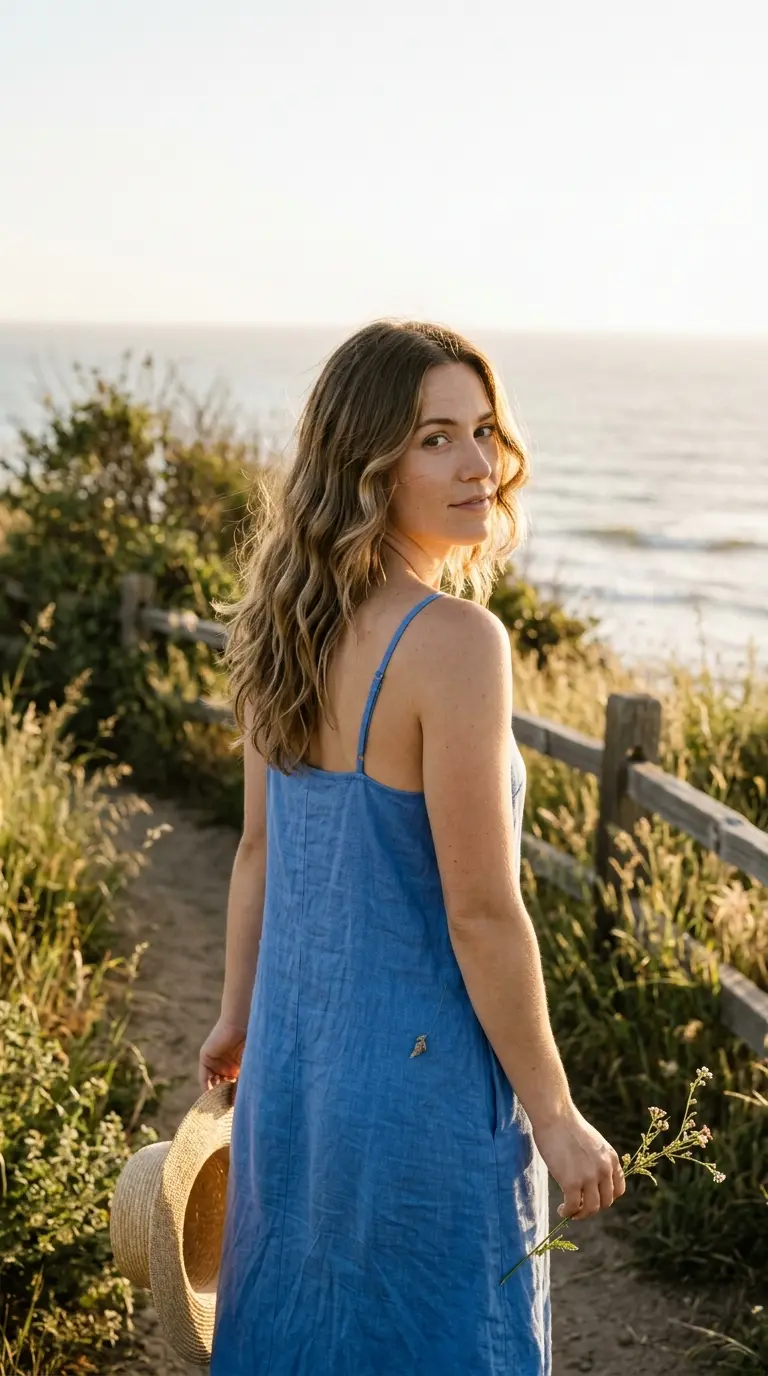
Loose S shaped waves, the kind called 2B, often hide under weight. The bottom half pulls them straight, and only the ends bend.
Lived in layers are cut to let those waves show up higher on the head. They’re spaced out, slightly uneven, and designed to look good as they grow, so the cut still works at week ten.
A simple routine that helps:
- Apply a light curl cream to soaking wet hair.
- Scrunch with a cotton T shirt, never a rough towel.
- Let it air dry, then scrunch out the crunch.
Best for people who want waves without diffusing every single morning.
16. Deep Side Part With Asymmetric Layers

Most cuts assume a middle part. This one doesn’t.
The layers are cut longer on your heavy side and shorter on the other, so the deep side part looks intentional, not like you just flipped your hair over. The long side sweeps across your forehead. The short side sits neatly behind the ear.
Ask your stylist to find your natural part first, before any cutting.
Good to know: this cut doesn’t flip easily. Move the part to the other side and the layers look off. Pick a side you already love.
17. Tiered Layers That Debulk Thick Hair

Thick hair at mid length can look like a triangle. Flat on top, wide at the bottom.
Tiered layers break that weight into stacked levels, usually three, so each tier sits a little shorter than the one under it. The hair still looks full, but it lies closer to your head.
What changes after the cut:
- Drying time drops noticeably
- Ponytails feel lighter
- The sides stop puffing out in humidity
Don’t let anyone remove bulk with a razor on coarse hair. It frays the ends. Scissors and patience do this job better.
18. Mod Layers With Sixties Bangs
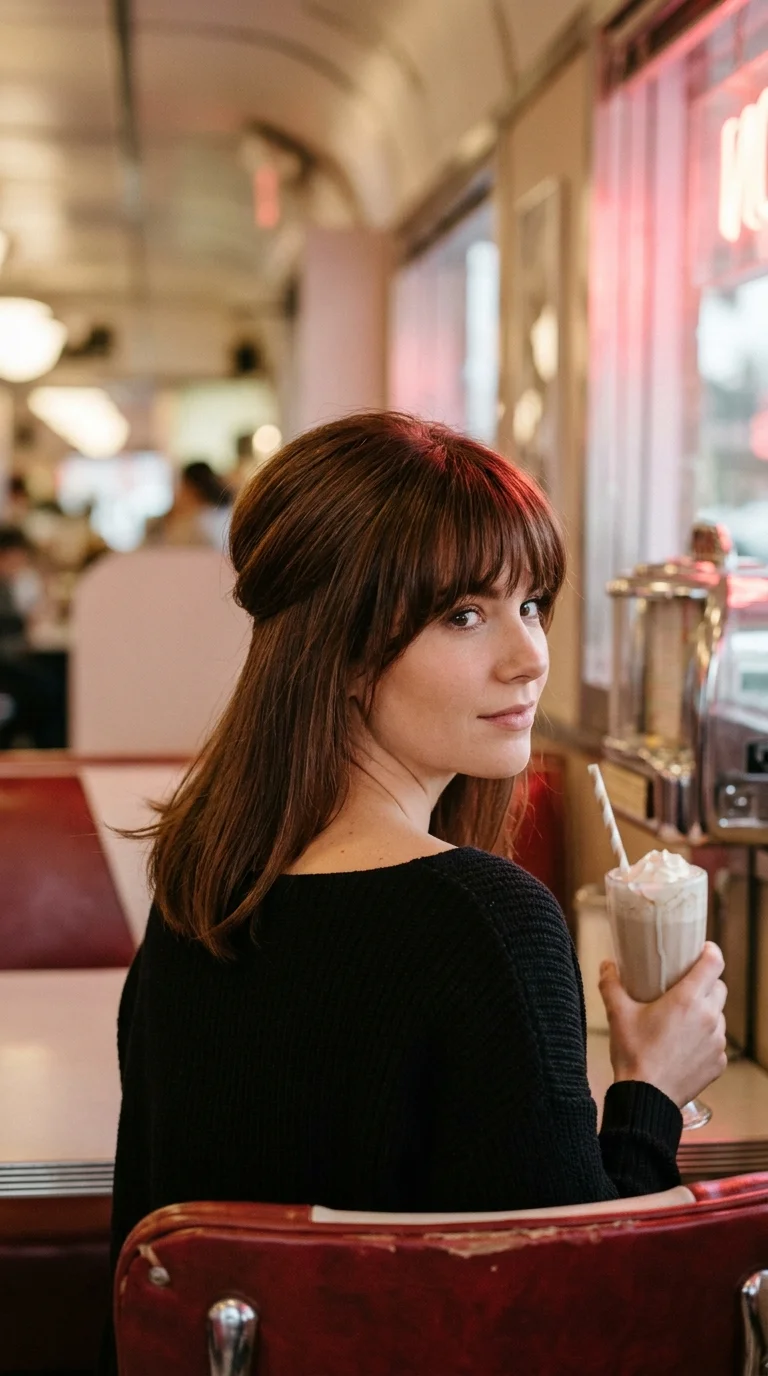
Full bangs. A rounded crown. Smooth ends that sit at the shoulders.
That’s the mod cut, and it’s back because it gives mid length hair a clear shape without any curling. The crown layers are short enough to add a gentle dome, while everything below stays sleek.
It works best on straight, medium thickness hair. Very fine hair loses the rounded crown by noon, and curly hair turns the dome into a bigger shape than you planned.
Wear it with a headband pushed slightly back from the bangs. That one detail makes the whole cut look styled.
19. S Curl Perm Layers for Hair That Won’t Hold a Curl

Some hair drops a curl before you even leave the house. If that’s yours, a soft perm might be the answer.
The S curl perm, popular in Korean salons, uses large rods to set loose waves only through the middle and ends of layered hair. The roots stay smooth. The result looks like a good blowout that lasts for months.
Questions to ask first:
- What rod size will you use?
- Will you skip the roots?
- How damaged does my hair look to you?
Bleached hair is a risky candidate. Wait at least two months after lightening, and expect a gentle wave rather than a tight curl.
20. Chunky Side Fringe on a Collarbone Cut

Wispy fringes had a long run. The 2026 side fringe is thicker and more confident.
It’s cut heavier, starting farther back on the head, and swept across one brow in a solid piece. That weight makes a simple collarbone cut look designed.
Quick tip: blow dry the fringe in the opposite direction first, then flip it back. It gets lift at the root and won’t lie flat against your forehead.
People with a strong cowlick at the front hairline should plan the fringe to fall the way the cowlick already pushes. Fighting it never works for long.
21. Razor Cut Ends Over a Blunt Base
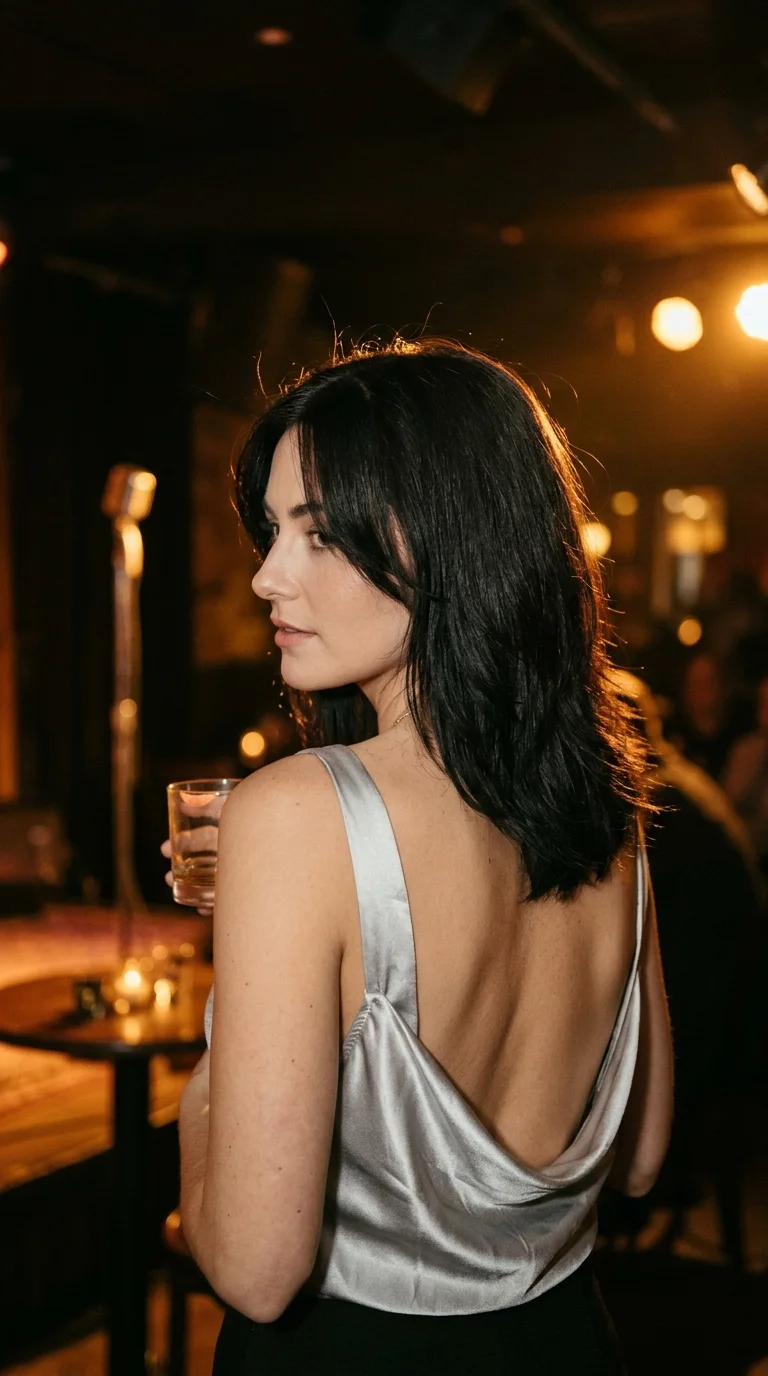
Razor cutting has a bad name, mostly from frayed ends in the 2000s. The new approach uses it in one small spot only.
The base stays blunt and cut with scissors. Then the stylist uses a razor on just the last inch, so the ends look soft and feathery while the hair underneath stays strong and full.
This combo suits fine to medium straight hair that feels too solid when cut fully blunt.
Ask for the razor on the last inch only, over a scissor cut base.
Book a stylist who uses a fresh blade for every client.
Use a light leave in cream to keep the feathery ends smooth.
Razor cutting through the whole length on curly or coarse hair.
Getting the cut done on dry, tangled hair.
Heavy flat ironing every day, which makes razored ends look thin.
22. A Line Layered Lob, Longer in Front

Short in the back, longer toward the face. That slope is the whole point of an A line lob.
Adding light layers through the back keeps the shape from looking stiff, and the front stays long enough to tuck or pull into a half ponytail.
It’s a smart choice when you:
- Want a polished look without daily styling
- Like length near your face but hate hair on your neck
- Need something that works with a work blazer collar
Trims every eight weeks keep the angle crisp. Wait longer and it slowly turns into a regular lob.
23. Feathered Side Wings
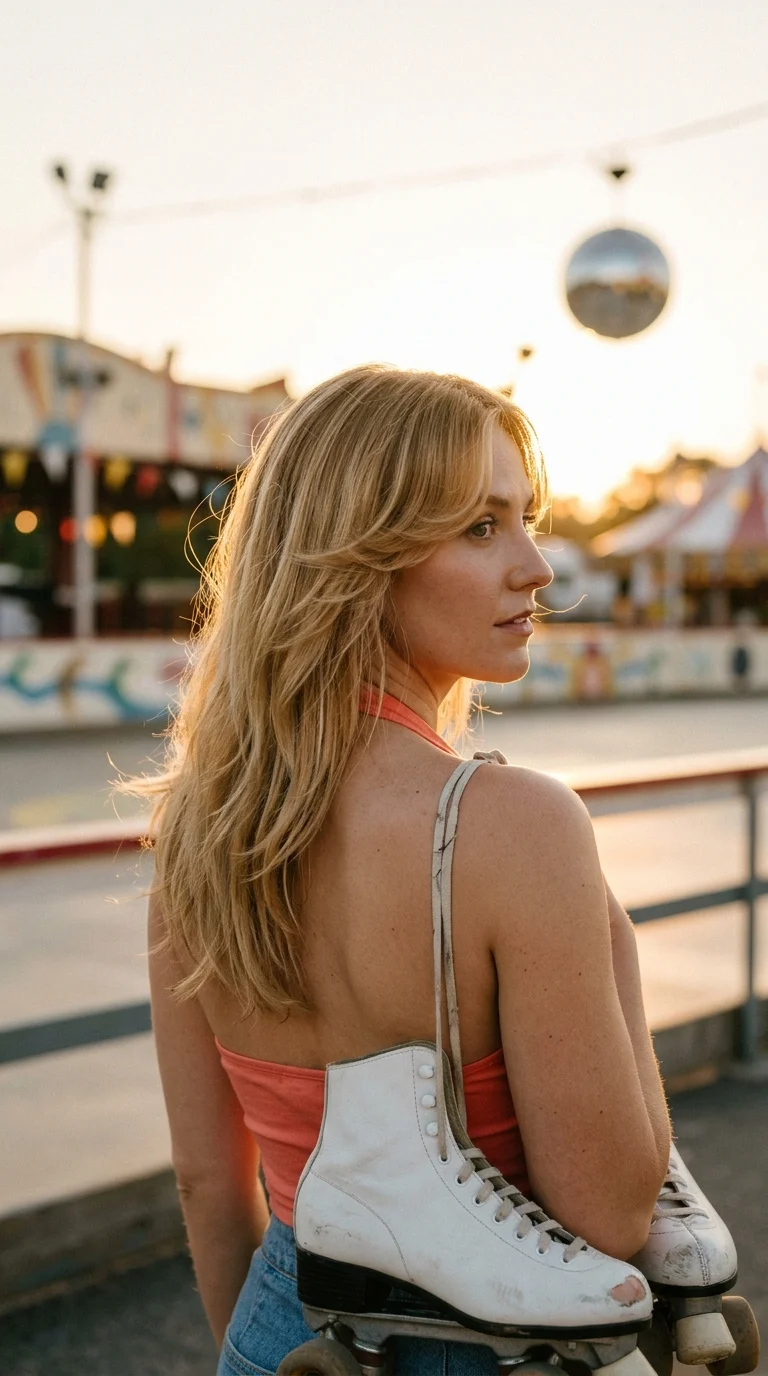
Remember the 70s feathered look? The side wings are the part worth keeping.
Instead of layering the whole head, the stylist cuts soft angled pieces at each temple. You brush them back and out with a round brush, and they frame the face like a pair of wings while the rest of the hair stays simple.
- Blow dry the wings first, brushing back and away from your face.
- Set each one with a velcro roller for ten minutes.
- Remove, then brush through with your fingers.
The finish looks bouncy and a little glam. Great for photos, weddings, and anyone who enjoys a five minute styling ritual.
24. Cloud Layers for Fine Hair

Fine hair can feel limp and see through at mid length. The fix is not more layers. It’s softer ones.
Cloud layers are short, rounded pieces placed only at the crown and around the face. The rest stays one length to keep the ends looking thick.
Styling it:
- Volumizing mousse at the roots while damp
- A quick rough dry with your head flipped upside down
- A large round brush only on the crown pieces
Skip heavy oils and creams. They weigh the cloud down by lunch, and suddenly the cut looks flat again.
25. Dusted End Layers for Low Upkeep
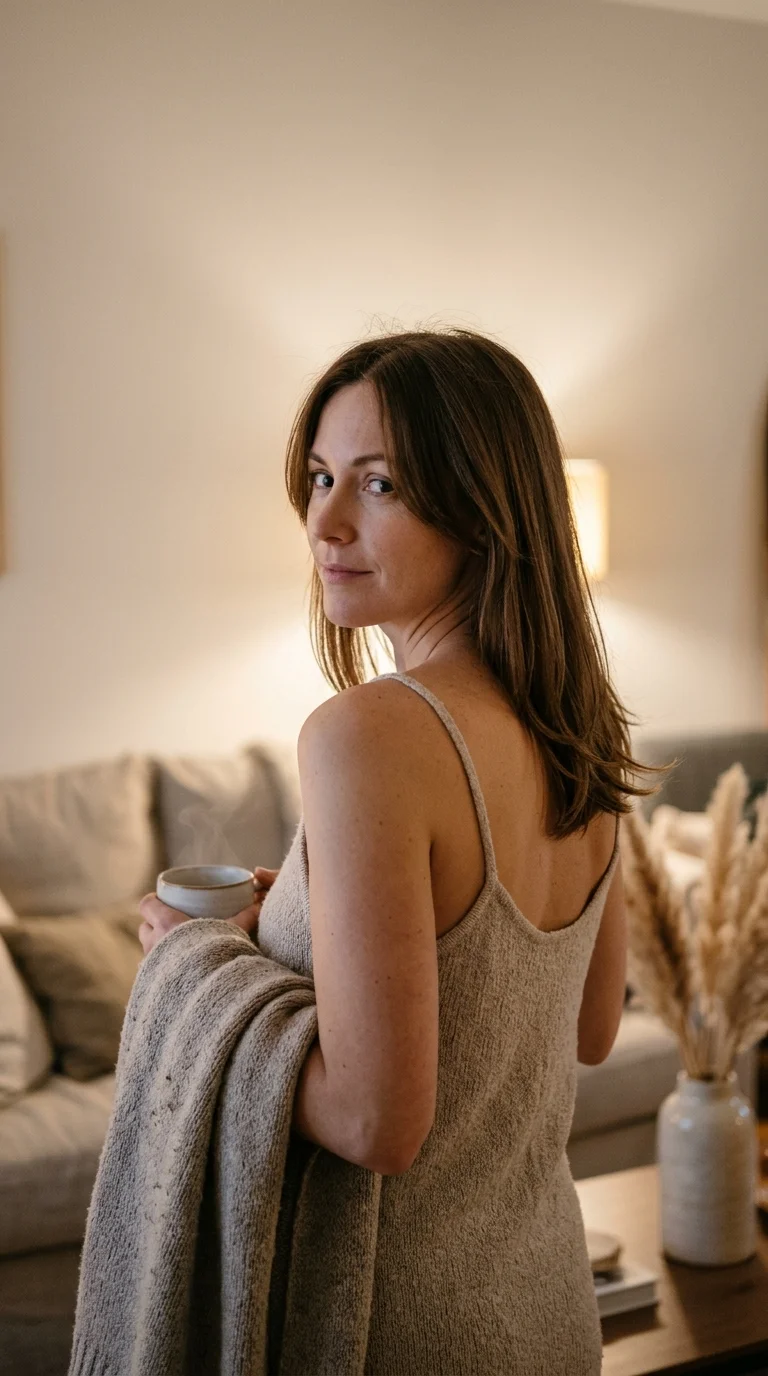
Not every cut needs a big change. Sometimes you just want your hair to look healthy and grow.
Dusted end layers keep almost all your length. The stylist only cuts soft layers into the last two inches, removing split ends and giving the bottom a gentle shape.
Best for:
- Anyone growing out to long hair
- People who see a stylist only three or four times a year
- Hair that looks blunt and boxy at the ends
It’s the quiet option. Nobody will ask about your new haircut, but your hair will look softer and more finished every single day.
Mid length hair doesn’t have to sit in one flat shape at the shoulders. The right layers give it swing, a cleaner outline, and a reason to like your reflection on a rushed morning.
Pick by your hair, not just the photo. Fine hair loves cloud layers and dusted ends. Thick hair breathes with tiered or ghost layers. Curls need round layering cut dry, and straight hair shows off liquid layers or a sharp V.
The best medium layers mid length hair can carry all come down to placement, so bring a clear photo and say exactly where you want movement.
Save this list to your hair board so it’s ready for your next salon visit.