
Some braids look like they took an hour and a mirror the size of a door. A good fishtail just looks like you woke up near the ocean and twisted your hair without thinking about it.
That is the whole charm. Boho style has never been about sleek, polished hair. It is about texture you can see, a few loose pieces by your cheek, maybe a flower tucked in because it was sitting on the table. The trouble is that most tutorials show fishtails so tight and tidy they look like rope, and that is not the look you are after.
This list gathers fishtail braid hairstyles that lean soft and romantic on purpose. Some take five minutes. A few need a little practice and a hand mirror. All of them work best on hair that is not freshly washed, so if you skipped a wash day, good news.
You will find side braids, crowns, buns, festival pigtails, and a few tricks for shorter hair. Each one shows how it sits from the back, since that is where a fishtail really shows off.
1. Loose Side Fishtail Pulled Over One Shoulder
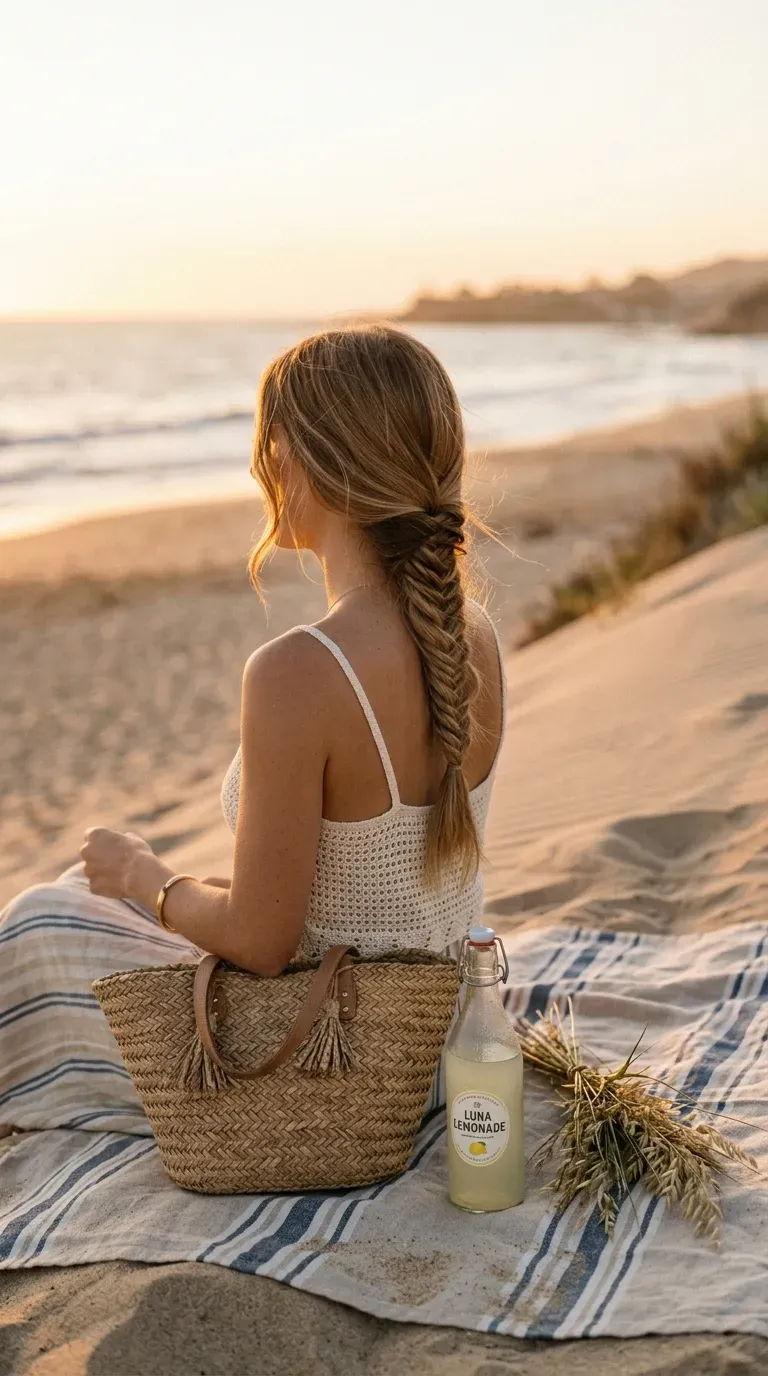
This is the fishtail most people mean when they say boho braid, and it forgives almost everything.
Gather all your hair to one side, then braid loosely. The trick is where you start. Begin the braid low, near the collarbone, not high behind the ear. A low start lets the top stay soft and full instead of pulled flat against your head.
- Leave two thin pieces out at the front
- Secure with a clear elastic, not a thick black one
- Tug the outer edges gently once you finish
It still looks relaxed after a long car ride.
2. Classic Two Strand Fishtail With Pancaked Edges

Every other style on this list starts here, so it is worth learning on a lazy Sunday with a show playing.
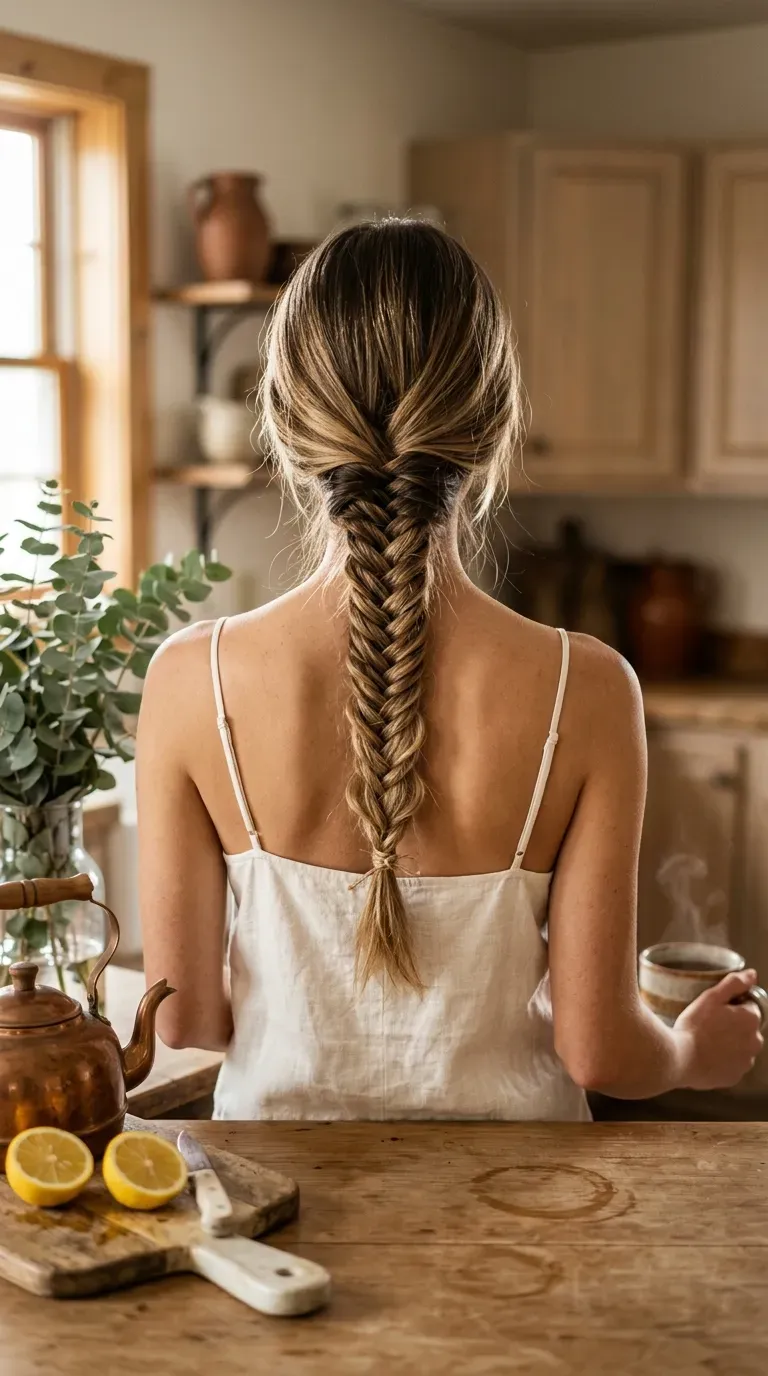
A fishtail uses only two sections. You keep taking a thin piece from the outside of one section and crossing it over to the other. Thin pieces give that fine, woven fishbone look. Thick pieces make it look like a regular braid.
Quick tip: practice on a ponytail first. The elastic holds everything still while your fingers learn the pattern.
Once it is done, pancaking is what turns a neat braid into a soft boho one.
Tie a loose ponytail and split it into two equal halves.
Take a pencil thin piece from the outer edge of the left half and cross it over to join the right half.
Repeat from the right side. Keep every piece the same size so the pattern stays even.
Tie off the end, remove the top elastic, then pull the outer loops wider, working from top to bottom.
3. Half Up Fishtail Crown Across the Back
From behind, it looks like a little woven headband sitting between your ears, while everything underneath stays loose and wavy.
- Take a section above each ear about two fingers wide.
- Fishtail each one loosely toward the back of your head.
- Cross the two braids at the center and pin them flat.
Hide the ends under the opposite braid so no elastic shows. Bobby pins that match your hair color disappear much better than shiny gold ones.
It keeps hair off your face at a picnic without giving up all that long, loose length.
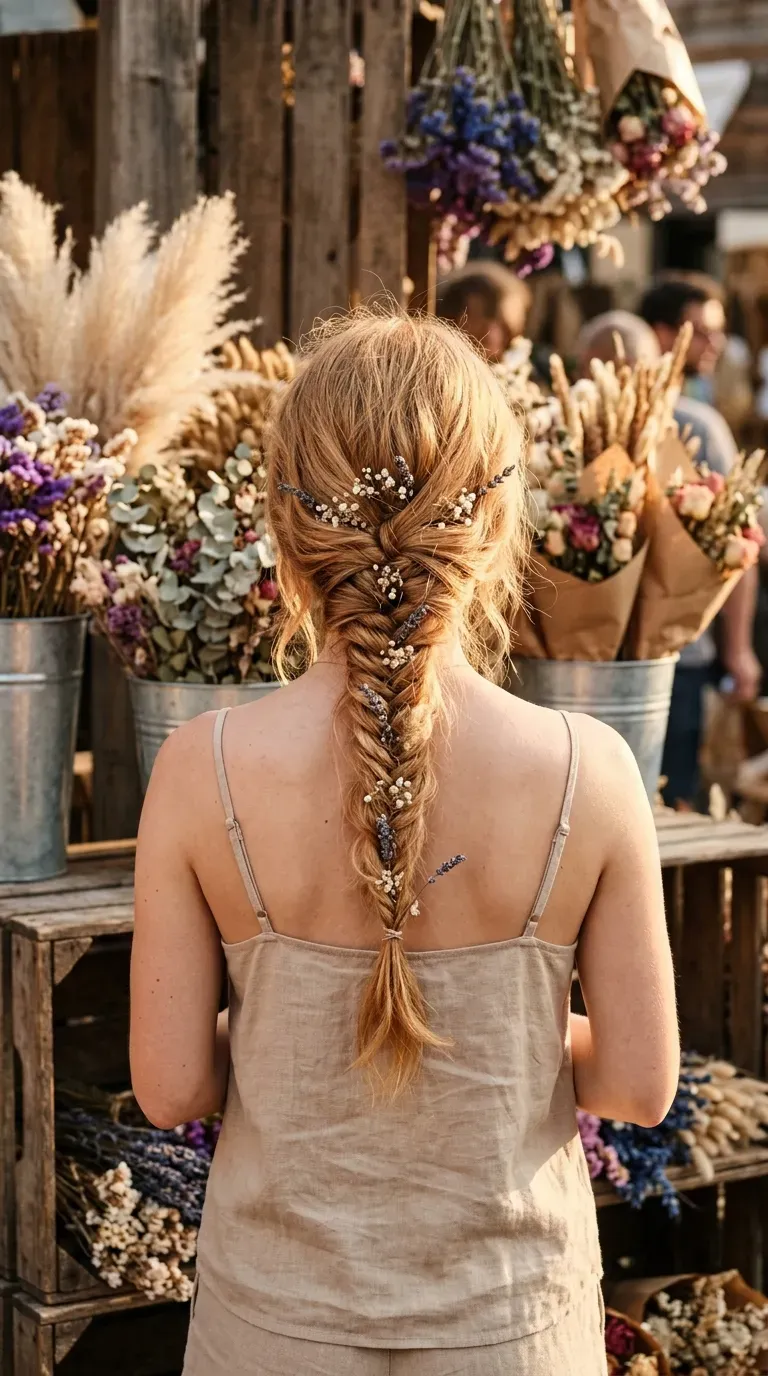
4. Fishtail Braid Woven With Dried Flower Sprigs
Here is the rule: flowers go in after the braid is finished, never during.
Weaving stems in while you braid sounds romantic, but they snap, slide, and end up crooked. Braid and pancake first. Then slide short sprigs into the loose loops along the length, pushing each stem in at a slight angle so it catches.
Dried flowers hold up better than fresh ones. Baby’s breath, lavender, and small statice keep their shape all day and do not wilt against warm skin.
Keep stems under two inches. Long ones poke your neck every time you turn your head.
5. Low Messy Fishtail With a Ribbon Wrapped Through

Plain elastics are the reason so many braids look unfinished at the bottom. A ribbon fixes that and adds movement.
Tie a thin silk or velvet ribbon around your low ponytail before you start. Let the two long ends hang down, then treat each ribbon end as part of each half while you braid. It gets woven straight into the pattern.
At the bottom, tie the ribbon in a loose bow over the elastic.
Cream, rust, and sage ribbons fit the boho palette nicely. Skip very slippery satin, since it tends to slide out by lunch.
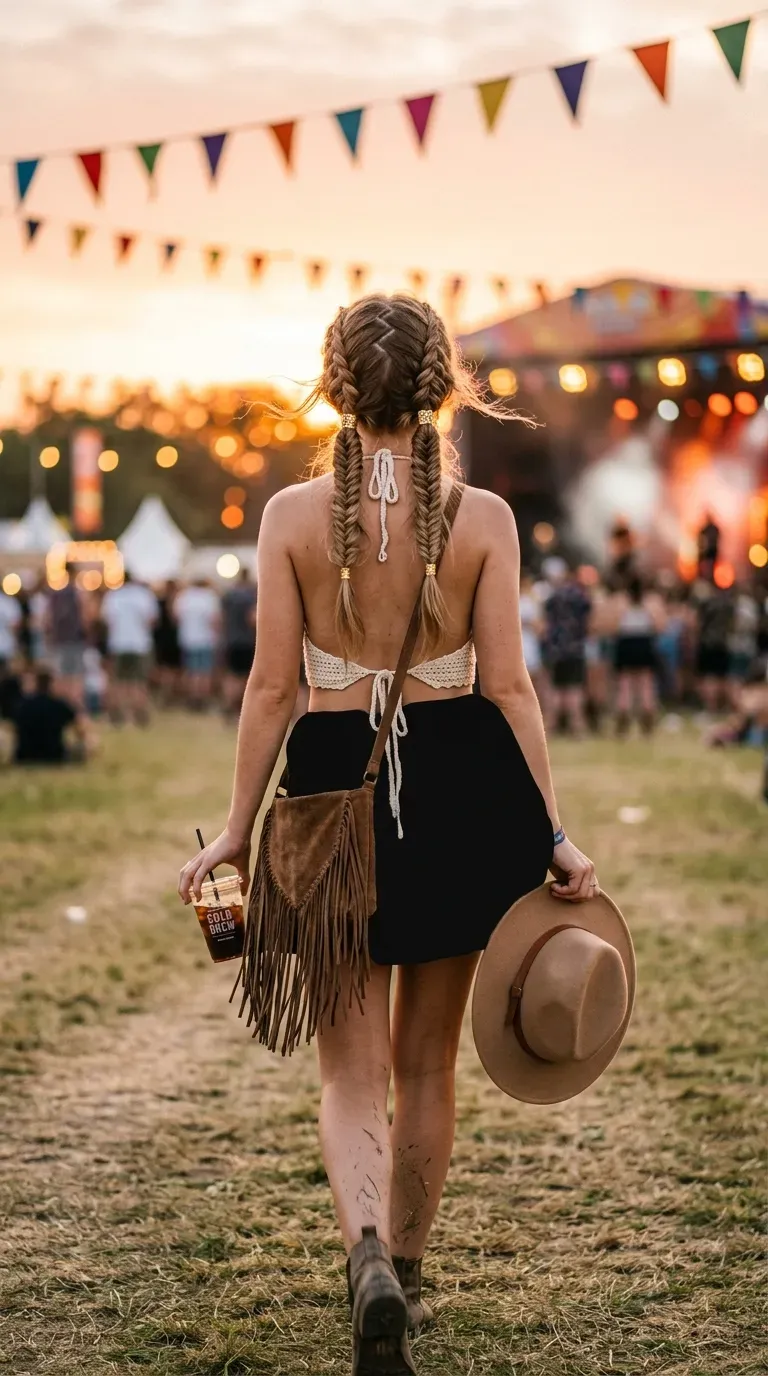
6. Double Fishtail Pigtails for Festival Days
Standing in a field all afternoon with the wind blowing, one braid down the back tends to fall apart. Two smaller braids hold up much longer.
Part your hair down the middle, or zig zag it for a softer line. Braid each side loosely starting just behind the ear, then pull the loops wide.
- Mist texture spray through the lengths before braiding for grip
- Slide a small gold cuff halfway down each braid
- Leave the ends a little longer than usual so they swing
They also survive hats surprisingly well. A wide brim sits right between them.
7. Dutch Fishtail Down the Center of the Back

A regular fishtail lies flat. A Dutch fishtail sits up on top of the hair, so it looks raised and almost three dimensional.
The only change is direction. Instead of crossing each thin piece over the top, you pass it under. Start at the crown and add small bits of loose hair as you move down, the way you would with a French braid. Once you reach the nape, finish as a normal fishtail.
It takes a few tries, and your arms will get tired the first time.
The payoff shows best on long hair with some natural wave.
8. Fishtail Braid Over Second Day Waves
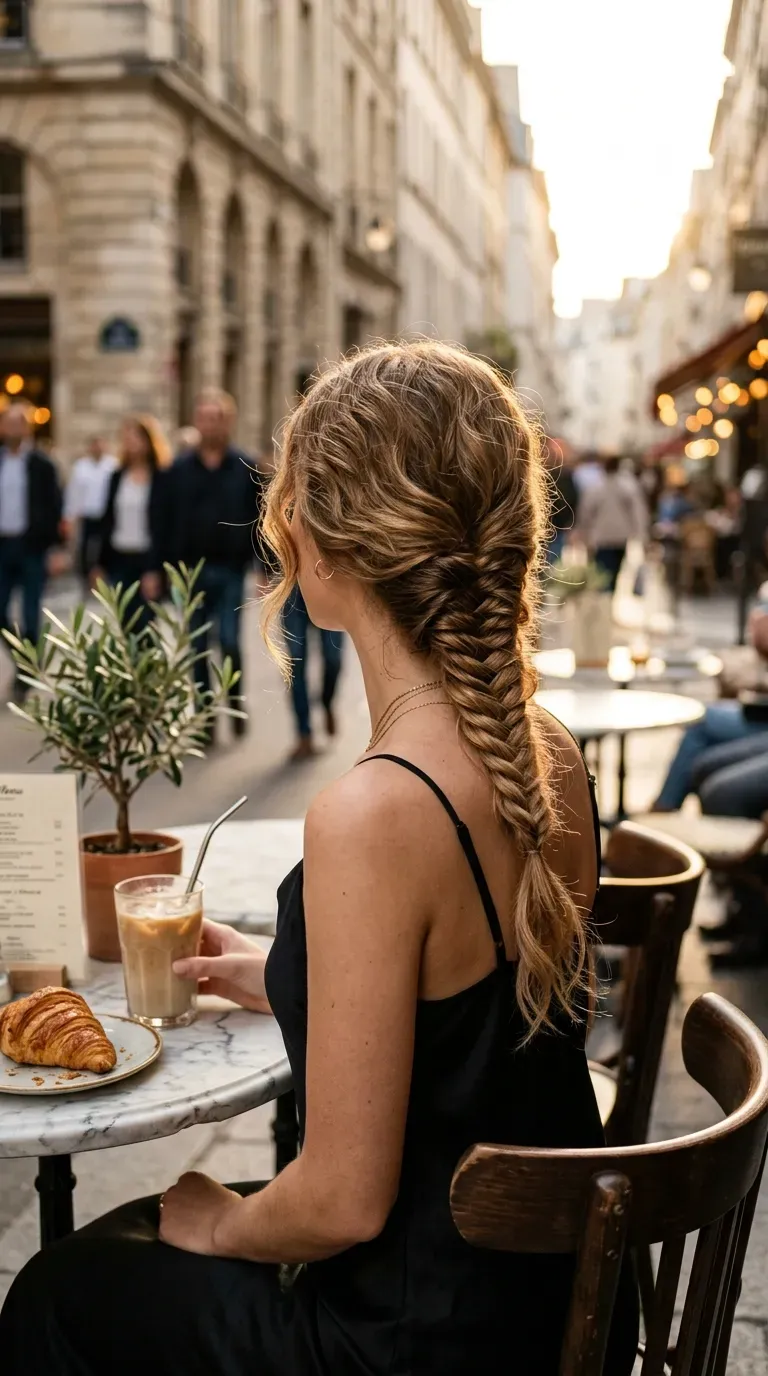
Clean, silky hair is the hardest hair to braid. It slips, the pieces separate, and the braid looks thin by noon.
Second or even third day hair has a little grip built in. That grip lets you pull loops wide without the whole thing collapsing.
Quick tip: if your hair is freshly washed, work dry shampoo or a light texture spray into the lengths, not just the roots, then rake it through with your fingers.
Leftover waves from yesterday’s curls are a bonus. They make the loose ends at the bottom look intentional.
Sections slide apart, loops shrink back when you pull them, and pieces start escaping by midday.
Loops stay wide after pancaking, the braid looks thicker, and old waves give the ends a soft finish.
9. Fishtail Accent Braids Framing a Loose Half Up
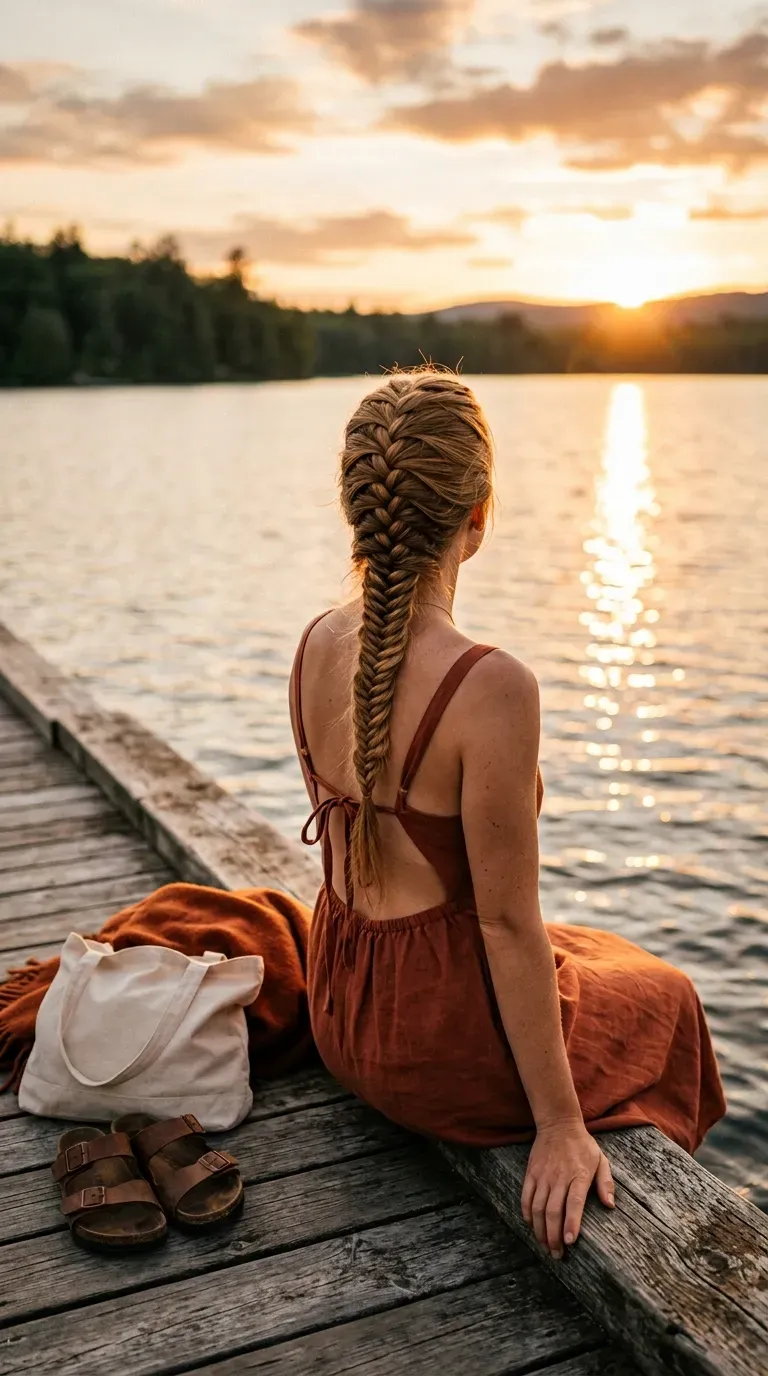
The common mistake is making the accent braids too thick. Thick braids pull attention away from the rest of your hair and look heavy.
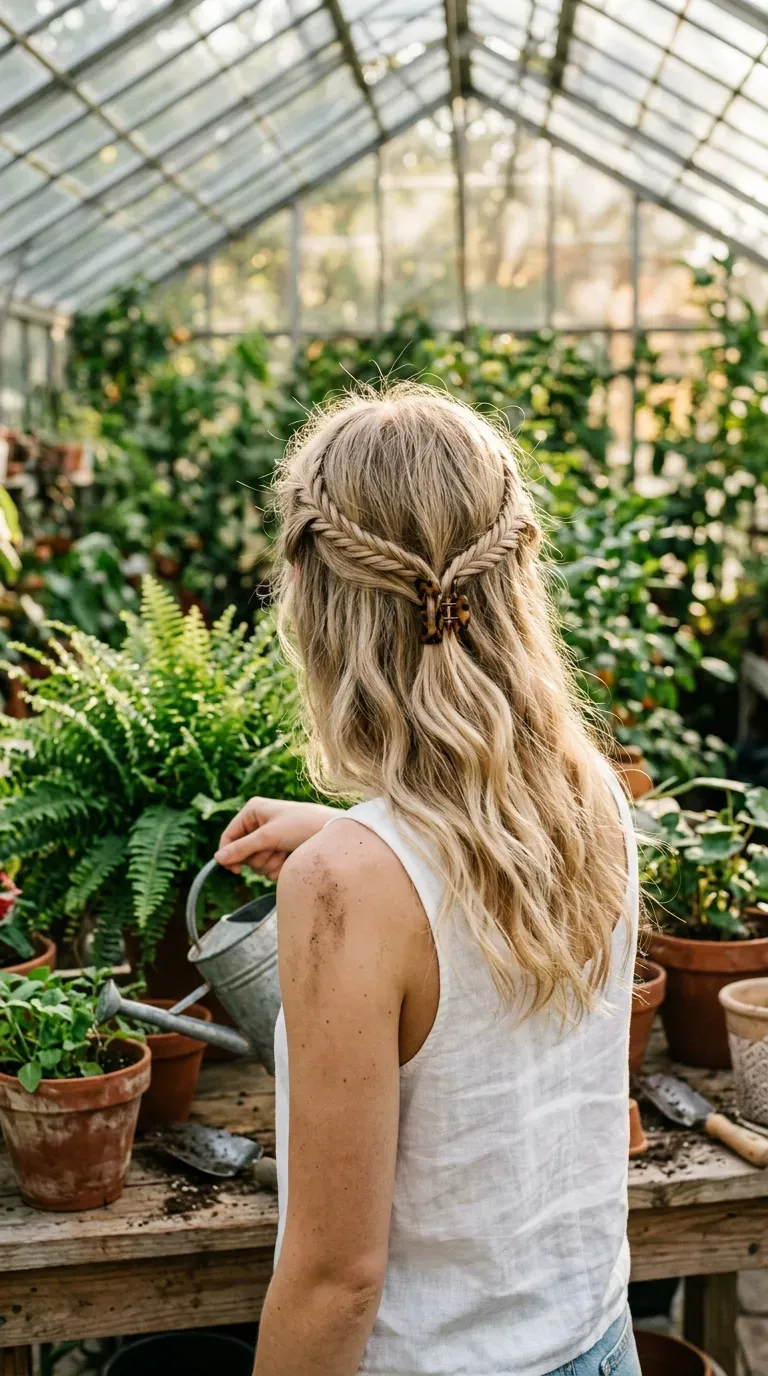
Take a section no wider than a pencil from each temple. Fishtail both down to just past the ear, then bring them back and clip them together at the back of your head with a small claw clip.
The rest of your hair stays down and wavy, so from behind you see two delicate woven lines meeting in the middle.
Fine hair does especially well here, since a full braid on fine hair can look sparse.
10. Fishtail Bun Pinned at the Nape
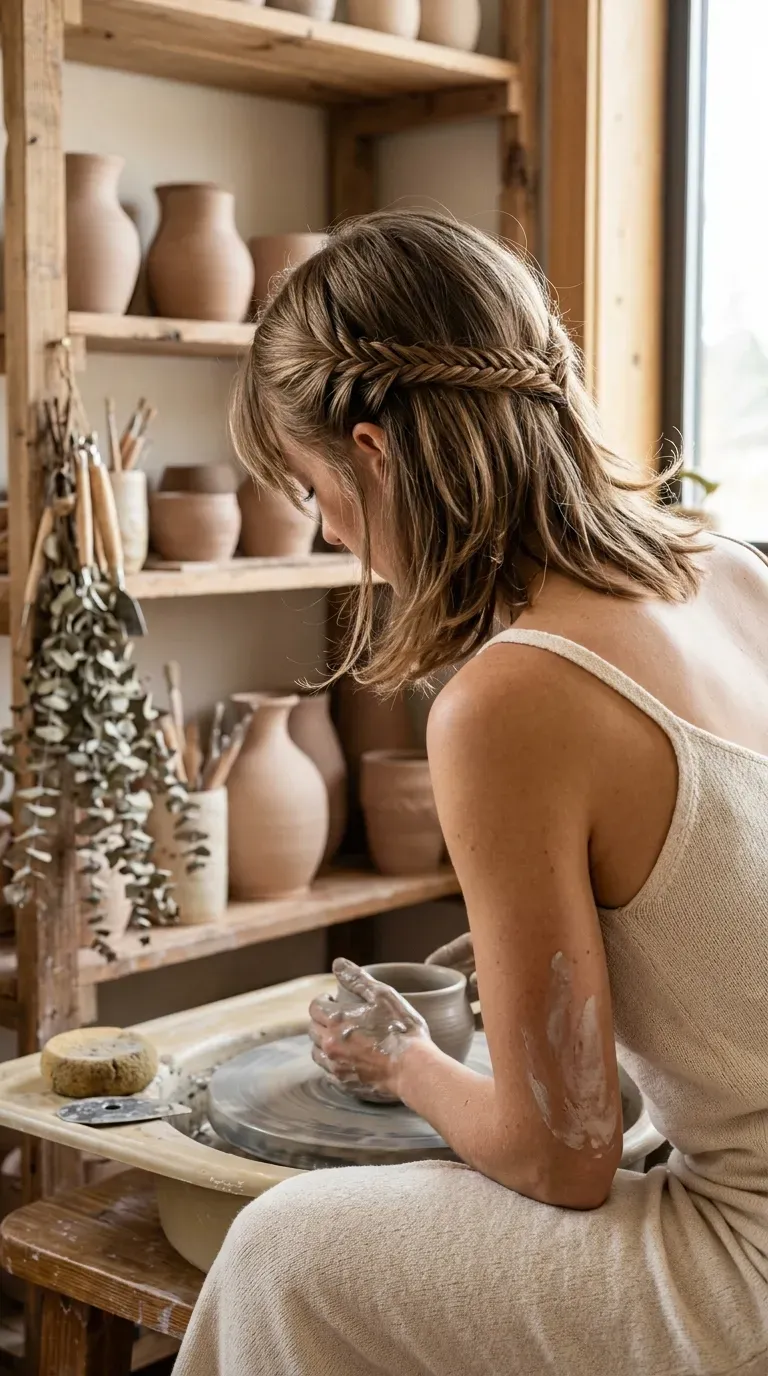
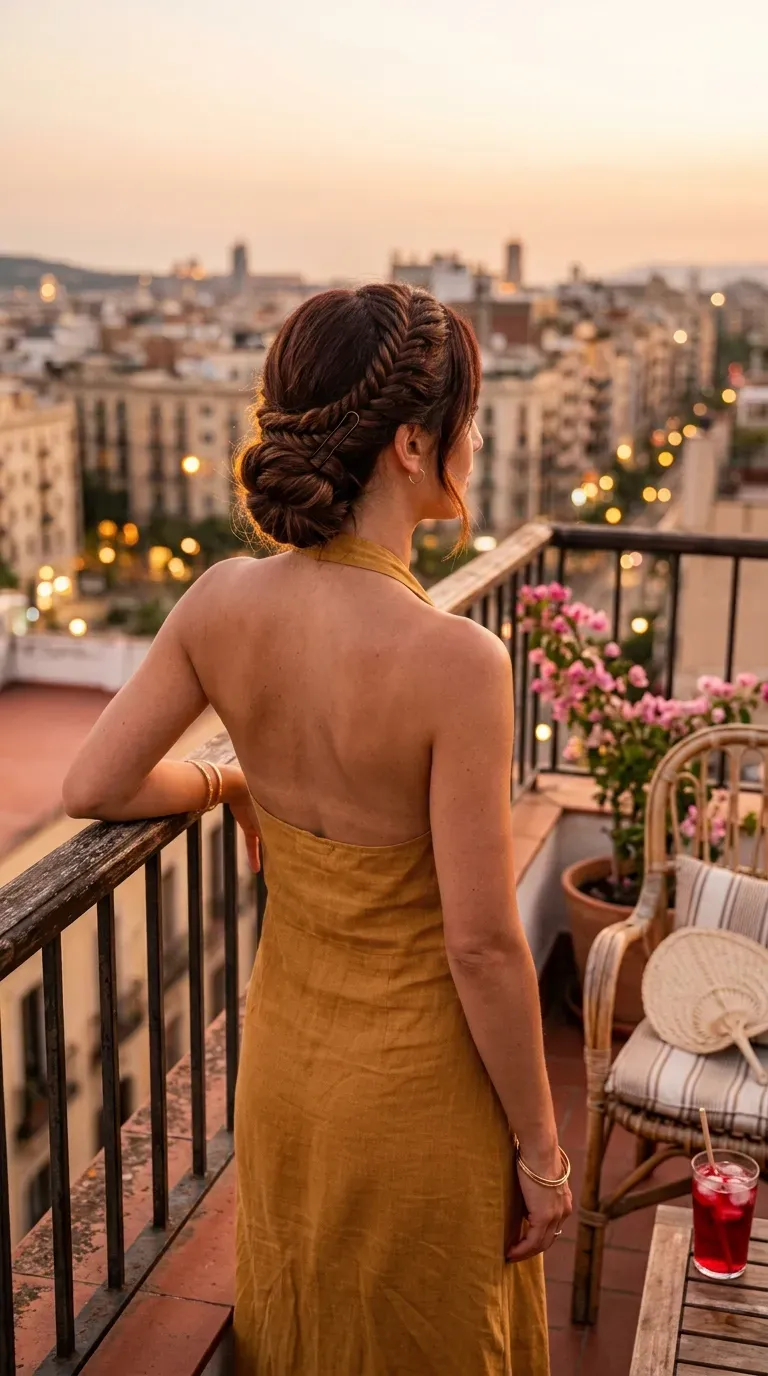
On hot days a long braid sticks to your back. Coiling it into a low bun solves that and still shows off the pattern.
- Braid a low fishtail all the way down and pancake it well.
- Coil the braid around its own base so the woven side faces out.
- Pin with U shaped pins, which hold coils better than bobby pins.
Leave a few short pieces loose around the nape. A tight, neat bun looks stiff in this style, and a little softness keeps it romantic.
It looks lovely with an open back top or a halter dress.
11. Upside Down Fishtail Into a Top Knot
Braiding upward from the nape shows the woven pattern on the back of the head, a spot most styles leave plain.
Flip your head forward and brush everything toward the crown. Start a Dutch fishtail at the nape and braid up toward the top of your head. When you reach the crown, gather the rest into a loose knot.
It feels awkward upside down at first. Sitting on the edge of the bed with your head hanging forward helps a lot.
Dangly earrings look especially good with it, since your neck is fully on show.
Hold a hand mirror behind you to check that the braid line runs straight up the middle.
Mist a little hairspray on the nape hair first so short pieces stay in the braid.
Braiding tight at the nape. It pulls, and your scalp gets sore within an hour.
Pancaking the upward braid too hard. From behind it can turn fuzzy instead of woven.
12. Fishtail With Gold Hair Cuffs Down the Length
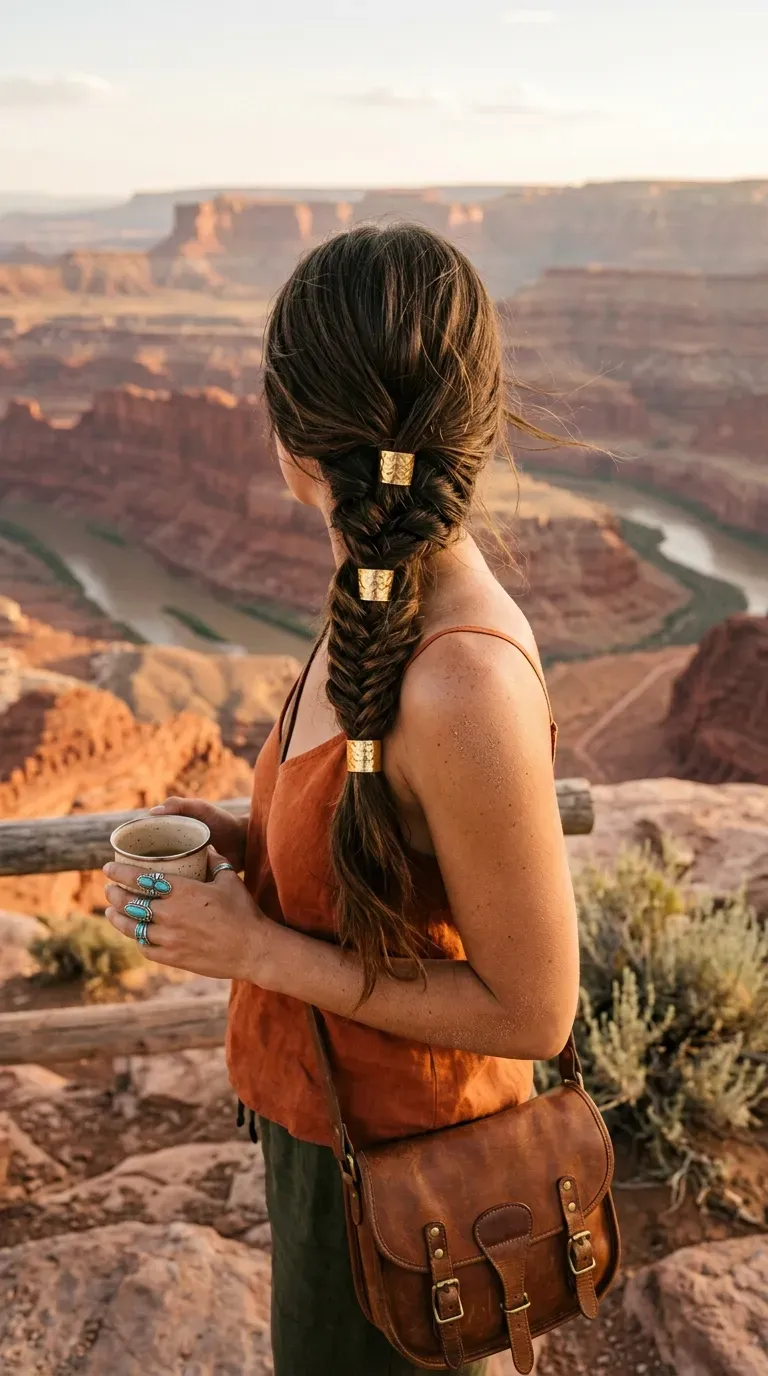
Three small gold cuffs spaced down a fishtail catch the light every time you move. It is jewelry for your hair, and it looks more expensive than it is.
Spacing matters more than how many cuffs you use.
- Place the first one a few inches below the elastic at the top
- Leave about a hand’s width between each
- Stop before the bottom quarter so the ends stay soft
Open cuffs that pinch shut are easier than spiral ones on a thick braid.
Silver works too, but gold pairs better with warm boho colors like rust and cream.
13. Two Side Fishtails Joined Into One at the Back
Long hair is heavy, and one big braid can drag at the scalp after a few hours. Splitting the work into three braids spreads the weight around.
Fishtail a small section from each side of your head back toward the center. Tie both off with clear elastics. Then gather them, along with the rest of your hair, into one larger fishtail that runs down your back.
From behind, it looks like a Y made of braids. That detail is what makes people ask how you did it.
Give yourself extra time on the first round.
14. Fishtail Braid on Short or Layered Hair
Plenty of people assume fishtails need hair down to the waist. Shoulder length hair can pull one off, it just needs a different plan.
Shorter layers poke out of a long braid. So keep the braid short instead. Two small fishtails along the hairline, or one running sideways across the back of the head, work far better than one braid down the back.
A little texture paste rubbed between your palms keeps short ends from springing out.
Expect a few pieces to escape. On this look they make it read softer, not messier.
15. Fishtail Wrapped Ponytail With a Tucked Tail

One small rule makes this look polished: wrap the braid, not a plain strand of hair.
Pull your hair into a mid height ponytail. Take a thin piece from underneath and fishtail it. Wrap that little braid around the elastic two times and pin the end underneath.
The rest of the ponytail can stay loose and wavy or get braided too. Both look good.
Watch out: heavy ponytails droop by afternoon. Cross two bobby pins under the base in an X shape for extra support.
16. Waterfall Fishtail Over Loose Curls

A standard waterfall braid drops a strand with every pass, so hair falls through like a curtain. The fishtail version does the same thing with a finer, more woven top line.
It is the most delicate style here, and also the fussiest.
- Start at one temple with two thin sections.
- After each cross, let the lower strand drop and pick up new hair.
- Work across the back of the head toward the opposite ear.
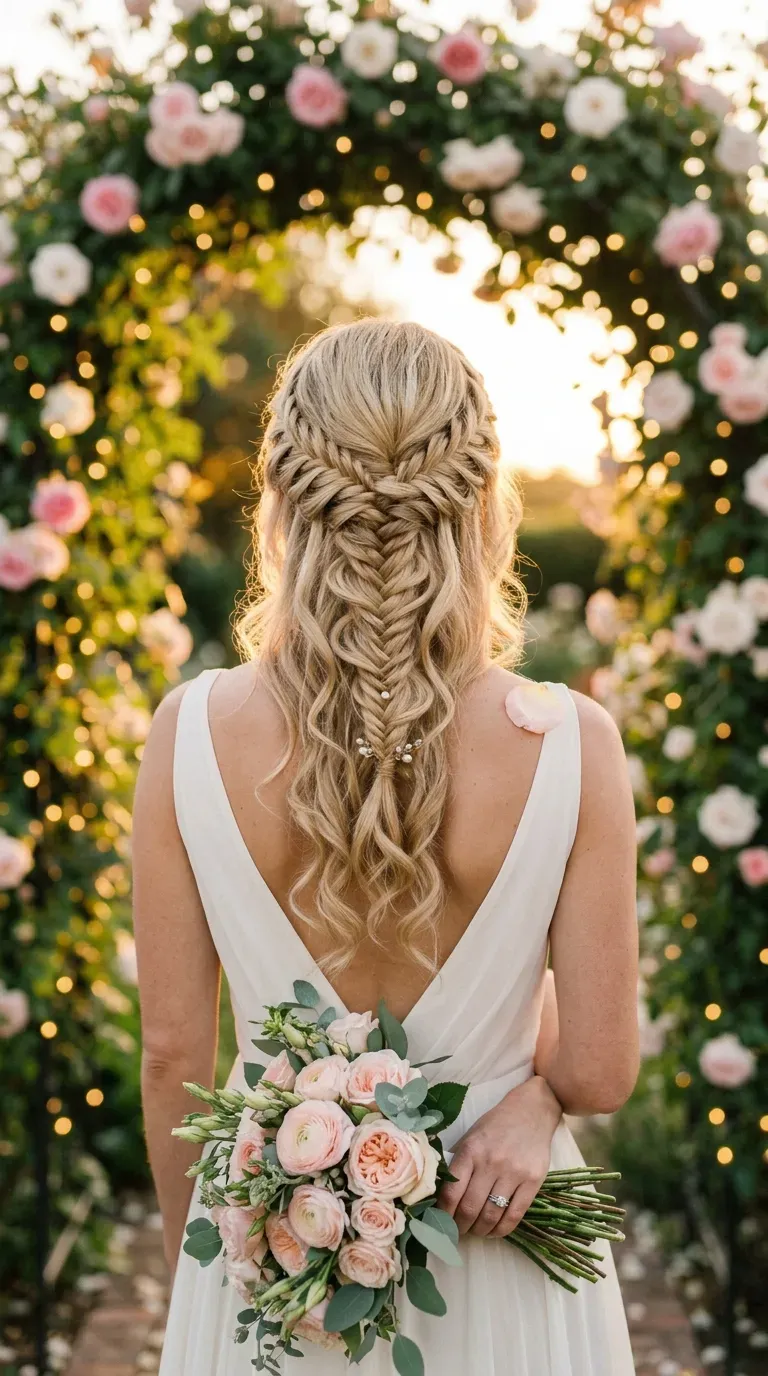
Curl your hair first with a large barrel. Those loose curls falling through are what make it look made for a sunset wedding.
17. Sleep In Fishtail for Soft Morning Waves
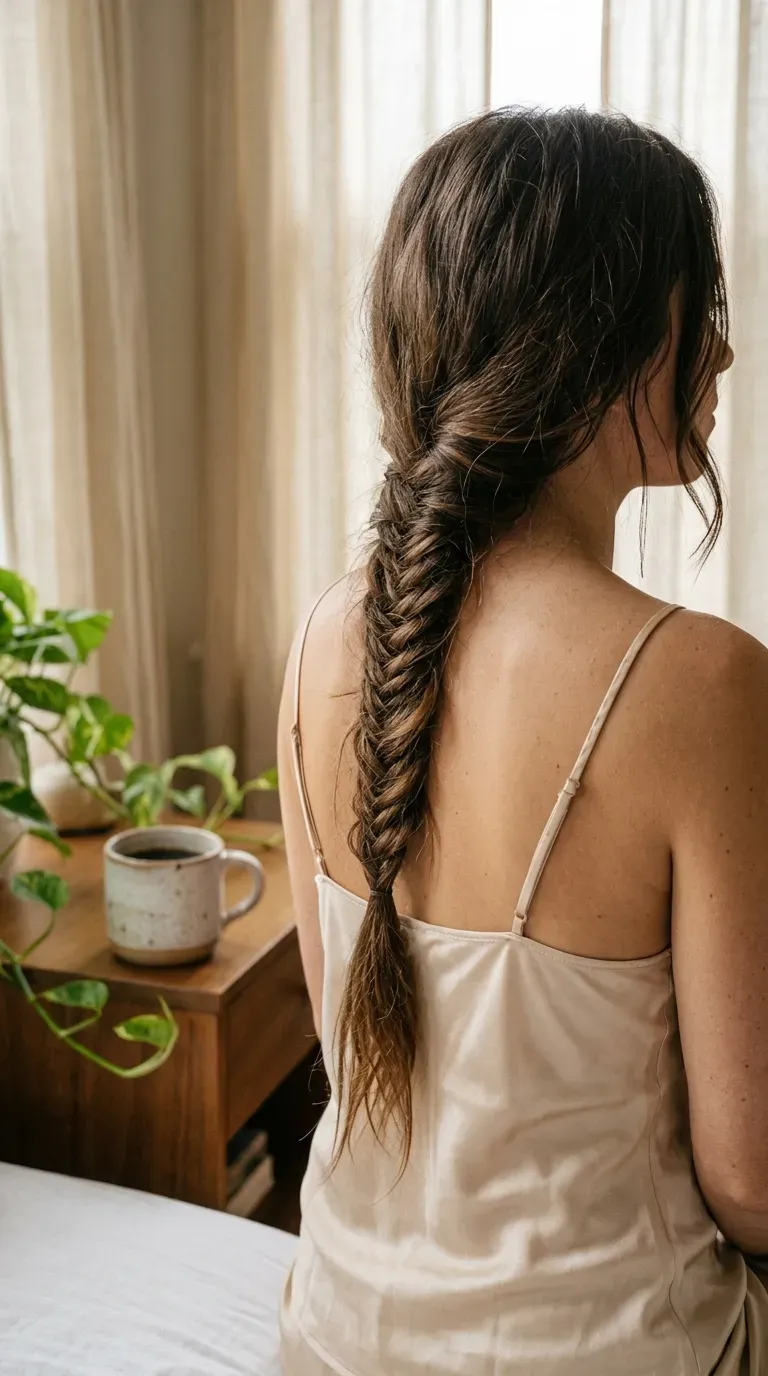
Some of the prettiest waves come from a braid you never meant to show anyone.
Braid hair that is almost dry into one loose fishtail before bed. Sleep on it, then take it out in the morning and run your fingers through. The pattern leaves soft, uneven bends that look more natural than curling iron waves.
Damp hair works. Soaking wet hair does not, because it stays wet inside the braid overnight and can leave an odd kink.
A silk pillowcase helps keep the frizz down while you sleep.
Undo the braid with your fingers only. A brush pulls the waves apart and leaves you with frizz instead of soft bends.
Your Next Braid
A fishtail never has to be neat to look good. Most of its charm comes from the loose loops, the stray pieces, and the little extras you add, like a ribbon or a sprig of lavender.
Start with the classic two strand version until your fingers stop thinking about it. After that, every style here is just a small twist on the same move. Pick one for a slow weekend, one for a busy morning, and one for something special.
The best fishtail braid hairstyles are the ones you can actually pull off on a regular day, without a stylist or a mirror wall.
Save this list to your hair board so a fresh idea is waiting the next time you reach for an elastic.