
By the third morning, your curls have a story to tell. The side you slept on is flat. The crown has a fuzzy halo. The ends still feel a little crunchy from Sunday’s gel, and one random section has decided to go straight.
Washing again would fix it. It would also take an hour, dry out your ends, and leave you starting the whole cycle over on Thursday.
Most people reach for a ponytail at this point and call it a loss. The better move is a style that works with what day three gives you. Stretched curls braid more neatly. Flat roots disappear under a clip or a scarf. Frizz at the front looks intentional once it is tucked, twisted, or pushed back with a headband.
These quick hairstyles for day 3 curly hair take anywhere between two and ten minutes. Most need a spray bottle, a few pins, or one accessory you already own. A couple are made for the days when you have barely five minutes and a meeting at nine.
Keep a scrunchie on your wrist. You will need it.
1. Loose Pineapple With a Silk Scrunchie
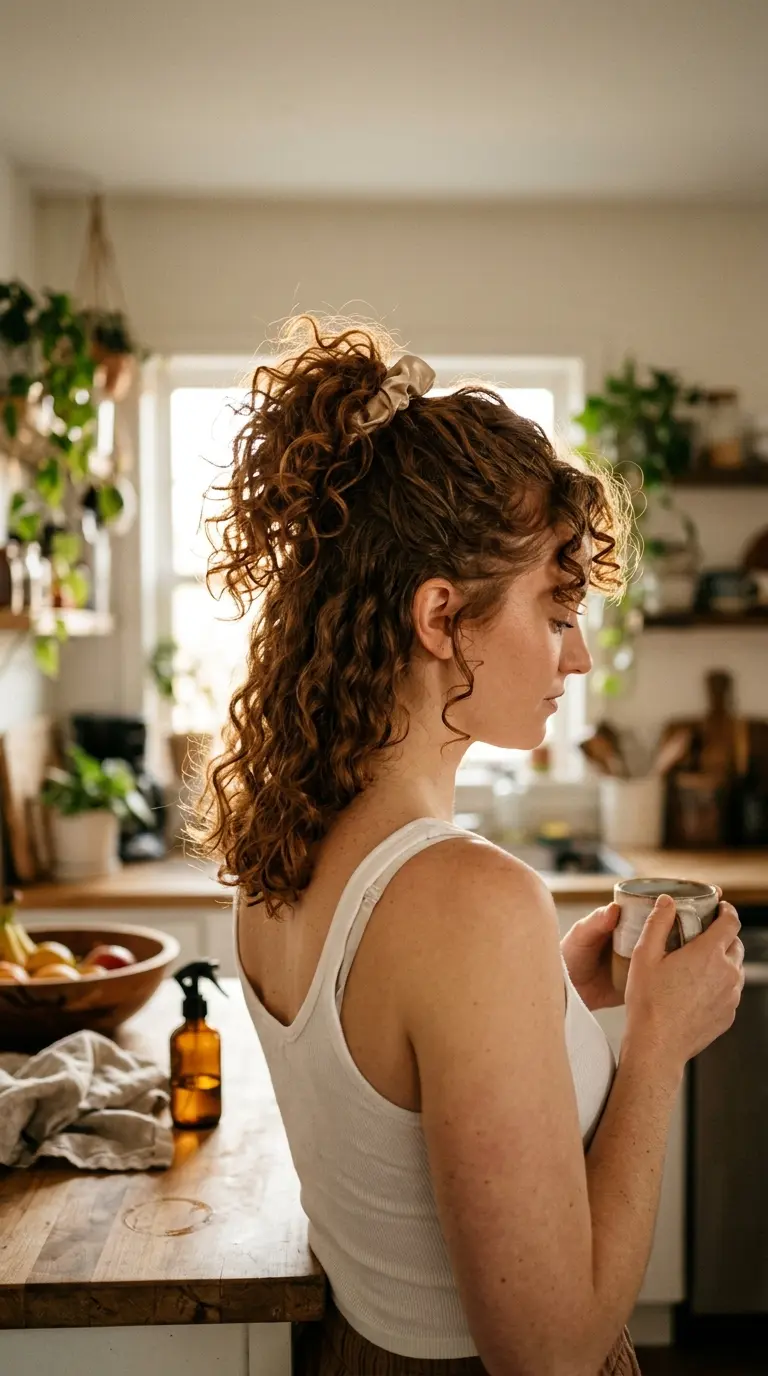
Day three starts the night before. A pineapple protects your curl pattern while you sleep, and the same shape works as a morning style with a tiny tweak.
- Flip your head forward and gather your curls at the very top of your head.
- Loop a silk scrunchie around them once, loosely. Twice is too tight.
- In the morning, mist the curls sticking out of the top and scrunch them gently.
- Pull two or three curls loose at your temples.
The front stays flat on purpose, so the volume up top looks bigger. Keep it loose enough to slide a finger under the scrunchie. That is the difference between a curly crown and a dent you see until Friday.
2. Claw Clip Half Up Over Flat Roots
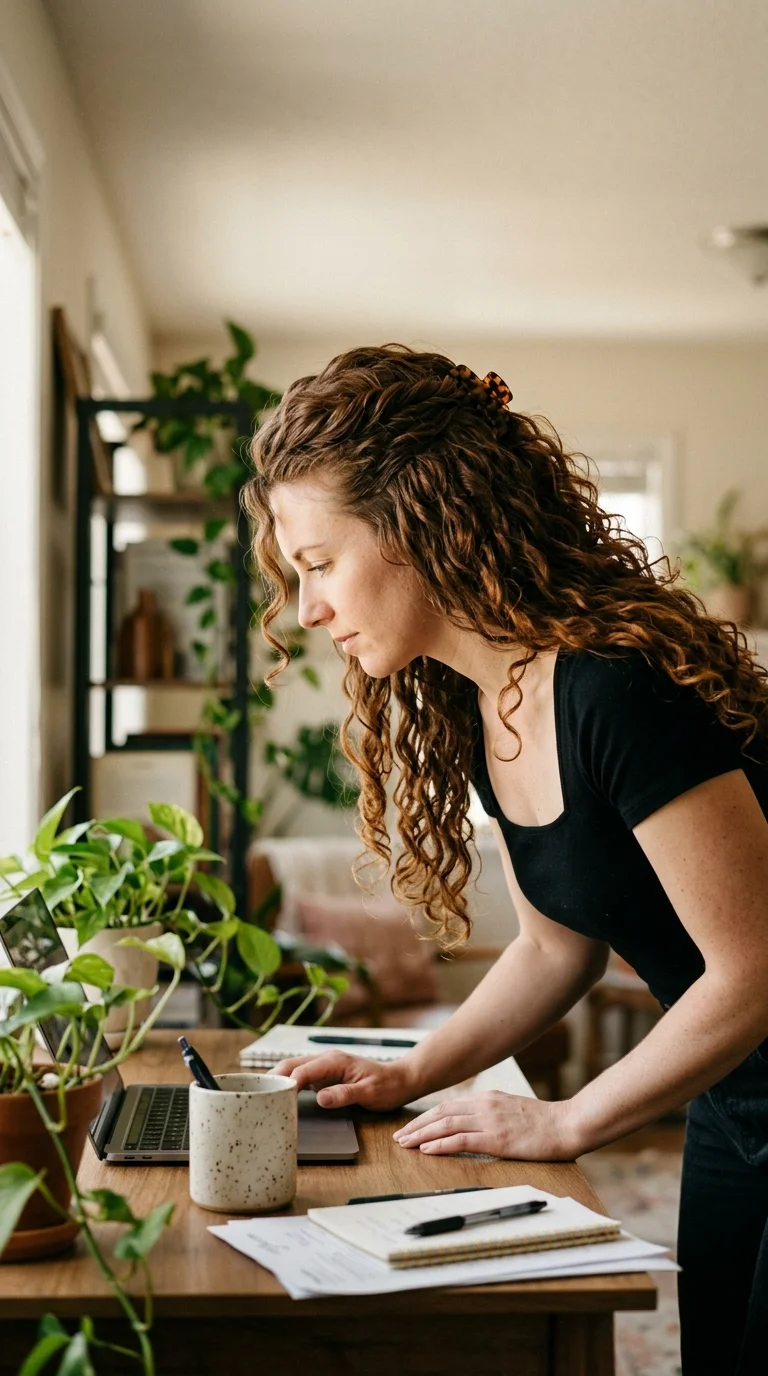
Flat roots are the most common day three complaint. The curls below still look fine, but the top lies limp against your head like a wet cat.
A claw clip half up fixes the lift without touching the lengths.
- Section from the top of each ear up to the crown.
- Twist that section once, then push it slightly forward before clipping. That small push builds height at the roots.
- Clip at the back of the crown with the teeth facing down.
A medium clip holds better than a big one here, because a big clip slides out of curly hair by lunch. Keep the twist loose so the curls inside it stay round.
3. Wide Knotted Headband Over Frizzy Front Curls
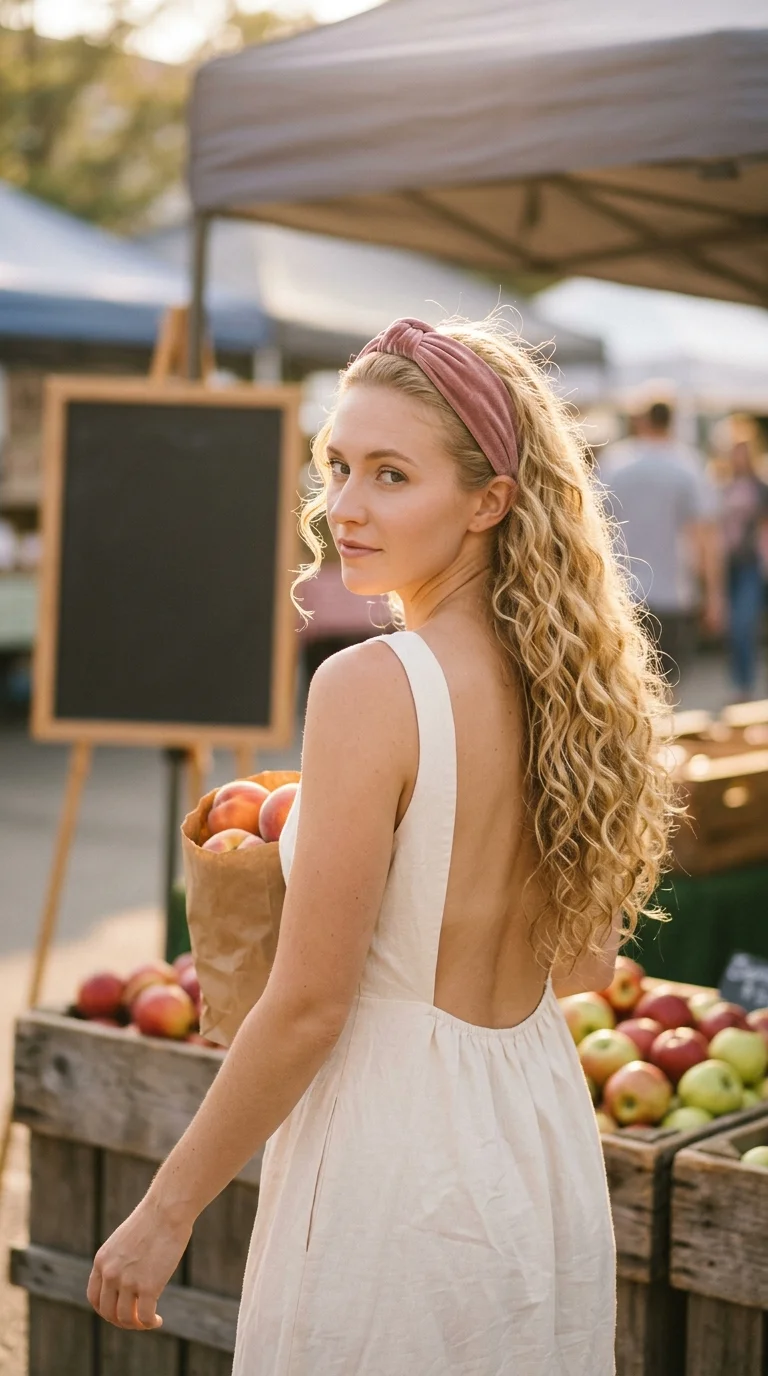
Frizz at the hairline is the loudest part of a day three head. It is the first thing people see, and it never responds to more product.
Cover it instead. A wide knotted headband sits right over the frizziest inch of hair and pushes everything behind it back into shape.
Slide it on from the back of your neck, then push it forward to about two finger widths behind your hairline. Pull out one or two curls at the temples so the front does not look scraped.
Velvet and padded fabric grip curly hair better than plastic bands, which tend to pinch behind the ears after an hour.
Not sure which fix to start with? Match the style to the problem.
4. Silk Scarf Headwrap With Curls Out the Back
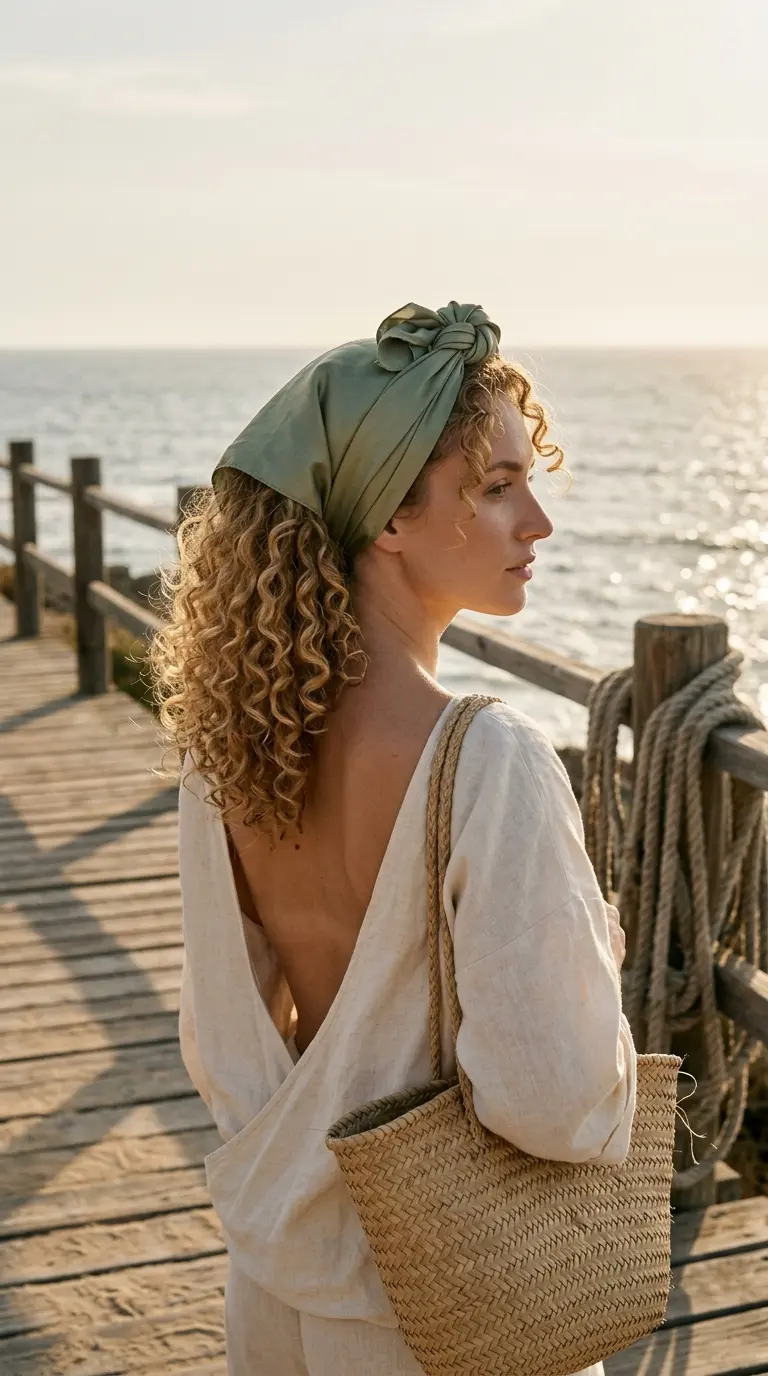
The knot sits right on top, the scarf covers the flat, fuzzy top of your head, and a cloud of curls bursts out the back. It reads as a choice, not a cover up.
Fold a square scarf into a long band about three inches wide. Place the middle at the nape, bring both ends up, and tie a double knot on top of your head. Tuck the tails under the band or leave them standing.
Silk or satin is worth it here. Cotton grabs the curls at the back and roughs them up while you move.
Best for the morning you overslept and have flat roots, frizz, and zero time.
5. Two Dutch Braids for Stretched Curls
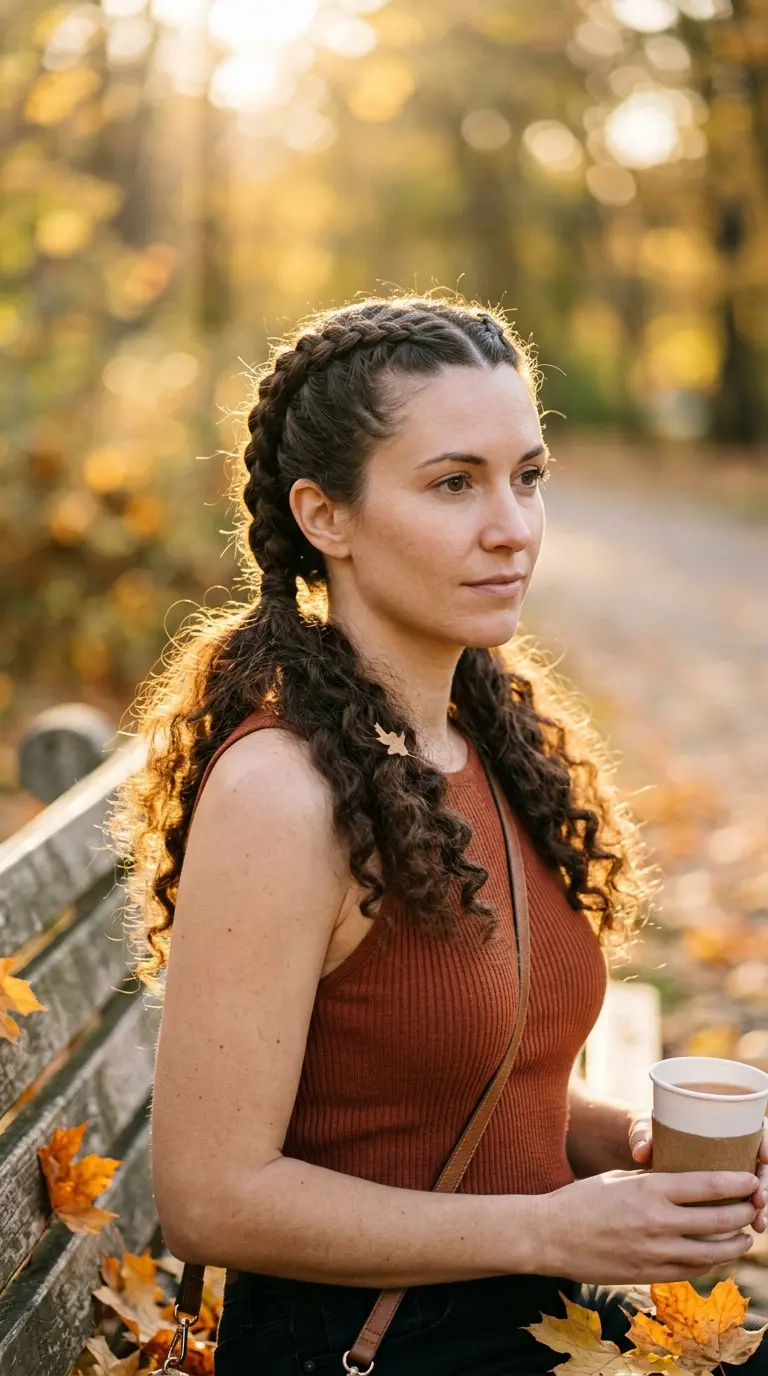
People say curly hair is too frizzy to braid unless it is freshly wet. Day three proves them wrong.
By now your curls have relaxed and stretched a little. That extra length makes cleaner braids than day one curls, which tend to shrink and bunch up between your fingers.
- Mist each half lightly with water and a little leave in.
- Part down the middle and Dutch braid each side, crossing strands under.
- Stop braiding at the nape and tie off with a small elastic, leaving the curly tails loose.
Pancake the braids slightly by pulling the edges outward. A little fuzz along the braid looks soft, not messy.
6. Low Curly Bun With Loose Face Framing Curls

It is 8:40, you are already at the cafe, and your curls feel heavy and flat on one side. A low bun takes about ninety seconds and needs one tie.
Gather your curls at the nape without brushing. Twist them loosely, wrap the twist around itself, and secure it with a spiral tie or two U pins. Leave the bun loose enough to look like curls, not a tight ball.
Then pull out two curls at the front. Pick the ones with the best shape, even if they are not perfectly even on both sides.
Quick tip: twirl each face framing curl around your finger with a drop of water so it springs back.
7. Bandana Tied at the Nape

Here is the rule: the bandana knot goes under your curls, not on top of them.
Fold a cotton bandana into a triangle. Place the long edge at your hairline, pull the two points back under your hair, and knot them at the nape. The third point tucks into the knot.
Tying it under keeps the curls at the back loose and full. Tying it over squashes them and leaves a crease you will see tomorrow.
Leave a few curls out at the front so it looks relaxed. This style holds up well for errands, gardening, and long car rides with the window cracked.
8. Curly Space Buns
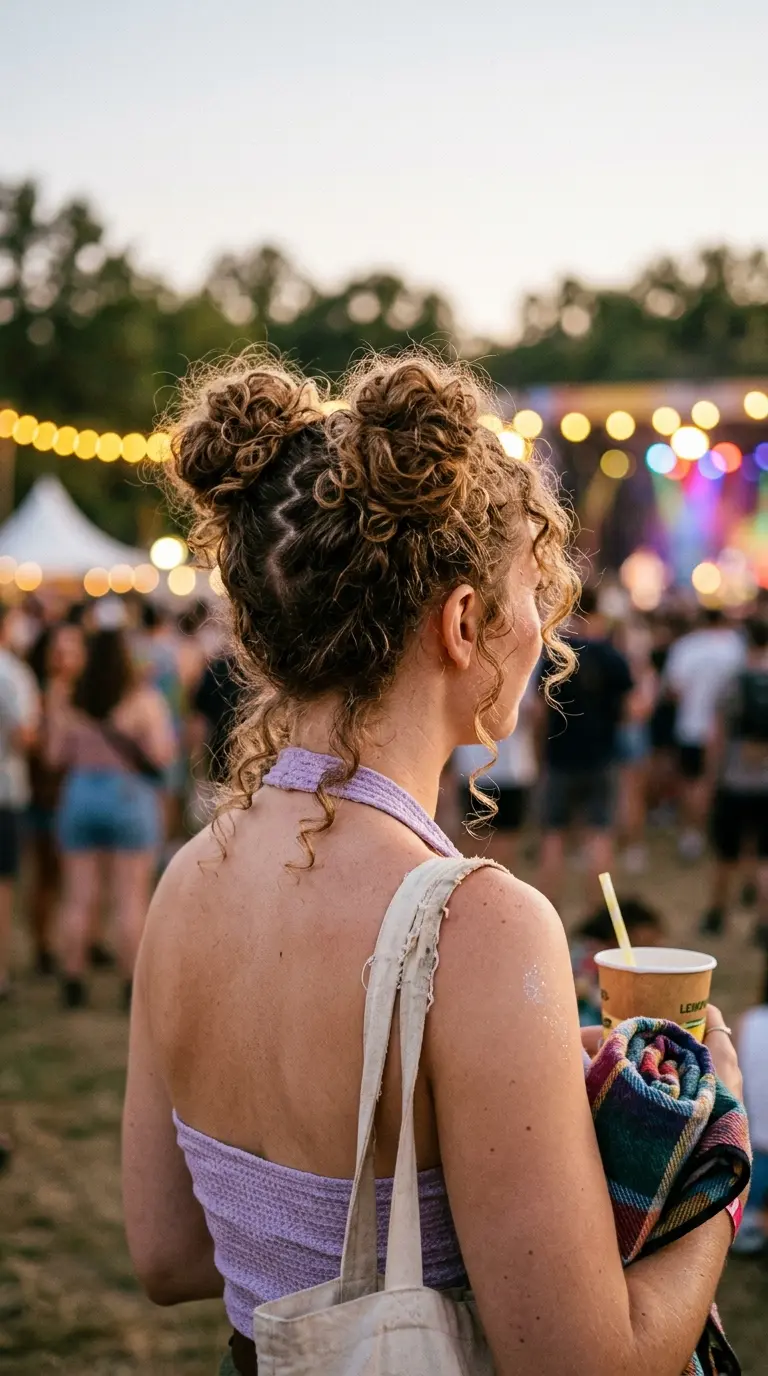
High space buns and low space buns solve different problems.
- High buns sit on the crown and hide flat roots completely. They read as fun and work best for weekends, concerts, and the gym.
- Low buns sit just behind the ears and look calmer. They suit work days and hair that is shoulder length or shorter.
Either way, part down the middle with your fingers, not a comb. Twist each half and wrap it into a loose bun with a spiral tie.
A zigzag part hides a messy scalp line, which is common by day three. Leave the nape curls out if your hair is too short to reach.
9. Twisted Side Sweep With Bobby Pins
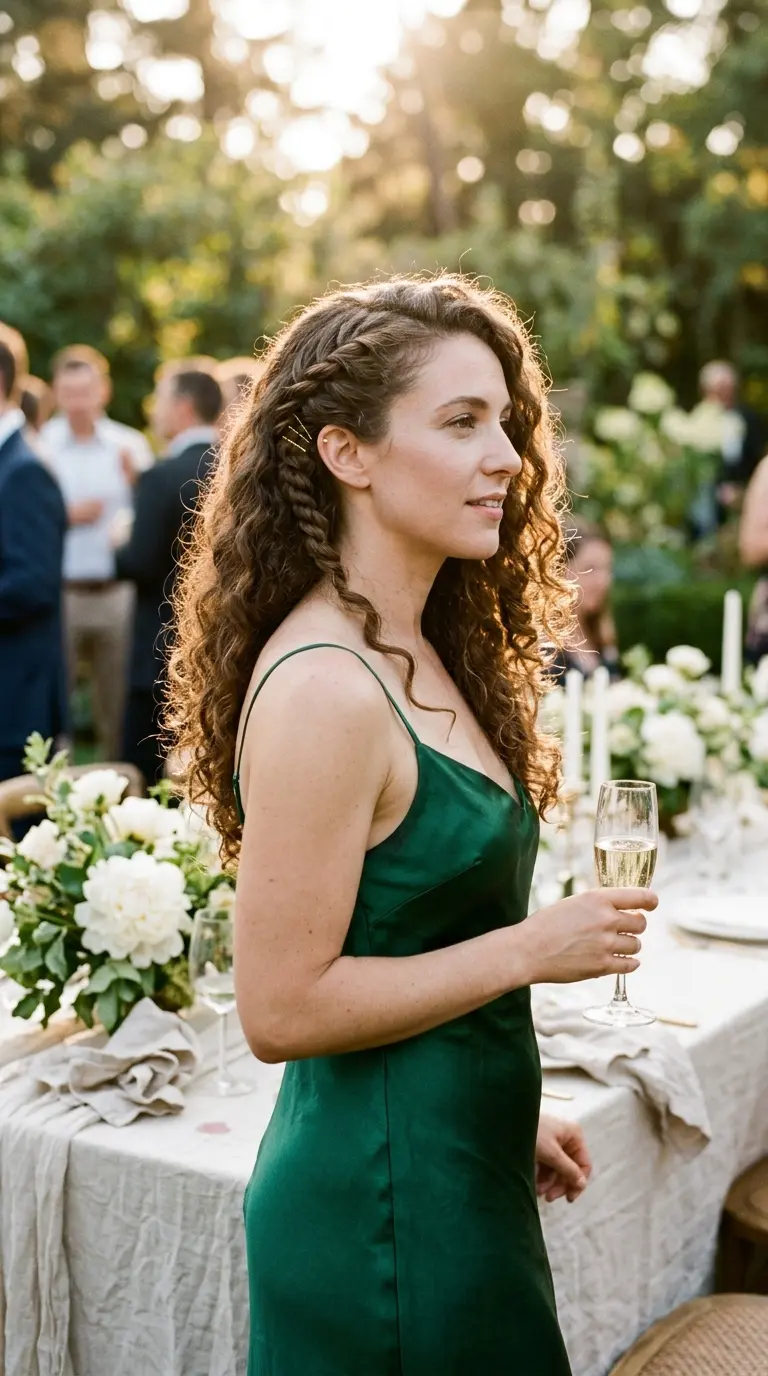
The common mistake is pinning the curls themselves. They slip, the pins show, and the side collapses within an hour.
Pin the twist, not the curls.
- Take a two inch section at one temple.
- Twist it back toward your ear, adding small bits of hair as you go.
- Stop just behind the ear and slide two bobby pins in an X across the twist.
- Push the rest of your curls over the opposite shoulder.
The X keeps the pins locked even when you turn your head. Gold pins blend into blonde and light brown hair, while black works for darker shades.
Refreshing the curls before any style matters more than people think. Here is what helps on day three and what tends to backfire.
Mist with water and a little leave in, then scrunch upward.
Rework single frizzy curls around your finger.
Diffuse the roots for a minute or two to lift them.
Soaking the whole head, which restarts drying time.
Brushing dry curls, which turns them into a puff.
Piling on heavy gel over old product.
10. Half Up Top Knot
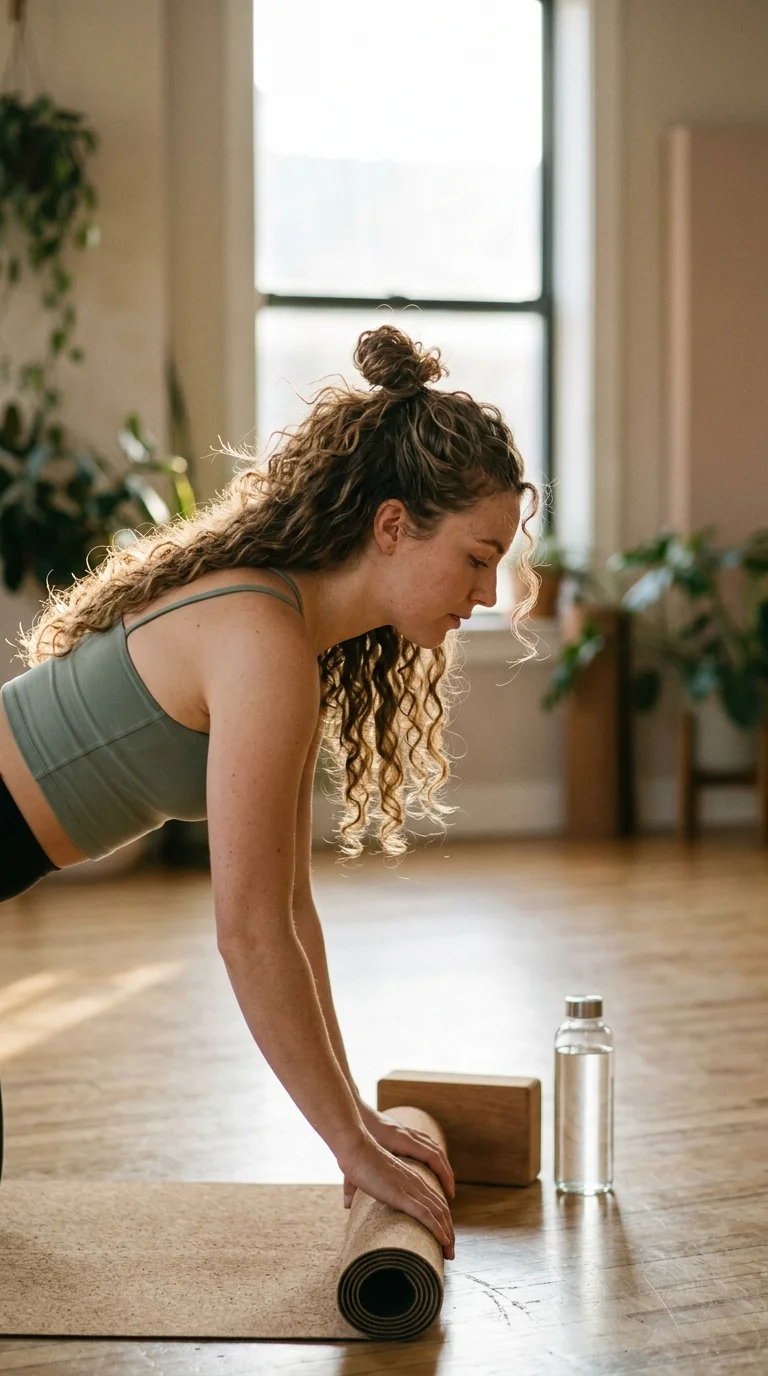
I have noticed that the top section of curly hair gets the most friction overnight. The lengths often look fine on day three. It is the top that goes fuzzy.
So put the top away. Gather only the hair from your temples up to the crown, twist it, and wrap it into a small knot. A spiral tie or one scrunchie holds it.
The knot gets messier as the day goes on, and that is fine. It still looks like a choice.
Keep the knot small, about the size of a golf ball. A big one pulls too much hair from the lengths and leaves them looking thin underneath.
11. Bubble Ponytail With Spiral Ties
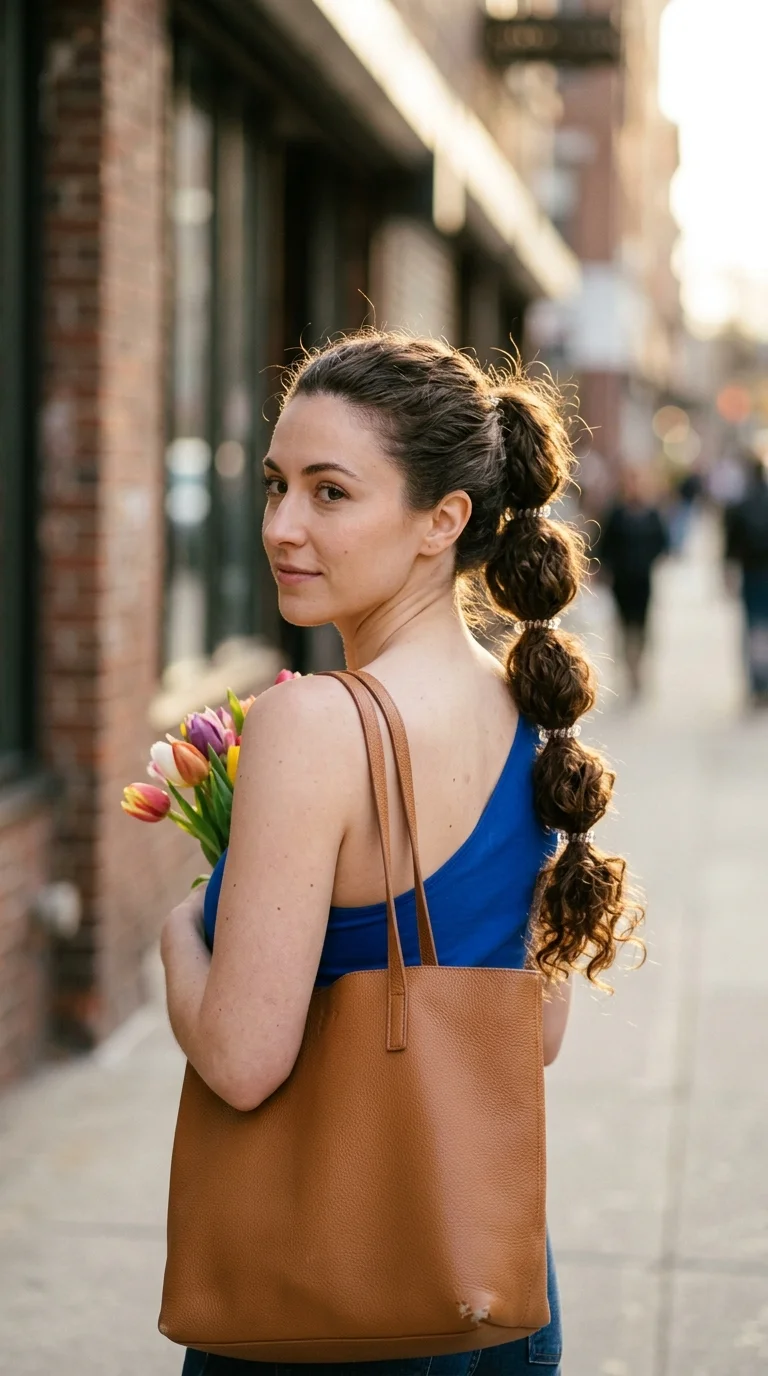
A plain curly ponytail can look tired on day three. Bubbles give the lengths shape again.
Make the ponytail first, at mid height, with a spiral tie. Add another tie every three or four inches down the length. After each one, gently pull the hair between the ties outward with your fingertips until it puffs into a round bubble.
Spiral ties are kind to curls. Regular elastics leave a sharp kink, which matters if you plan to wear your hair down tomorrow.
The bubbles hide uneven curls well. A section that went straight overnight blends right in.
12. Low Ponytail Wrapped With a Curl

The elastic is the problem with most low ponytails. It shows, and on day three the hair around it looks fuzzy.
Wrapping the base hides both issues.
- Make a low ponytail and leave out one curl about a finger wide.
- Wrap that curl around the elastic two or three times.
- Pin the end underneath with one bobby pin pointed up into the base.
Choose a curl from the underside of the ponytail. The top layer has usually taken the most frizz overnight, while the curls underneath still have their shape.
It looks polished enough for a work presentation and takes under three minutes.
13. Flat Twisted Front Into a Curly Puff
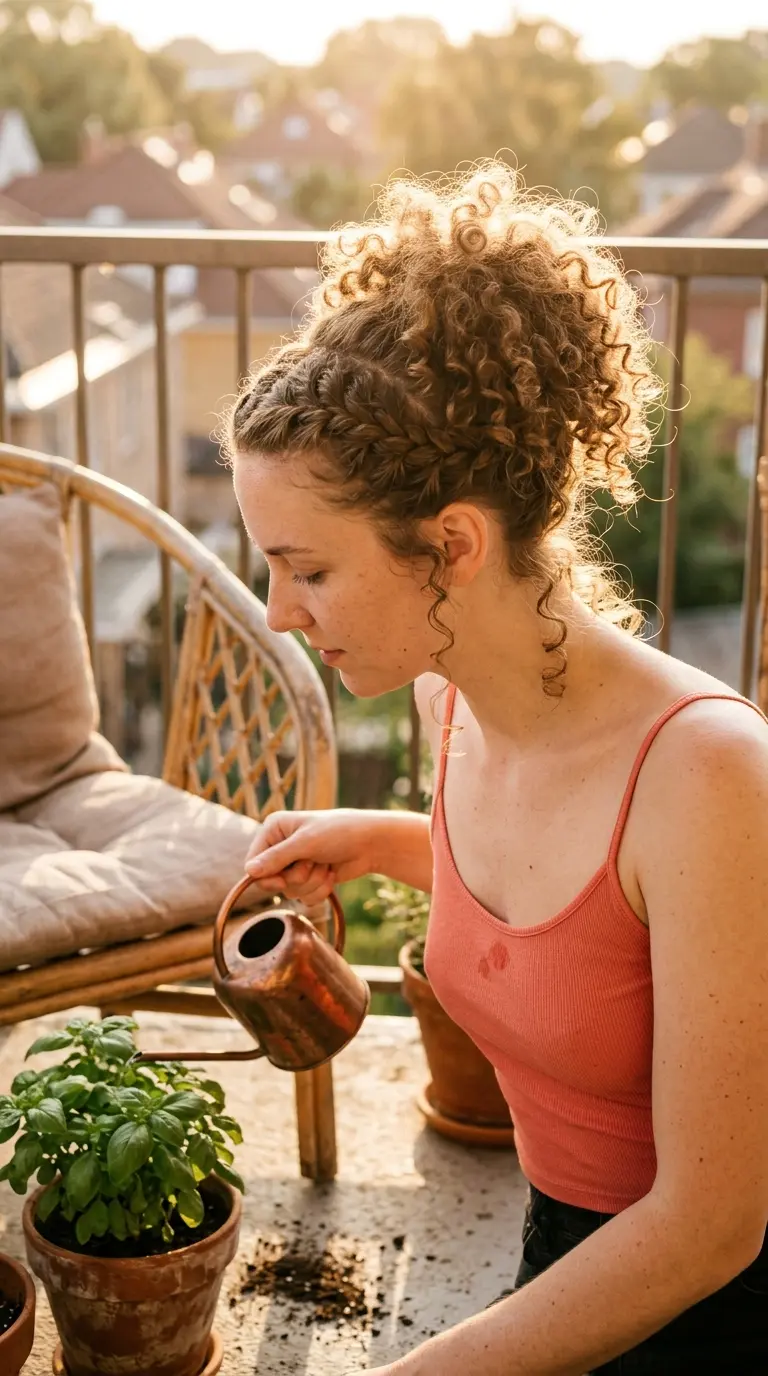
Two flat twists at the hairline give you a clean, neat front in five minutes while the back stays big and curly.
- Split the front into two sections from your part.
- Flat twist each one back against your scalp, picking up small pieces of hair as you go.
- Bring both twists to the crown and gather them with the curls behind into a puff.
- Hold the puff with a scrunchie and fluff the curls around it.
A little gel on your fingertips while twisting smooths the front without wetting the whole head.
It works best on curls that are shoulder length, where a full updo feels like too much.
14. Deep Side Part Flip With a Jeweled Barrette
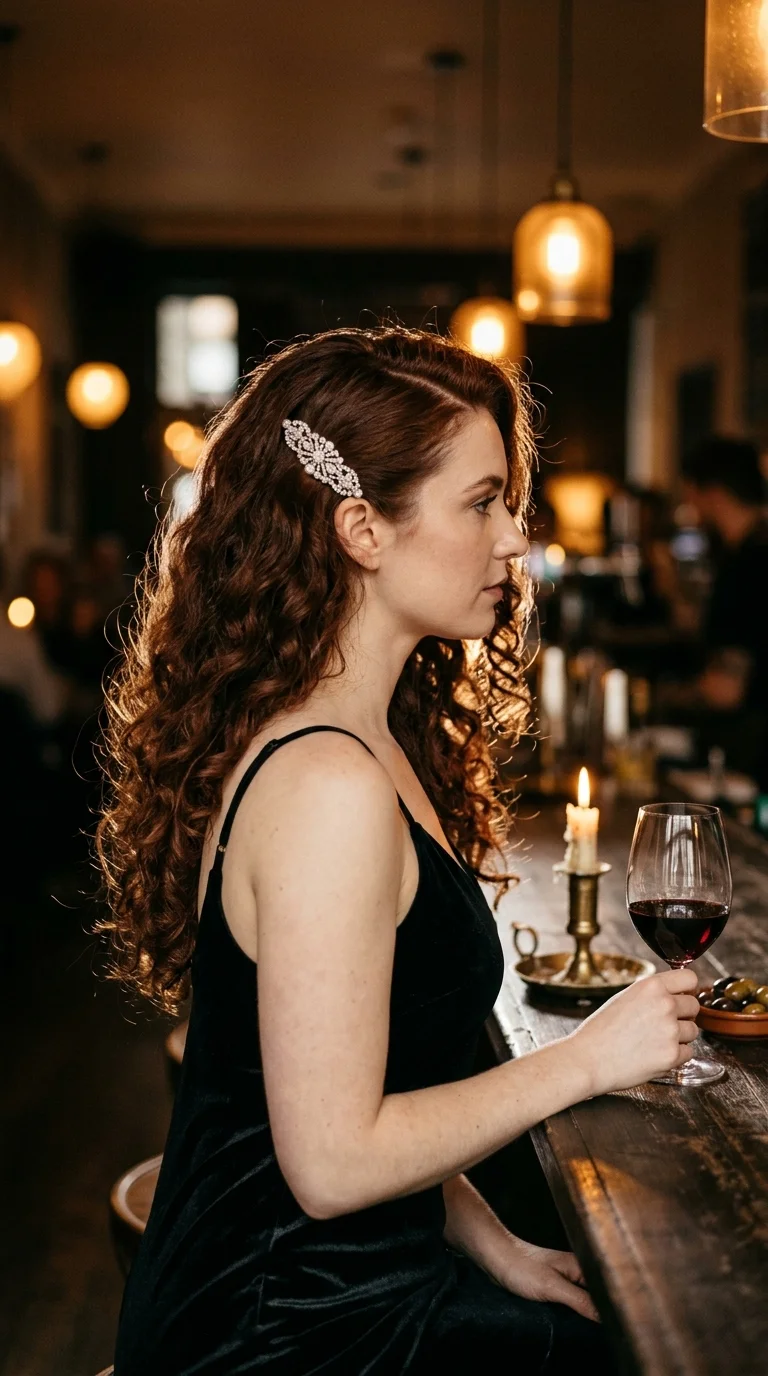
The barrette catches the light first, then the volume on the other side. All of it comes from one flip.
Sleeping on one side usually leaves those curls flatter. Flip your part over to the flat side, so the fuller curls end up on top. The flat side becomes the smooth side, where a barrette sits just above the ear.
Mist the roots near the new part and scrunch them for a few seconds. A diffuser on low for one minute makes the lift last longer.
Pick a barrette with a strong spring clasp. Thin snap clips slide right out of curly hair.
15. Halo Braid Crown for Fuzzy Day Three Lengths
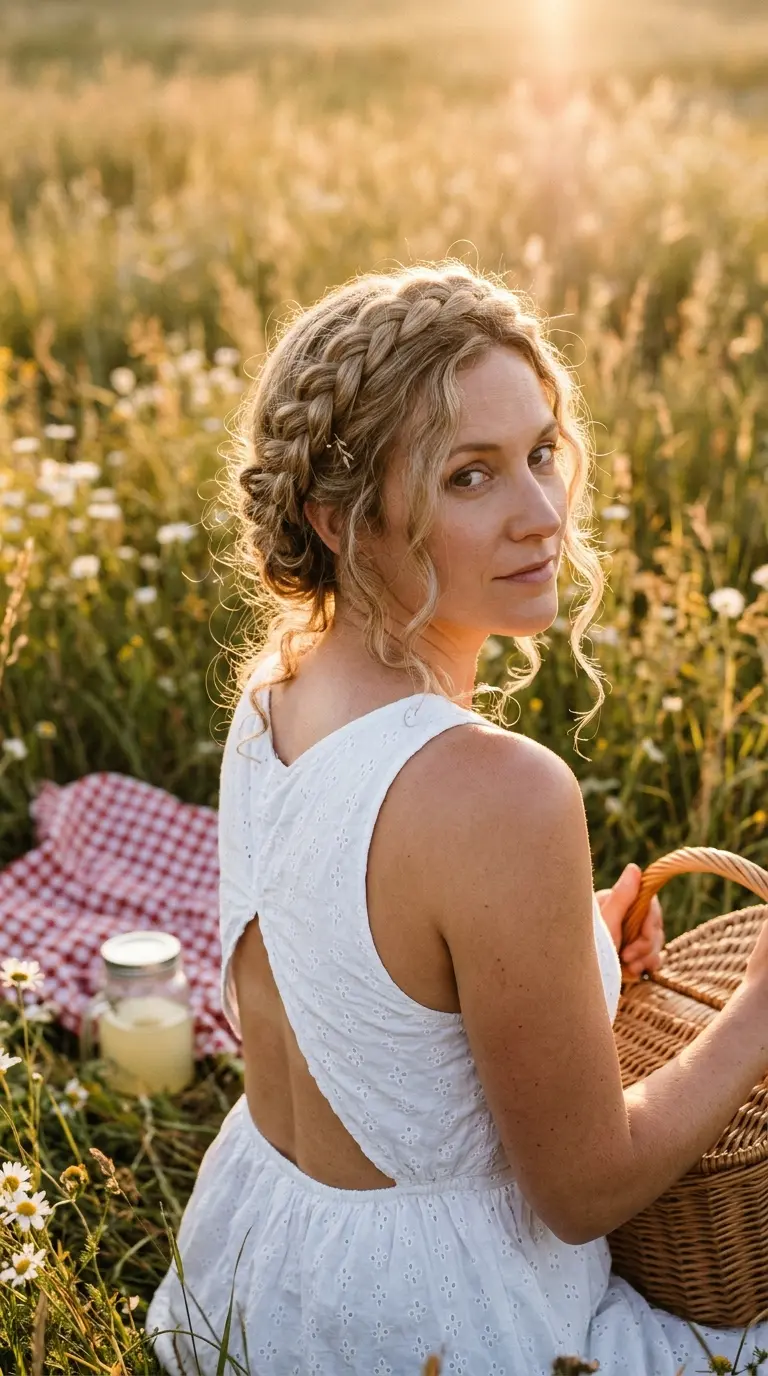
Sunday picnic, day three hair, and the ends are fuzzy and tangling in the breeze. A halo braid puts every inch of that length to work.
Split your curls into two halves. Braid each one loosely to the end, then lift one braid over the top of your head like a headband and pin it behind the opposite ear. Wrap the second braid around the back and pin it under the first.
This style needs hair past the shoulders. Shorter curls work better in the Dutch braids from earlier.
Small U pins hold it better than bobby pins, about six in total.
Day three lengths are knotted at the ends, fuzzy along the outside, and flatter on the side you slept on.
The frizz is braided in, the ends are tucked, and the crown looks planned. Unbraid at night for soft waves on day four.
16. Curly French Twist With a Hair Stick
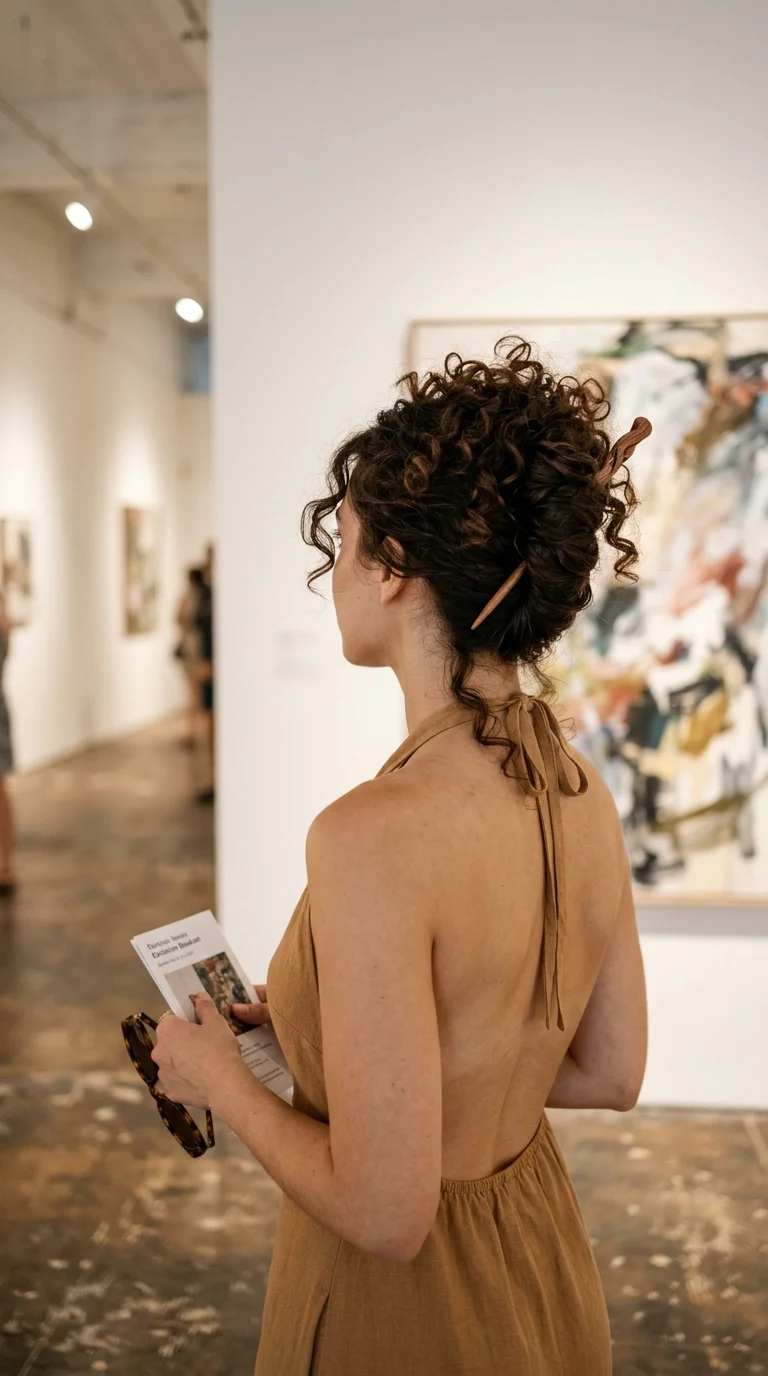
Most people think a French twist needs smooth, straight hair. Curly hair actually holds it better, because the texture grips the stick.
- Gather your curls at the nape as if making a low ponytail.
- Twist the hair upward and fold it flat against the back of your head.
- Slide the hair stick down through the twist, scoop some scalp side hair, then push it straight up.
Let the curly ends spill over the top. They hide any frizz along the roll.
A smooth wooden stick grips better than metal. It also looks good with both jeans and a dress, which helps when your day changes plans.
17. Elastic Headband Tuck and Roll

The usual mistake is tucking too much hair in at once. The roll gets lumpy and the headband pops off by noon.
Slip a thin elastic headband over your curls so it sits across your hairline. Then work in small pieces.
- Take a two inch section at one temple.
- Tuck it up and over the band at the back.
- Repeat around your head, leaving the nape for last.
- Loosen the roll with your fingers so curls show along the edge.
Curls that are chin to shoulder length roll best. Very long hair makes the roll too heavy.
Your Curls Already Did the Hard Part
Day three is not a bad hair day. It is a different hair day. The stretch, the softer pattern, and even the flat roots can all be used if you pick the right shape.
Start with the two or three styles that fix your most common problem. For flat roots, that might be the claw clip and the top knot. For frizz, the scarf and the headband. Once your hands know them, they take less time than a full wash and dry.
Keep a spray bottle, a silk scrunchie, and a few U pins near your mirror. Those three things cover most quick hairstyles for day 3 curly hair on this list.
Save this list to your curly hair board, so the next time you wake up to flat roots and fuzz, you have a style ready before the coffee is done.