
Type 3C curls get lumped in with every other curl type, and that is where most of the frustration starts. Advice written for loose waves tells you to scrunch and go. Advice written for 4C hair tells you to stretch everything. Your coils sit right in the middle. They are tight as a pencil, full of volume, and they shrink a lot the second they dry.
That shrinkage is not a flaw. It just means your styles need a plan for it.
Coils this tight look best when they are grouped, set while soaking wet, and left alone while they dry. Fluffing too early, brushing dry, or skipping product on the ends is what turns clear definition into a cloud.
These 3C curly hairstyles are built around how your hair actually behaves. Some are wash day sets, a few are cuts to ask your stylist for, and the rest are quick shapes for day two, three, and four. Each one comes with a small tip that keeps the coils springy and the frizz low.
1. Shingled Wash and Go That Shows Every 3C Coil

A wash and go is the base for almost everything else on this list, so it is worth getting right.
The secret is working in small sections while your hair is dripping wet. Coils this tight clump best before any water evaporates.
- Split damp hair into four sections and clip three away.
- Smooth leave in conditioner through the first section, then a gel on top.
- Rake it through with your fingers, then press small groups of coils between two fingers so they hold together.
- Repeat on each section, then let it dry without touching it.
Quick tip: Keep a spray bottle close. If a section starts drying before you reach it, mist it until it drips again.
2. High Pineapple Puff With Coils Spilling Forward

Day three hair usually has flat spots on one side and a crushed crown from the pillow. A pineapple puff hides all of it.
Flip your head forward and gather every coil at the very front of the crown, right above your forehead. Loop a satin scrunchie or a stretchy fabric band around it once, loosely. The coils fall forward over the band and cover the base.
The loose wrap is the whole point. A tight elastic leaves a dent and pulls at the hairline.
Shake it gently at the roots and fluff only the back. Pull two or three short coils down at the temples so the front looks soft, not scraped.
3. Round Layered Cut Shaped Dry, Coil by Coil

Tight coils shrink a lot, so a cut done on wet, stretched hair can come out much shorter than you asked for.
That is why the rule for 3C hair is simple. Cut it dry.
A dry cut lets the stylist see where each coil actually lands. They trim curl by curl and build a rounded shape that is fullest around the cheekbones, with shorter layers on top so the crown does not sit flat.
What to ask for:
- A dry cut on your curls in their natural pattern
- Round layers, not a triangle shape
- Enough length at the sides to cover your ears
Book it after a wash and go day, with no ponytail dents.
4. Two Strand Twist Out for Fat, Stretched Coils

A twist out is the easiest way to show more of your length without heat.
Two strand twists on damp hair pull each coil into a slightly longer, chunkier spiral. When you unravel them, the hair looks fuller and hangs lower than a wash and go.
- Twist damp hair in 12 to 20 medium sections with a curl cream.
- Let them dry fully, overnight or under a hooded dryer.
- Coat your fingertips with a drop of oil and unravel each twist starting at the end.
- Split each twist once, then stop.
Separating too much is the fastest way to frizz. Fewer, chunkier coils hold their shape longer.
Tight, springy coils with lots of shrinkage. Hair that reaches your chest when stretched may sit at your shoulders.
Wider, heavier spirals that hang closer to your full length, with more volume at the ends and a pattern that keeps well under a satin bonnet.
5. Half Up Coily Top Knot

Coils off your face, volume left in the back. That is the trade a half up knot gives you, and it works on almost any length past the chin.
Grab the hair above your temples and on the crown, then twist it into a small knot on top. Pin it with two bobby pins in an X. No elastic needed.
The rest of the coils stay loose and fall around your shoulders.
Small details matter here:
- Leave one coil out at each temple
- Keep the knot a little messy so it matches the texture below
- Smooth the front with a soft brush and a dab of gel
Good for studio days, errands, and anything hands on.
6. Curly Curtain Bangs Cut on Dry Coils

Bangs on tight curls sound risky. Most of the horror stories come from bangs cut wet and straight across.
Curly curtain bangs are cut dry, a little longer than you think you want, and parted in the middle. They sit around your brows when shrunk and stretch toward your cheekbones on humid days.
Daily care is short. Wet them, add a pea size bit of gel, and press each coil into place. Let them dry before you touch them.
Watch out: sleeping on them flat. Pin the bangs up and back with a satin scrunchie at night, or they will dry with a dent across the front.
7. Bantu Knot Out for Springy, Shiny Spirals

Bantu knot outs give tight, almost corkscrew spirals with a glossy finish. They look the most polished of any set on this list.
On damp hair, part off 10 to 14 square sections. Twist each one, then wrap it around its own base until it coils into a small knot. Tuck the end under.
Let them dry completely. This step is not optional, because damp knots unravel into frizz.
To take them down:
- Oil your fingers first
- Unwind each knot in the direction it was wrapped
- Leave most spirals whole and split only the biggest ones
Wear them as is on the first day. On day two, pull them into a low puff.
8. Finger Coils for Maximum Definition
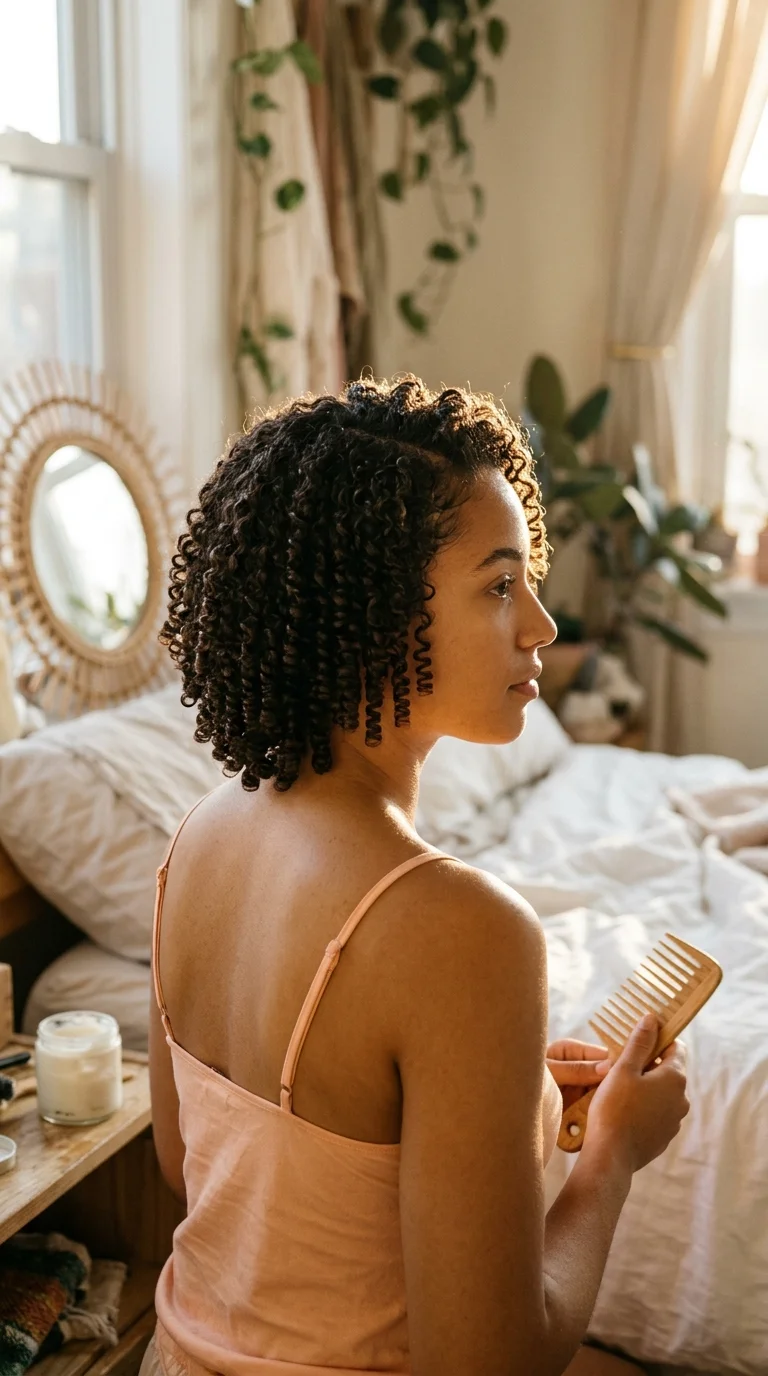
Finger coils take time. Plan on a slow evening with a show on, not a rushed morning.
Each coil is wrapped around one finger with a little gel, so the result is a head full of separate, shiny spirals that look almost set with rods. On 3C hair they usually hold their pattern longer than a wash and go, since every curl gets its own attention.
- Start soaking wet at the nape.
- Take a section about as wide as a pencil.
- Add gel, wrap it around your index finger, and slide it off.
Short hair goes quickly. Long hair can take hours, so a hooded dryer at the end saves your night.
9. Satin Scarf Headband With Coils Out Back
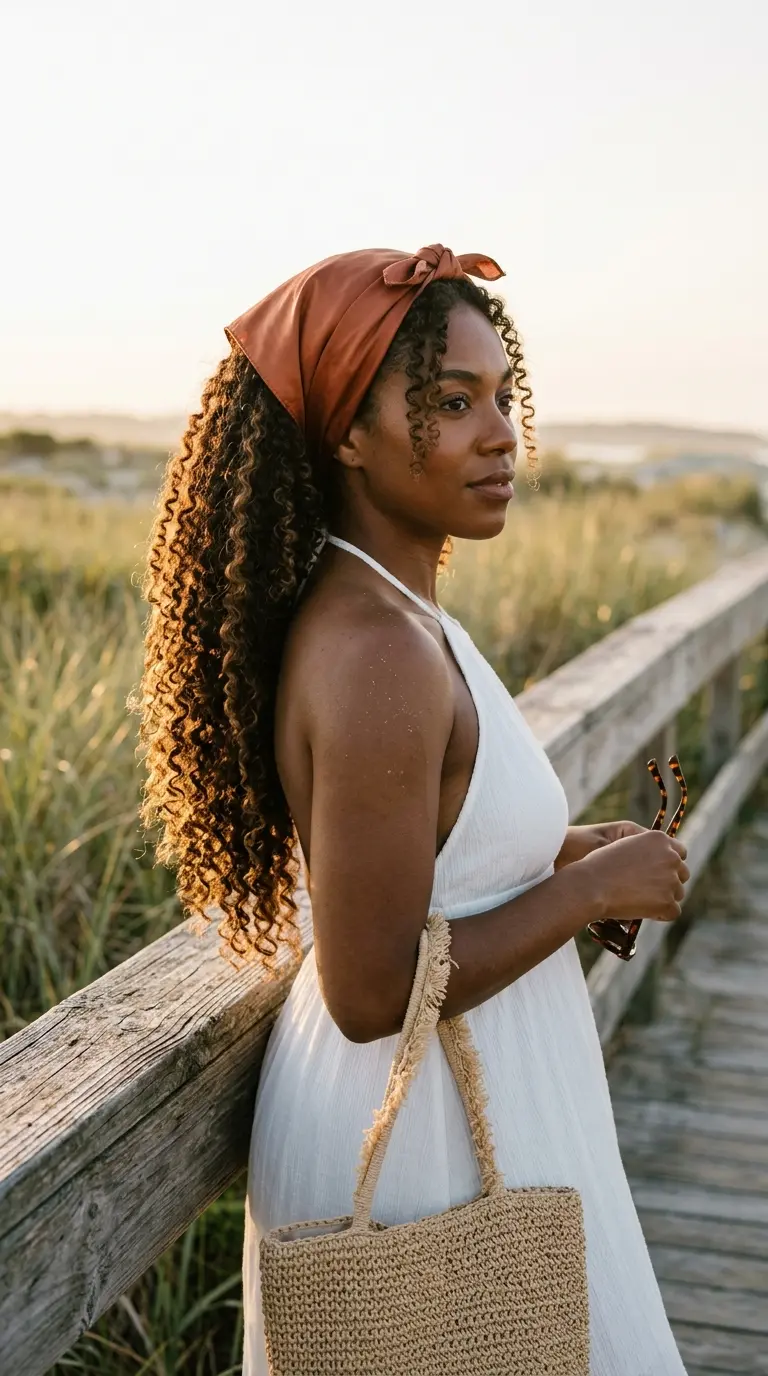
Beach days and coils with no product left in them call for a scarf.
Fold a large square silk or satin scarf into a band about three fingers wide. Lay it at your hairline, wrap the ends behind your ears, and tie it on top with the tails hanging loose.
The scarf hides a fuzzy front and a dry hairline. Everything behind it stays out and full.
Quick tip: Slide the knot slightly off center. It looks more relaxed, and it won’t press into your scalp when you lie back on a towel.
Pick a scarf color that picks up the warm tones in your coils, like rust, mustard, or deep green.
10. Twin Dutch Braids Ending in Curly Puffs

Loose coils catch on backpack straps and tangle in the wind. Two Dutch braids keep everything grouped all day.
Braid them on stretched hair, like a twist out, so the braids look smooth and the sections stay even. Stop braiding about a hand’s length above the ends and tie them off with small soft bands. The ends puff into two curly tails.
How they stack up against a puff on an active day:
- Braids: snug, little frizz at the crown, usually last two or three days
- Puff: faster, but loosens with sweat and wind
Undo them at night for a wavy braid out the next morning.
11. Double Puffs Set High on the Crown

The usual mistake with double puffs is parting too low. They end up sitting near the ears and look heavy.
Part straight down the middle with the tail of a rat tail comb. Then brush each side up toward the top of the head and secure it just behind the hairline, about where a headband would sit.
Stretchy fabric ties work better than rubber elastics here. They hold the weight without snapping coils at the base.
Fluff the puffs with your fingertips after they are tied, not before. A light mist of water brings back definition on any coils that went flat.
12. Low Coily Bun With Soft Swooped Edges

Office days and interviews often call for something neat. A low bun keeps the coils together without stretching them flat.
Brush the hair back with a damp boar bristle brush and a firm gel, then gather it at the nape. Twist the ponytail loosely and wrap it around its base. Pin it with large U pins instead of a tight band.
The edges are where this one gets its polish. Run a small amount of edge gel along the hairline and sweep it into one or two soft swoops with a toothbrush. Tie a satin scarf over it for ten minutes while the gel sets.
Leave the coils inside the bun alone. They stay defined for tomorrow.
13. Deep Side Part With Gold Cuffed Twists
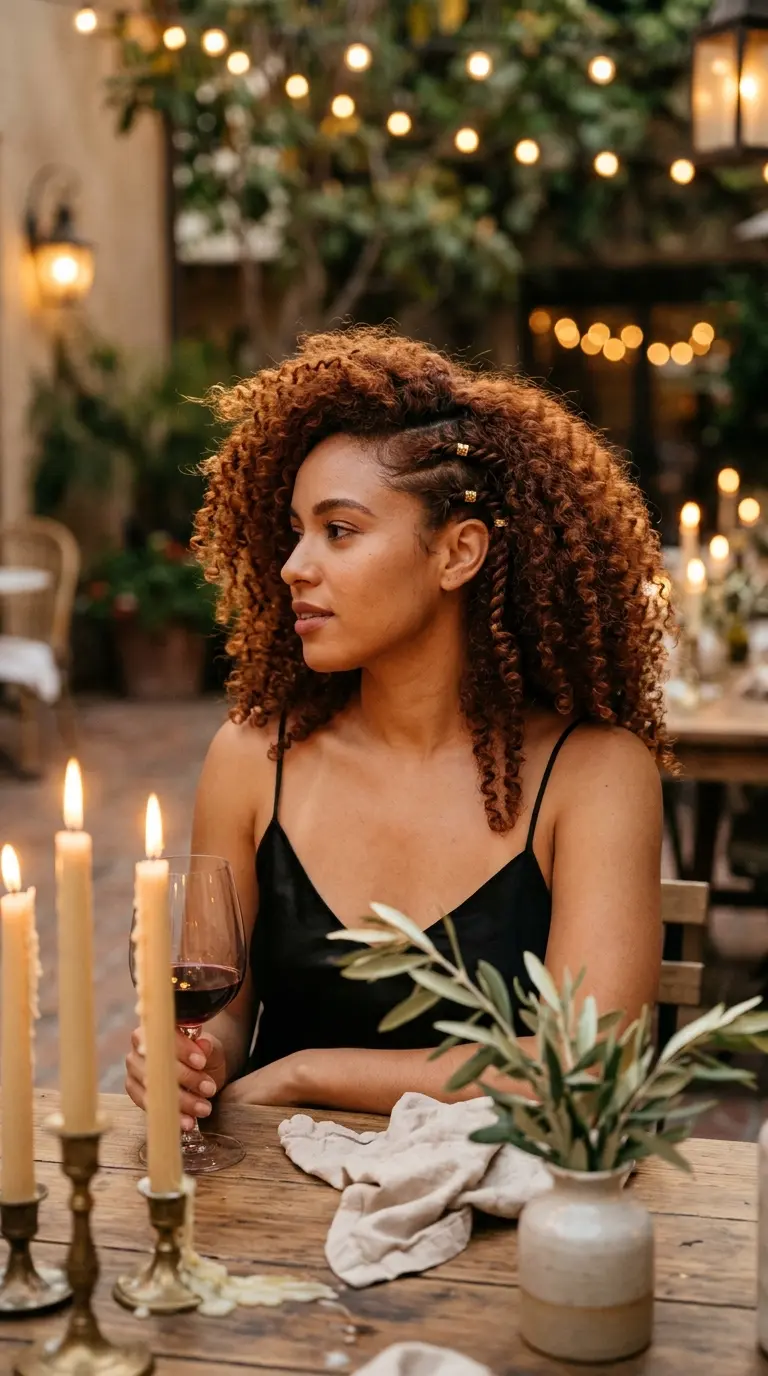
A deep side part changes the whole shape of 3C hair. One side gets tons of volume, and the other sits closer to the head.
To make the quieter side look planned, twist two or three thin sections above the ear and slide small gold cuffs onto them.
How to set it:
- Part your hair deep on the side while it is wet, using the arch of your brow as a guide.
- Style the coils as usual and let them dry with the part in place.
- Twist the small side sections once dry and add the cuffs.
The part holds better when you set it wet. Moving a part on dry coils leaves a frizzy line.
14. Curly Tapered Cut With Long Coils on Top

Short 3C hair shows off coil pattern better than almost any length, because nothing is weighing it down.
A tapered cut keeps the sides and nape close and leaves two or three inches of length on top. The coils stack up and look full while the neckline stays clean.
Who this suits:
- Anyone tired of long wash days
- People with lots of shrinkage who want the shape to stay the same wet or dry
- Anyone growing out heat damage
Keep in mind that the taper needs a cleanup every four to six weeks. Past that, the sides start to puff out and the shape turns round.
15. Flat Twisted Front Into a Loose Coily Back

Two or three flat twists across the front give the look of cornrows with half the effort.
Part off a section near the front hairline, about two inches deep. Split it into three rows that run straight back toward the crown.
- Take two strands at the start of a row.
- Twist them over each other flat against the scalp, picking up a bit of hair with each turn.
- Stop at the crown and secure with a small band hidden under the loose coils.
The flat twists keep the front neat for days. Behind them, the rest of your hair stays loose, full, and coily.
16. Long Curly Shag With Face Framing Coils

Long 3C hair often ends up heavy at the bottom and flat at the roots. A shag fixes that by taking weight out where it collects.
The cut uses short layers through the crown and longer layers toward the ends. Coils near the face are cut shortest, so they spring up and frame the cheekbones.
Bring photos to this appointment, since shag means different things to different stylists. Pick ones that show tight curls, not waves.
After the cut, go lighter on gel. Short layers dry faster and can turn crunchy if you use the same amount you used on one length hair.
17. Pinned Coily Updo for Weddings and Events
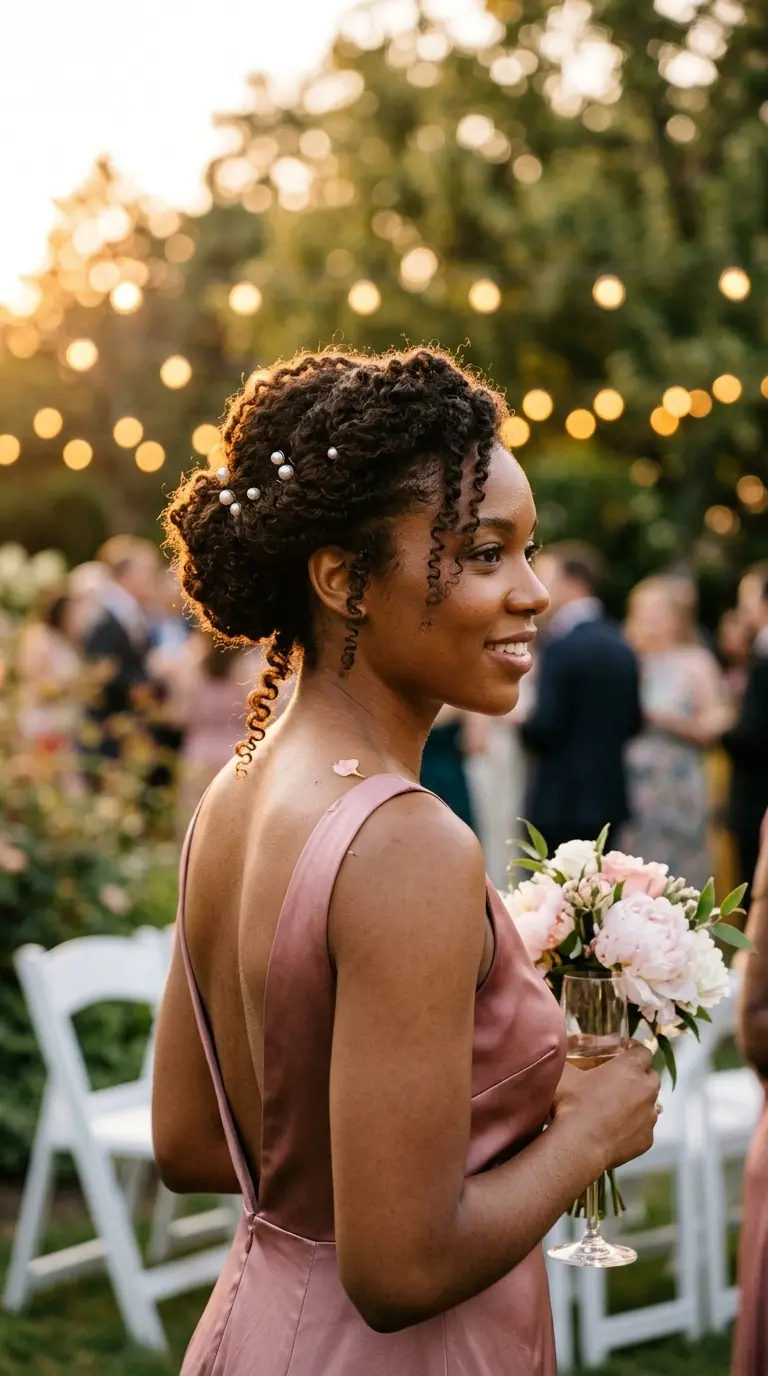
Sleek updos can look stiff on 3C coils. A loose, pinned updo shows off the texture instead of fighting it.
Start with a defined set, like a twist out or bantu knot out, done two days before so the hair has settled.
- Gather the hair at the crown in a loose ponytail with a soft band
- Pin sections of coils around the base with U pins, one at a time
- Let a few coils fall at the nape and temples
- Slide in pearl pins along one side
Pack extra U pins in your bag. Dancing loosens a few coils by the end of the night, and that usually looks even better.
18. Claw Clip Coil Twist for Second Day Hair

Day four is when a claw clip does the heavy lifting. One rule makes it hold on thick coils: buy a clip bigger than you think you need.
Small clips snap or slide down on 3C hair, because there is so much volume to hold.
- Gather the coils at the nape.
- Twist the length upward once, flat against the back of your head.
- Fold the ends over the top and close the clip across the twist.
Let the ends spill out above the clip. They hide the teeth and make the twist look full. Pull a few coils loose at the front, mist with water, and you’re out the door.
Your Coils, Your Rotation
Tight coils reward a little planning. Set them wet, group them early, and leave them alone while they dry. Most of the frizz people blame on 3C hair comes from touching it too soon.
Pick three or four styles from this list and build a simple week out of them. A wash and go or twist out on wash day, puffs or a scarf in the middle, and a bun or claw clip near the end. That rotation keeps the coils protected without a full restyle every morning.
The best 3C curly hairstyles are the ones that work with your shrinkage, not against it.
Save this list to your curly hair board so your next wash day starts with a plan.