
Wash day is done. The curls are clean, soft, and already starting to shrink, and you have maybe two days before they knot up again unless you put them into something.
Two strand twists are the answer a lot of parents land on. You only need two pieces of hair, your fingers, and a little cream. No fancy braiding pattern, no tight pull at the scalp, and no special tools beyond a comb and a spray bottle.
These two strand twist hairstyles for kids start with the basic twist and build from there. You will find chunky sets for toddlers, tiny twists that last for weeks, buns and updos for girls, twist frohawks for boys, and a twist out for the day after. Each one comes with the hair length it needs, how long it takes, and a tip that keeps it gentle on a tender head.
Set out a wide tooth comb, a rat tail comb, a spray bottle of water, a leave in conditioner, and a twisting cream or butter. Then pick a show and let your child pick a snack.
1. Classic Two Strand Twists With Square Parts

Every other style on this list starts here, so it is worth getting the basic twist right.
- Start with clean, damp hair and a leave in conditioner worked through each section.
- Part a small square with the tail of a rat tail comb, about the size of a postage stamp.
- Split it into two equal pieces and smooth a little twisting cream down each one.
- Cross the right piece over the left, then the left over the right, all the way to the ends.
Twist every section in the same direction. Mixed directions make the twists unravel faster and look uneven.
Quick tip: coil the very end around your finger once you finish each twist. That little curl at the tip keeps it from coming loose.
2. Chunky Twists for Toddlers Who Want to Get Down
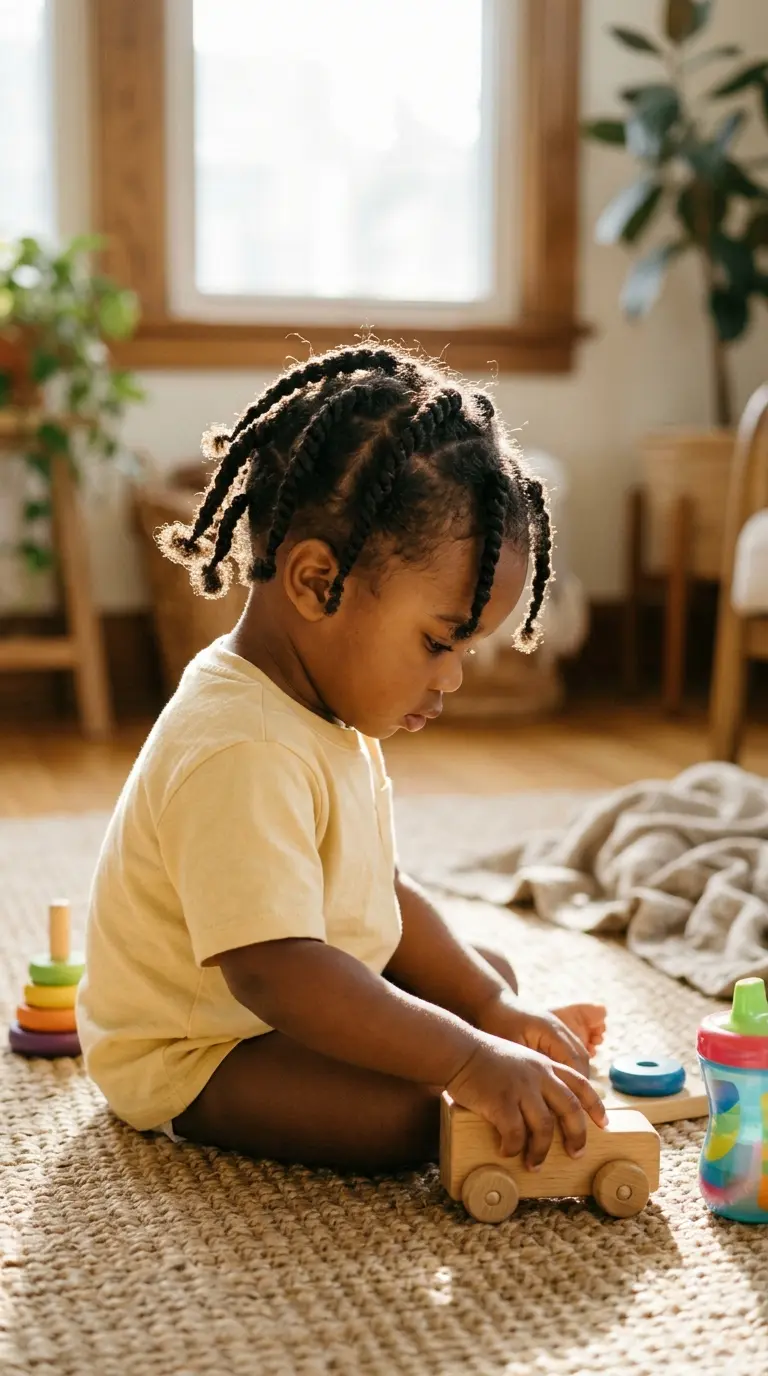
A toddler gives you about one episode of a cartoon. Chunky twists fit inside that window.
Make the sections big, about the width of two fingers, and aim for eight to twelve twists across the whole head. Fewer sections means fewer parts, less handling of a soft scalp, and a lot less wiggling.
Go easy at the hairline. Toddler edges are fine and stress quickly, so leave the front twists a little loose at the root.
They will get fuzzy after a few nights of rolling across the crib. That fuzz is part of the look.
3. Mini Twists That Last for Weeks
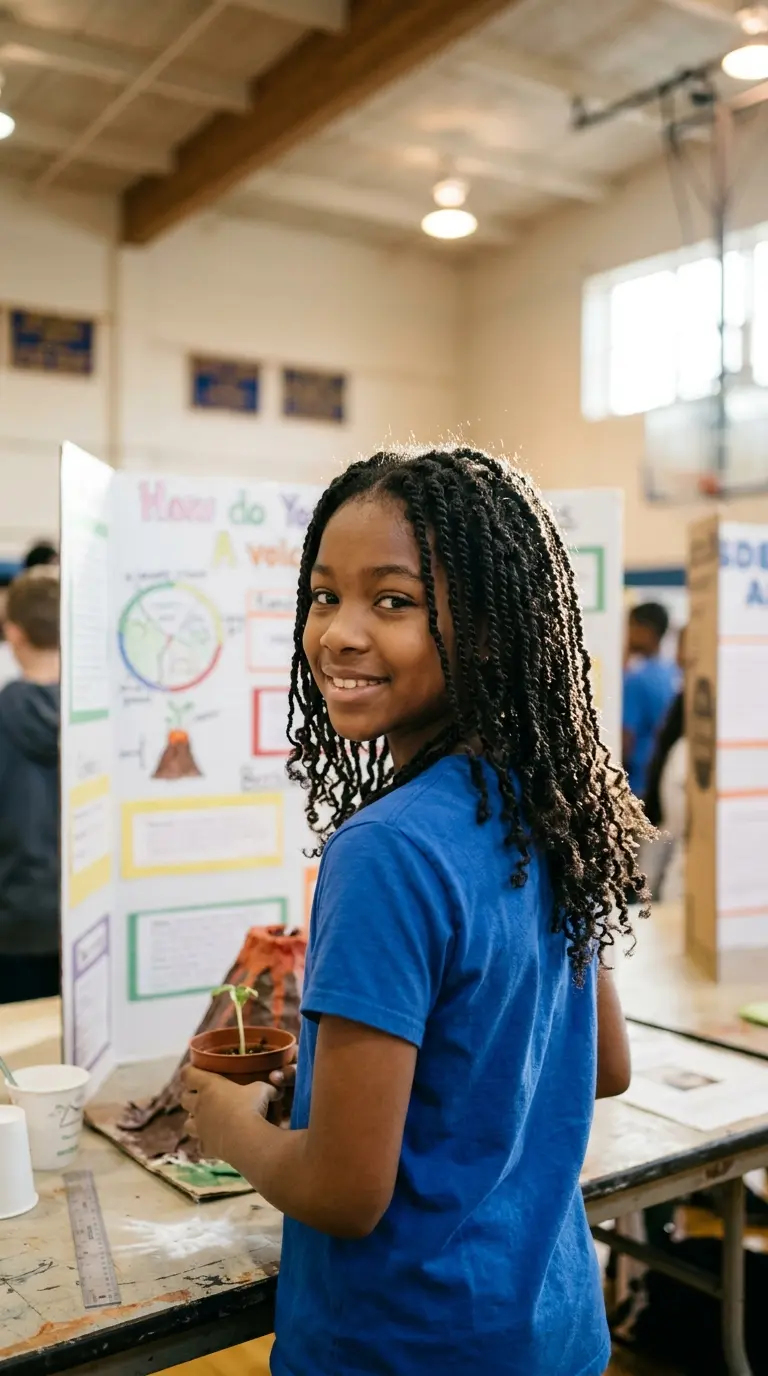
Mini twists take the longest to put in and the longest to wear out.
The sections are tiny, about the width of a pencil or smaller. Plan on a full afternoon, or split it across two days. In return, a careful set can stay neat for two to four weeks, which means four Saturdays with no styling at all.
This one suits older kids who can sit still and who want hair that moves like braids without the extra hair or the weight.
Good to know: do not leave mini twists in for more than about four weeks. New growth at the roots can start to lock and tangle, and take down gets much harder.
4. Two Strand Twist Out for Soft, Defined Curls
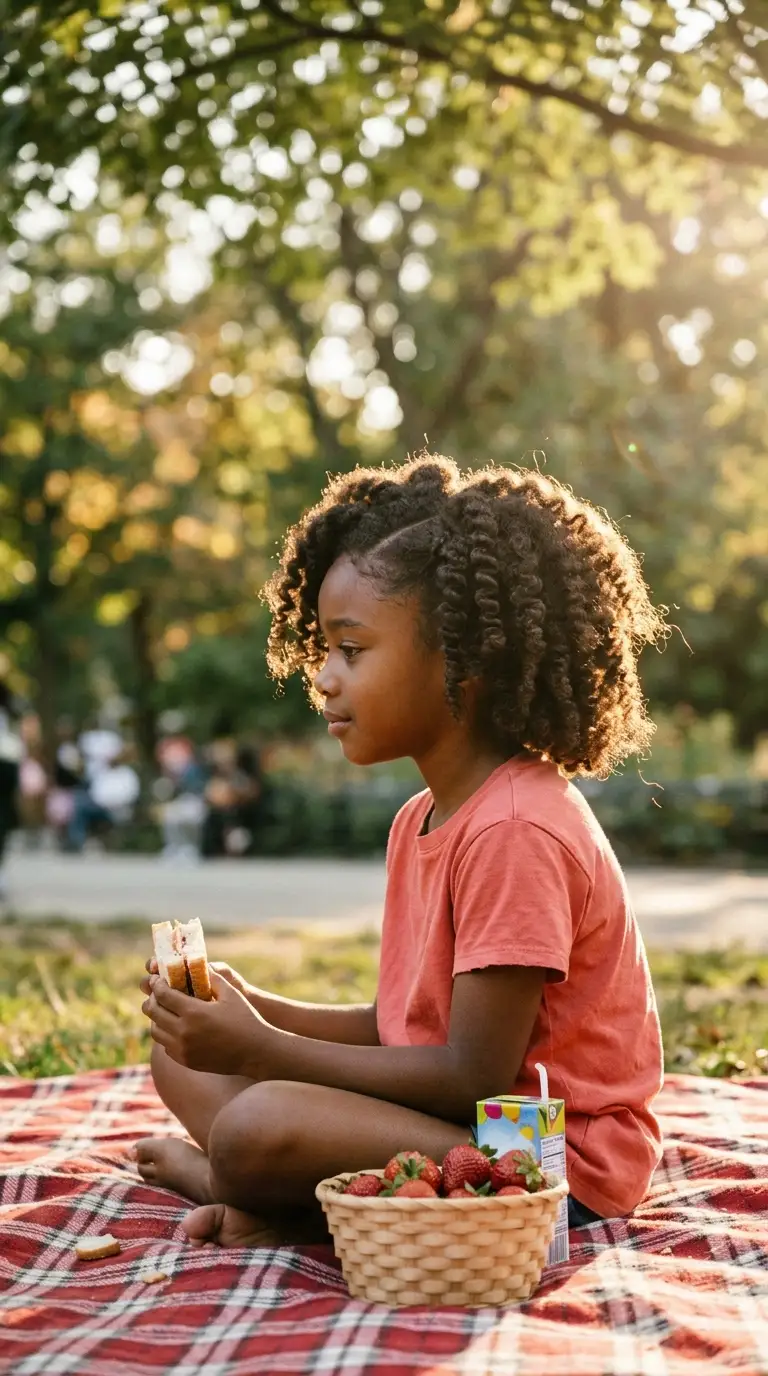
Old twists are not the end of the road. They are a week of curls waiting to happen.
When the twists start looking tired, or the night before a party, make sure they are fully dry. Rub a drop of oil between your fingers and unravel each twist from the end up toward the root, gently splitting it into two or three pieces. Fluff the roots with your fingertips, not a comb.
Wet hair pulled apart too soon turns to frizz, so be patient about drying.
Quick tip: fresh twists set on damp hair overnight give the crispest curls. Twists that are a week old give a softer, fuller look.
5. Flat Twists in Front With Loose Twists in Back

Flat twists are the twist version of a cornrow. They lie against the scalp, so the front stays out of her face all week.
Part four to six rows from the front hairline back to the crown. For each row, start with two small pieces at the front and twist them over each other, adding a little hair to each piece as you move back. At the crown, stop adding hair and finish the rest as a regular hanging twist.
The front stays flat and neat. The back still swings.
Twist on stretched or damp hair so each piece is smooth from root to tip.
Keep the front row a little looser than the rest of the head.
Ask how it feels after each section, not only at the end.
Piling on heavy gel or butter that leaves white flakes in the parts.
Twisting so tight that small bumps show up along the hairline.
Ripping out knots with a fine tooth comb on take down day.
6. Twists Gathered Into a High Bun
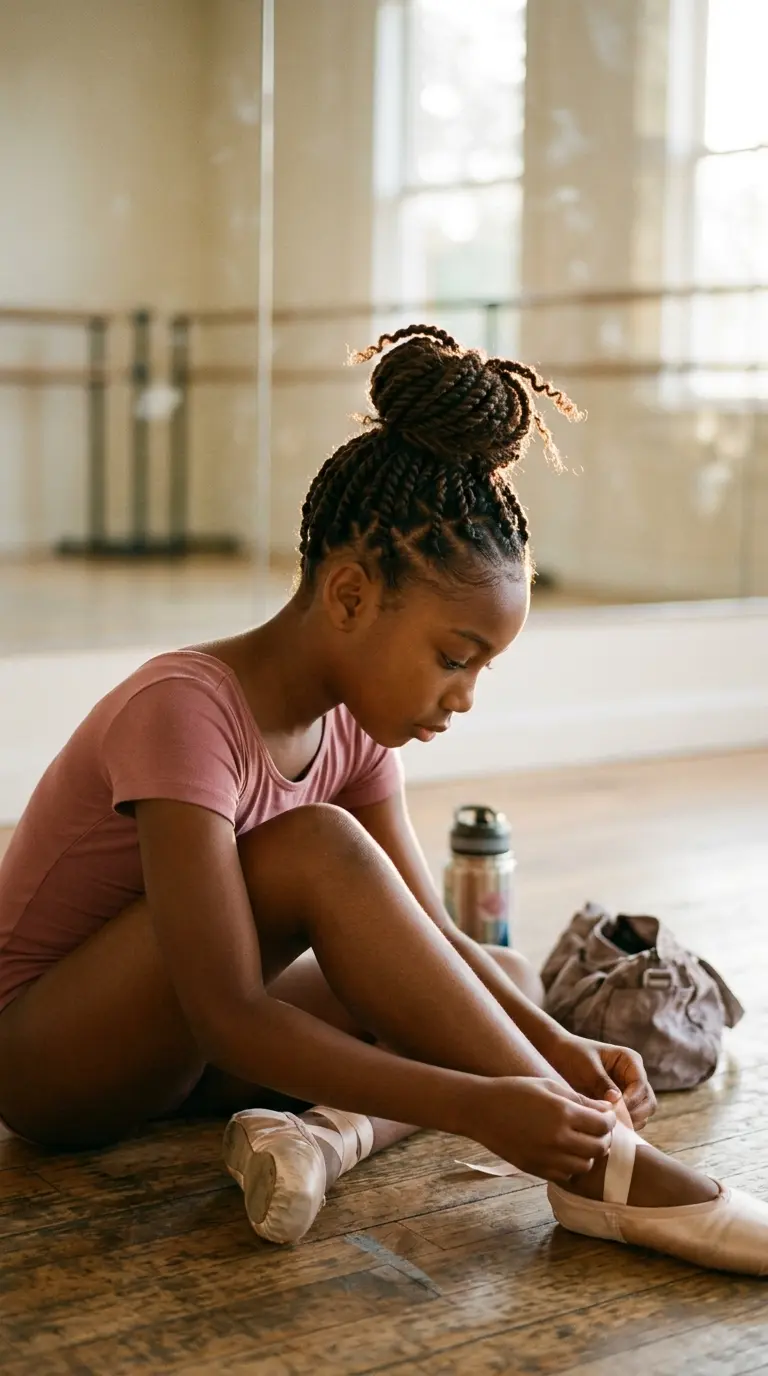
Once the twists are in, you can change the whole look in five minutes.
Gather all the twists toward the crown with your hands and hold them with a soft scrunchie or a fabric ponytail holder. Wrap the loose length around the base, and tuck the tips under with two or three bobby pins.
It lifts the hair off her neck for dance class, gym, and hot days. Pull it down after school and the twists are still there.
Watch out: set the bun a little lower than the very top of the head. A high, heavy bun pulls on the front edges.
7. Half Up Twisted Top Knot
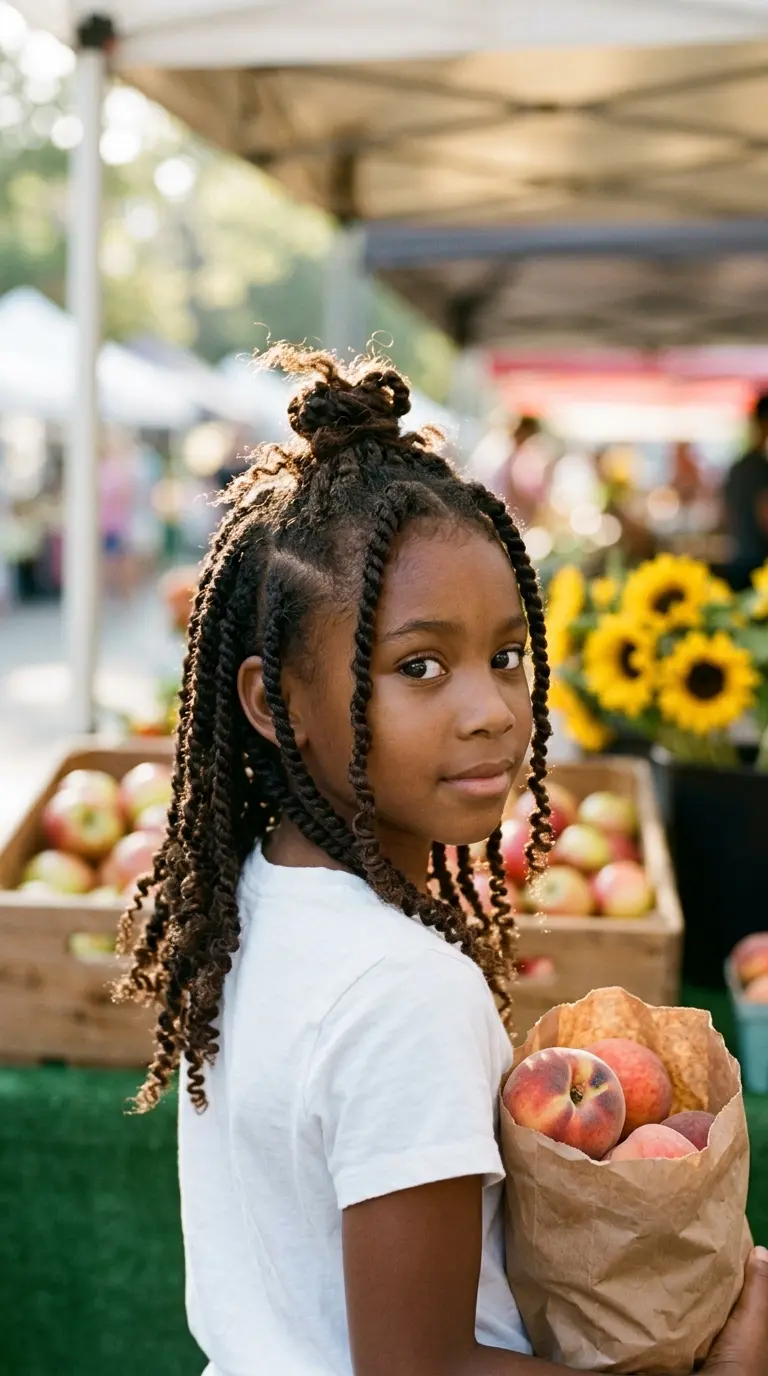
Half up keeps her face clear and still shows off the length.
Draw an imaginary line from ear to ear over the top of the head. Gather every twist above that line and twist the bundle around itself into a small knot. Pin it flat, and let the rest of the twists hang.
If her twists are short, skip the knot and tie the top half into a little puff instead.
This one is a good way to wear twists on day ten, when the front starts to look a bit fuzzy. The knot hides most of it.
8. Side Part Twists Pinned Behind One Ear
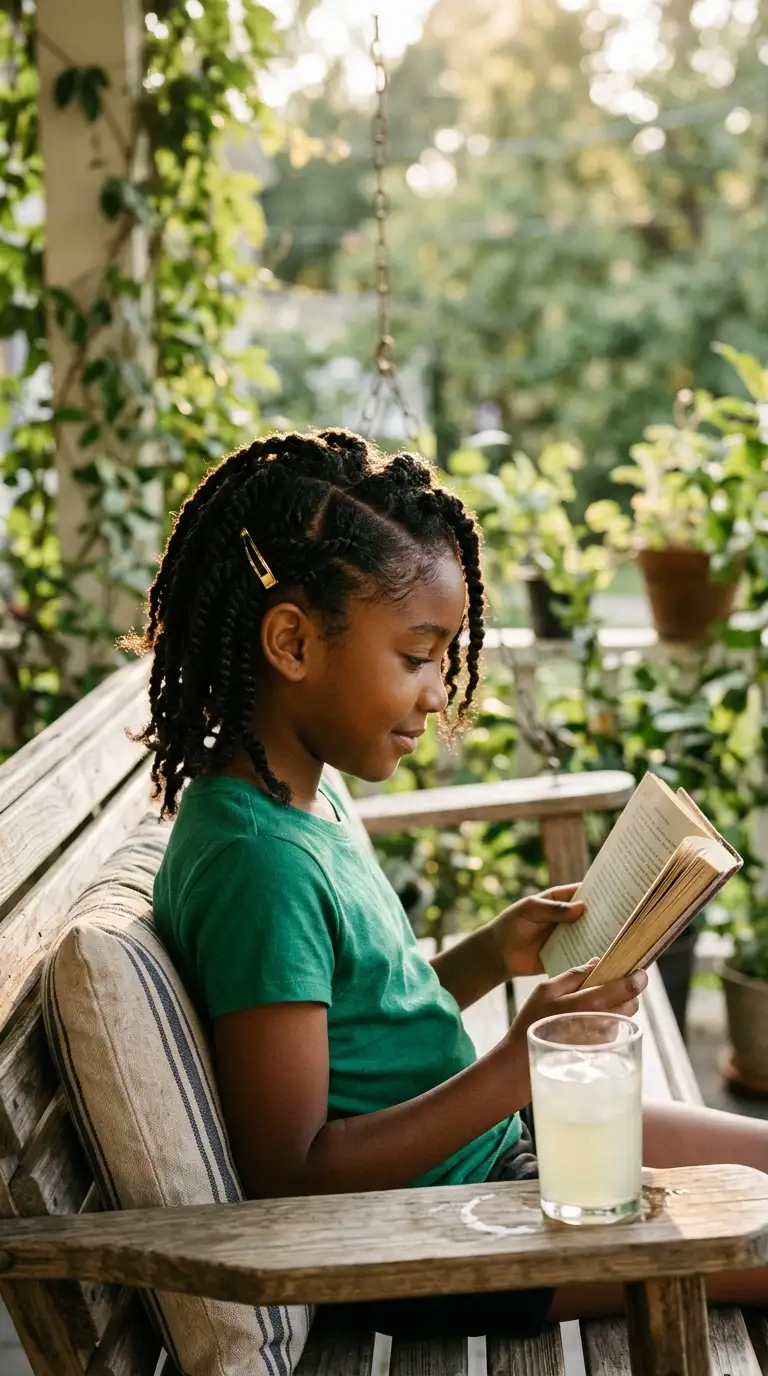
A side part changes how the whole head of twists falls, and it only takes a comb tail.
Plan for it before you start twisting. Draw a deep side part from the front hairline toward the crown, then twist the sections on each side so they lean away from that part. On the short side, sweep the twists back and slide a small barrette or two bobby pins in behind the ear.
On the heavy side, the twists fall forward and frame her face. On the short side, everything stays tucked and tidy.
Loose wash day curls look great on Sunday, shrink by Monday, and knot into one big tangle at the nape by Wednesday.
The same curls sit in neat twists all week, and mornings are a quick spritz, a pin behind the ear, and out the door.
9. Twists With Colorful Thread Wraps
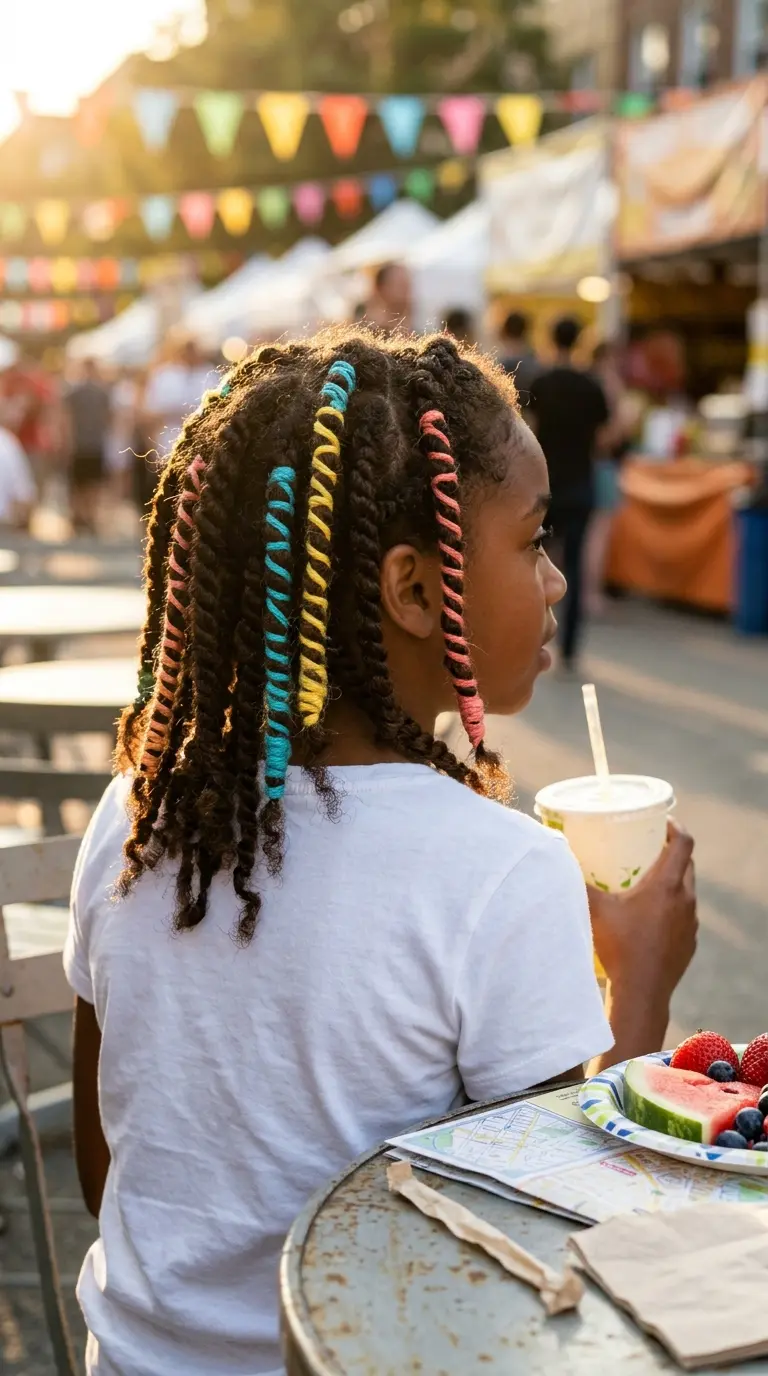
Thread wraps add color without any beads or clips that can fall off.
Pick five or six twists, usually around the face or along one side. Tie a piece of soft embroidery thread or yarn near the root, then wind it snugly down the twist and knot it at the bottom. Stop partway for a striped look, or go all the way to the tip.
Let your child choose the colors. School colors, a favorite team, or every color in the pack.
Safety note: keep wraps on older kids who no longer chew on their hair, and snip them off before take down so they do not tangle with the new growth.
10. Twisted Halo Crown Pinned Around the Head
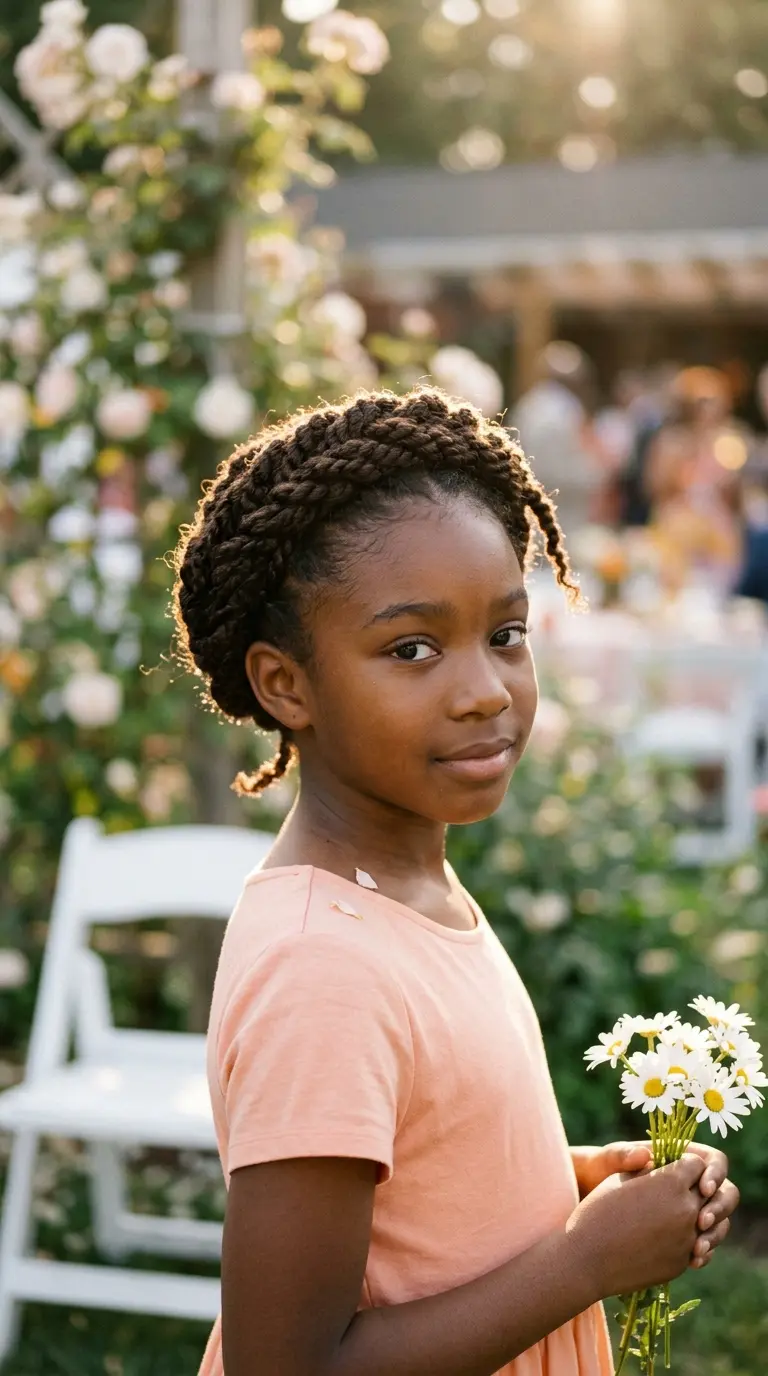
For a wedding, a recital, or Easter Sunday, a halo makes twists look dressed up without starting over.
You need twists that reach at least the shoulders. Take a few twists from one side, cross them over the top of the head like a headband, and pin them behind the opposite ear. Do the same from the other side. Then lift the back twists up from the nape and tuck them into the circle.
Use pins with rubber tips, and tuck them under the twists so nothing pokes during the ceremony.
Take it down at bedtime. Sleeping on pins is no fun for anyone.
Take out pins, clips, and tight scrunchies so nothing presses on the scalp overnight.
Mist the twists lightly with water, never until they drip, and smooth a tiny bit of oil over the ends.
Gather long twists into one loose, low pineapple so they do not get crushed.
Cover with a satin bonnet or scarf, or use a satin pillowcase for kids who pull bonnets off in their sleep.
11. Two Strand Twist Frohawk for Boys
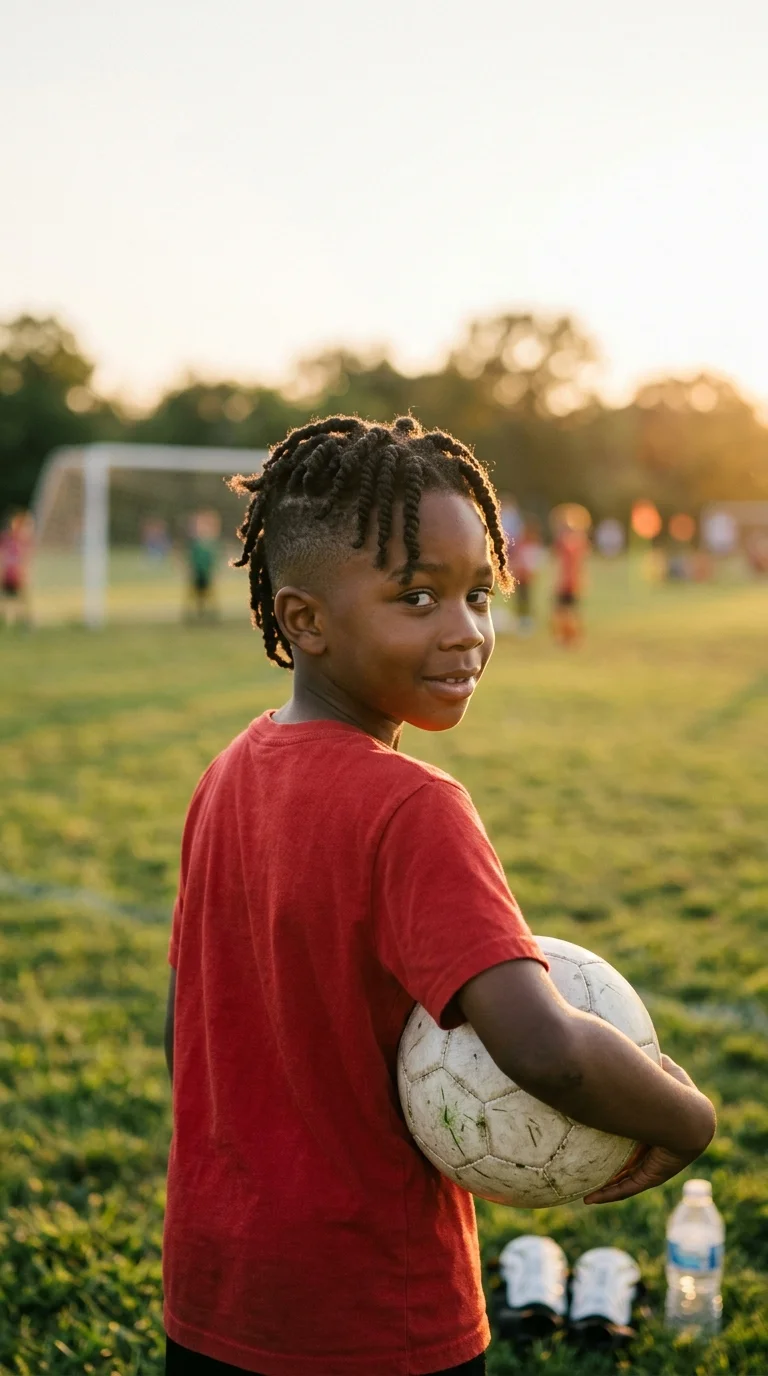
Boys who want twists but not a full head of them tend to like this one.
The sides are cut short or faded by the barber, and the hair on top is left longer, about two to four inches. Twist only that top strip, from the forehead back to the crown, in medium sections. The twists stand up a little and lean toward the middle, which gives the frohawk shape.
Because there are only fifteen to twenty twists, it is a short sitting. A fresh line up every couple of weeks keeps the sides sharp while the twists keep going.
Styling detail: twist the front few sections slightly forward. They frame the face better than twists pointing straight back.
12. Twists With Curled, Coiled Ends
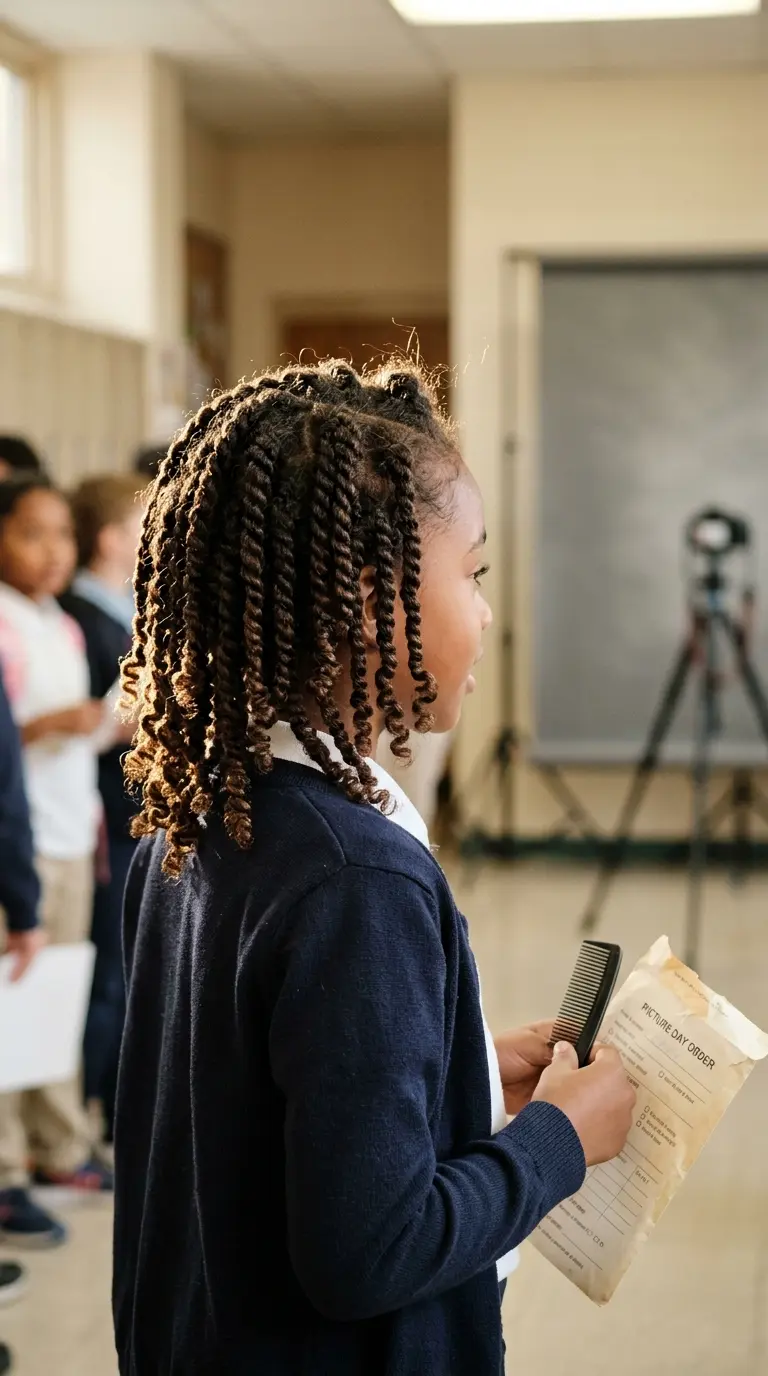
Curly ends make a regular set of twists look picture day ready.
Twist each section as usual, but stop about two or three inches from the bottom. Leave the ends loose and roll each one onto a small flexible foam rod or a perm rod while the hair is still damp. Sleep on them under a scarf, and take the rods out in the morning.
You get neat twists at the top and soft, bouncy spirals at the tips. No heat and no curling iron near a squirmy kid.
Quick tip: coat the loose ends with a bit of curl cream before you roll them. The spirals hold their shape for several days.
13. Twists Pushed Back With a Wide Headband
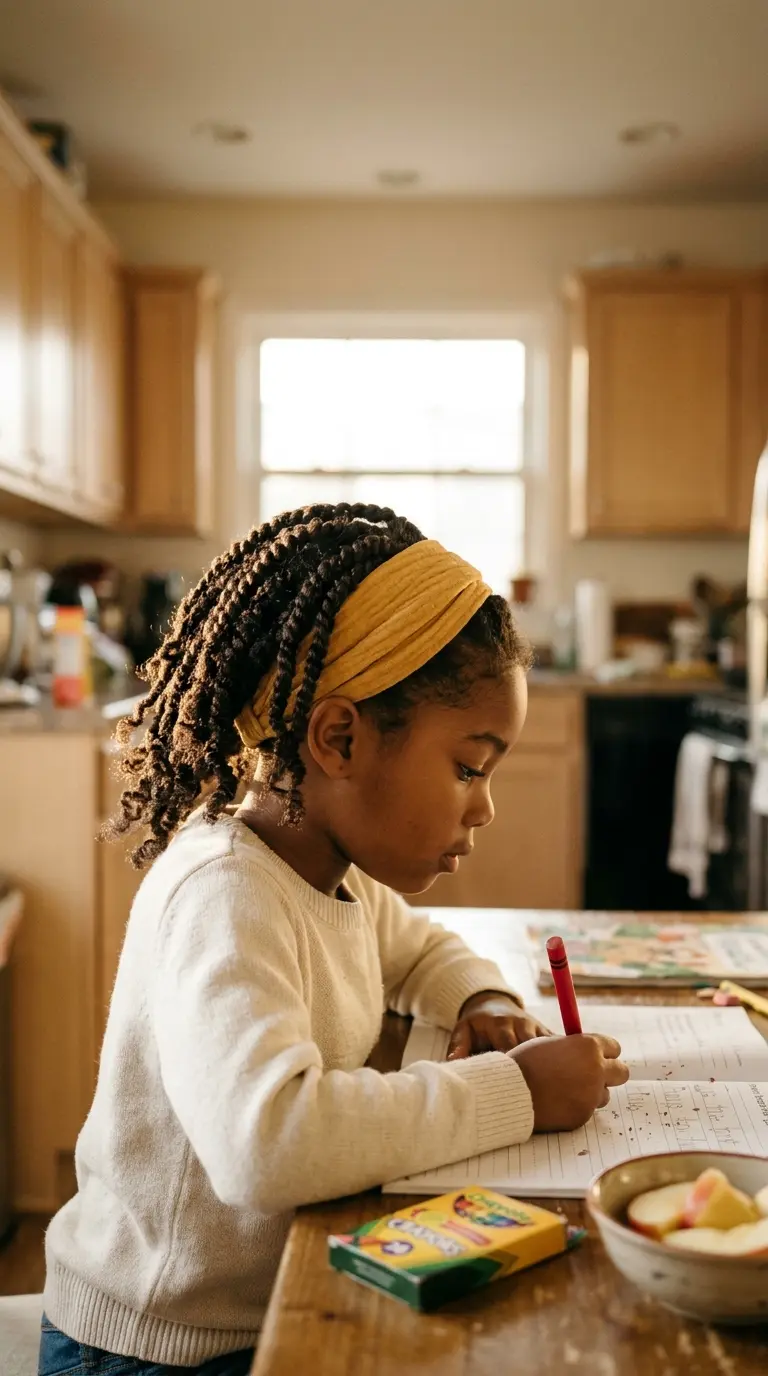
Some mornings there is no time for anything. A headband is the thirty second fix.
Slide a wide, stretchy fabric headband on from the back of the neck, then push it up over the twists until it sits just behind the front hairline. The twists in front get pushed back, and the rest fall loose behind it.
It is also the easiest way to hide fuzzy roots near the end of a set.
Pick soft cloth bands, not plastic ones with teeth. Teeth catch on twists and can pull them loose.
14. Triangle Part Twists
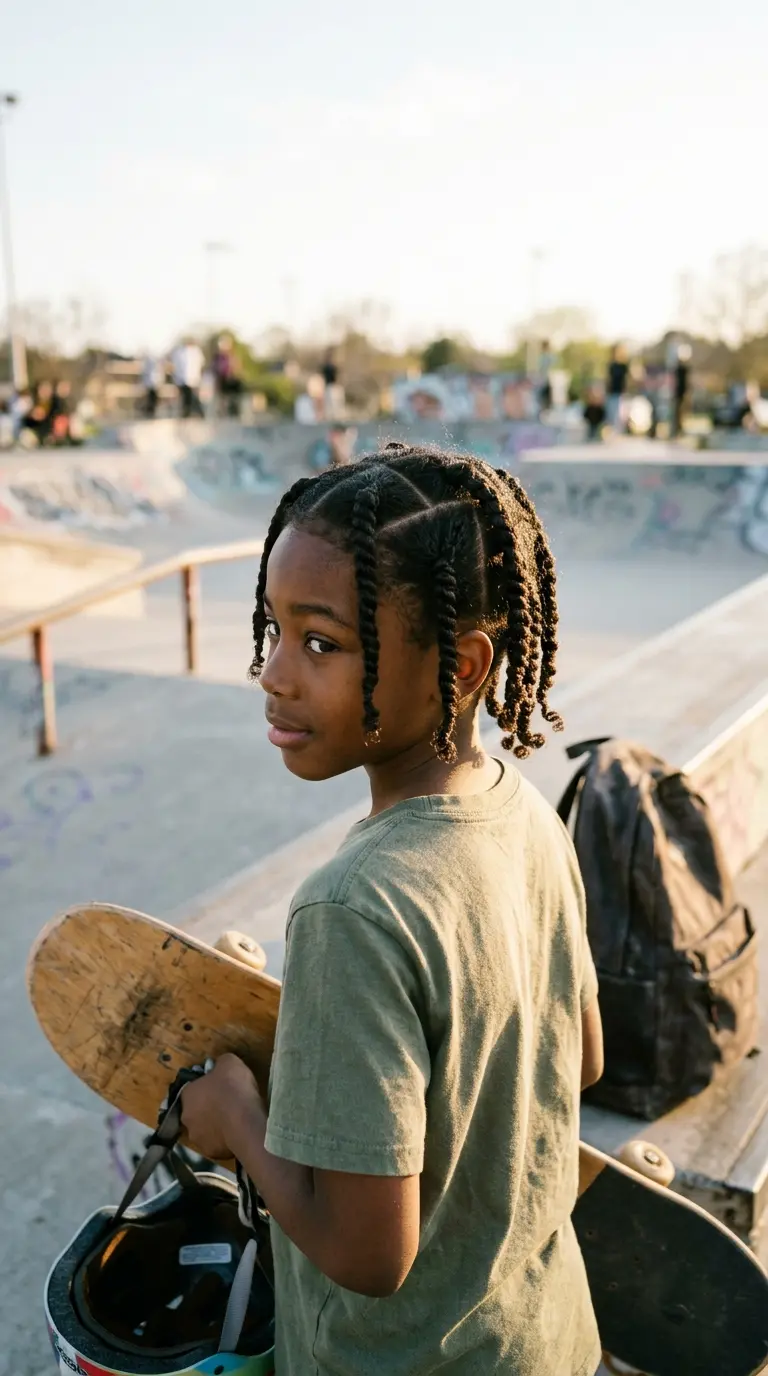
Same twist, different parts. Triangles make a plain set look like it took twice as long.
Start at the nape with a straight row. Above it, part each section into a small triangle with the point facing up, then flip the next row so the points face down. The twists sit in a staggered pattern, so the scalp lines show as neat zigzags instead of a plain grid.
Mist the hair as you go so the part lines stay crisp. Clip finished rows out of the way so you never twist across a line.
Kids who say square parts are boring usually change their mind once they see the back of their head in a hand mirror.
15. Twists Pinned Into a Low Side Bun With a Flower
A low side bun is soft and grown up, so tweens tend to ask for it for parties, family photos, and holidays.
Part the twists to one side. Gather them low behind the ear on the opposite side, hold them with a soft scrunchie, and wind the length around the base. Pin the tips under, then slide a flower clip or a small hair comb in at the side of the bun.
It sits low, so it does not pull on the front edges, and it is comfortable to lean back on in a car seat or a church pew.
The next morning, take it down and the twists are still ready for school.
Twists should never hurt. If your child winces, scratches a lot, or gets little bumps at the roots, that section is too tight. Loosen it right away, and give the scalp a break between sets with a loose puff or wash and go for a few days.
Twist Day, Made Easier
Two strand twists are one of the gentlest styles you can give a child with natural hair. They protect the ends, cut down on daily combing, and turn into a whole new look when you take them out.
Start with what fits your week. Chunky twists for the toddler, a frohawk for the boy who only wants something on top, and mini twists when you have a free Saturday. Save the halo and the side bun for special days, and let the twist out be the reward at the end of a set. Keep the roots loose, cover the hair at night, and take the twists down before they start to lock.
The best two strand twist hairstyles for kids are the ones your child likes seeing in the mirror and you can finish before the snack runs out.
Save this list to your kids’ natural hair board so the next twist day starts with a plan.